I gotta say I don't really like this format. Editing the original posts doesn't update the date line, so it looks like we never added any new info. So I'm giving the topic a little bump.
Some of the parts I've come up with for this buildoff include:
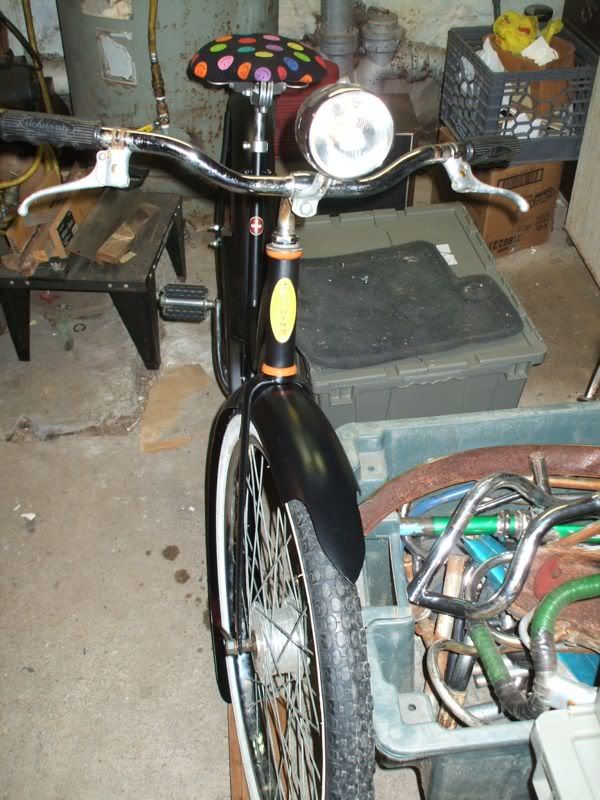
Miller headlight with parking light and bullet glass lens.
50's teardrop Schwinn grips
70's Schwinn brake levers
Repro decals from different suppliers- I like the vintage style quality cross and the 60s style curved white scripts
Stem and bars from an 80's Cruiser. Not sure if these will stay.
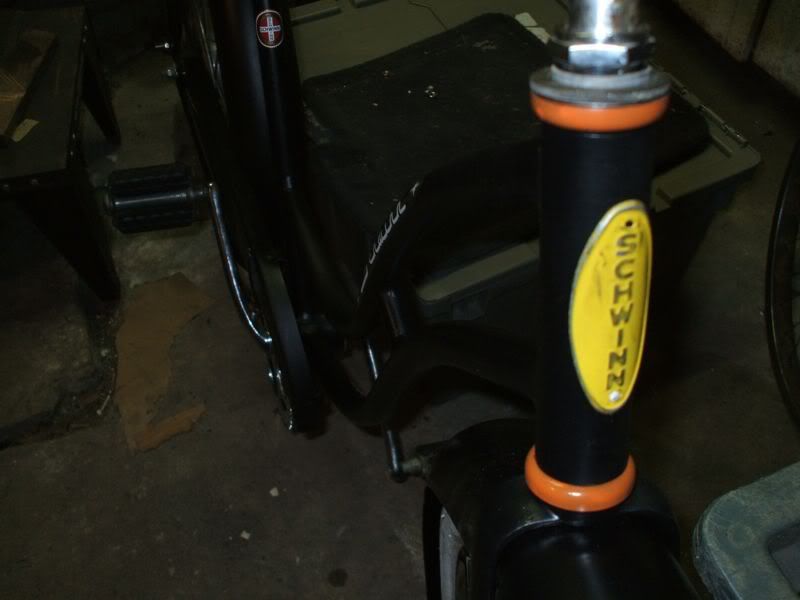
A nasty headbadge that was an experiment- was covered in duct tape adhesive. I threw it in our ultrasonic parts washer at work and it cleaned it up to bare shiny aluminum. Buffed the letters, painted it yellow, and buffed it again against cardboard to highlight the letters and the edges. It's got an old "survivor" look to it.
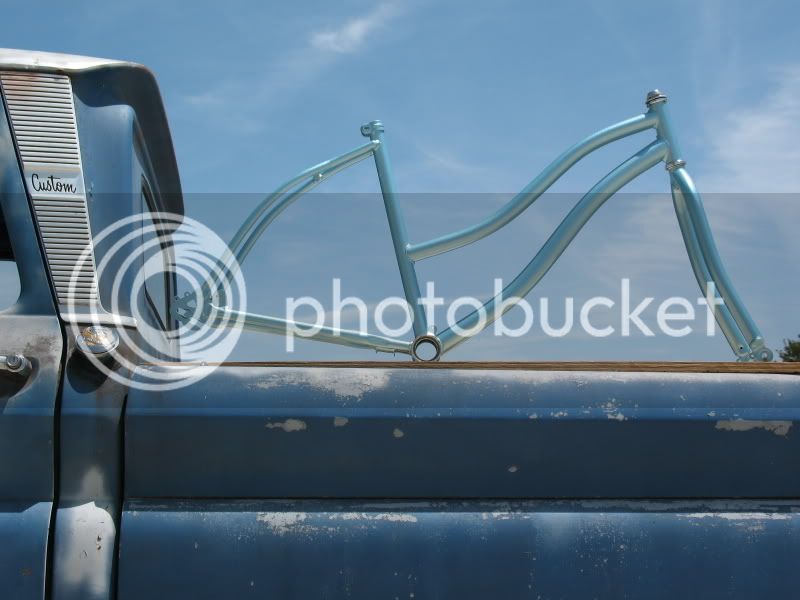
The bearing cups are so heavy on this old frame. VERY thick steel. The crank bearings are so big the crank almost won't fit through. The fork cups I painted orange to match some of the other elements going into this bike. I like how the seat picks up all the colors too.
===============
Update 2-1-2010:
Finally some more pictures uploaded!
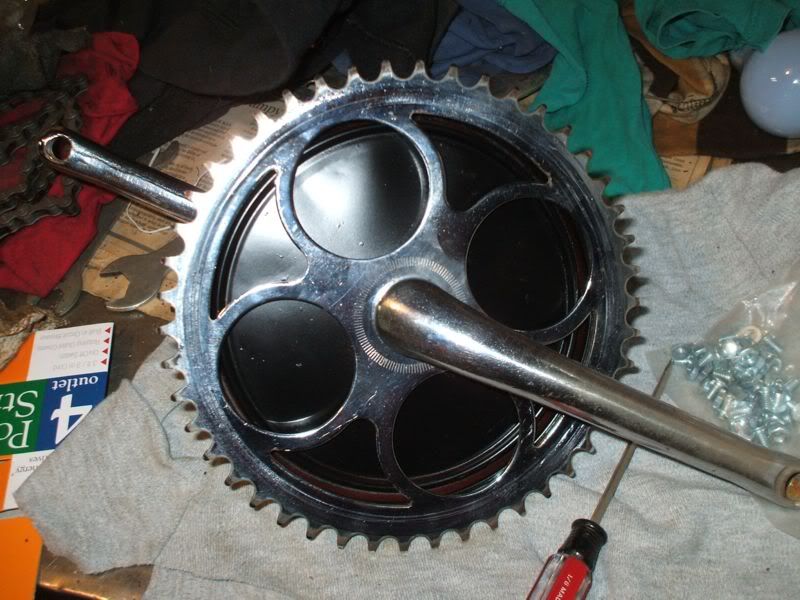
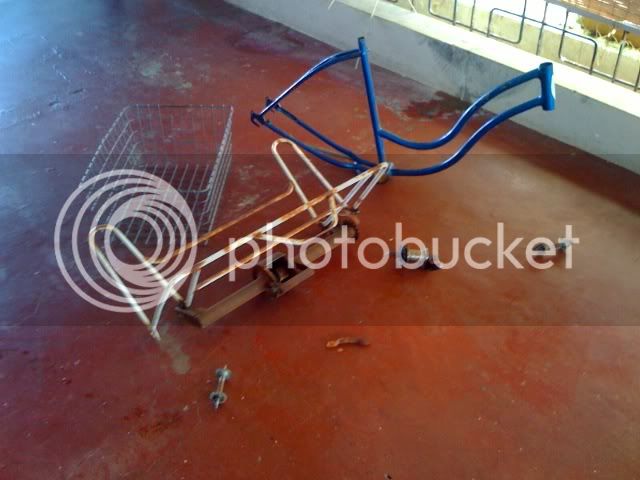
The crank I picked out came from a Collegiate that arrived at my house nearly naked... well just a frame and wheels and crank, missing a lot. 1972 parts.
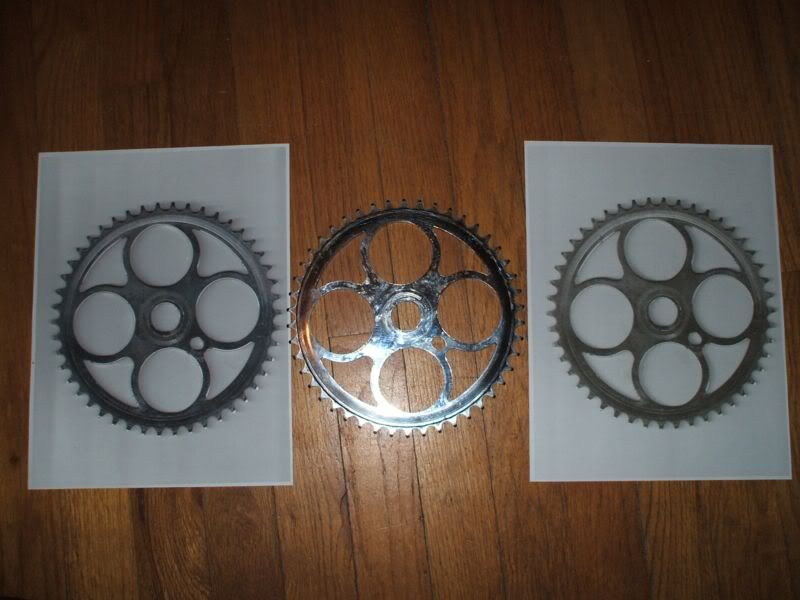
As you can see, I'm up to something with those templates.... I put the gear right in the scanner and copied it!
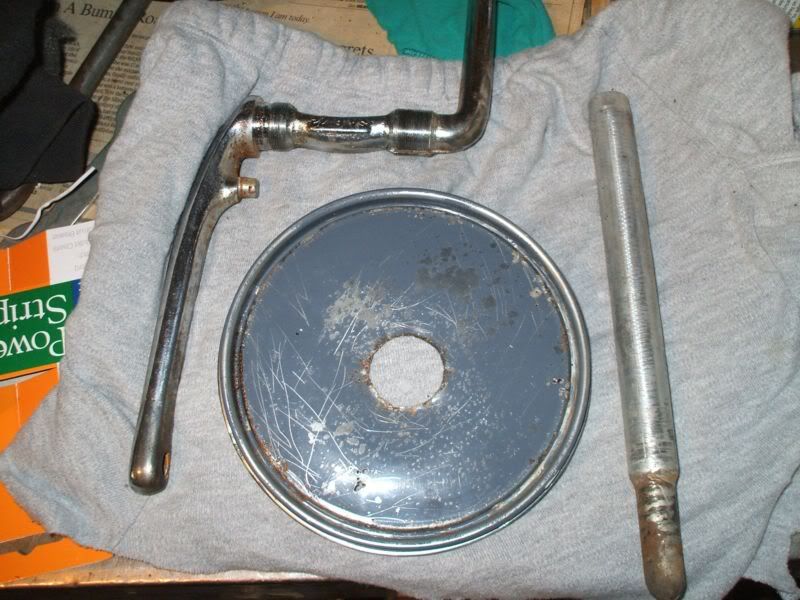
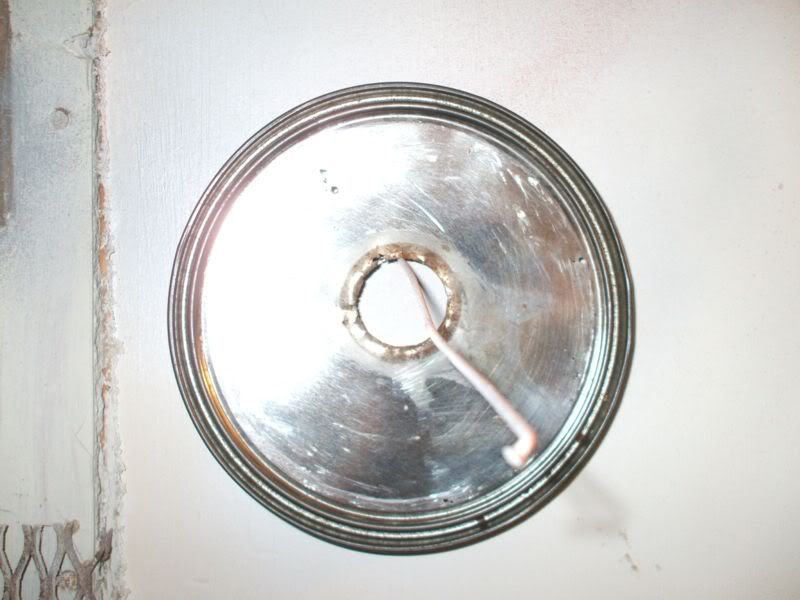
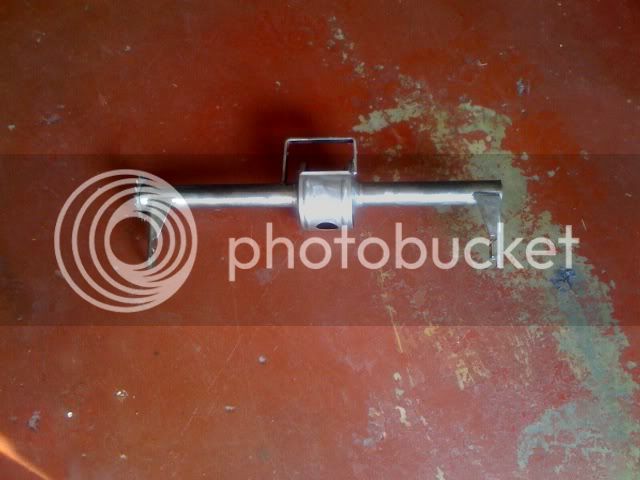
The crank, the seat post, and what's that thing? It's a paint can lid, one of the ones with a little window to let you see what color is in the can. Didnt feel too bad about using it, turned out to have a few rust holes, and it was "CLEARANCE $1.00" paint that's been in the basement since I've owned the house.
Stripped the label and the paint on the inside of the lid, popped out the center. They don't make these things too precisely as you can see...
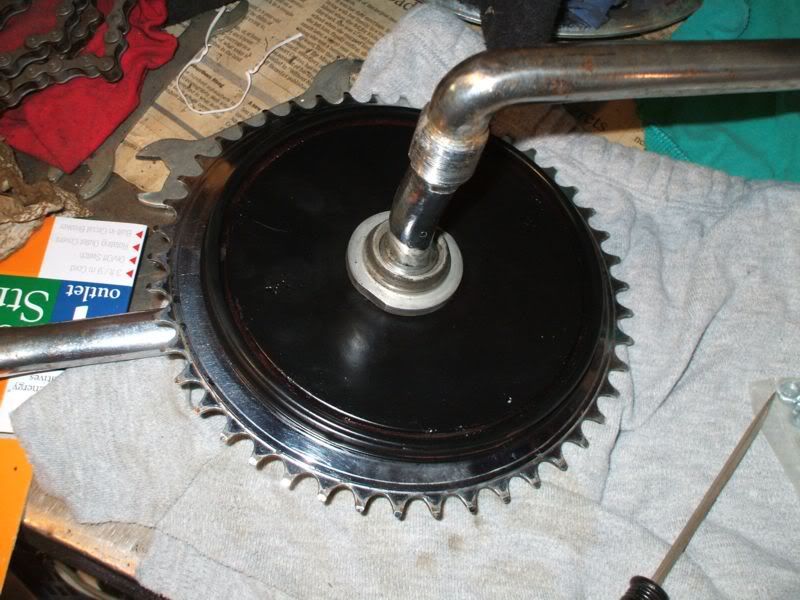
But it's close enough to mount on the crank behind the sprocket and is exactly the right size to back up a 46 tooth sprocket. Centered on the crank it gives the chain just the right amount of room, but covers the cutouts in the gear.
Back side view. One troublesome thing- I can't tighten a chainguard screw now with a screwdriver from the front. Small price I guess...
More on that one later....
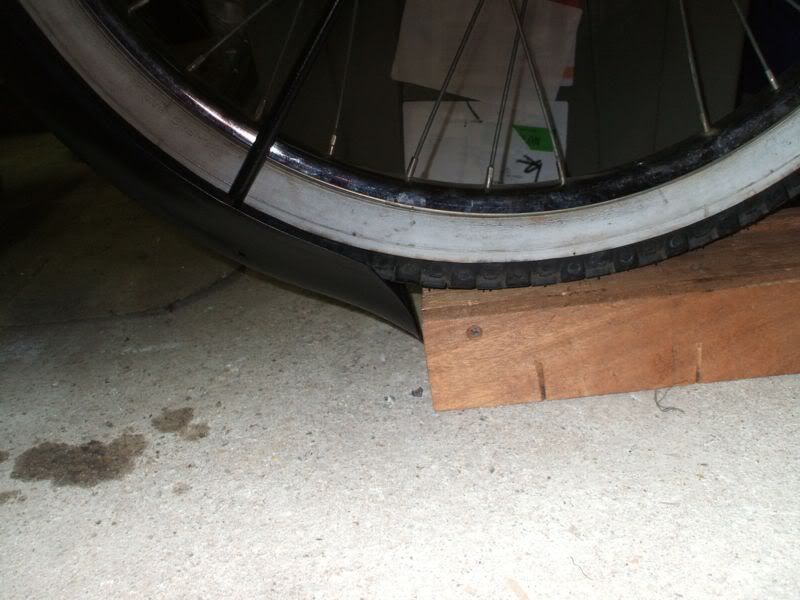
Here's one of the problems I encountered so far in the build:
Yeah, oops, the rear fender-turned front fender did turn out too long. Well, I had to try it. I wanted to save that ducktail but it was not meant to be. Mounted on the fork, it's under the tire. Another trip to the cutoff wheel....
=====================
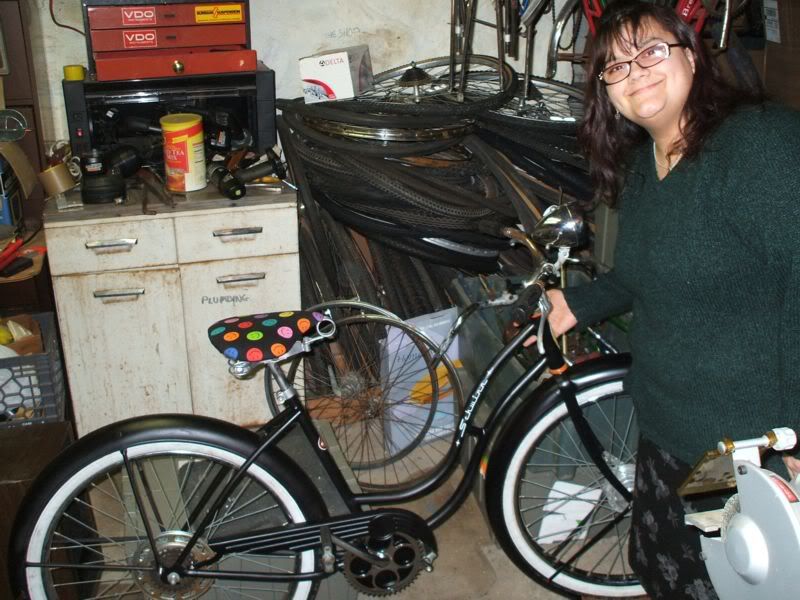
Just a mockup picture, but my wife LOVES her new bike!
======================
UPDATE 2/25/2010:
The bike is coming along slowly but surely. Too much going on to give it proper attention but parts of it are getting finished up and looking nice.
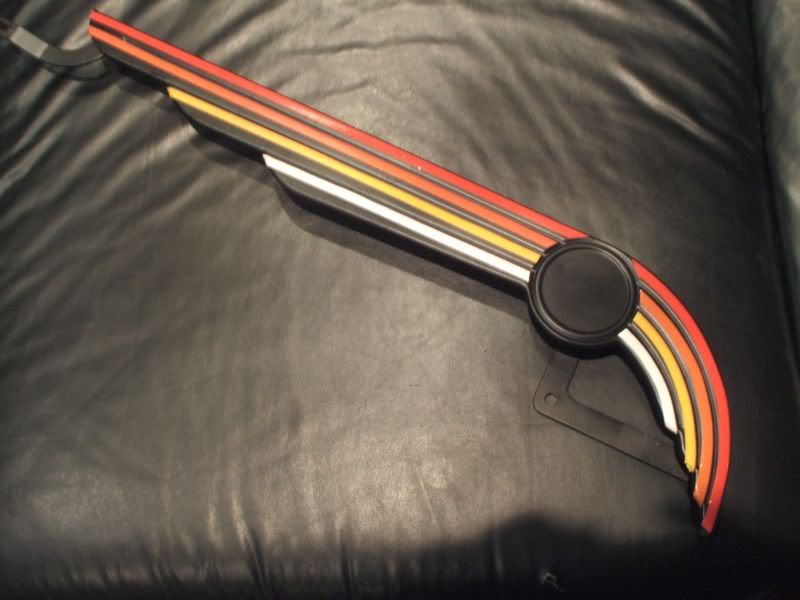
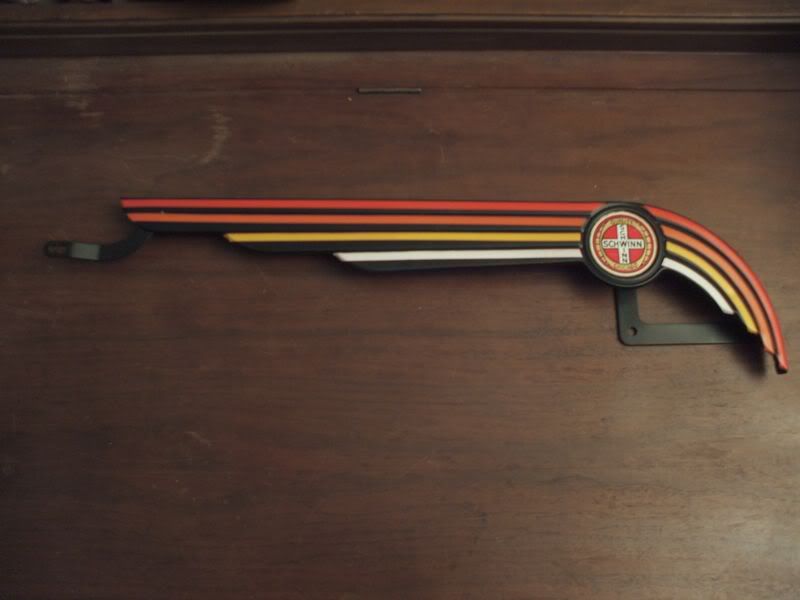
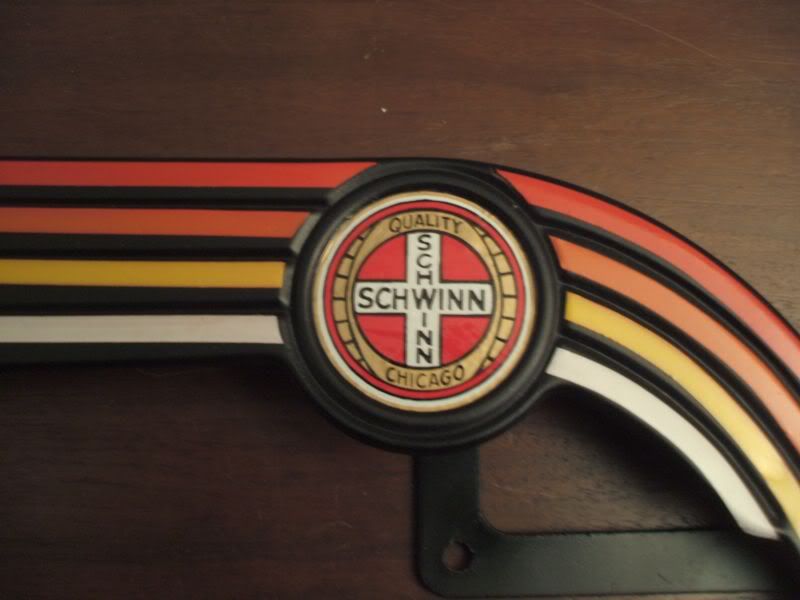
The big project this week was finishing the chainguard.
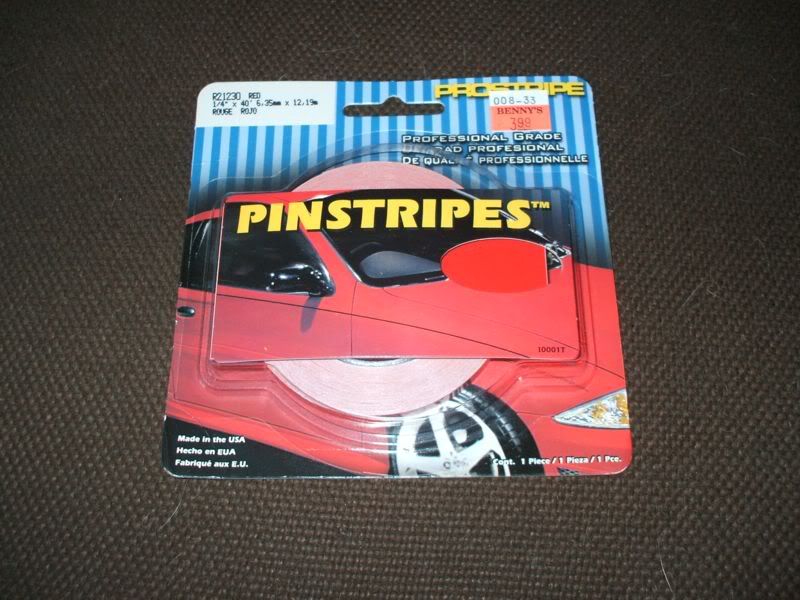
Some automotive pinstripe material in red:
I painted individual strips of pinstripe material to match the colors used elsewhere on the bike. A couple of tries to get the yellow right- it doesn't behave like regular paint. Also, nothing much likes sticking to the plastic pinstripe material, but at least it adheres well to the chainguard paint.
A new decal from Memory Lane and we're in business.
After laying the pinstripes, the edges were cut with a fine knife to match the curve around the quality circle.
======================================
Got some more pics on the way, found a shifter, a rack, and some surprises.
Stay tuned...
--Rob


