The Whippet

Rat Rod Bikes Bicycle Forum

Help Support Rat Rod Bikes Bicycle Forum:

This site may earn a commission from merchant affiliate links, including eBay, Amazon, and others.
Joined
Apr 15, 2011
Messages
434
Reaction score
4
Rating - 0%
0   0   0
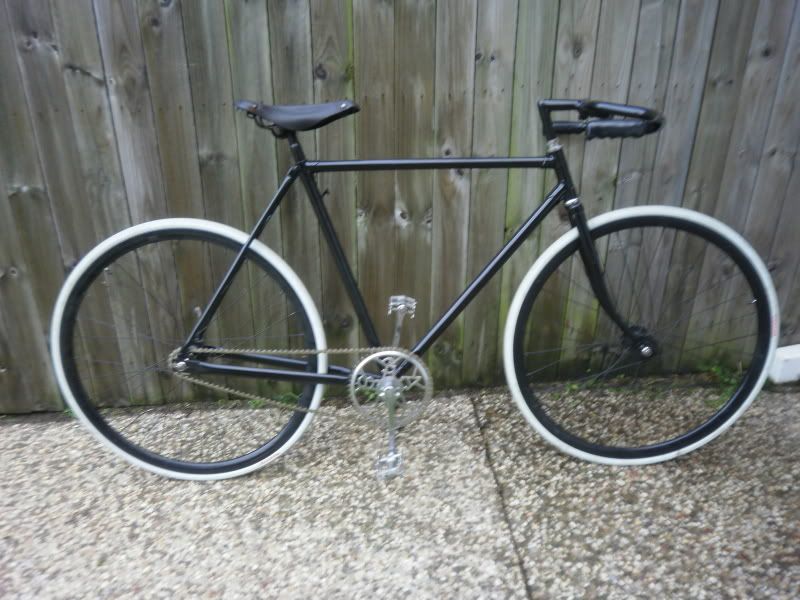
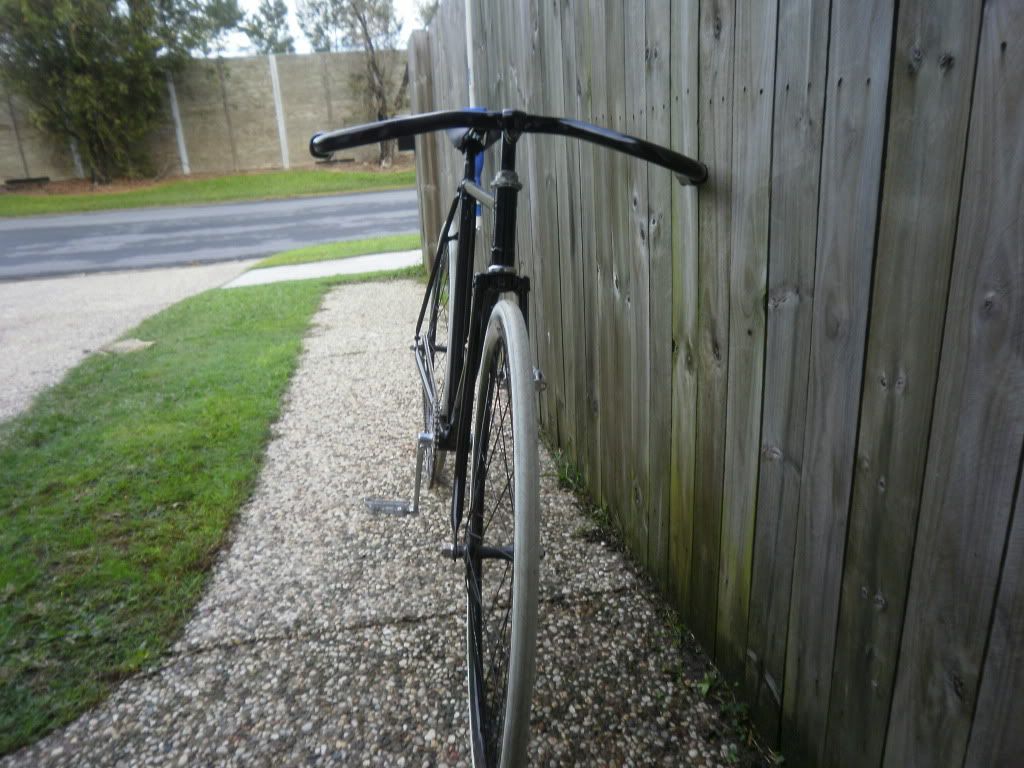
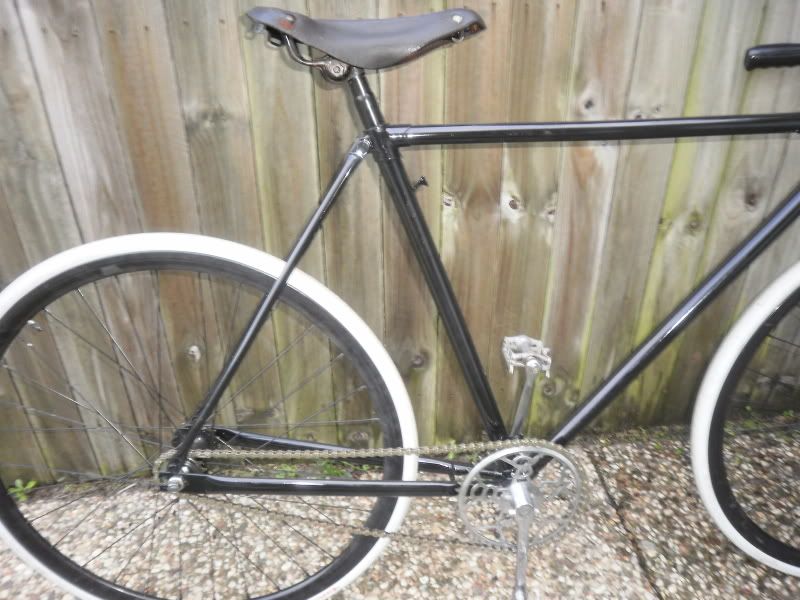
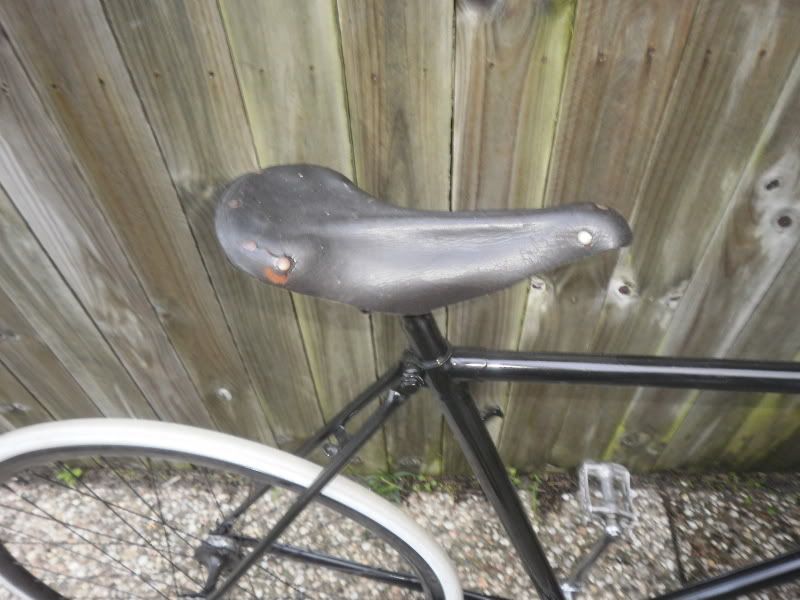
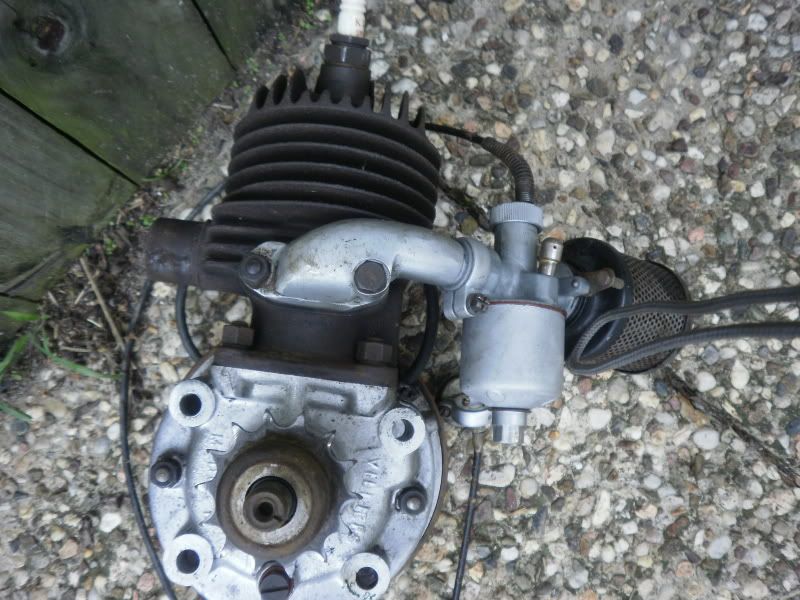
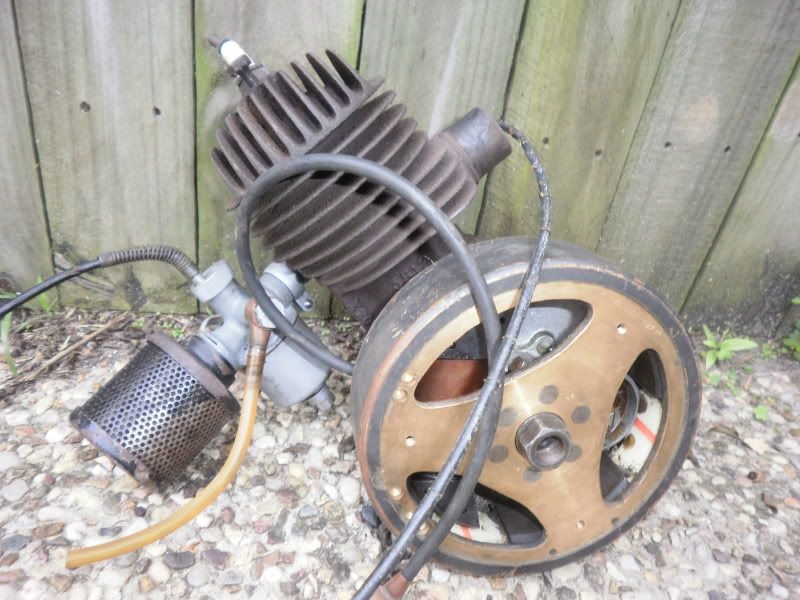
This is a vintage (year unknown) Australian made "Whippet" brand racer that i restored a while back and made it into a fixie. I added 700cc flip flop wheels (originally 28"), all white tyres, BSA crankset, moustache bars, old vintage leather seat. I rode it a couple of times and didnt like the fixie setup at all. Its sat untouched for a while so i thought why not motorize it, i had an unused 50cc with a couple hours use.

P3120079.jpg


P3120080.jpg


P3120081_01.jpg


P3120082.jpg


P3120083.jpg
 
Picture171.jpg


Picture169.jpg


I stripped the tank to paint it black, but there was a hole in it. I dont have a welder so i need to wait to go to my mates and use his.... but i wasnt expecting the petcock to come up so nice.

Before:

Picture184.jpg


After:

Picture186.jpg
 
The petcock came up nice and will look good against the black. I may get "the whippet" decals made up for the tank

Picture187.jpg


Picture185.jpg


The hole i need to fix

Picture188.jpg
 
I have a flip flop hub, so ill have to look into mounting a sprocket to it. Maybe i could just drill holes through the hub flange and bolt it on. Or maybe drill and bolt the sprocket to the flip fop fixed sprocket. Im not sure which, if any would be strong enough.

I have a 52 tooth peddle sprocket that i could bolt on, but the gearing would be wrong, and the bicycle sprocket to MB chain mightnt be ideal, but looks .... good. But i could do the same with a standard MB sprocket

Picture190.jpg


Picture191.jpg


Picture189.jpg
 
I fitted these reverse levers. One will be for the clutch and the other will be a front brake, i will only be running a front brake. I know thats not ideal but i wont be riding it all the time and many racers/fixies run front brake only. Having the reverse levers means ill be able hide the cables in the bars. I will either use a lever throttle i have or a trigger throttle.

Picture193.jpg


Picture192.jpg


Picture195.jpg
 
LarzBahrs said:
How much do those villiers engines cost regularly/

Ive seen these 98cc Villiers fairly reguarly on EBay in Australia. The motors usually go for around $50 - $100, but funny thing is, a complete Villiers reel mower usually can be picked up cheaper. I payed $50 for this complete mower. I own three myself (two of these slanthead engines, and a later model one).

I would have thought about using the Villiers on this bike but it is a little heavy for this bike and wheelset.

Heres some more pics of the Villiers....

P3110060.jpg


P3110059.jpg


P3110058.jpg


Picture132.jpg


Picture133.jpg
 
I thought I was at the fireworks I kept saying Oh…………. Awa!!!!!
Nice builds :)
 
Well today i sealed 2 fuel tanks for this and my Villiers builds so hopefully in a few days it will be watertight and i can make a little progress on this bike.
 
I used a tank liner on the tank and painted it up. I just want to either get a sticker or try pinstriping myself to say "The Whippet". I welded in the brackets for the tank. I think im going to find a coaster brake for the rear (and relace with stronger spokes) so i wont need any brake cables messing up the clean look i have going. One of the reverse levers will be for the throttle and the other for the clutch.

Im just doing this project now and again but hopefully i can get it going soon....

I will also make another copper coil cover, with cloth covered wire i have, and another kill switch box or BTR style bar kill switch. And also make a weld on chainguide

Picture469.jpg


Picture465.jpg


Picture462.jpg


Picture461.jpg
 
I bent up some copper tubing for my fuel line.

The copper coil cover is off my Kroon which im cleaning up a bit because my brother said hes finally picking up my tank from his mate that tig welded an alloy tank i made some time ago.

I have copper/brass i grabbed out of the bin from work and i plan to make better ones that fully enclose the coil, and i may weld ears to the frame so no messy brackets around the frame. Im also going to find a nicer plug cover or just get a screw on connector from the plug to the cloth covered wire. I may also shorten my fuel tank brackets to create a little more room between the motor and the tank... i made them that long so i could get the tank as upright as possible and still get the cap off. Plus i wanted to not have too much dead space in the frame.

I definitely need to get my Whippet tank stickers made up to break things up. Im thinking just plain white old style writing. The engine also needs something so i think i will get a number 13 made up for the side engine cover.

And ive decided i will find a coaster brake for the rear for my braking needs. It would be cool if i could find one similar size to the flip flop currently on the bike to save buying new spokes.

Picture471.jpg


Picture473.jpg


Picture474.jpg
 
Thanks guys...... Steam engine?.... Dont go giving me ides Cobrafreak..... i have enough already lol

Tonight i made brass coil cover version 2, i get this used brass for free from work. Im allowed to get it out of the bin and they throw away lots. They are brass strips about 100mm (4 inches) and in really long lengths.... Theres really something special about making something for free and from the bin.

I cut the sides off the coil and its a snug fit in the cover. I will make 2 metal "L" shaped brackets and weld them to the frame to pop rivet the cover to. I will also drill 2 small holes in the frame, one near the engine where the coil wires come out and one under the brass cover to hide the coil wires.

Picture492.jpg


Picture488.jpg


Picture487.jpg
 
What do you guys think? I think its a big improvement over the last one and a very clean look. Your welcome to copy if you like. I will make another for my Kroon build...

I also plan to replace the rivets with brass ones when im at the hardware next... and i also plan on shortening the tank brackets so that cover wont look so crammed in there....

Picture490.jpg


Picture489.jpg


Picture491.jpg
 
Back
Top