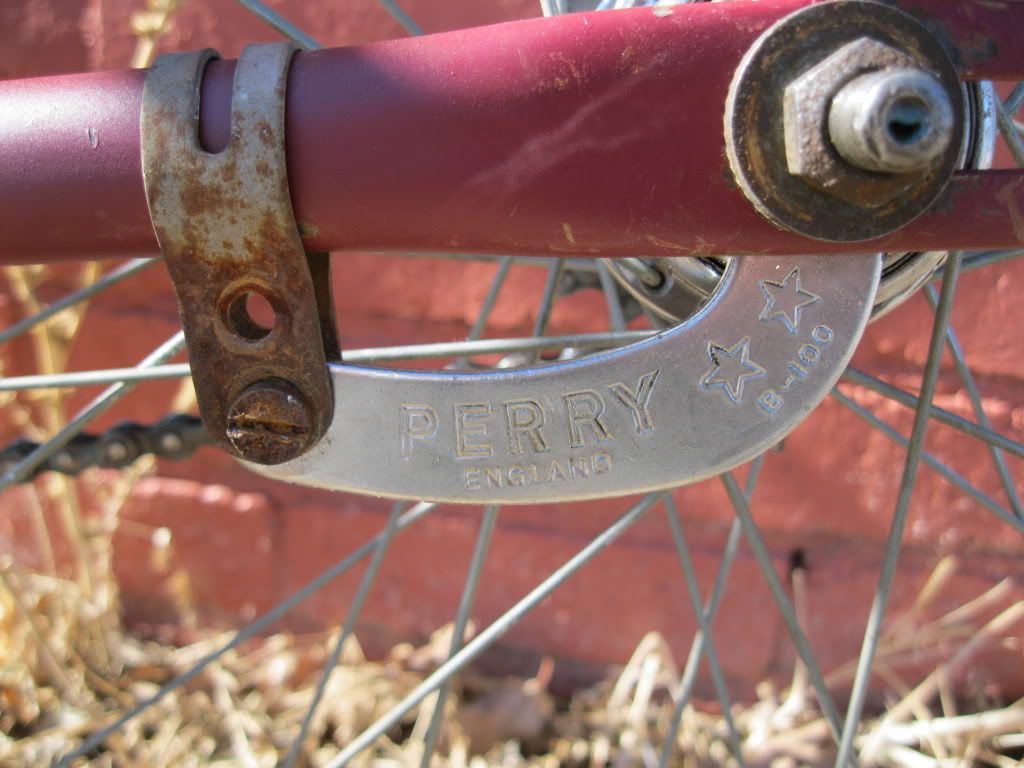
Another addition for the UCB Hub Project. As with all of my rebuild how-to's, the hub internals have already been cleaned prior to this thread so you can see all the parts without a bunch of 50 year old dried out grease in the way.
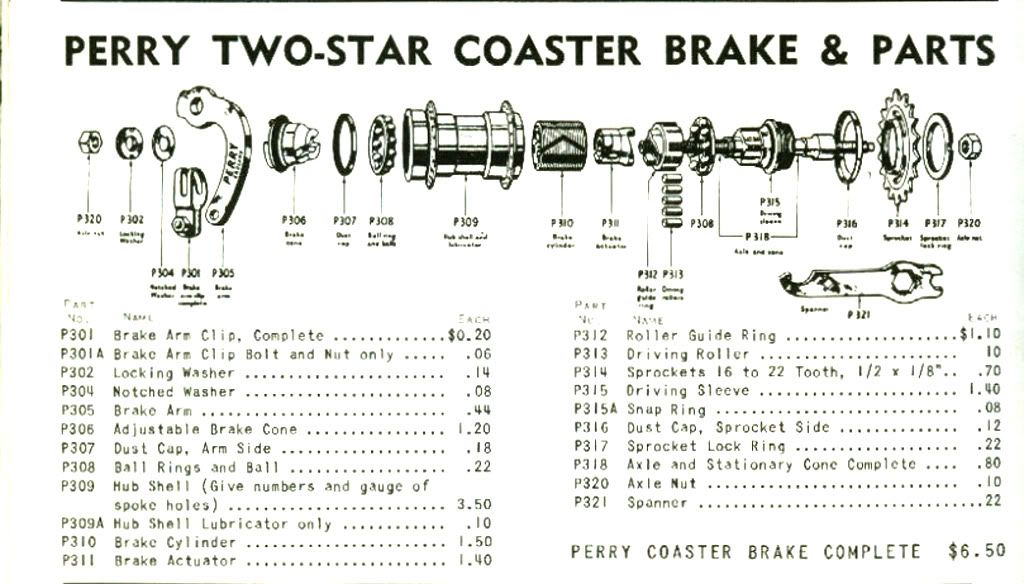
Before beginning have a look over the factory parts diagram, courtesy of classicbicyclefanatics.com.
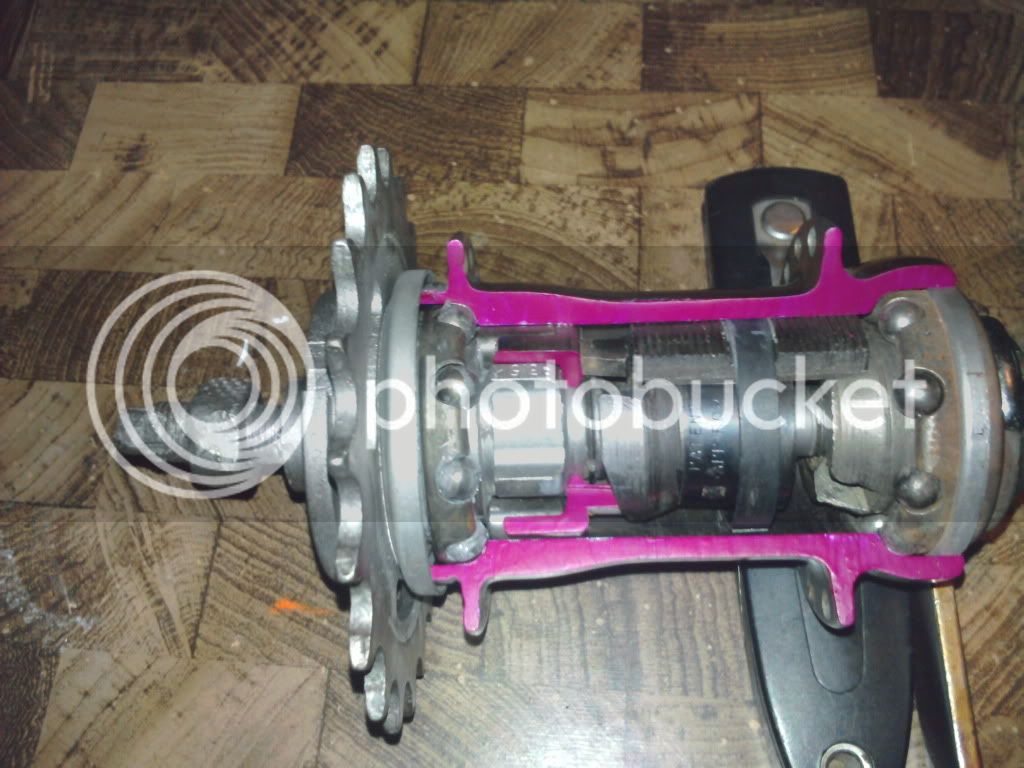
And the UCB Hub Project cutaway
Here we go!
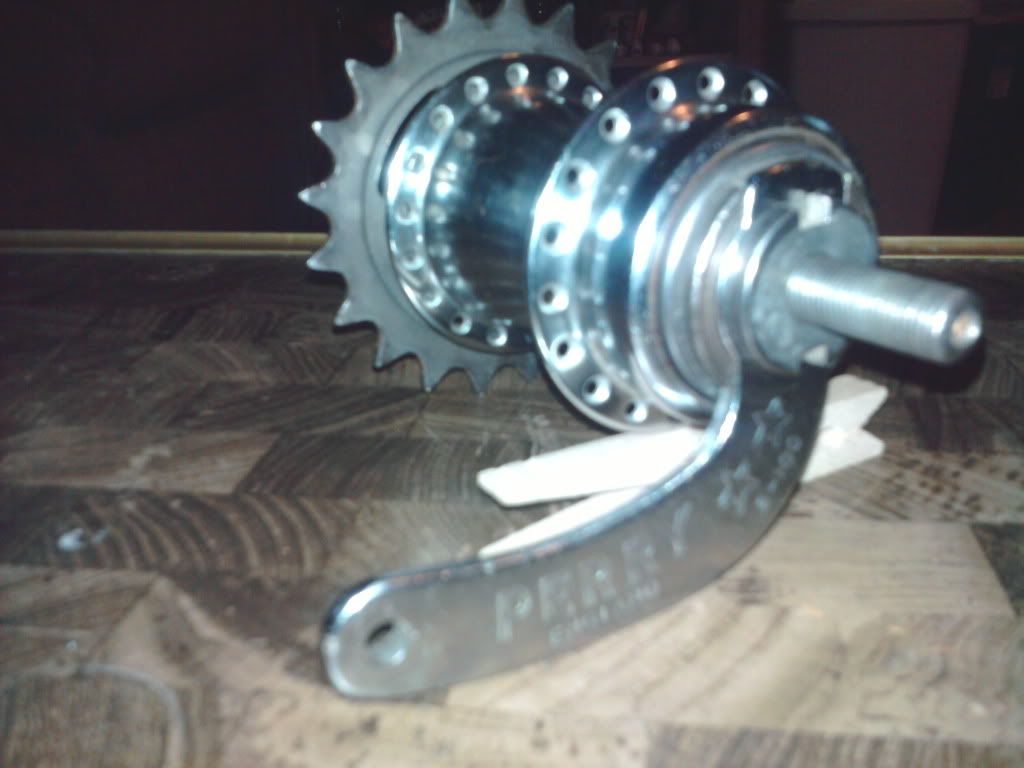
Begin by removing the locking washer and unscrewing the adjustable brake cone while holding the square end on the opposite end of the axle. You can now remove the axle from the rest of the hub. The cone on the axle is a stationary cone and does not come off of the axle.
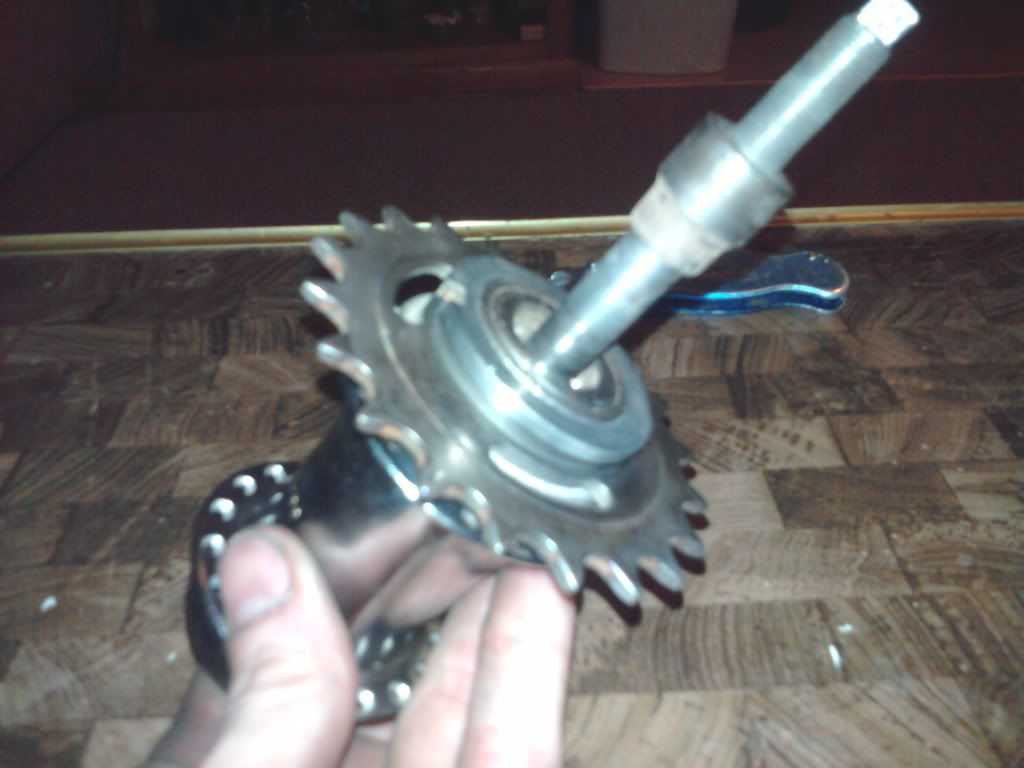
The rest of the assembly should slide out of the hub shell.
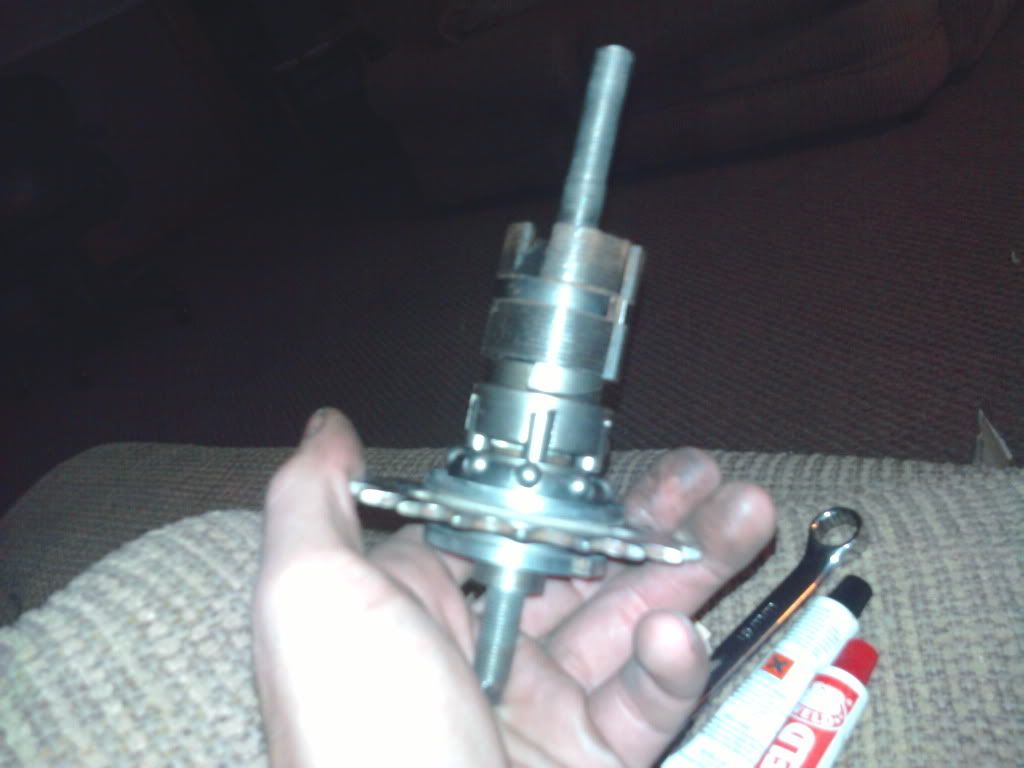
Remove the arm side dust cap and bearings
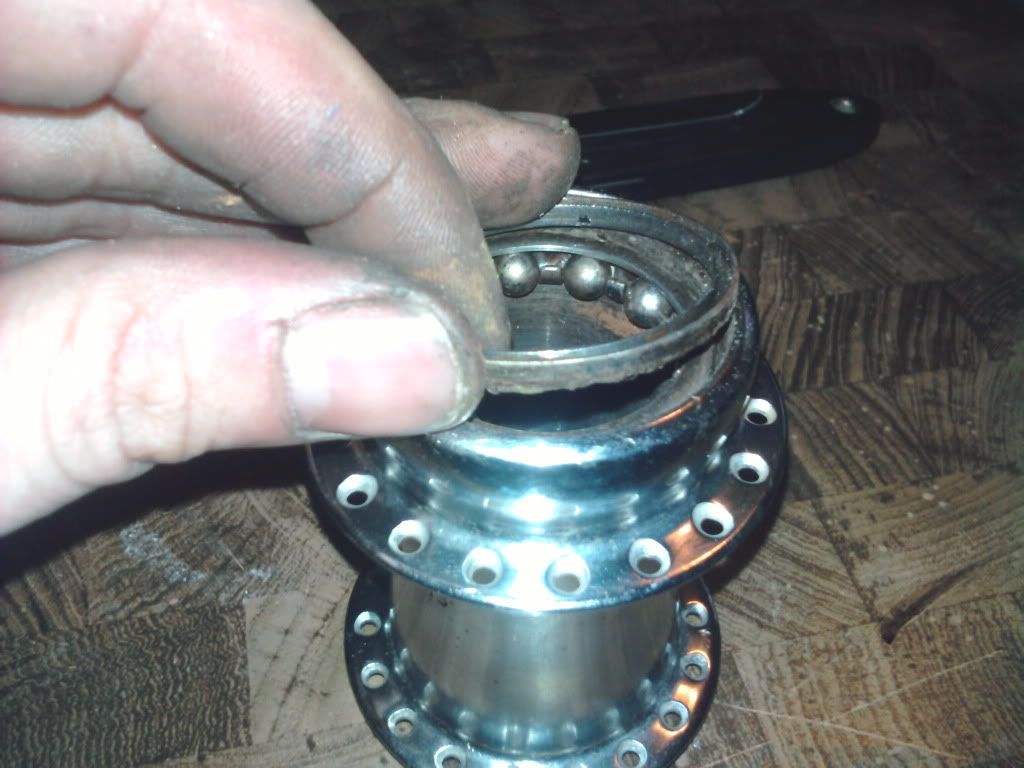
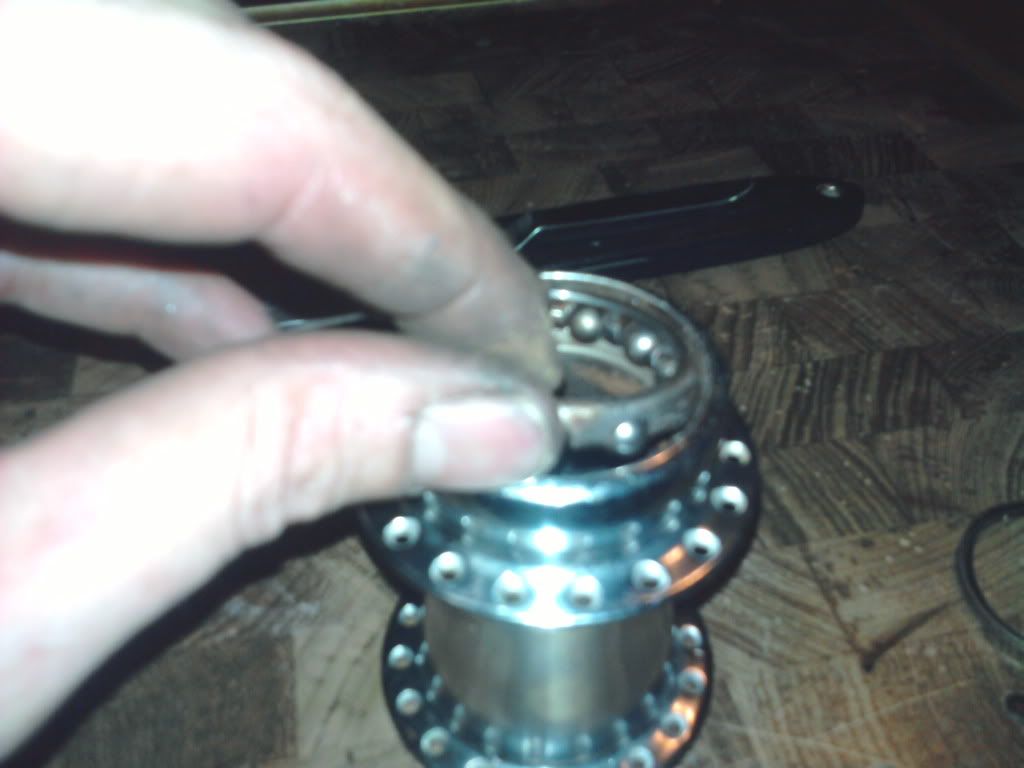
Remove the brake cylinder and the brake actuator.
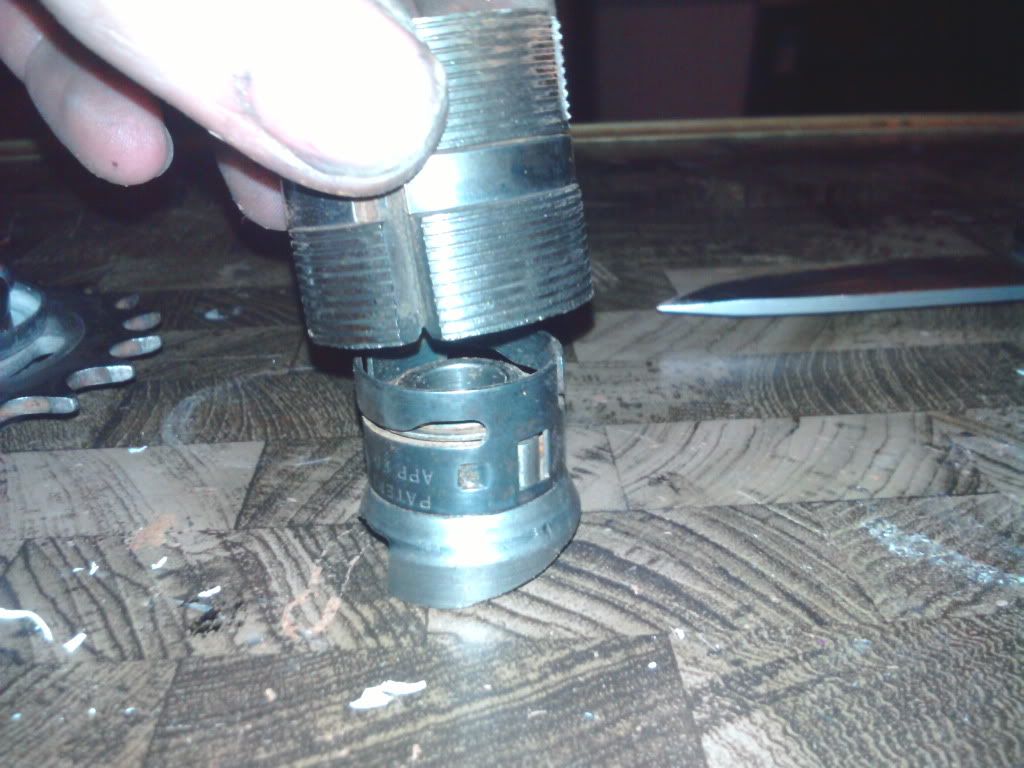
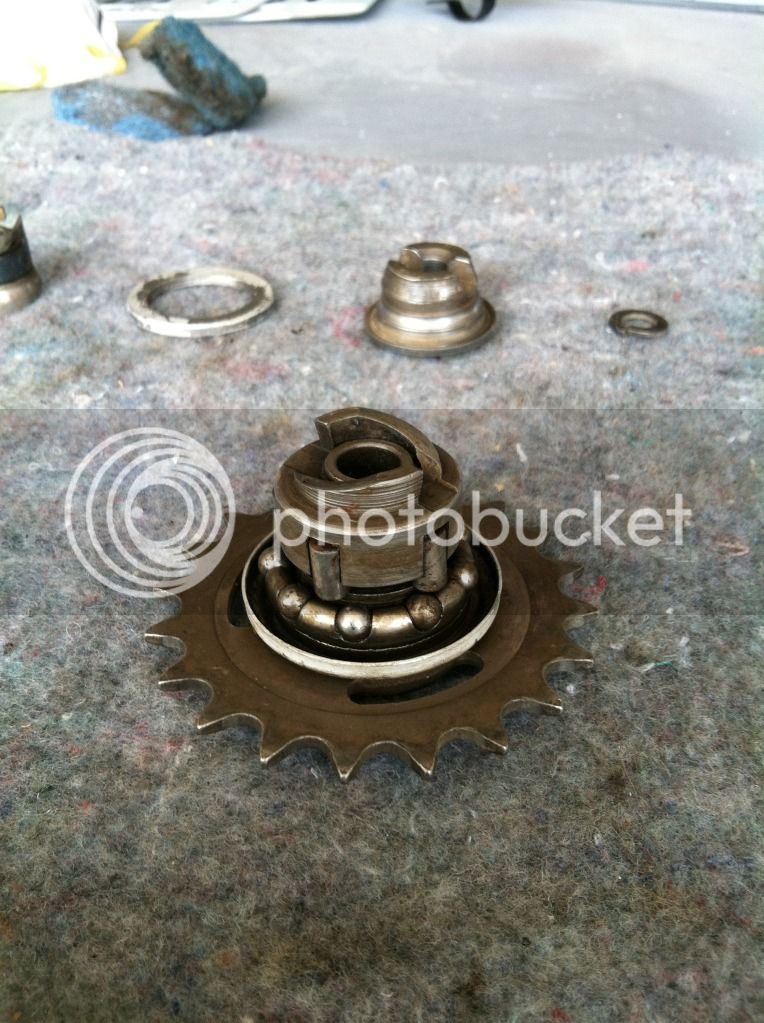
To disassemble the driver assembly remove the snap ring, roller guide, rollers, and ball bearings from the driving sleeve.
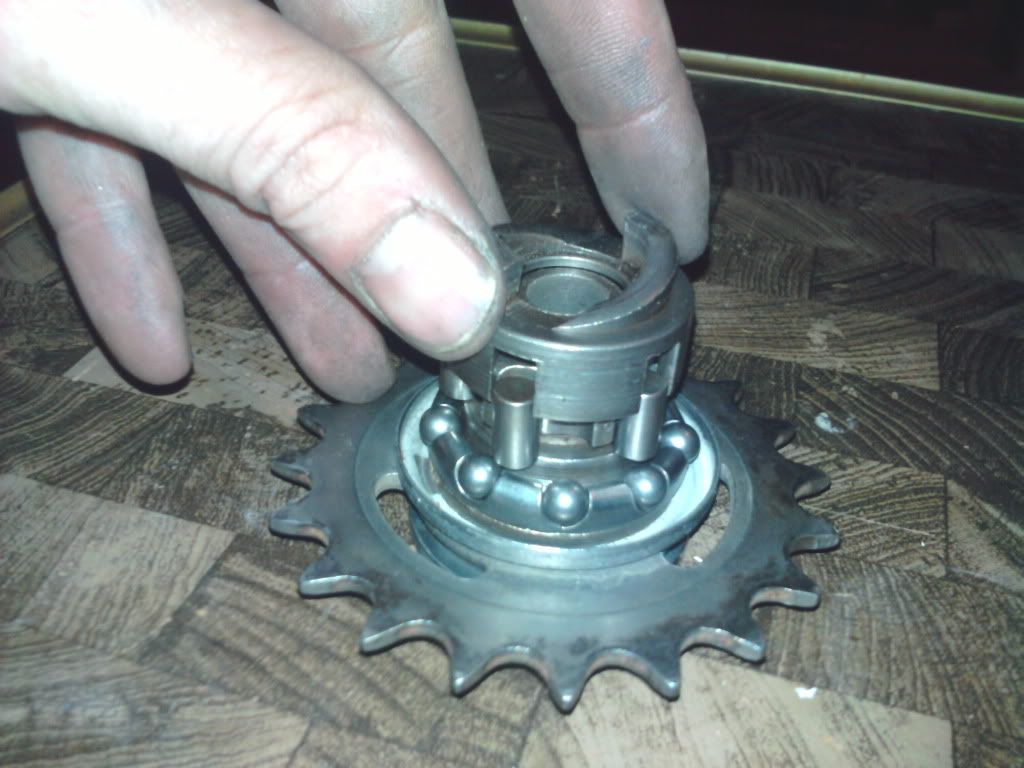
The brake actuator disassembles the same way.
Pry the dust cap from the other side of the driver and remove the last set of bearings.
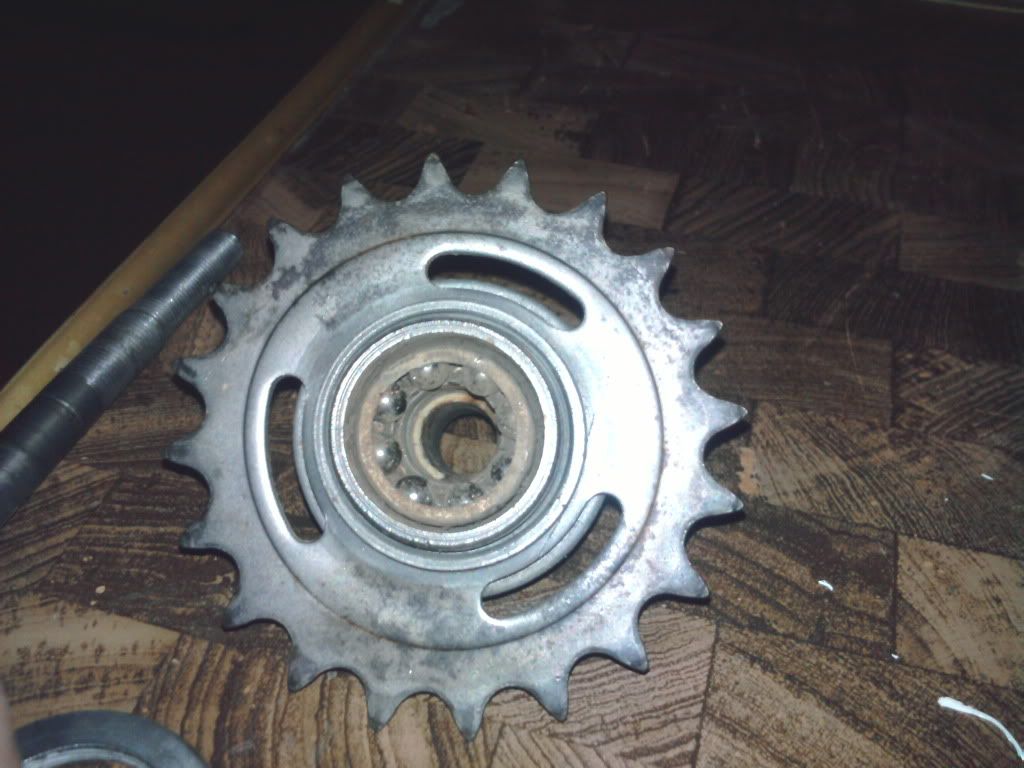
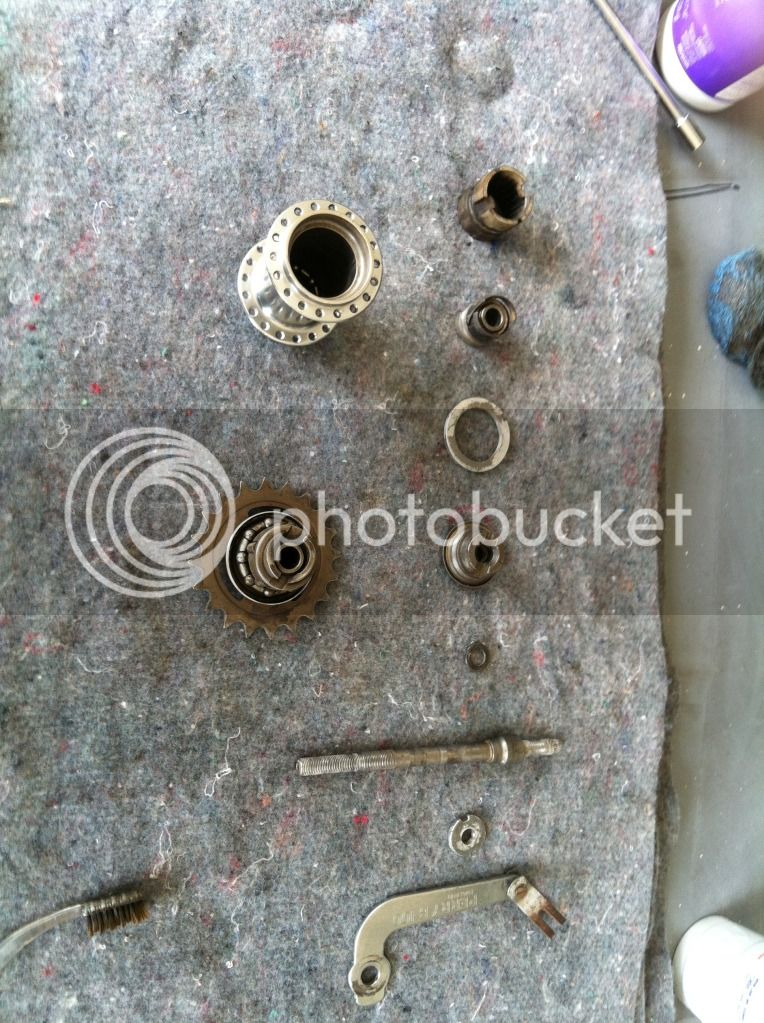
Here is what you should be looking at now.
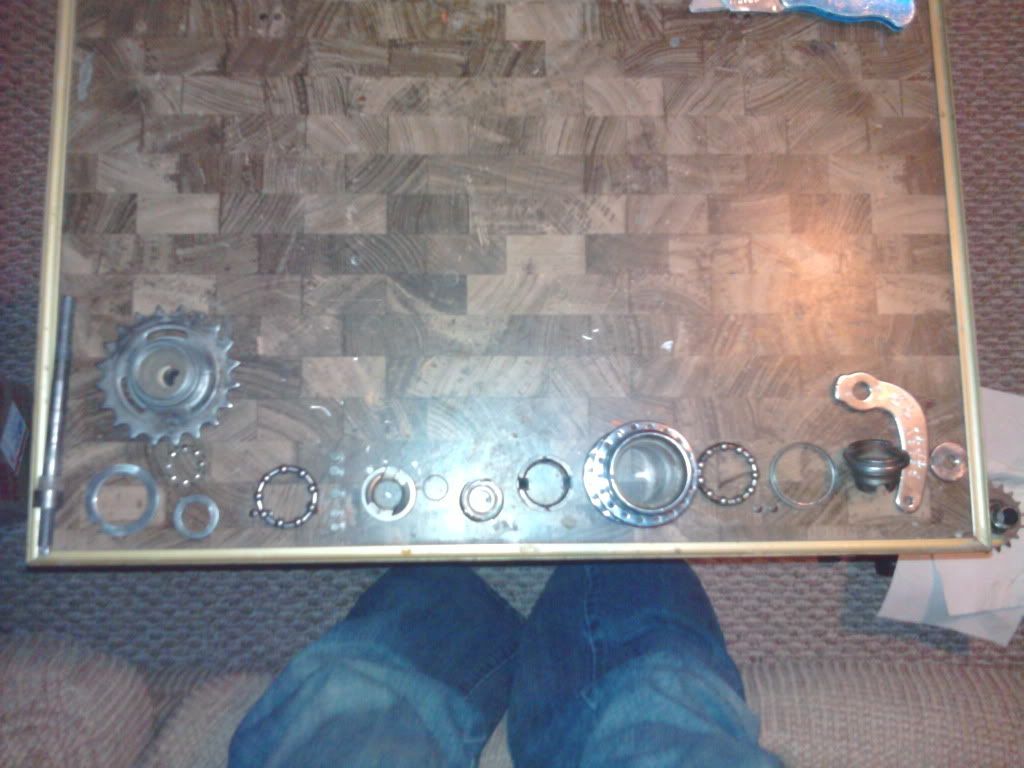
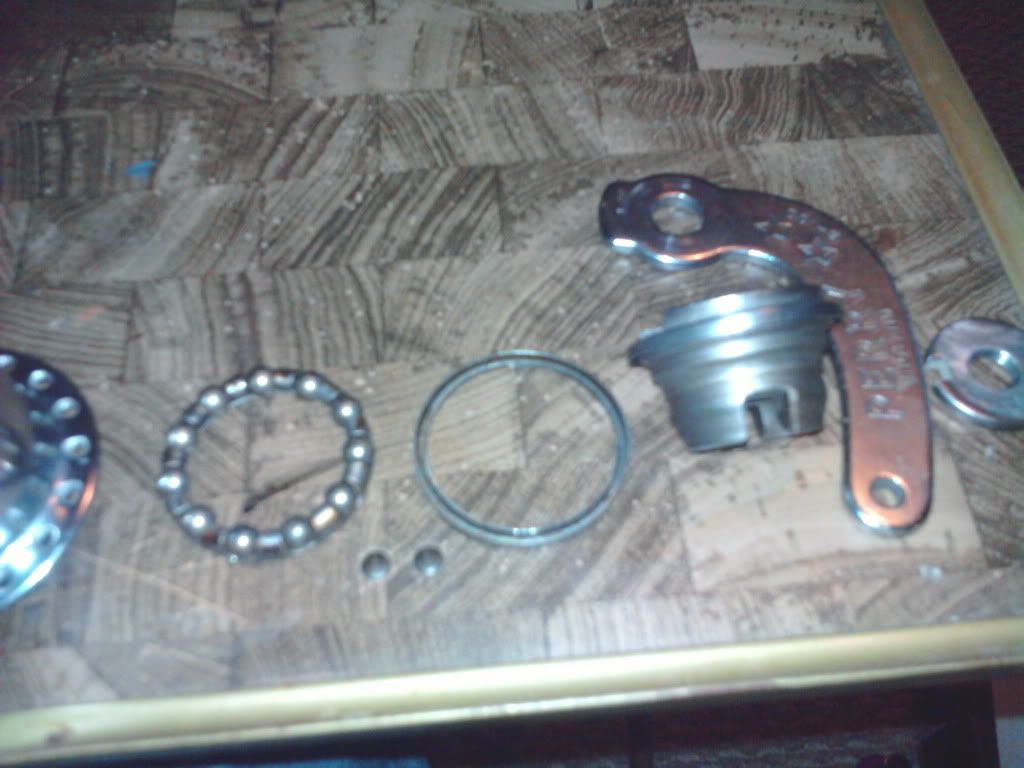
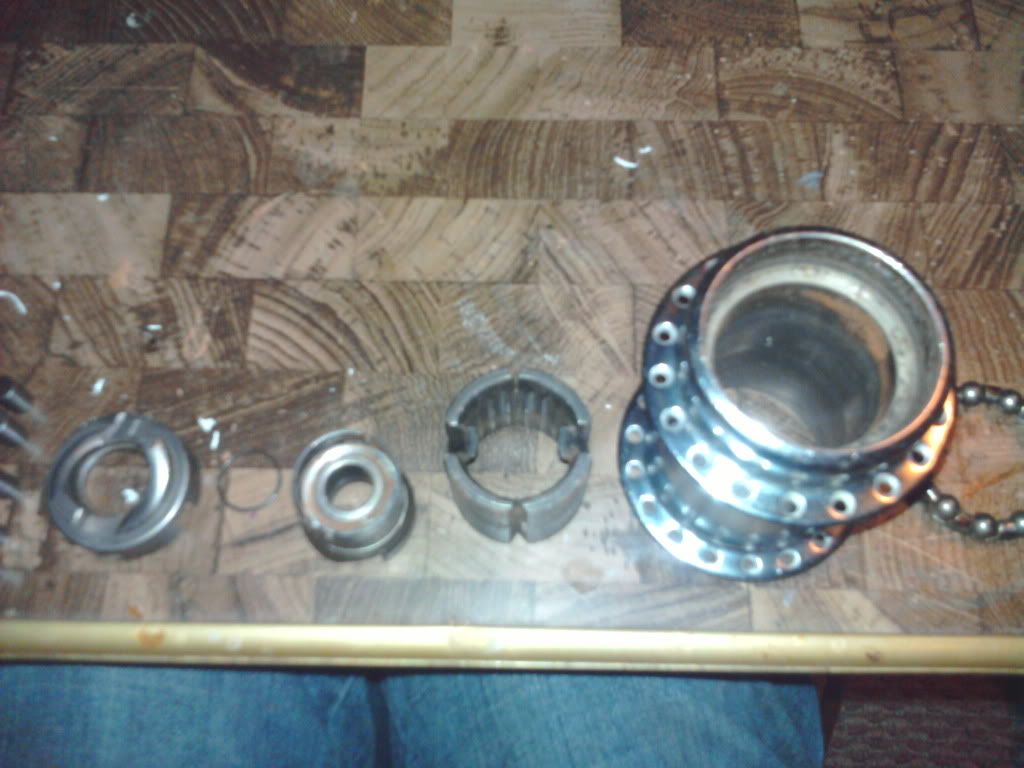
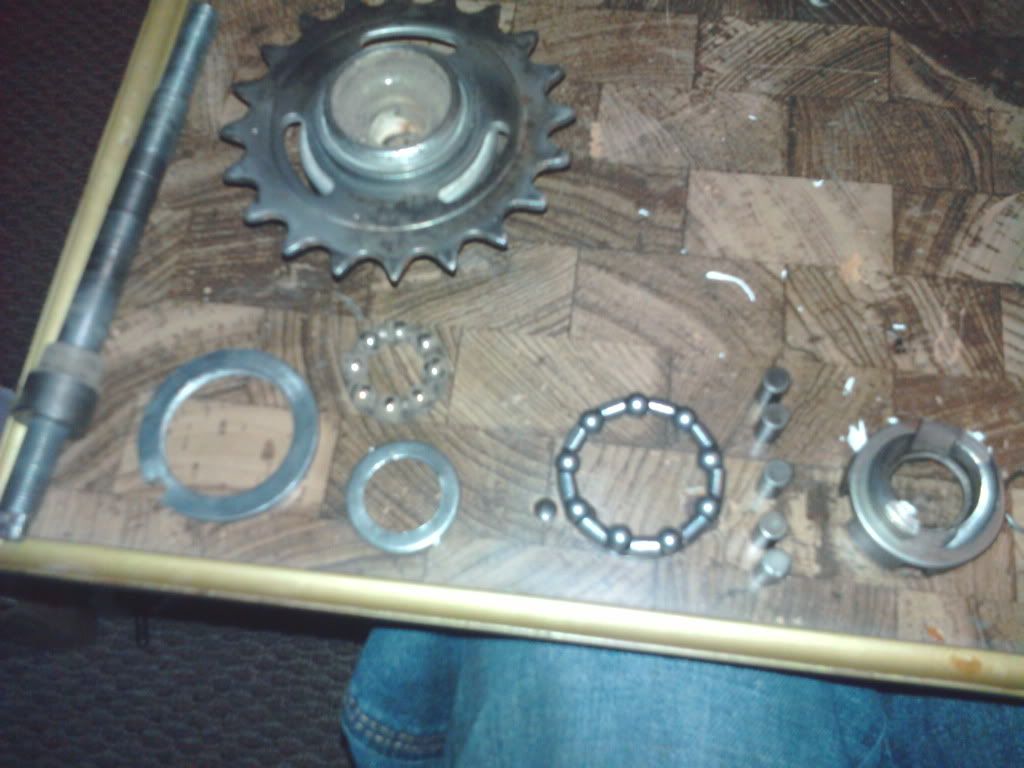
Clean, inspect, and reassemble.
Before beginning have a look over the factory parts diagram, courtesy of classicbicyclefanatics.com.

And the UCB Hub Project cutaway

Here we go!

Begin by removing the locking washer and unscrewing the adjustable brake cone while holding the square end on the opposite end of the axle. You can now remove the axle from the rest of the hub. The cone on the axle is a stationary cone and does not come off of the axle.

The rest of the assembly should slide out of the hub shell.

Remove the arm side dust cap and bearings


Remove the brake cylinder and the brake actuator.

To disassemble the driver assembly remove the snap ring, roller guide, rollers, and ball bearings from the driving sleeve.

The brake actuator disassembles the same way.
Pry the dust cap from the other side of the driver and remove the last set of bearings.

Here is what you should be looking at now.


Clean, inspect, and reassemble.


