- Joined
- May 23, 2020
- Messages
- 125
- Reaction score
- 307
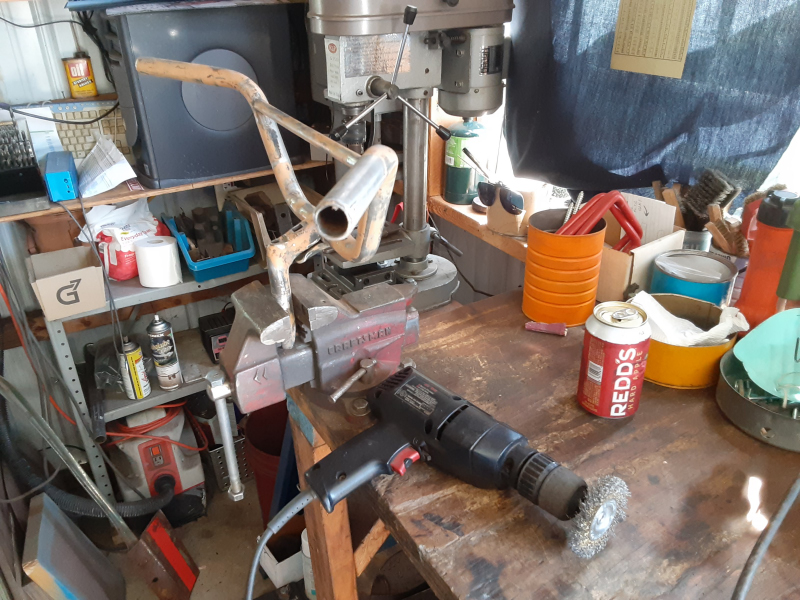
I have been working an hour or two a day. Straightened the frame and found it needed more straightening. Good now. Also aligned the forks. Touched up and sanded all the dings, dents and scratches.
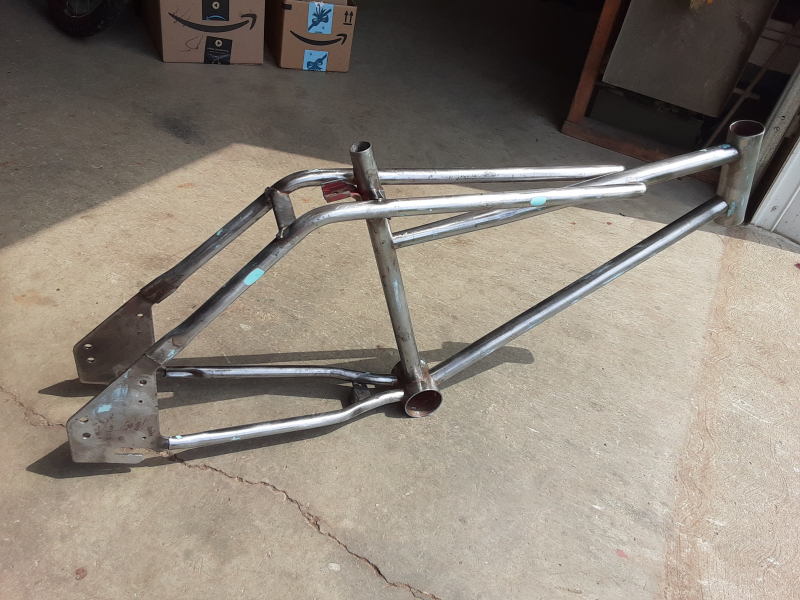
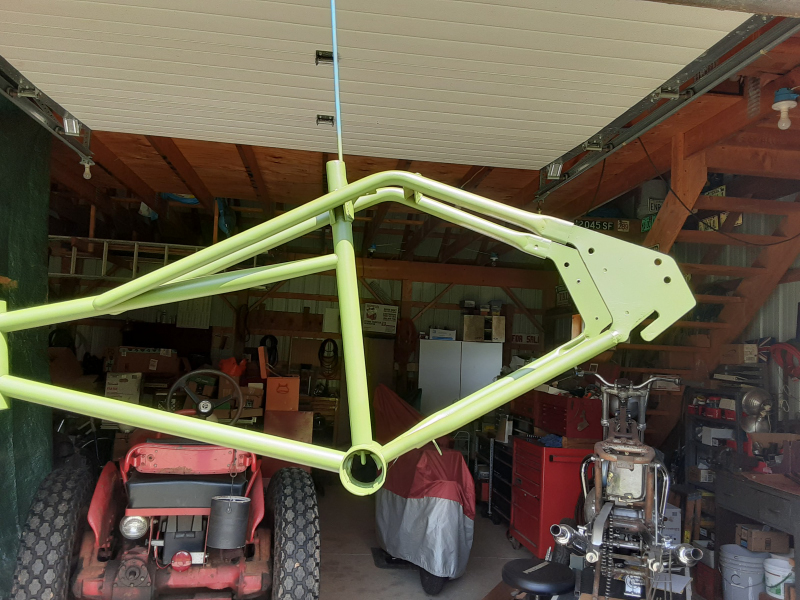
Applied the first layer of dollar store paint - Krylon Corrosion Inhibiting Primer - I like the color of this paint - it's darker than in the photo and would make a great olive drab military paint job.
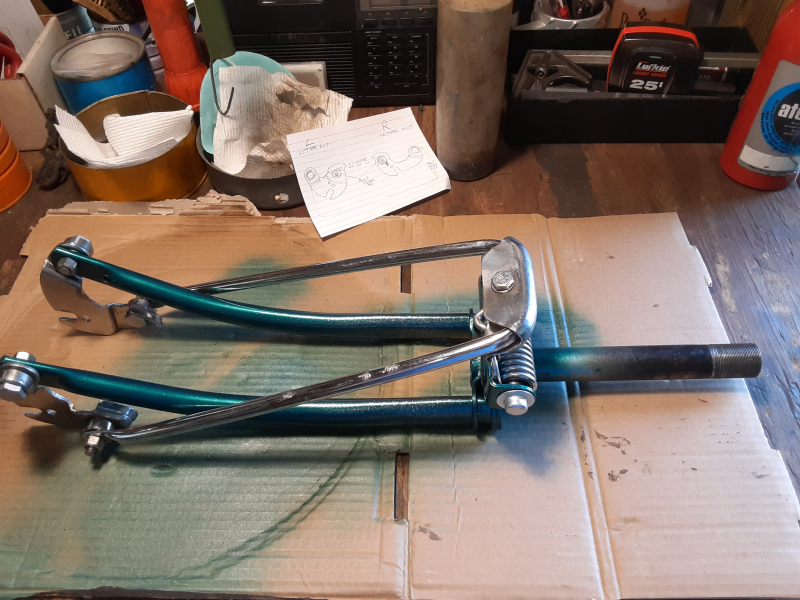
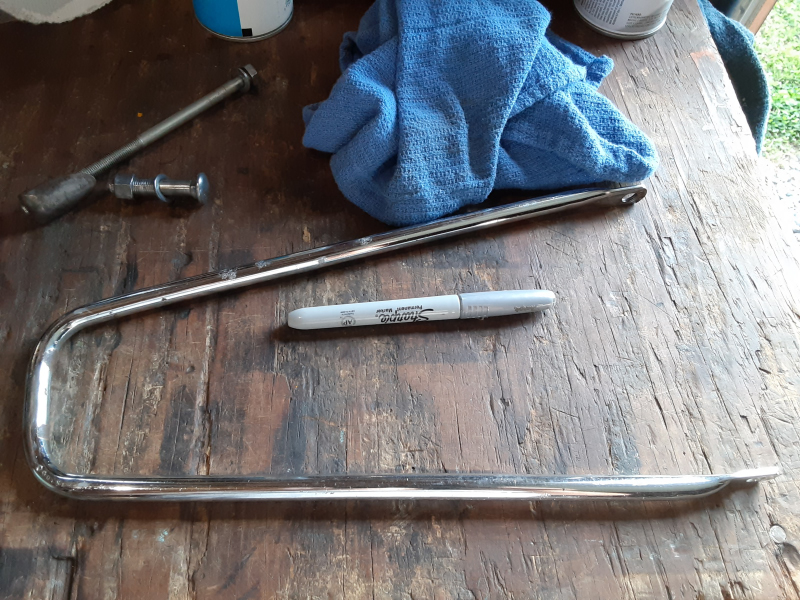
Touched up some rust spots on the sprung fork with a silver Sharpie and a quick wipe. Not perfect but better than brown rust. Cleaned up some other parts also and was pleased to see that the chrome on the rockers was almost perfect. (Rockers - is that the correct term for the suspension part where the wheel mounts?)
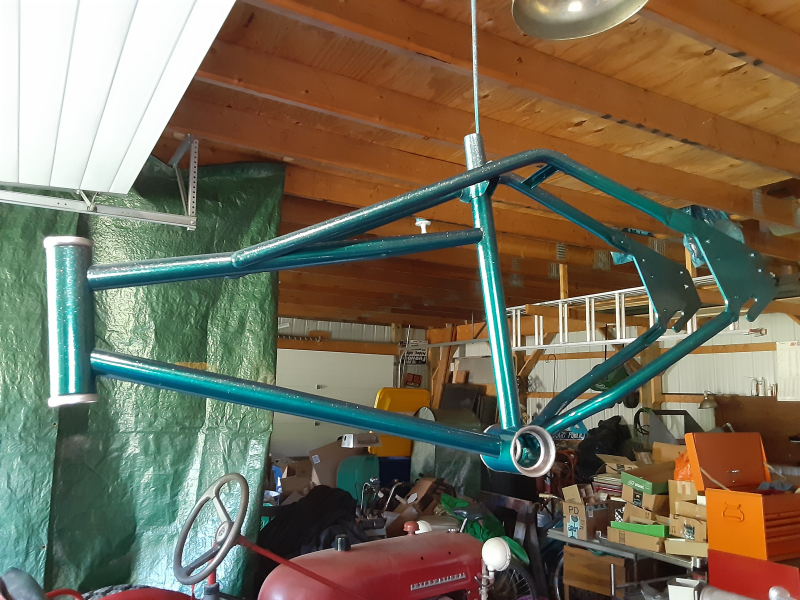
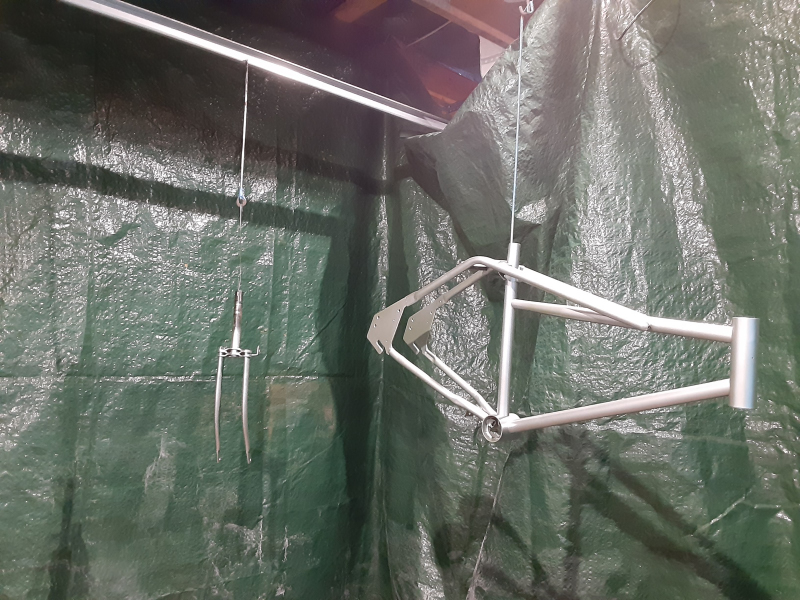
This is the silver base coat - applied outside but here it is hanging in my "paint booth" - an 8' x 8' tarped section of the garage in front of the door with 3 shop lights hung.
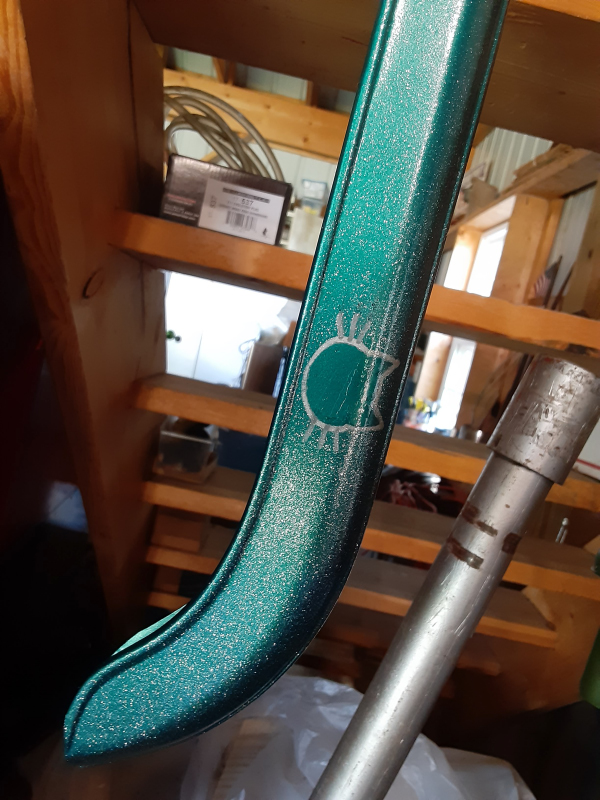
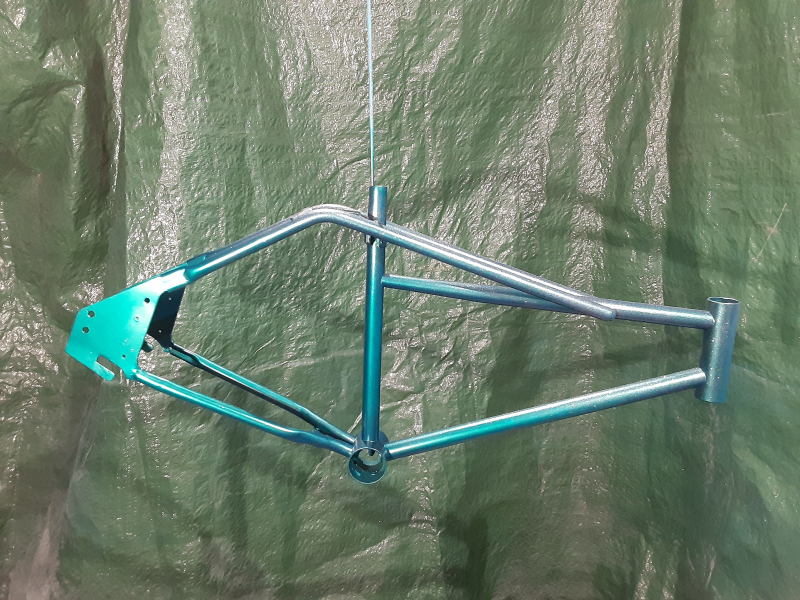
The silver base coat makes it easier to see when the finish coat is right. I did not use the green shimmer paint but used the glitter as an accent. The glitter fades from front to rear and top down til there's almost none at the back dropouts. I have sprayed the clear coat and walked away - pictures later. The clear brings everything out and I think it will look pretty good. All dollar store paint at a total cost of $5!

Applied the first layer of dollar store paint - Krylon Corrosion Inhibiting Primer - I like the color of this paint - it's darker than in the photo and would make a great olive drab military paint job.

Touched up some rust spots on the sprung fork with a silver Sharpie and a quick wipe. Not perfect but better than brown rust. Cleaned up some other parts also and was pleased to see that the chrome on the rockers was almost perfect. (Rockers - is that the correct term for the suspension part where the wheel mounts?)

This is the silver base coat - applied outside but here it is hanging in my "paint booth" - an 8' x 8' tarped section of the garage in front of the door with 3 shop lights hung.

The silver base coat makes it easier to see when the finish coat is right. I did not use the green shimmer paint but used the glitter as an accent. The glitter fades from front to rear and top down til there's almost none at the back dropouts. I have sprayed the clear coat and walked away - pictures later. The clear brings everything out and I think it will look pretty good. All dollar store paint at a total cost of $5!


