Unofficial March Shootout 3

Rat Rod Bikes Bicycle Forum

Help Support Rat Rod Bikes Bicycle Forum:

This site may earn a commission from merchant affiliate links, including eBay, Amazon, and others.
I also did some spoking today. Since the skip tooth didn't work out, I am using one of two coaster hubs that just arrived today. 3 cross pattern.
View attachment 152033

The old cottered crankset looks good and is ready to go.
View attachment 152034
The skip tooth components will sit until the annual build off. I ordered two of the coaster hubs since they were cheap, about 17 dollars each. To my surprise, they had plenty of grease and look ok. I may use the other one to do a chain front brake thing I've seen on some builds.
View attachment 152035
The skip tooth cottered crank concept was some fine ratting, too bad it didn't work out,
 
My post from yesterday disappeared, where I showed how the plan wouldn't be strong enough. It looked good, but the first time I got on the pedals hard it would have failed, even with a good solid bar bolted in. It would have to be welded and I don't want to damage the chain wheel. It looks good hanging on the office wall for now.
nogo skiptooth.JPG

DSCI0051.JPG

I've got a few more ratty ideas that I'll try.
 
The Gentlemen's Kruiser is stripped. Could not fit any of my rear derailleur wheels but 26x1 3/8 lightweight Shimano 333 fits right in. Frame is stiff by the dropouts, on cheap 10 speeds I can usually bend stuff and make it fit. Not this frame.
DSC00180.JPG

Fork a bit too wide for the first 26 inch lightweight wheel I tried, but will work OK.
Super heavy duty fork lookit all the metal underneath. I have other lightweight forks to try and maybe save these for a Klunker?
DSC00181.JPG
DSC00182.JPG

Then again the headset bearings look non bog standard to me so may have to keep the forks. Gotta go in there and grease it it will barely turn now. Oh and check out the sweet Sears Allstate Premium rubber. They were a bonus and came with my wife's Schwinn Racer. Someone was going to upgrade it and did not know they would not fit...
 
I’m in. My build will be the track bike frame hanging in my attic. “1931 Claud Butler”

View attachment 151945
The original wheels tubulars have already been respoked. I’m doing a wire tie and solder job like they were originally. I’m going to build a new clincher set as the wide tubulars are no longer available as smoothies.
image.jpg


image.jpg
 
I built the rear wheel tonight, no photo because it looks like the other one :). After I ride ten or so miles, I'll pull the wheels and check them for trueness again; I'm still unsure of my wheel building skills. I have an older Minoura (pronounced Manure-eh?) truing stand and the lateral feelers are sloppy in the threads so I'm going to need to do something to firm them up.

Next up is cleaning the brakes and mounting them and cleaning up the pedals. The pedal bearings should be here early next week. I may get as far as mounting the wheels and running the cables tomorrow. This is a pretty simple build and it is moving along fast, almost too fast.
 
I tried this fork in a couple of frames different bearing combos. Could not use original bearings that came with red fork were toast. The lower bearing was always sloppy.
Finally, I flipped the fork upside down and saw the issue was the lower bearing cone was loose on the fork.

DSC00200.JPG

Fixed with a shim made of aluminum can and JB weld. :cool:
 
I’m in. VW hippie bike. This bike’s boss said think hippie VW bus. Rack for the front with 2 headlights and maybe a buss front motif, all black wheels with white walls, brown cross stitch saddle, rear folding rack with bug hubcaps and fender cutouts, rainbow glowing tie dye black light kandy fade paint job and a 3 speed nexus hub. Behold the crapbrook...
BD40E9FD-F600-48C1-B86C-E385EA33121B.jpeg
 
Last edited:
I've got both wheels ready for truing, with the same coaster hub on both. Identical, so the wheels can be front or back. The local bike shop has a couple guys that true wheels. I like to support the local bike shop and they like to see me show up, always with a couple wheels that need truing. At about 4 bucks a wheel. I see them twice a month sometimes. They look forward to at least a 100% tip.
coasters.JPG


My next step is engineering the front brake using the coaster hub with a length of chain. I think I have everything I need. It won't use a cable and lever, I'm trying for linkage and a handle to pull on for front braking.
brake1.JPG
 
The original wheels tubulars have already been respoked. I’m doing a wire tie and solder job like they were originally. I’m going to build a new clincher set as the wide tubulars are no longer available as smoothies.View attachment 152054

View attachment 152053
The more I wrap and solder the better they look. Some wraps are almost as good as the originals. I’m still going to heat them again to see if I can bang off the excess solder.
image.jpg
It’s a little tedious, but not as bad as I first thought. It’s hard on the back so I’m taking a break.
 
Finally got a chance to work on the bike a bit this afternoon. swapped out the big apes for a set of motorsickle Z bars (and the appropriate shim to make the 7/8" bars work in the 1" stem). The ape hangers came up to my shoulder when standing beside the bike. They looked cool, but were too tall for long term riding comfort. I like the feel of the new bars. They are about the same size as the original Townie bars, but cooler looking and they have have a lot more pull-back, which makes them far more comfy for me. Wrists don't like straight bars.
Bike's a lot less top heavy on the kick stand now too.
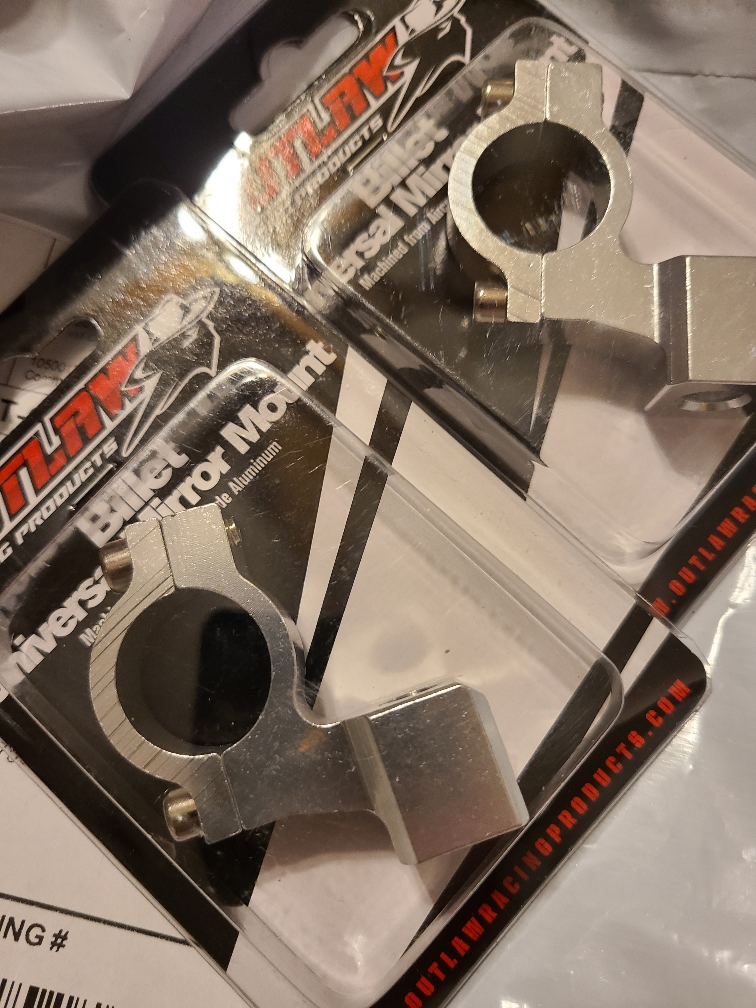
Any idea what the holes on top of the bars are for?
20210307_161229.jpg


20210307_161313.jpg

The mirror mounts in the center section of the bars will be used to attach a simple truss, similar to that in the attached photo of the yellow bike. Hopefully it will give the bike an even more vintage motorsickle look.
HawkHudson1.jpg


I plan to bite the bullet and paint this bike this month too. I have hemmed and hawed about painting it for more than a year. The bike is a transition model from 2008. it has features of the original Townies (straight head tube and hardware) and the current model (no frame gussets). I won't permanently alter the frame, just paint it. The original paint is scratched some and I can't stand all the Townie and Electra logos wrapped around the frame. They are clear coated over, so I can't simply remove the stickers like on other bikes. I want to go dark with the paint, either the ubiquitous satin black or maybe a satin dark shade of blue as a tribute to the original color. Maybe both black and blue, the Electra Bruiser! LOL
I see a resemblance in the Electra Straight 8, so hopefully I can give this Townie more attitude. Might add a gusset at the head tube to increase the resemblance...
9569.jpg
IMG_20200405_183549.jpg
 
Did a little today. The quick fork I cobbled together last week (I sleeved a standard 1" fork to fit an 1 1/8th") was a bit twisted. I've taken it back off, I could fix it, I may replace it. Trouble is the frame is an 1 1/8th" large format and 99% of my stuff is old standard 1". So I've also tracked down a derailleur and a combo shifter/ brake handle that I might be able to make work. Found a couple disc brake calipers and I'm hoping one will work since we're short on time and I'm short on cash that I want to spend on it. At the end of the day, I've got a few bits sourced and have a general idea of what I need. Think I'll check the sale threads here...
Edit: Nothing but tires I'd never use and parts that got sold before I got there... hehe.

GC.
 
Last edited:
There is a hole missing.

20210308_200318.jpg


That's because it is on the other side. I've run and rebuilt a bunch of Sturmey three speeds and this is my first Shimano 3 speed encounter. It never occurred to me that the shift hole could be on either side and it wasn't until after I built the wheel and started mounting it in the frame that I noticed. It needs to be on the drive side because that's where the braze ons are. So I took the wheel back apart, serviced the original hub, and rebuilt the wheel again with it. Some days..........

The crank, chain guard. and wheels are installed. The kickstand that came with it is too short with tires that hold air so I need to dig through my stash for another one. Next up is the chain and getting the brakes installed and cabled. It may be ready to ride by weeks end if the bell crank and pin arrive this week.

20210308_221533.jpg
 

Latest posts

Back
Top