Building a Fiberglass Tank

Rat Rod Bikes Bicycle Forum

Help Support Rat Rod Bikes Bicycle Forum:

This site may earn a commission from merchant affiliate links, including eBay, Amazon, and others.
So just a quick recap...

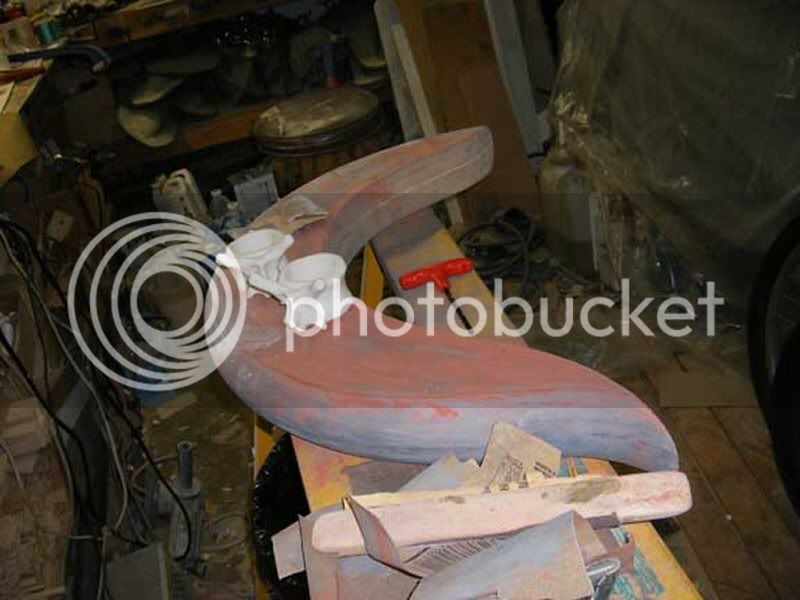
If you are glassing surfboards and you need a nice crystal clear shiny finish, you can put what they call a "sand coat" over the glass after you do the layup. This is just another coat of resin that will fill the weave of the cloth so that you can sand it smooth without having to sand into the fibers of the cloth so much. After sanding the whole thing smooth, I believe the surfboard guys then do one more coat of resin which is the one that will be polished to a shiny finish. (Our buddy Travis can probaby tell us that. :mrgreen: )

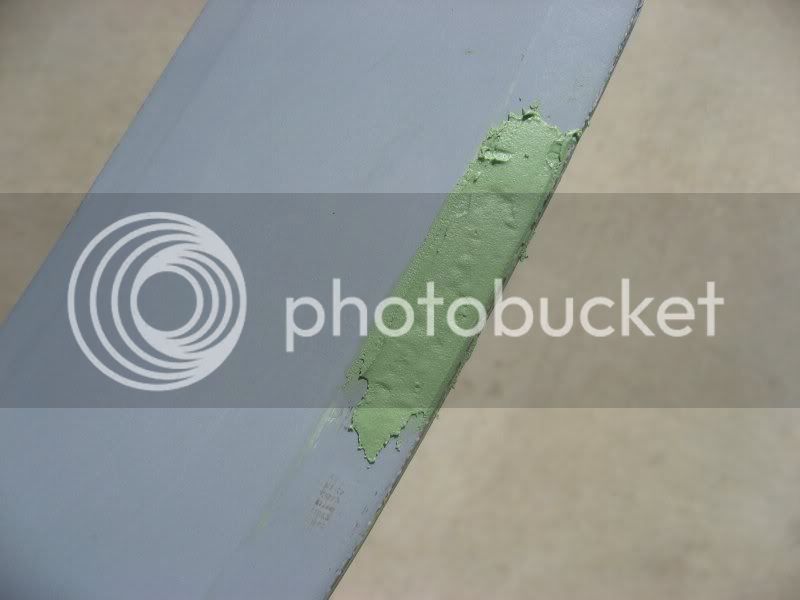
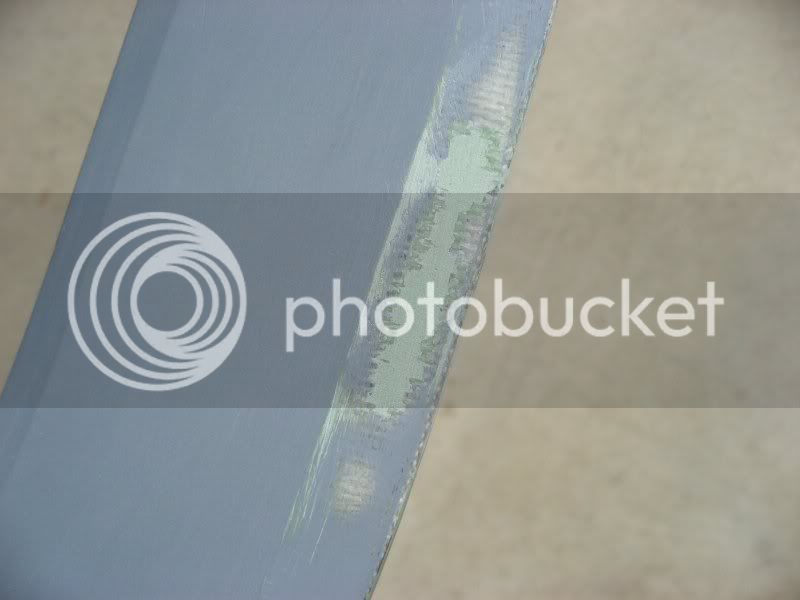
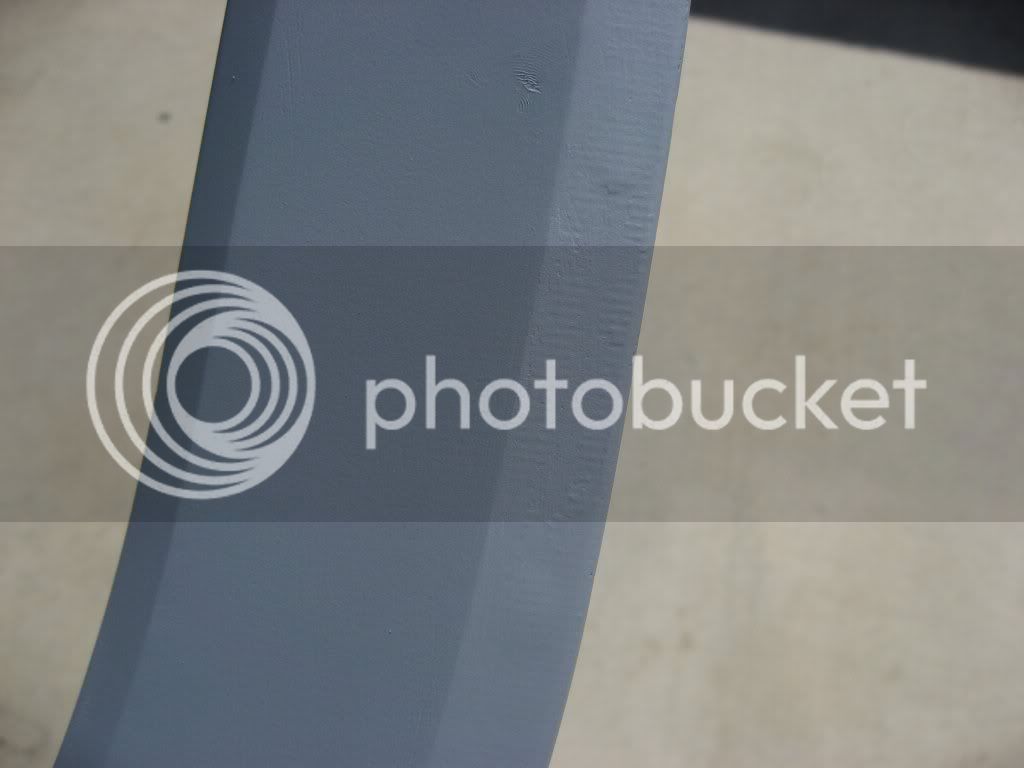
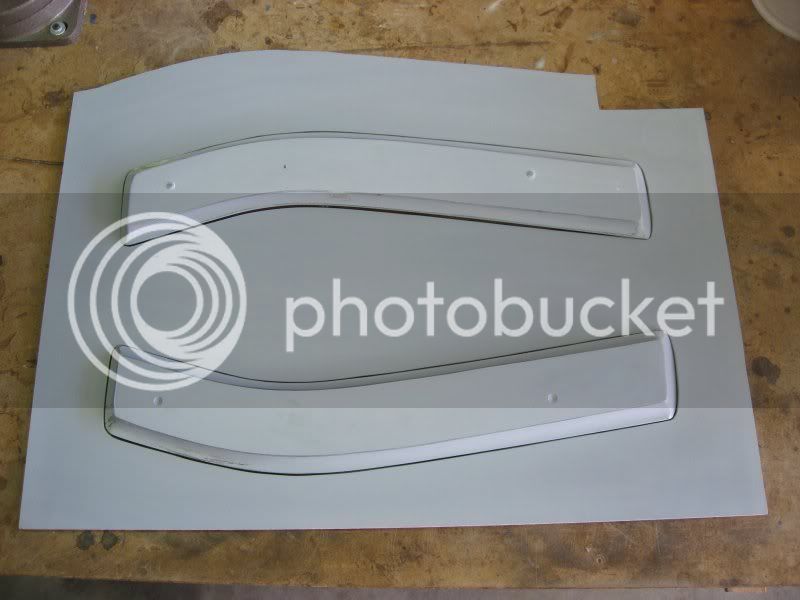
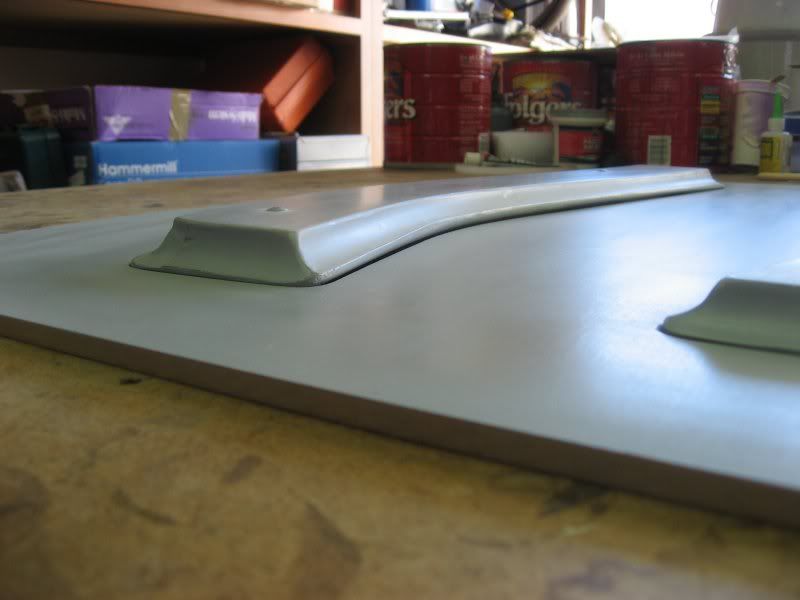
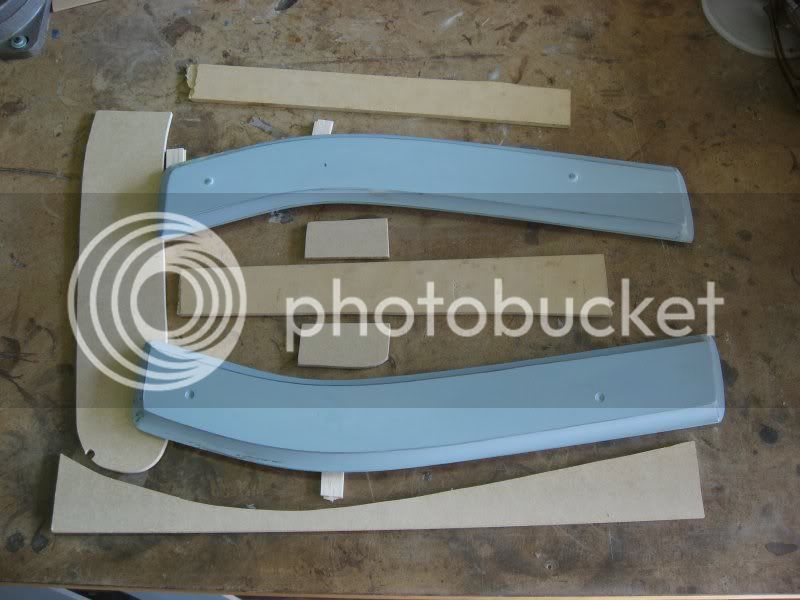
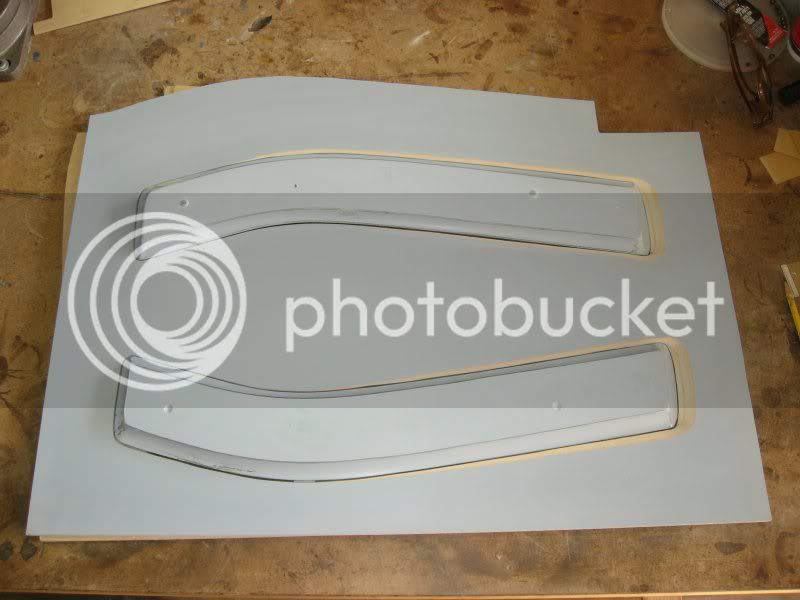
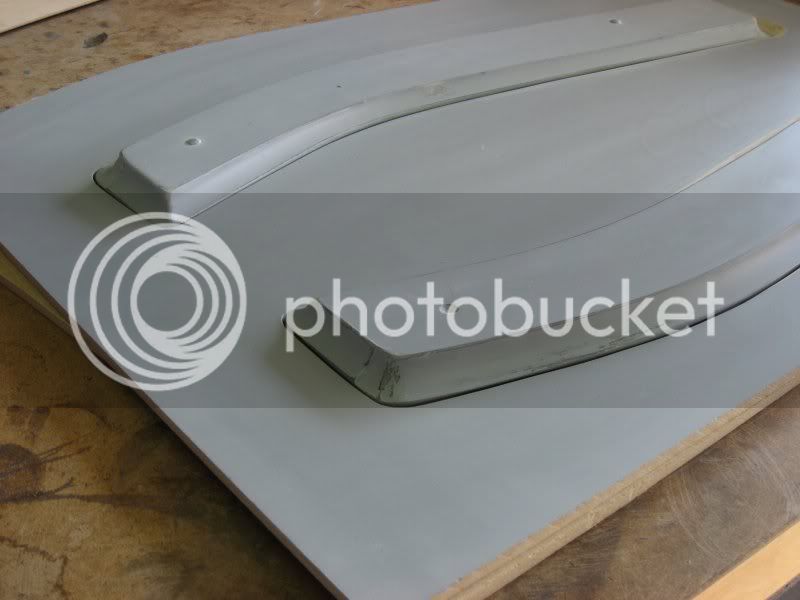
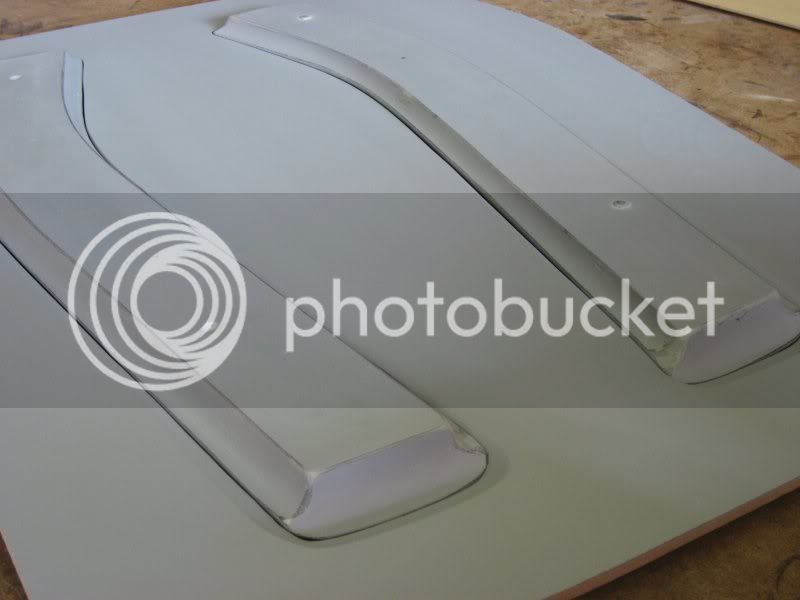
For what we are doing here, all we care about is that the surface is smooth. So instead of using resin, which would take another whole day to harden, I just filled the weave with bondo. A few coats of high build primer over that and we will be good to go.

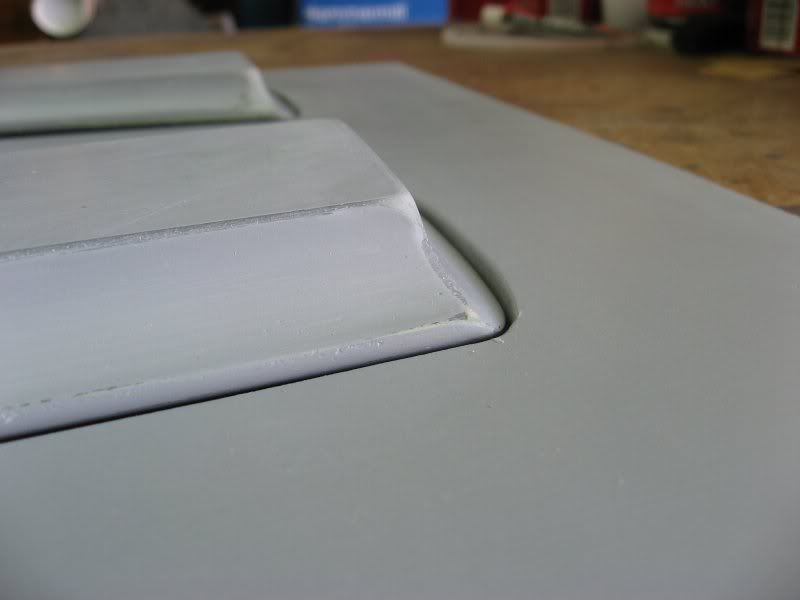
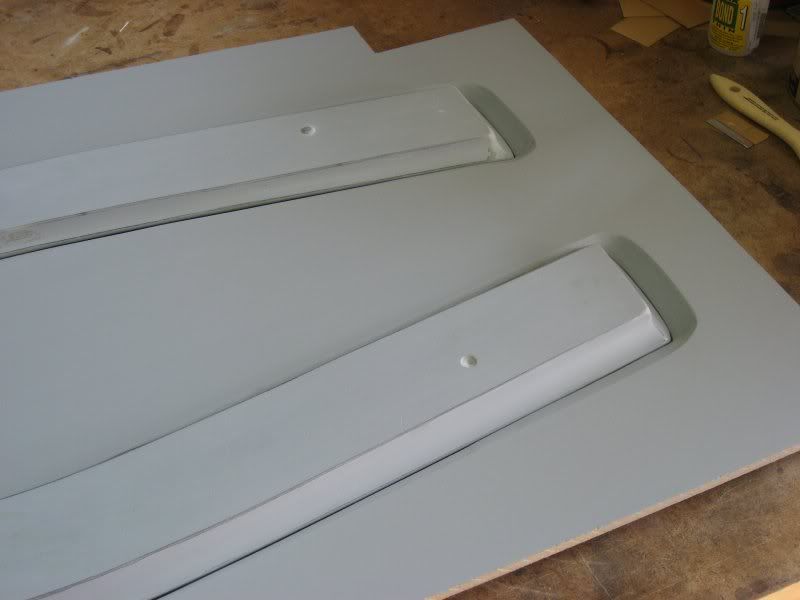
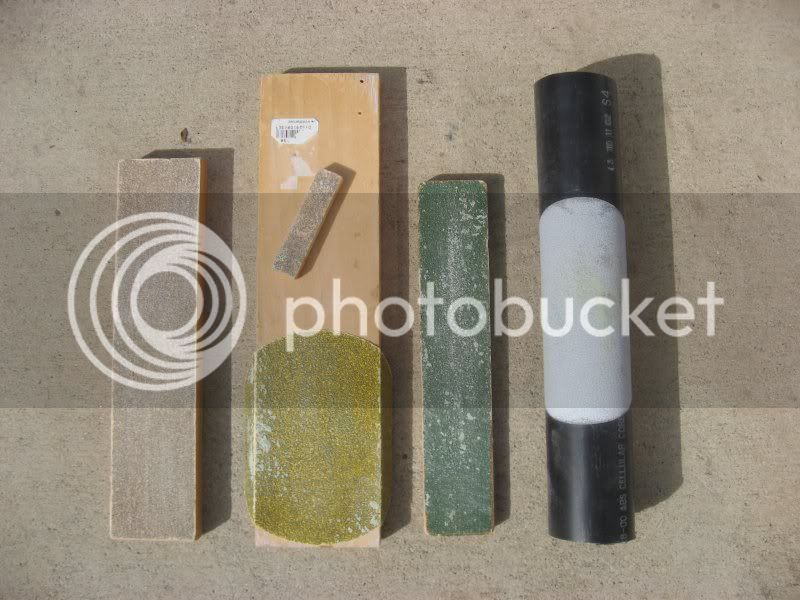
One other thing I didn't mention is that for something like this where I want the surface to be fairly flat, I use sanding blocks as opposed to hand sanding. Here are a few of the ones I've made for different things - different sizes and grits for different purposes. (The chunk o' pipe works great for doing wing fillets on airplanes. :mrgreen: ) I am even using a block to wetsand the primer to keep everything flat. A final note about sanding blocks is that the sand paper will last much longer when glued to a block of wood. I guess because it is not flexing, so it doesn't break apart like it would if you were hand sanding. I've had some of these for years and they still work great!

sandingblocks.jpg

tank64.jpg
 
I always tell people that fiberglass is the most forgiving medium you will ever work with. If you make a mistake, you can patch it and no one will ever know the difference! So, here is a perfect example. While sanding the beveled edge, I notice that the glass was starting to get a little thin and was starting to crack.

No problemo! No need to stress about something like this, just chunk it out, fill it with some bondo, sand it smooth and move on. It probaly took me no more than fifteen minutes to fix this, picutres and all. :mrgreen:

As I mentioned earlier, we don't really care so much about strength here. We just need a smooth surface for molding.

tank58.jpg

tank59.jpg

tank60.jpg

tank61.jpg


A couple more coats of primer and wetsanding and we will be back in business. :D
tank65.jpg
 
you're right about the canned foam, Rusty, it does stay spongy. i tried something with and it works well enough, but it has a tendency to come off in junks under the SurForm tool, and it's not exactly rigid under a little pressure.

i played around with your way of damming with cardboard and what i was working on came out pretty well with the canned foam. i got a teeny bit of a feel for what you're doing, anyway :)

looking forward to pics of your finished tank mounted on the bike!
 
UncleKudzu,
Very cool that you were inspired enough to start playing around with it. Makes the thread seem worth while. :mrgreen:

Sooo... Time for this week's installment.

I've been working on these plugs and I'm thinking they look good enough to me. Not perfect by any means but pretty good. The truth is I just don't want to work on them any more. Okay, I'm being lazy. There, I said it! Lets move on. :mrgreen:

So, next thing is to start getting the parting board ready to go. You can use pretty much anything for this. You just need to be able to cut a hole in it to fit the part into and it should have a fairly smooth surface.

For this project, I am using 1/4" hardboard. I traced the outline of the parts on it and then cut out the holes with a jigsaw. It does not have to be a perfect fit, but a small gap is easier to clay up than a big one. Next, I sprayed a couple of coats of high build primer on it and then hit it quickly with some 600 grit paper.

I plan to cut the mold in half right down the middle between the two parts after it is finished, so I have spaced the parts far enough apart so that there will still be some flange left to clamp on.

tank66.jpg
 
The parting line is not exactly straight for these parts. Notice that one end is close to being flush with the surface of the parting board, while the middle section is about 1/4" above and the other end is below. I've never had to make an irregular parting line before (airplanes fuselages can pretty much be parted straight down the middle), but this should not be much of a problem. As long as we don't have any mold locks, the parting board can be any shape.
tank67.jpg

tank68.jpg
 
To try to average it out, I put some shims under one end of the parts and then spaced the parting board up 1/4" so that I would not have to build up so much clay in the middle.
tank70.jpg


With the parts now lowered into the parting board, I marked where I wanted the parting line to be and Dremeled the edges down to the line. The right end was very deep, so to keep from breaking through, I glued a couple of pieces of hardboard on the bottom to give me some extra material to work with.
tank72.jpg

tank71.jpg
 
With everything looking pretty good, I sprayed some more primer on parting board and sanded it smooth.
tank73.jpg

tank74.jpg


Still a little work to do but next week we should be building a mold!
Rusty.
 
LOL. Actually, the thought has crossed my mind. I suppose I just thought this would be a fun project and maybe interesting for some people here to see.

Besides, where would I put the batteries for my lights? Hehehe.

Rusty.
 
I realize that you guys are jesting but since the subject is at hand, remember that the big picture here is that this thread is not really about building a tank but rather, building a mold. I’m only using the tank as a means to demonstrate the process. It’s true that the style I decided to go with here would be very easy to build from a piece of wood. That said, it could have easily been some curvy, organic shape that would not have been so easy to do in wood and the process would have been the same.

Here is a bike a friend of mine is working on. He built the fenders using the exact same process that I am demonstrating here. He did the vertebrae as well, but I believe he may have used a rubber mold for those.

So the idea is to see the potential here. Glass is very easy to work with and the possibilities are endless! :mrgreen:

Rusty.

P1013656a.jpg


Fender plug
bones1.jpg
 
Rusty said:
...remember that the big picture here is that this thread is not really about building a tank but rather, building a mold.

well, every step of this is excellent information. i did jump ahead again in my imagination, though, and thought you were almost finished right before the parting board stage. but, as always, i'll stayed eagerly tuned in for the next step.
 
My apologies if you thought i was having a go at you i have found this thread INCREDIBLY informative and will be using some of the techniques
myself for the battery enclosure and rear and front fenders on my own project. Your work is simply first class no question.

KiM
 
No problemo, KiM. Thanks for the kind words. BTW, I've been following your thread too. If anybody's work is first class, it would yours my friend. That machine you are building is beautiful!

Rusty.
 
Rusty! What Happened? I'm on page four of this awesomeness with no conclusion. Like watching deadwood only to have it end with a paragraph of text telling us. "Oh there was a fire and all was gone.." lol I have the exact same frame I am try'n to figure out a tank for so please keep us waiting no more. lol From the direction this ended you were making a mold and maybe it would be easier to have you make me a tank using your already awesome molds? haha not kidding lol
 
Back
Top