J.B. 40

Rat Rod Bikes Bicycle Forum

Help Support Rat Rod Bikes Bicycle Forum:

This site may earn a commission from merchant affiliate links, including eBay, Amazon, and others.
Great progress, you´re almost there! I´m learning so much from your build.
I want you to know that seeing all your pics and progress had inspired me to start another project. So thanks and keep up this awesome work! :wink:
 
Galtbacken said:
maybe some sort of stretch fabric would make the prosess easier and more efficient and....that's when I got a wild idea about ladies' stockings... I'll come back to that on my next build. :wink:

Mmmm... wouldn´t the stokings melt with the polyester resin?
I guess we gonna have to try. First let´s get some ladys to help with the stockings :wink:
 
that bike is awsome ,you are very talented ,cant wait to see it when its done. my son like your badge, now he's asking me to make one for his bike,keep up the good work.
 
hi Galtbacken, again I am in ore( don´t know if thets spelled correctly) but otherwise IMPRESSED would cover it :) the amount of work and the craftmanship is formidable, and it makes people like me - who generally cuts a corner or two during a build to get it done fast, ashamed of myself
and thinkin..from now on i´ll be building like this guy..

could you please tell me what kind of tubing youre using, me being from denmark i might be able to get a hold of the same stuff.. especially the thin tubes you used for the rear stays..

i went by the thread on the retro racer..again, what a build.. keep up the good work, and keep on posting pics..this is the kind of threads that makes me check the forum as the first thing when i get to work each morning.

regards
Flemming
 
Gdcast: Yes I'm almost there!! :D Good to hear that you're inspired to build another bike! Yeah, maybe the nylon would melt..will you try or should I? :wink: I'm afraid I'd get punched in the face if I asked a lady for her stockings....

deorman: But a millimeter is ALWAYS a millimeter! :D The beauty of the metric system...Royal with cheese!

Thanks Nols81! :)

metalman72: Thank you! You won't have too wait for very long if things go as I'm hoping! Of course your son should have his own custom made badge! Let him design it? :)

Hey Flemming, thanks! :D I sometimes curse myself for being so thorough with everything. But I'm learning where I can cut some corners too, without compromising the look, function or quality. I'm actually a lot faster at many things with this build than I was with the previous ones, and still I think the result is often better. I guess it pays to practise! :D
I use regular steel tubes, I buy them at the local hardware store. I'll see what sizes I've used for this bike and let you know!
I'll keep the pics coming!


Thank you all for the kind words! :)

Here's some more progress:

Painted black pinstripes on the plates.
ramplatta15.jpg

ramplatta16.jpg


I did some more measuring and found that I'd be able to use the bigger 28" wheel, although it would be a tight fit with the fenders. I'm glad it works because I think those wheels look better on this bike!
mockup4.jpg

mockup5.jpg


Made the rearlight. I got an idea to make it easier when I'm welding small pieces. When I cut the parts I leave a little extra metal on one of them that I remove after it's welded. :D
baklykta3.jpg


All the parts...
baklykta4.jpg

assembled...
baklykta5.jpg

and done!
baklykta6.jpg

Rearlight and fender.
baklykta7.jpg


Decided to make a scratchmade attatchment for the shifter, so I didn't need this.
vxelspak9.jpg

Instead, I made this!
vxelspak10.jpg

Spotwelded into place.
vxelspak11.jpg

Assembled! :)
vxelspak12.jpg


Took it for a testride, worked like a charm!

Finished the headbadge!
The tools I used.
headbadge6.jpg

Closer.
headbadge7.jpg

When I got my Dremel I also got this one, decided now was a good time to try it.
dremel.jpg

Finished!
headbadge8.jpg


That's all I got for you today! :D
 
Yes, I was lucky this time! And that makes me wonder how well they'll fit the 700c wheels, which I thought I measured them to fit like the same glove for.... :lol:
 
I´ll try to get enough stockings tonight and give it a try tomorrow if weather helps. :wink: I was planing on buying new fenders for my project but instead I think I´ll make them my self.
I´m so anxious to start with the new project, but first I must finish mom´s., a 1930´s Raleigh.
 
i am impressed. what welder do you use that looks like tig to me
 
Just been looking at your first build, the "Vincent" (very nice) and noticed you had tried to build it´s fenders mold with regular foam. Had tried this my self in the past, just to find out as well as you did that this type of material melts in contact with the resin.
But, it just hit me...

How hard is it to find a surf shop in Sweden?
The reason I ask this is because the type of foam shapers use to build their boards dosen´t react to the resin, and perhaps we can get some of this used material, may be from a torn up board, for non or very little money.
I also remembered that the kind of fibber glass they use is a lot more better than the regular one I use, thinner, lighter, and easier to deal with. (It´s probably more expensive but it´s worth trying). 8)
 
Gdcast said:
I was planing on buying new fenders for my project but instead I think I´ll make them my self.

That's the spirit! :D Hope your mom's bike come out great, sounds like a very cool build!
Glad you liked Vincent! :) Yepp, Foam was not the biggest hit. Guess it works if you're planning to only make one of something, but otherwise, nah... :roll: I don't know of any surfshops, but I guess there must be some if I really start looking. I've seen windsurfers around and they must have gotten their boards somewhere!? :wink: But for now I'm happy with making molds from mdf-board. Pretty fast and easy to make, and seems to hold up good too! The other kind of fiber glass though, that would be nice to get a hold of!! Thanks for the tip!
Please let me know how stockings work for making fenders (man, that sounded weird)! I got a large piece of stretch fabric from my mother (used to be a bedcover that she was going to throw away), I'll try that and tell you and show pics of how it works. I'll try that on my next build, the Galtbacken 18....keep an eye out! :wink:

Thanks karfer67! :D I use an old mig-welder that I got really cheap. You can see a little of it in the background in the second picture of the rearlight on page 5. It's nothing fancy, but it works good enough for me for now! I'd love to learn how to tig-weld though!!
 
Wow! Thats amazing the things you can do with just basic tools if you know what to do. I thought you had a draft board ,a drill press, a flow jet cutter or cnc machine or something. Thanks so much for the info,heck i have a hard enough time just putting a regular ole bike together much less building everything myself. How do you bend the metal tubing? That would help alot of us that would like to try something like this. Thanks for sharing what you know and what youve learned and how you managed to do it, it really helps others see what can be done and to not be afraid of trying.
 
Flemming: Tubesizes I used are: 25mmx1,5mm(wall thickness) for the frame, 21mmx1,5mm for the rearstays and forks, 16mmx1mm for the seatstays, 10mmx1mm for the rear rack and trussrods. Hope you'll find what you need!! :D

insomniacshotrods: Thank you so much! :D 
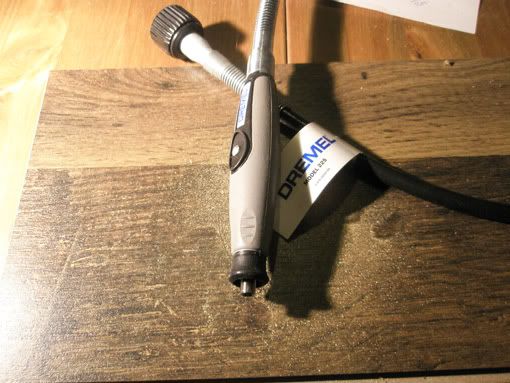
I was somewhat surprised myself at first with how much is possible to make with just basic tools! I thought that I'd need to buy a lot more gear to make what I wanted, but once I started making simple stuff with my basic setup I realized that with some practice and some patience those tools are very versatile! Also I didn't run off and buy the most expensive tools of the sort either. I buy what I feel I can afford and if I find that it's a tool that I use a lot, then I'll upgrade when the need arises. Anyway, the way I look at it, it's not in the tools it's in the eye and the hands. :) Thanks again, I'm glad to hear you like what I do! :D

Jeffrey: It's not june 2nd until I've finished the bike! :lol:
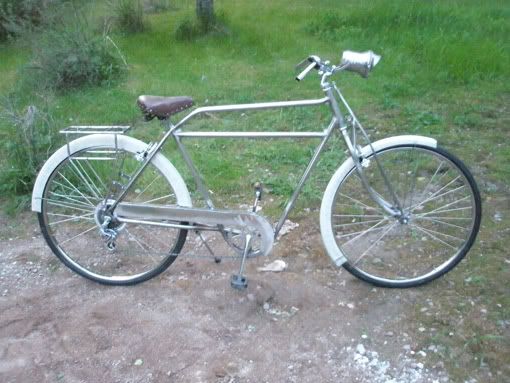
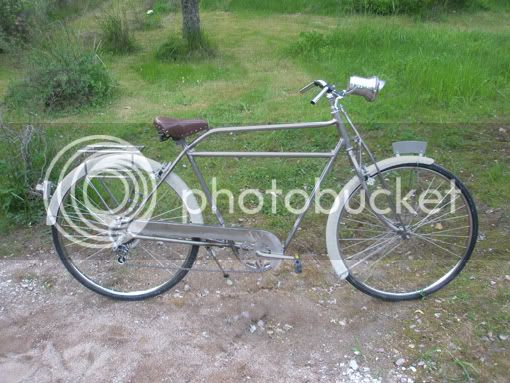
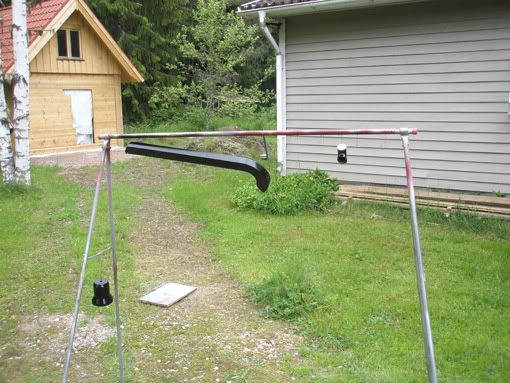
The bike:
mockup6.jpg

Not painted but all fabrication is done...almost. I've just got to make the holder for the LEDs in the front light, and toolbags.
I'll give my brother your regards! :)

Here's what I've done since last time:
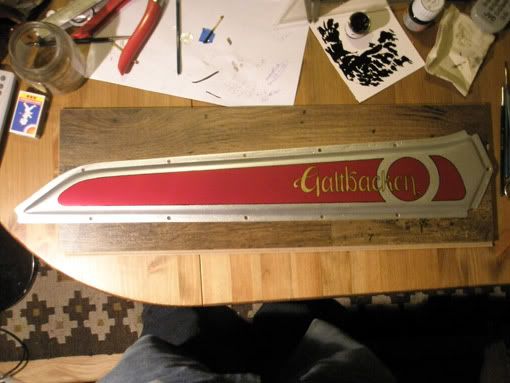
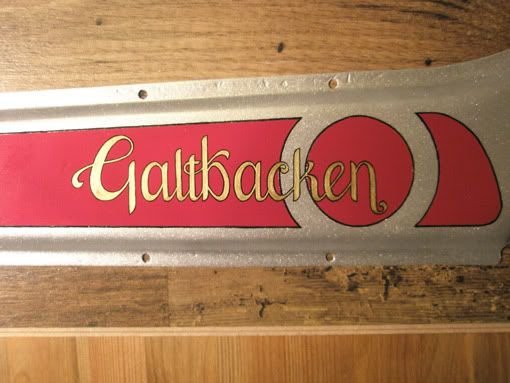
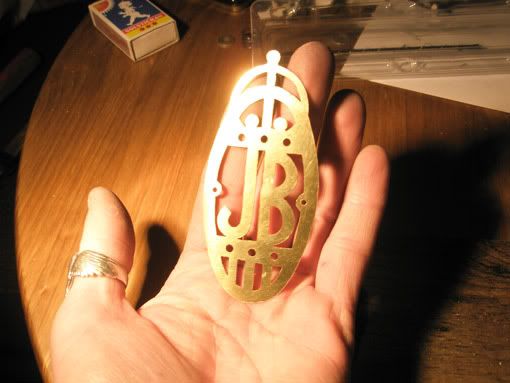
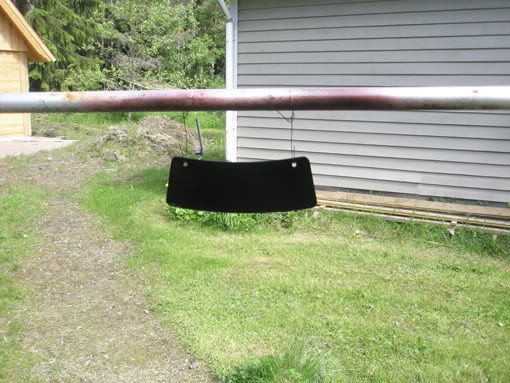
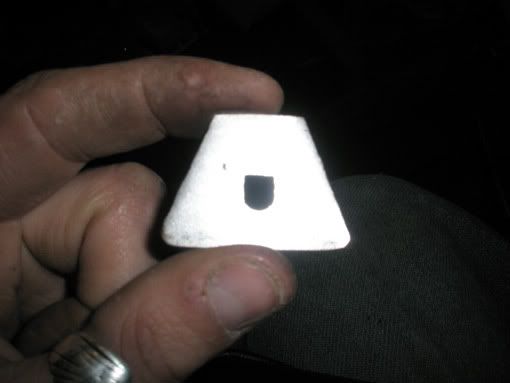
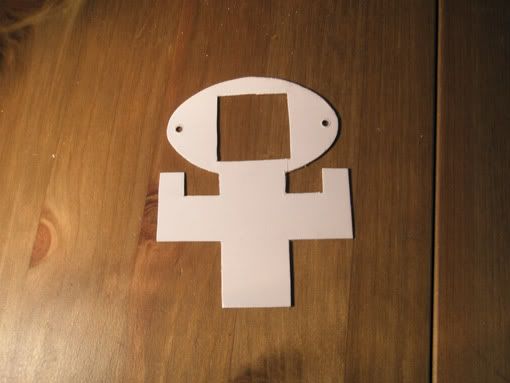
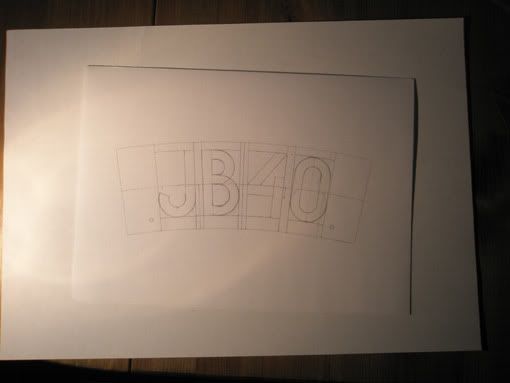
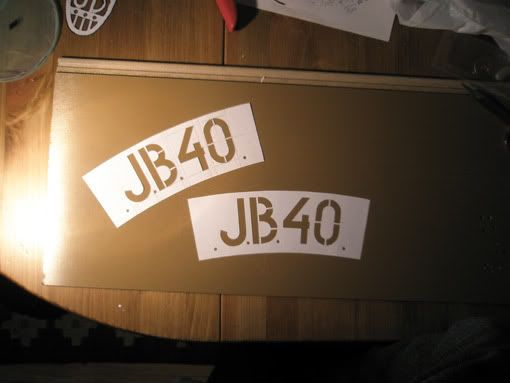
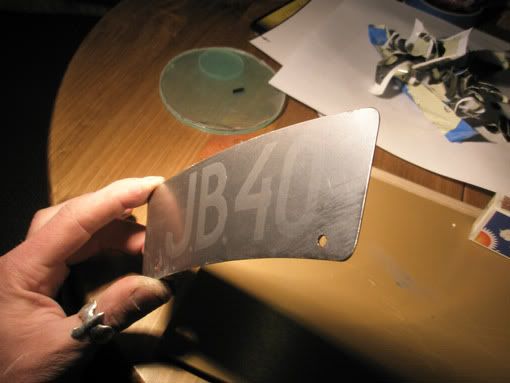
A number plate.
nummerplt1.jpg


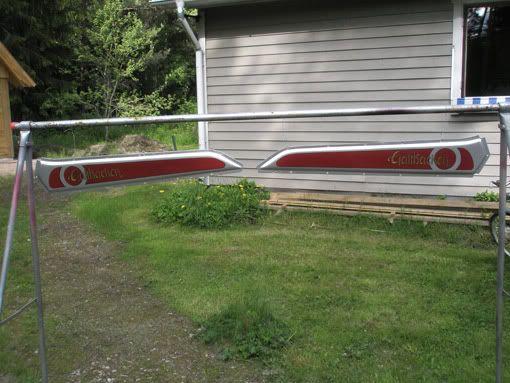
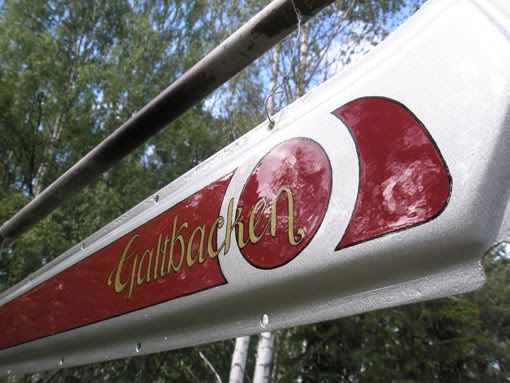
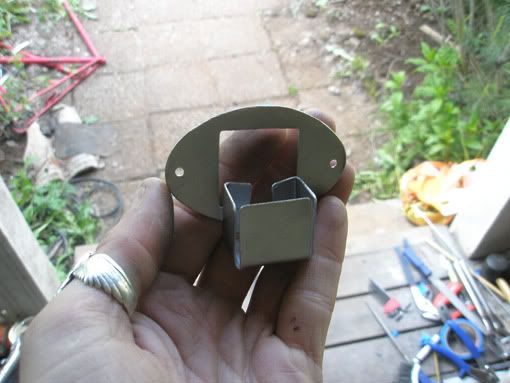
Shot enamel clearcoat on the sideplates.
ramplatta17.jpg

ramplatta18.jpg


uh...?
hmm.jpg


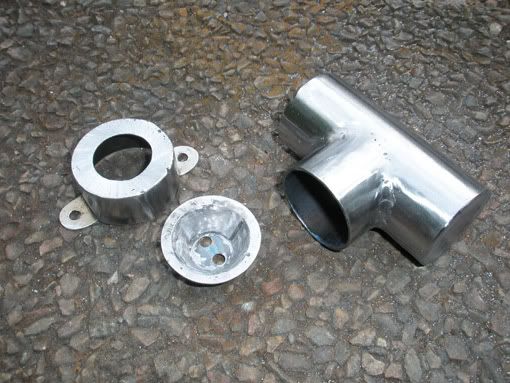
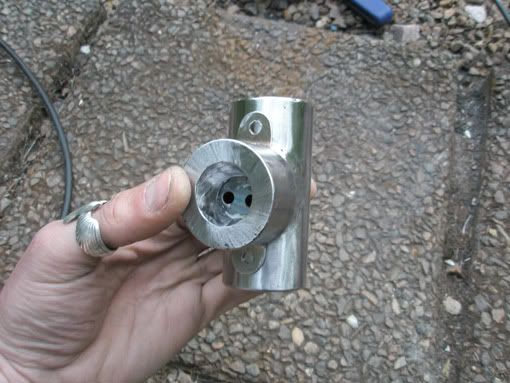
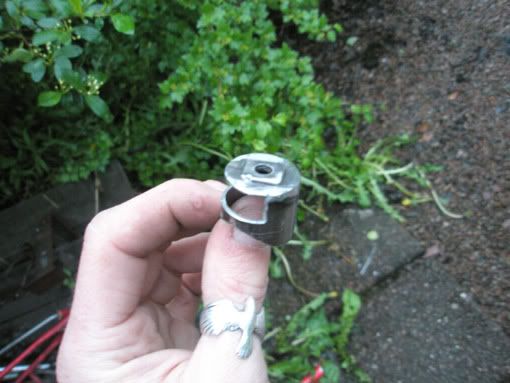
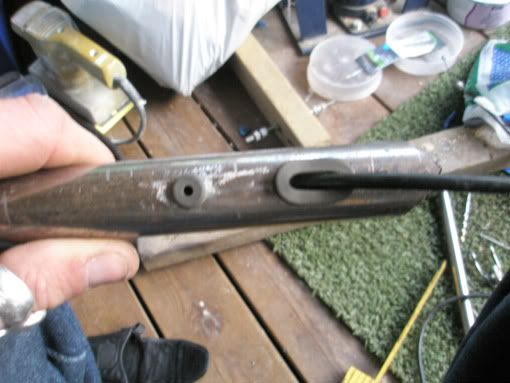
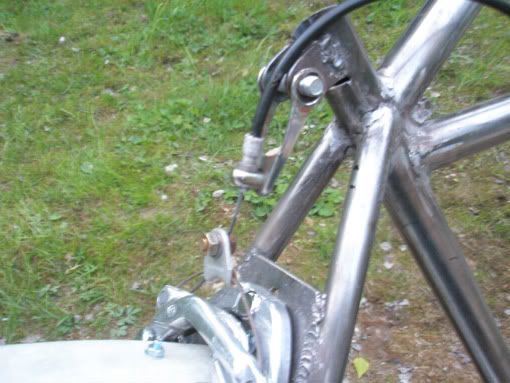
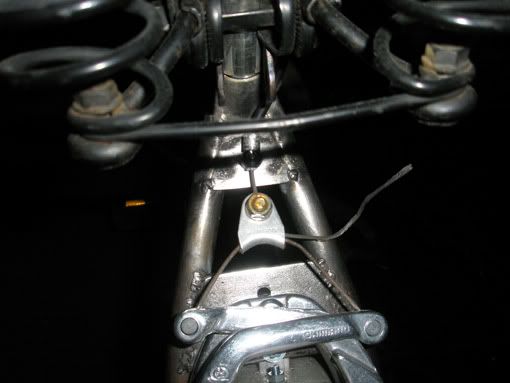
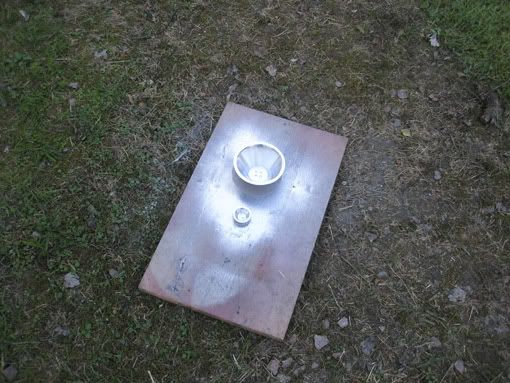
I'll be using these rubberthingys and run the lightcables and rearbrake wire through the frame. Did some testing on a piece of tubing before I drilled holes in the frame.
gummigenomfringar.jpg


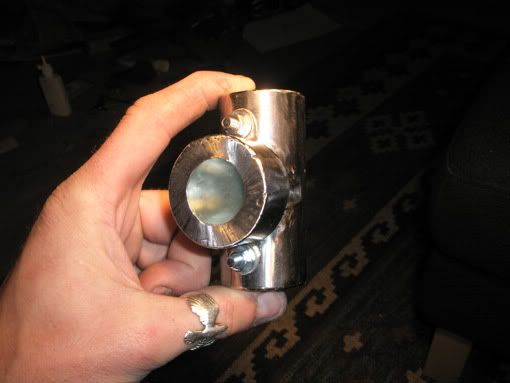
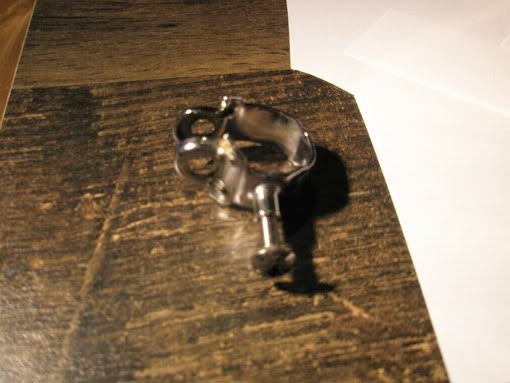
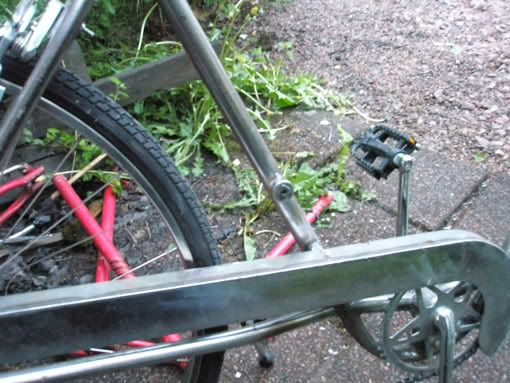
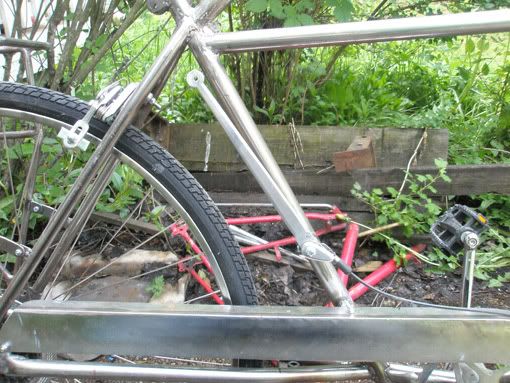
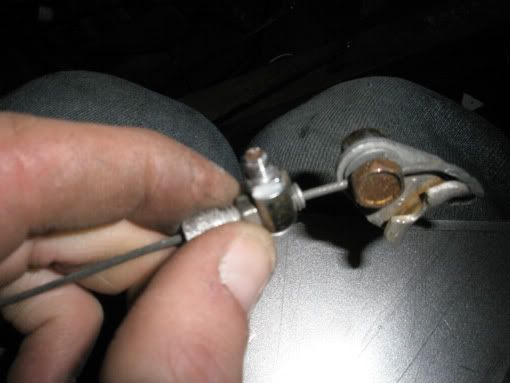
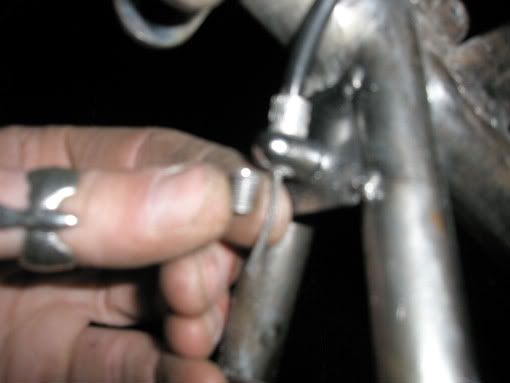
I found out that the rearbrake setup wouldn't work. The seat was to close to the brake....
bakbroms1.jpg


...so I had to solve the problem.
bakbroms2.jpg

bakbroms3.jpg

bakbroms4.jpg

bakbroms5.jpg


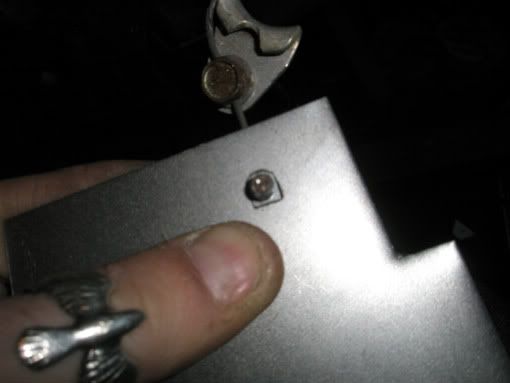
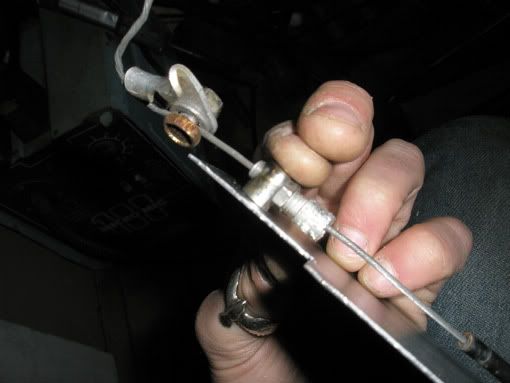
Spotwelded in place. Had to minimalize every little piece to make it work!! :shock:
bakbroms6.jpg

Phew!! :D
bakbroms7.jpg


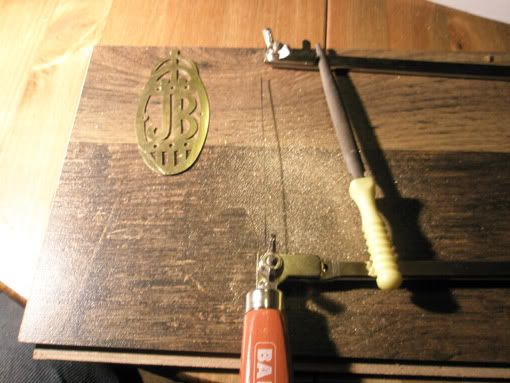
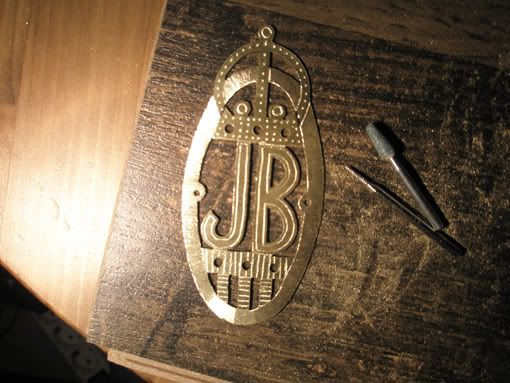
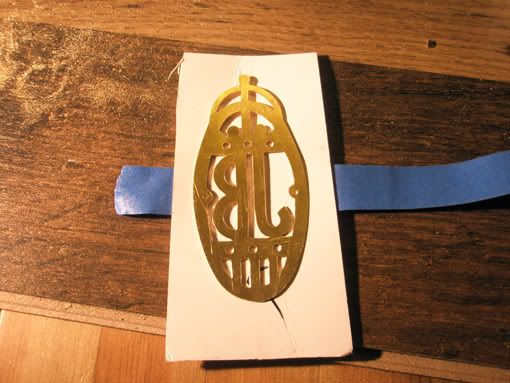
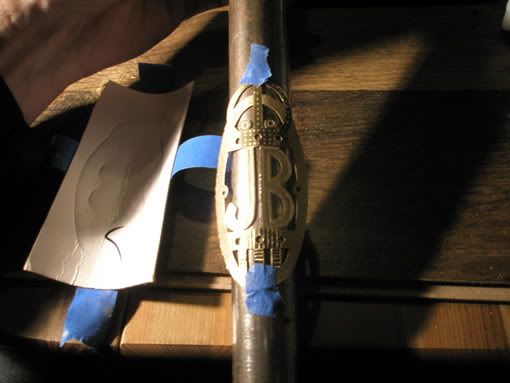
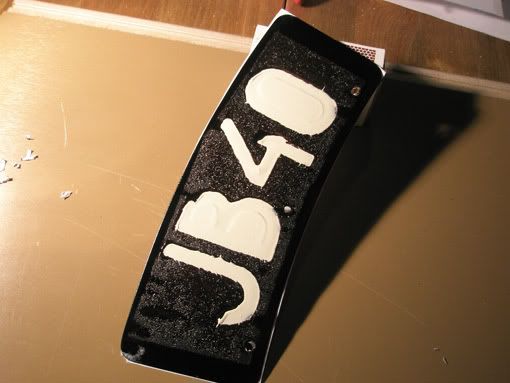
After that adventure it was too dark to keep on working outside so I headed on indoors to finish the badge.
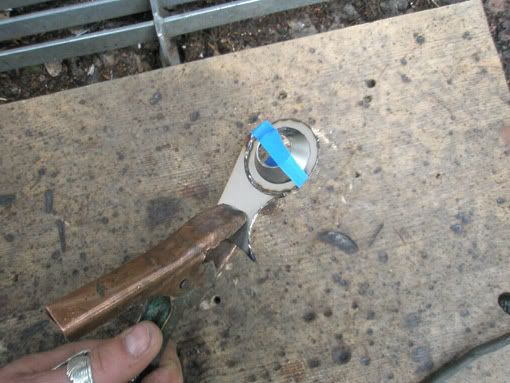
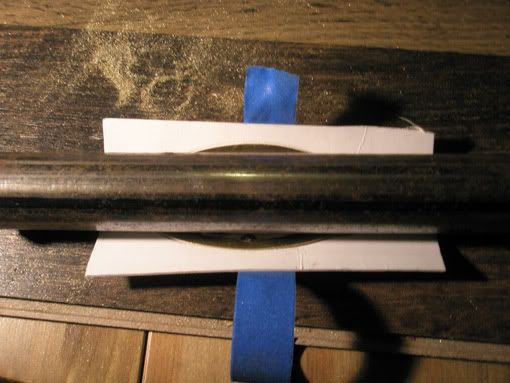
Taped it to a tube and then taped some cardboard on top if it. Held it against the tabletop and rolled it from side to side.
headbadge9.jpg

headbadge10.jpg

headbadge11.jpg


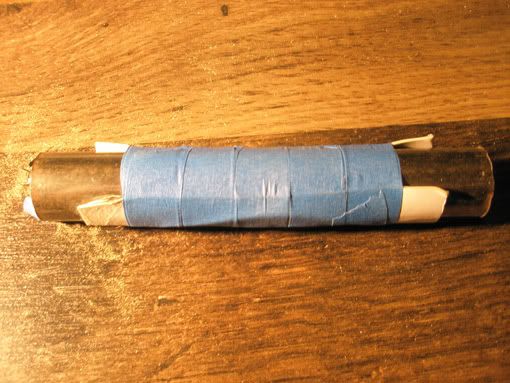
Then I taped it to a smaller tube and wrapped and taped the cardboard around it and tapped it with a hammer all over.
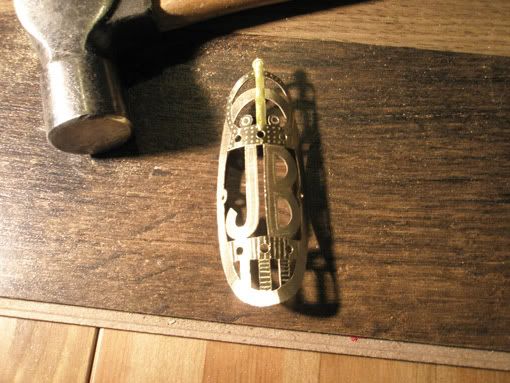
headbadge12.jpg

Done!
headbadge13.jpg

Nicely curved! :)
headbadge14.jpg


Now the bike is taken apart and next I'll start preparing for paint. Filler time. :|
 
Thanks! :D When I started this build I thought it would look nice and be a cool bike, and now that I'm getting nearer completion I'm getting a little excited cause I think it'll come out nicer than I thought! :)

Oh, and I forgot to tell you insomniac that I got one of those tubebenders that looks a bit like a carjack. I'll take a photo and show you. :)
 
man, i can't believe the amount of dedicated work you put into your designs! I would love to make a bike with you if I come to Sweden.
Josca
 
Some more progress on the bike. Not too much left to do soon...

We come in peace?
LEDhllare1.jpg


Oh, it's the holder for the frontlight LED'circuit and battery!
LEDhllare2.jpg


Done some painting:
mlat4.jpg

mlat2.jpg

mlat3.jpg

mlat1.jpg


Made stencils for the numberplate:
nummerplt2.jpg

nummerplt3.jpg


Then I used 3M sparay mount (the blue one) which worked fine the last time, but made a mess this time. It dissolved the paint. When I removed the stencils, everything was...not right.
nummerplt4.jpg


A little silver lining though! After having cleaned the plate with thinner I saw that the stencil had left a shadow. I'll brushpaint it this time, with enamel.
nummerplt5.jpg


That's all for today. :)
 
Back
Top