You are using an out of date browser. It may not display this or other websites correctly.
You should upgrade or use an alternative browser.
You should upgrade or use an alternative browser.
1HP ELGIN ''UndeadCustom'' FINISHED!!!
- Thread starter OneHorsePower
- Start date

Help Support Rat Rod Bikes Bicycle Forum:
This site may earn a commission from merchant affiliate
links, including eBay, Amazon, and others.
Thanks! rly? i saw someone use a stem in the past on this site, but when it was time to do it , i could not find the thread ... thought this was how the guys made it, so simple (except for the reducing the diameter part)I really like your stem for a seat post. I have not seen someone convert the clamp to work in that manner.

the cylender inside the stem have to be alluminum , tighting it hard will stamp the little grooves of the clamp it , also have to use a standard bolt thought that
Last edited:
Many things going on for the bike 
-still trying to find a welder that won't rip me off
-Getting the tires in 2days
-Started to make a faux tank , i shaped the foam ,fiberglass soon!
-Still not sure the tires will fit in there so i have a "plan-B" make rear bolt-on drop-outs extensions to drop and make the frame longer by about 2 inchs and giving me more clearance in the chain stays... design is very esthetic , but i rather not alter the look of the original frame , and its allot of work
-planing a custom springer fork since i cant find any true vintage ones around here
-rebuilding a Bendix RB-2 hub

Pics soon

-still trying to find a welder that won't rip me off
-Getting the tires in 2days
-Started to make a faux tank , i shaped the foam ,fiberglass soon!
-Still not sure the tires will fit in there so i have a "plan-B" make rear bolt-on drop-outs extensions to drop and make the frame longer by about 2 inchs and giving me more clearance in the chain stays... design is very esthetic , but i rather not alter the look of the original frame , and its allot of work
-planing a custom springer fork
 since i cant find any true vintage ones around here
-rebuilding a Bendix RB-2 hub

Pics soon
Got the frame welded by a great guy i met "another bike freak like me and you" 
Got the tire
got the Bendix hub rebuilt but the bearing races are bad and it won't work fine
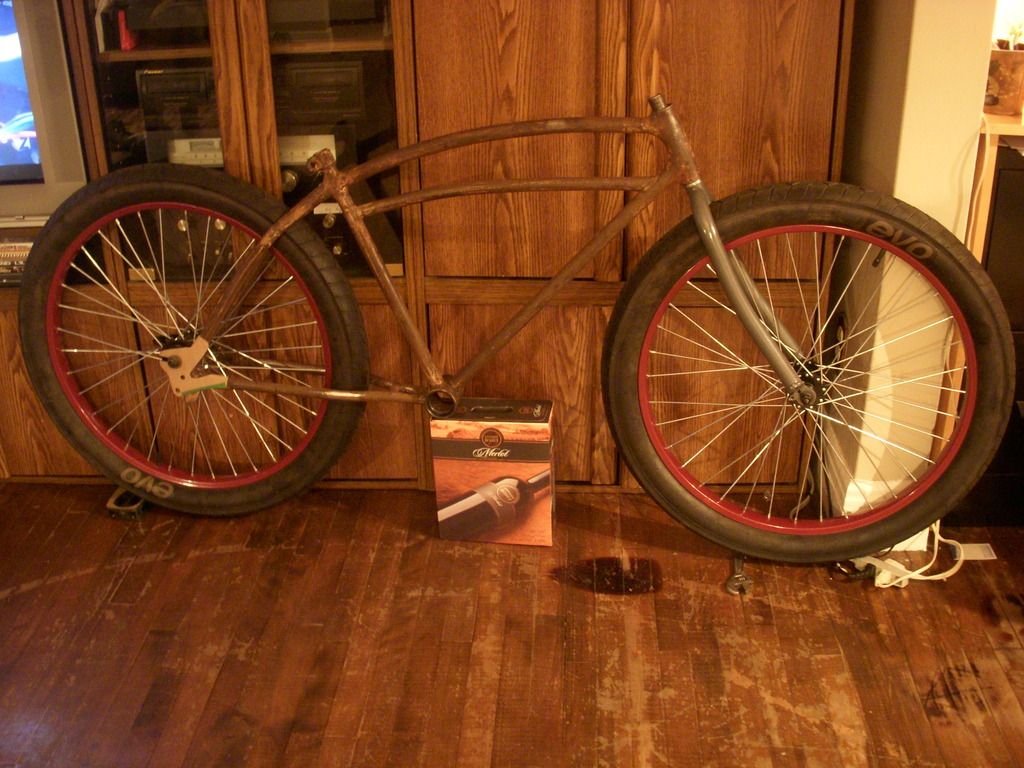
that droping rear plate/dropouts design have to be updated a bit still ... and yes you can laught at my misshap with the iron on the floor not that this floor is a big loss ether,it has seen better days
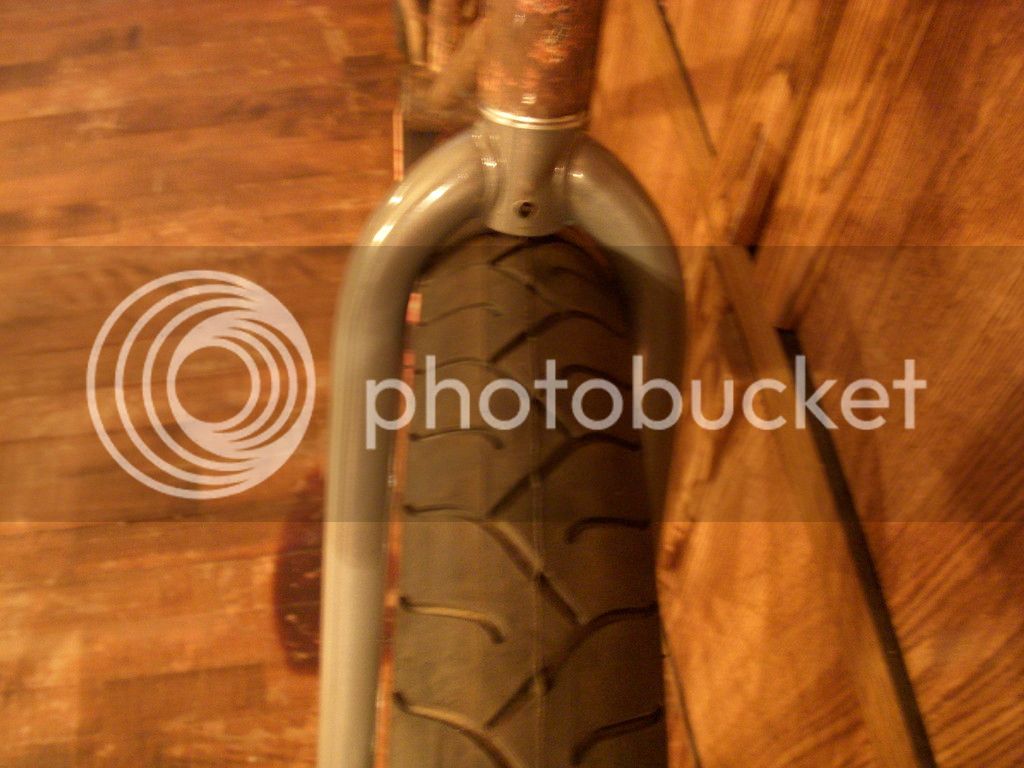
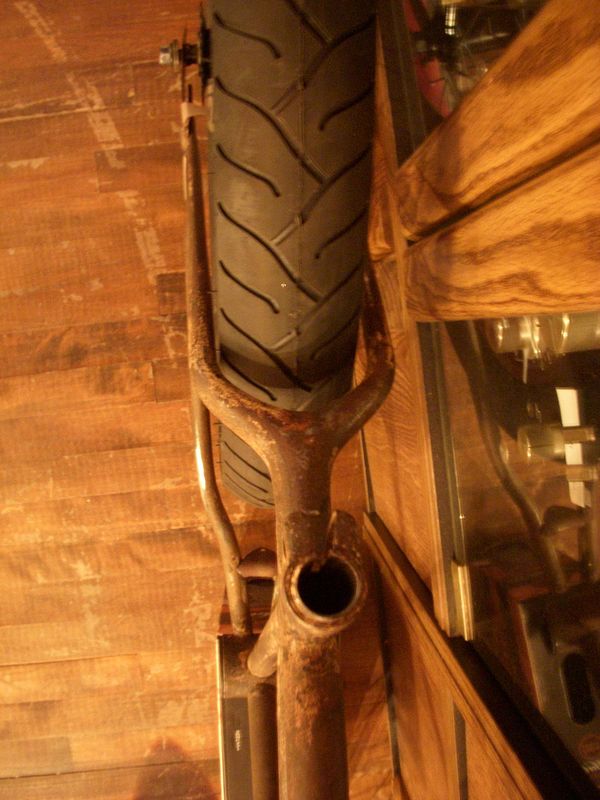
Soooo Tight !!!!!

 but thats exactly how i wanted it , so glad it actually fits that perfectly
Found out these are actually "Street-Hogs" tires 26x3"
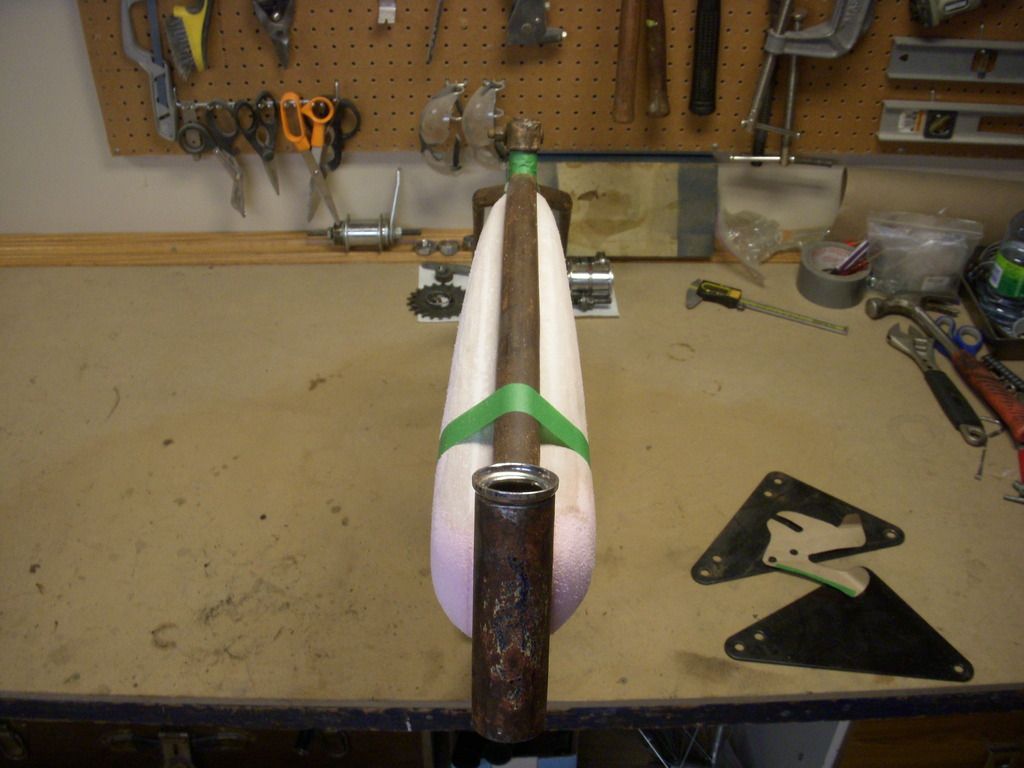
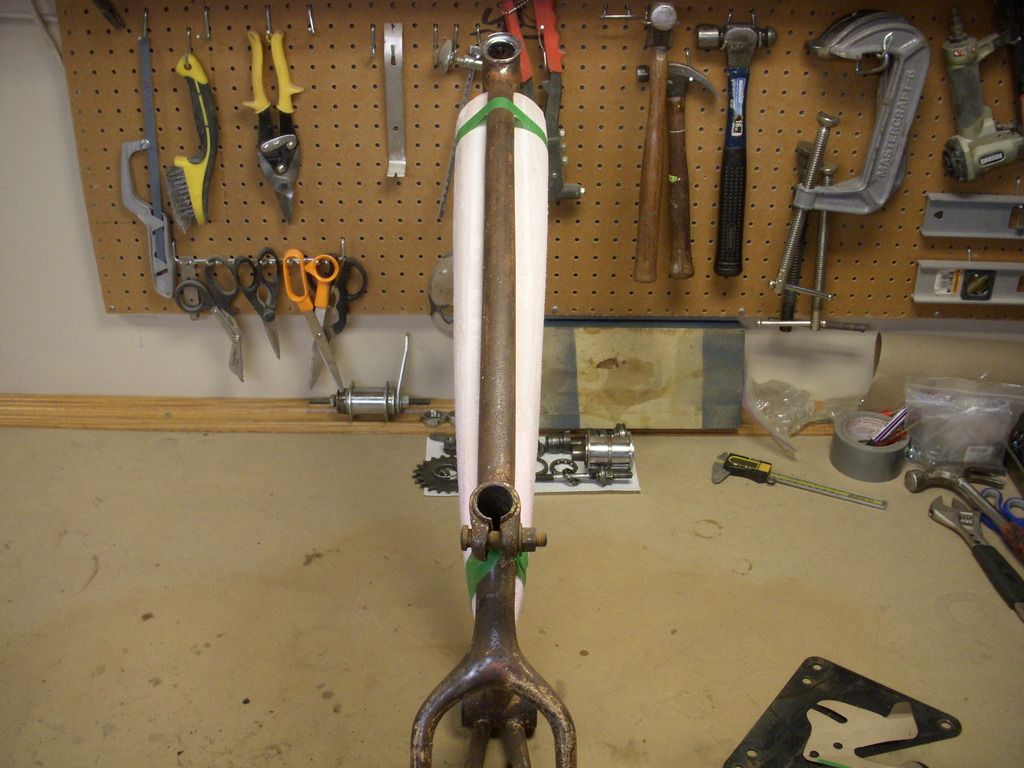
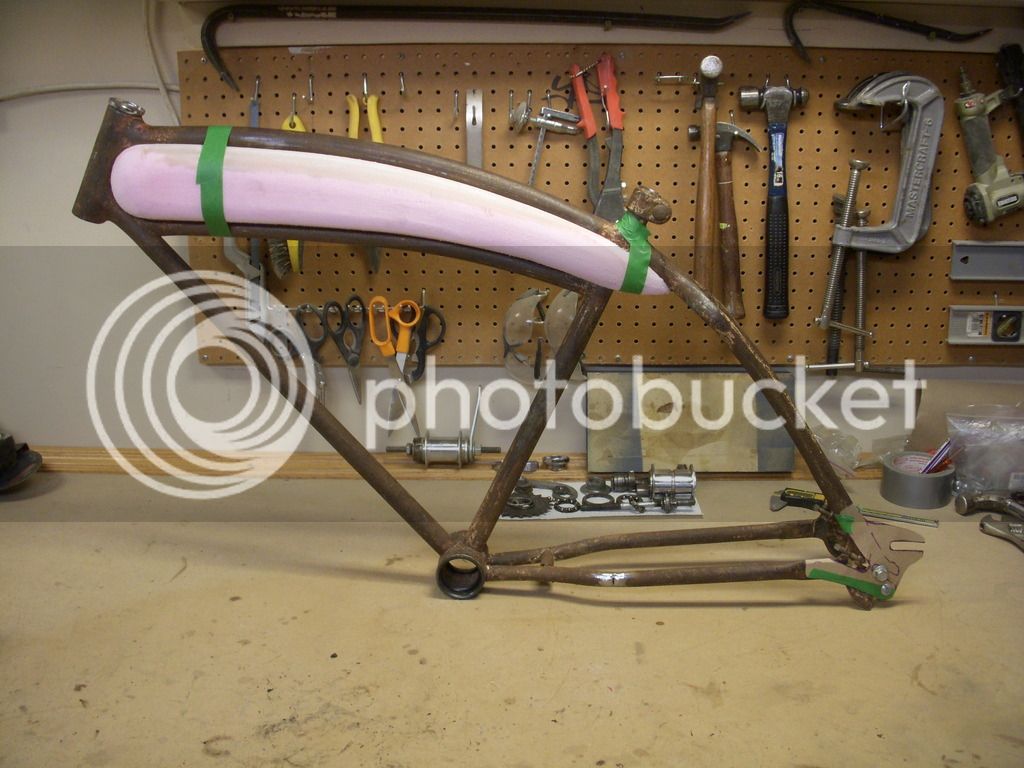
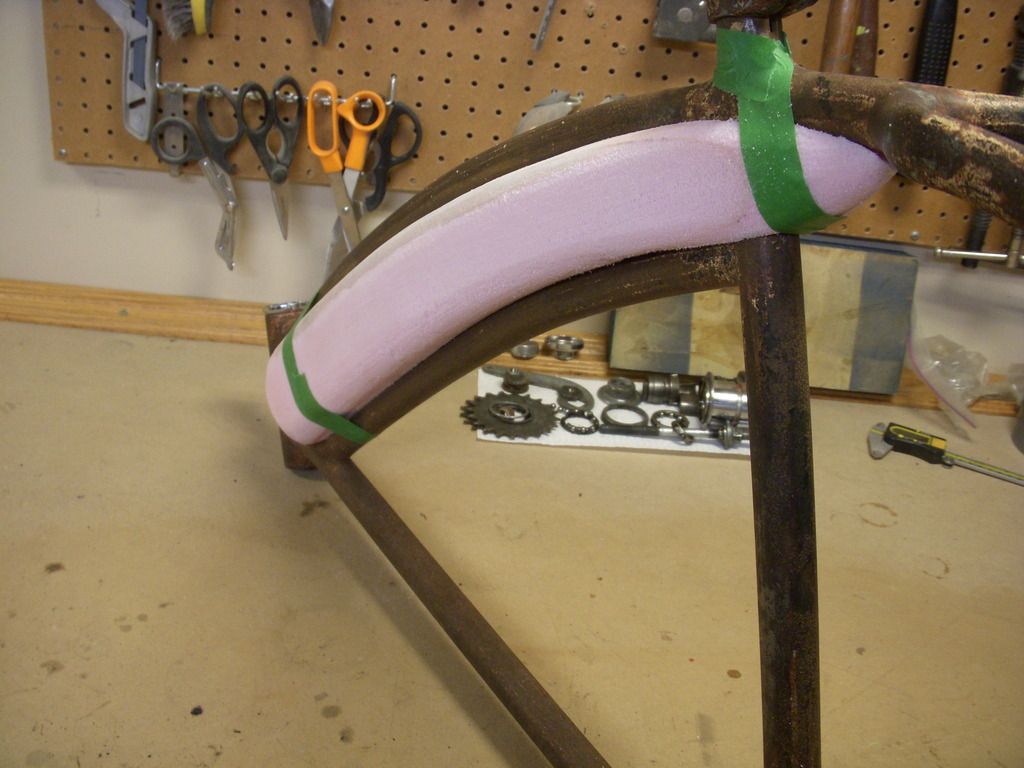
the tank fiberglassing this weekend "hopefully"

Got the tire
got the Bendix hub rebuilt but the bearing races are bad and it won't work fine

that droping rear plate/dropouts design have to be updated a bit still ... and yes you can laught at my misshap with the iron on the floor
 not that this floor is a big loss ether,it has seen better days

Soooo Tight !!!!!

Found out these are actually "Street-Hogs" tires 26x3"


the tank

$19.99
Electra Glide Wall Decal 2ft Long Sport Harley Davidson Bike Motorcylce Sticker Man Cave Garage Boys Room Decor
FatCat Wall Graphics

$249.40
$289.67
Kulana Lakona Tide Adult Beach Cruiser Bike, 26-Inch Wheels, 7-Speed, Silver
Amazon.com
Those tires are a great fit, love the tank shape!
Luke.
Luke.
Its officially a Fatty!
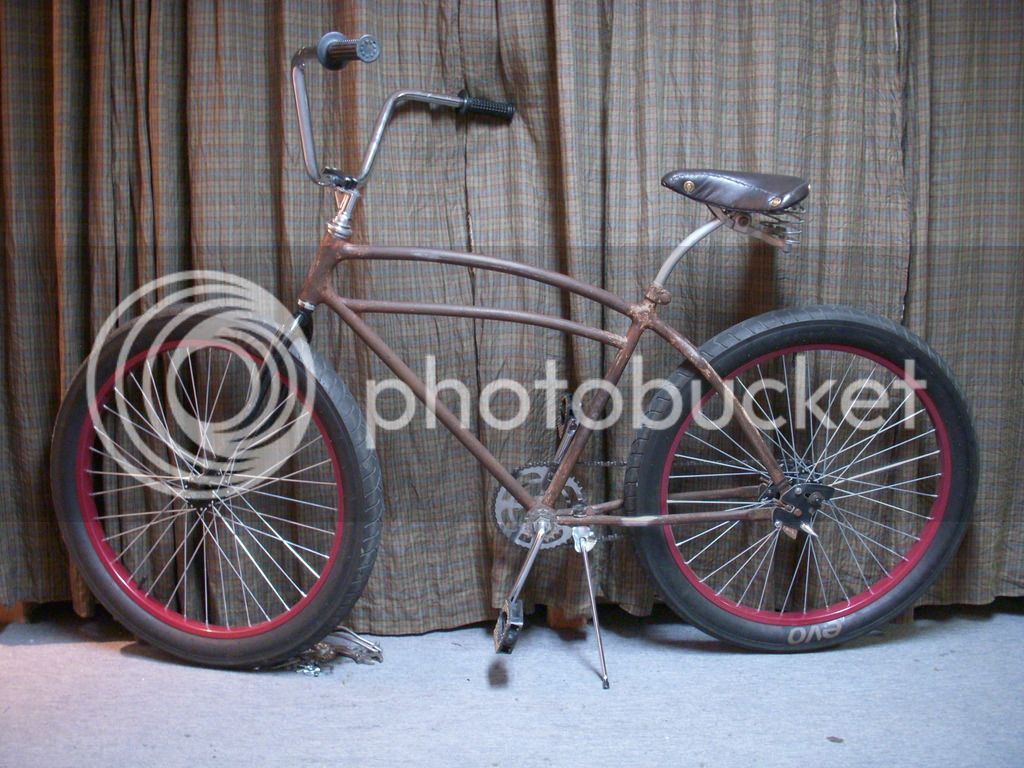
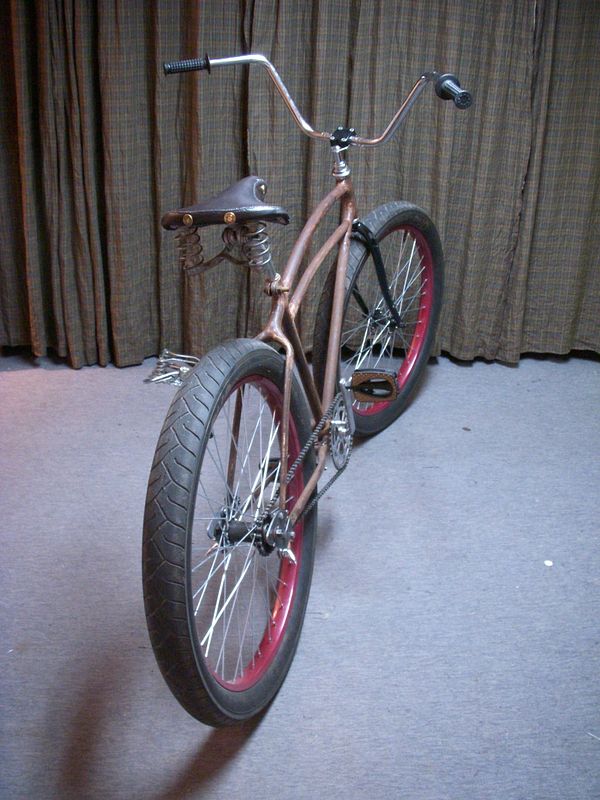
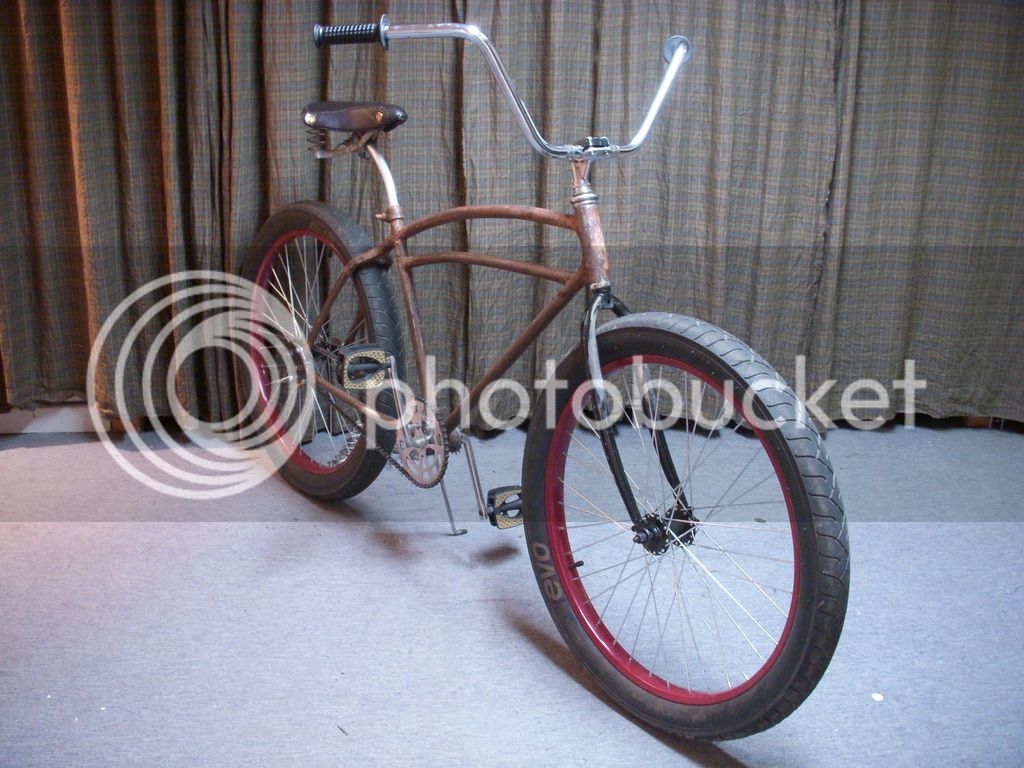


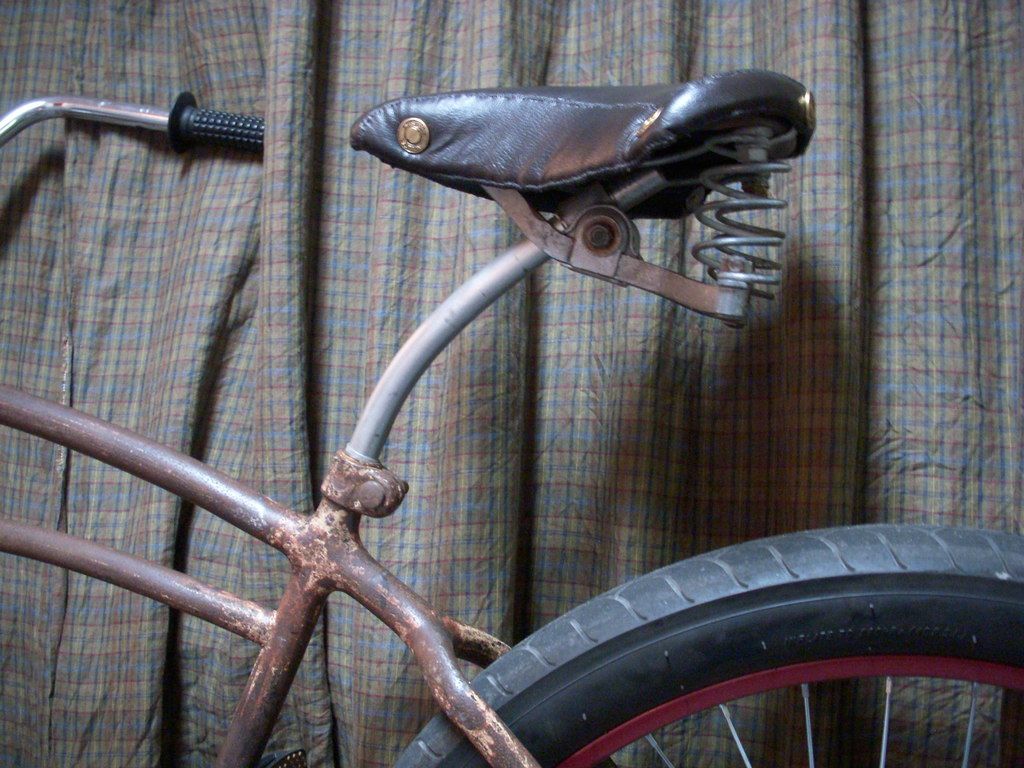
Did not have much time to work on the bike the 2 last weeks since i started a new job , but still coupple things done and in progress
seat post from a 5/8" solid stainless rod and a aluminum shim for the frame and a steal one for the seat clamp
Make the dropouts extentions plates ... made in 1/8" steal ... also added some kind of retainer plates on the back sides to prevent the original dropout form splitting appart and also help keeping everything tight and strong .. found these small chrome mirror hooks and used them on the bottom bolts
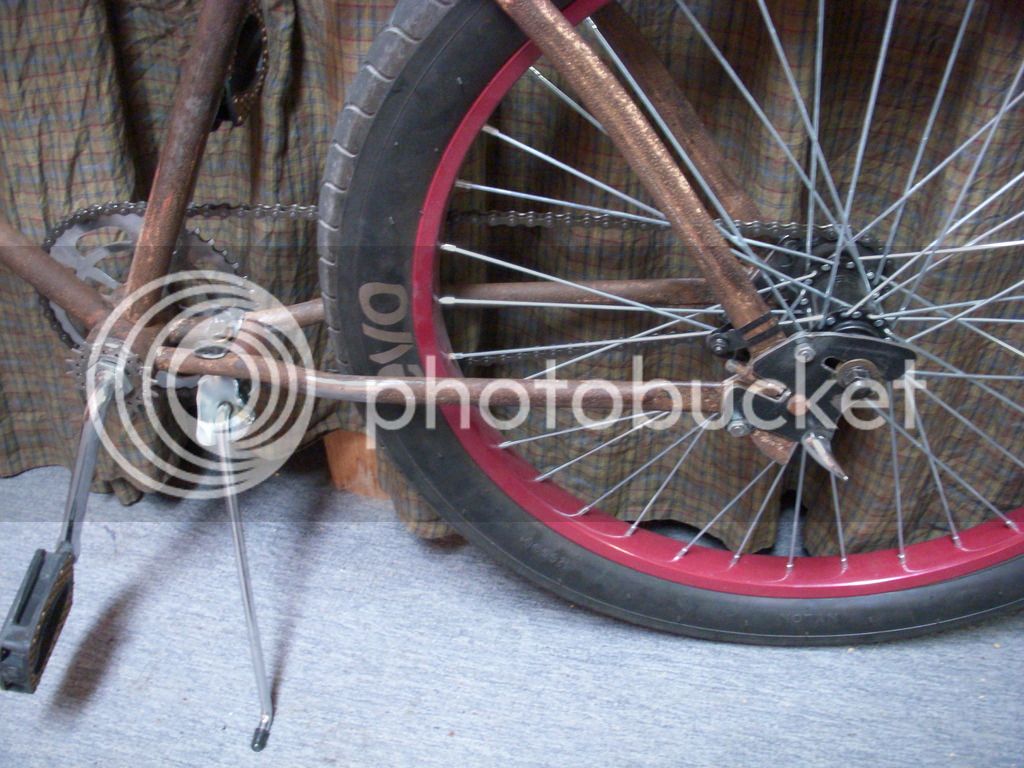
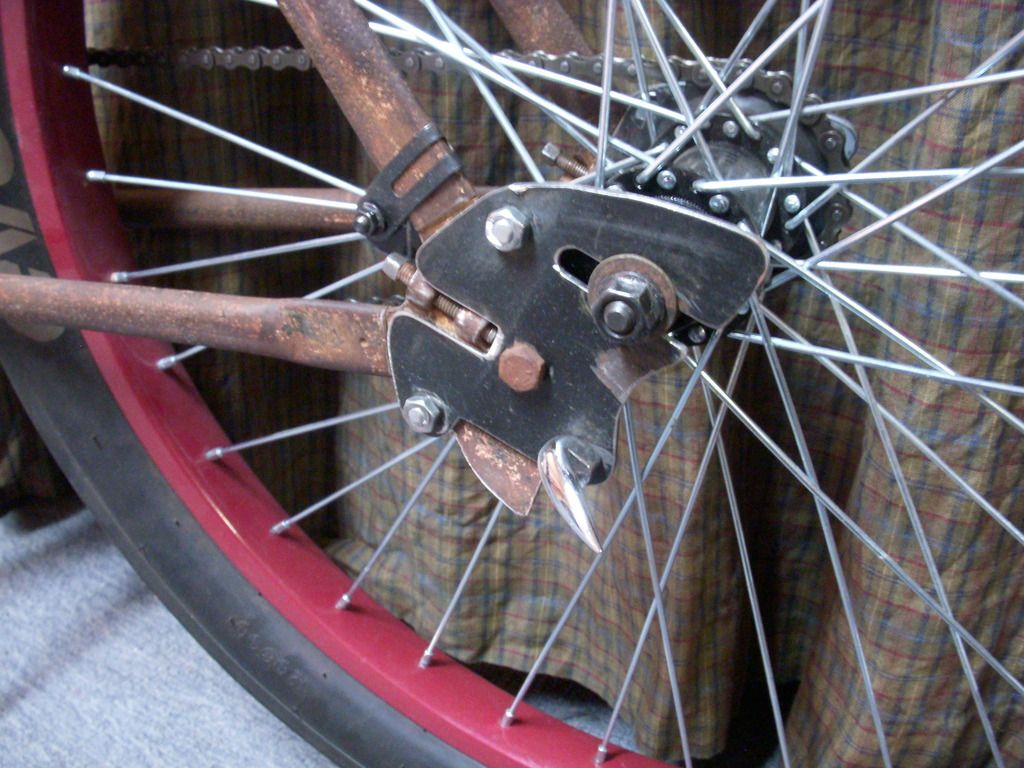
chain is parallel to the chain stay
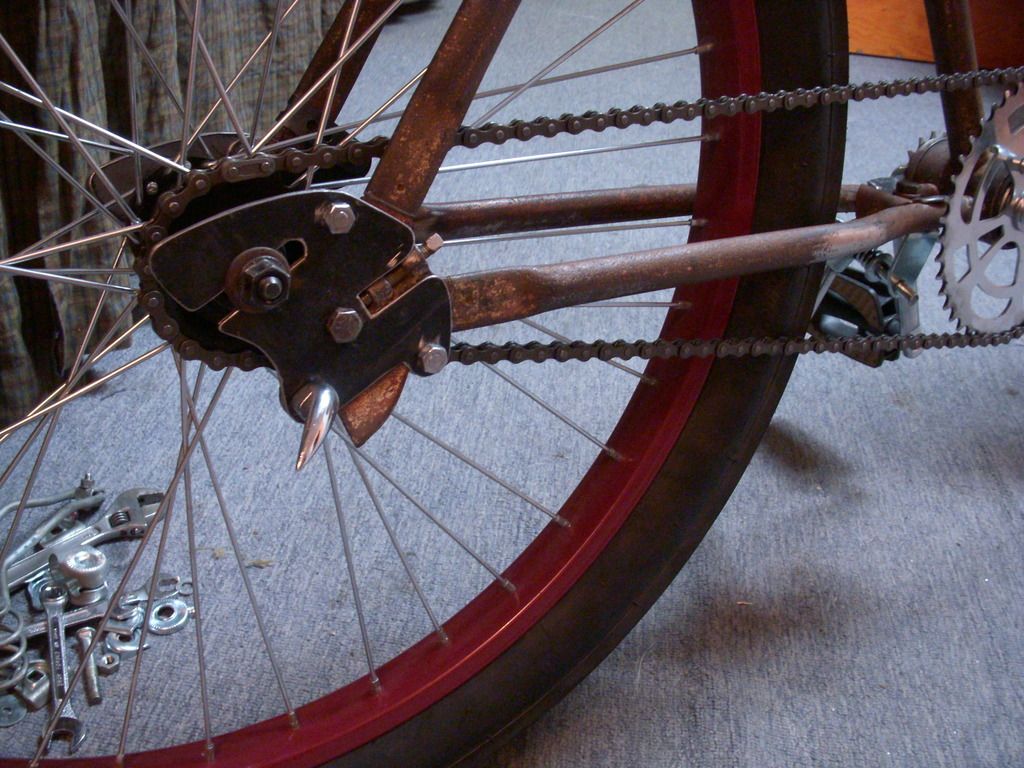
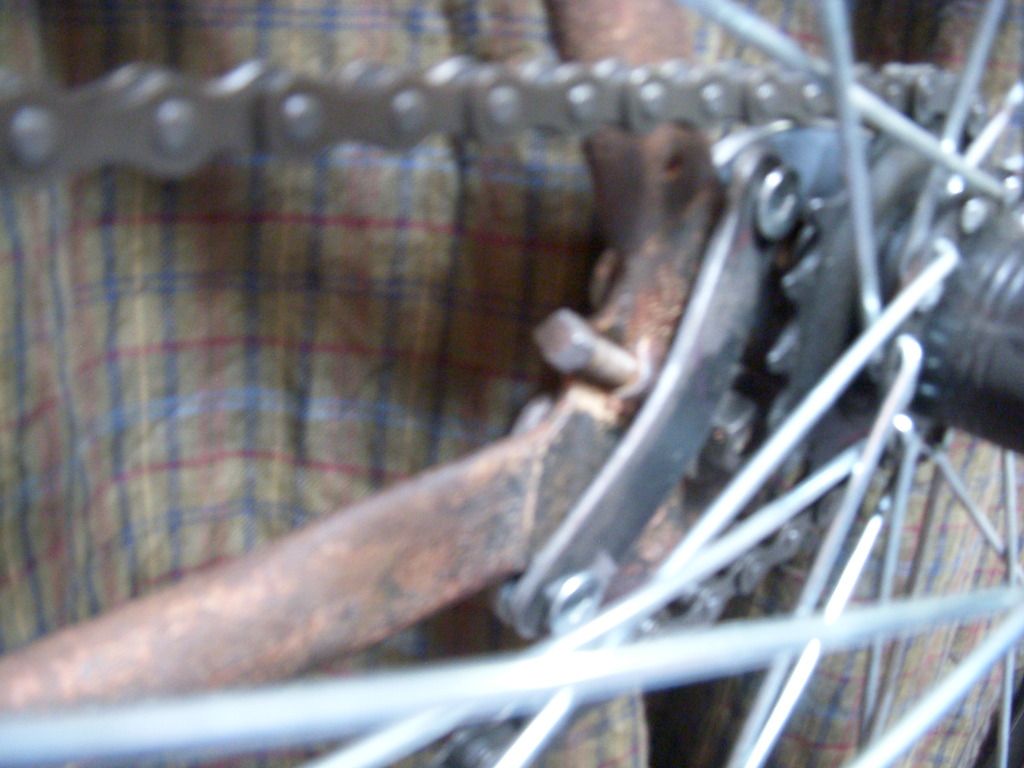
a better view at the final clearance
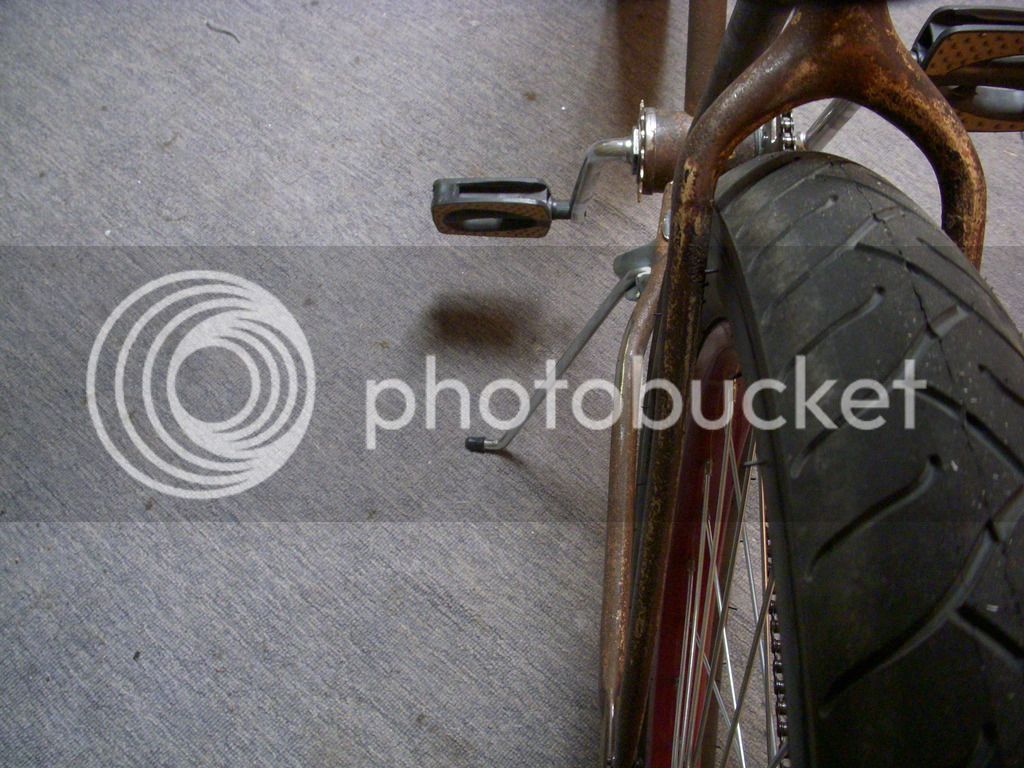
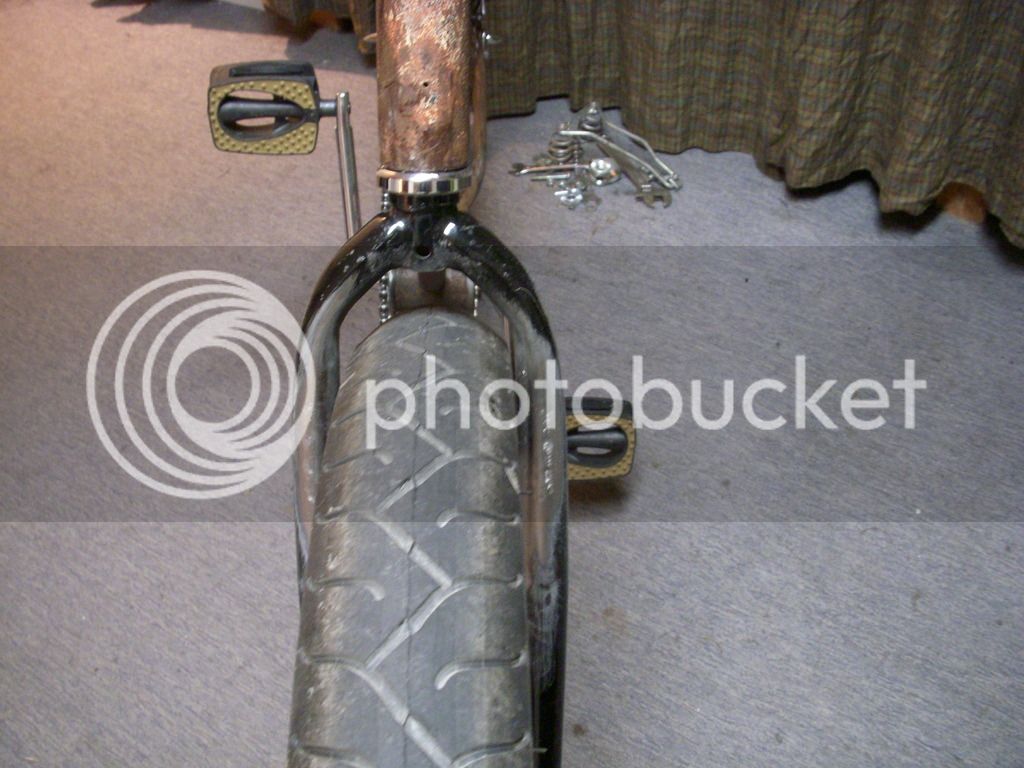
Also got a 700c fork that looks better and offer more hight clearance
Had to spread it allllot to give me some place , because it will used to make a springer fork
And i started the fiberglass on the tanks , not a real nice job , but it give me a good strong base to finish it with fiber bondo ... still unsure how i will attach them together on the frame tho
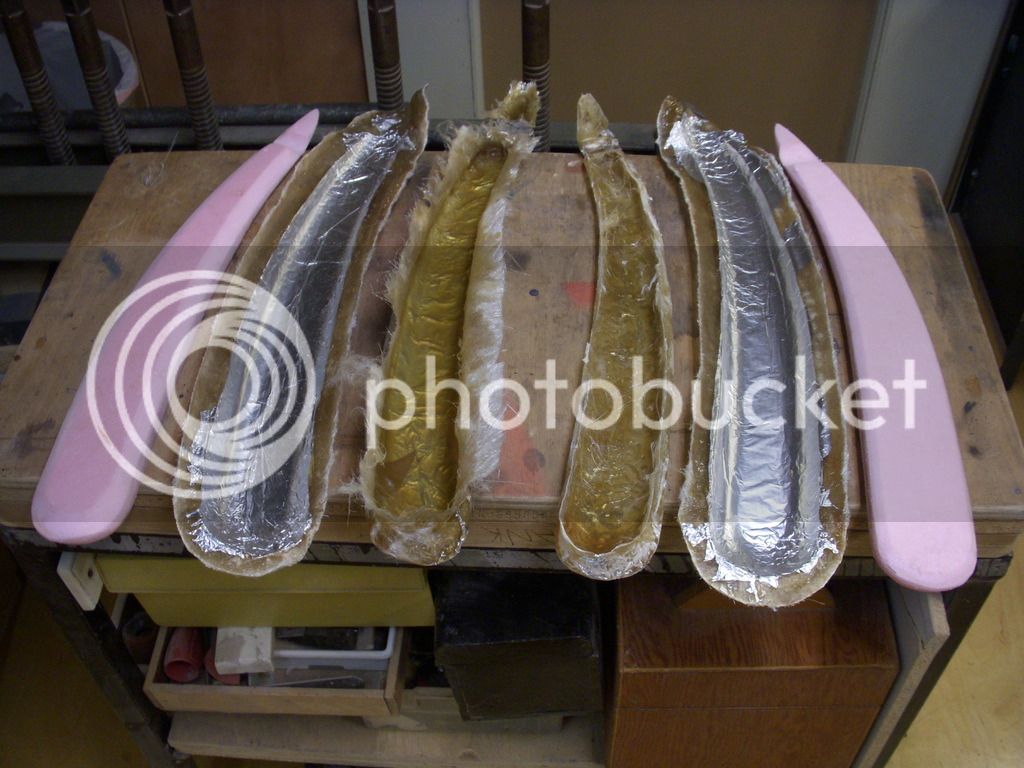
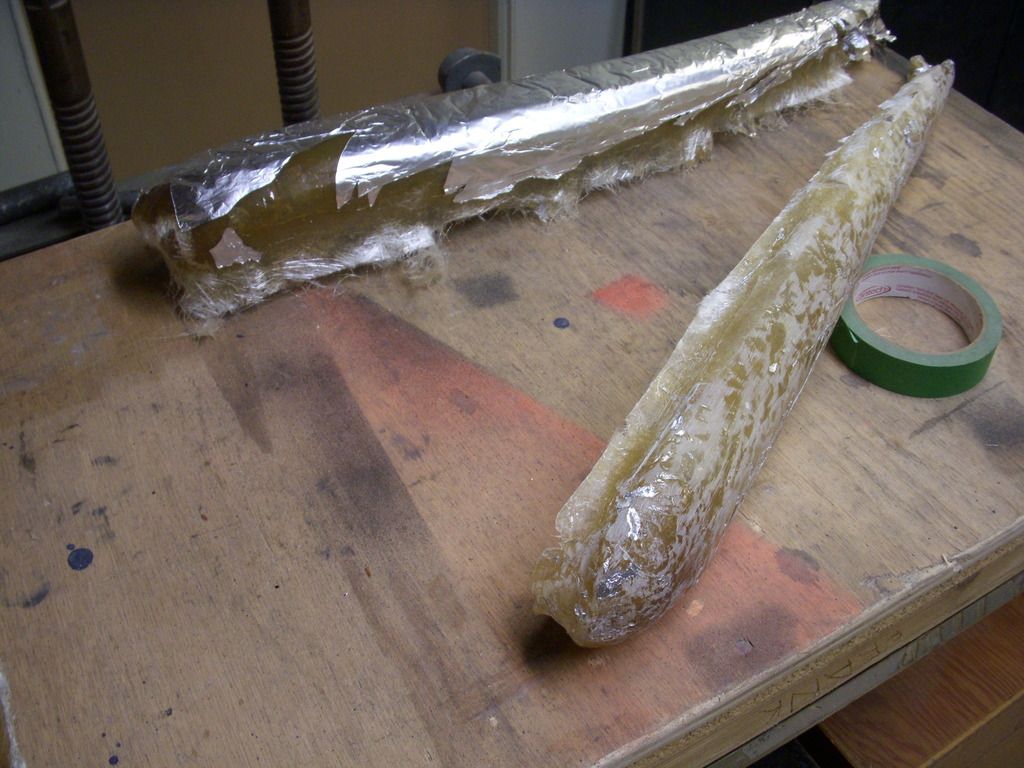
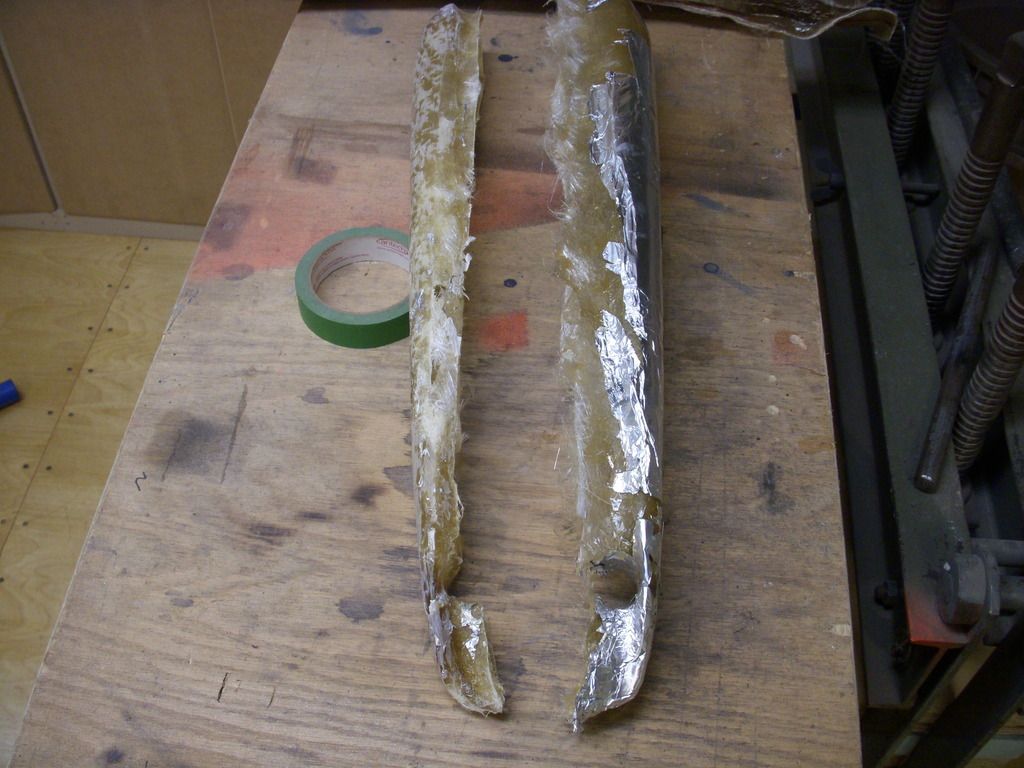
still allot to do before these are done , the bike is back as a roller so no stress
seat post from a 5/8" solid stainless rod and a aluminum shim for the frame and a steal one for the seat clamp

Make the dropouts extentions plates ... made in 1/8" steal ... also added some kind of retainer plates on the back sides to prevent the original dropout form splitting appart and also help keeping everything tight and strong .. found these small chrome mirror hooks and used them on the bottom bolts


chain is parallel to the chain stay


a better view at the final clearance

Also got a 700c fork that looks better and offer more hight clearance
Had to spread it allllot to give me some place , because it will used to make a springer fork

And i started the fiberglass on the tanks , not a real nice job , but it give me a good strong base to finish it with fiber bondo ... still unsure how i will attach them together on the frame tho


still allot to do before these are done , the bike is back as a roller so no stress
Last edited:
Ton of cool ideas going into this build!!!!
What is the cog you have on the non-drive side of the cranks?
Seat looks great on the bike.
Tires are fitting nicely
Great drops
Cool glass tank halves
Keep building my friend!!!!!
Digging this build!
What is the cog you have on the non-drive side of the cranks?
Seat looks great on the bike.
Tires are fitting nicely
Great drops
Cool glass tank halves
Keep building my friend!!!!!
Digging this build!
Some good work and cool ideas happening here 1HP! I love how you always think outside the box and are willing to give it a try!
Luke.
Luke.
Ton of cool ideas going into this build!!!!
What is the cog you have on the non-drive side of the cranks?
Seat looks great on the bike.
Tires are fitting nicely
Great drops
Cool glass tank halves
Keep building my friend!!!!!
Digging this build!
Thank's King ! the cog is just for the looks , also did this on my brother's Ross
Last edited:
Thanks luke , i appreciate that complimentSome good work and cool ideas happening here 1HP! I love how you always think outside the box and are willing to give it a try!
Luke.

Mudding begins !
taped the 2 halfs in place , then first coat making sure everything is equal and well sealed aroud the perimeter
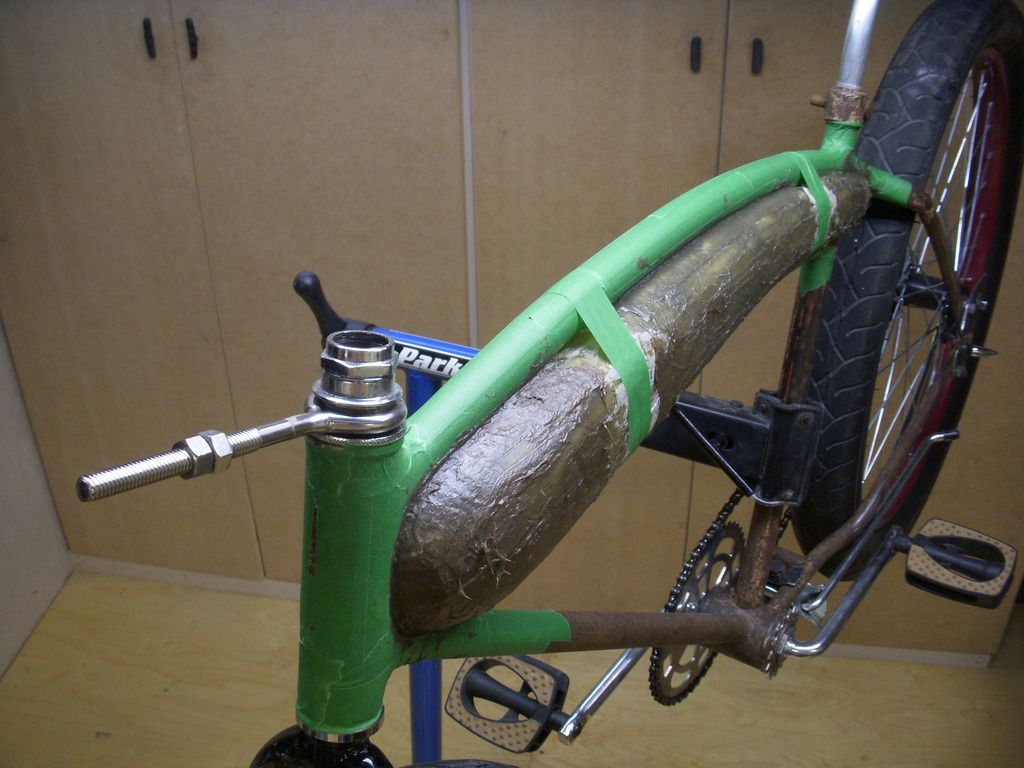
then removed the tape and fill the remaining parts and smoothing it u a little more
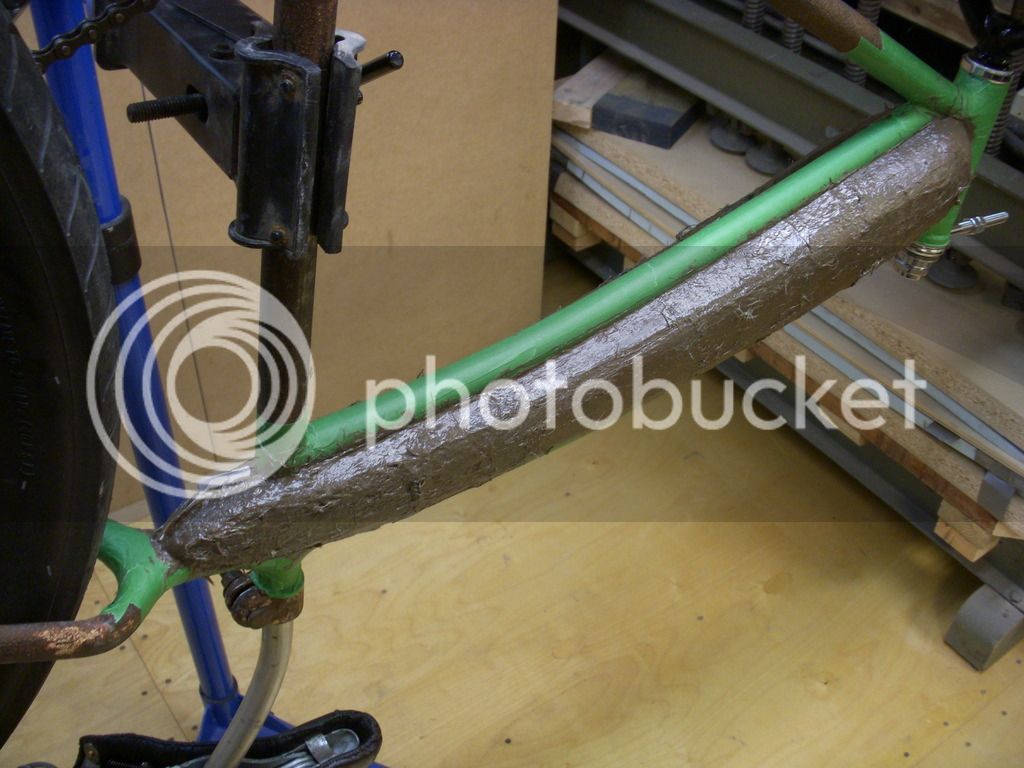
also bought 3/8" steel rods and a stainless "loop/anchor bolt" with 1"inside diameter to start making a fork
the anchor bolt will be bent 90*
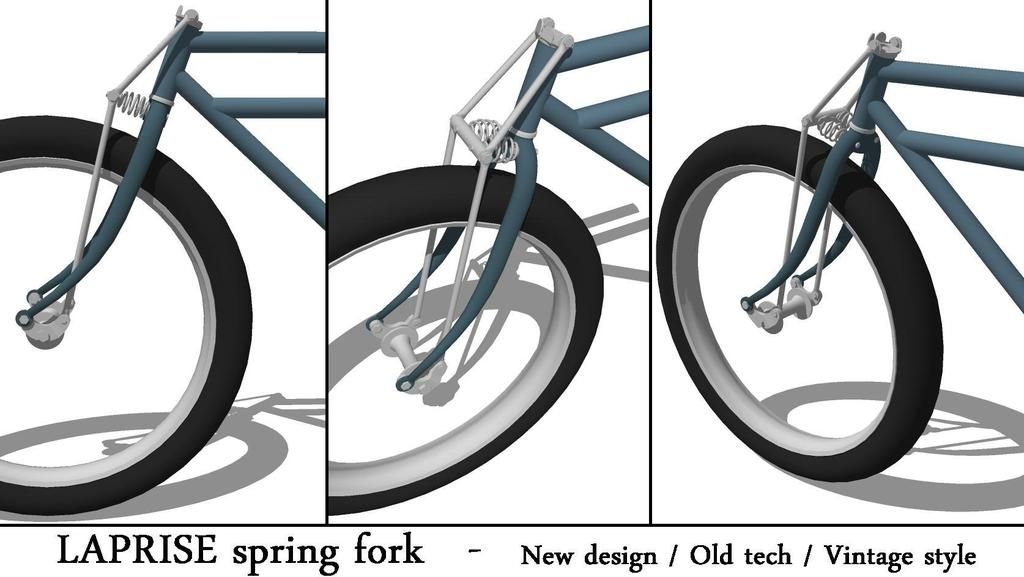
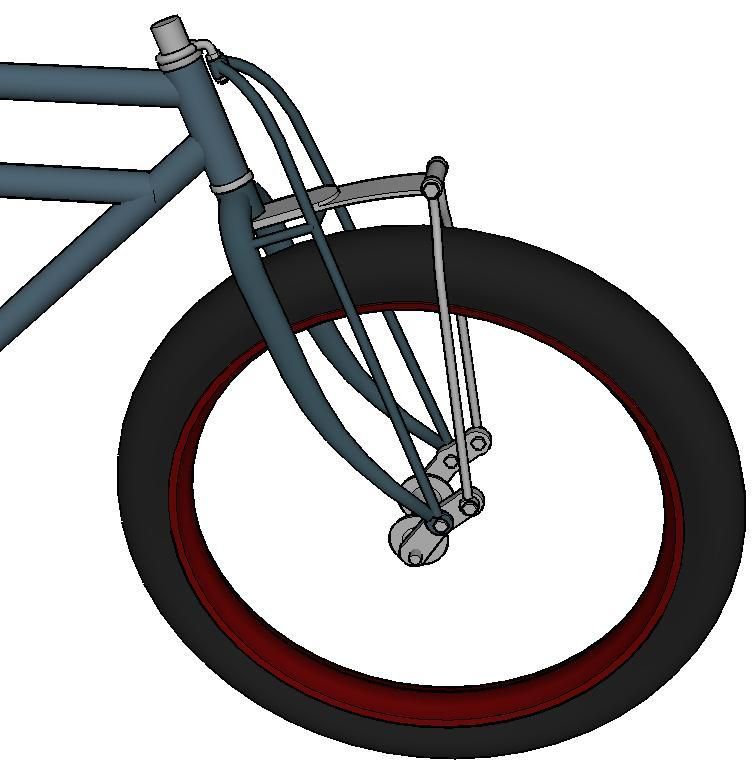
here is what i hope to build if i can find a leafspring
taped the 2 halfs in place , then first coat making sure everything is equal and well sealed aroud the perimeter

then removed the tape and fill the remaining parts and smoothing it u a little more

also bought 3/8" steel rods and a stainless "loop/anchor bolt" with 1"inside diameter to start making a fork
the anchor bolt will be bent 90*
here is what i hope to build if i can find a leafspring

Awesome concept!
Looks like the spring will be pulled down when you hit a bump?
If that is the case, you will want the second "helper" spring under the main leaf, not on top...
Luke.
Looks like the spring will be pulled down when you hit a bump?
If that is the case, you will want the second "helper" spring under the main leaf, not on top...
Luke.
true !!! thanks for mentioning this!Awesome concept!
Looks like the spring will be pulled down when you hit a bump?
If that is the case, you will want the second "helper" spring under the main leaf, not on top...
Luke.
 altho i kind of like the look of seeing both leafs , i might end up bolting them together to use it this way ... and in fact i might not even need to , cause its all resting on the fork horizontal rod under the leafs , ill see when i get there
So , after first coat of fiber bondo ,
sanding and triming the inside edges,
seccond coat to even it a bit more,
sanding and a coat of bodyfiller ,
sanding and primer,
sanding and primer,
bodyfiller in the tiny inperfections ,
sanding and primer,
sanding and primer,
and primer again , this is then result


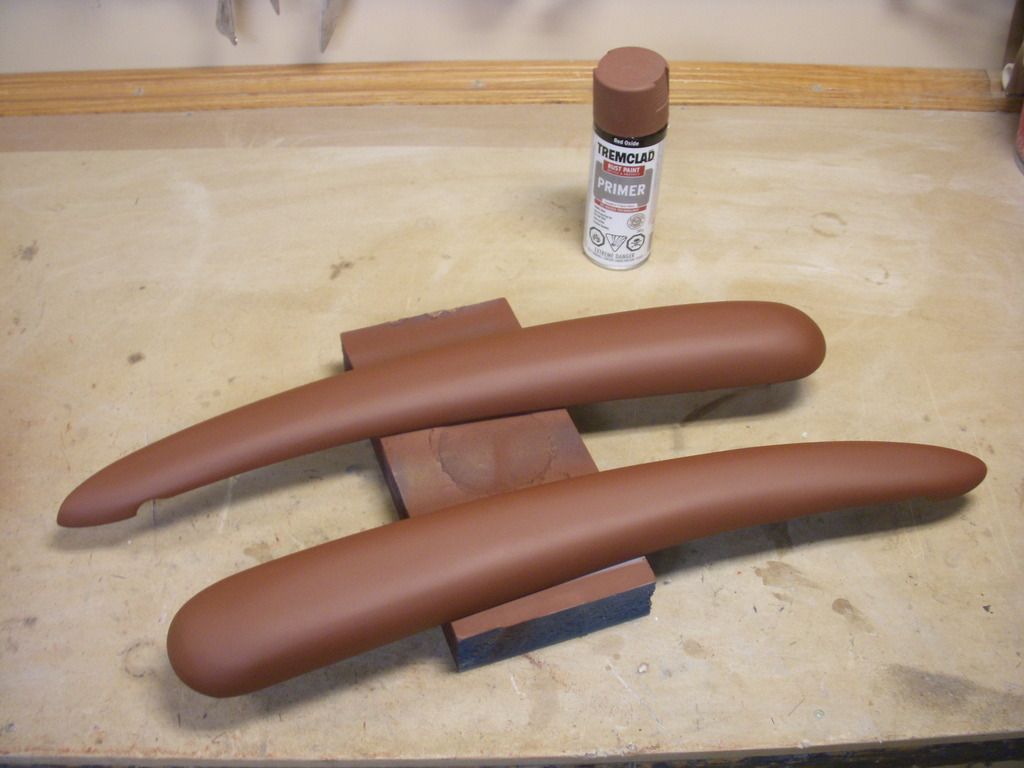
sound like a long process , but everything dry fast , so it was done in about 3h total in 2 days , few min here and there .... now the brainstrorming begins to find a good way to stealth mount the tank , fixed on one side and easily removable form the other for storage inside
sanding and triming the inside edges,
seccond coat to even it a bit more,
sanding and a coat of bodyfiller ,
sanding and primer,
sanding and primer,
bodyfiller in the tiny inperfections ,
sanding and primer,
sanding and primer,
and primer again , this is then result


sound like a long process , but everything dry fast , so it was done in about 3h total in 2 days , few min here and there .... now the brainstrorming begins to find a good way to stealth mount the tank , fixed on one side and easily removable form the other for storage inside

Last edited:
no progress , just showing how the tank fits 
still bending my mind to find the best way to mount it and witch fork design to build
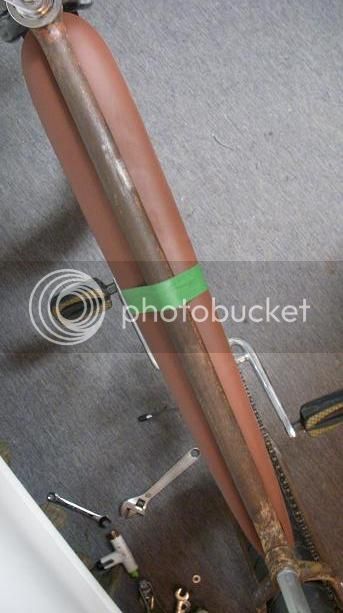
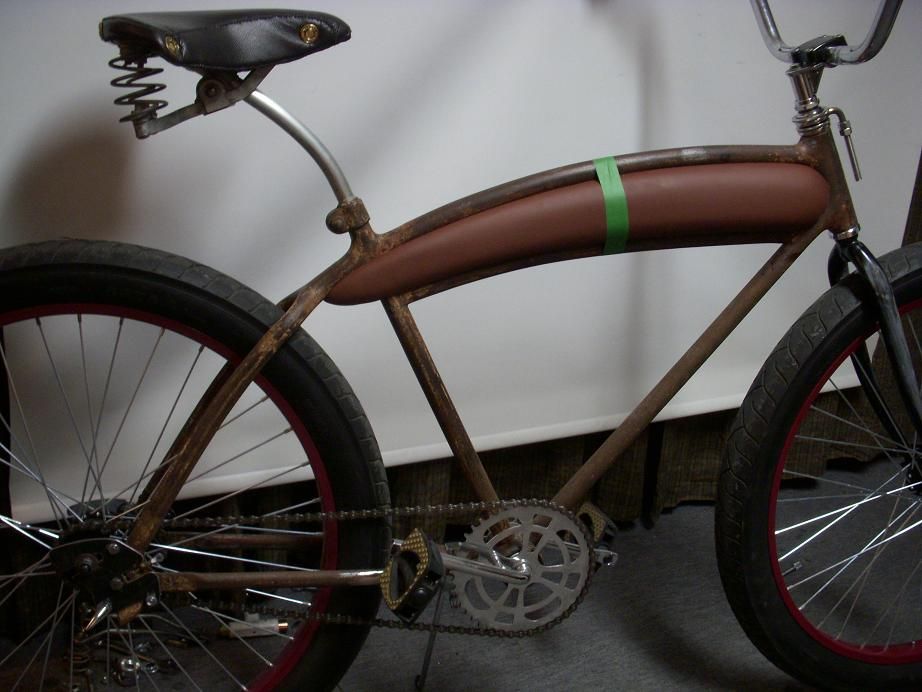
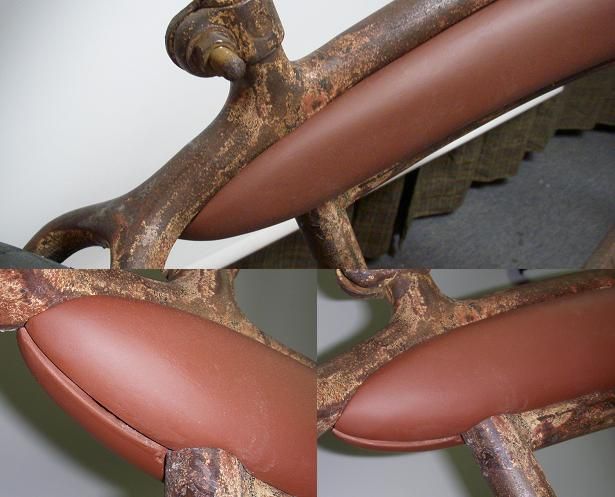
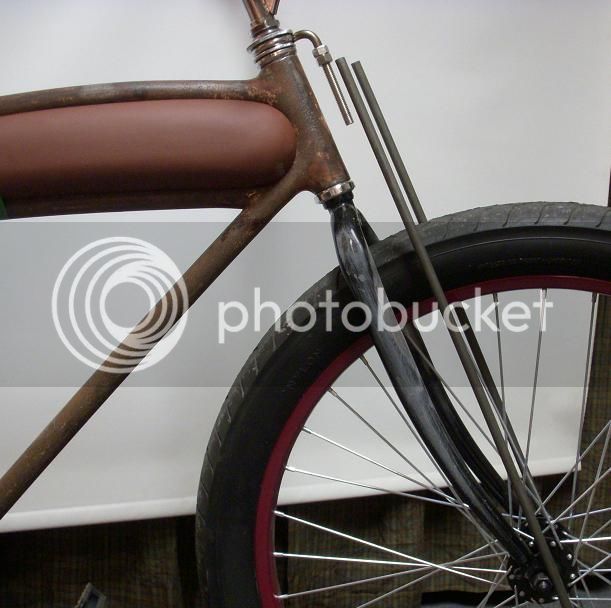
still bending my mind to find the best way to mount it and witch fork design to build


Tank is looking awesome on there!
Luke.
Luke.
I second this.Tank is looking awesome on there!
Luke.


