'59 Schwinn Jaguar Restoration

Rat Rod Bikes Bicycle Forum

Help Support Rat Rod Bikes Bicycle Forum:

This site may earn a commission from merchant affiliate links, including eBay, Amazon, and others.
Joined
Sep 14, 2011
Messages
257
Reaction score
0
Location
Las Vegas, NV
Rating - 0%
0   0   0
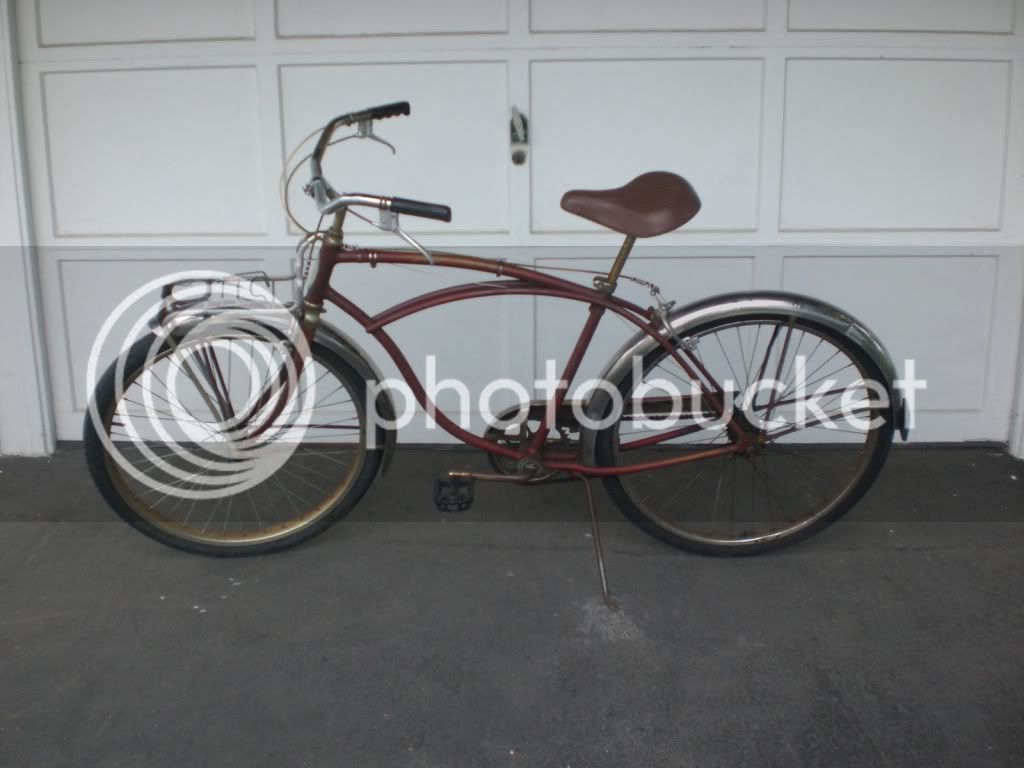
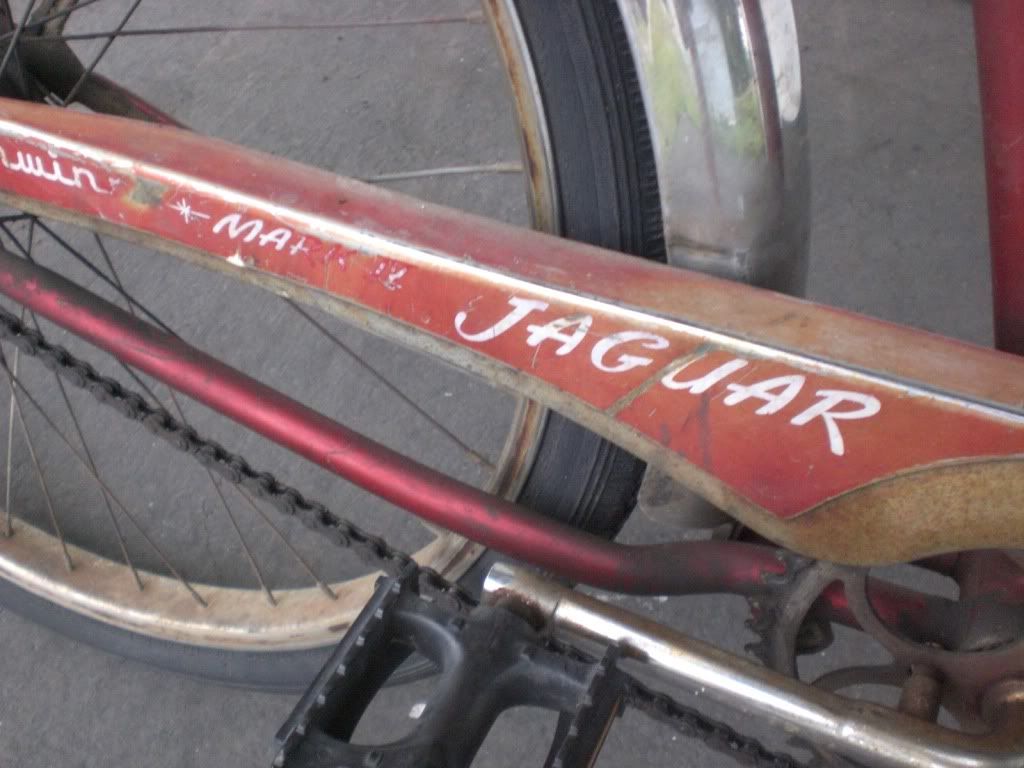
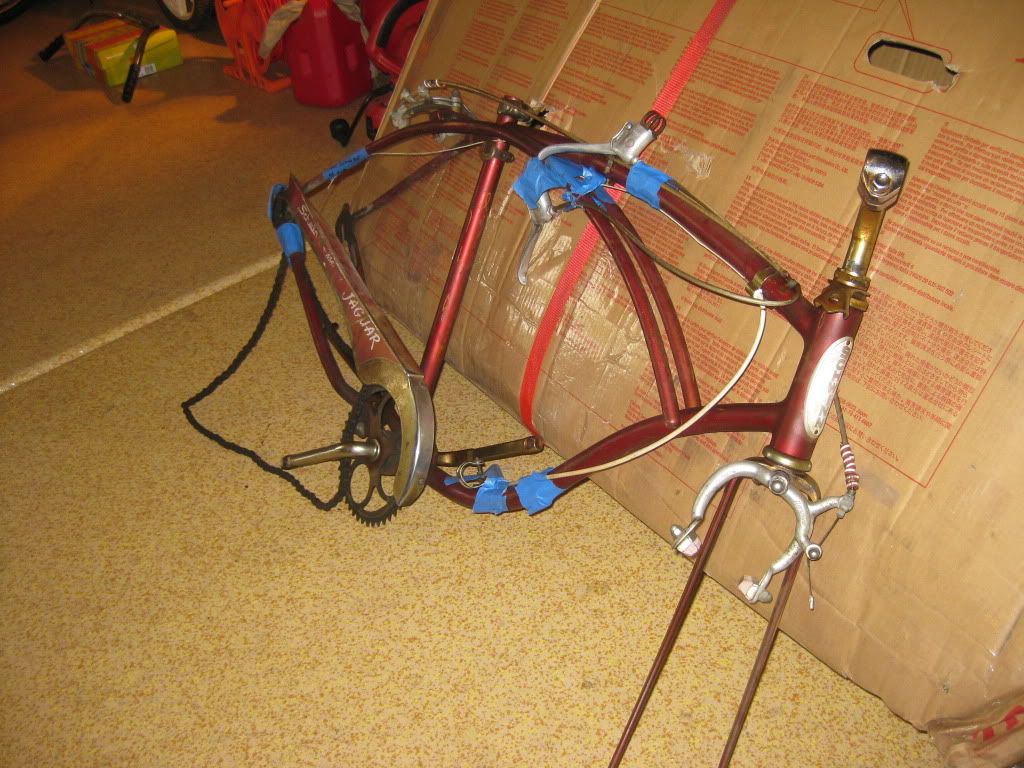
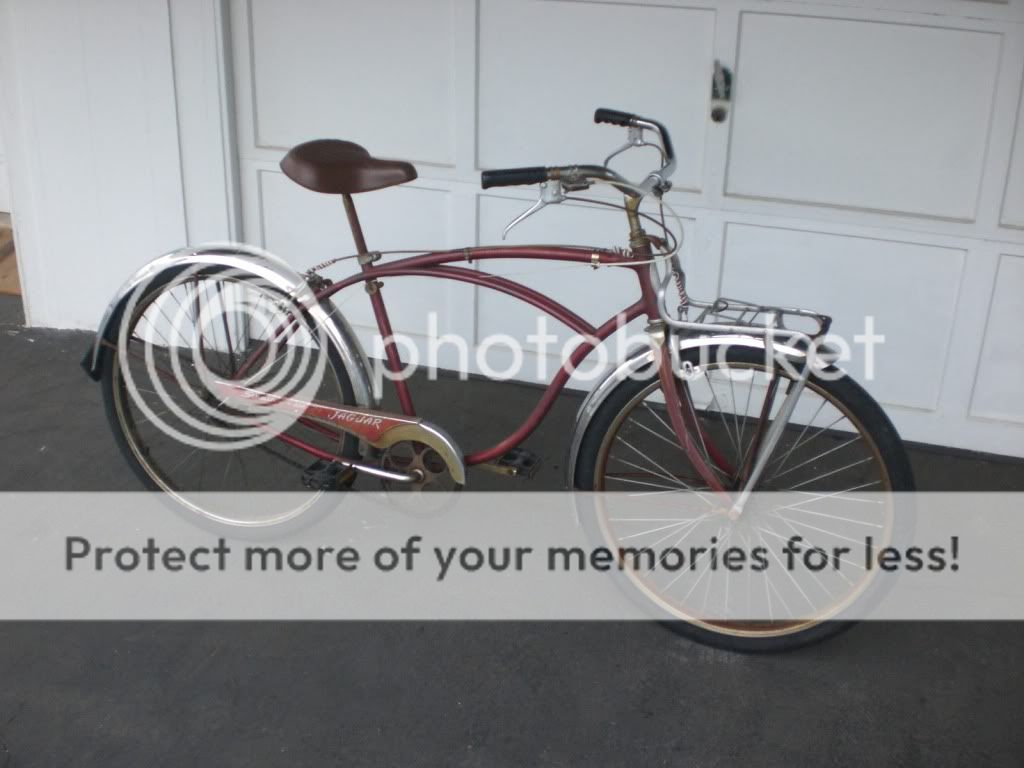
Well I'm excited to say that I found and bought a sweet '59 Schwinn Jaguar Mark IV from a fella on eBay. I've been looking around for some time for a Jaguar, and found one in East PA. The seller was about an hour or so away from my father's house, the bike looked fairly good and 'workable' and he had a fair price...so I did it!

I picked the Mark IV Jaguar as I was looking for a middleweight Schwinn, and read that the Jaguar was the "Cadillac" of the models for its day. That caught my interest, and the fact that is has a 3-speed as well was something that interested me. I think riding it will be fun and enjoyable, especially with the 3-speed option to help me keep up with the kids and their bikes!

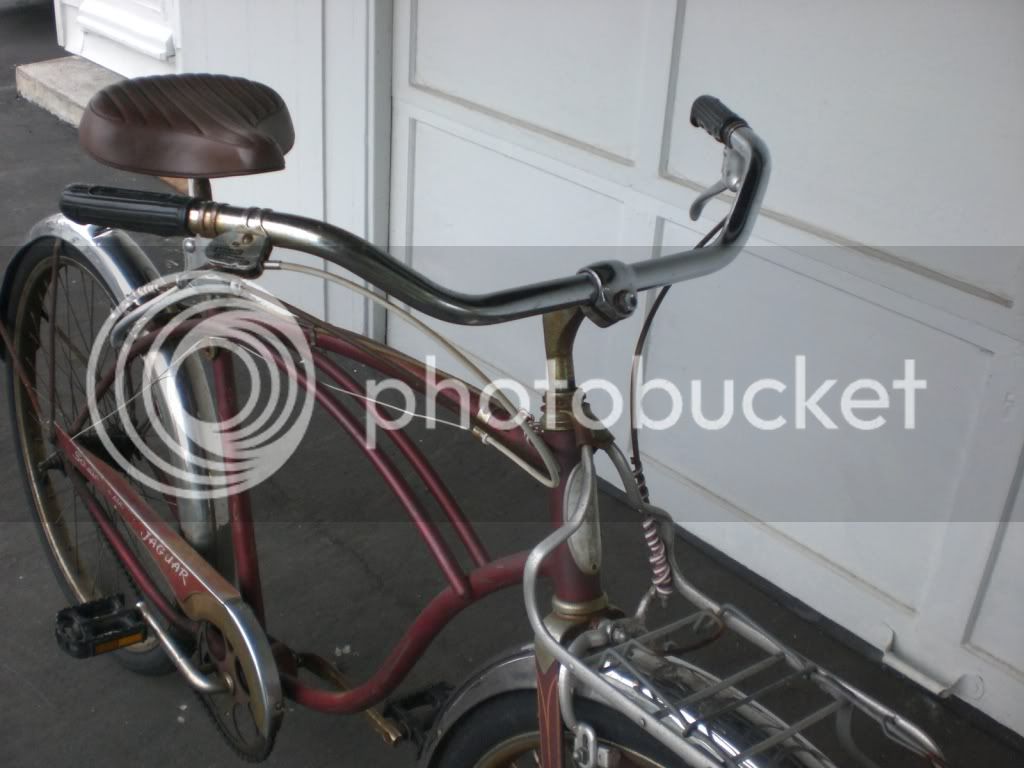
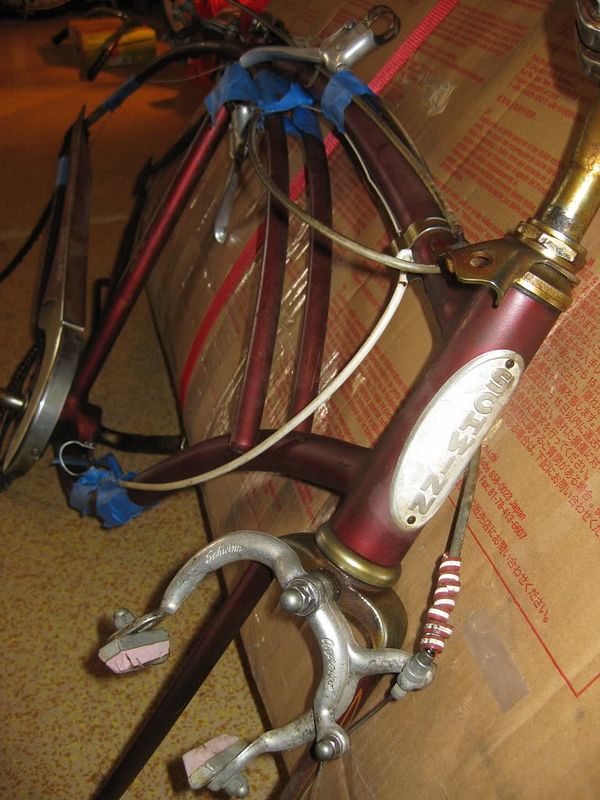
Here are the only pics I have right now, they are from the gentleman that sold me the bike.

CIMG4513.jpg

CIMG4523.jpg

CIMG4516.jpg

CIMG4515.jpg


Lastly, as an active duty military guy, looks like I'll be deploying sometime late October. It's only for the winter, but that means the project will have to be put on hold for a while when I go. :roll:
 
ISSUES AND THE PLAN

The Jaguar appears to have some basic issues as well as the normal rust and 'patina' for a 52 year old specimen.

The bars may not be quite right, and the seat and pedals are not original either. As far as cleanup and restoration goes, removing the rust and fixing the dents in the fenders will be the major effort. After that, I'm hoping that mechanically we're okay and that there's no major hidden damage or problems.

My plan is to restore the bike to as close to original as possible, save the paint as original, and do it all without breaking the bank. I plan to get some NOS or old parts, but the seat, bars and pedals are okay for me...for now. I'd like to get a tank too, but that's another story as I know they are expensive. I plan on removing the spokes, disassembling the hubs, pulling the crank apart...everything. Every bolt will be removed and cleaned.

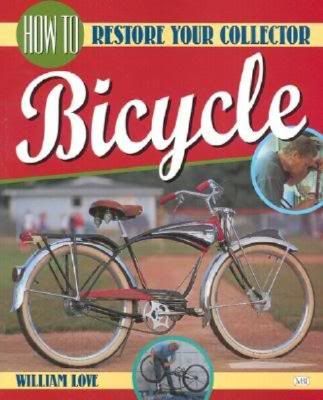
My initial plan is to do a full disassembly, clean everything, de-rust-ify everything and put her back together. I also bought and read William Love's Book (seen below) and I would say it is very helpful. I would recommend it. Maybe after the project is complete I'll have another opinion on his book, but for now it seems really thorough and helpful for most vintage bikes and specifically Schwinns.

How-to-Restore-Your-Collector-Bicycle-Love-William.jpg


Here is a list of stuff I have bought so far in preparation for the bike's arrival. Been reading a lot about what others recommend and have used for various resto jobs.

WD-40
Liquid Wrench penetrating spray
Engine Degreaser (safe for metals and paint)
0000 Steel Wool
Rubber gloves
Shop rags
Toothbrush
Turtle Wax Polishing compound (light abrasive, for the frame paint)
Blue Magic (Chrome and metal)
Oxalic Acid powder (for rust removal baths)
Shop light
 
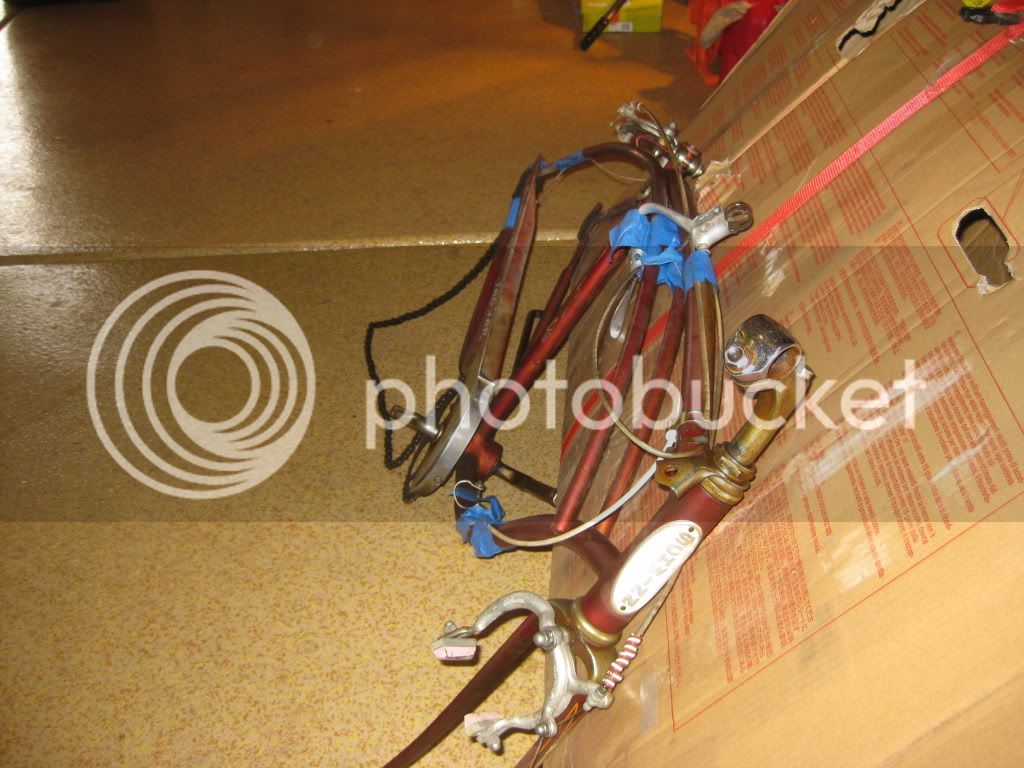
As of today (3 Oct 11), my father has the bike partially disassembled (for reduced shipping size)and will be shipping it to me ASAP! Very excited! :D Sounds like he removed the pedals and the wheels, removed the seat and post, and loosened and turned the handlebars 90 degrees to get it into a compact shape for easy/safe shipping.

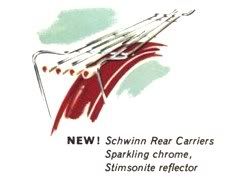
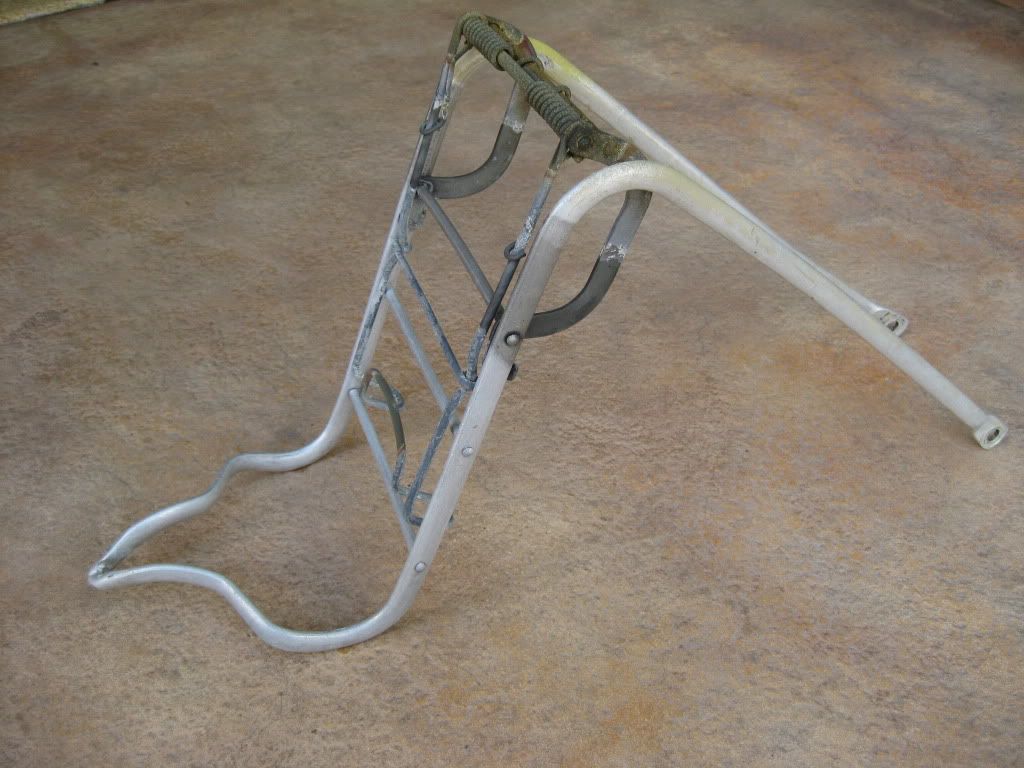
I also purchased a 'Crutch Tip Rack" from a fella on this forum. It is correct for the vintage and was an option for the '59 Jaguar. It arrived and looks excellent.
1959-schwinn-panther-2-rear-carrier.jpg


Lastly, and update on the deployment. I will be leaving late October...so hopefully I'll at least get to see the bike before I go and maybe get some of it disassembled. :mrgreen:
 
THE ARRIVAL!

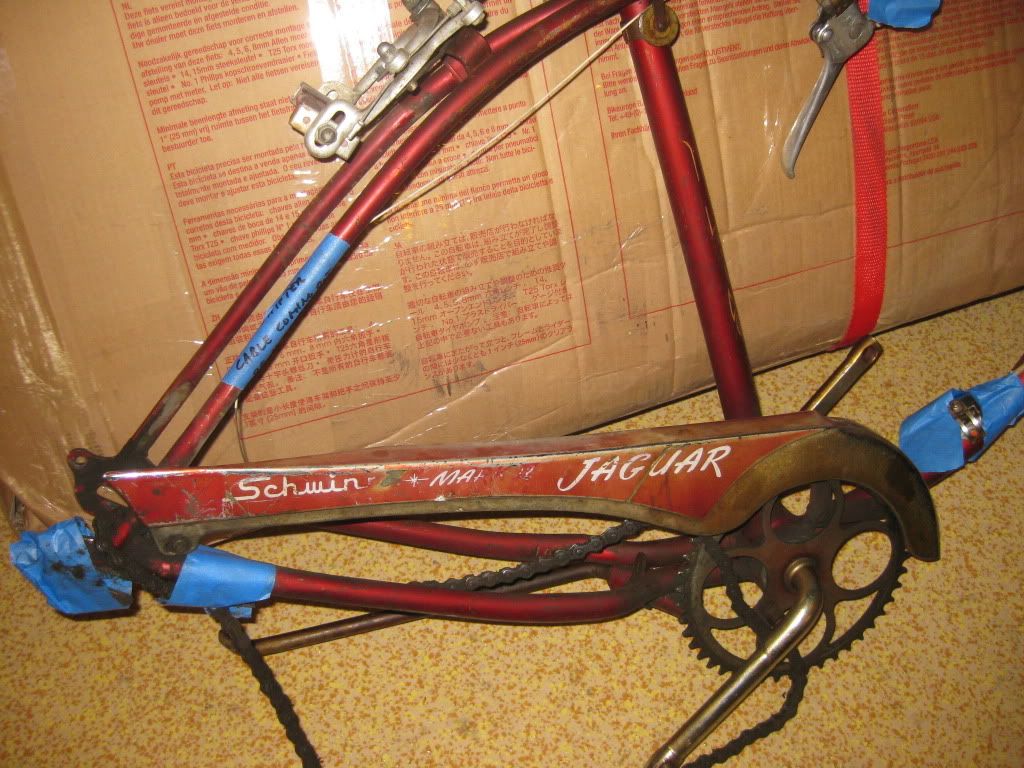
So today the bike arrived! Thanks to my Dad and FedEx! 8) My dad was able to disassemble it quite a bit (as you can see) to aid in shipping size and cost, which did end up helping quite a bit. It arrived in flawless condition (for shipping, not necessarily vintage)!

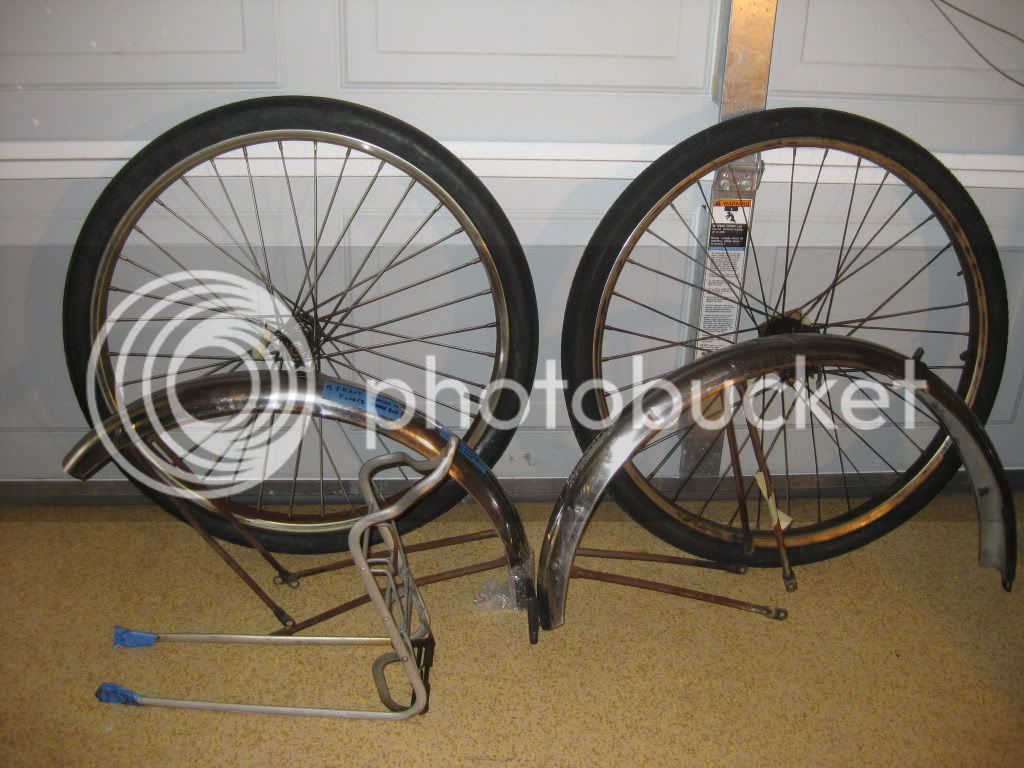
After analyzing it closer, I am really excited. It looks awesome! It DOES need some work, and I'm not so sure how well the paint will clean up (lots of scratches), but who knows. It also appears that the front rim and probably the spokes and hub are NOT authentic. The tire on there is a 26x2.125 (or something) and the rim has no 'hash marks' or 'knurling' as I've seen that is typical of the vintage S7 rim. The rear hub and rim look correct, as do the brake calipers and other 'pieces.' Really excited!! :!:

One of the things I discussed with my dad was 'where to start?' Anyone out there have any advice? I think I will take a few more close up shots, then just start disassembling everything and putting it all in baggies with labels. At some point I'll draw up a chemical bath for the rusty parts and throw everything in. Once the frame is clear, I'll probably just throughly wash it, then decide if polish will be necessary to help brighten the paint and work out any scratches. I'll need to spend some time on the hubs, and get the crank off too. I think I'll have the local pros tear down and rebuild/grease the hubs and crank.

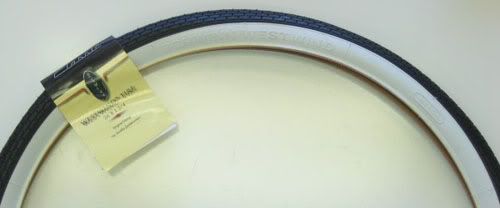
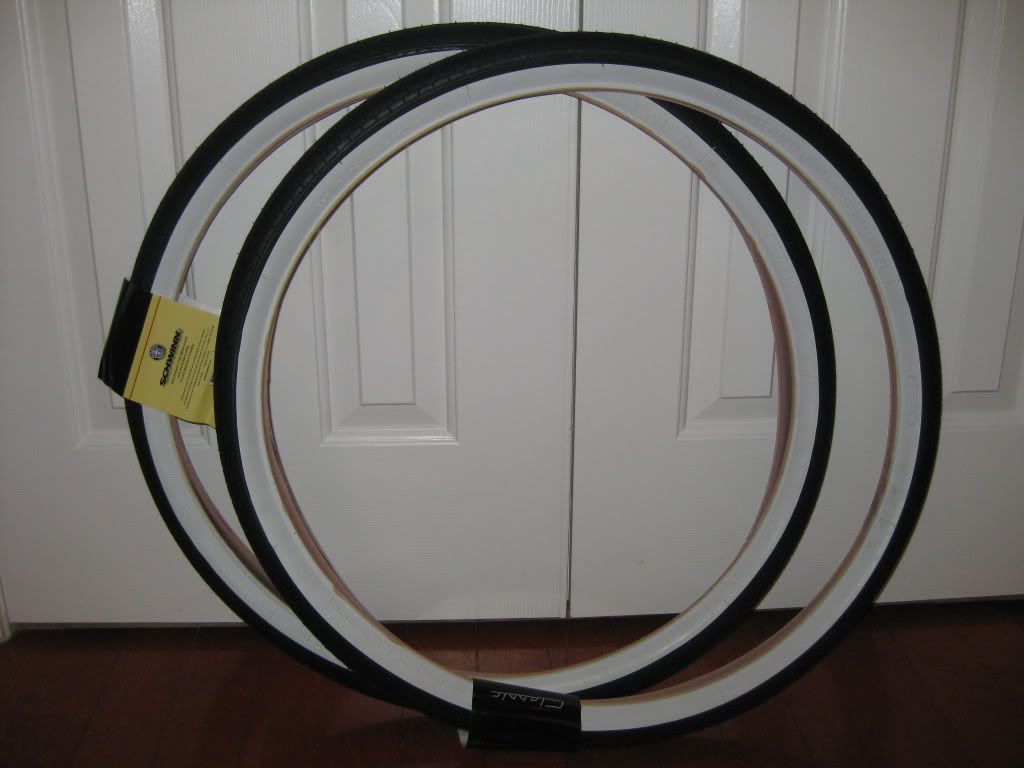
I also decided to splurge a little and get the nice Westwind Schwinn Whitewalls from Memory Lane Classics! Just ordered them! Gonna be sweet!

Photos were taken by my 6 yr old son who is very eager to begin wrenching on the bike!

Here we go!

IMG_3340.jpg

IMG_3339.jpg

IMG_3337.jpg

IMG_3336.jpg

IMG_3341.jpg

tire_ww-w_m.jpg
 
DISASSEMBLY (or is it 'Dis-sembly?).

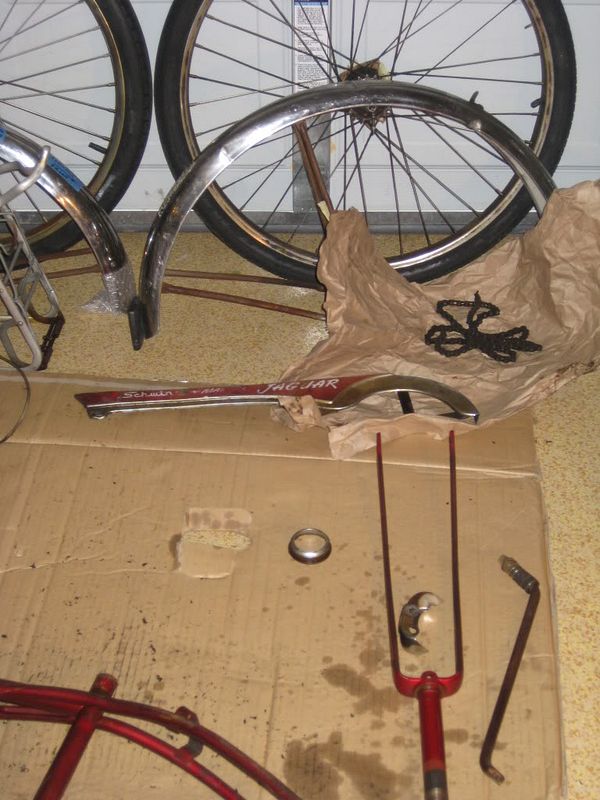
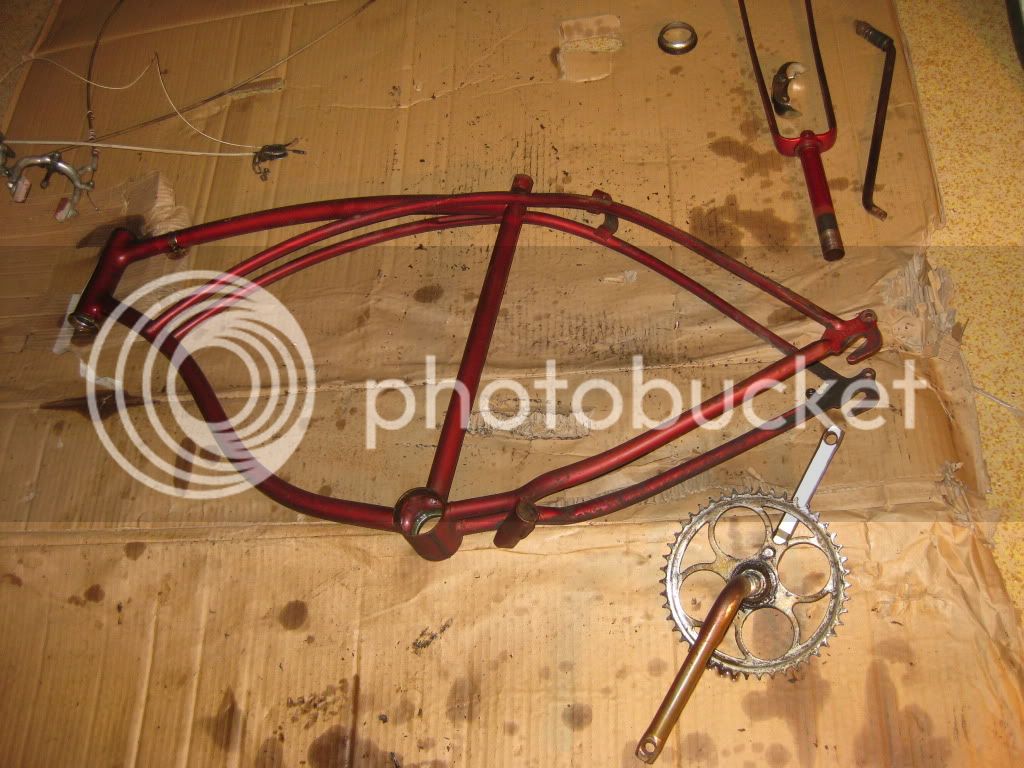
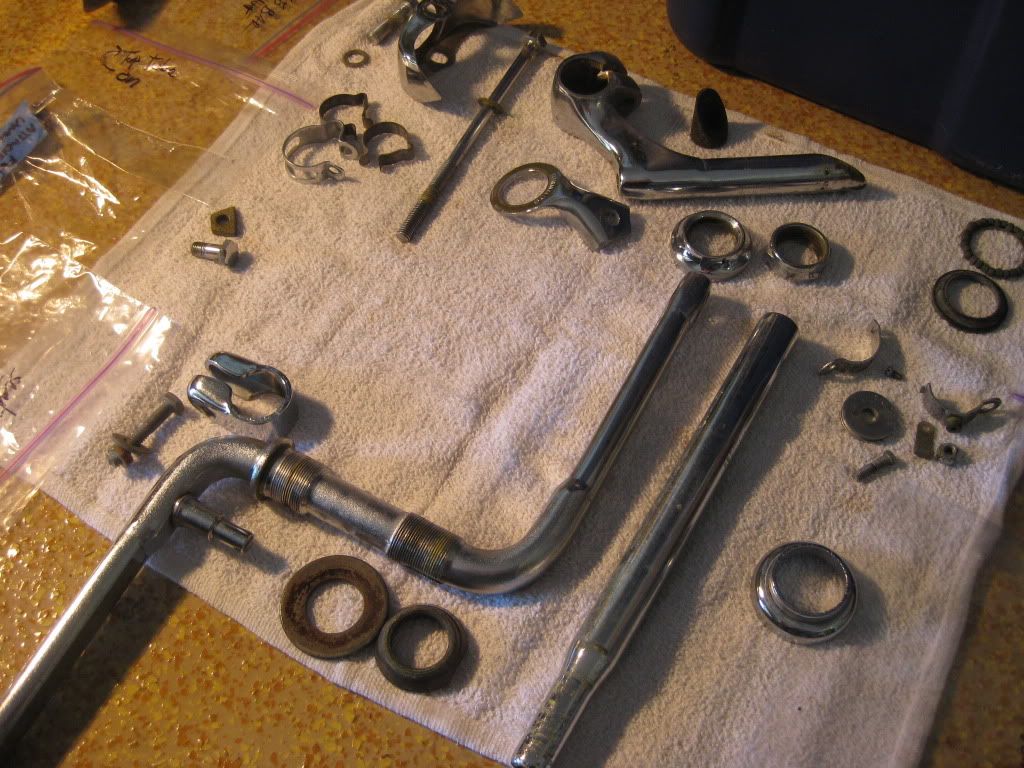
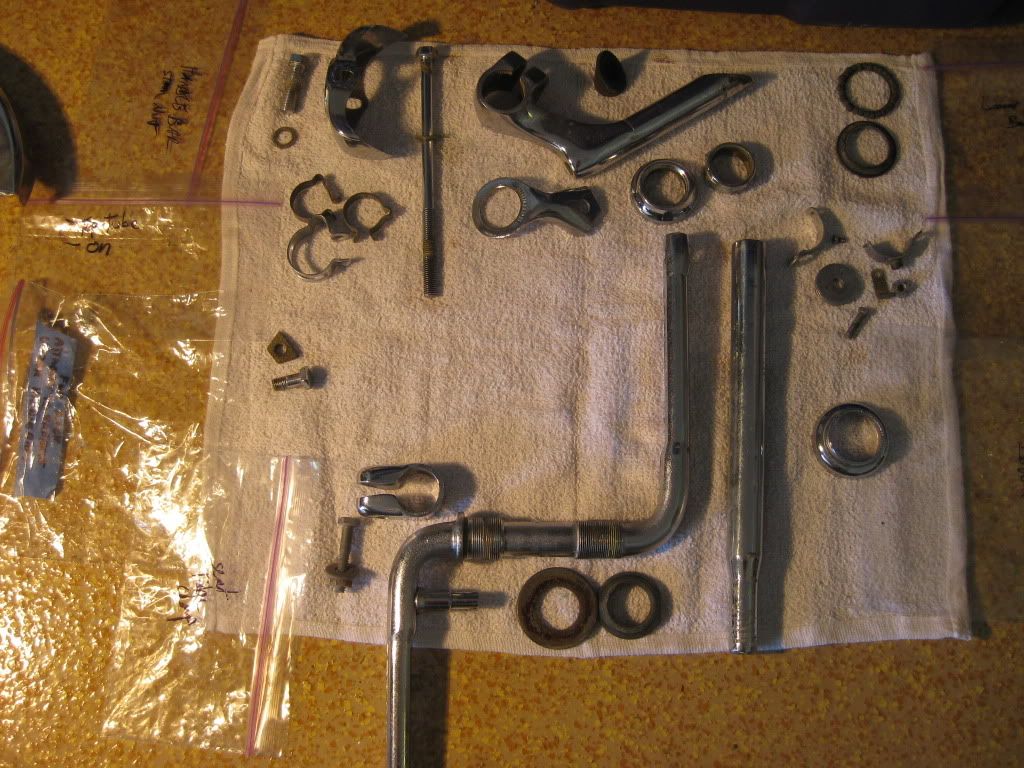
Holy grease and grime Batman! But talk about fun too. My nails are full of grime and stuff, but it is worth it. My son helped me pull just about everything apart tonight. He even whacked the neck bolt with a rubber mallet like Mr Love's book suggested (after we backed it out a 1/4 inch) and the neck came right out!

As you can see, we have almost everything apart 'cept for a stubborn cable guide bracket on the top tube, a bearing cone (I think it's called) on the bottom bracket, and I'm not really sure how to get the collars or cones out of the top and bottom of the neck either. I'm letting the crank and sprocket soak overnight too in liquid wrench as they seem to be stuck (and my adjustable wrench isn't quite the right one either I'm convinced).

Liquid Wrench is so far, worth it's weight in spray gold. But it would also appear that whoever put the bike together last did a phenominal job with grease and lube as there is NO serious rust (just light surface stuff), and everything is coming apart really quite easily. The bearings all look pretty good. The bottom bracket ones are real greasy and nice, but the neck tube ones were a little tan. But I bet they'll clean right up.

The paint still has me concerned. I do not want to re-paint the frame (Negatives: cost, time, and lack of originality), but there are some hefty scratches indeed. Nothing like the bike was skidded down the road at 30 mph or anything, but there are just a lot of 'em. Hmmm... :cry:

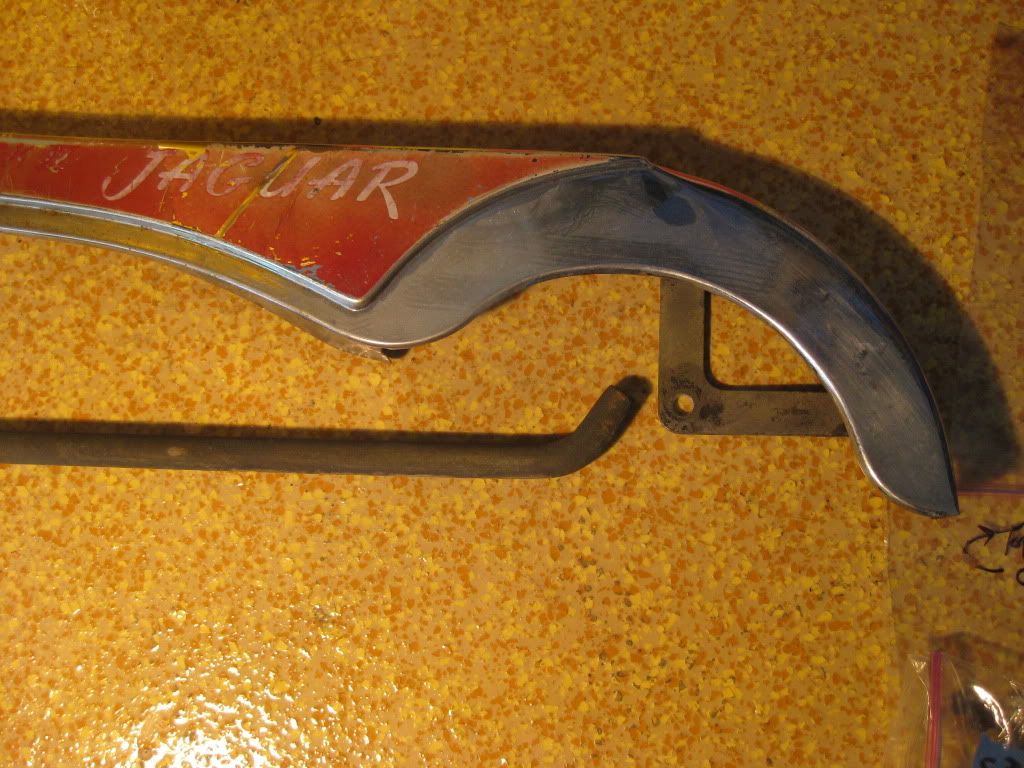
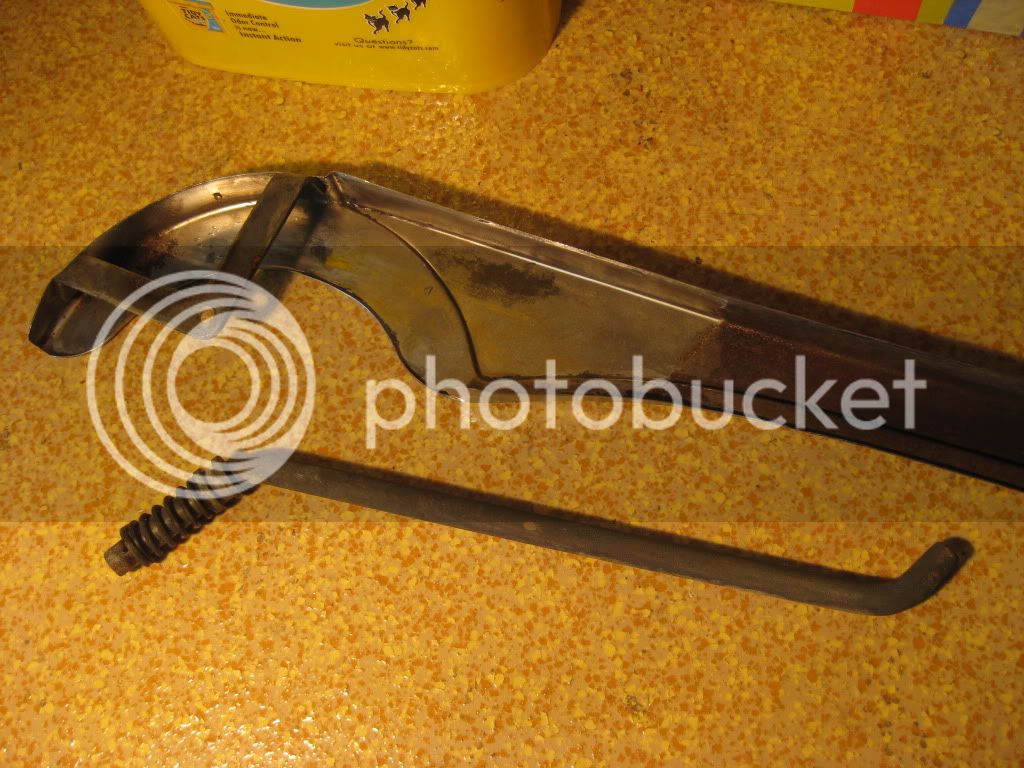
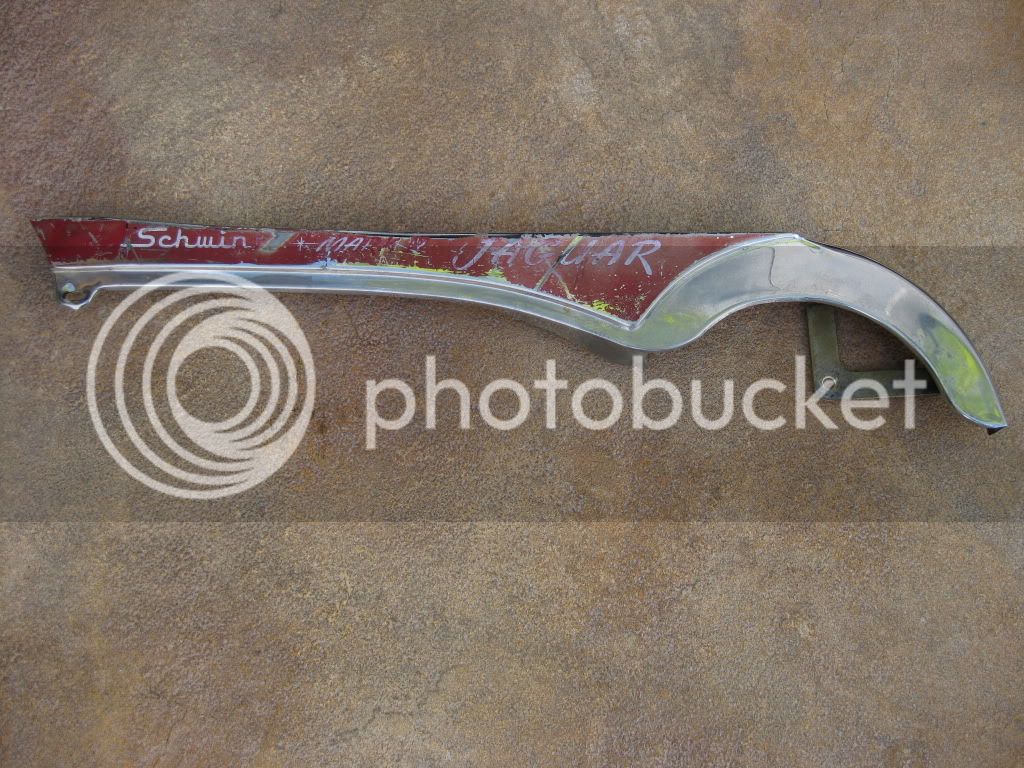
The chain guard is pretty bashed up, not sure what to do there. Maybe I can clean it up to bare metal and see (beforehand) if there is a decal that does the whole thing, red paint, lettering, and all.

So I guess now I will finish the disassembly, then begin to take the rear wheel apart. I'll de-lace it and everything. I need to also a$$ess the front rim and hub for originality, but I'm quite sure they are all 'not right.' I may be buying one S7 rim, spokes and hub soon. I know the rim is bad, and the spokes are thicker than the original rear spokes.

After that it's cleaning time! Yay!! :shock:

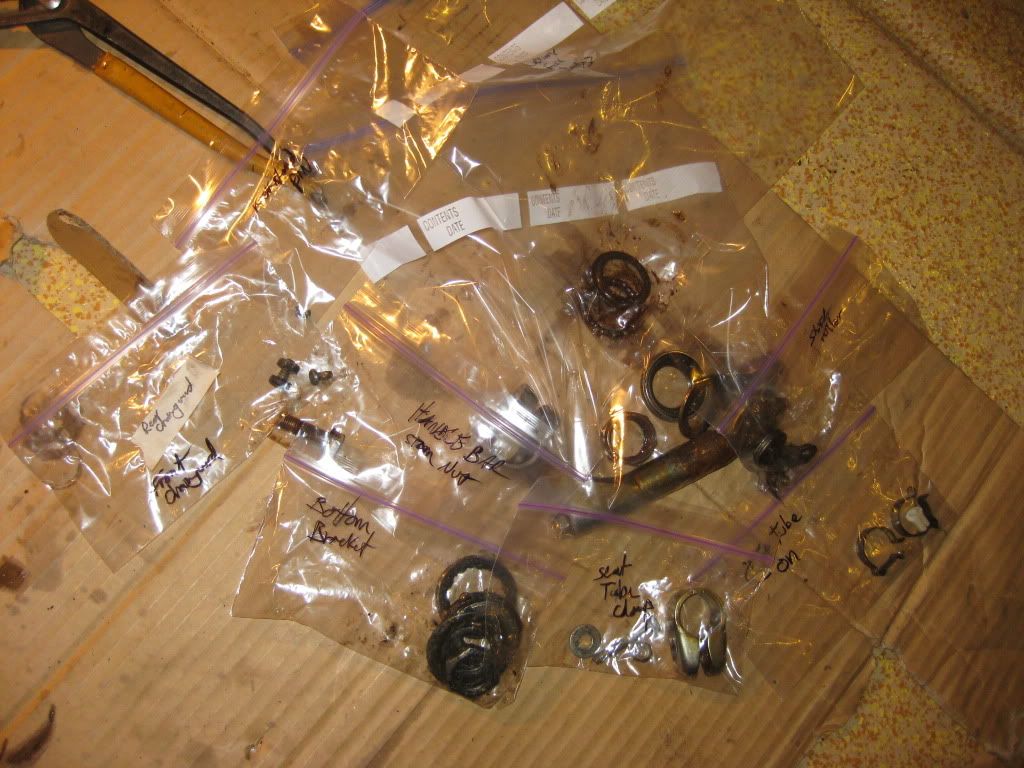
Here are some pics after tonight's garage grease and liquid wrench party. Also included is a pic of my baggie collection, carefully labeled because I KNOW I'll forget what goes where in 4-5 months when it goes back together.

Thanks for checking in and if you have any advice (even the 'take a break and drink a scotch' kind)...I'd love to hear it. Enjoy!

IMG_3356.jpg

IMG_3355.jpg

IMG_3357.jpg
 
Well today I made some good progress on the ole girl. First tackling the items left to soak overnight in liquid wrench, I was able to get the one stubborn bottom bracket cone out and the neck tube cones as well. The last bolt on the top tube cable guide was still solidly stuck, and worse... it was stripping out, making it impossible to loosen. So I got out the Dremel tool and just cut it (the sbolt) right off. The crank and sprocket assembly was still not budging either so I put that aside for later.

I also had to dremel cut another bolt that someone had used to attach a non-standard reflector to the rear fender many years ago. What a mess. I got it off, but now I'm left with a hole in the fender that someone though was wise to do many years ago. Silly.

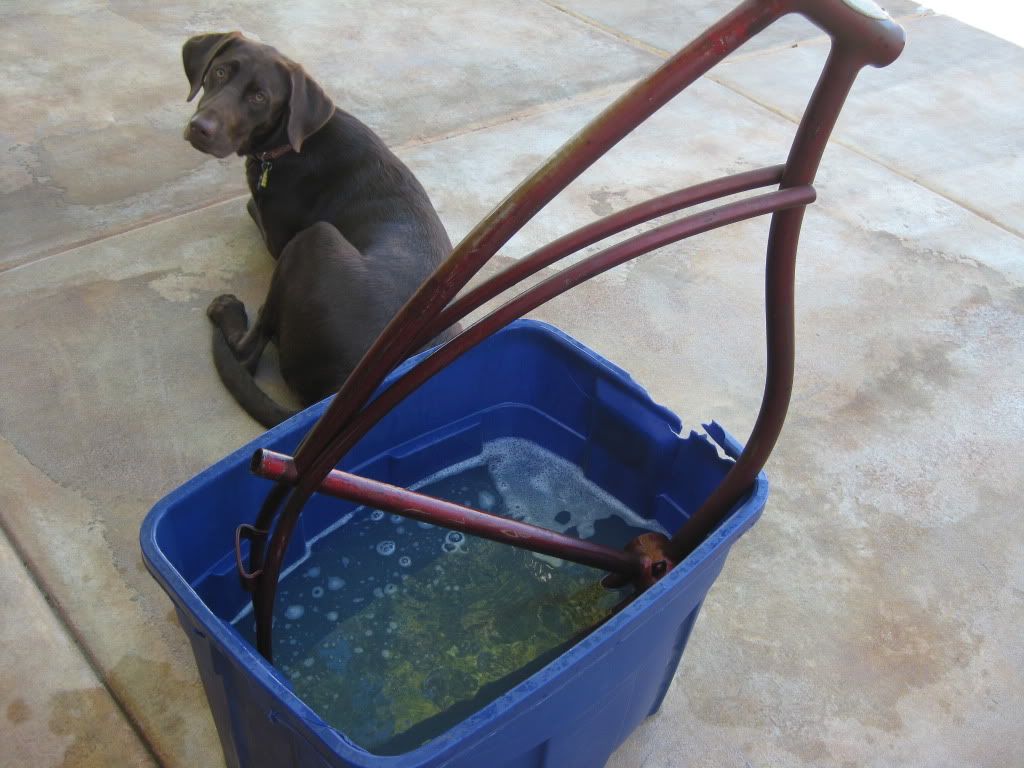
So everything is off the frame except the headbadge. The little screws are still rusted solid and I even bent the tip of my mini screwdriver attempting to turn them. Guess we'll wait on that part for a while huh? Here's picture of the frame being cleaned with my soft brush/scrubber and a bin of Simple Green and H2O...Charlie was helping fend off attackers while I cleaned.

IMG_3366.jpg

IMG_3364.jpg


The best part about today was that I began to clean stuff up. Finally removing the grease and grime, some of it 52 years old I'm sure. I went up to Lowes and got a gallon of Simple Green (biodegradable), then over to the bike shop where I procured a spoke wrench and left the sprocket/crank assembly for them to deal with. The guy said it would be a day or two (guess they're busy) for my small request and probably just be $5...we'll see. I like this bike shop, but today, they seemed a little bothered that I was in there asking all kinds of rookie questions.

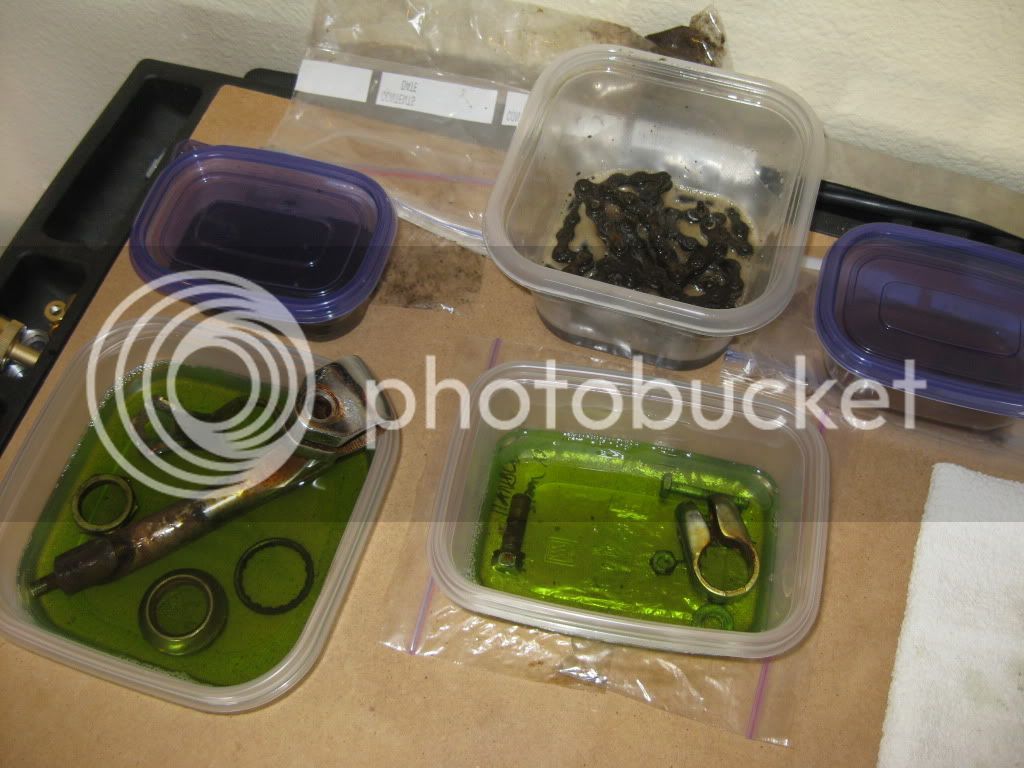
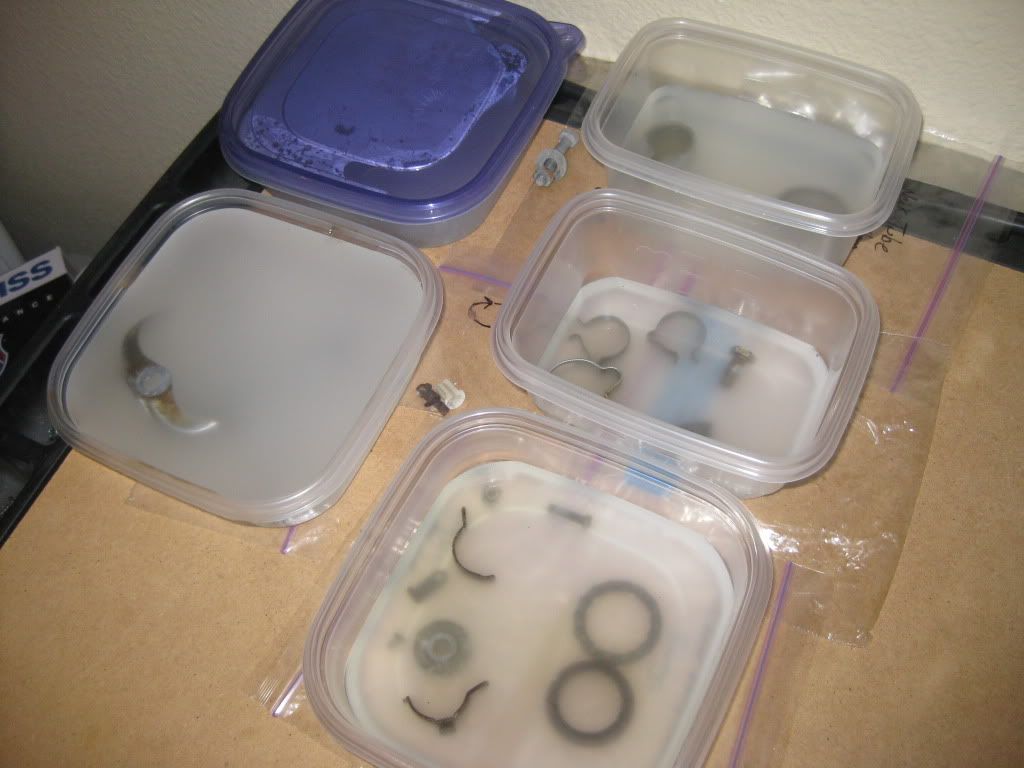
Here is a pic of my carefully organized baths of goodies as it sits now and overnight. Some parts are in strong solutions of Simple Green (biodegradable), while others are sealed in bins of kerosene (not-biodegradeable...jet fuel!). It seems that both applications are doing a good job so far. I also cleaned up a bunch of parts (the kickstand and spring, chain guard, seat post, etc) in a warm bath of just blue Dawn and H2O. Seemed to do the trick as well.

IMG_3363.jpg


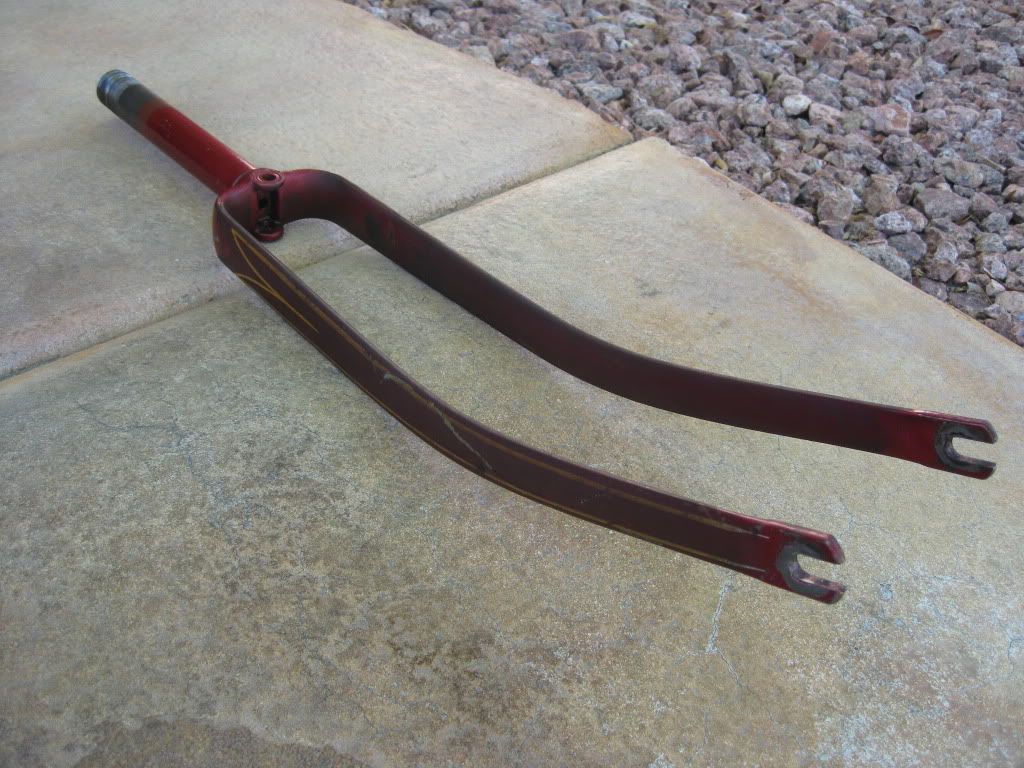
Here's the fork (forks?) too after a strong blue dawn bath.

IMG_3362.jpg


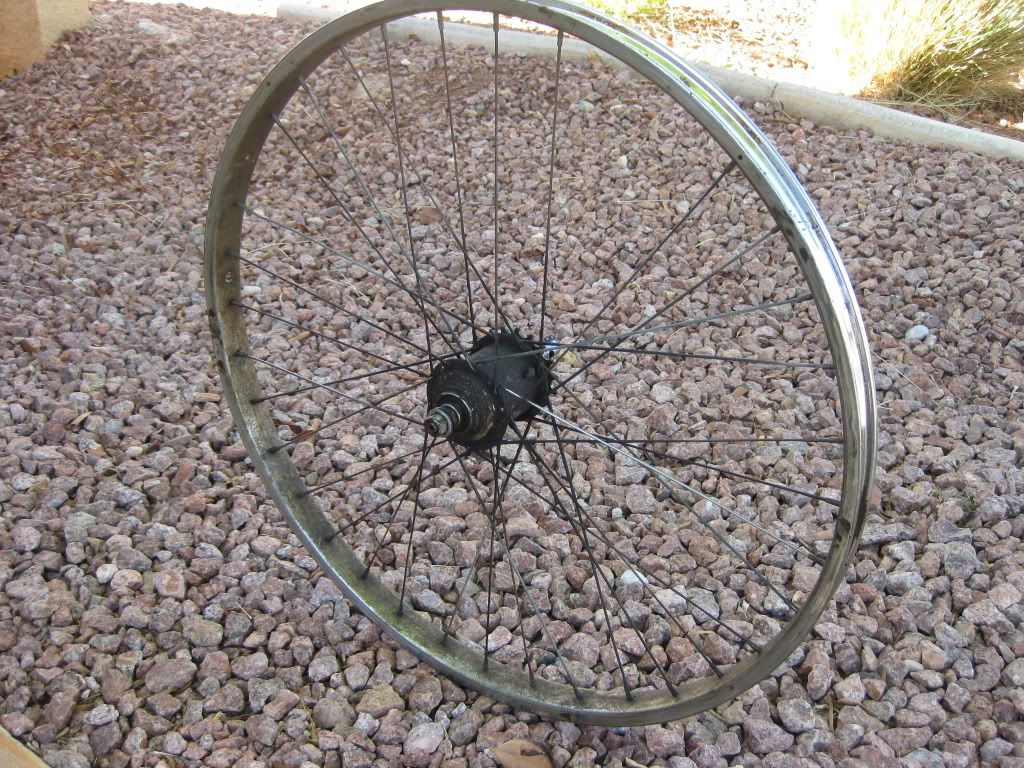
I also got the tire and tube off the rear wheel and put a ton of liquid wrench on the nipples to sit overnight. Tomorrow, I'll try the new spoke wrench tool I got and go to town removing the spokes and hub. Here's what it looks like now. Painfully obvious in this picture is the missing 'other' wheel. After careful examination and checking, I am certain the one that came with the bike is not original. So I've decided to leave it alone, save my time for other parts, and just buy an S7 rim and spokes online, or off eBay. Not sure about the hub though, it may work but I have no clue about those kind of mechanical things...yet. 36 spokes, 18 per hub side.
IMG_3361.jpg


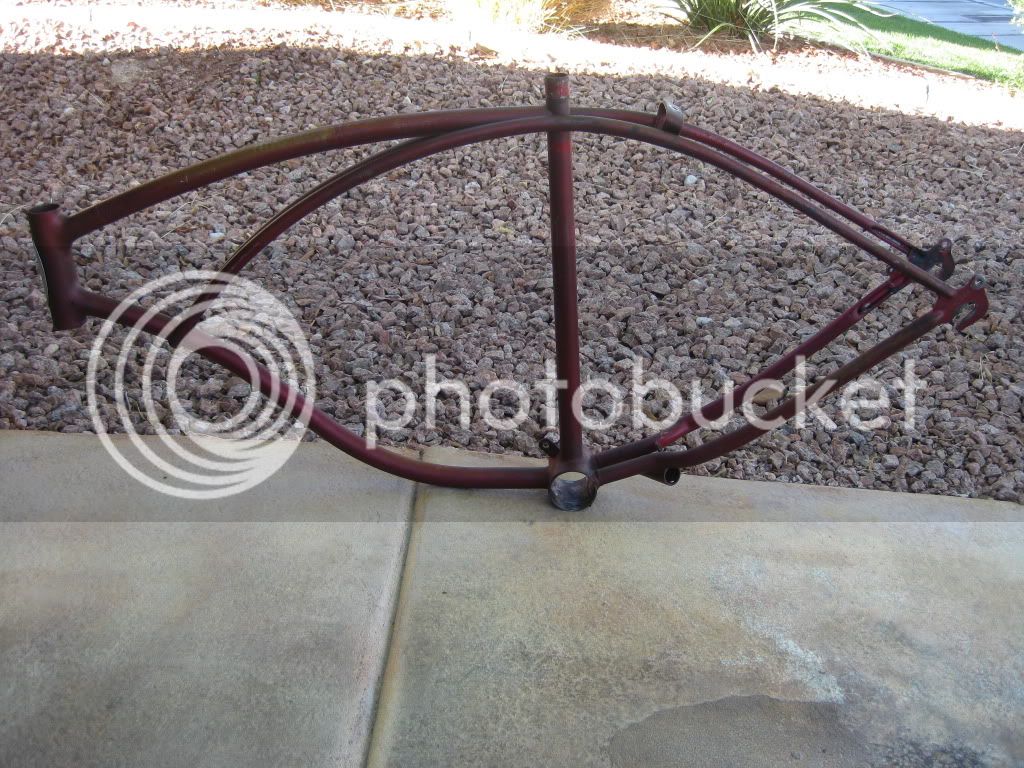
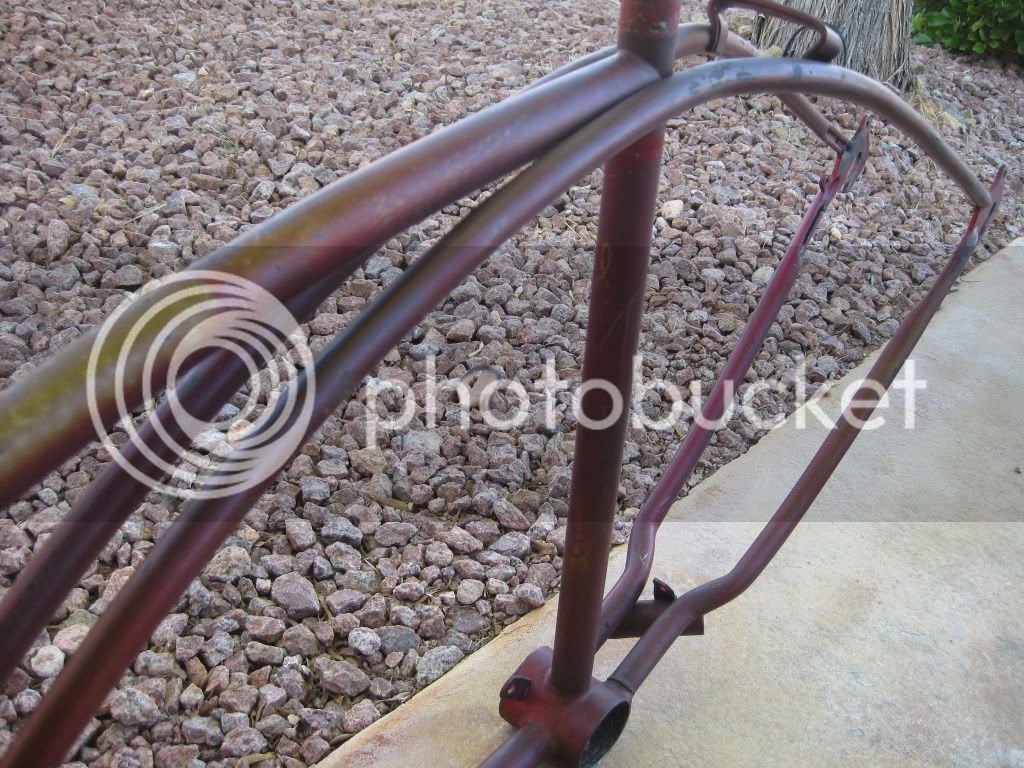
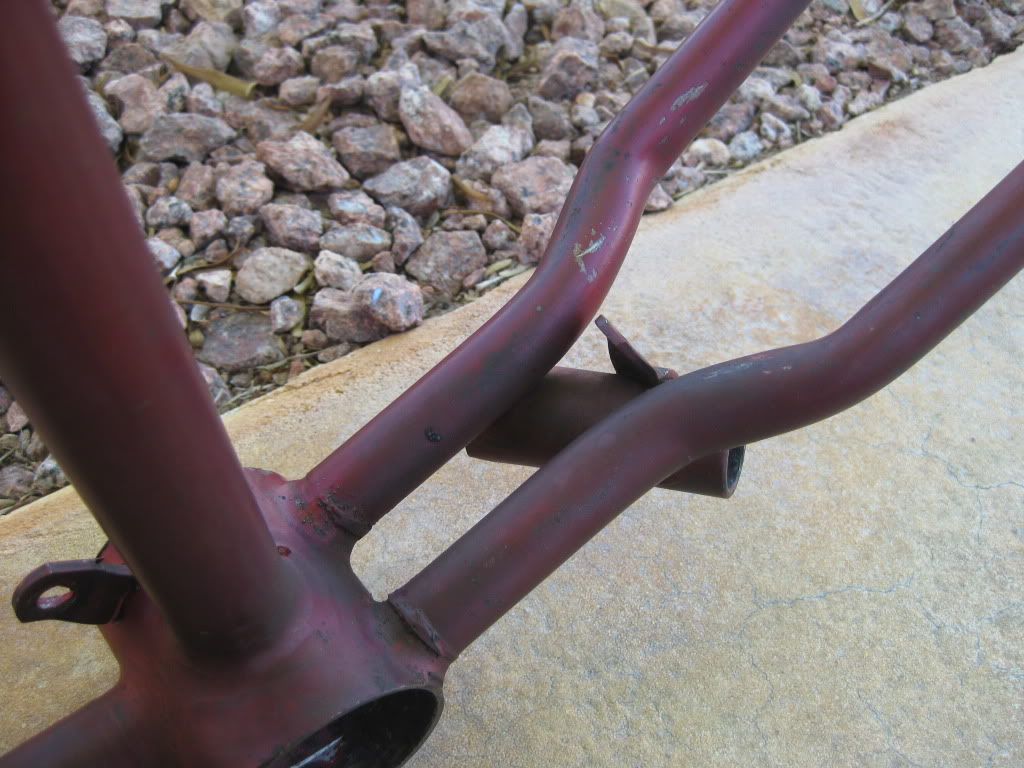
So here are a few pics of the frame after a thorough cleaning with the water/Green bath. Not much improvement, but it's certainly clean. I will apply some polish soon and see if that brightens the paint some, but I'm just not sure. It's sooooo dark right now, and the scratches seem to look worse as most are down to the metal. Perplexed. I can only hope that some polish will brighten up the paint enough to where I can live with the really nice "patina." A new word to me, that I've also found means "likeable age" or "nice weathering." I guess it's the way to go, but I haven't seen many compliments on similarly scratched up cars.

IMG_3367.jpg

IMG_3368.jpg


Looks like I'm leaving for the Mid-East in about two weeks. Enough time to keep me busy at work and allow for a good amount of cleaning and such on bike parts. Maybe I can get everything done before I go, and then upon my return....start to build! (Insert evil mad scientist laugh here!)
 
So today I got a little done. Had to stop the operation around lunch time for other engagements, as well as getting ready to head downtown for the afternoon with the family.

Today I got everything that was soaking in whatever... cleaned, rinsed, and dried. I sorted the 'ready to go' stuff back into baggies, while sorting everything that had rust or oxidization on it to get ready for the oxalic acid bath. You can guess that I had far more stuff in the "needs the acid bath" pile than was in the "ready to go" pile. But I was really surprised that some stuff really cleaned up quite well and bottom bracket bearings look practically new!

I suited up with long sleeves, mask, goggles and gloves and began to mix up the acid stuff. It's really rather mild I'm guessing (a few oz per gallon of H20) but I'm taking precautions. I placed everything neatly in more bins with the label baggies underneath, and poured in the solution. One bolt seemed to fizz like an Alka-Seltzer so I decided to pull it out. It isn't too far rusted so I'll just do it later with polish. Other than that, everything else is submerged and soaking. 8)

IMG_3371.jpg


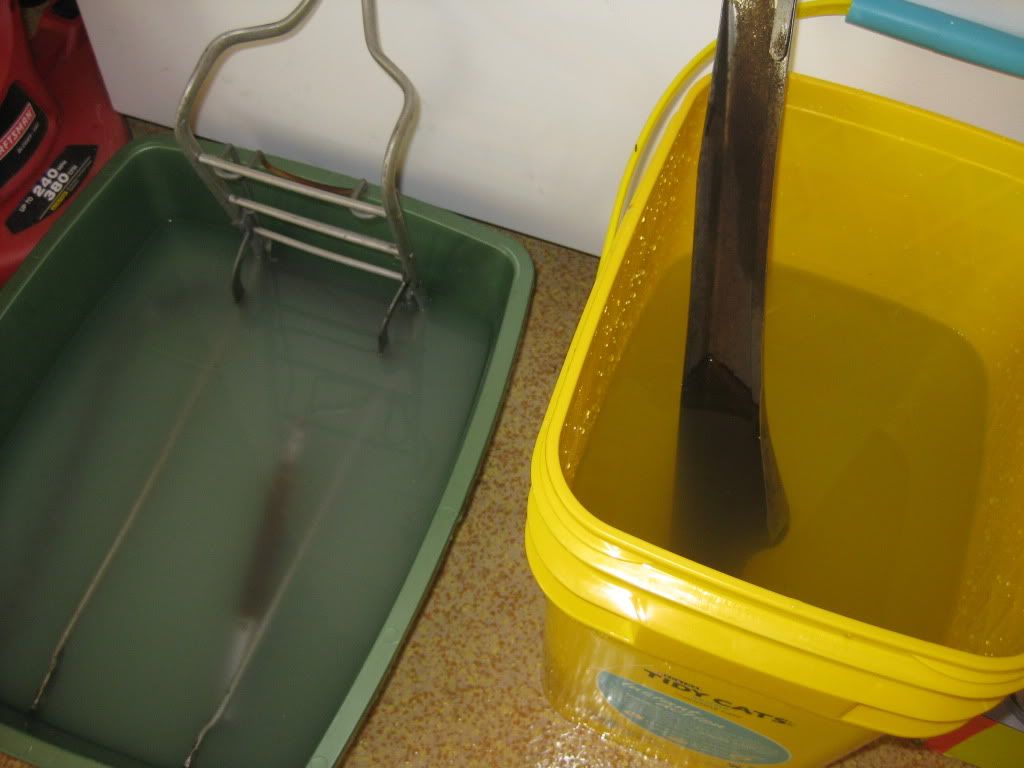
I also filled up some larger bins with more oxalic acid and began soaking the front rack and chainguard, along with the kickstand and seat tube. The rack and chainguard are only half submerged. I'll give it a day and flip them over tomorrow to soak the other sides.

IMG_3372.jpg


The bike store from yesterday was kind enough to call me today too. They had no problem with the crank and sprocket and my wife was able to pick it up while out on errands. They are soaking now in Simple Green and will take an acid bath later too. The shop charged me $10. Maybe I should quit the Air Force and get a job as a bike mechanic huh? :wink:

Lastly, I got all but three nipples and spokes off the rim. A little more liquid wrench and time and I'll have the rim ready for a bath and the rear hub ready for the pros to figure out. Looks like finding a new rim for the front may be harder than I thought. I surfed all over last night with no luck. Also, the spokes will be about $35 for 72 new ones...zeesh! I'll see what I can salvage from the originals, some of them are pretty banged up, twisted and corroded.

Onward! :mrgreen:
 
CLEAING DAY 2

So today was another nice day to have off and work on the bike!

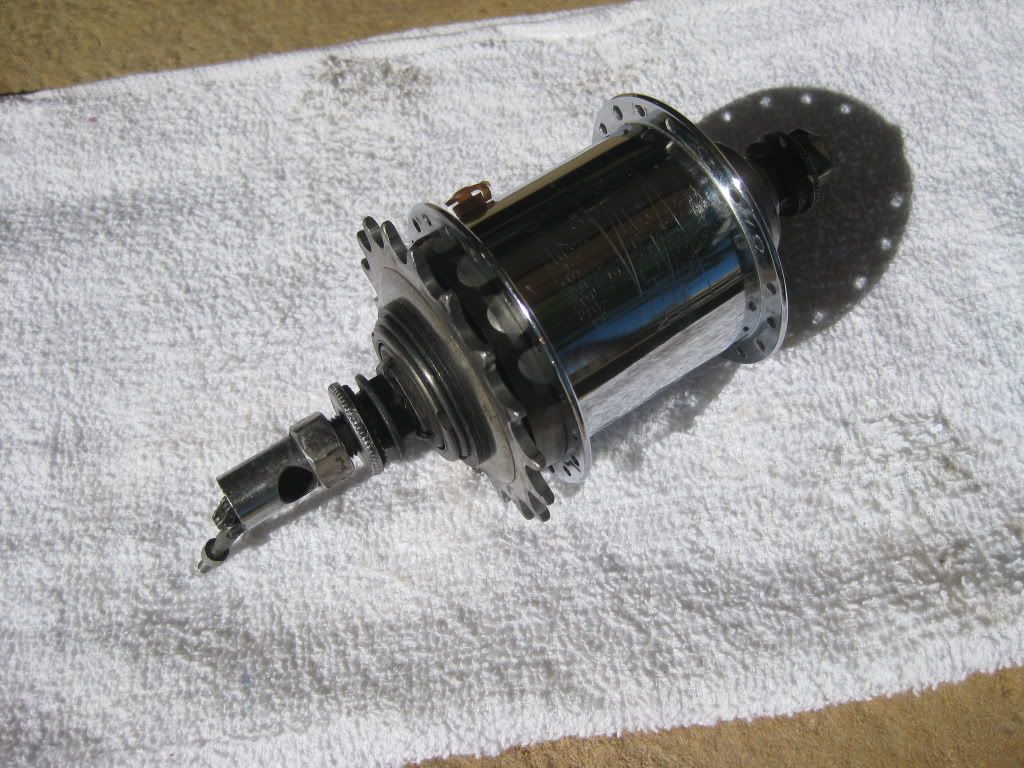
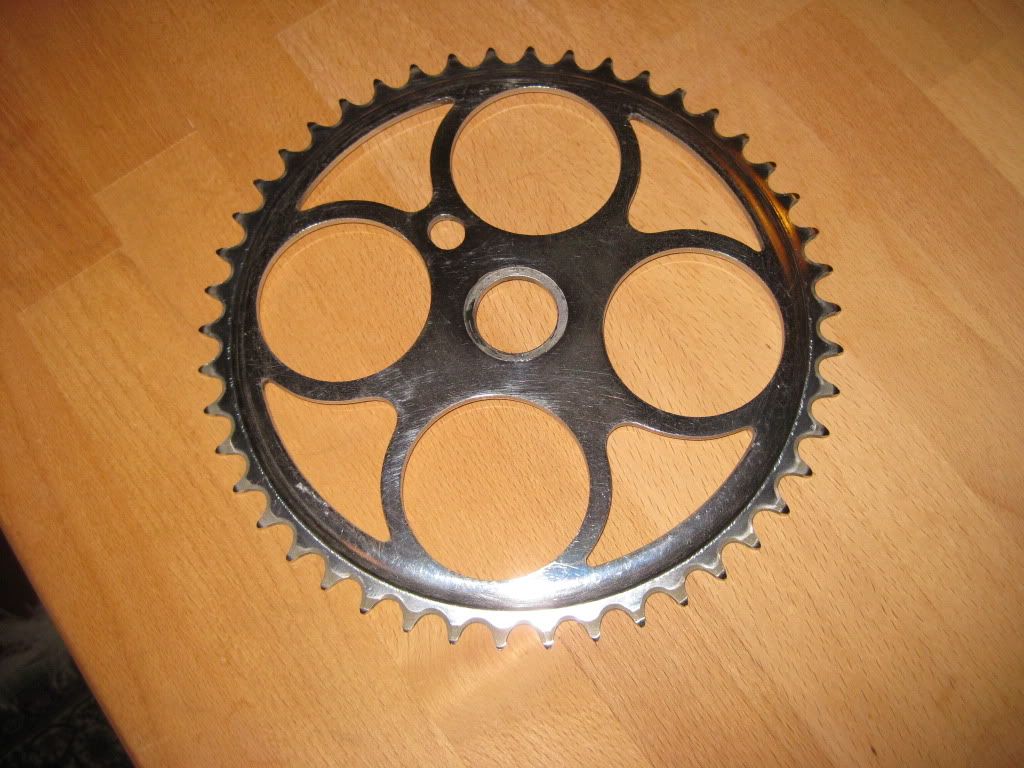
I started by finishing off the stubborn spokes (with a wire cutter, oh well) and got the hub freed from the rim. I saved the spokes and nipples for later, but I may just buy new ones as only a few appear to be in fair shape. After that I spent some time cleaning the rear hub up. I think it looks incredible if I do say so myself!

IMG_3373.jpg

IMG_3374.jpg


I called a different bike store in town "Bike World" that is open on Sunday's and specializes in Schwinns. They also have an expert on old Schwinns that works there, but he wasn't in today. The kids and I loaded up and drove over and dropped off the hub. Frank seemed to have some pretty good expertise on old Schwinns as well and he was very optimistic about the hub, its condition and their ability to overhaul it. He seemed to think that even now it was in perfect mechanical shape! They'll still do the overhaul for me for about $35 as I want the hub to be perfect mechanically and last many more years.

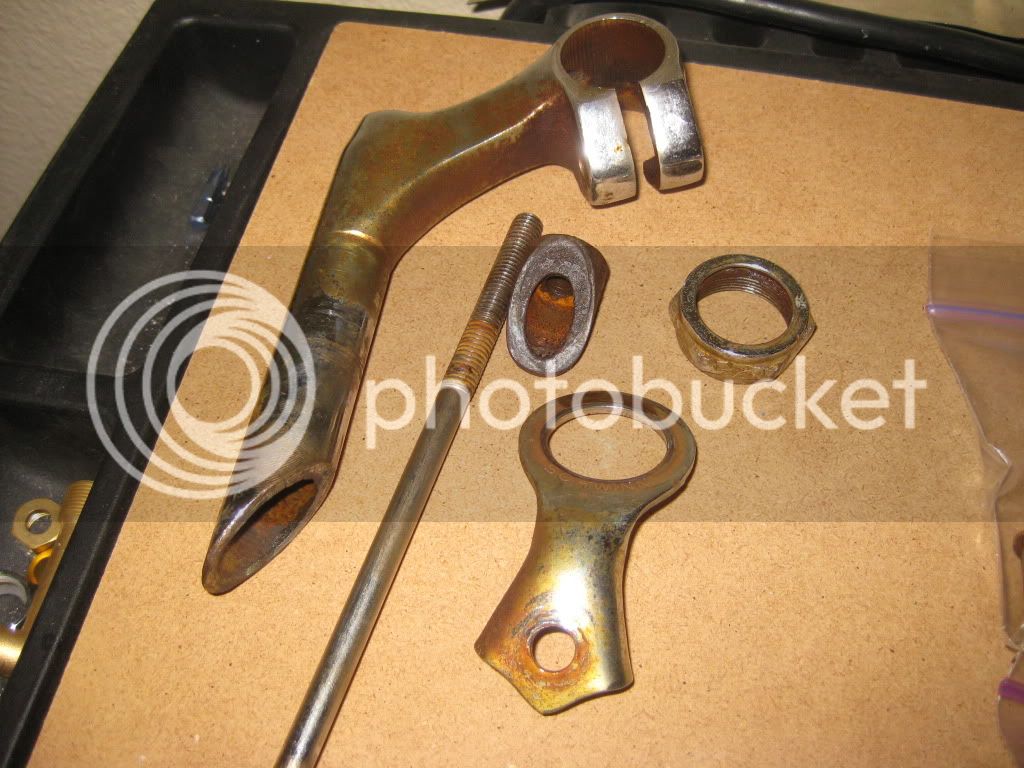
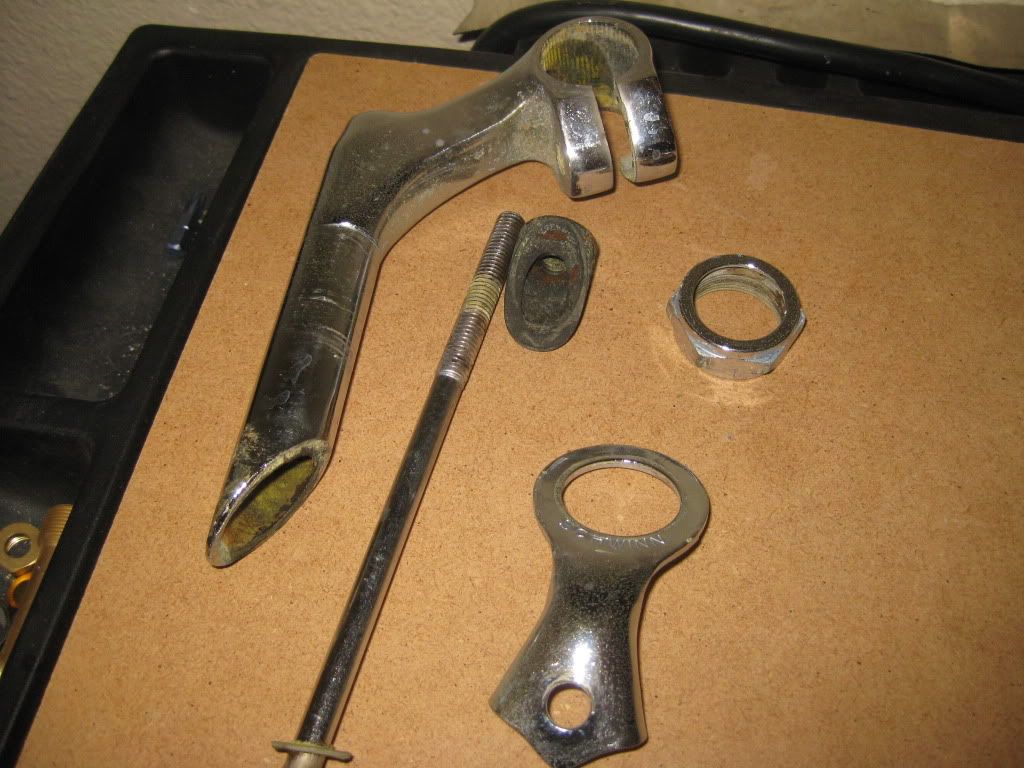
After we returned and had lunch it was time to examine the stuff that had been soaking in the acid baths. All I can say is HOLY COW! :shock: That oxalic acid is fabulous stuff! Here are some pics of the results. These parts are just rinsed off, no further polishing...straight out of the baths basically!

IMG_3376.jpg

IMG_3375.jpg


Here's half of the chain guard too.

IMG_3377.jpg

IMG_3378.jpg


Amazing stuff, but you have to be careful with it. Here is an attempt at a before and after pic with some of the neck assembly stuff.

BEFORE
IMG_3369.jpg


AFTER
IMG_3379.jpg


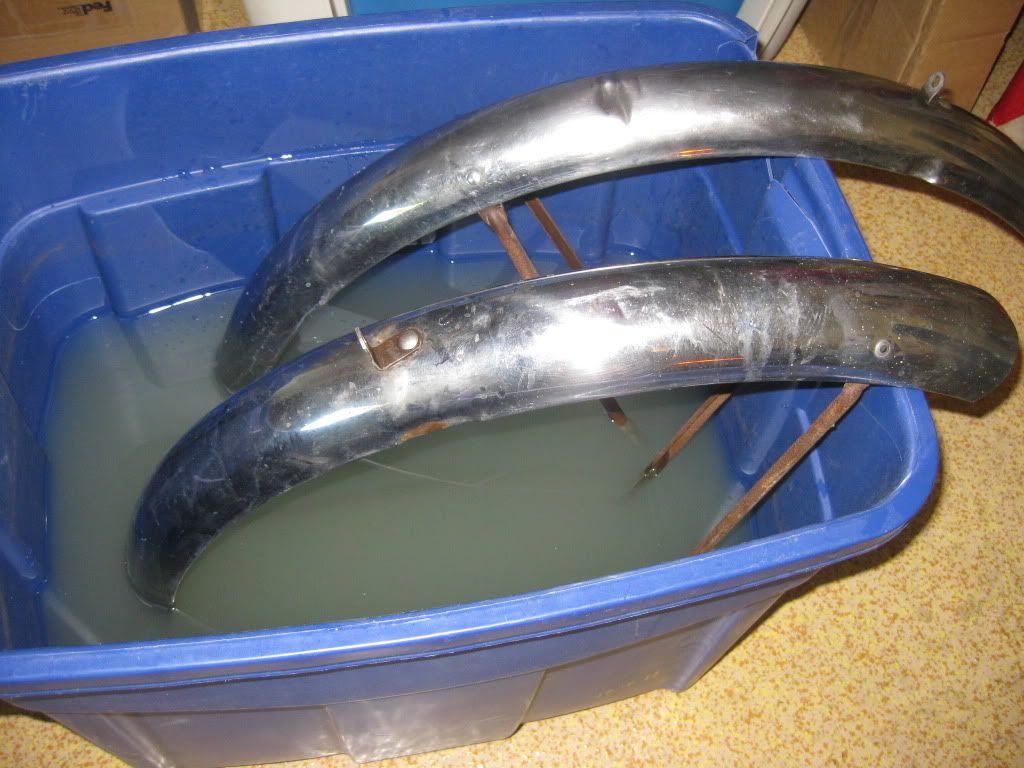
After a thorough rinsing of all parts I polished them up with some Blue Magic to bring out an even better shine and give them some protection from further pitting and rust. I also scrubbed up the fenders with steel wool and WD-40 and got them into a bath of oxalic as well. I am having trouble finding bins the right size for the big parts and will have to use the soak-and-turn method again for these.

IMG_3380.jpg


That's about it for today. I am still hesitant on what to do with the frame. After talking with Frank today at Bike World, he was saying how much more valuable the original paint is. I agree. But I couldn't get an answer out of him as to his thoughts on applying a little polish to it to brighten up the dull and faded parts. I wait and talk with the Old Schwinn expert on Tuesday when he returns to work at the store.

See ya!
 
nice progress that acid dip is something major. :shock: ..... keep it up you'll have this ready for building in no time...
 
First off, thanks to everyone's comments so far. It's always nice to hear the compliments. Thank you.

So today was a short day for Schwinn Jaguar restoration. It's Columbus Day, so I had off, but the kids didn't. So after getting them to school... my wife, Grammy, and I set out to get a few errands done. While they were shopping, I was on the hunt for some kind of big but shallow bin. I need something to soak the rim in and maybe the fender too. I found many big bins, but that would entail filling them up with 25+ Gals of acid mix...no thanks. I really need a flat shallow thing, even a lid for a bin or trachcan. No luck.... :x More on that in a minute.

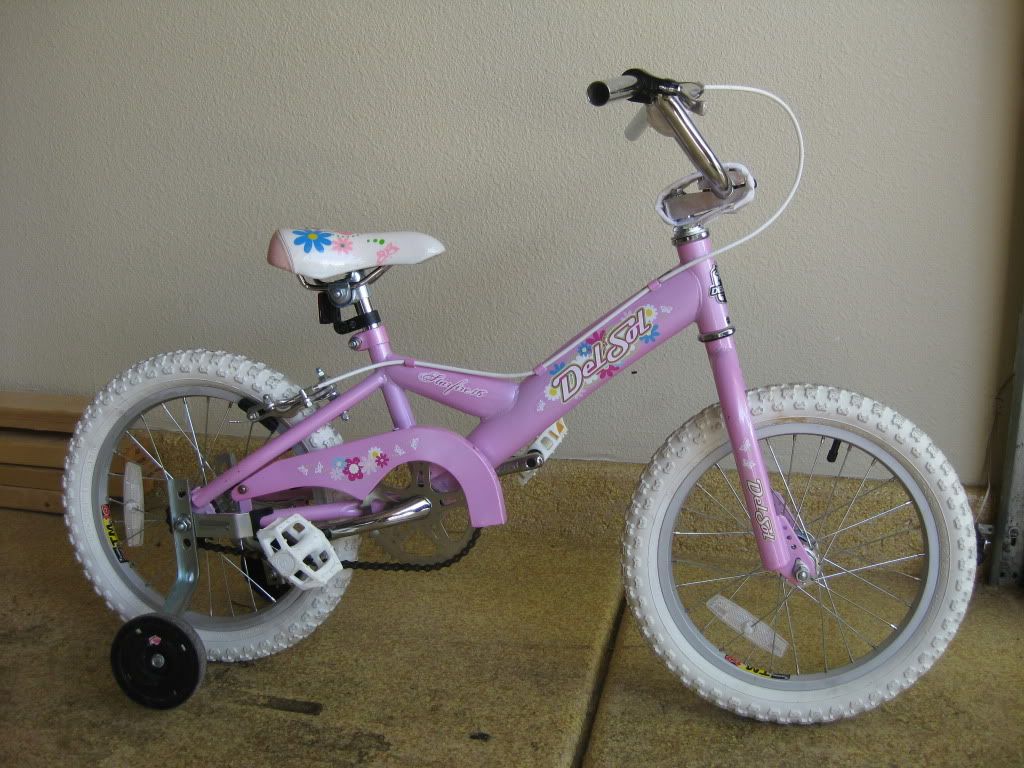
After returning home without the kids it was time for the 'other' small bike project! Included with the '59 that my dad shipped out for me was a hurricane flood survivor bike that he was able to get for $25 in Jersey! The bike shop was partially flooded and the owner couldn't sell the bike as new of course. So Dad got a deal and shipped it out for my daughter for Christmas. I spent about an hour or so and got it up and humming...minus the handgrips which were pretty disgusting after the flood water. The rest of the bike looks to be in good shape. Even got the training wheels on it too.

IMG_3389.jpg


After that was safely hidden, I really just pulled the front rack and chain guard out of their second baths and rinsed them off thoroughly. I am a little disappointed in the steel parts of the front rack. The rust is gone, but the bare steel is gray and rough...not very pretty. Not sure what to do there.

IMG_3391.jpg

IMG_3392.jpg


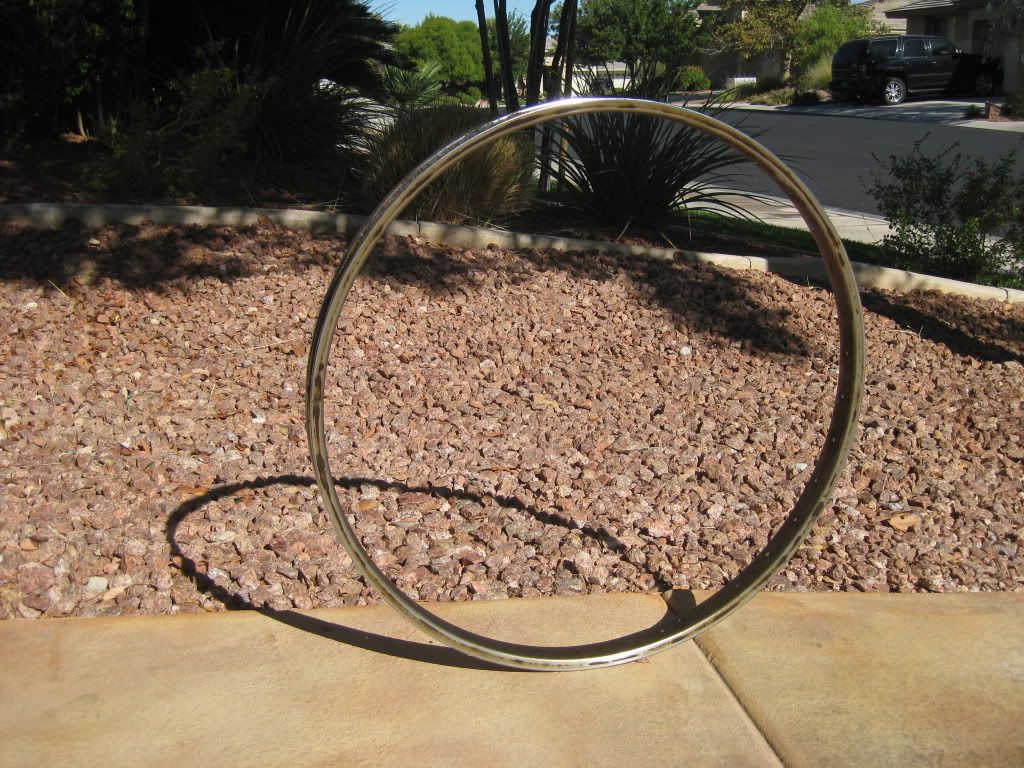
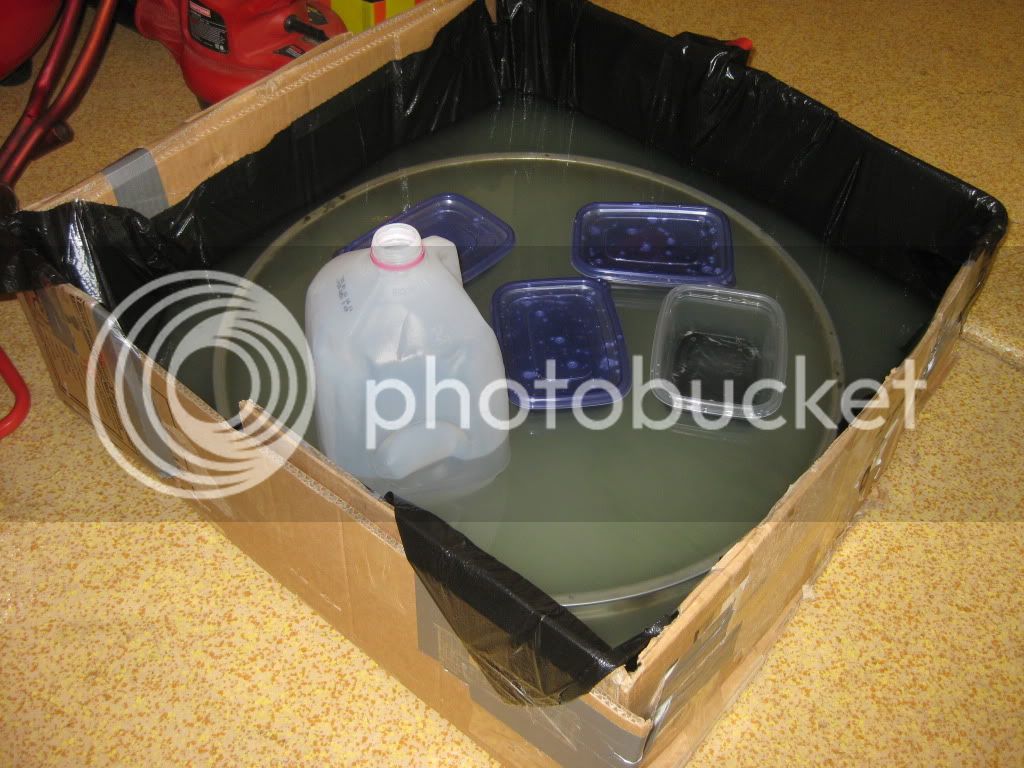
I also flipped the fenders in their baths to get their other support struts submerged. Now all I was left with was the S7 rim to soak and I can get rid of this acid stuff once and for all. Not wanting to do nothing I decided to go MacGyver style and build my own bin! :mrgreen: Used some cardboard in two to three layers with much tape, then lined it with a black plastic bag (tested earlier to not react with oxalic acid). I scrubbed up the rim with Simple Green, then placed it in the bin and added the already heavily used and cloudy oxalic acid solution. Yes I am recycling the stuff. I figure it should still have some 'horsepower' left in it as my parts aren't crazy rusty. Unfortunately I didn't have enough to totally submerge the rim, so I added a few other bins and such that were full of H2O to add some displacement and raise the water level!

IMG_3390.jpg


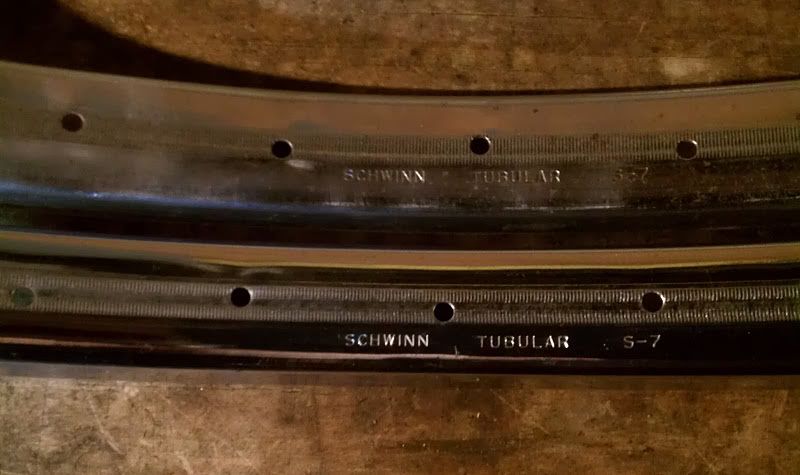
I also got an answer on this forum from a nice fella in Madison who has two S7 rims for a 26" wheel (23" actual rim size). The "Schwinn Tubular" stamps are in a different location from mine, but they look nice and authentic so I snached them up. He should be sending the pair soon!

IMAG0504.jpg


That's it for today. Tomorrow it's back to my real job and maybe a call or a quick trip to Bike World to see how the rear hub is coming along and hopefully speak to the Vintage Schwinn dude too!
 
Looks great you have really been working hard at this new adventure/project. I think the acid bath did a awesome clean up job and the paint looks great. It is turning into a really big job for you two guys and I'm glad that grandson of my is such a helper. Sit back and admire all the good work you have done so far and have a drink on me..
 
Wow what a week of tear down and clean!! All looks real good. Couple things from my biking club buds. Spoke replacements is tricky (at least in racing road bikes) because the wheel frame must stay balanced and in perfect alignment (if that makes sense). Maybe not as critical in slower speed bike versions. ha ha. So since you're going so far in this restoration I'd invest in a bright new vintage paint job. I assume you can find a similar paint color don't you? Go for it and be the talk of the biking community!!! When I visit I don't want to ride on a shiny but faded paint 1959 Schwinn !! Great work and hope this post gets posted. Luv ya, dad
 

Latest posts

Back
Top