(((***** BABYCAKES *****)))

Rat Rod Bikes Bicycle Forum

Help Support Rat Rod Bikes Bicycle Forum:

This site may earn a commission from merchant affiliate links, including eBay, Amazon, and others.
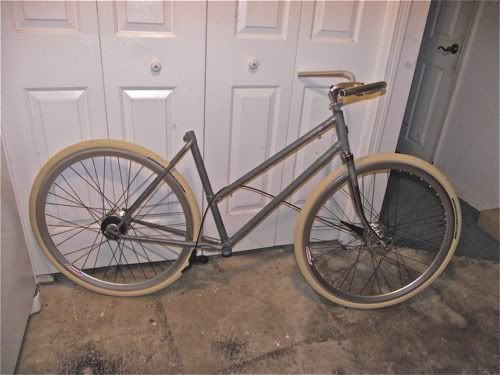
Guess there's were a few ladies bikes there after all. Many were still in the girly bike category, but I can't promise this build won't have its essences of the same. There is, of course, a basket waiting to be installed! I wanted a mixte, which may have had a bit more potential, but we had the Panasonic on the shelf, so its getting revived after a very long hiatus!

Guess the wheels are really getting the thumbs up! Honestly, they look alot better on the bike, than off. I was worried when the tires first installed that we had a real flop.

I'm considering doing a little drip painting, and was wondering if anyone has experience using this technique on a bike?
 
Have a look at these: https://www.google.com/search?q=drip+pa ... 4&bih=1183

Basically, you dip a brush, or tool into paint and swizzle it any way you want. But in the case of a bike it'll be a matter of getting a very fine drip from the right brush, or wire, and getting the thickness of the paint correct. I have not done this before, and only want to use it as highlights in very specific areas, so I'm guessing its going to take a bit of practice. I want the pattern I'm doing to stand out, but I don't want to overwhelm the entire bike with too much artistic expression!

I'm considering either dripping on vertical bands, or some horizontal swizzles, but I need to see how much the paint might actually drip once its on the bike. I'll post some pics once I'm done mocking-up the paint scheme.
 
Peatbog said:
Well, I'm going to try it one of these days too, just so I can say "swizzle."

Swizzle, swizzle, swizzle. Hahahahahaha! Oh yeah. That makes me silly.*

Anyway, take plenty of pictures. I'm wanting to see this swizzlin' action.


*Uh oh, I 'm not even drunk. I must just be somewhat goofy.


LOL! It is silly isn't it! I get the impression that if done right this might save a whole lot of time taping, or cutting vinyl strips for graphix.

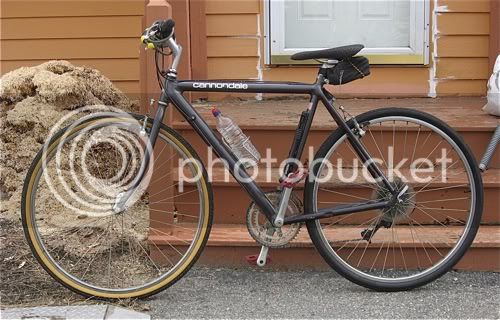
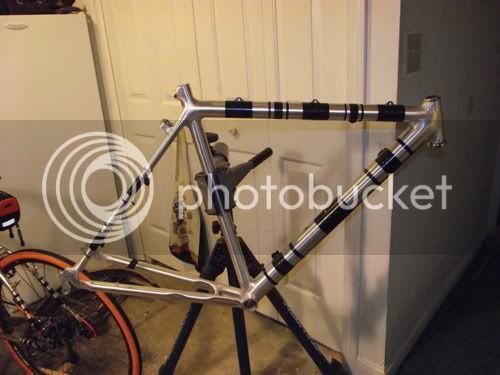
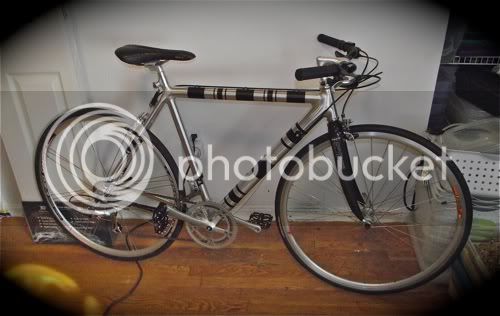
Here's a before, and after of my husbands 22yo Cannondale SH-400. Originally built as a hybrid its now been converted into a road bike. Its hand brushed, and all the bands on the bike are 3M Scothcal vinyl tape.

Cannondale.jpg

Cannondale-1.jpg

Cannon-1.jpg
 
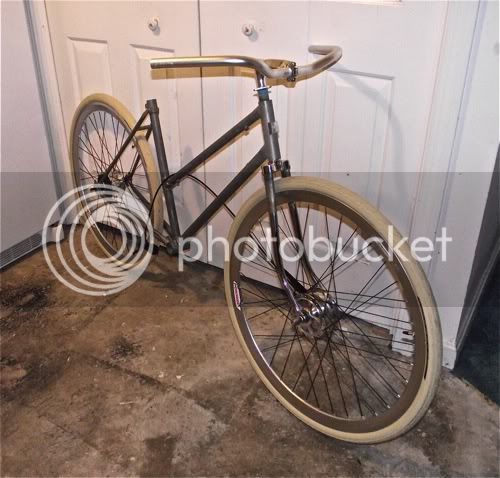
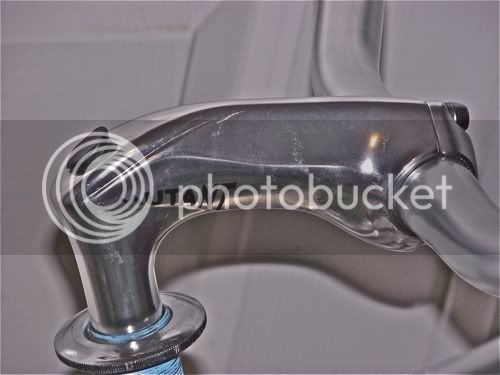
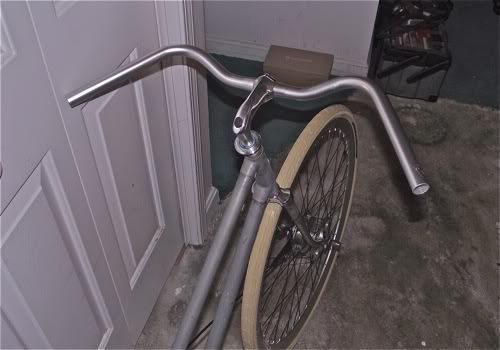
Here's another mock-up, which gives a better idea of where we're going with this. The frame was stripped this weekend, and I spent a little time today trying to find a band and stem combination. After scouring Ebay I ended up digging into the stem bin and found a 3T Mutant that seems perfect. I had to have the wheels on the bike to figure out what was going to work, so better time to snap some pics right?

We're hoping for some better weather to do the painting, as its been humid, rainy, and overall poor for a good paint job. I can't wait to see that Chevy Seafoam drying in the sun! We're still working on the overall paint scheme, but we're almost there.

PanasonicBuild10.jpg

PanasonicBuild11.jpg

PanasonicBuild12.jpg

PanasonicBuild13.jpg


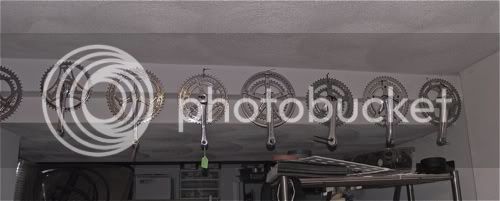
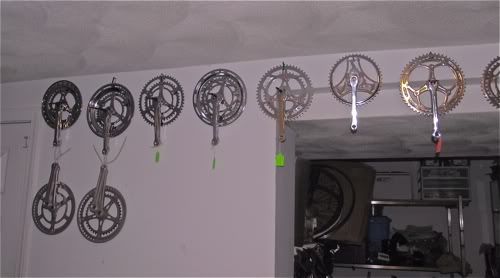
So many choices>>>>>>>>>>>>

Cranks.jpg

Cranks1.jpg
 
The one that's just right of the Raleigh! I like where this is going. Looks like form and function are melding well together here.
 
Thank you. We were hoping to use a 52t chainring/crank up front (many are NOS), but the last build with an Alfine IGH proved better with a 46t, but choices from the wall are a bit limited. Guess we'll see what comes of it, and the nicest of the smaller cranks is a Raleigh. Maybe your comment is a sign! LOL
 
Nice clean build!
 
Thank you. Just bought some pedals, and need to dig thru teh pile for some fenders. Most likely they'll be modified in some fashion!
 
Lookin' good :!: Can't wait to see what's next!
 
Glad you all like it. Thank you very much! I agonized about the handlebar/stem combo for a couple of days since the bike was apart, and it was hard to gauge distances from seat to bars. So, we put the wheels on, and it turns out the stem I thought was going to be hideous actually worked OK. I have 2, so gives me hope for a future project. Never know what you'll find on Ebay!

Just got some very cool stickers from Japan to add on, but that'll be a surprise once the paint is done.

Seriously considering adding in a disc brake to the rear, since the Alfine is designed for a centerlock disc brake only. I doubt the Sturmey front drum brake will be enough, and front brakes only can be a little scary.
 
OK, we're back in the game. Too many home projects at the moment

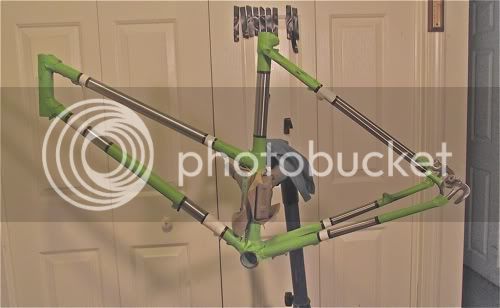
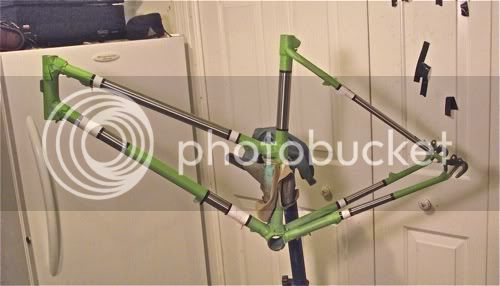
The bike was stripped, polished by hand (more to come), and now mocked-up for paint. After being polished the steel started to rust in the humidity, so I grabbed it a couple of hours ago, cleaned it up, taped it up, and now have identified where the finish polishing will be. The raw steel will be clear coated for protection. Hoping to have it painted in the next week. Until then I'll coat it with WD-40 to stop further oxidation, and it'll be moved to our dryer upstairs.


PanasonicBuild15.jpg

PanasonicBuild14.jpg
 
Critter1 said:
Looks good. Polished steel AND paint. This'll look cool. BTW, is the wife gonna be OK with you putting the frame in the dryer?? :D

That's what I was thinking!And the NOISE :lol: :lol:
 
Very funny! LOL I just bought a new dryer, and don't think it'll fit. Nothing like a good typo to get me in trouble!

Its "drier" upstairs, since downstairs in 2/3 in the ground, so I'll un-tape it, polish the exposed bits, oil it, and let it sit till I have time to paint. Didn't realize the frame was going to oxidize so fast after I brushed it out. That clean exposed metal doesn't care much for our humid New England weather. I'm emptying the de-humidifier 2x daily right now! Without it i can only imagine how the rest of all the exposed alloy parts would fair.

So, I showed my wife the proposed paint scheme this morning, and all she said was "what am I looking at?"! Leave it to a software engineer to only see the tape!
 
The Freaky Bunnies are getting hungry for an update!!!!!!

bunnyteeth.jpg
 
Back
Top