


As some of you know I am a newbie. I posted pics of a quick build stingray I did in the Intro section. Well this next project was going to be my spring board into a more involved build. She is a Sears generic 26" cruiser. I envision a low, smooth, sleek cruiser. Well..... a couple of things happened along the way. I started with trying to lean the head tube, first attempt at mig welding....see pics. I also tried my hand at locojoes frame chop....didn't go to bad but far from perfect (couldn't get the seat post to hit that rear fender bracket). Loco....if you view this post would there be any possibility of you posting detailed pics of this procedure, ie. where and how to put the come along straps etc. I sort of know where I went wrong with the head post, some things I would do different next time would be to have more pipe left between cuts and would have inserted a smaller diameter pipe inside frame tube for structural support and welding surface. My welding....well needs to be worked on big time ...I think I might have done better with simple brazing...maybe, suggestions. Anyways...I have posted some pics....any advice will be greatly appreciated. As I said, today might not have turned out the way I wanted to, but I did learn a couple of things. I hope to hear from some of you to help me better my execution of some of these techniques. Thanks
Top tube.

Bottom tube.

Rear view with frame chop.

Side view.
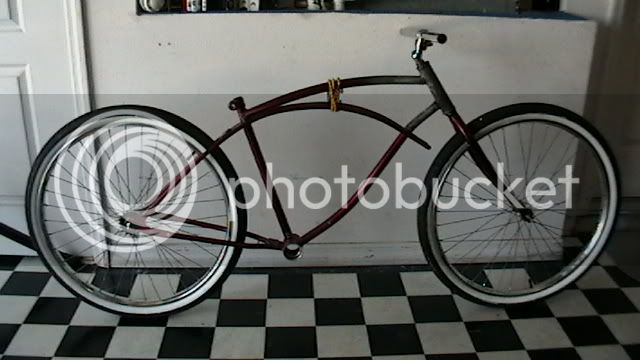
Top tube.
Bottom tube.
Rear view with frame chop.
Side view.
")