BLACKBIRD (Skylark Convertible)

Rat Rod Bikes Bicycle Forum

Help Support Rat Rod Bikes Bicycle Forum:

This site may earn a commission from merchant affiliate links, including eBay, Amazon, and others.
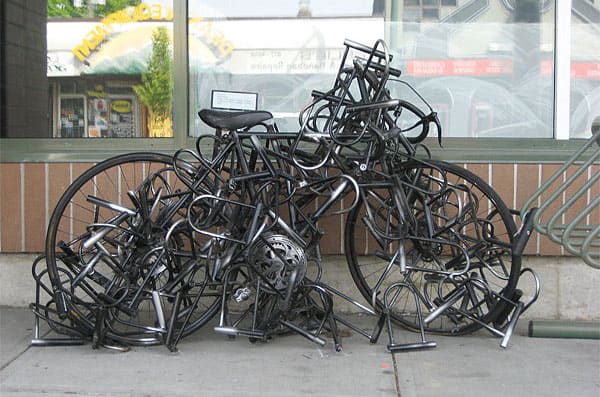
lots-of-bike-locks2.jpg

Thieves are not getting this one...

Carl.
 
Thanks y'all. Next we will have two kids in college. That will be fun.:bigsmile:
_________________________________________________________

I'll try to steer this mess back to bike building progress as soon as possible. It's looking like I have pretty much squandered the entire extra month that helped to lure me into the build off to begin with. LOL

So even though I haven't lifted a finger since the first two days, I have been scheming and gathering some parts as I can.
Here's something that I have been searching for that a friend found at an estate sale. It will not be revealed as to what purpose it will serve until close to the very end of the build. But for now this is all I've got to share until I can get back to finishing the frame straightening.

First Aid Packet.jpg
 
Congrats on your daughter's graduation!..:41:

Here's something that I have been searching for that a friend found at an estate sale. It will not be revealed as to what purpose it will serve until close to the very end of the build.

Well if that isn't a tantalizing tidbit of a tease I don't know what is...:39::39::39:

First guess: Tail light reflector
 
Congrats on your daughter's graduation!..:41:
...First guess: Tail light reflector
Thanks Chad.
:shake: You'll have to think outside the box to guess this one! LOL

_________________________________________________

Just finished up these two TRM Christy Saddles for a customer so I'm finally cleared to start back on the Skylark this weekend!!!:banana:
index.php
 
After 25 days into the build off I've finally got back to building as our friend @Jake Sensi would say! That was enough time for spider webs to start gathering LOL.
100_6536.JPG


As near as I can tell, I beieve that I have the frame straight within acceptable tolerances.
100_6538.JPG

100_6541.JPG

100_6544.JPG


I can finally move ahead with mounting the tank now! I'm hoping that I can get that done this weekend so that I'll feel like I actually made some progress before June.:doh:

Here's the first garage door mock-up with the tank clamped in place!
100_6545.JPG
 
Cool dropouts on that bike
+1 on that!
The front dropouts kind of repeat the curves of the tank... great match!

Gesendet von meinem K00Y mit Tapatalk
 
I have to say that this has been the trickiest tank fit that I have done on any bike to date. The only good mark I could get was the head tube. So I started there.
100_6550.JPG


The seat tube was next but because of the design of the cast pinch bolt hole, I had to make my best guess and start cutting. For those of you that have mounted a TRM tank, you know that this is not the prefered method. To hedge my bets I under cut it and then kept removing small amounts of material with a Dremel tool.
100_6551.JPG


Once the head tube and seat tube were roughed in, I was able to make cut marks for the three main tubes. To help keep my holes following the tube directions I scetched some crude guide lines with a silver Sharpie.
100_6552.JPG

100_6553.JPG

100_6554.JPG


After drilling (slightly under size) holes with the tank halves bolted together, I then focused all of my attention on getting just one side fitting properly. You just can't get in a rush so I spent a lot of time wittling away until it fit.

The next step was to transfer the cut out shapes to the other half. To do this I bolted the tank back together and used masking tape and an exacto knife to make mirror image guides. The pictures tell the story.

The left half is the fitted part:
100_6558.JPG


First cover the holes with masking tape:
100_6559.JPG


Next fold the tape along center line and then cut out the hole:
100_6560.JPG


Last, fold the tape back over exposing the hole in the tape on both sides:
100_6561.JPG


The tank is fitting for the most part (sorry no picture), but there's still some fine tuning to do tomorrow before I can call it done. I also have to relocate the front mounting bolt because it lined up on the frame.
 
Last edited:
Did a little fine tuning on the tank cut outs and relocated the front bolt holes today. The fit turned out far better than I could've hoped for! I was really expecting to have some big gaps to fix but there's very little to do when the body work starts!

This would've been so screwed up had I not straightened the frame first!
100_6563.JPG

100_6566.JPG


I'm really liking how the seat post bolt works with the tank.
100_6564.JPG

100_6565.JPG


The original hole will be an easy fix.
100_6574.JPG
 
Last edited:
Wow, that's a nice level of craftsmanship. Perfect fitting. Have you ever considered making those tanks in a way that they would not go around the headtube? I was considering buying a very rare Polish-made Universal/Tyler Korlis girls frame, that would be a shame to cover the front badge on the headtube.
 

Latest posts

Back
Top