Boardtracker / Antique motorcycle style bicycle build

Rat Rod Bikes Bicycle Forum

Help Support Rat Rod Bikes Bicycle Forum:

This site may earn a commission from merchant affiliate links, including eBay, Amazon, and others.
Is anyone else having problems seeing BRE's pictures lately? I just get broken link after broken link. And a broken heart. Could it be imgur related?

Screenshot_20211115-100213.png
 
Is anyone else having problems seeing BRE's pictures lately? I just get broken link after broken link. And a broken heart. Could it be imgur related?

View attachment 178252

I can see them all no issues


If struggling to decide between TIG welding and soldering - try TIG brazing then, could be a perfect technique for you ;)


TIG brazing is amazing. Can be so clean and enjoyable with practice
 
That TIG brazing is gorgeous @Captain Awesome . That would look beautiful polished with a clear coat. The video is nice aswell. The guy jokes around and can laugh about his mistakes!

I emailed a company that could help me with fillet brazing the fork. I only have acces to MIG welding. For other welding/soldering stuff I need a pro.

This company in the north of the Netherlands is also a framebuilder, so enough experience there.

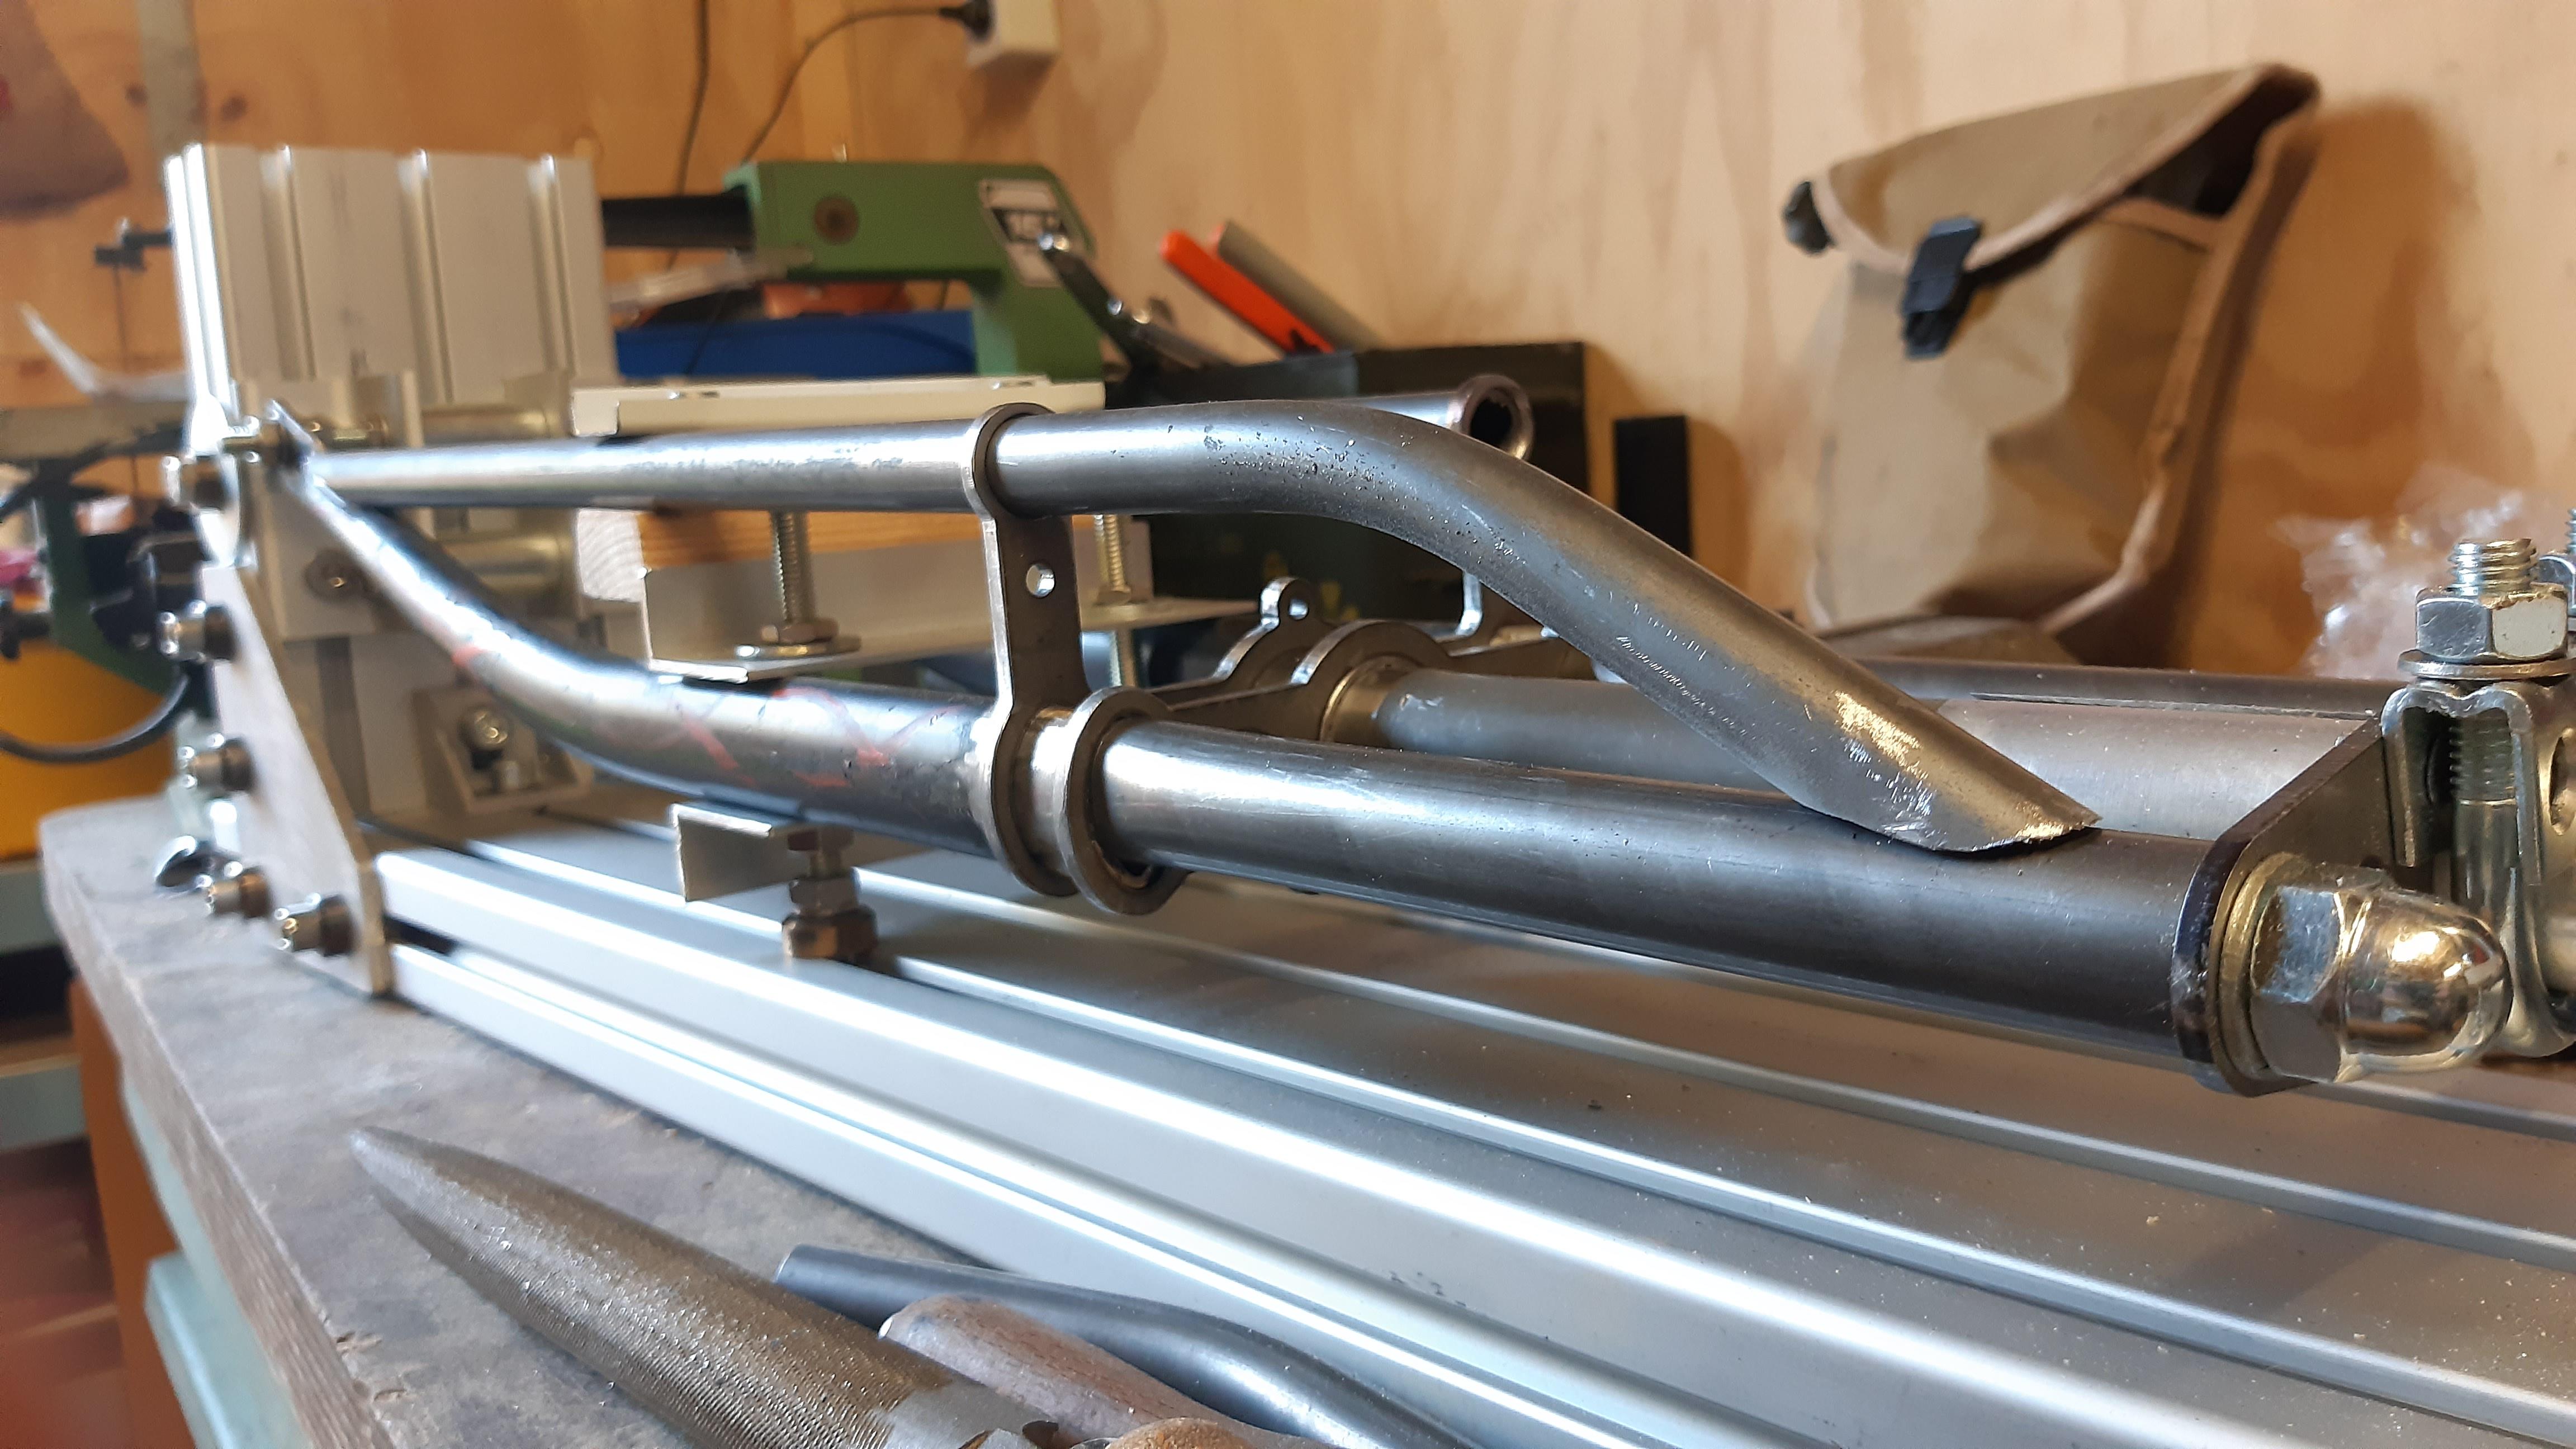
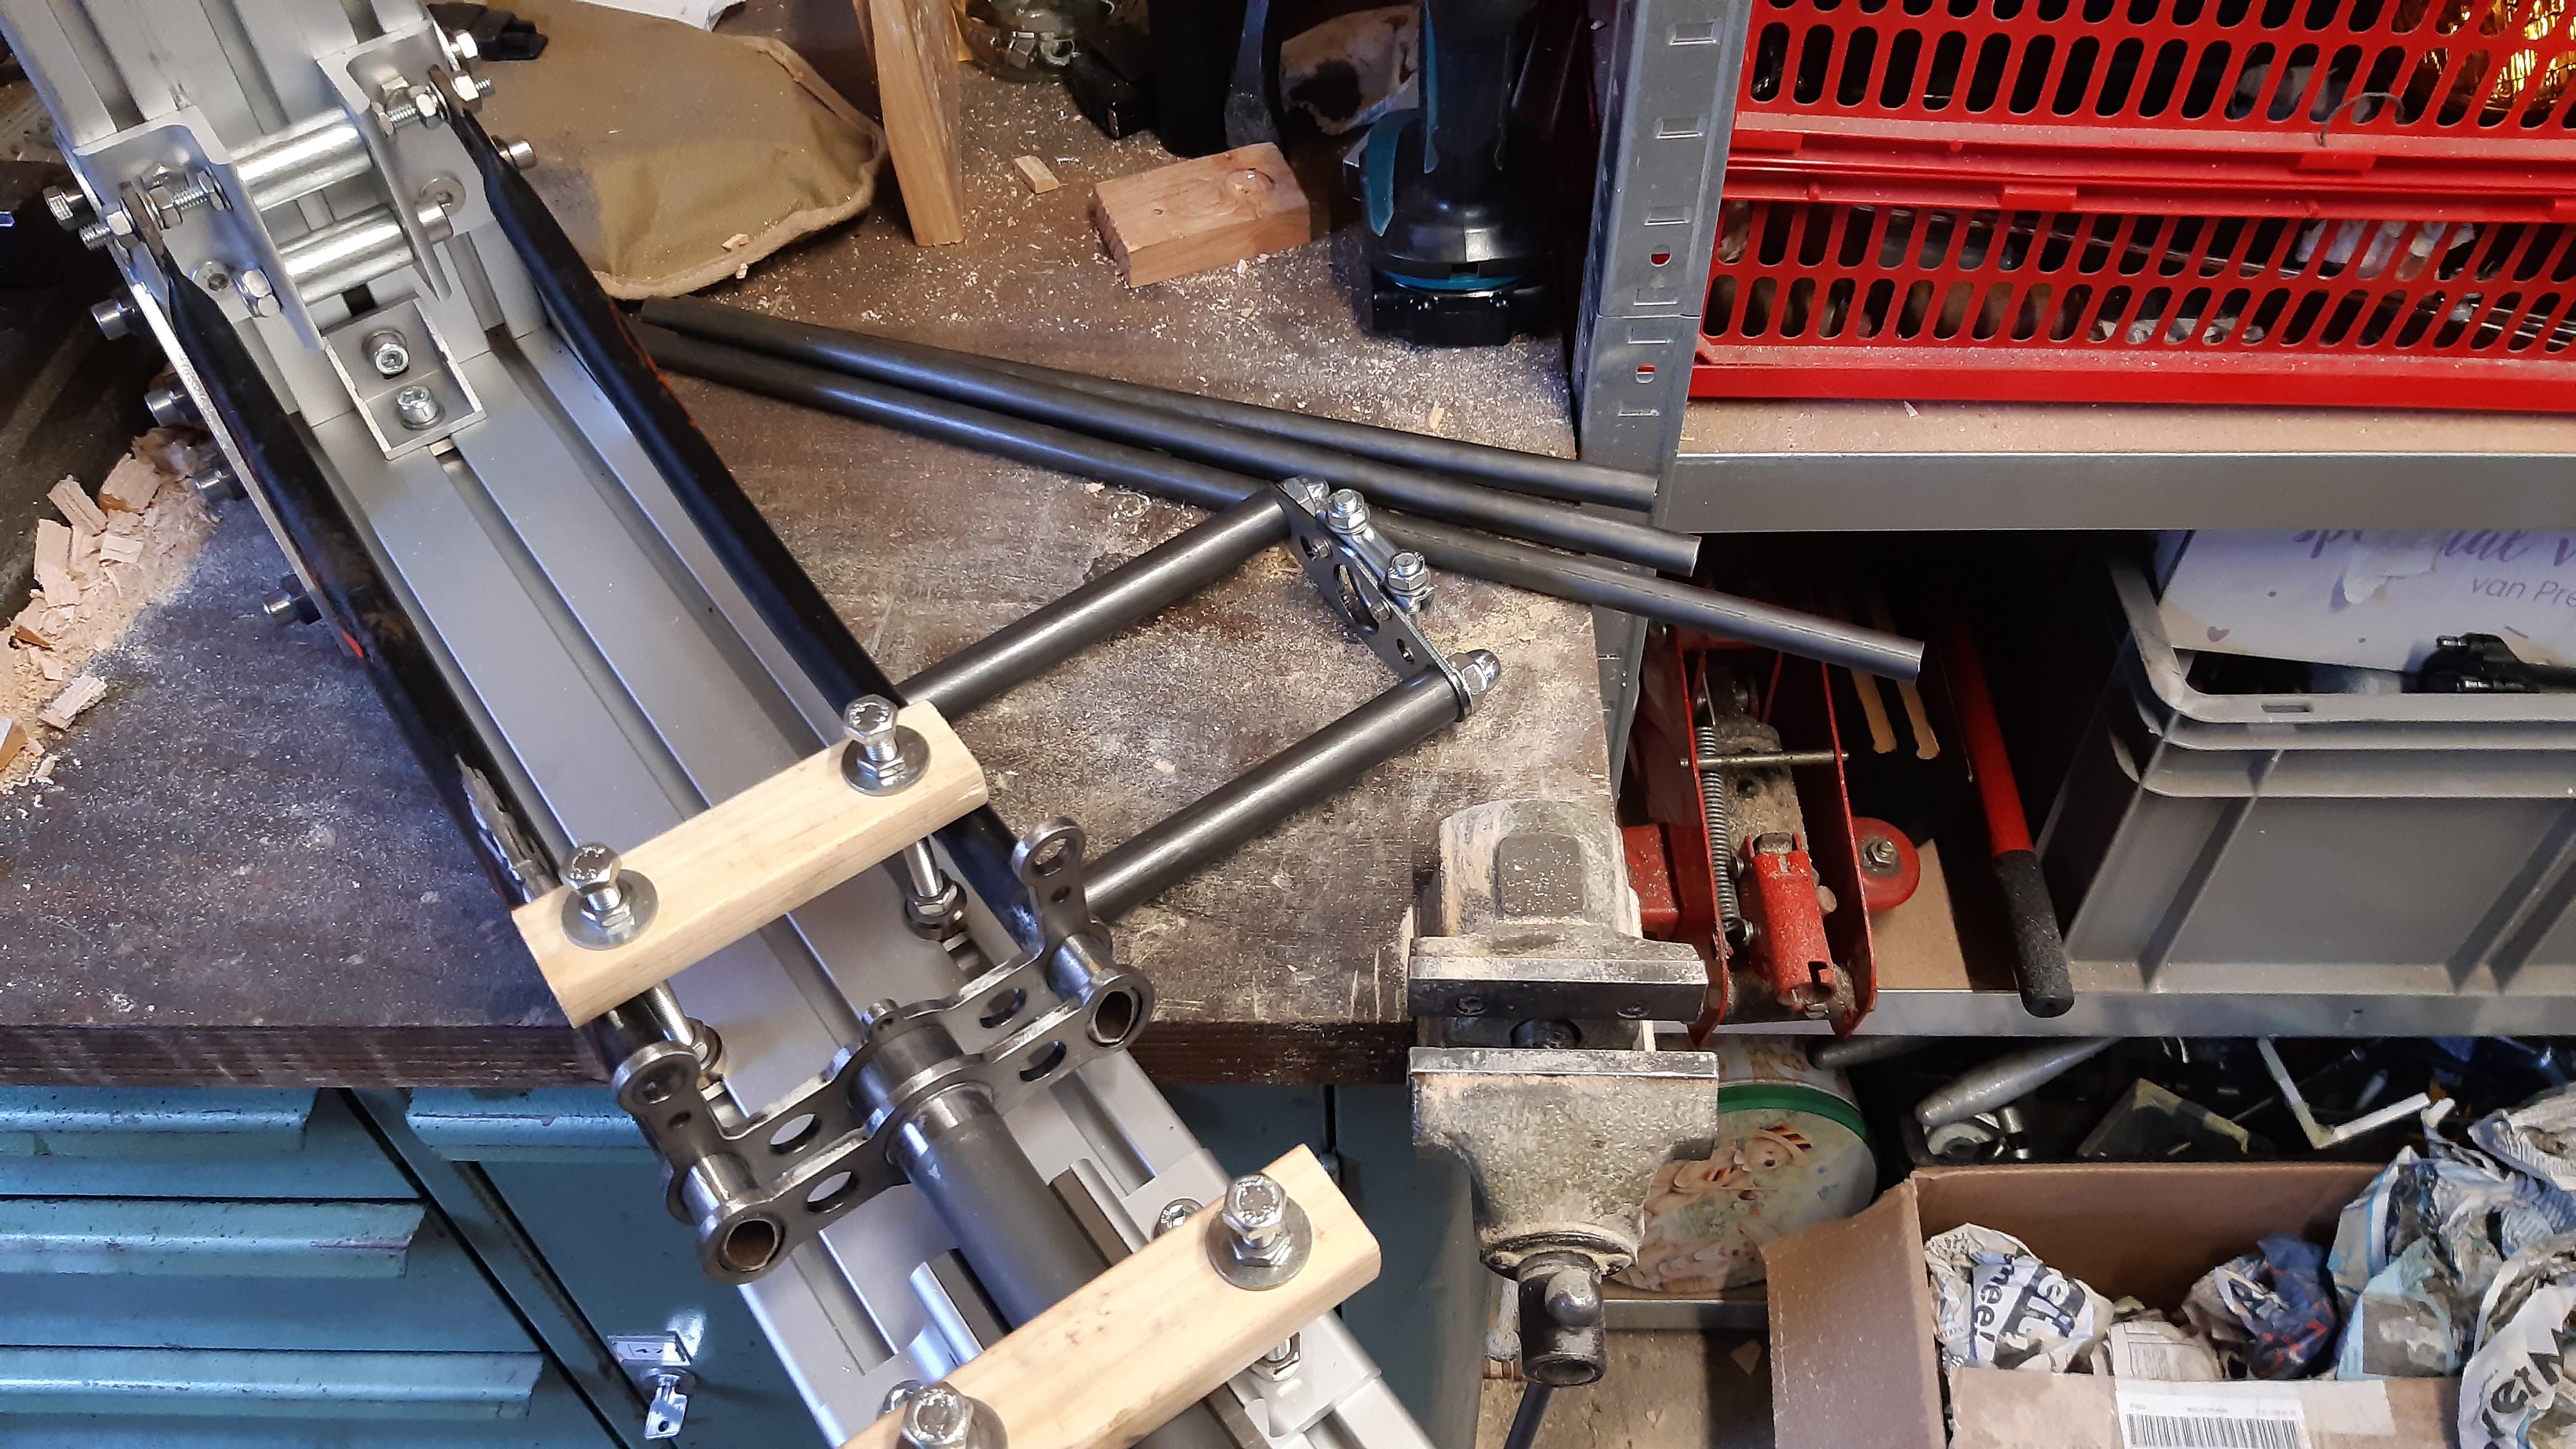
I made some alterations to the welding JIG. Now its all aligned perfectly!
pQWTnCX.jpeg


U9EOphA.jpeg

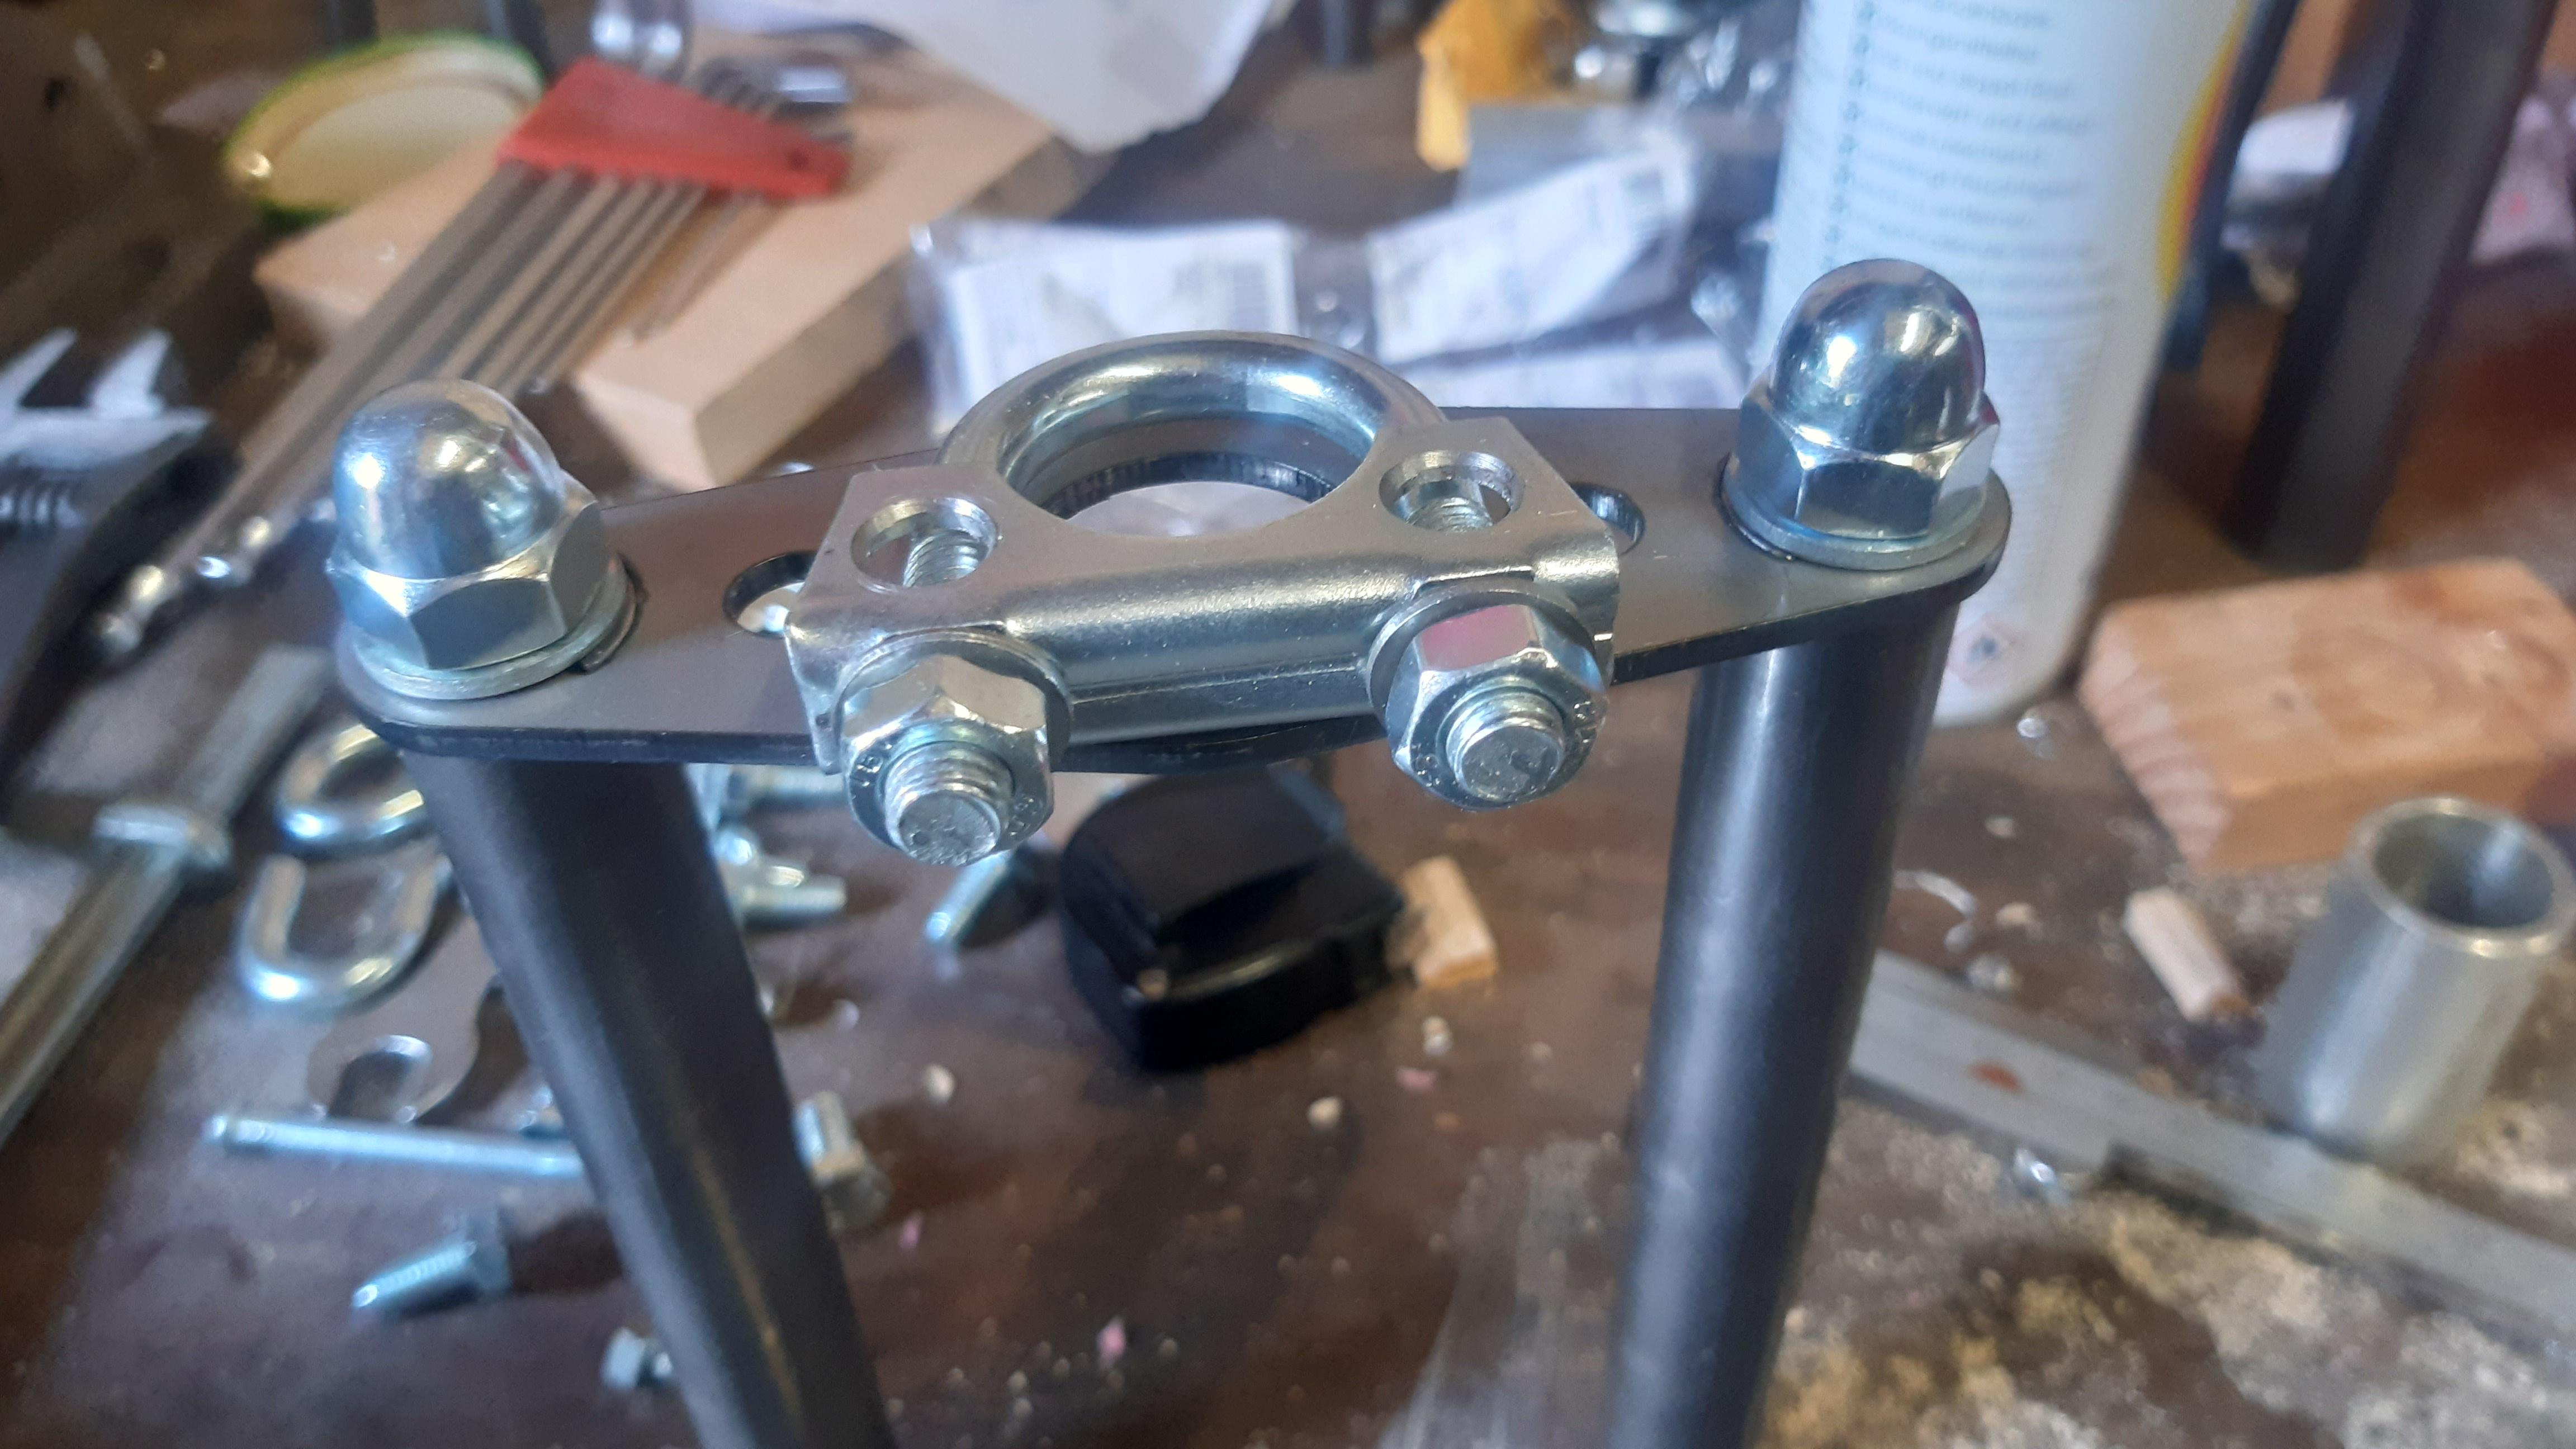
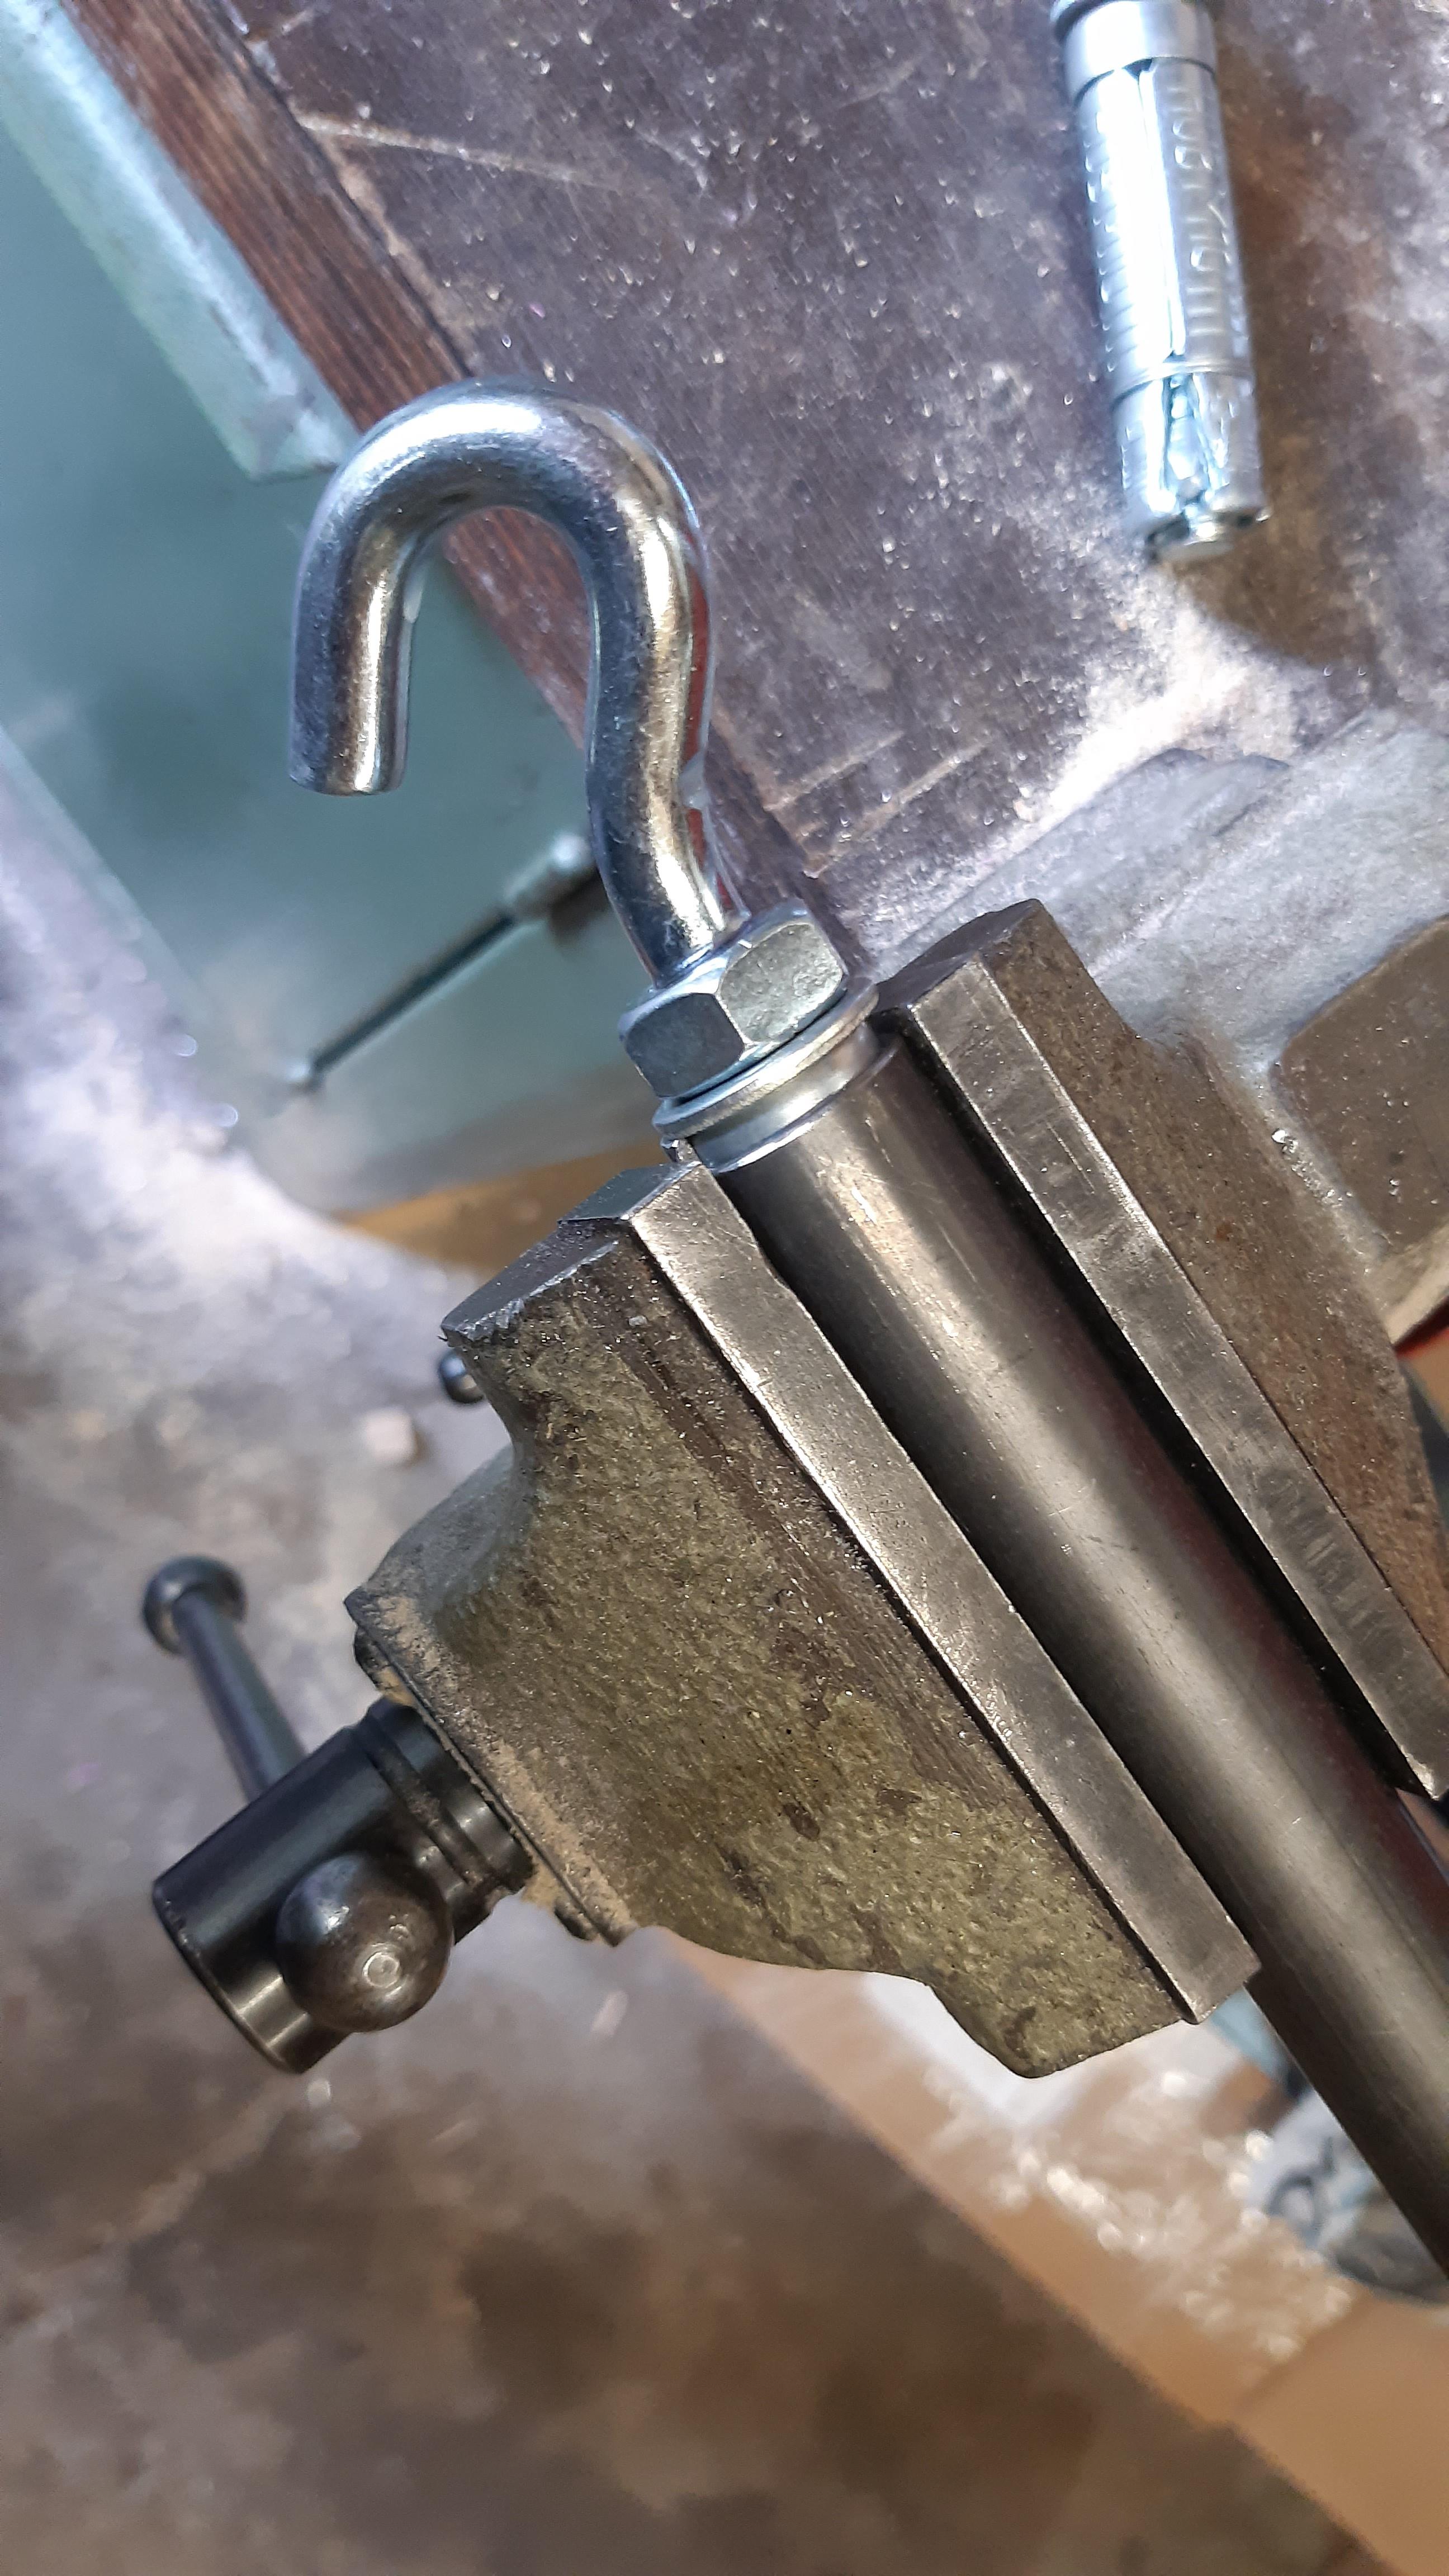
OK, how did you make M10 thread in that 20mm tube??? I used a wedge bolt/anchor bolt. Its the same principle like an old bicycle stem really. This is how I did it:

E68CHnm.jpeg

Anchor/wedge bolt in the tube, clamped and ready to cut/saw that hook.

GcneUN3.jpeg

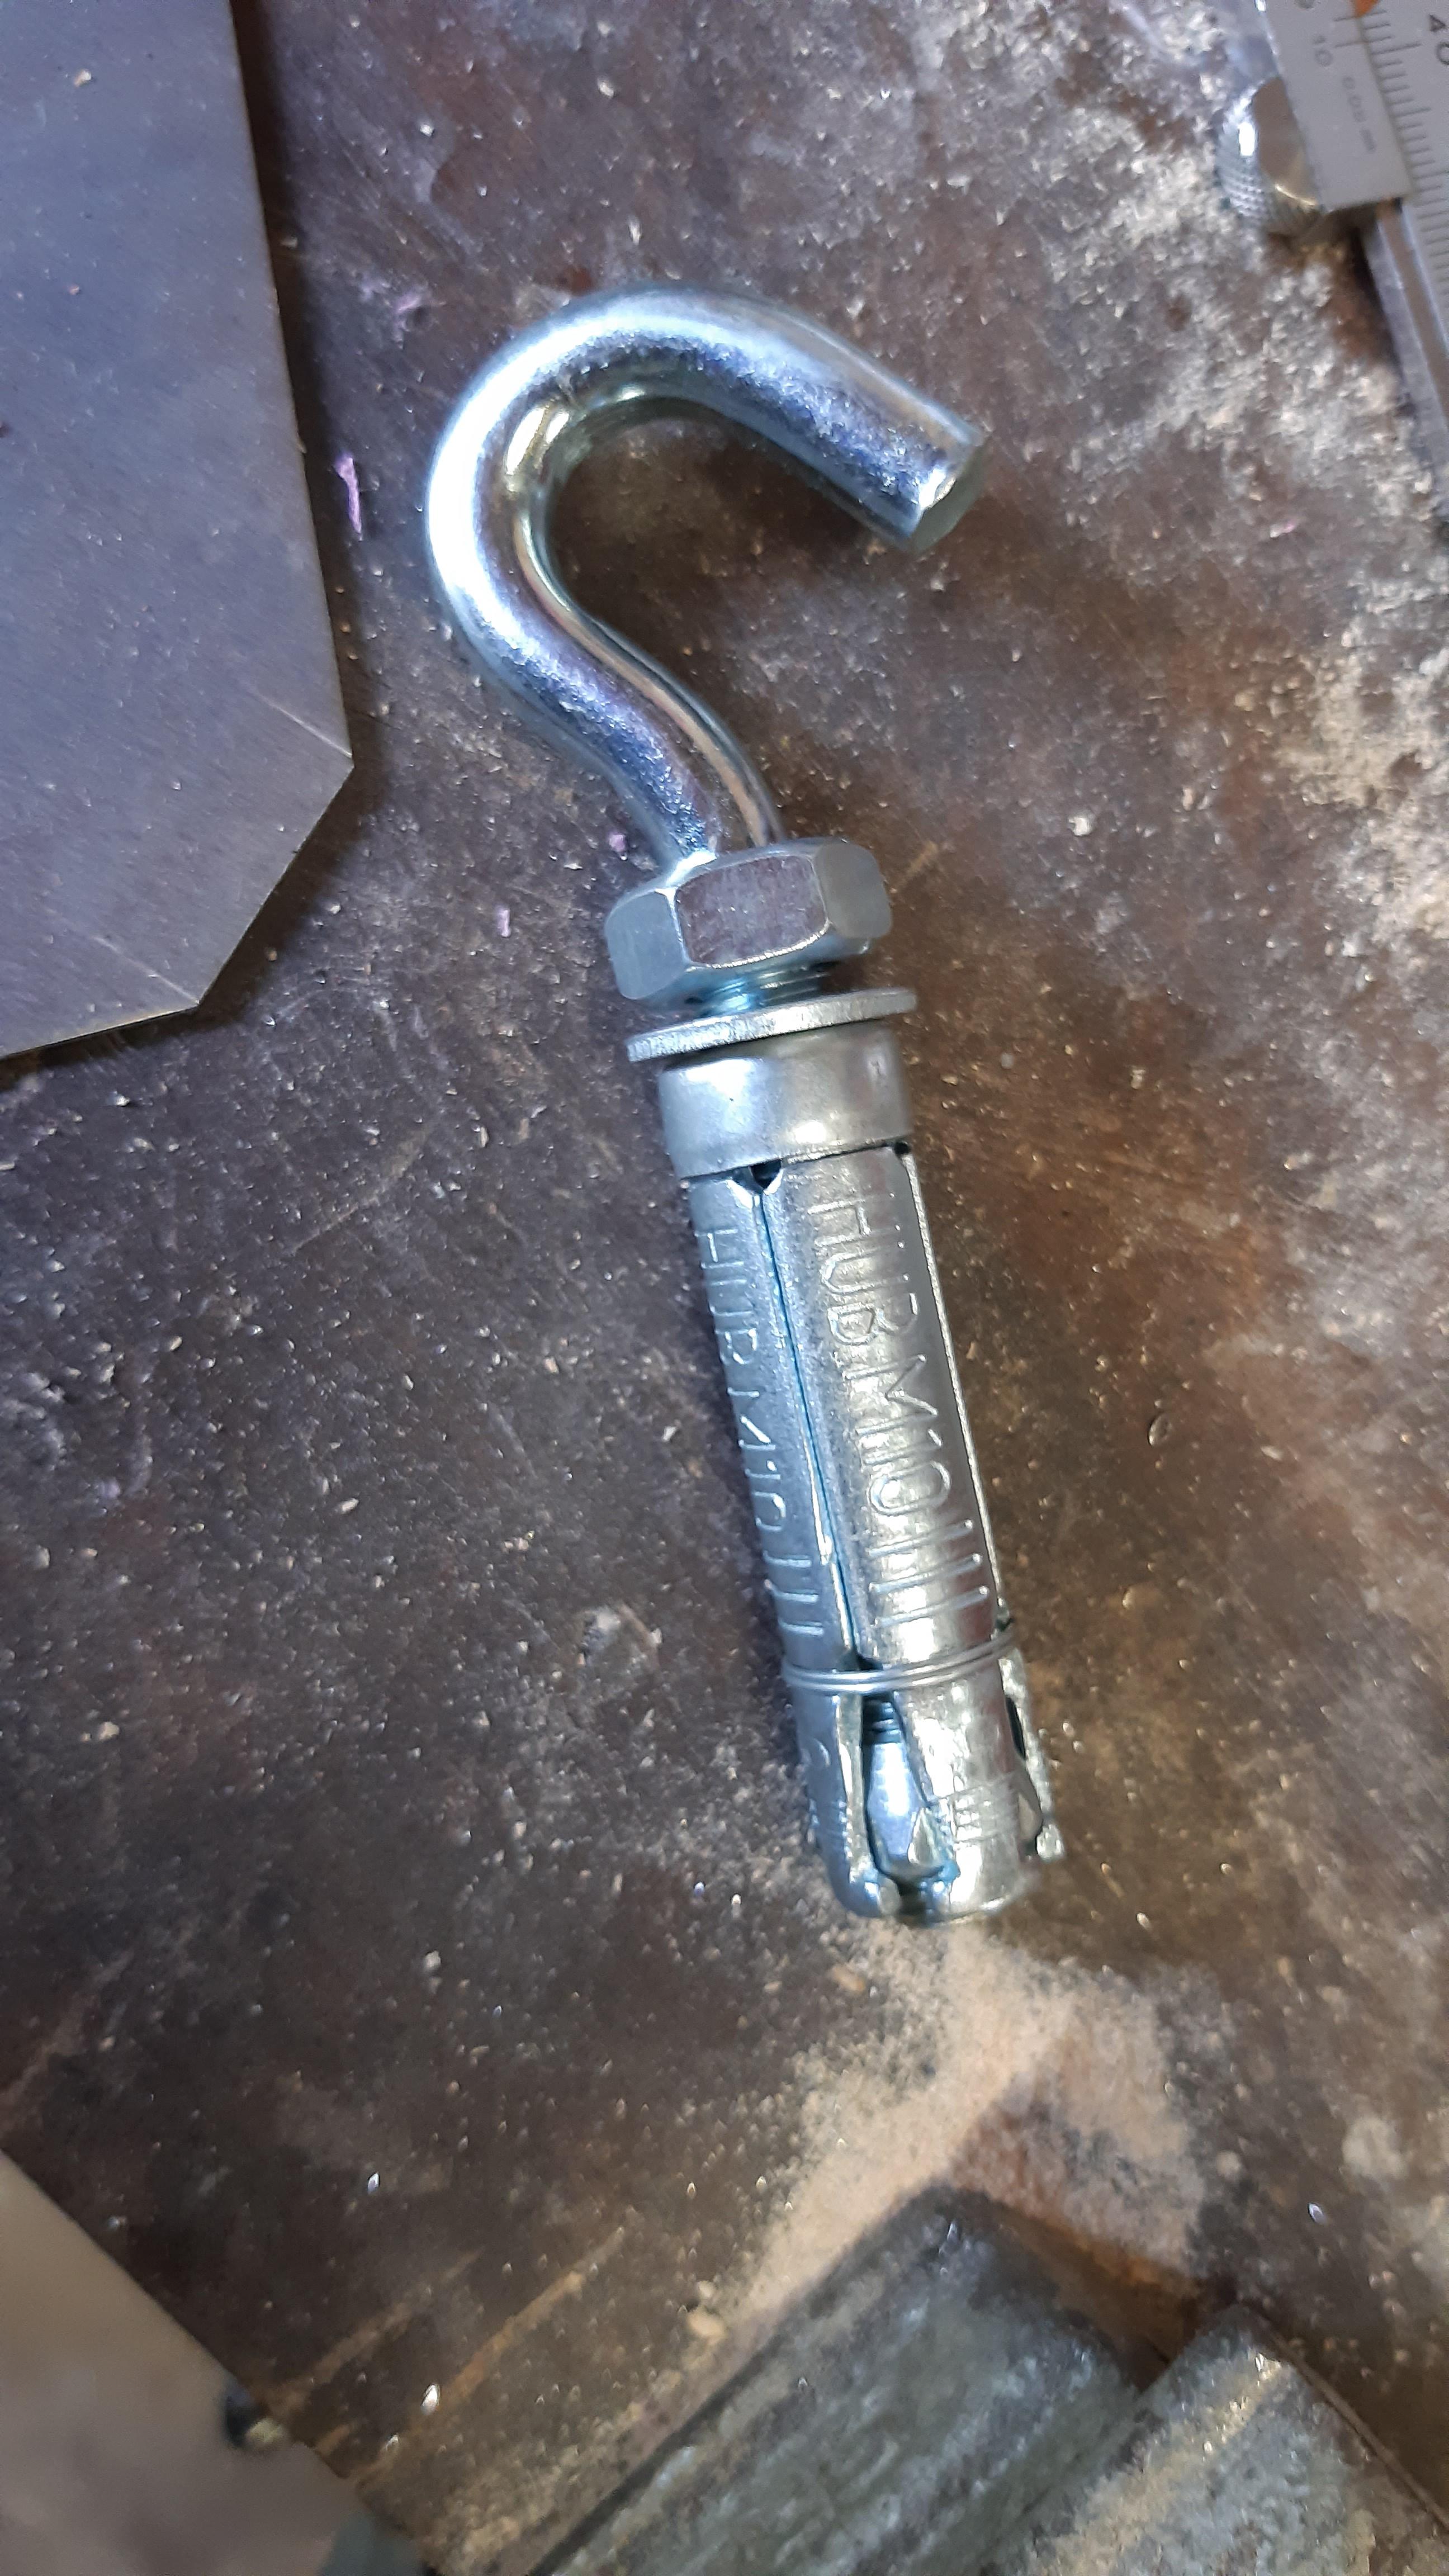
Original Anchor/wedge bolt.

This one is perfectly the size of the inner tube! Only thing I needed to fix: The small wedge (between the plates) also is a M10 thread, but its not locked, so it could get lost.
Therefore I slightly damaged the threads and used loctite 601 locking agent on there.
Now I can tighten and loosen the top nut endlessly without fear of losing the tiny wedge nut in there.
 
That TIG brazing is gorgeous @Captain Awesome . That would look beautiful polished with a clear coat. The video is nice aswell. The guy jokes around and can laugh about his mistakes!

I emailed a company that could help me with fillet brazing the fork. I only have acces to MIG welding. For other welding/soldering stuff I need a pro.

This company in the north of the Netherlands is also a framebuilder, so enough experience there.

I made some alterations to the welding JIG. Now its all aligned perfectly!
pQWTnCX.jpeg


U9EOphA.jpeg

OK, how did you make M10 thread in that 20mm tube??? I used a wedge bolt/anchor bolt. Its the same principle like an old bicycle stem really. This is how I did it:
E68CHnm.jpeg

Anchor/wedge bolt in the tube, clamped and ready to cut/saw that hook.
GcneUN3.jpeg

Original Anchor/wedge bolt.

This one is perfectly the size of the inner tube! Only thing I needed to fix: The small wedge (between the plates) also is a M10 thread, but its not locked, so it could get lost.
Therefore I slightly damaged the threads and used loctite 601 locking agent on there.
Now I can tighten and loosen the top nut endlessly without fear of losing the tiny wedge nut in there.
Great easy solution! Cool to see how you make progress on your project
 
Great easy solution! Cool to see how you make progress on your project
Thank you Frankie! Maybe I'll cycle to your shop one day, we can share bicycle stories etcetera :thumbsup:
Do you have anything new in the works? As mentioned before, I do not have the time right now to fully read this forum...

Build updates: (see the pictures and the comments underneath)

PjS4SPm.jpeg

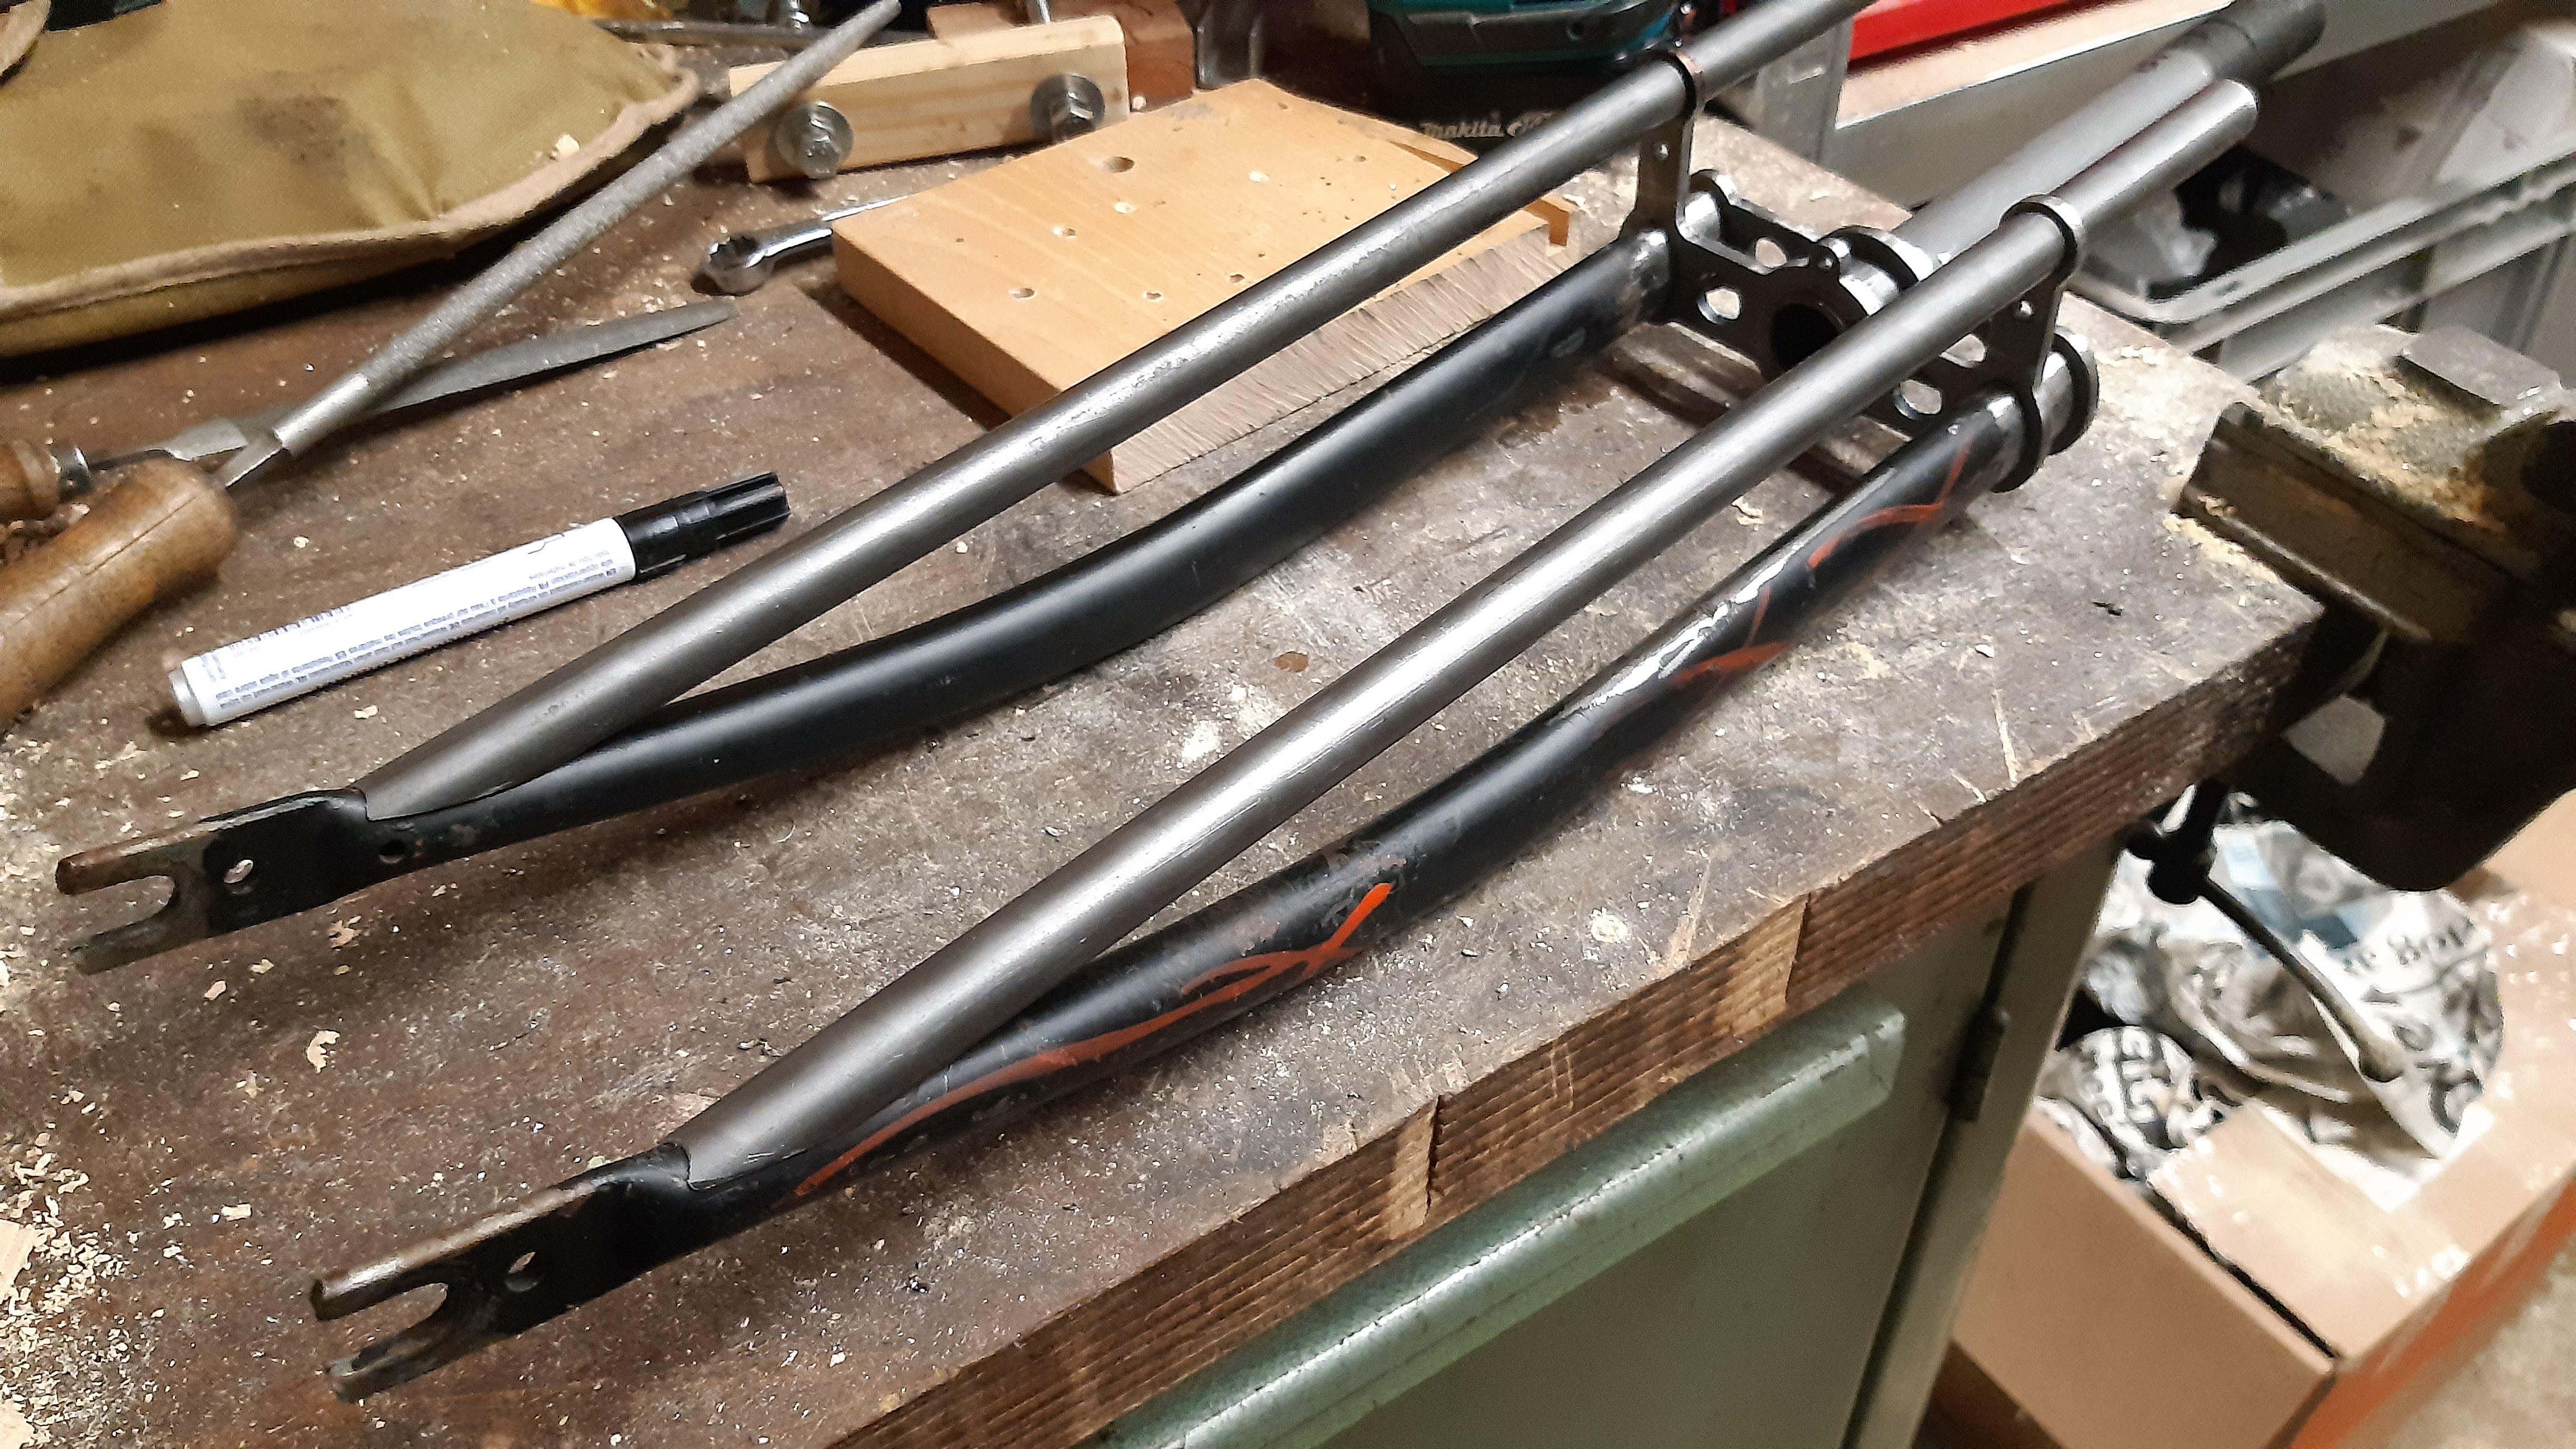
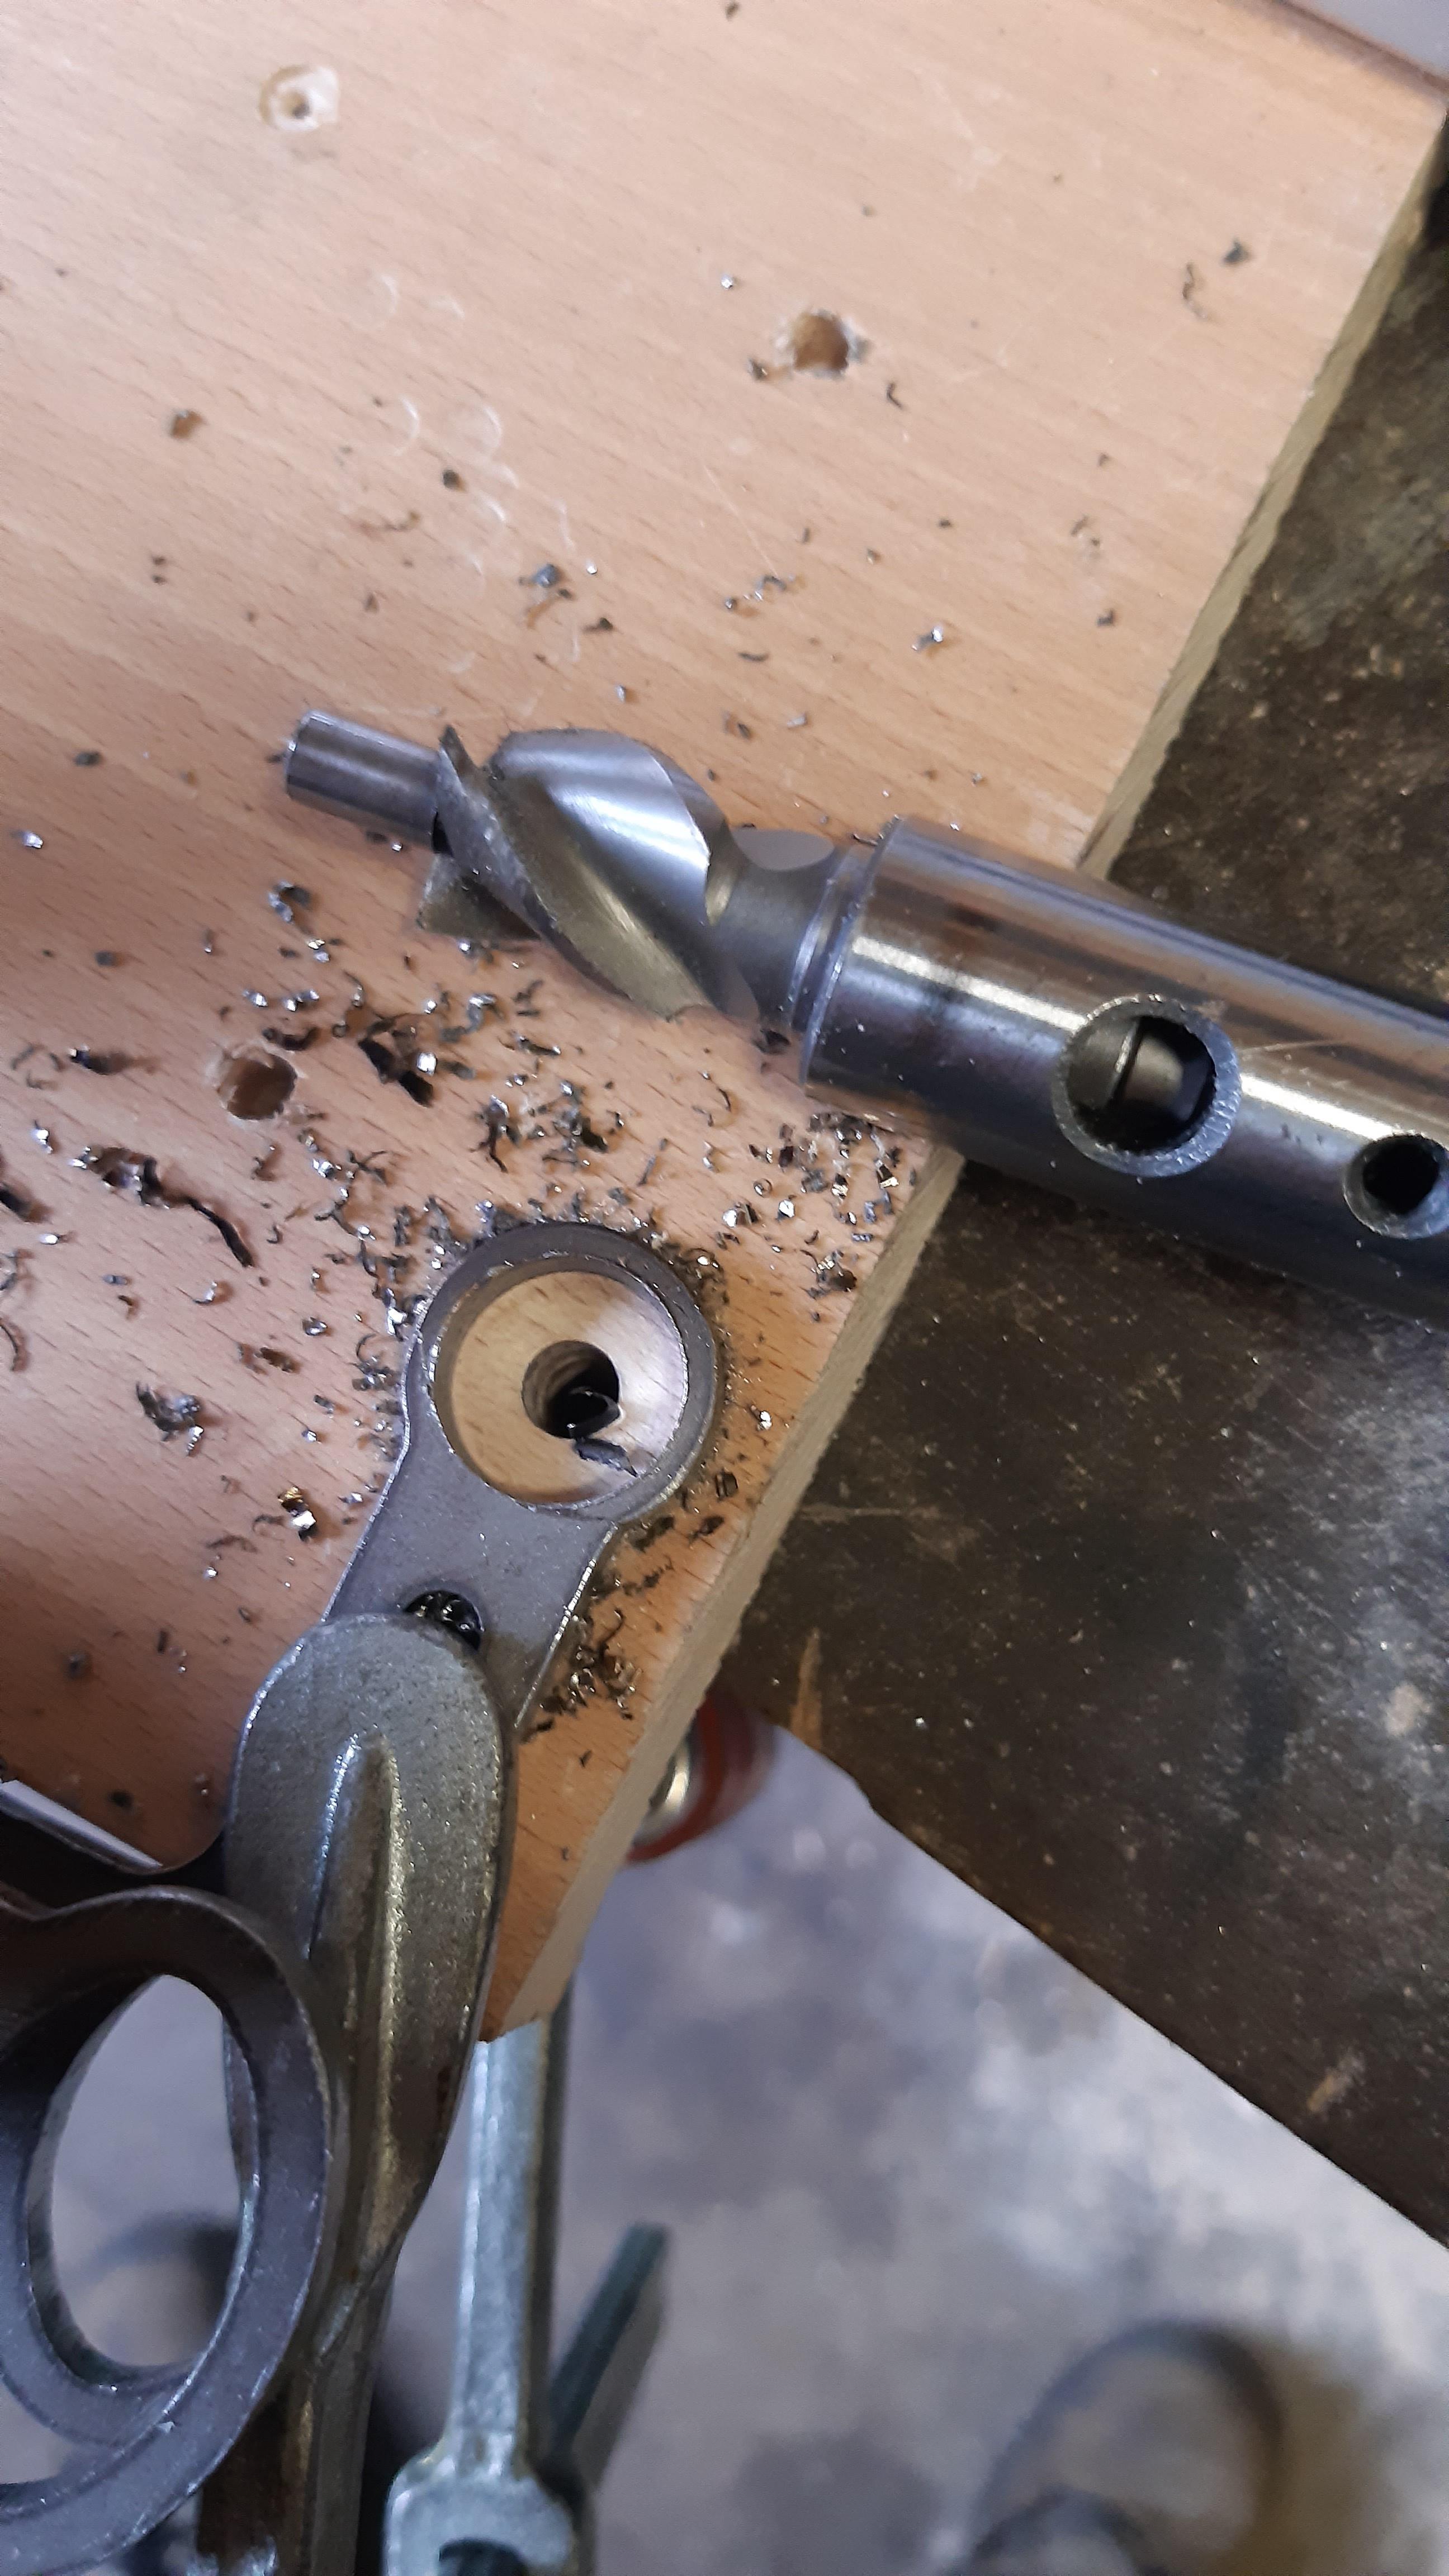
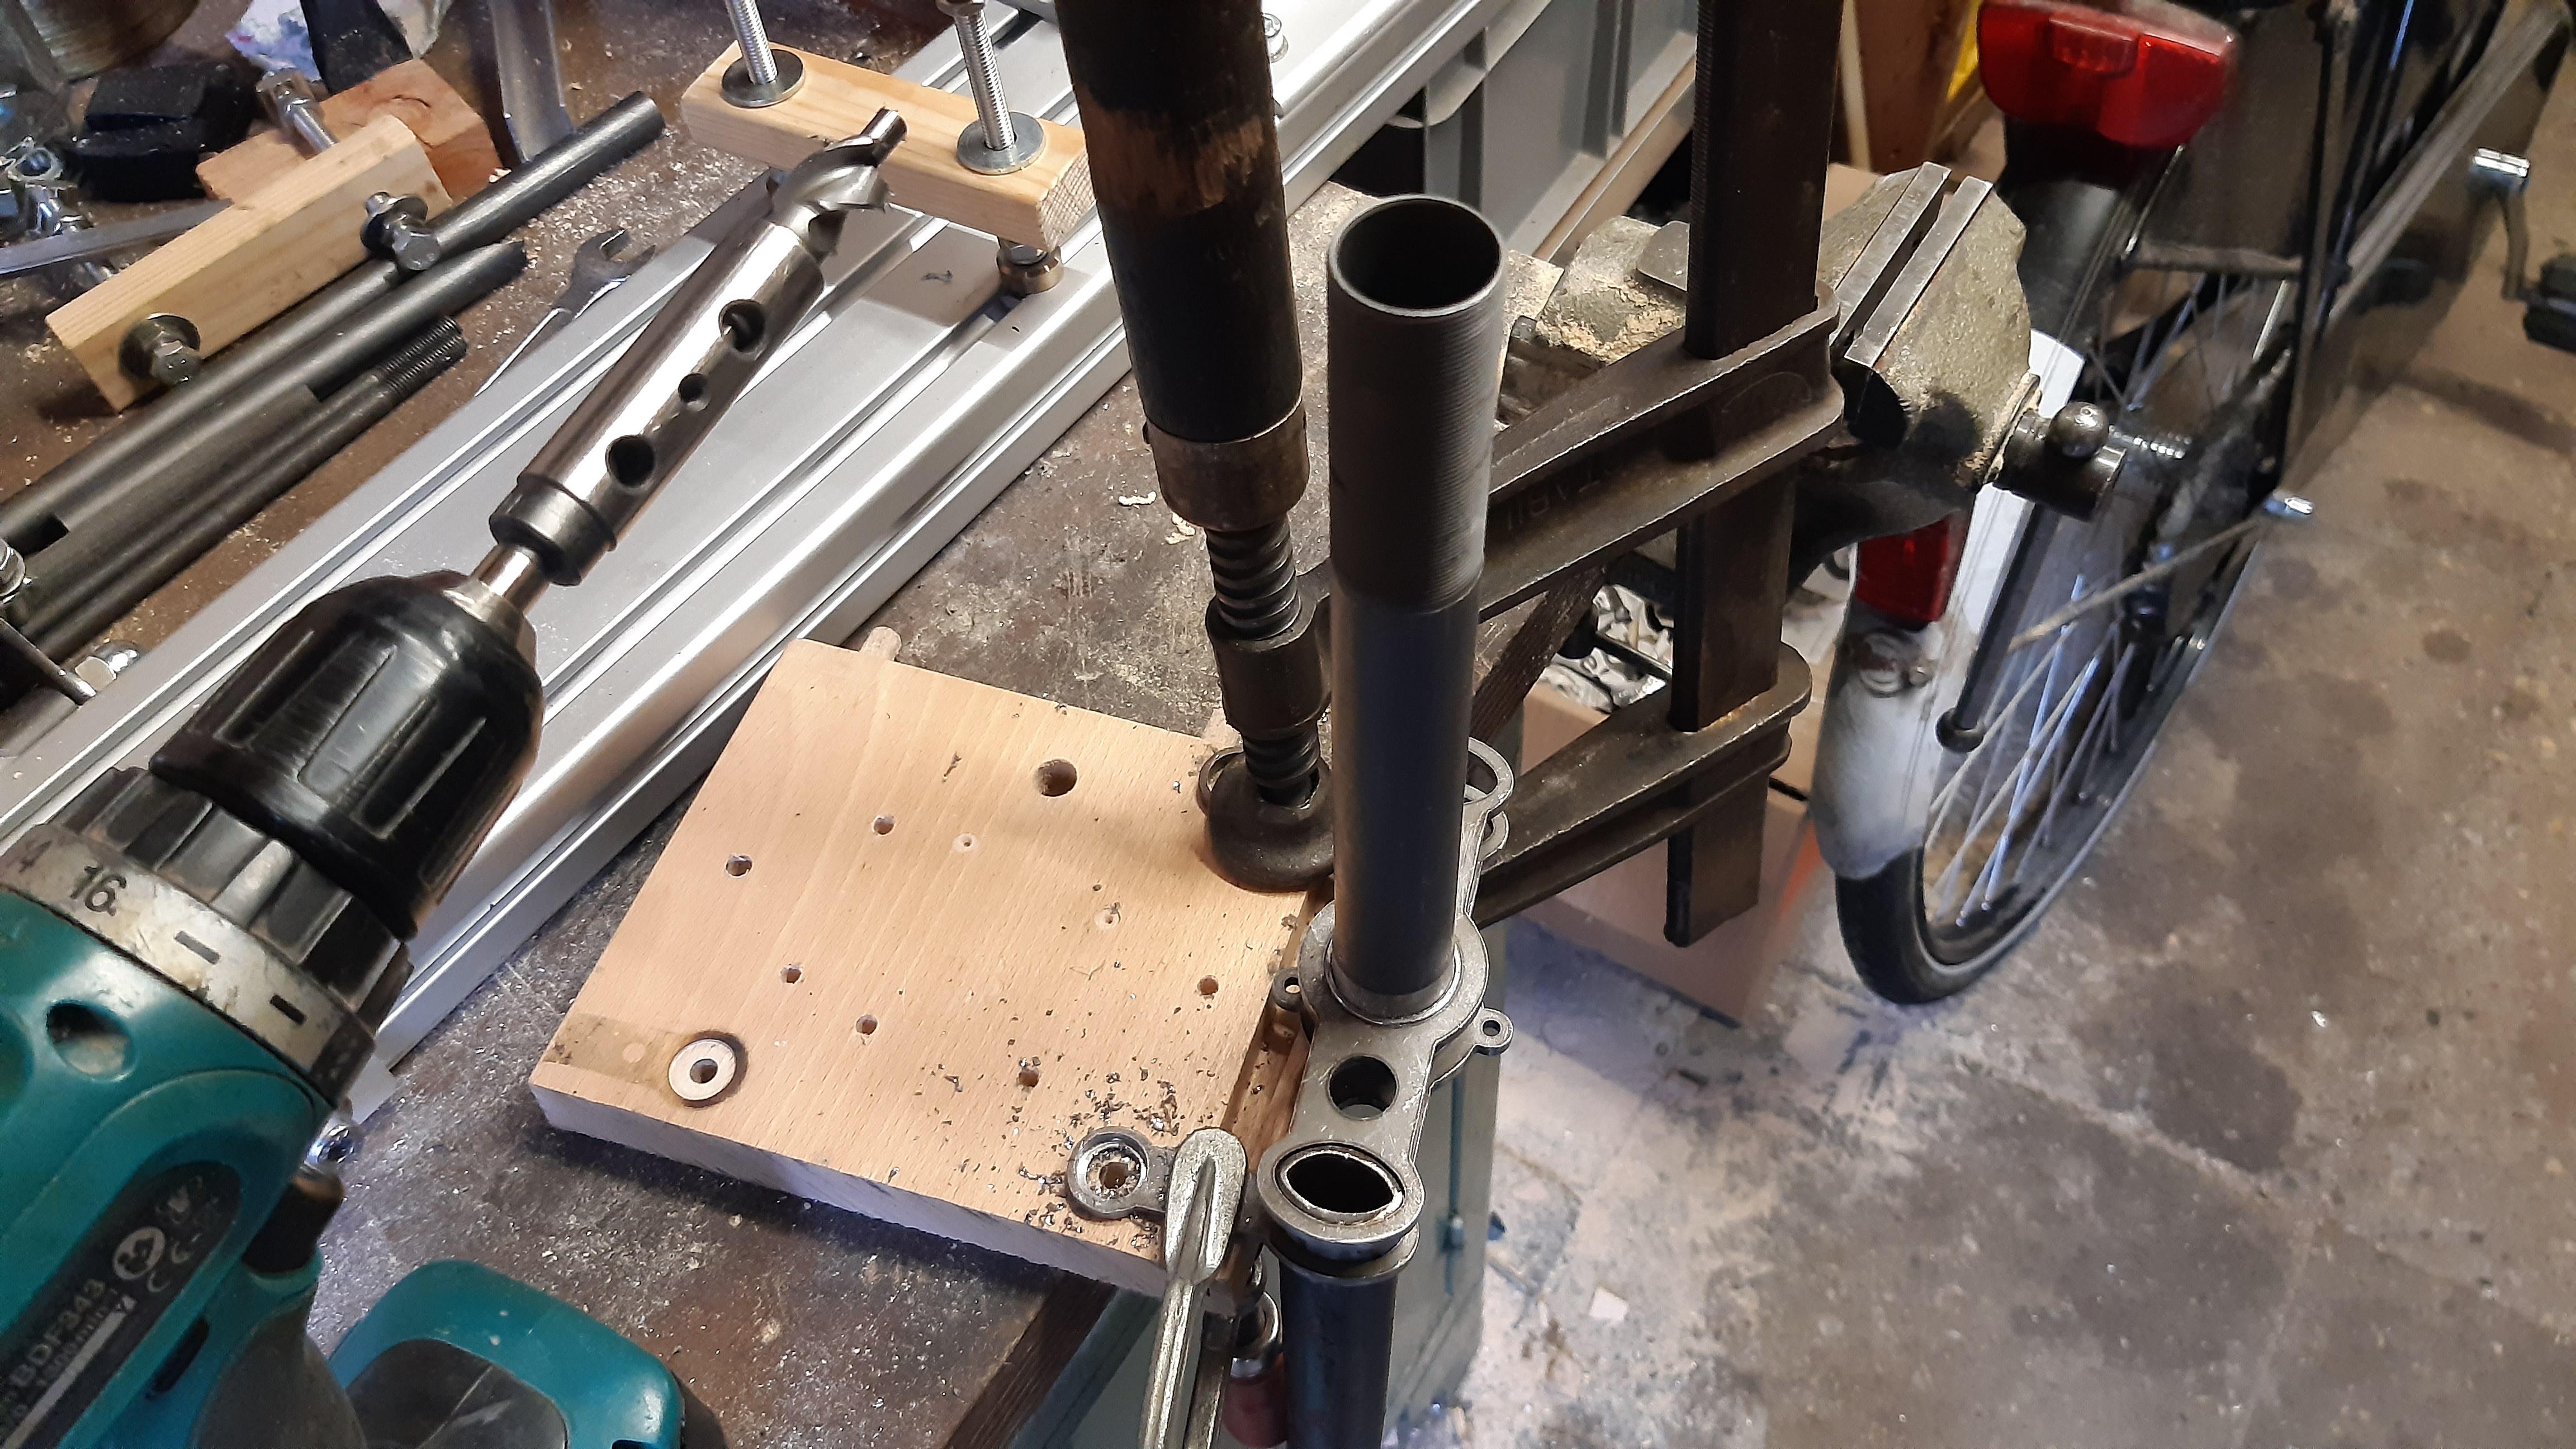
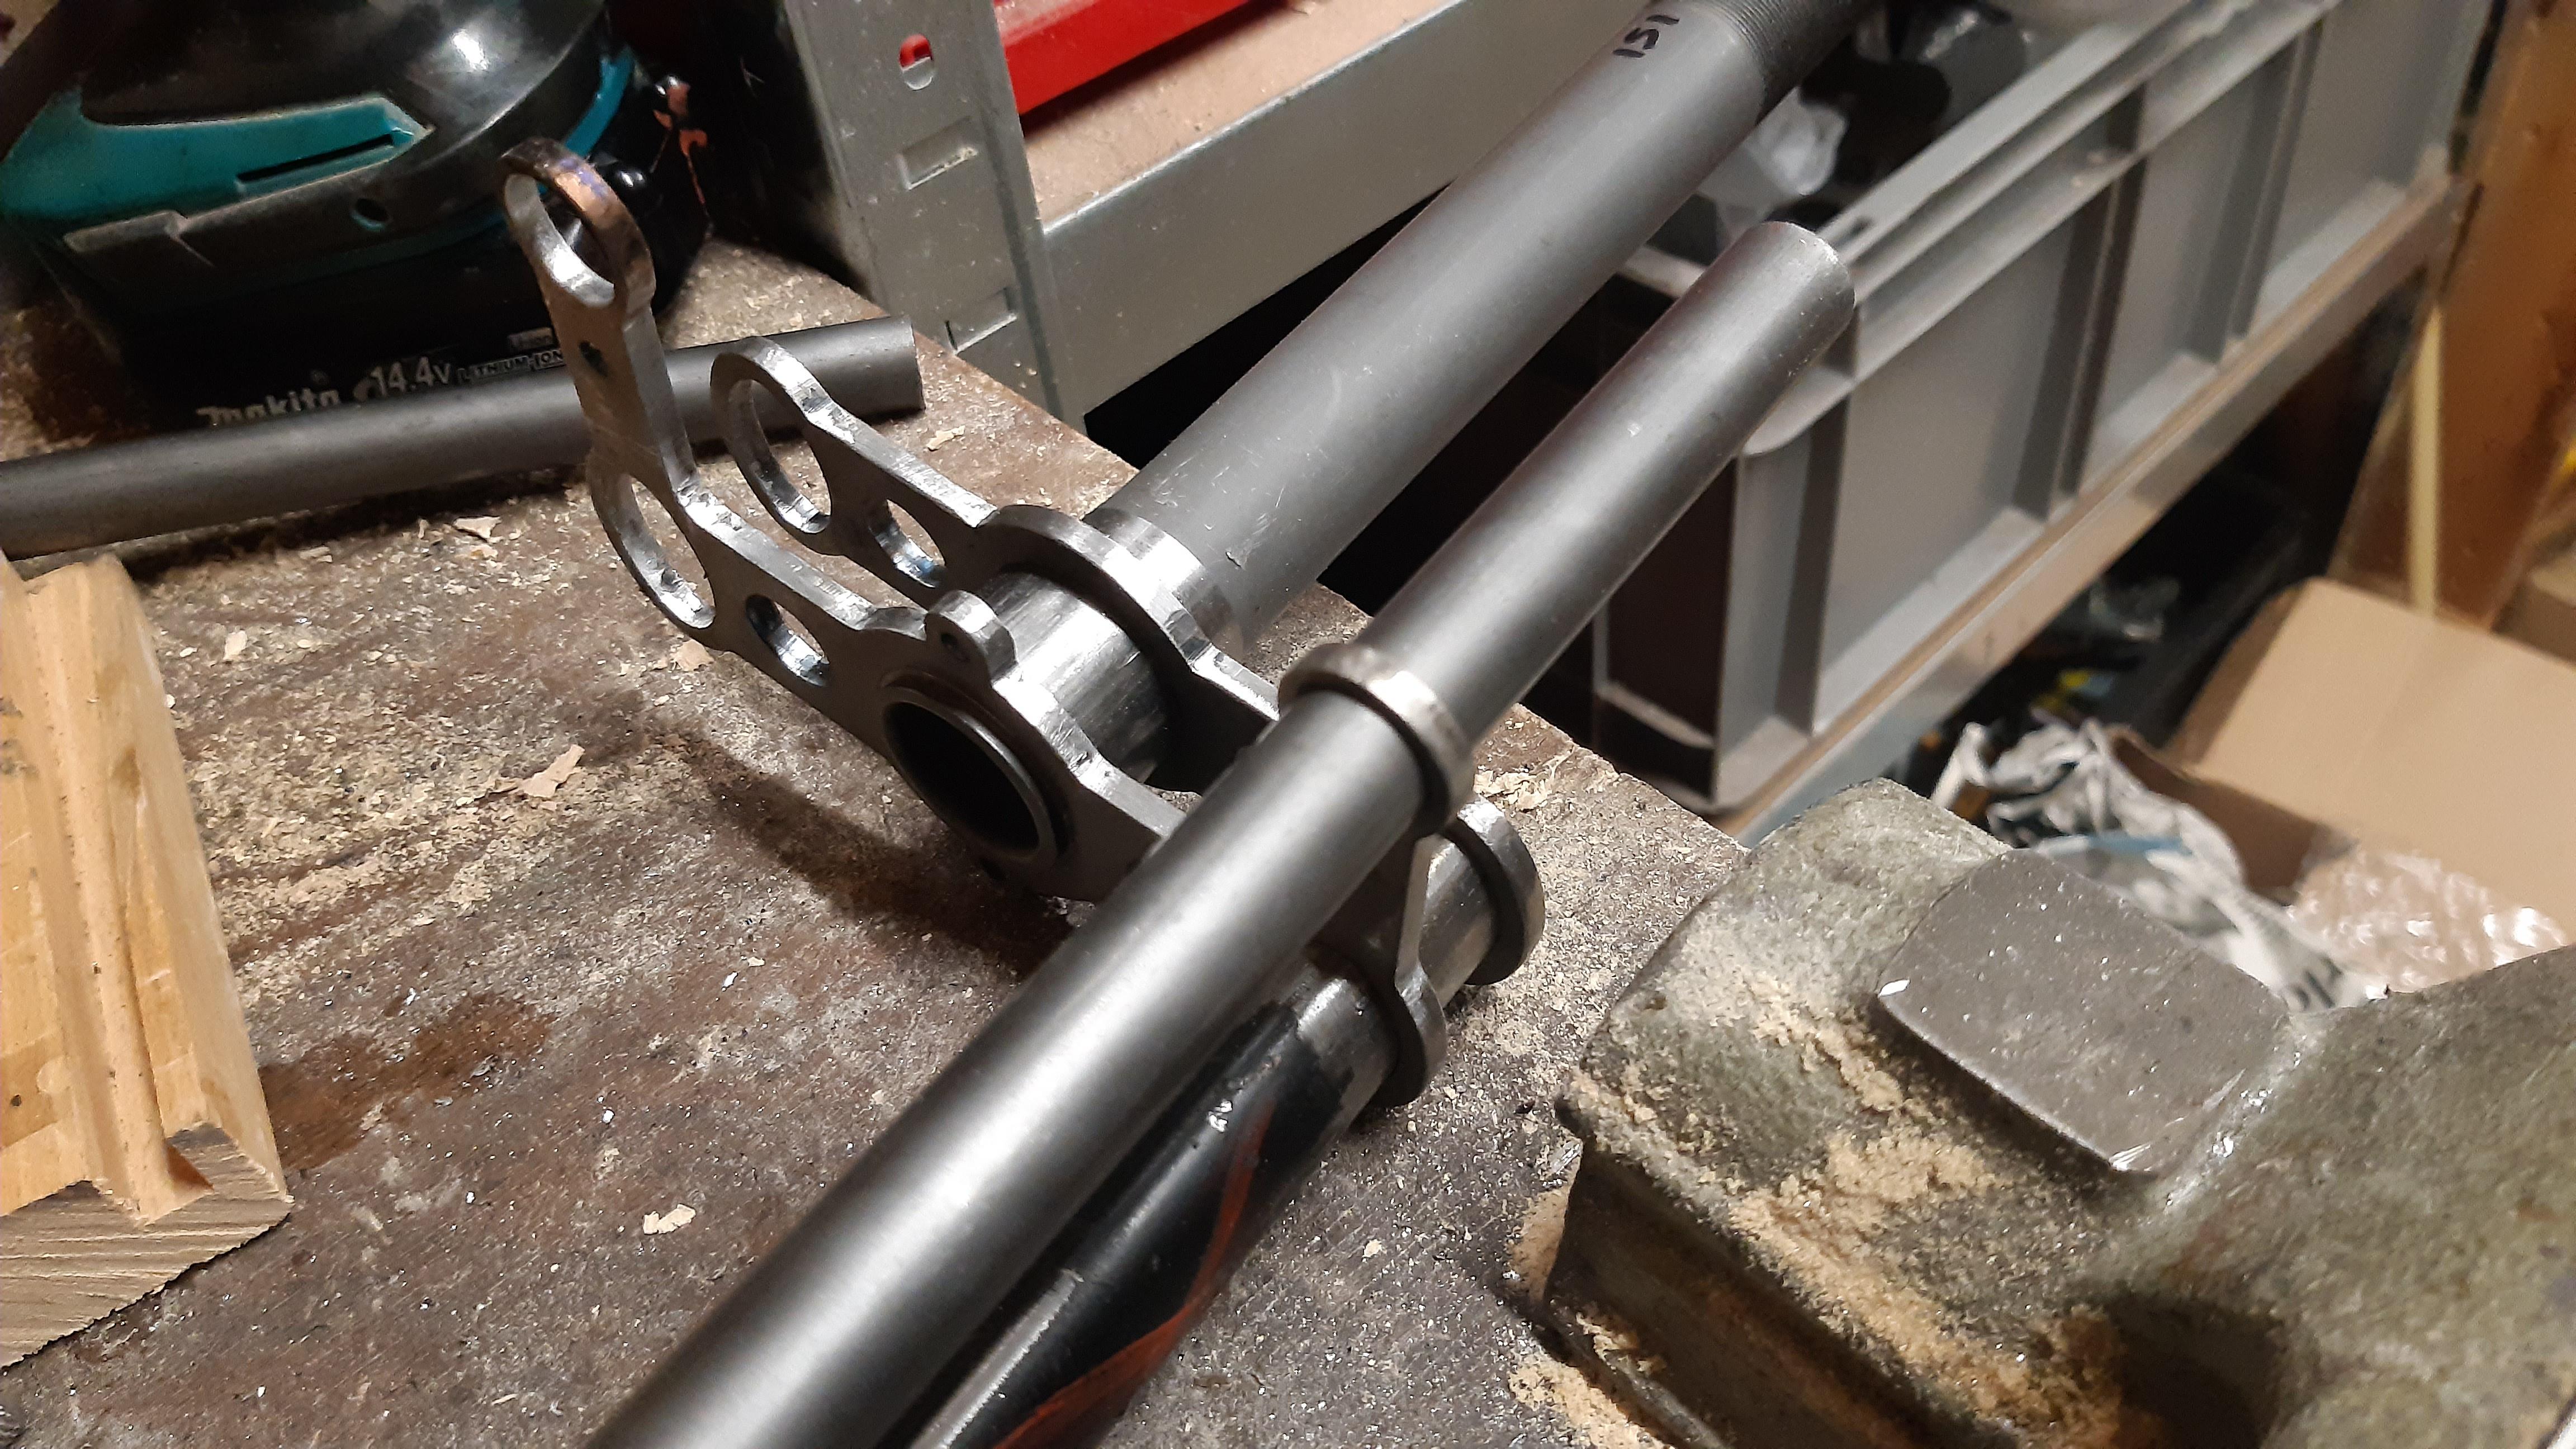
For ease of assembly and welding, I drilled the 'truss holes' to the 15mm tube size. Still I am not using a full length tube. Not necessary for this fork, even though it is stronger. I work with what I have around my shed.
bjh756R.jpeg

A good view on the how to. This type of drill does not self-center, so I used a piece of wood to clamp it and align it.
ZWrKdp4.jpeg

Succes!

eSeAj1T.jpeg

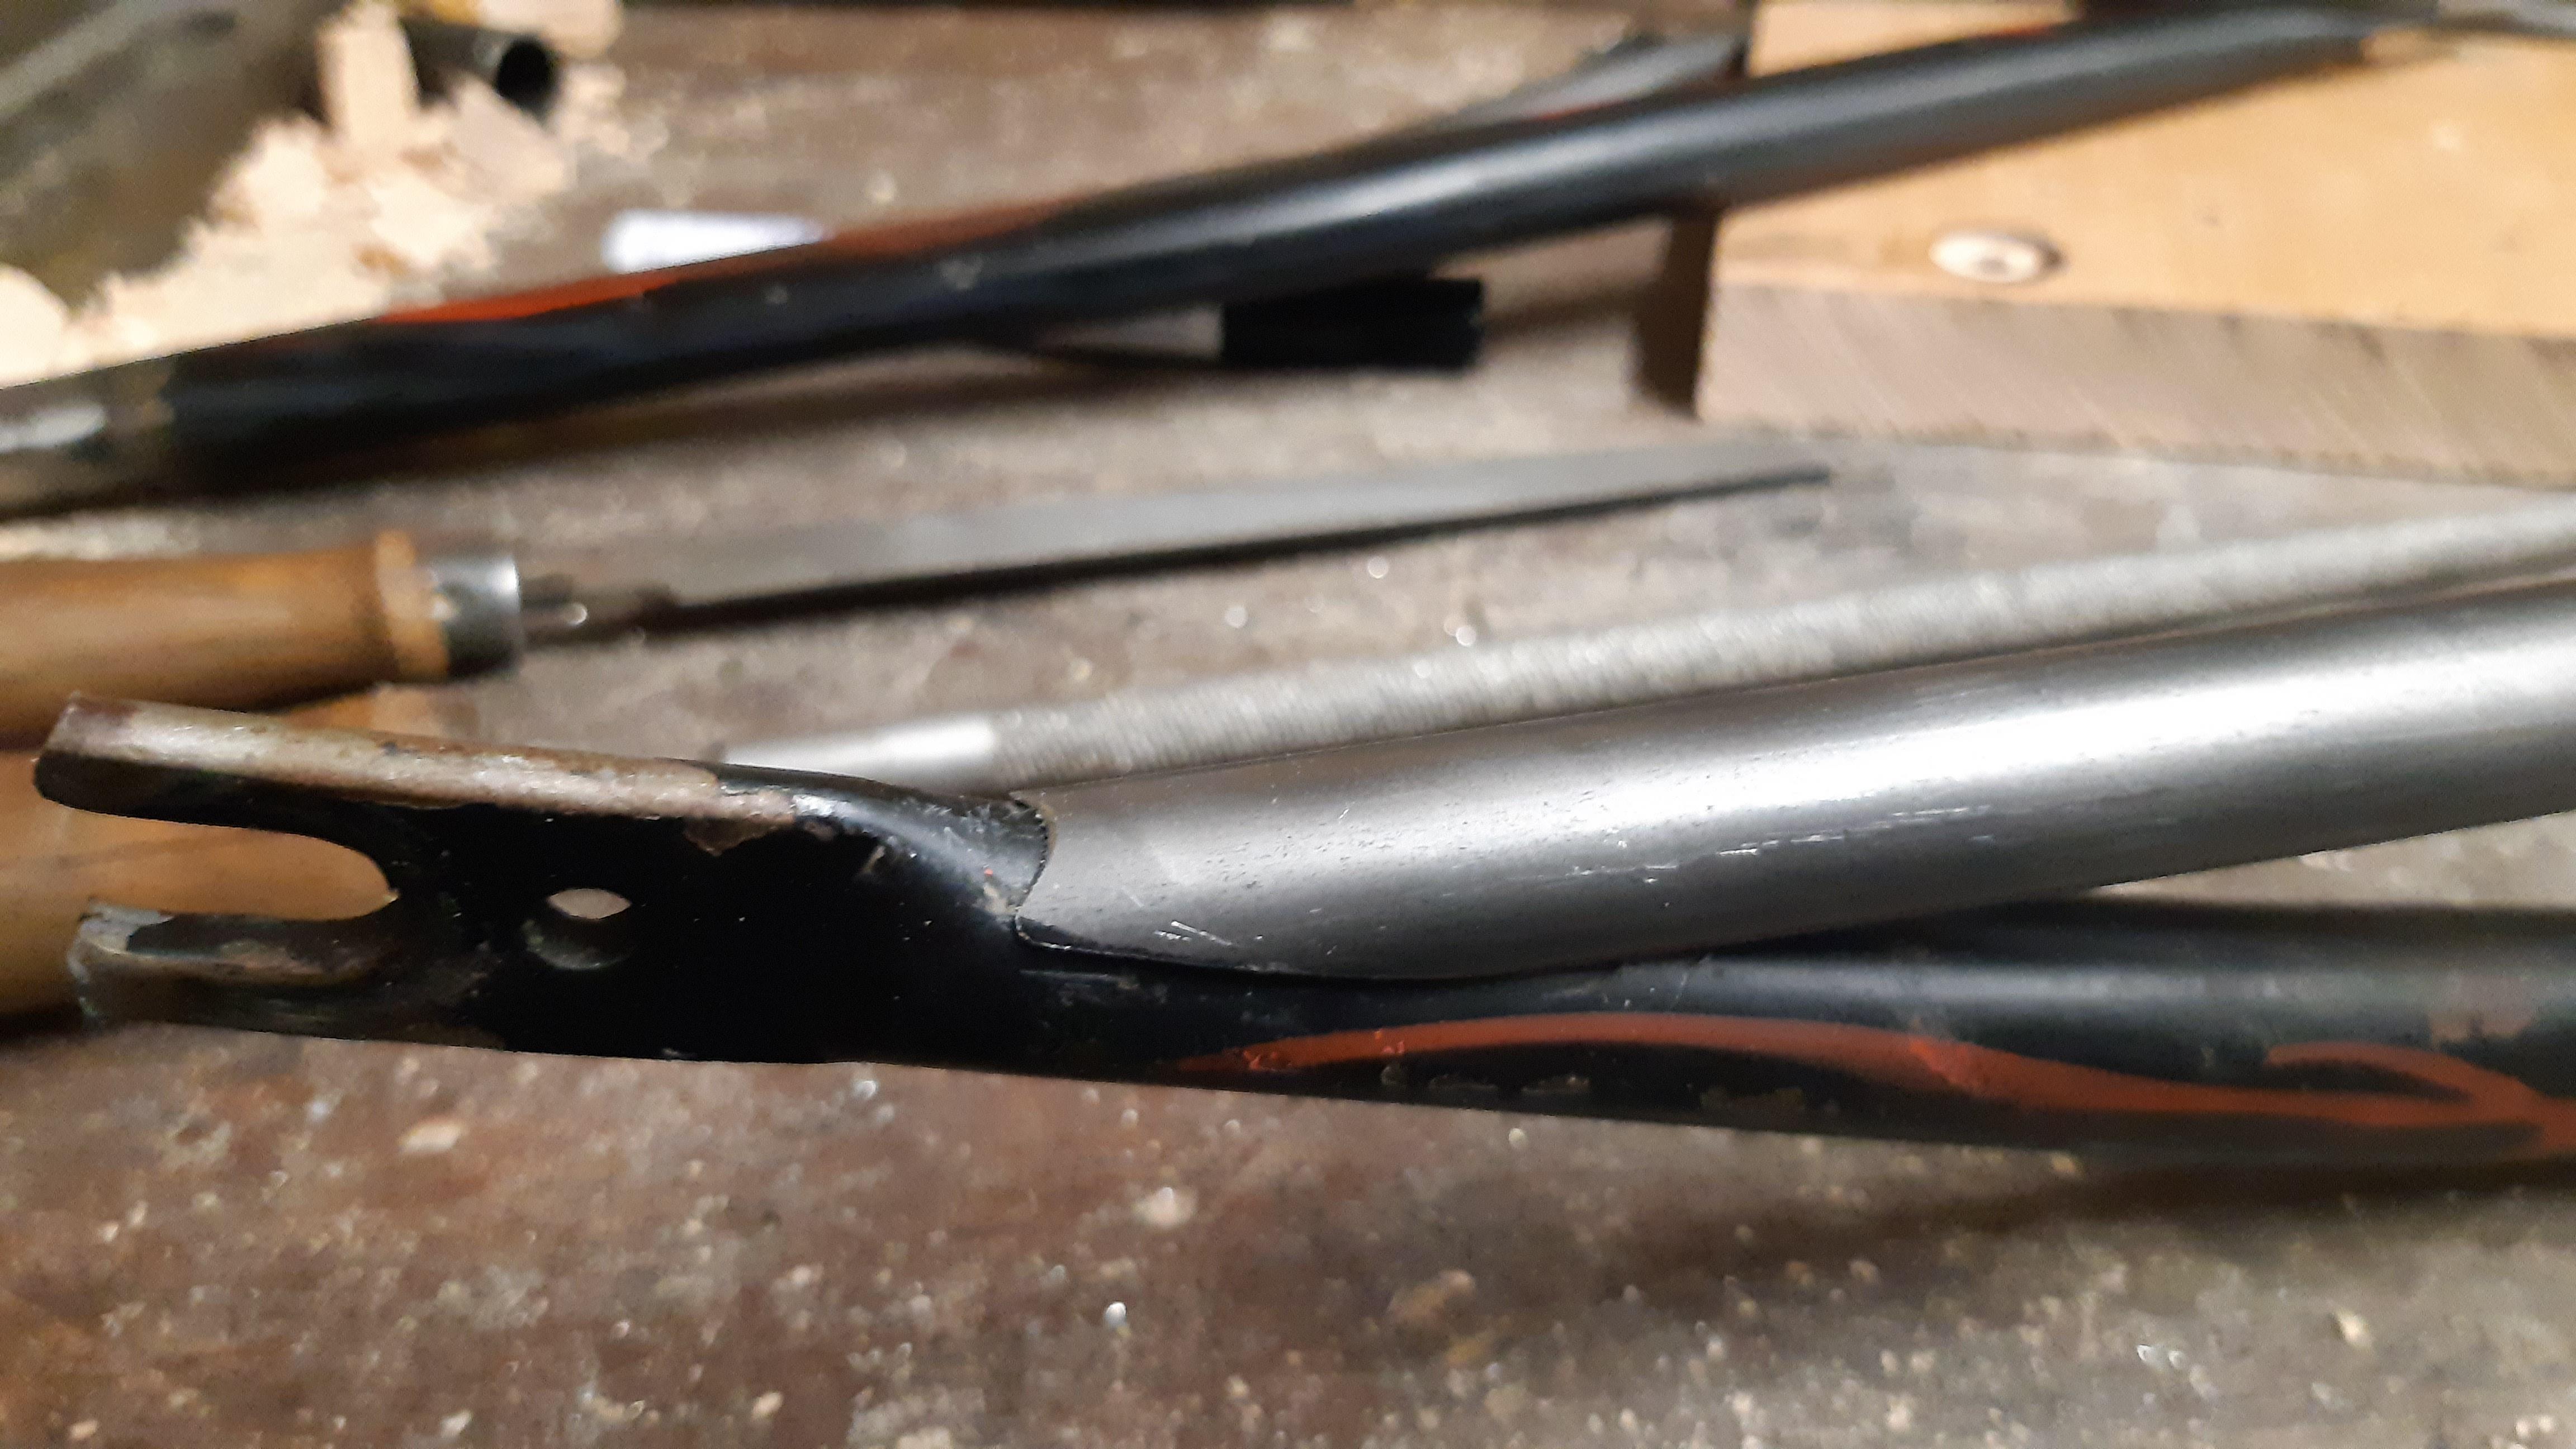
A person told me they could'nt notch the angle (lowest part, near the fork dropout). So I measured, I took the hacksaw and file and notched it within an hour.
0SNQiSM.jpeg

I am very happy with the results!

lalKUee.jpeg

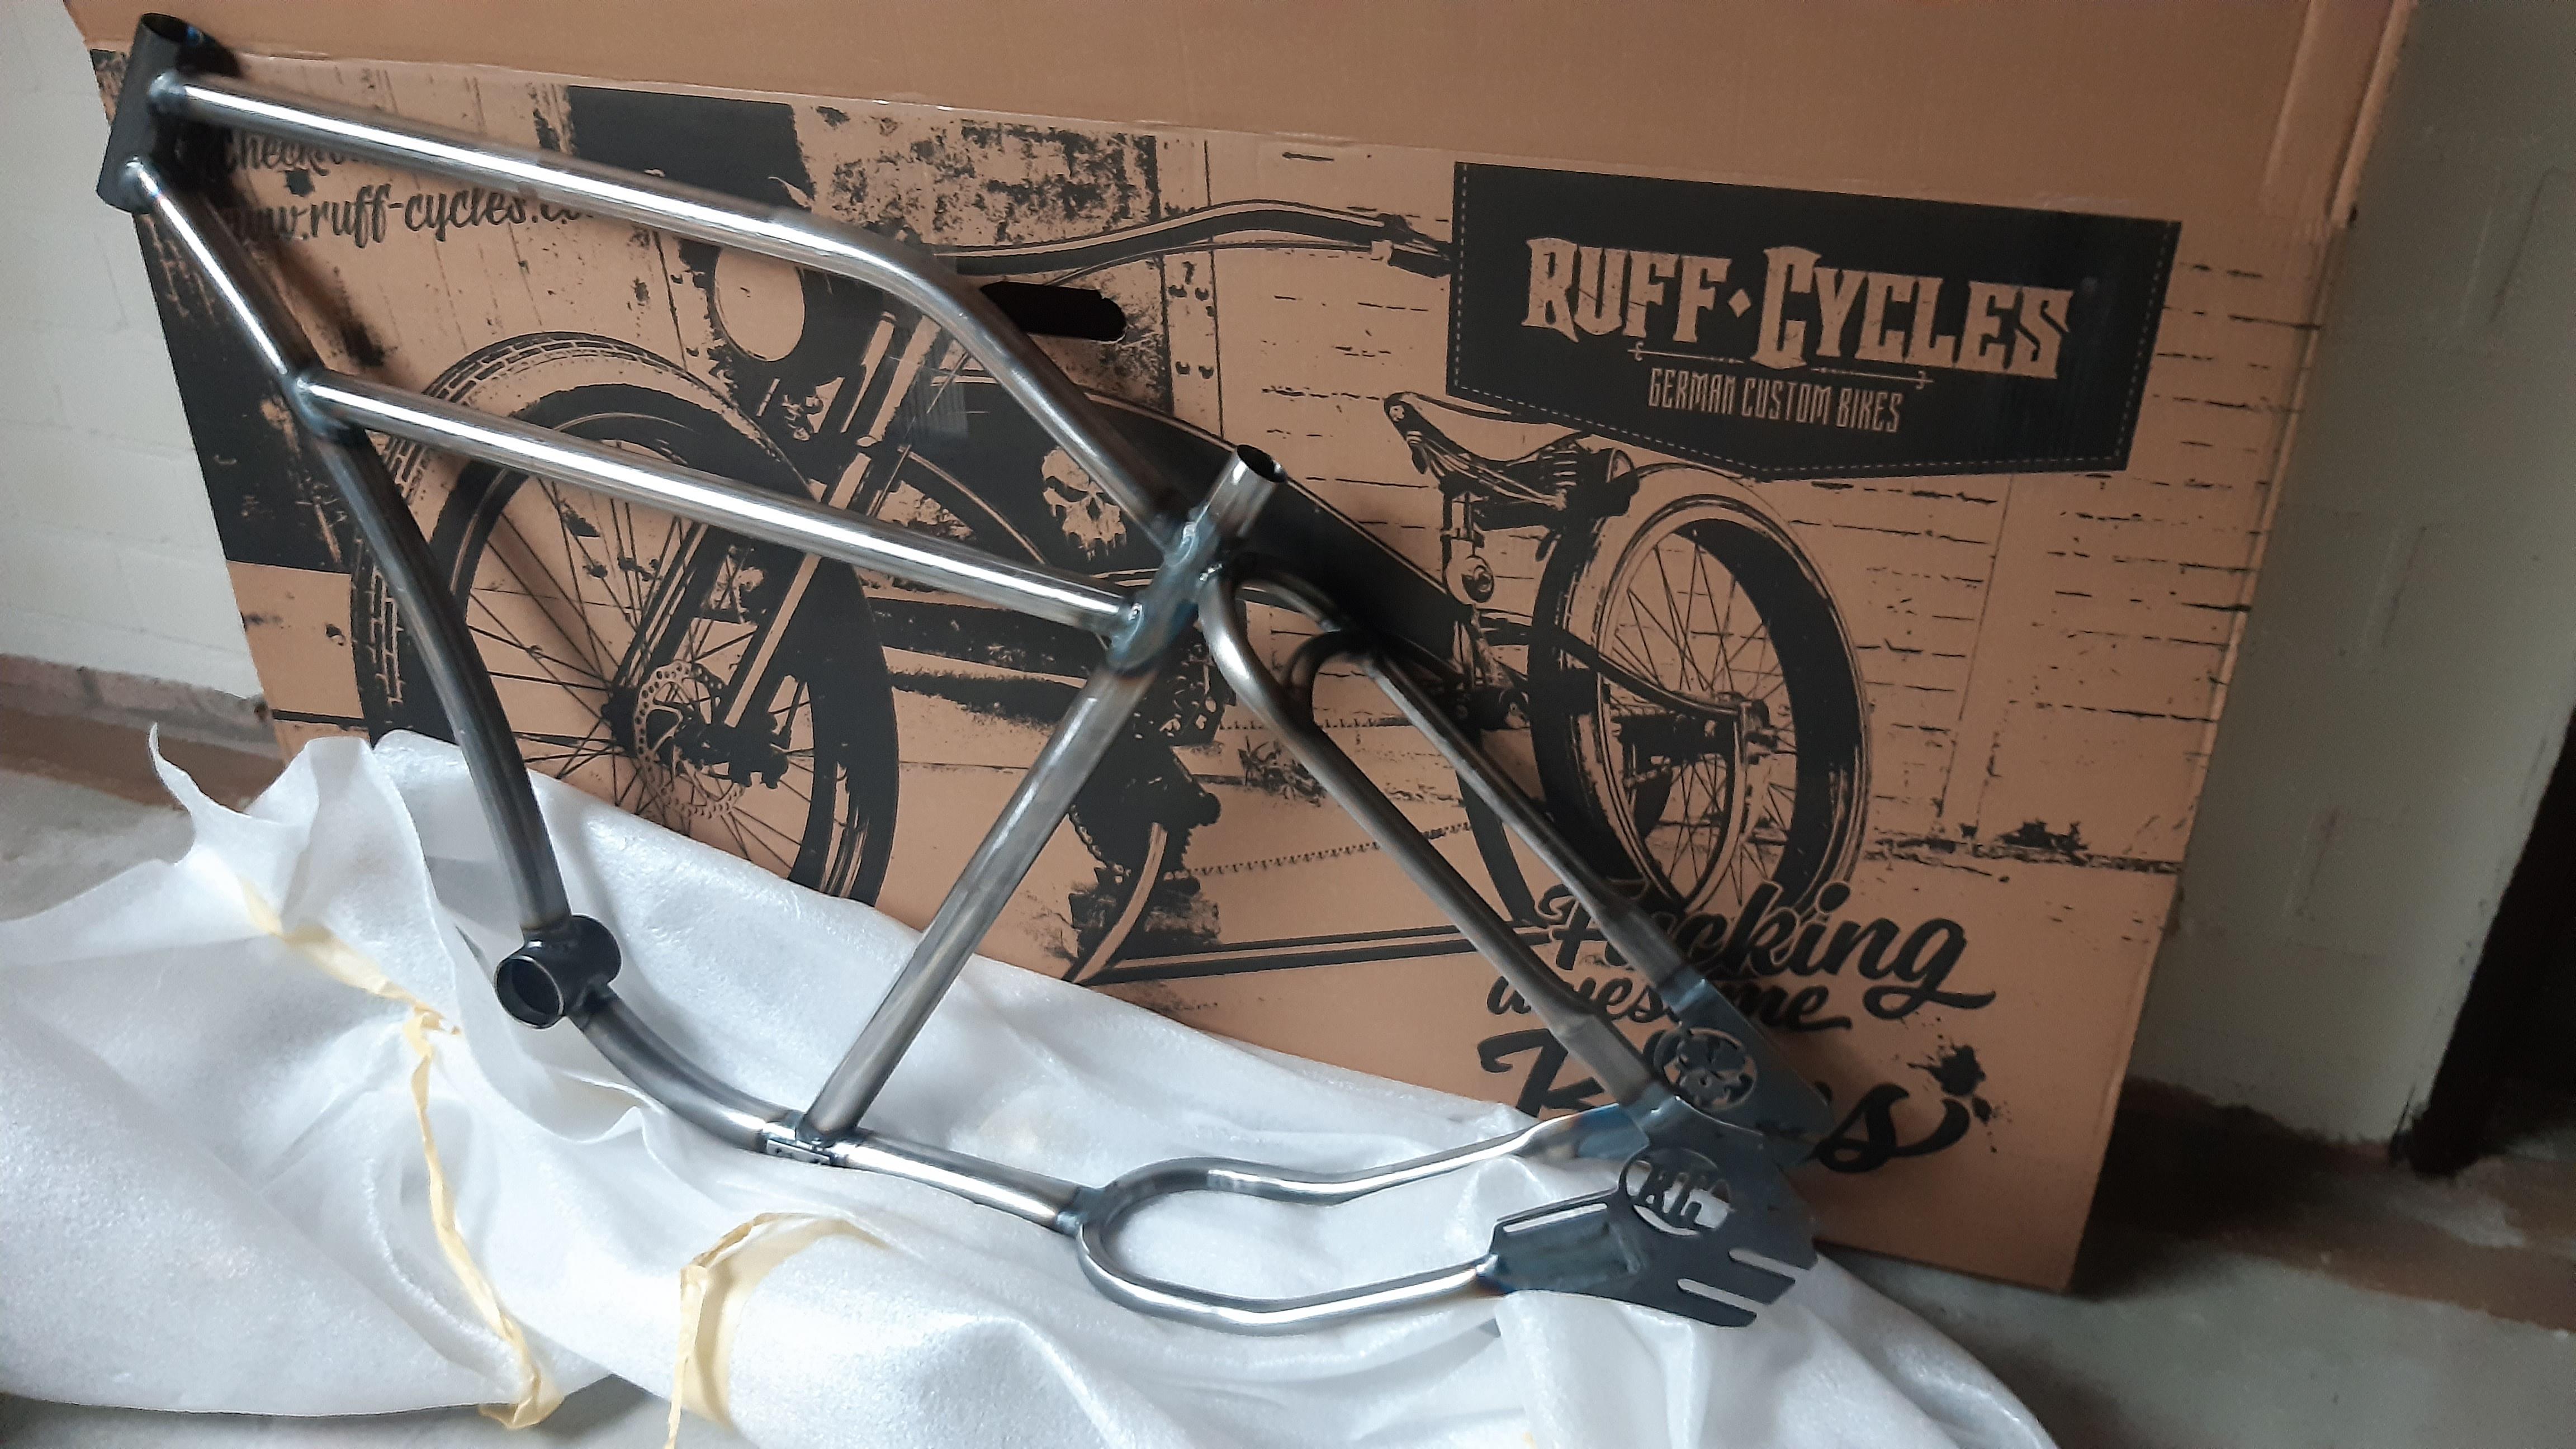
The frame came in!!! Very happy right now!
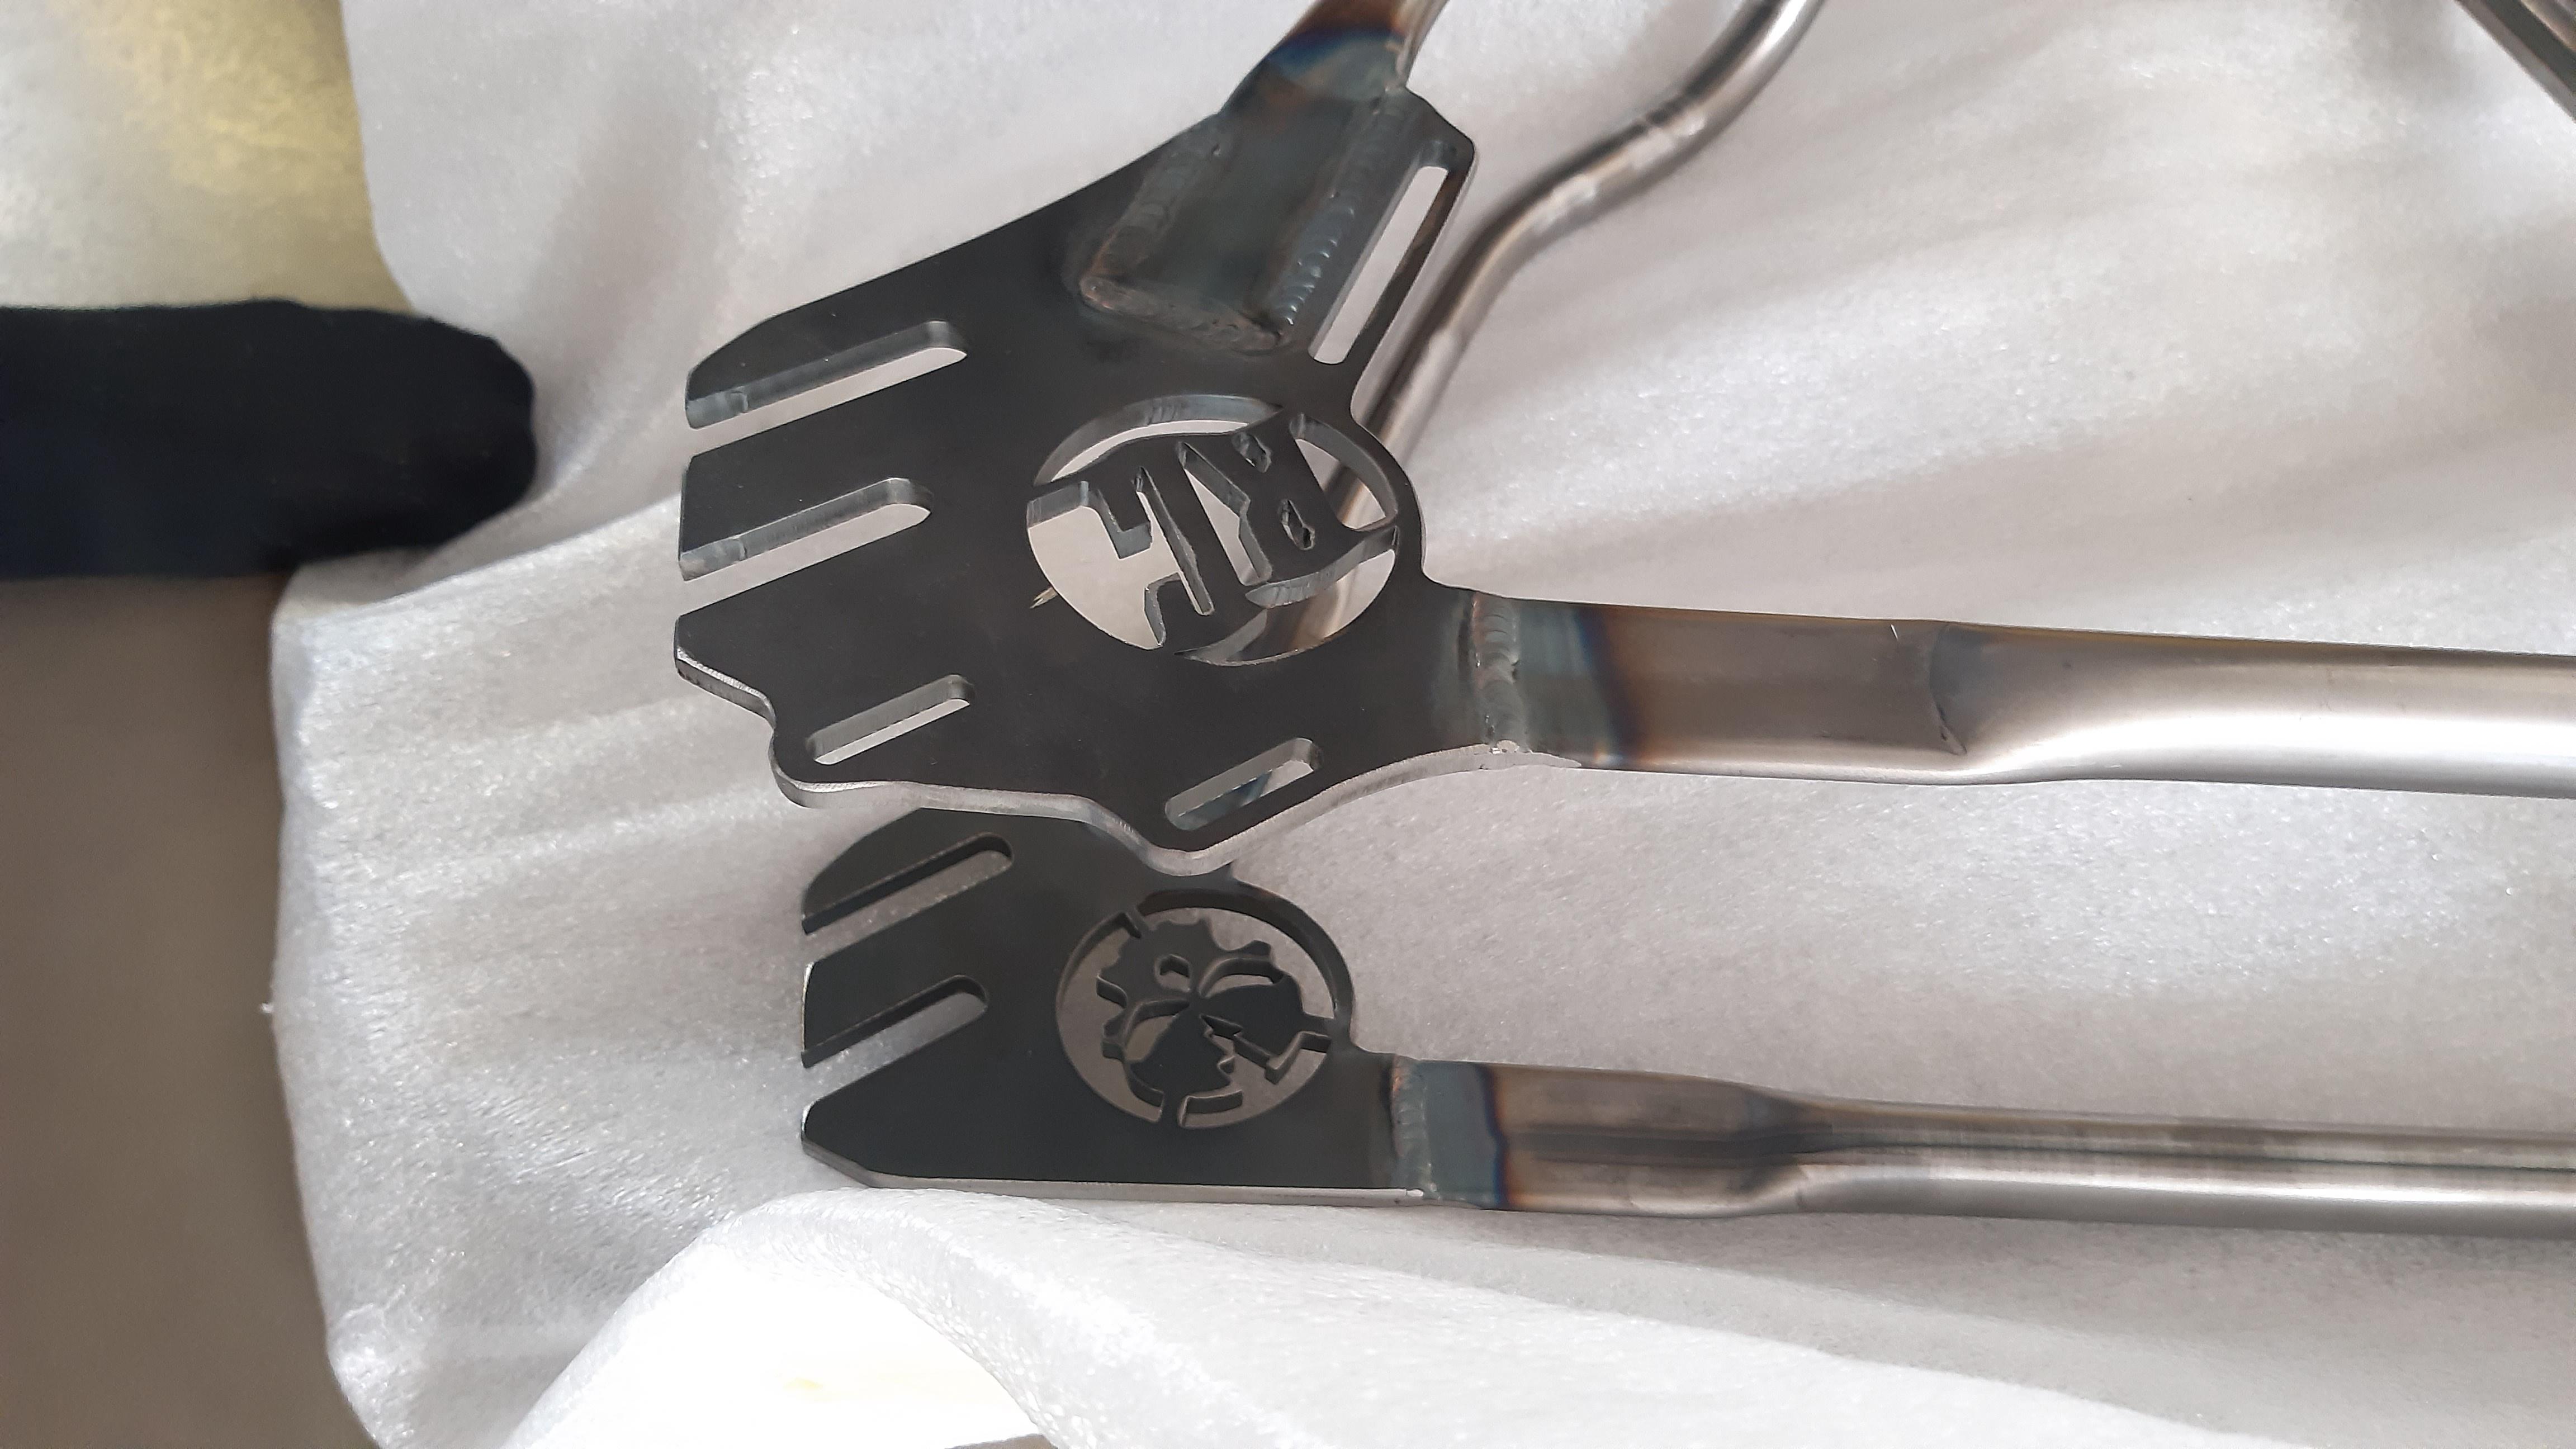
1dcFeqq.jpeg

I do not dislike that lasercut logo, but I don't know if it fits the look I am going for. We'll see!
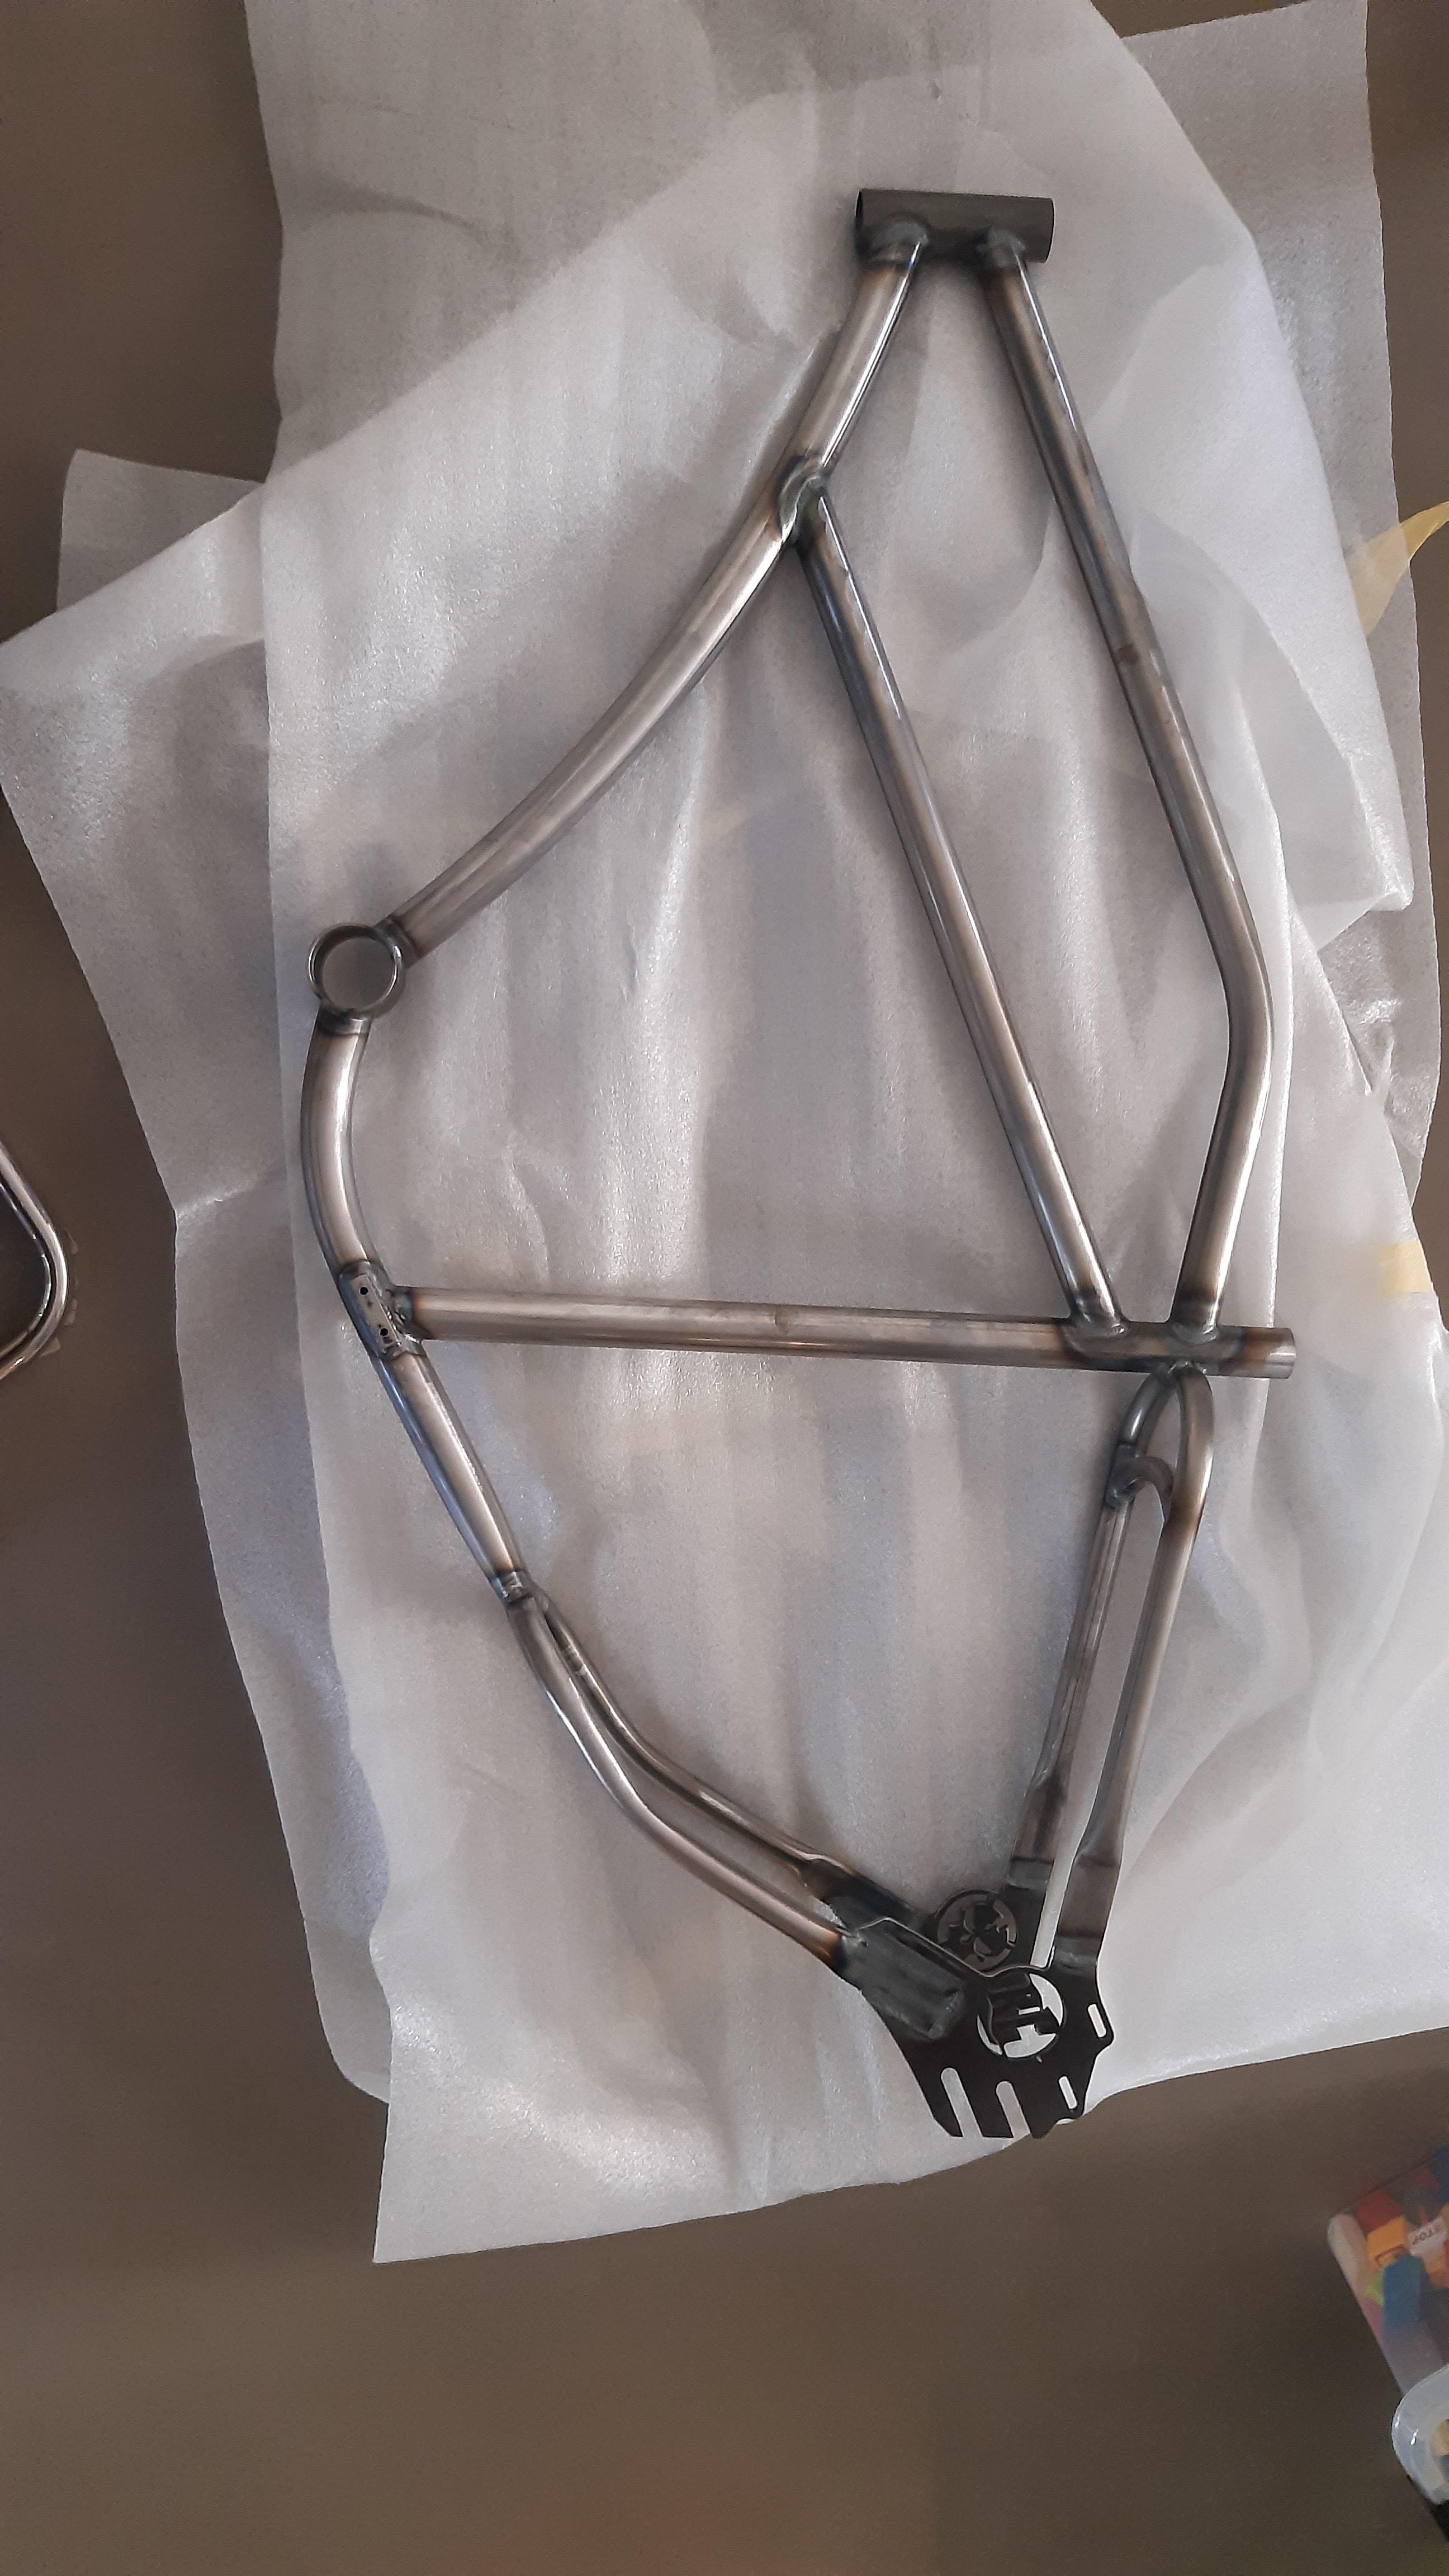
iPvtRgR.jpeg


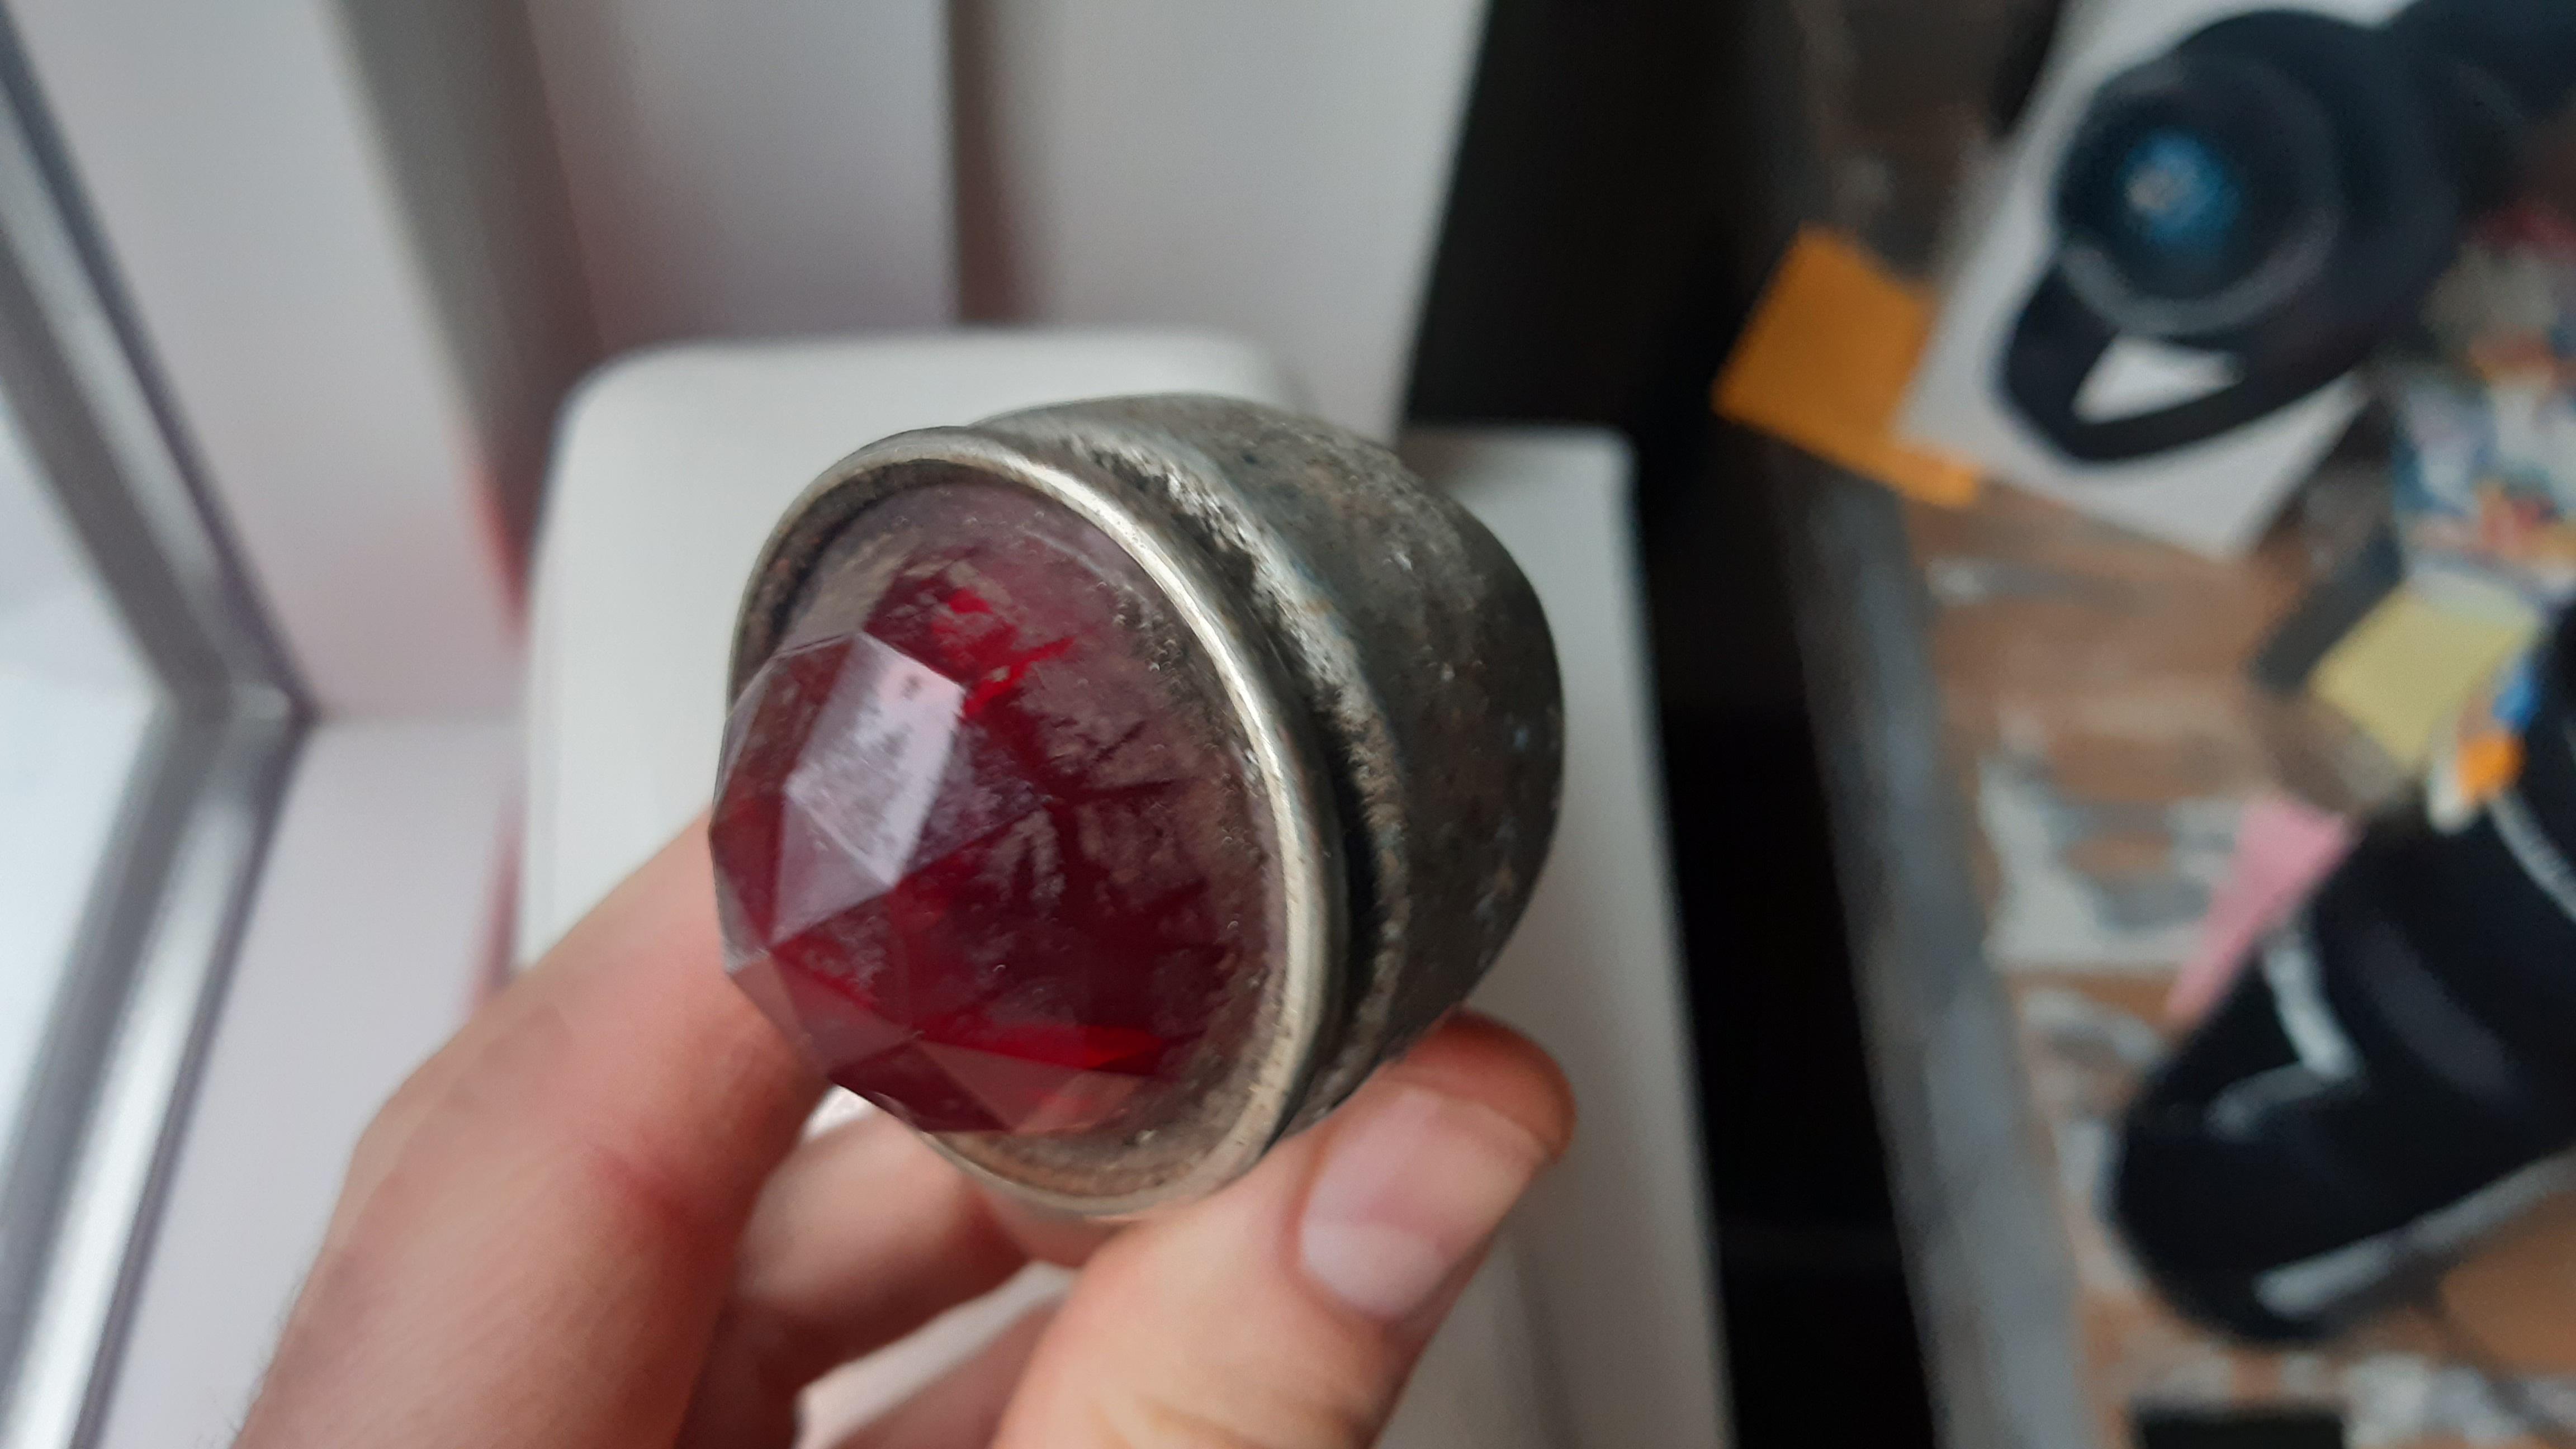
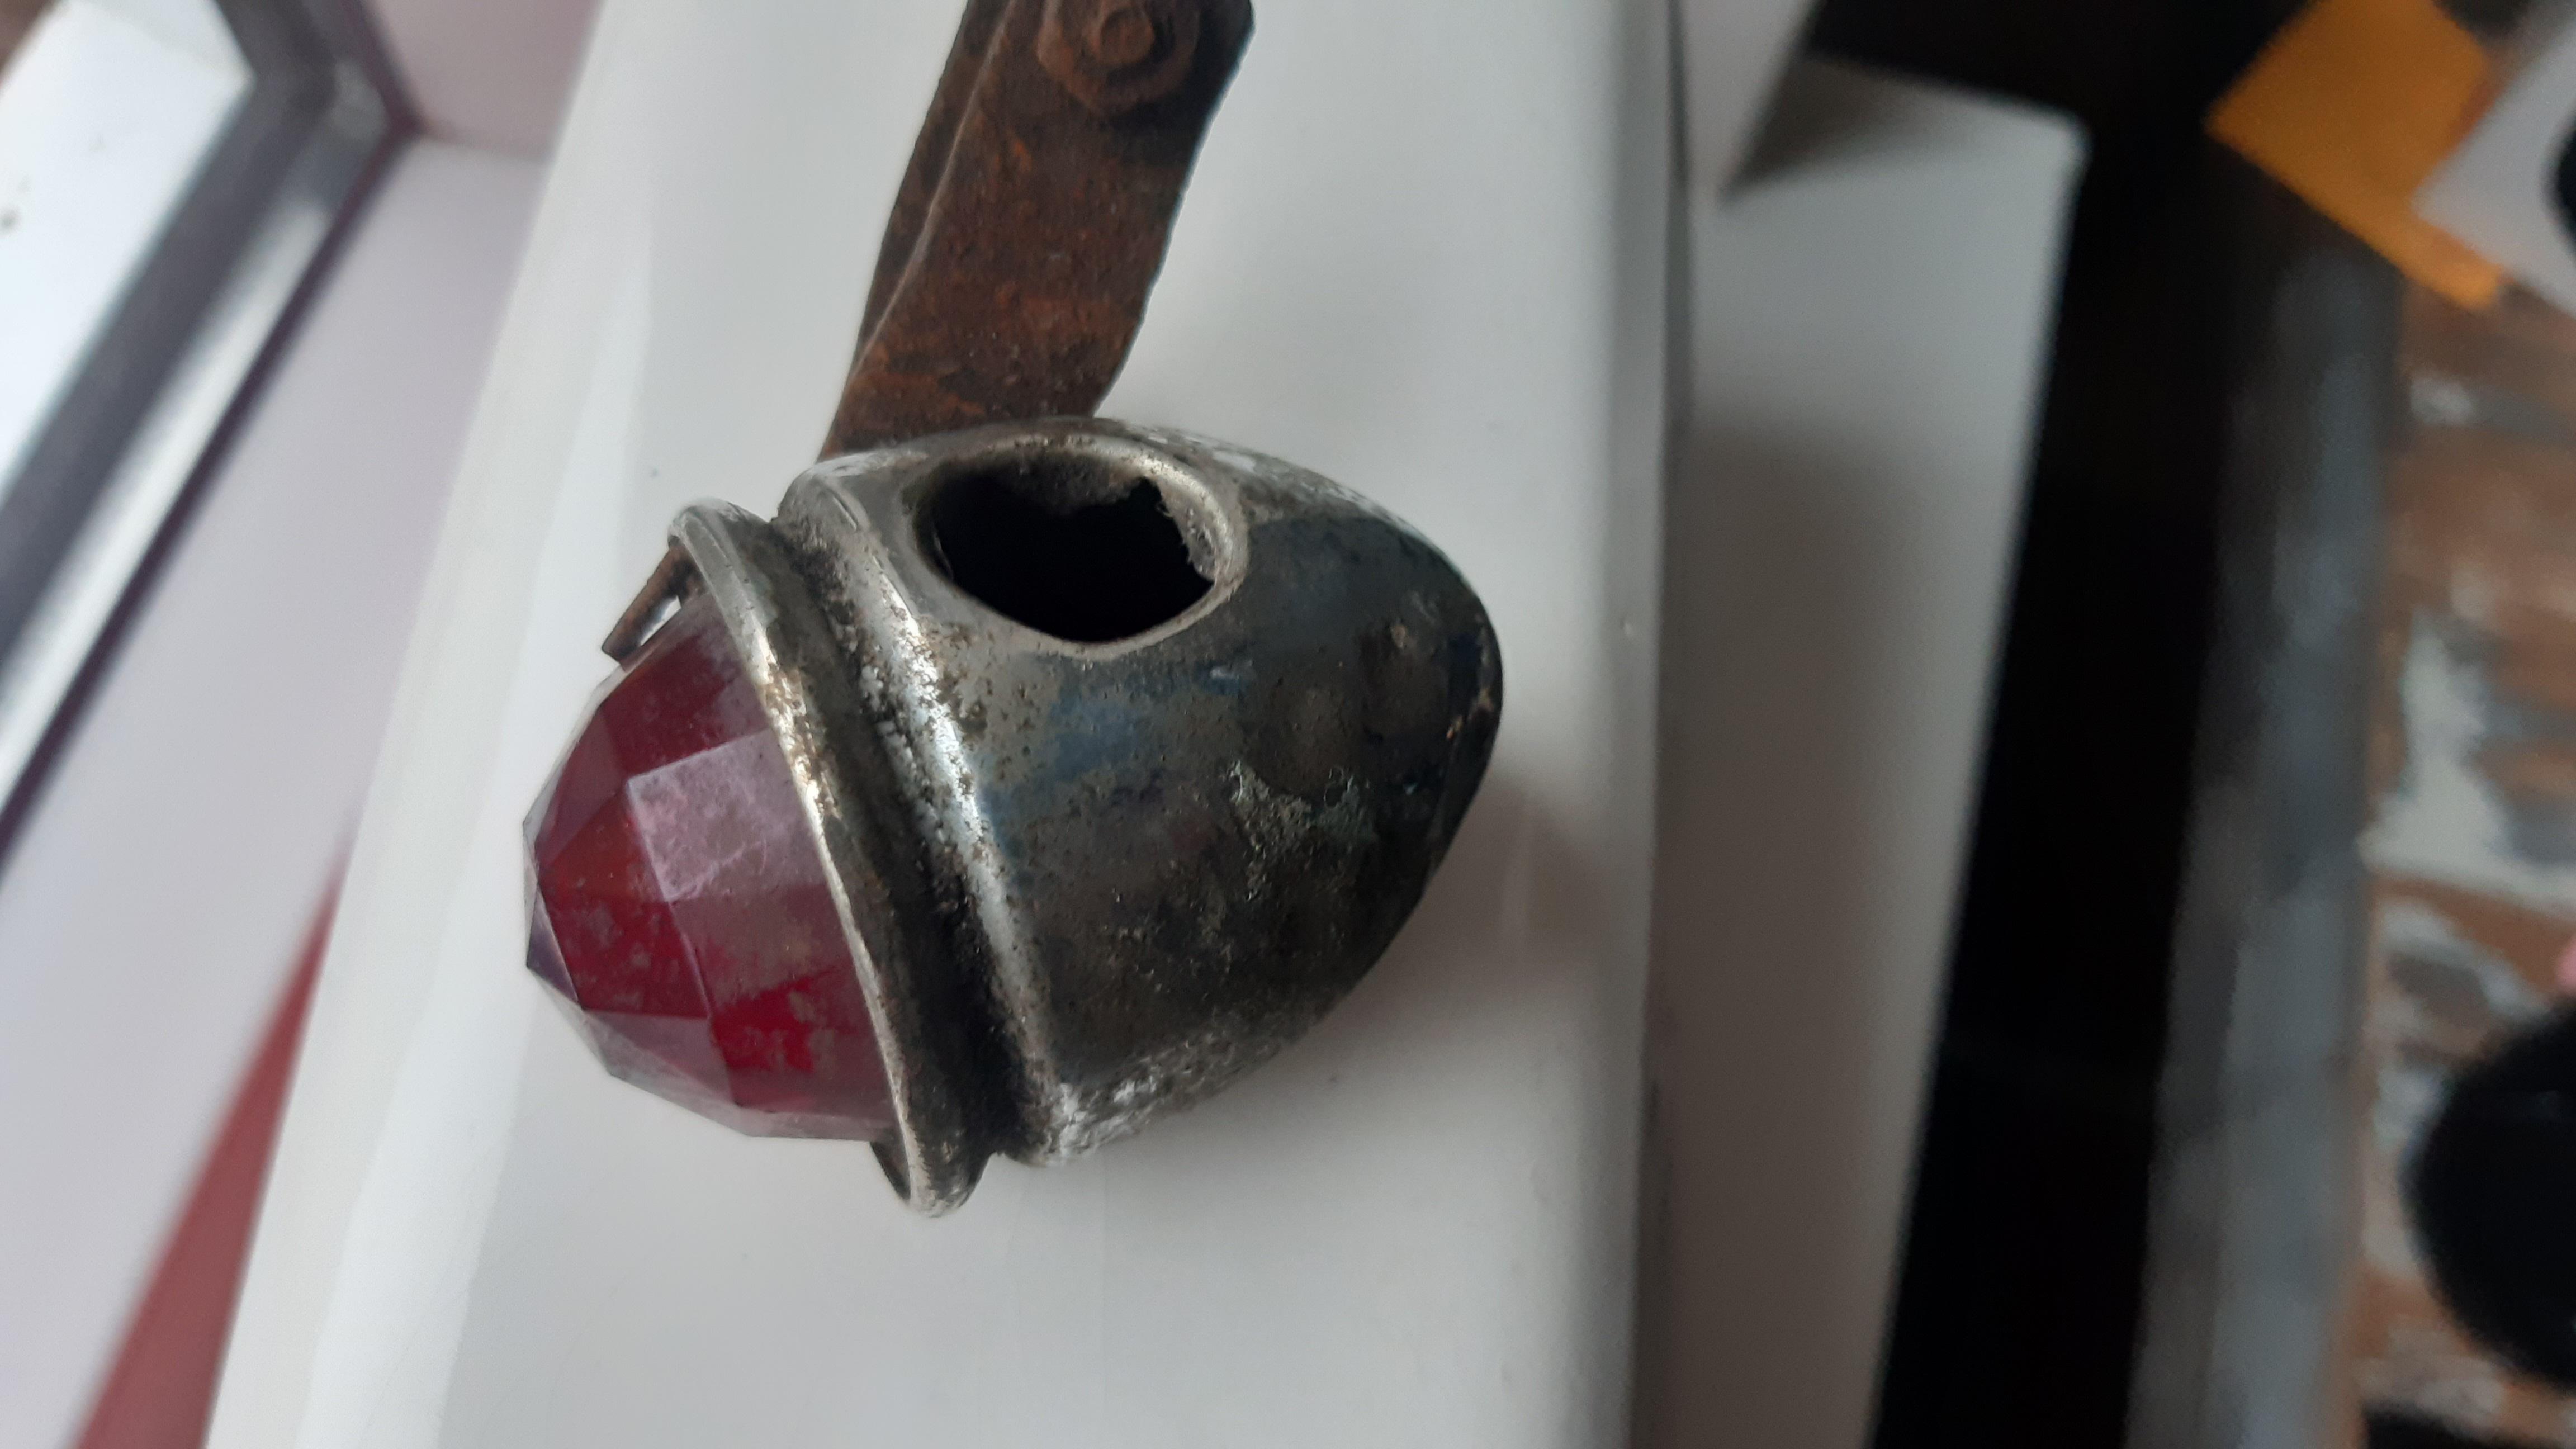
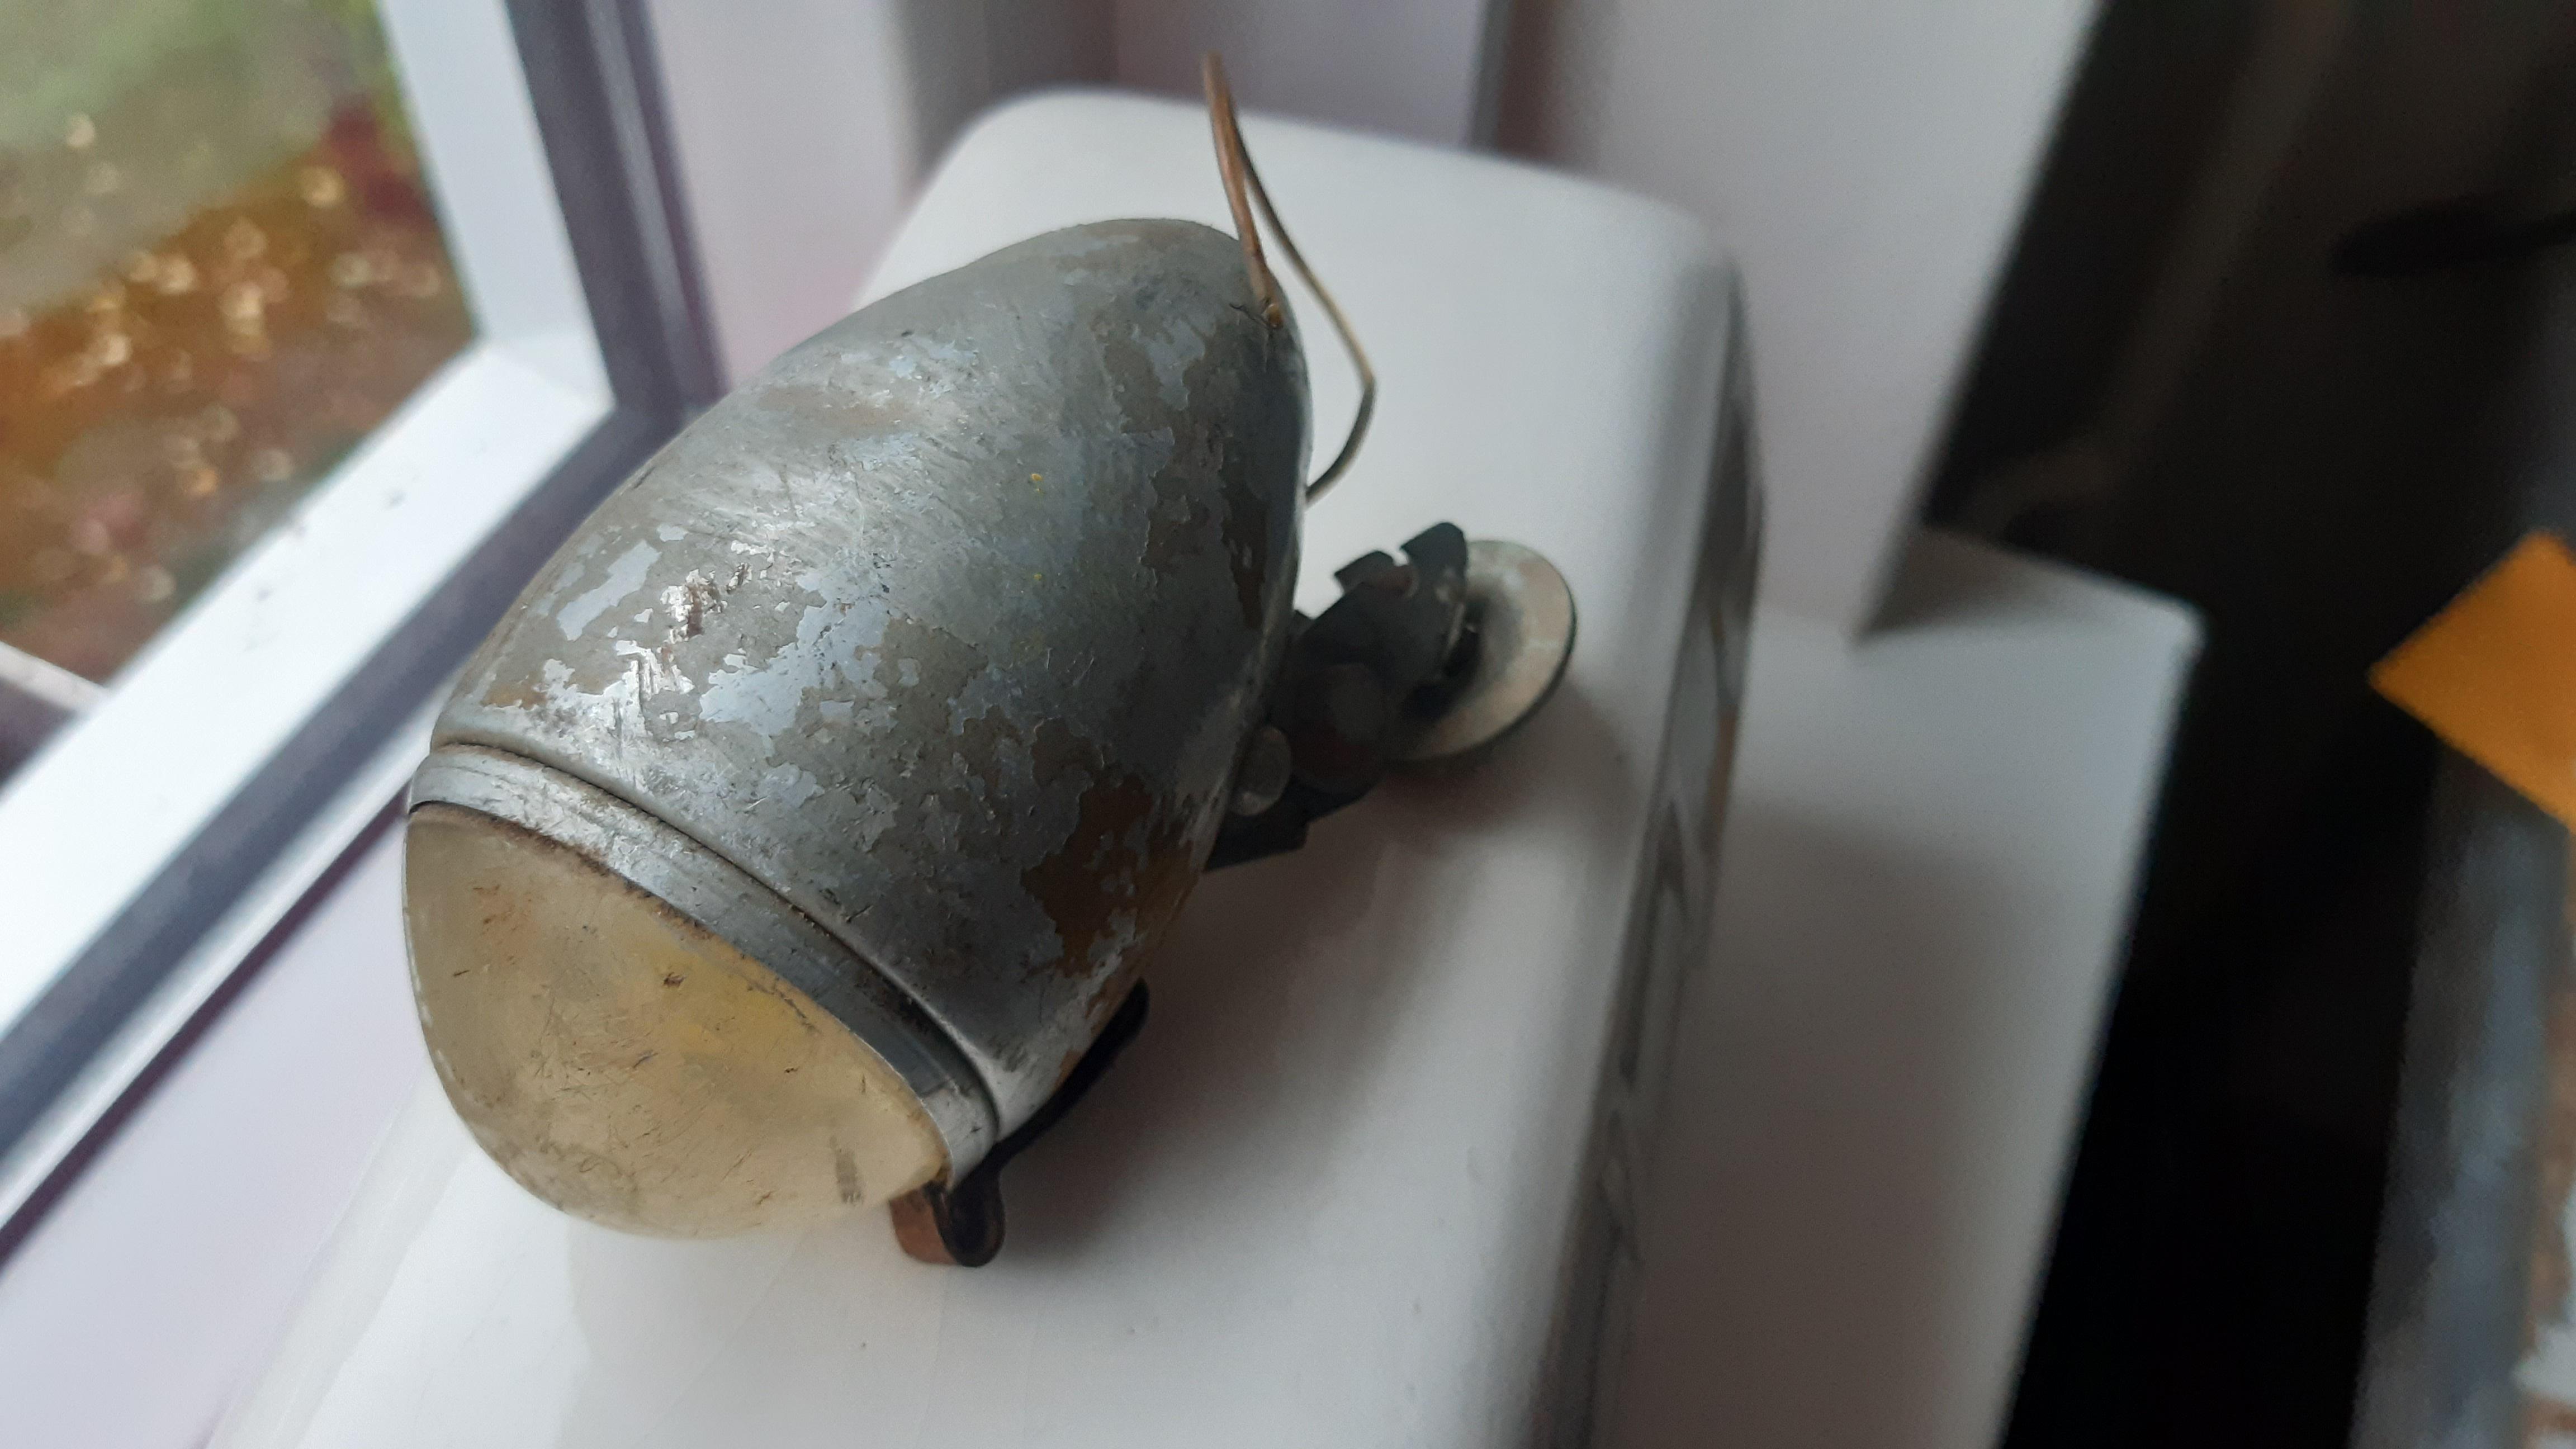
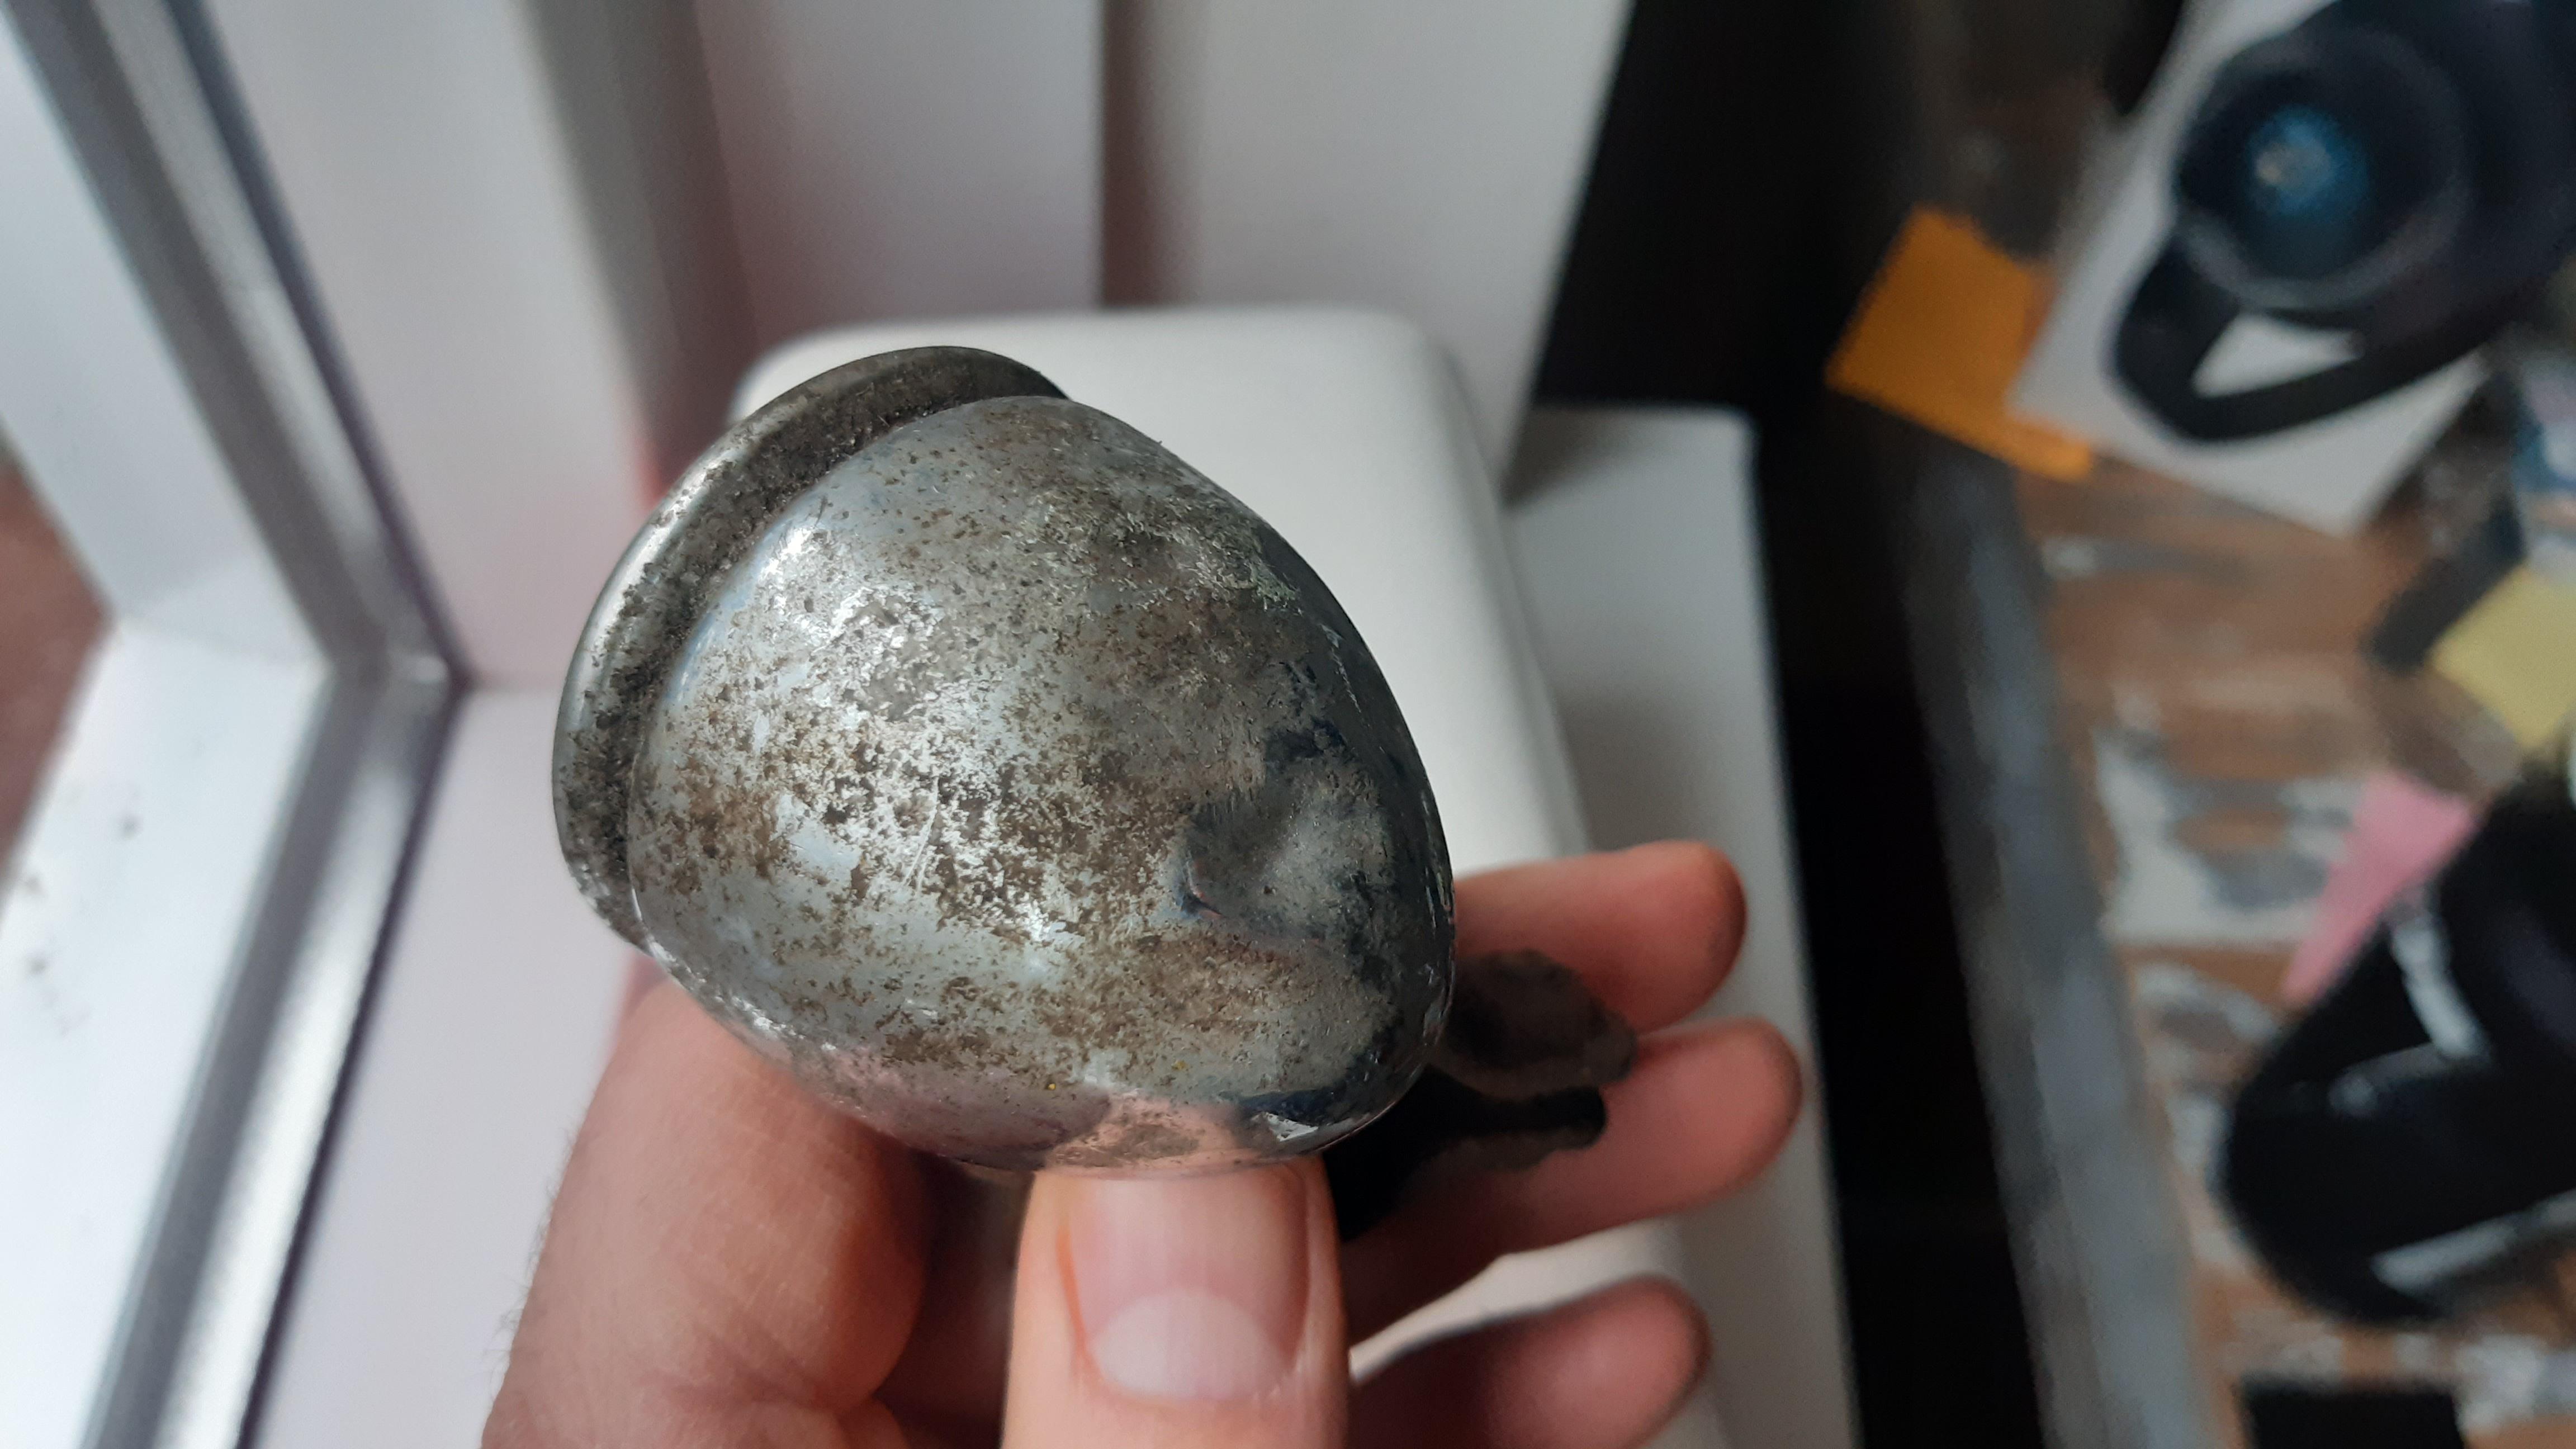
I managed to scramble some old lamps from a second hand website! These are very nice!!
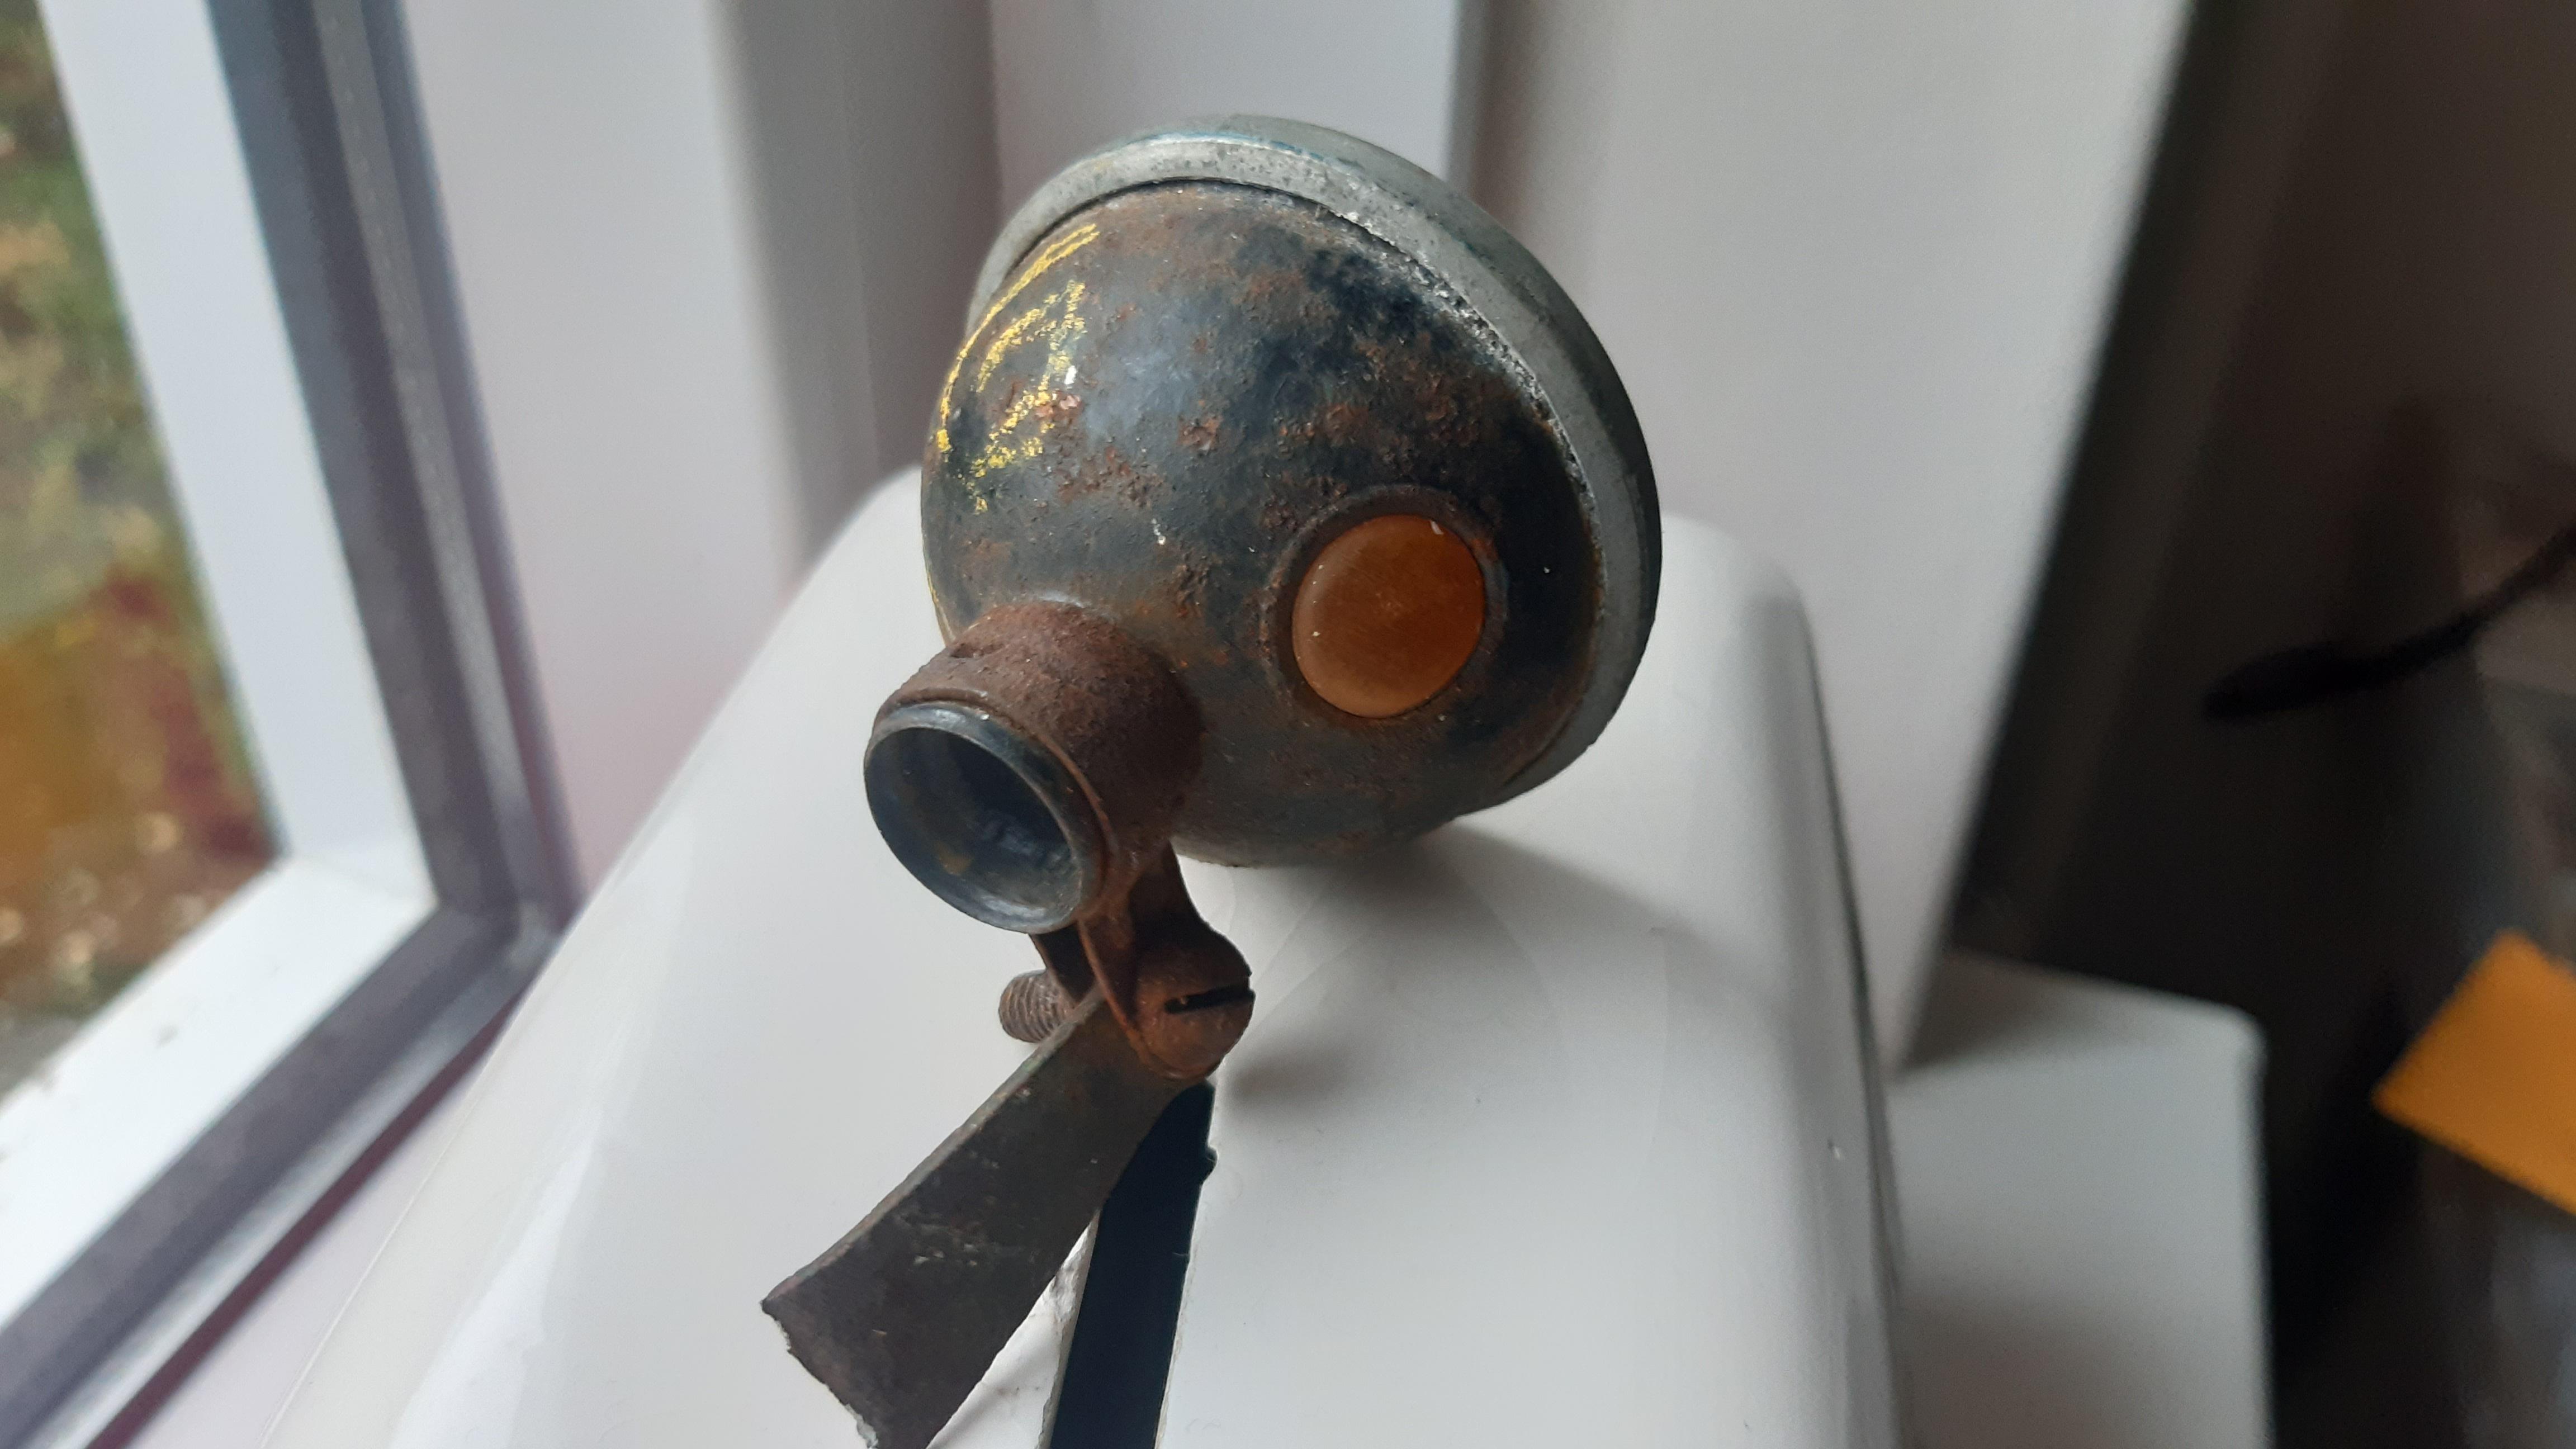
Z5oP6Vc.jpeg

dN3C5dP.jpeg

woBFmVP.jpeg

dDPud2Y.jpeg

TvzAA07.jpeg

TMUrnQC.jpeg
 
Thank you Frankie! Maybe I'll cycle to your shop one day, we can share bicycle stories etcetera :thumbsup:
Do you have anything new in the works? As mentioned before, I do not have the time right now to fully read this forum...

Build updates: (see the pictures and the comments underneath)

PjS4SPm.jpeg

For ease of assembly and welding, I drilled the 'truss holes' to the 15mm tube size. Still I am not using a full length tube. Not necessary for this fork, even though it is stronger. I work with what I have around my shed.

bjh756R.jpeg

A good view on the how to. This type of drill does not self-center, so I used a piece of wood to clamp it and align it.

ZWrKdp4.jpeg

Succes!

eSeAj1T.jpeg

A person told me they could'nt notch the angle (lowest part, near the fork dropout). So I measured, I took the hacksaw and file and notched it within an hour.

0SNQiSM.jpeg

I am very happy with the results!

lalKUee.jpeg

The frame came in!!! Very happy right now!

1dcFeqq.jpeg

I do not dislike that lasercut logo, but I don't know if it fits the look I am going for. We'll see!

iPvtRgR.jpeg


I managed to scramble some old lamps from a second hand website! These are very nice!!
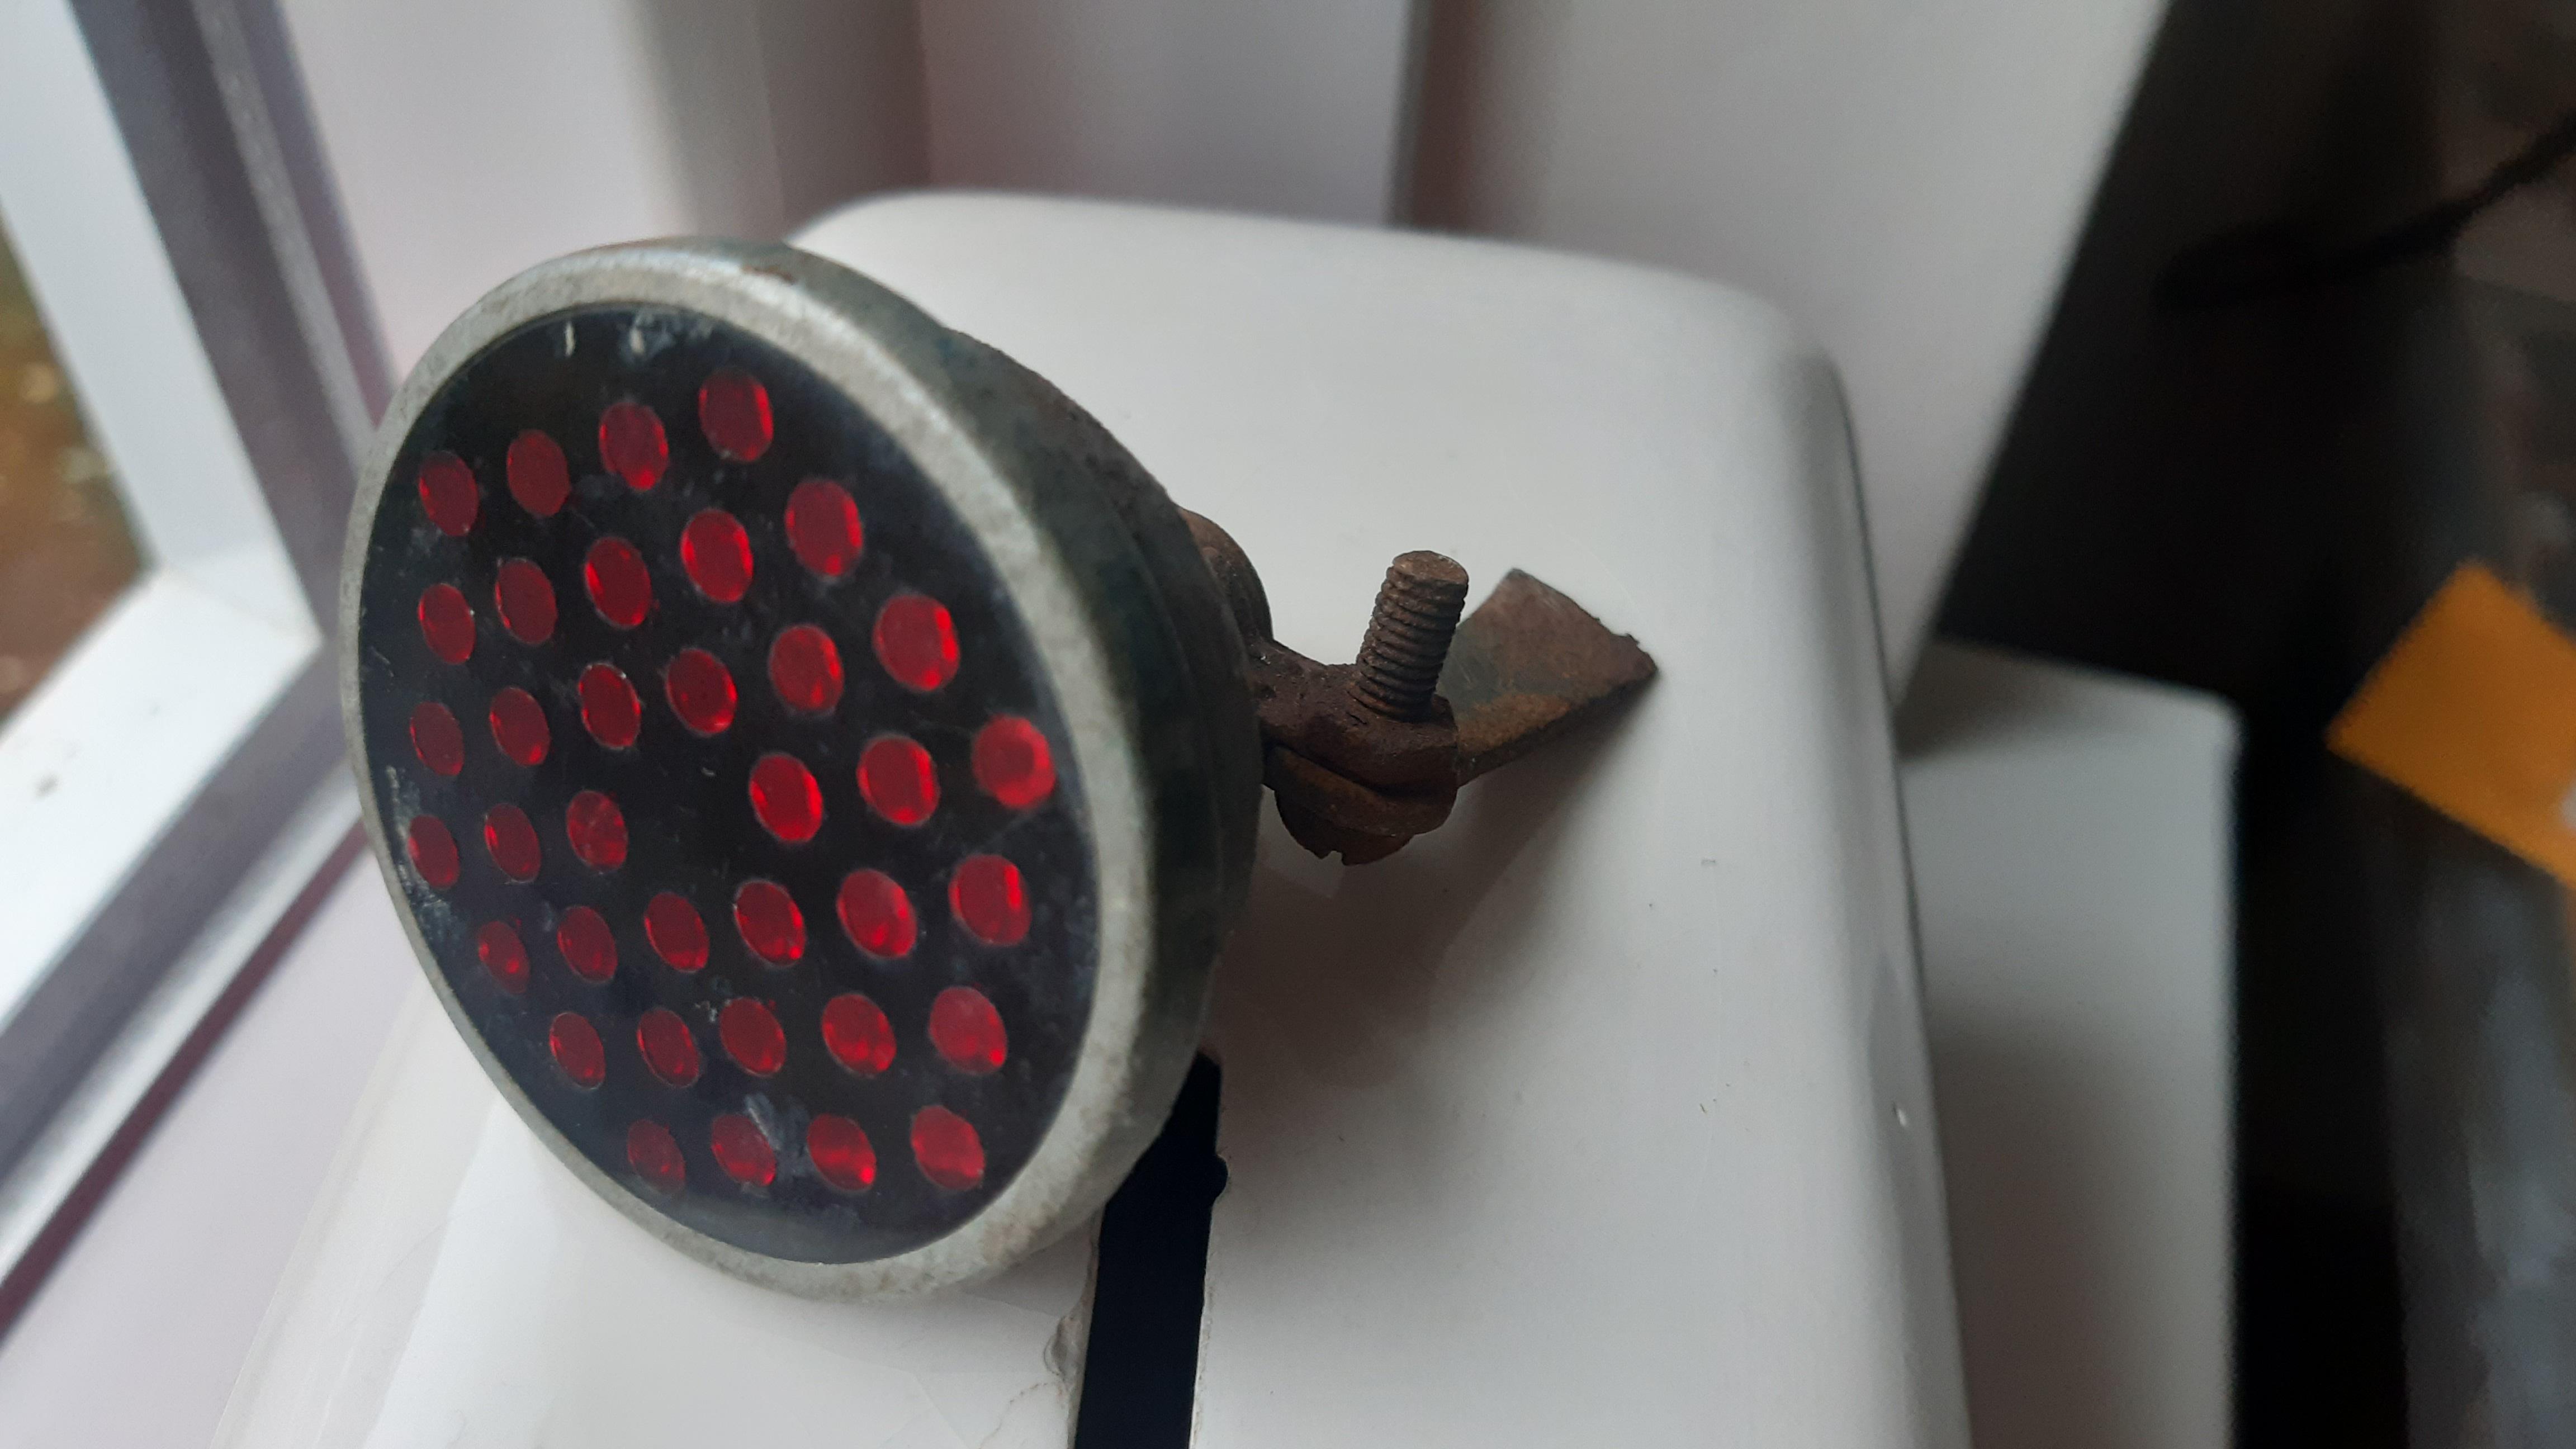
Z5oP6Vc.jpeg

dN3C5dP.jpeg

woBFmVP.jpeg

dDPud2Y.jpeg

TvzAA07.jpeg

TMUrnQC.jpeg

Surprise! Haven't seen those new style drop outs yet. If you dislike them you can always cut them out and insert anything else instead or just cover them. Good progress brother!
 
Small Update

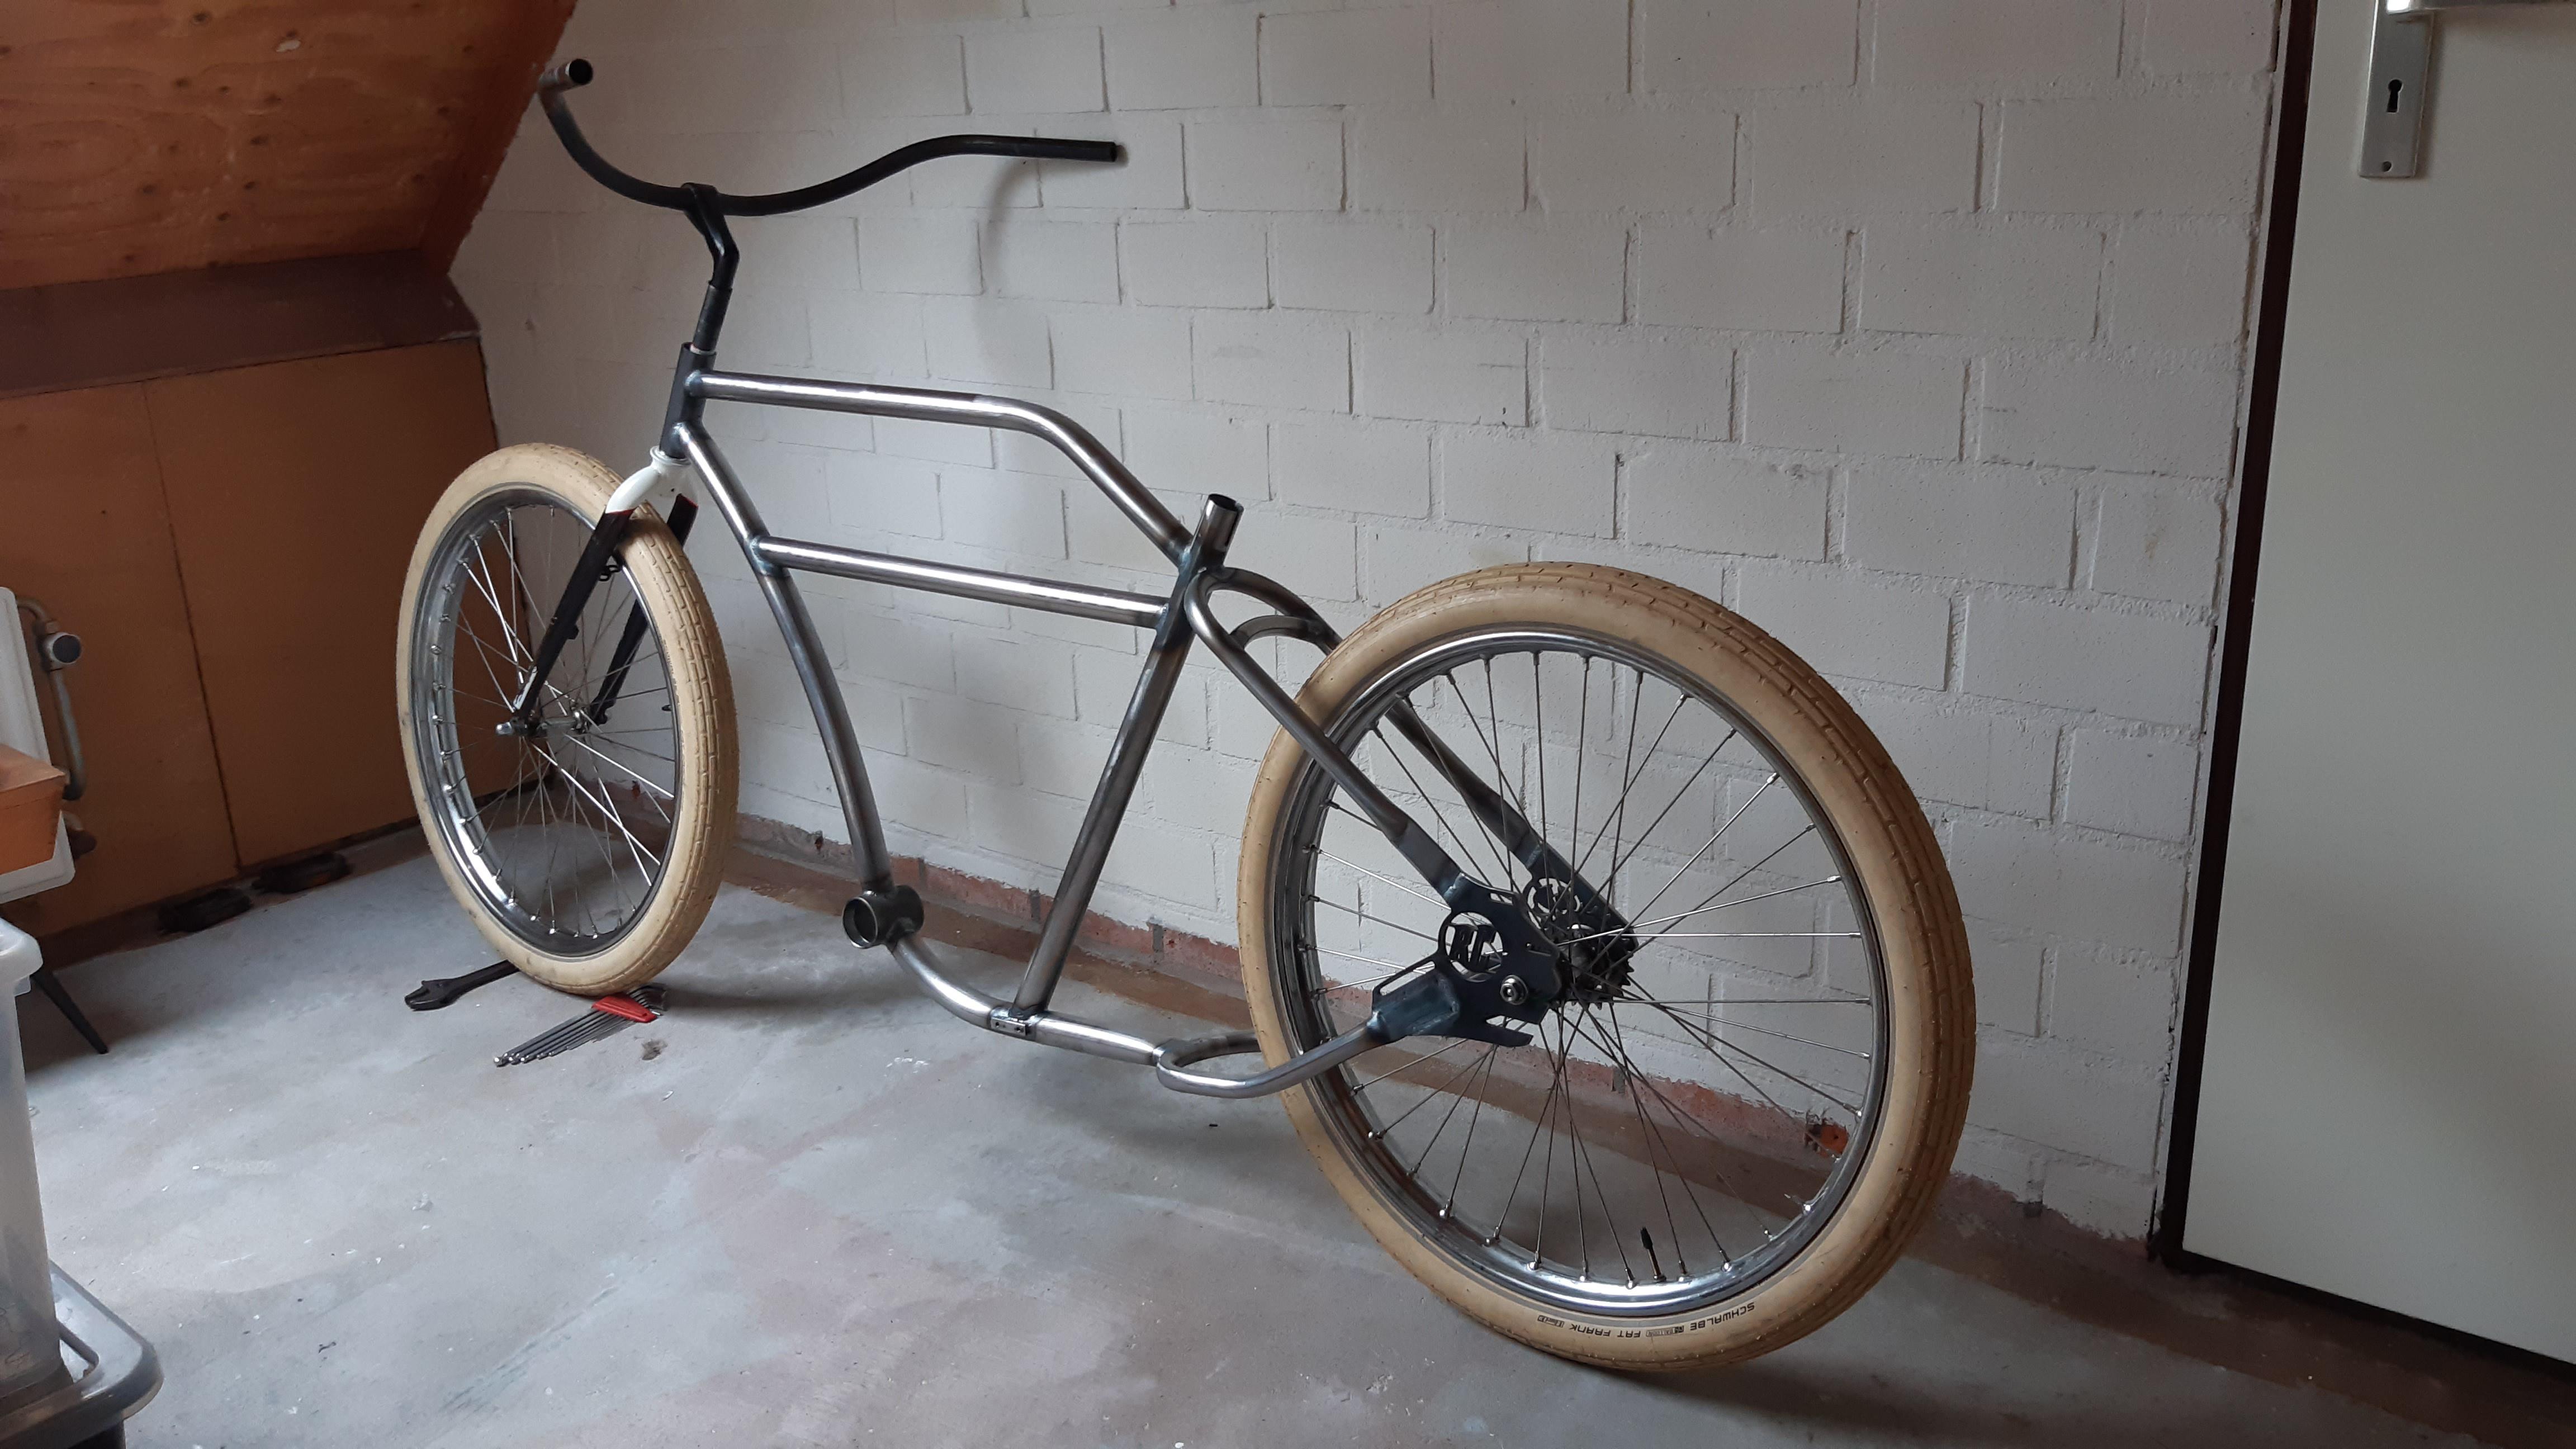
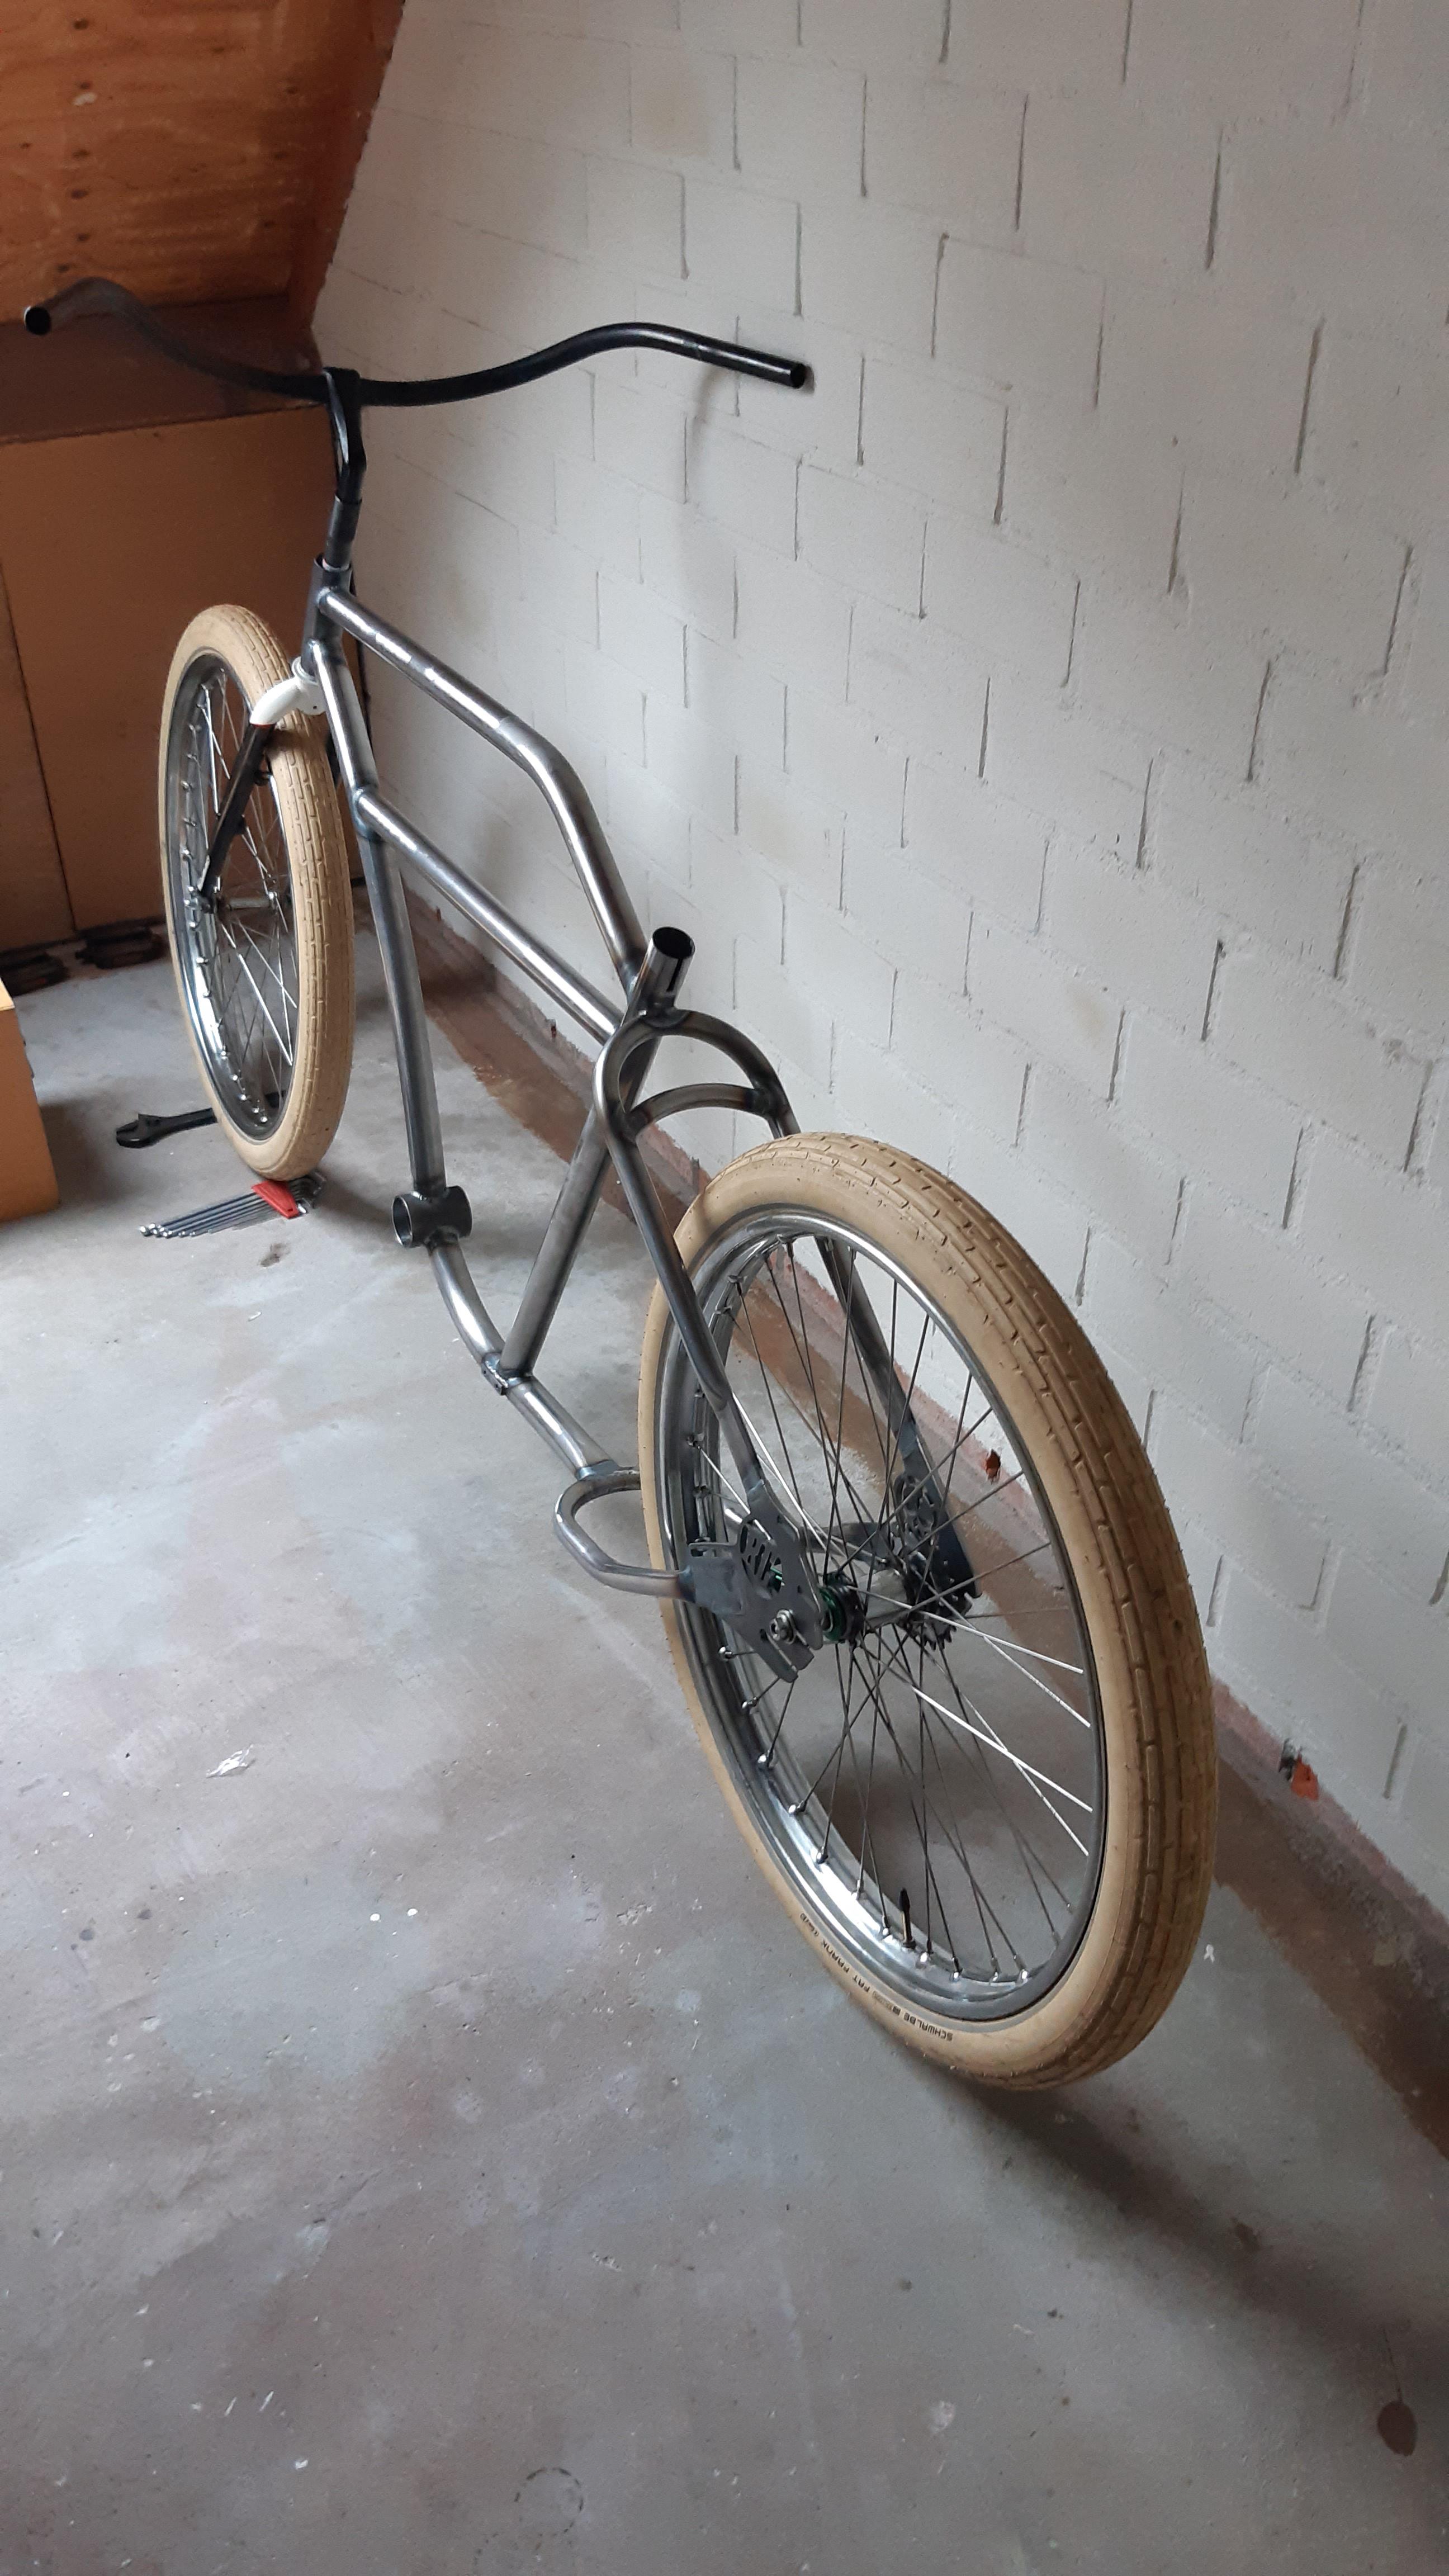
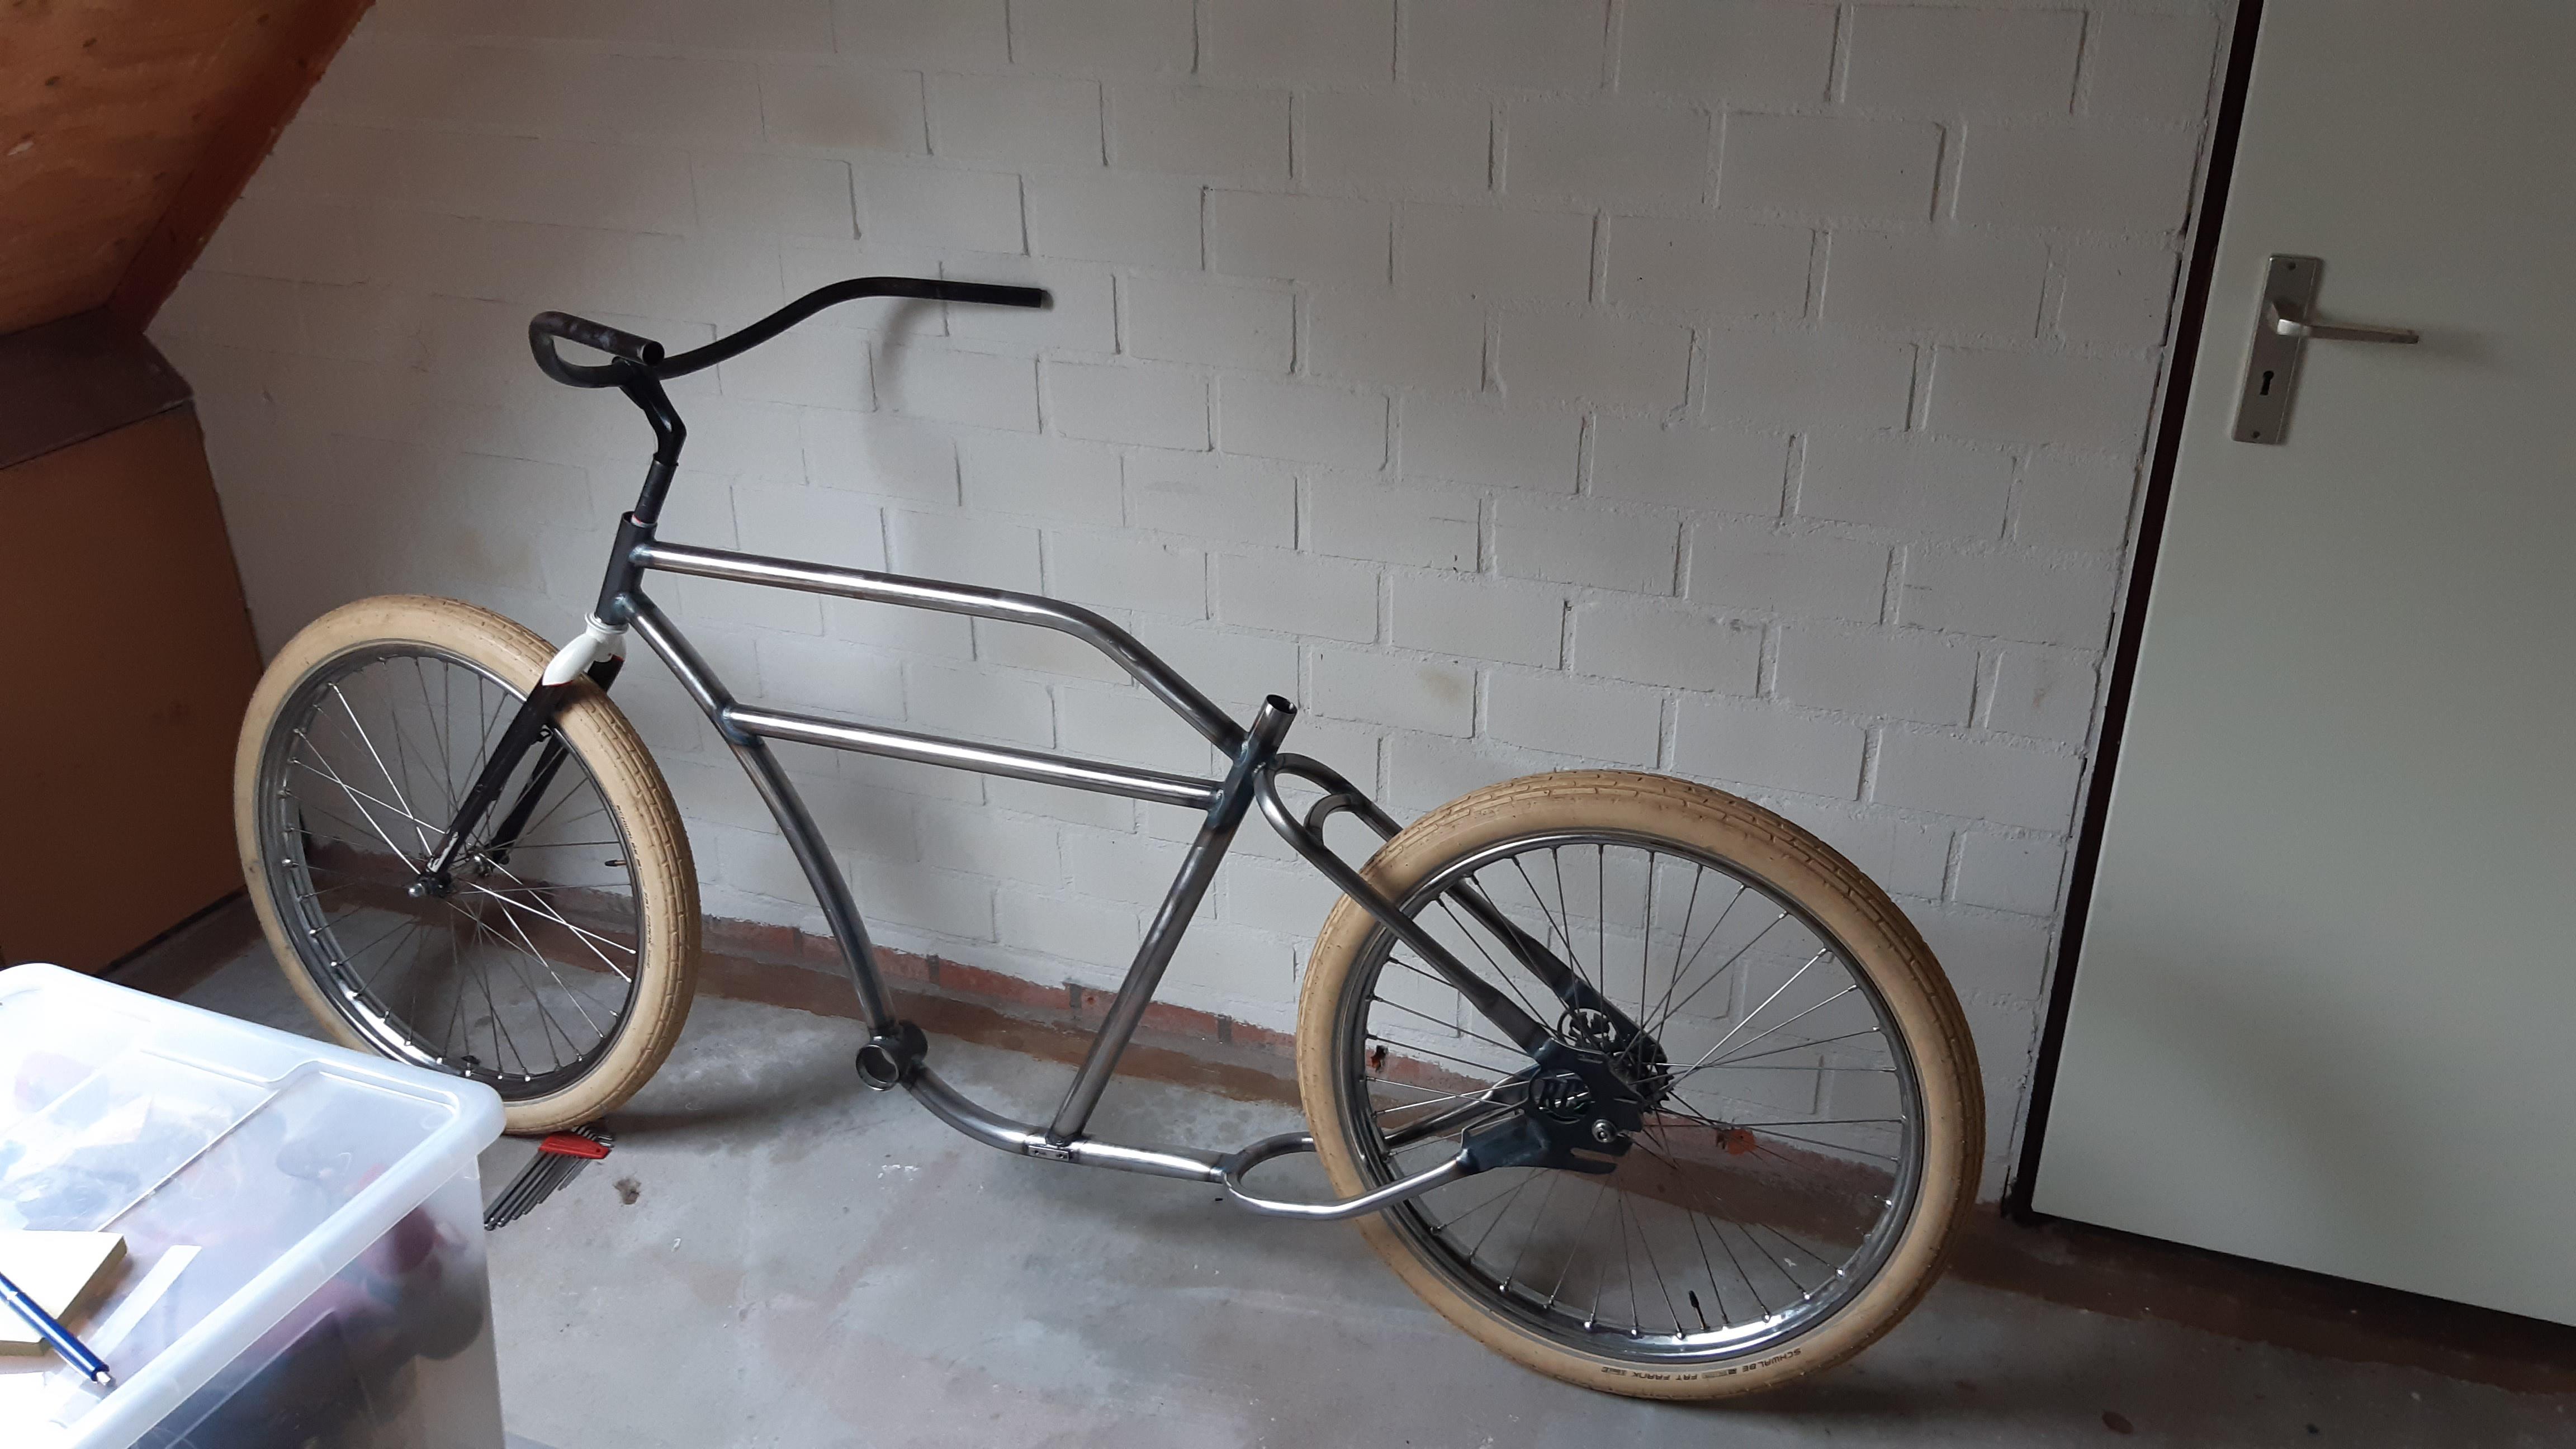
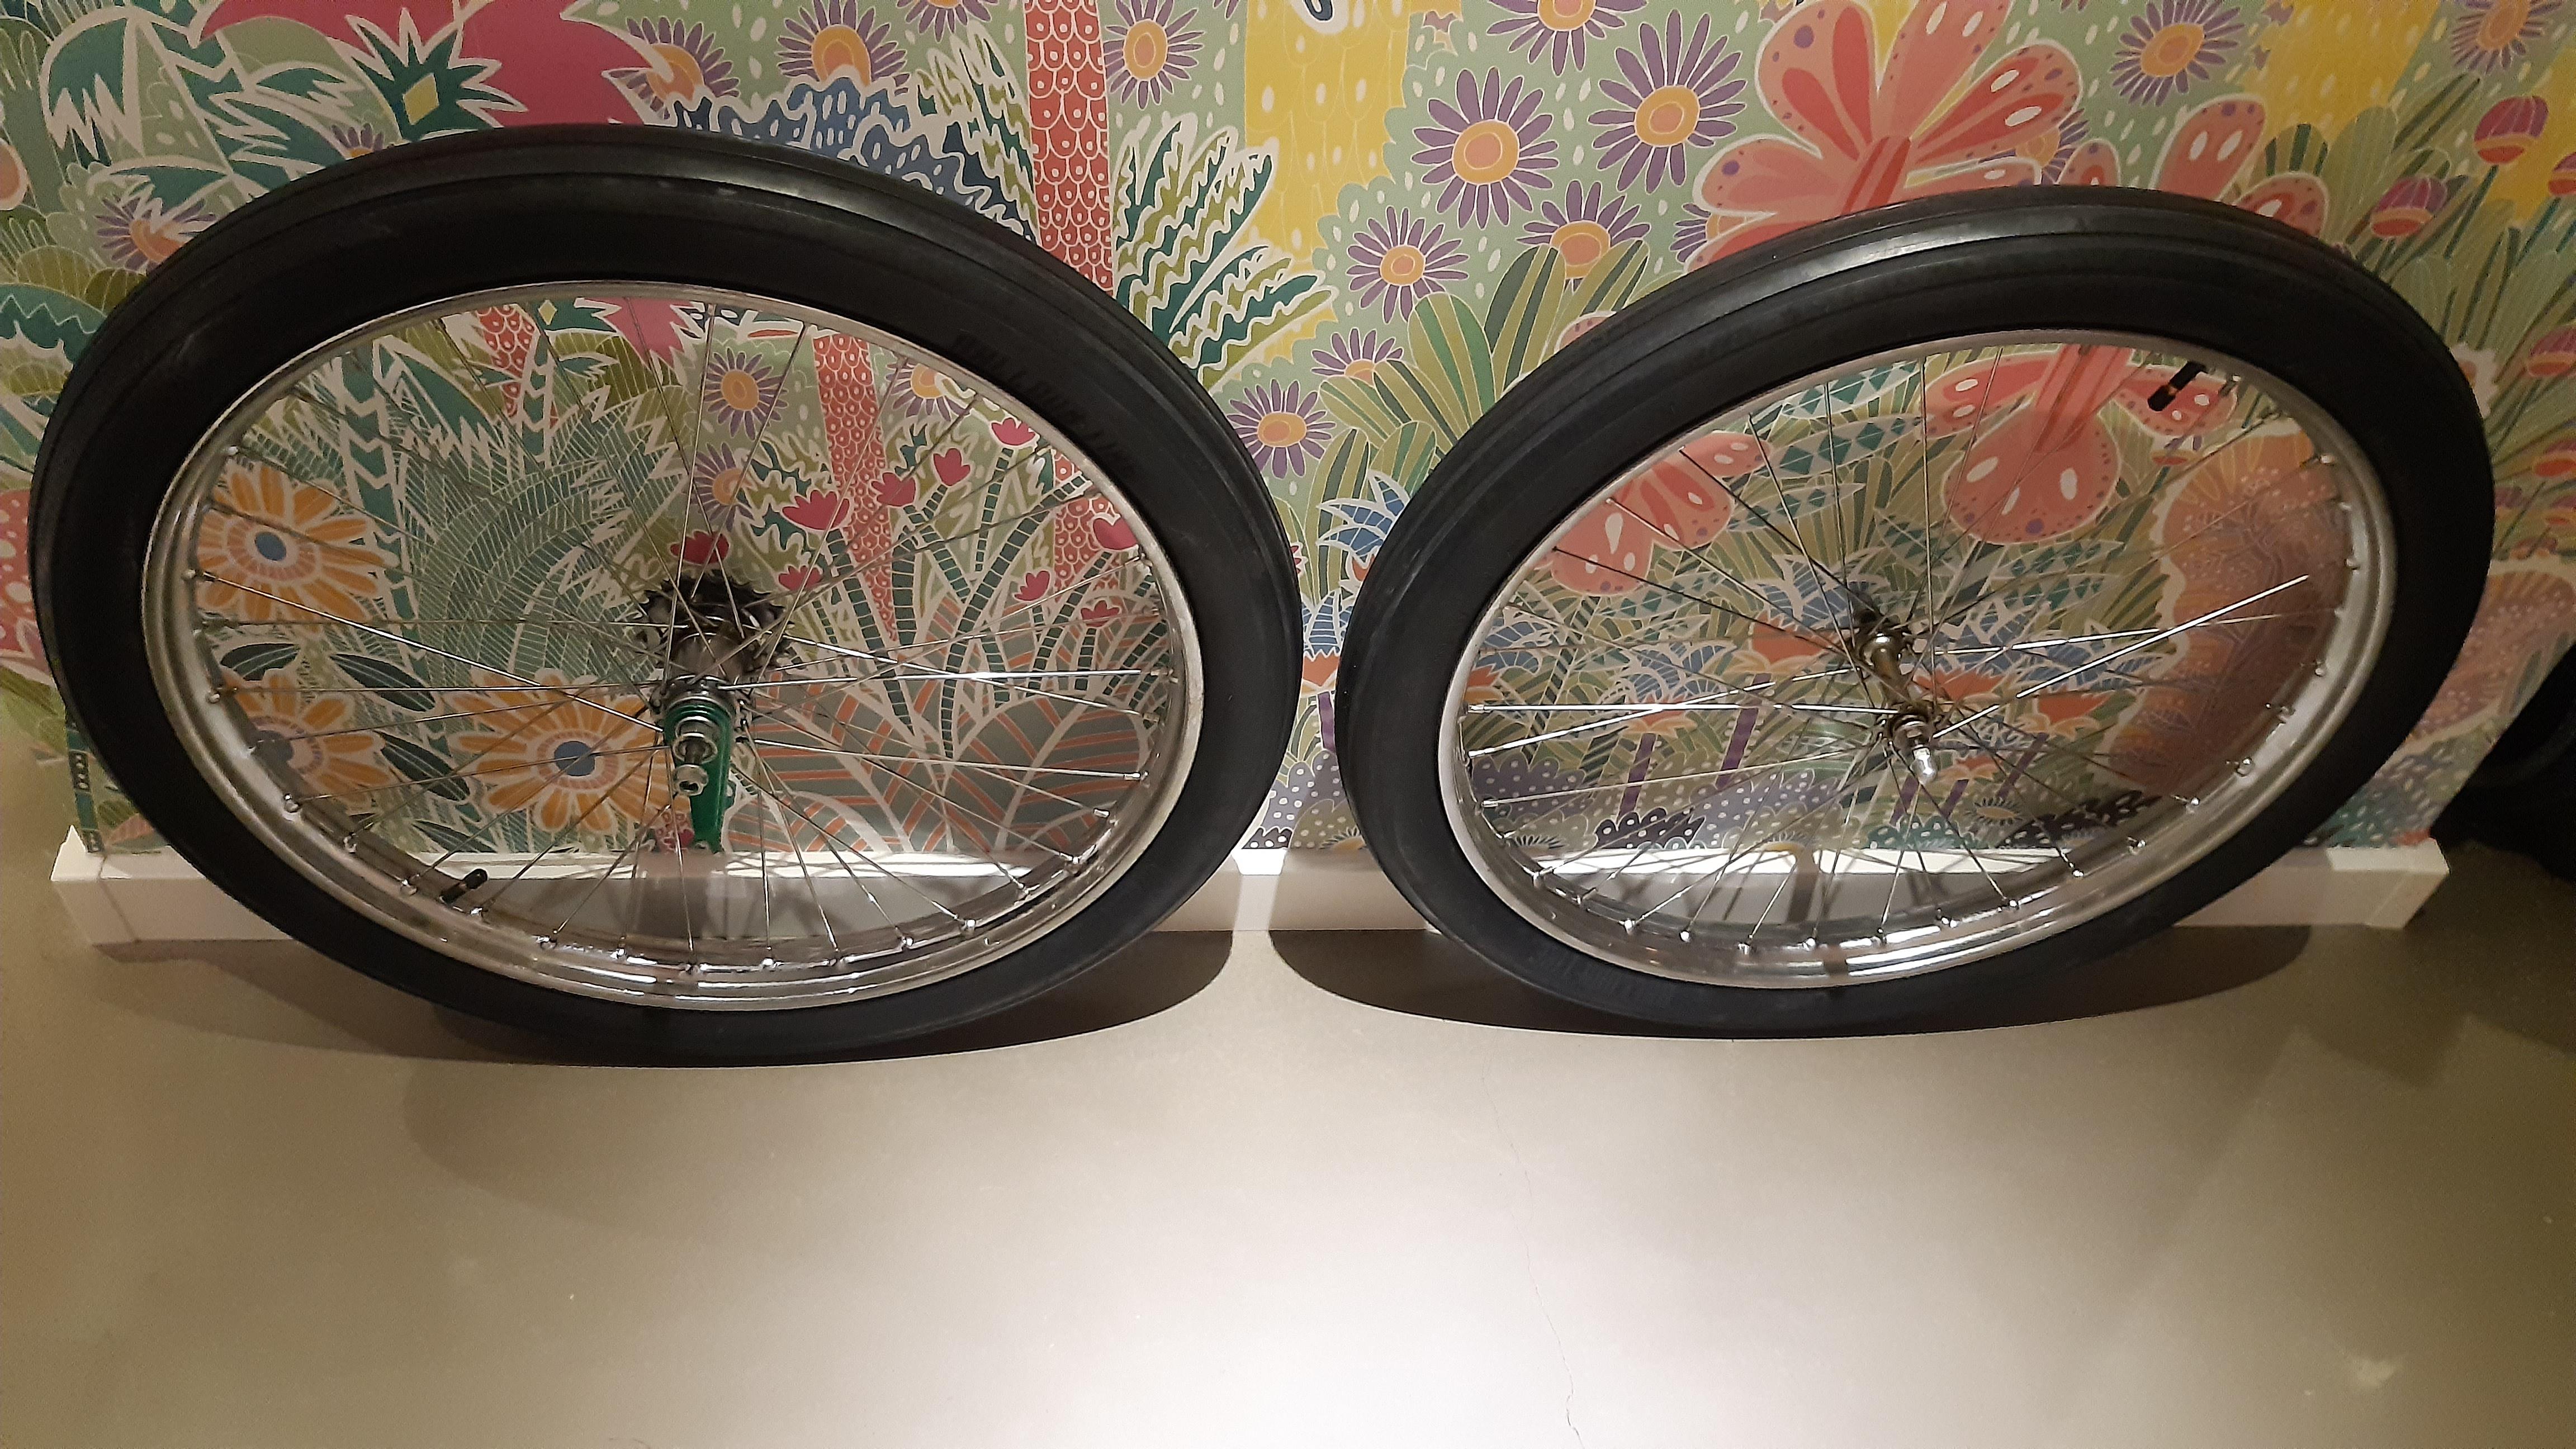
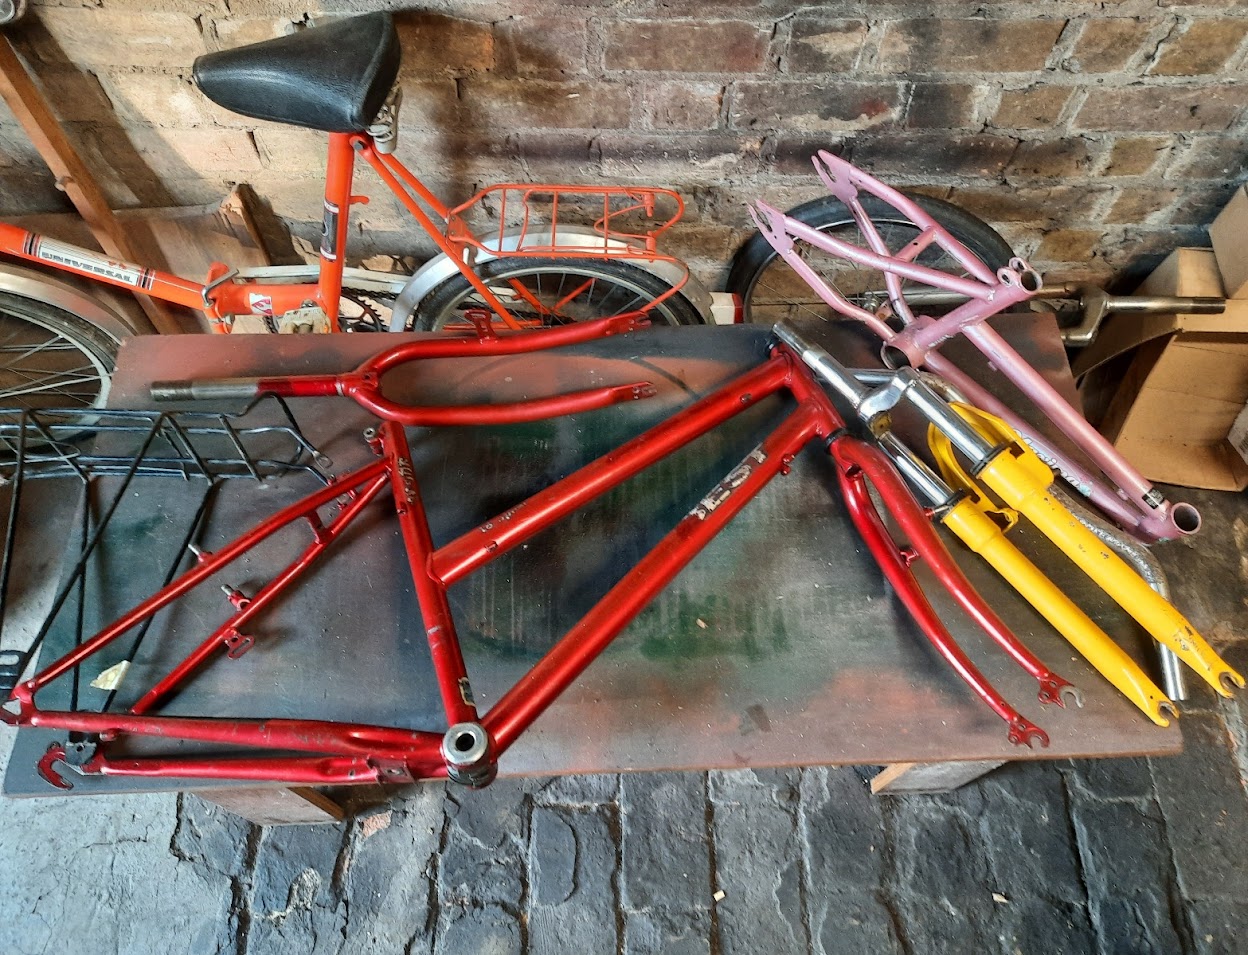
I took the wheels and some parts from the Electra Ratrod. I intend on using these wheels for this build.

I made a quick mockup to get a sense of the bike.

K562PYV.jpeg

Oq9BHnF.jpeg

PgvnjuW.jpeg

This frame is long!
The front fork, the stem and handlebars are temporary.

D7MarFH.jpeg

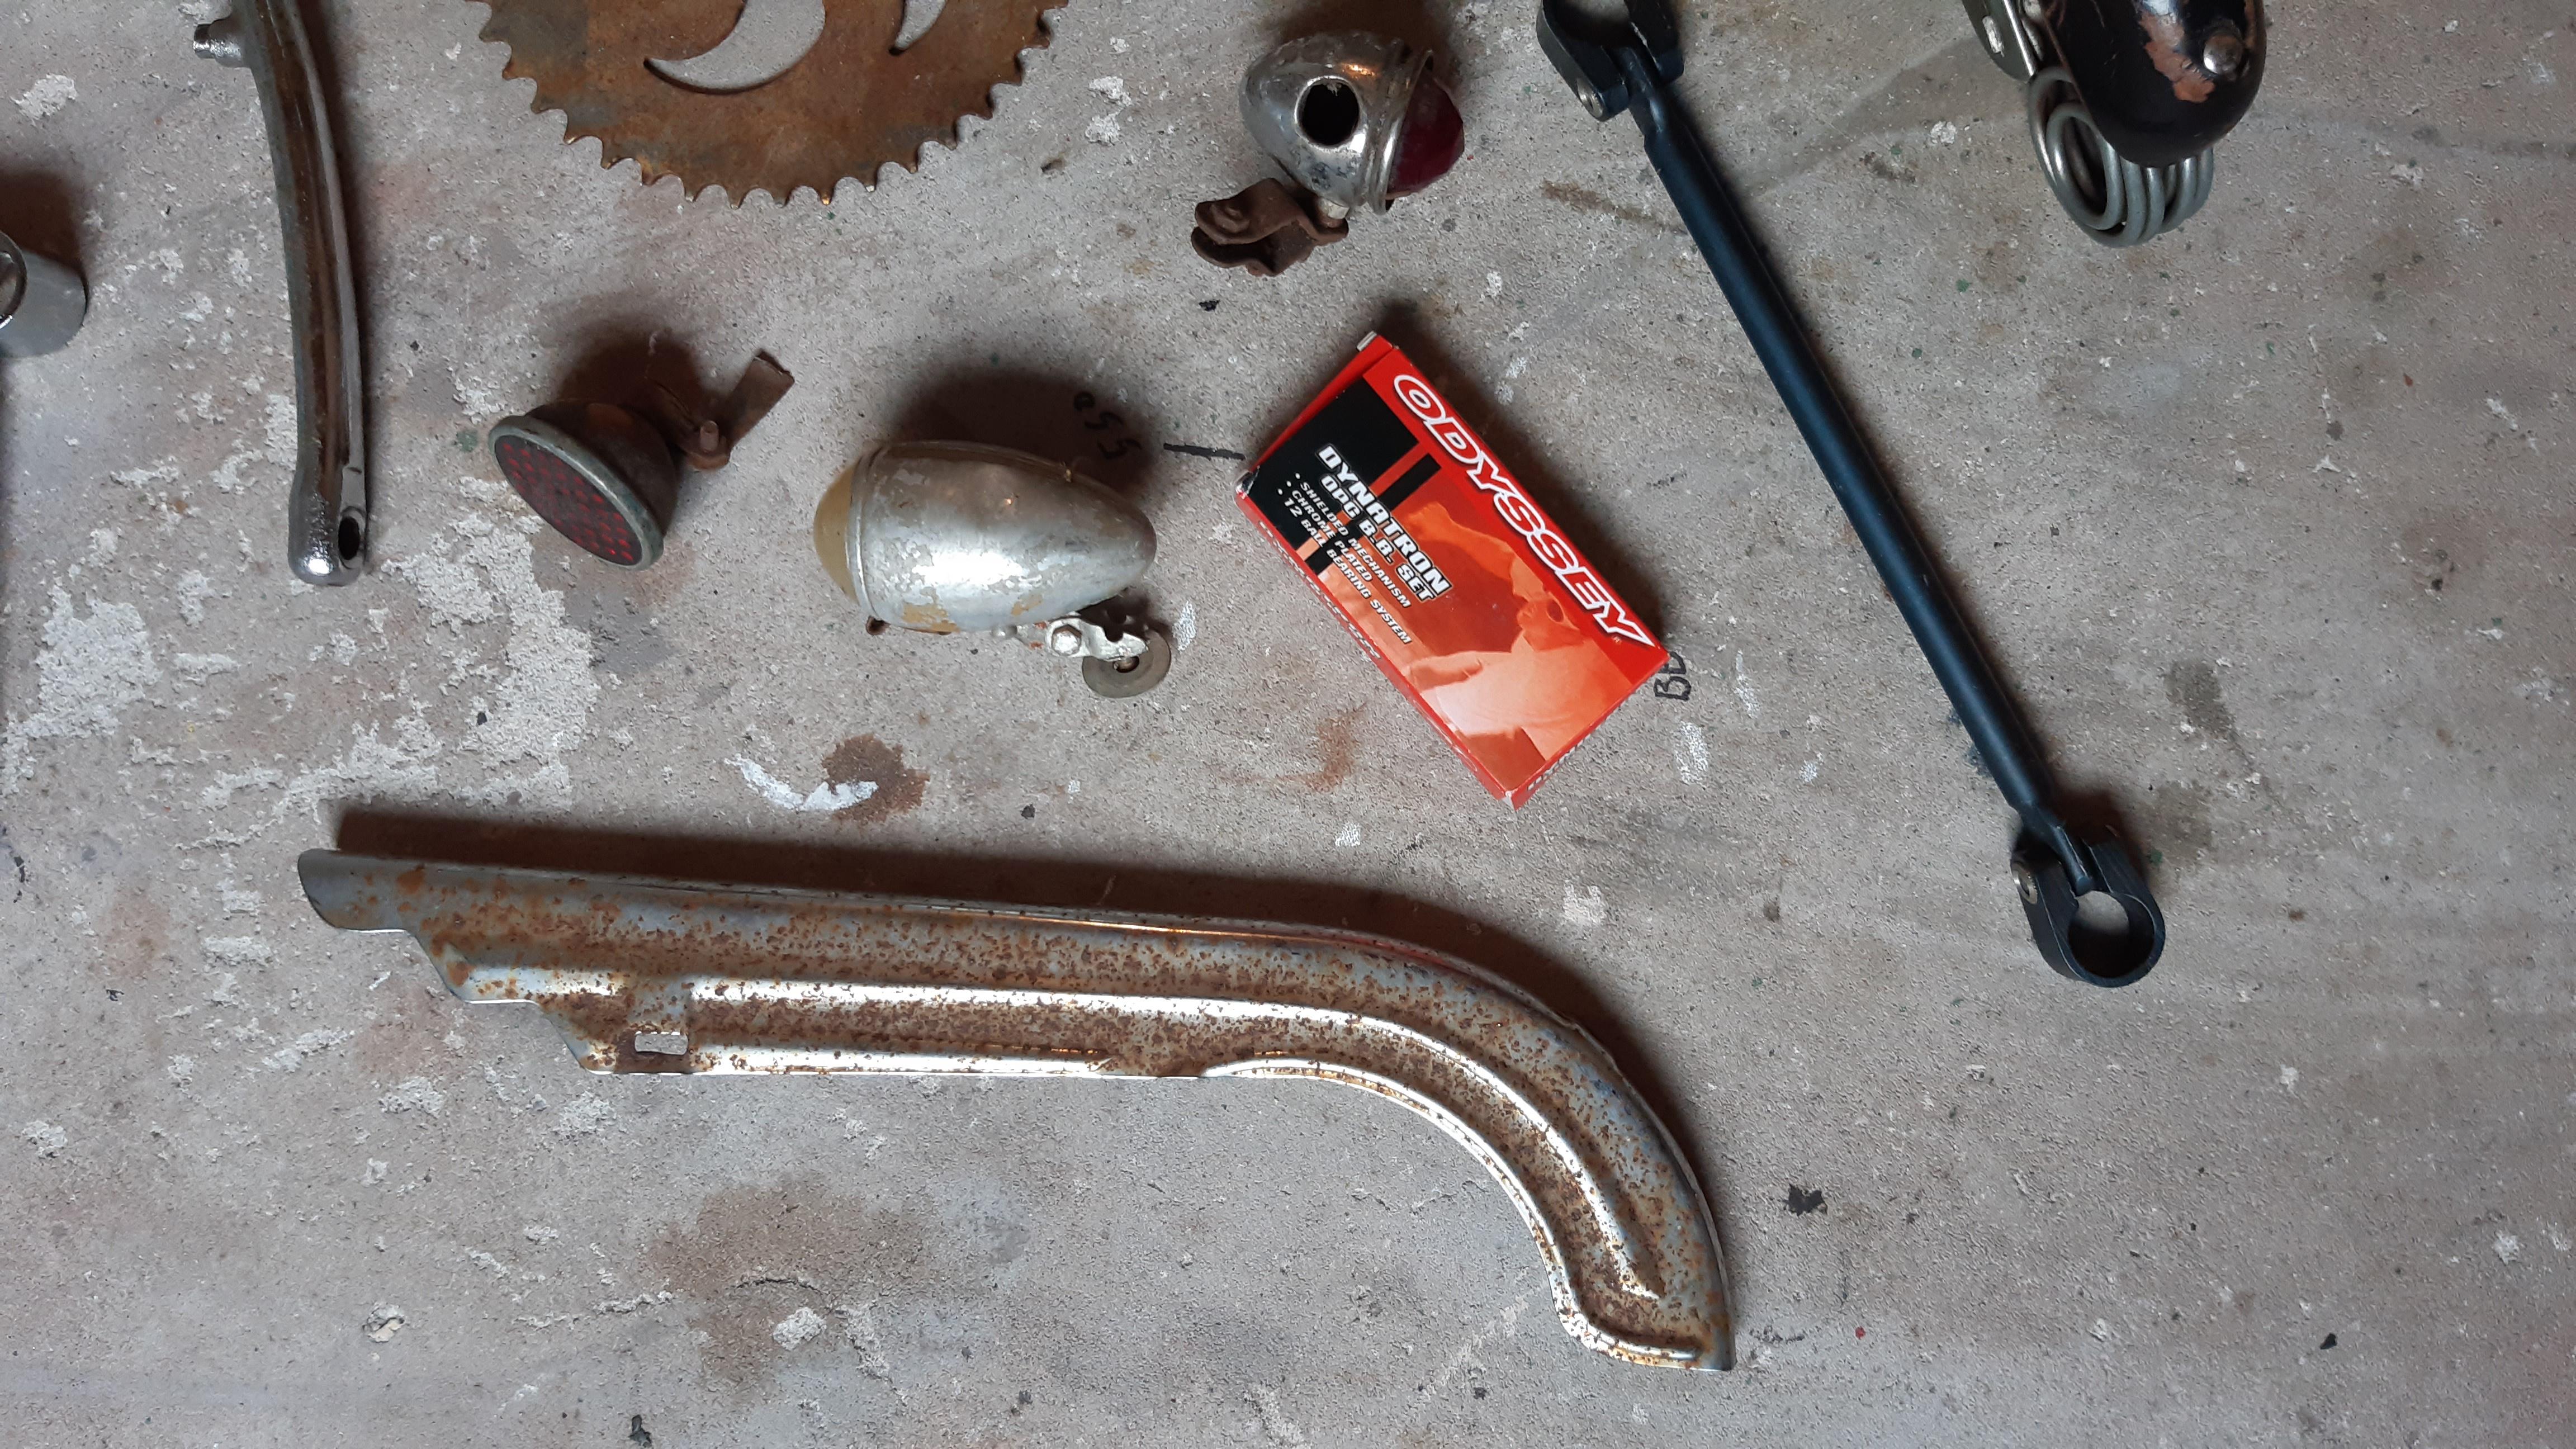
Found a nice chaincover in the trash.


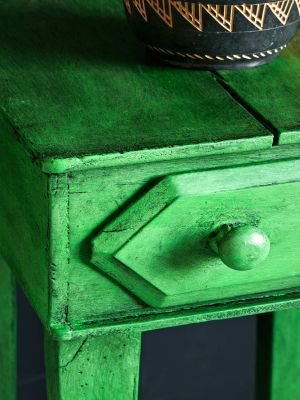
Ideas for paint effect:
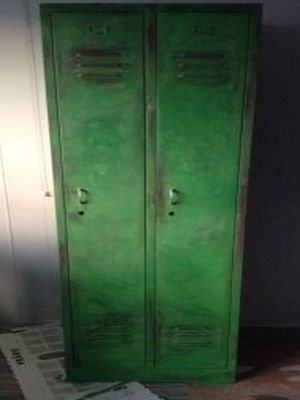
We have a large cabinet in our living room with the "Annie Sloan Chalk Paint". It really looks old and the paint with wax is quite tough. This is also suitable for steel. This might give me that old paint look without rust.

Some images: (not necessarily this colour)
Annie_Sloan_Dark_Wax_3.width-500.jpg

annie_sloan_op_metaal_1_IWVY5QJ.width-500.jpg

That last one on steel.
 
Just an idea, now that I can see the whole thing, how about losing the exhaust bracket and having a steel tube-like spacer. So you have the top headset nut, the steel tabbed washer on top of that, the spacer tube to run through your top bracket, and then the top nut tightening down on that? The tube spacer would be long enough and just snug enough on the top bracket to allow bearing adjustment without chaffing/rattling? Or sleeve the outside of the steel spacer tube with a nylon bush?

My design will certainly need some compliance up at the top because I will be tying together two forks, one with suspension:
AM-JKLXvnKfTXt7aAxH1X0Hoy7zF0XQvfHgj-0dQtEH5nExMID6Z5QMLvqj-U5bzRrZEbSe0AU5P1oc8z_JDX7Kw7v6iwQH5cYfegGCZVB7J_1SjVETdg9br5Iw9IuDY4PthXoyIsHJ_Z4qExhVdj0fR2Y4f0Q=w1249-h955-no
I think you and I have the same idea...
 
I think you and I have the same idea...
I would love to see a sketch of that.

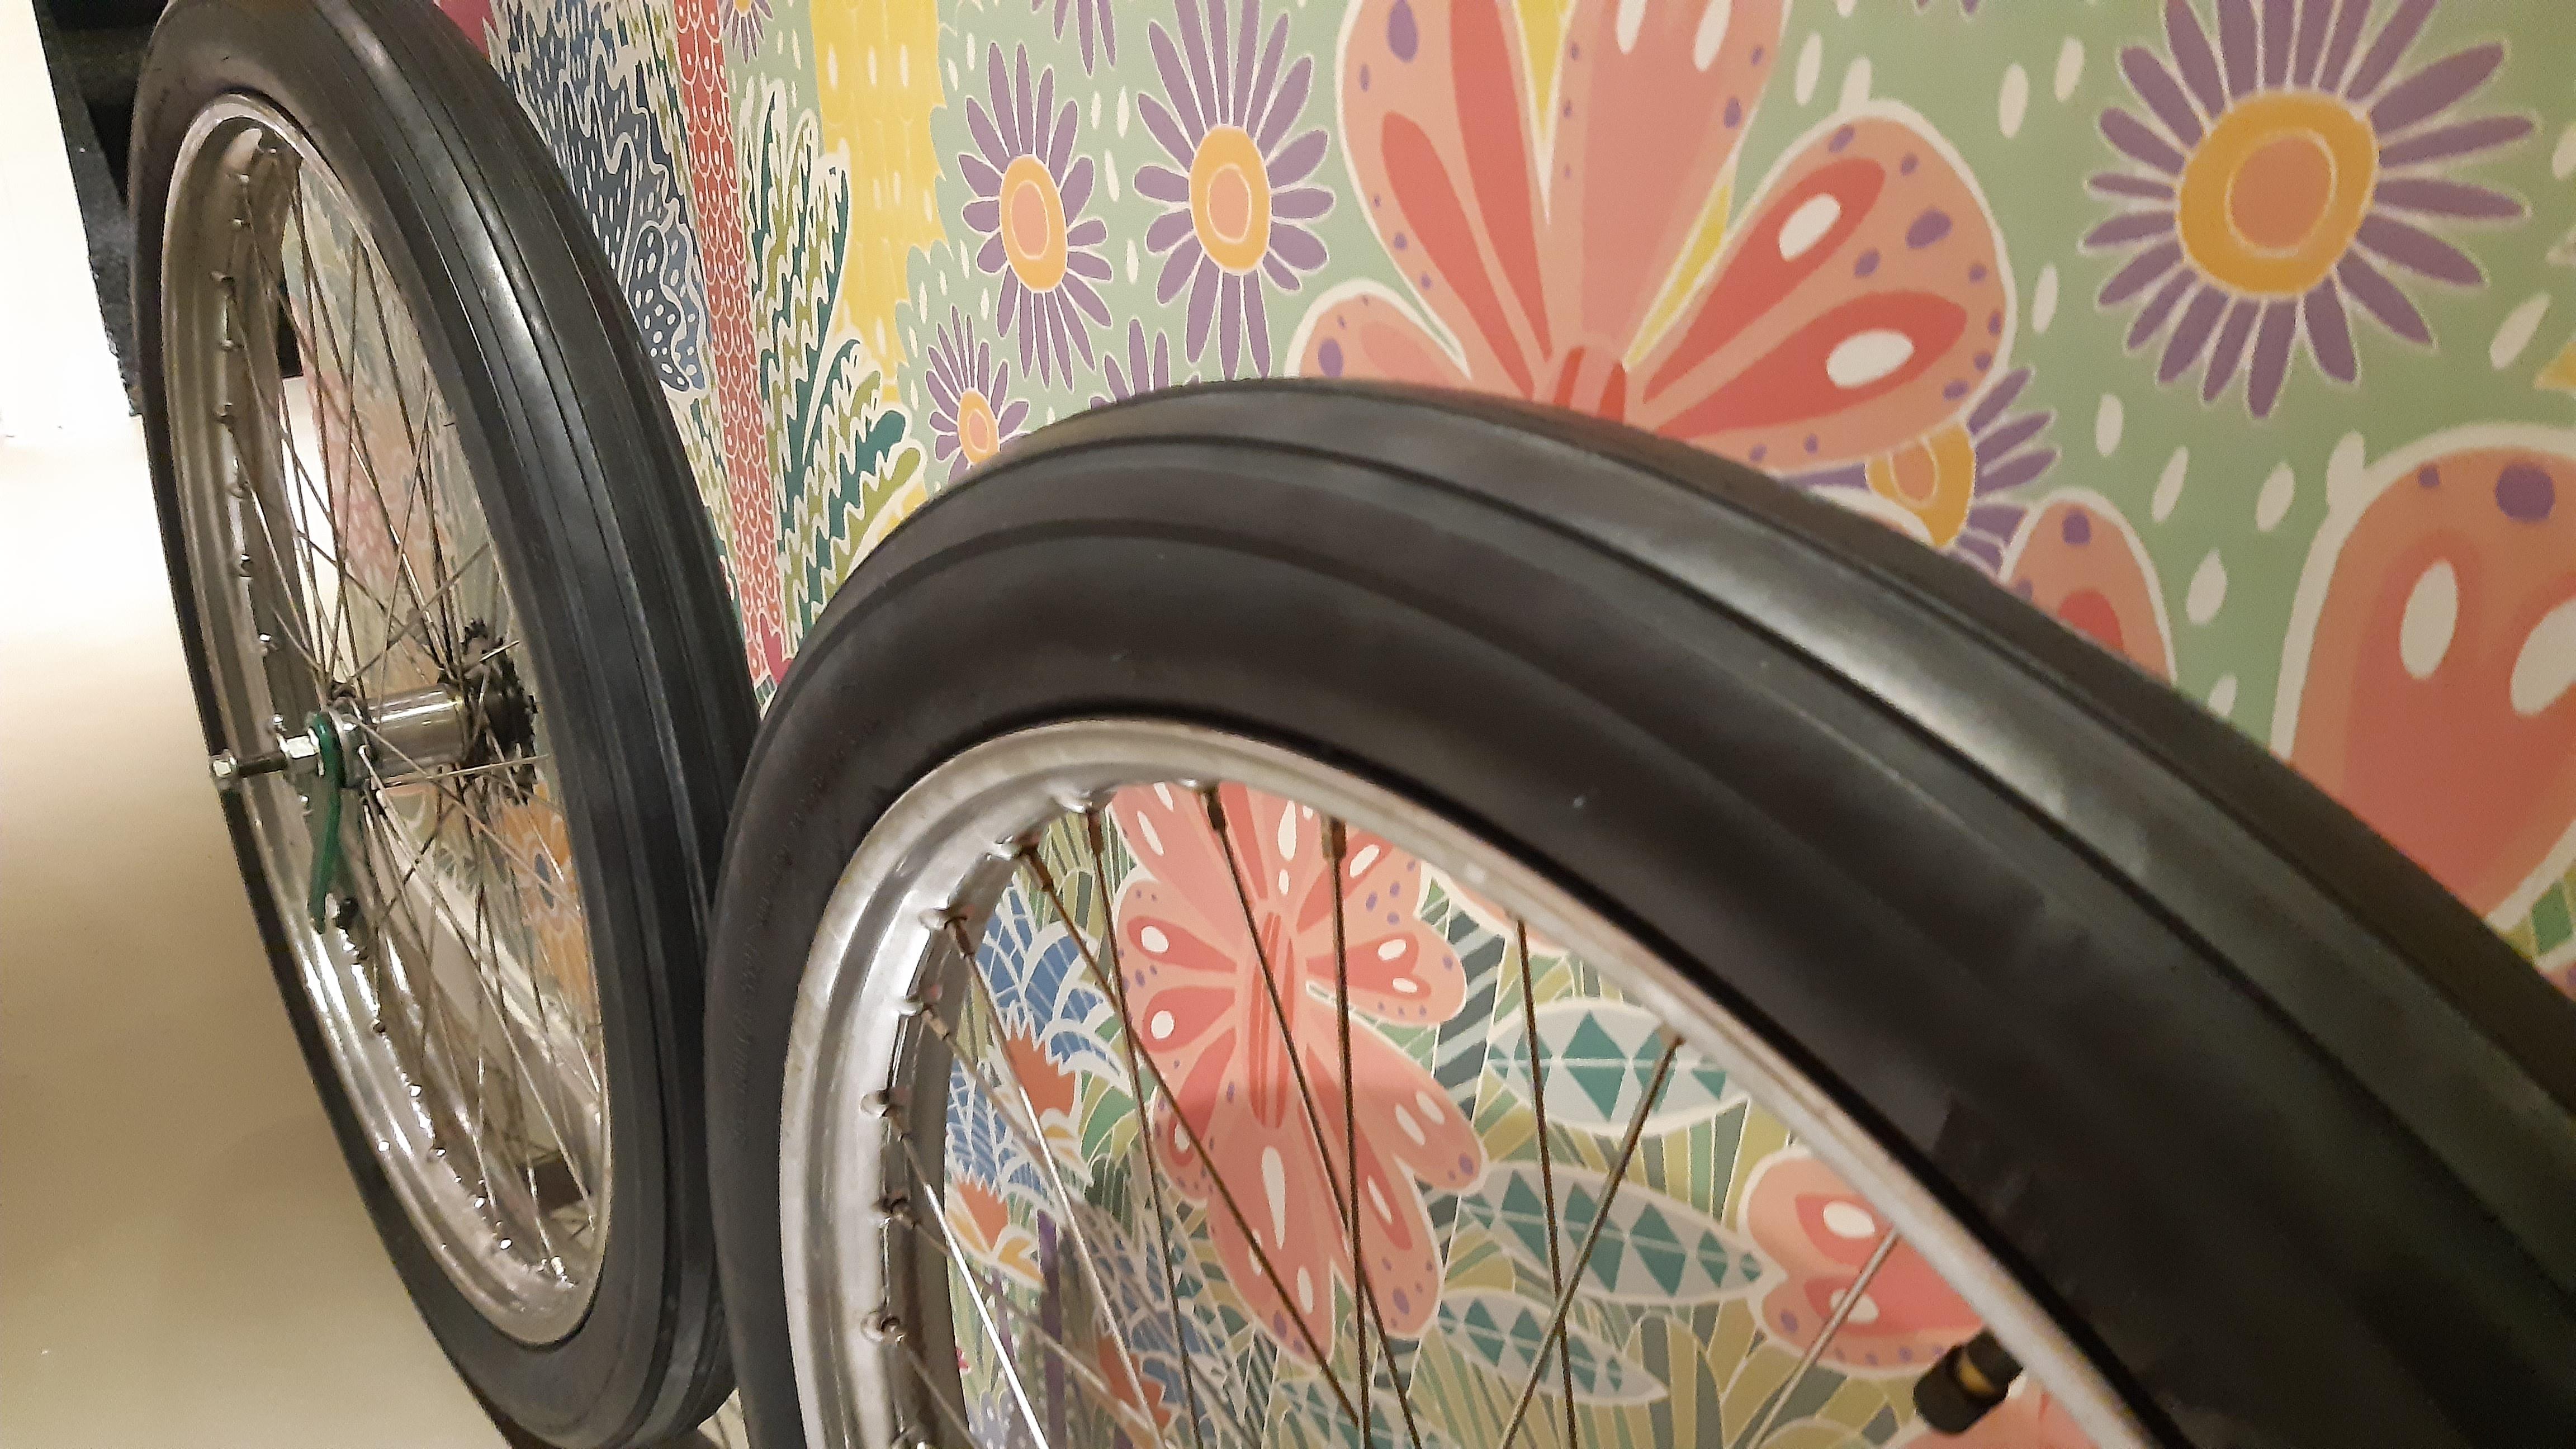
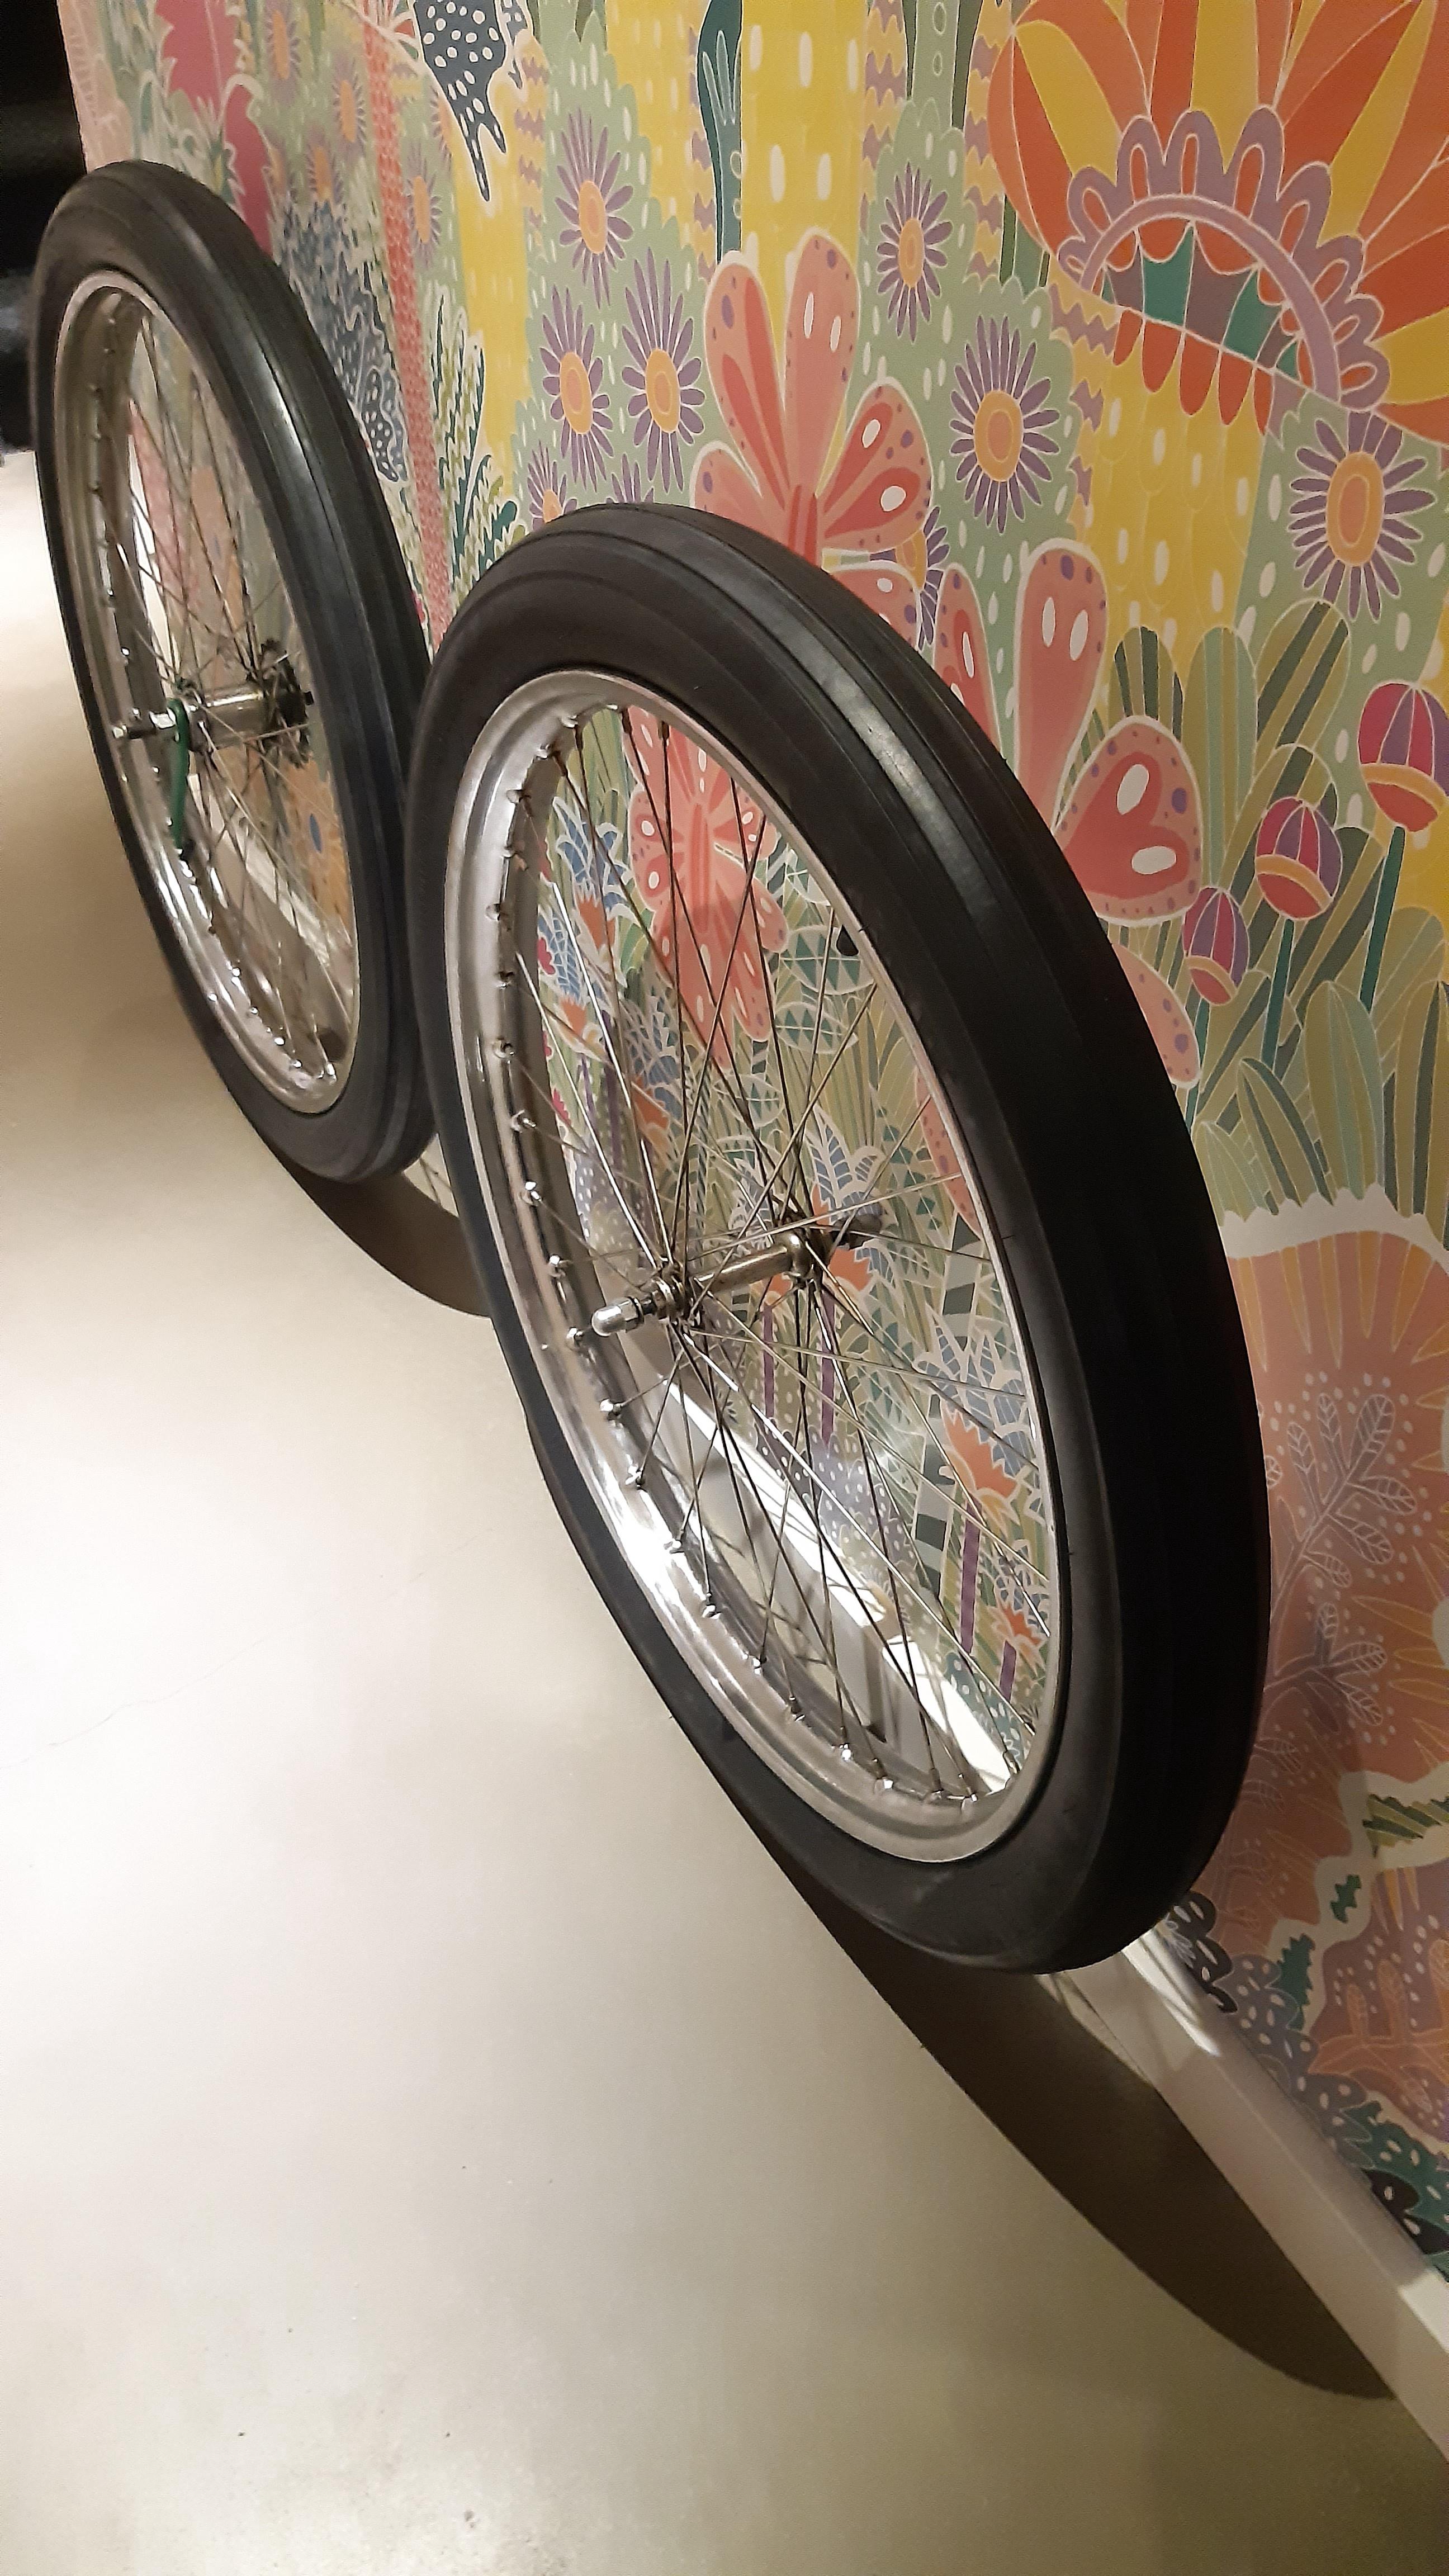
Awesome! Are those bakfiets rims? So sick!
Yes they are. Haha thanks!
I almost sold this wheelset for "Cergio Ghisallo" rims, but I love these rugged bakfiets rims.


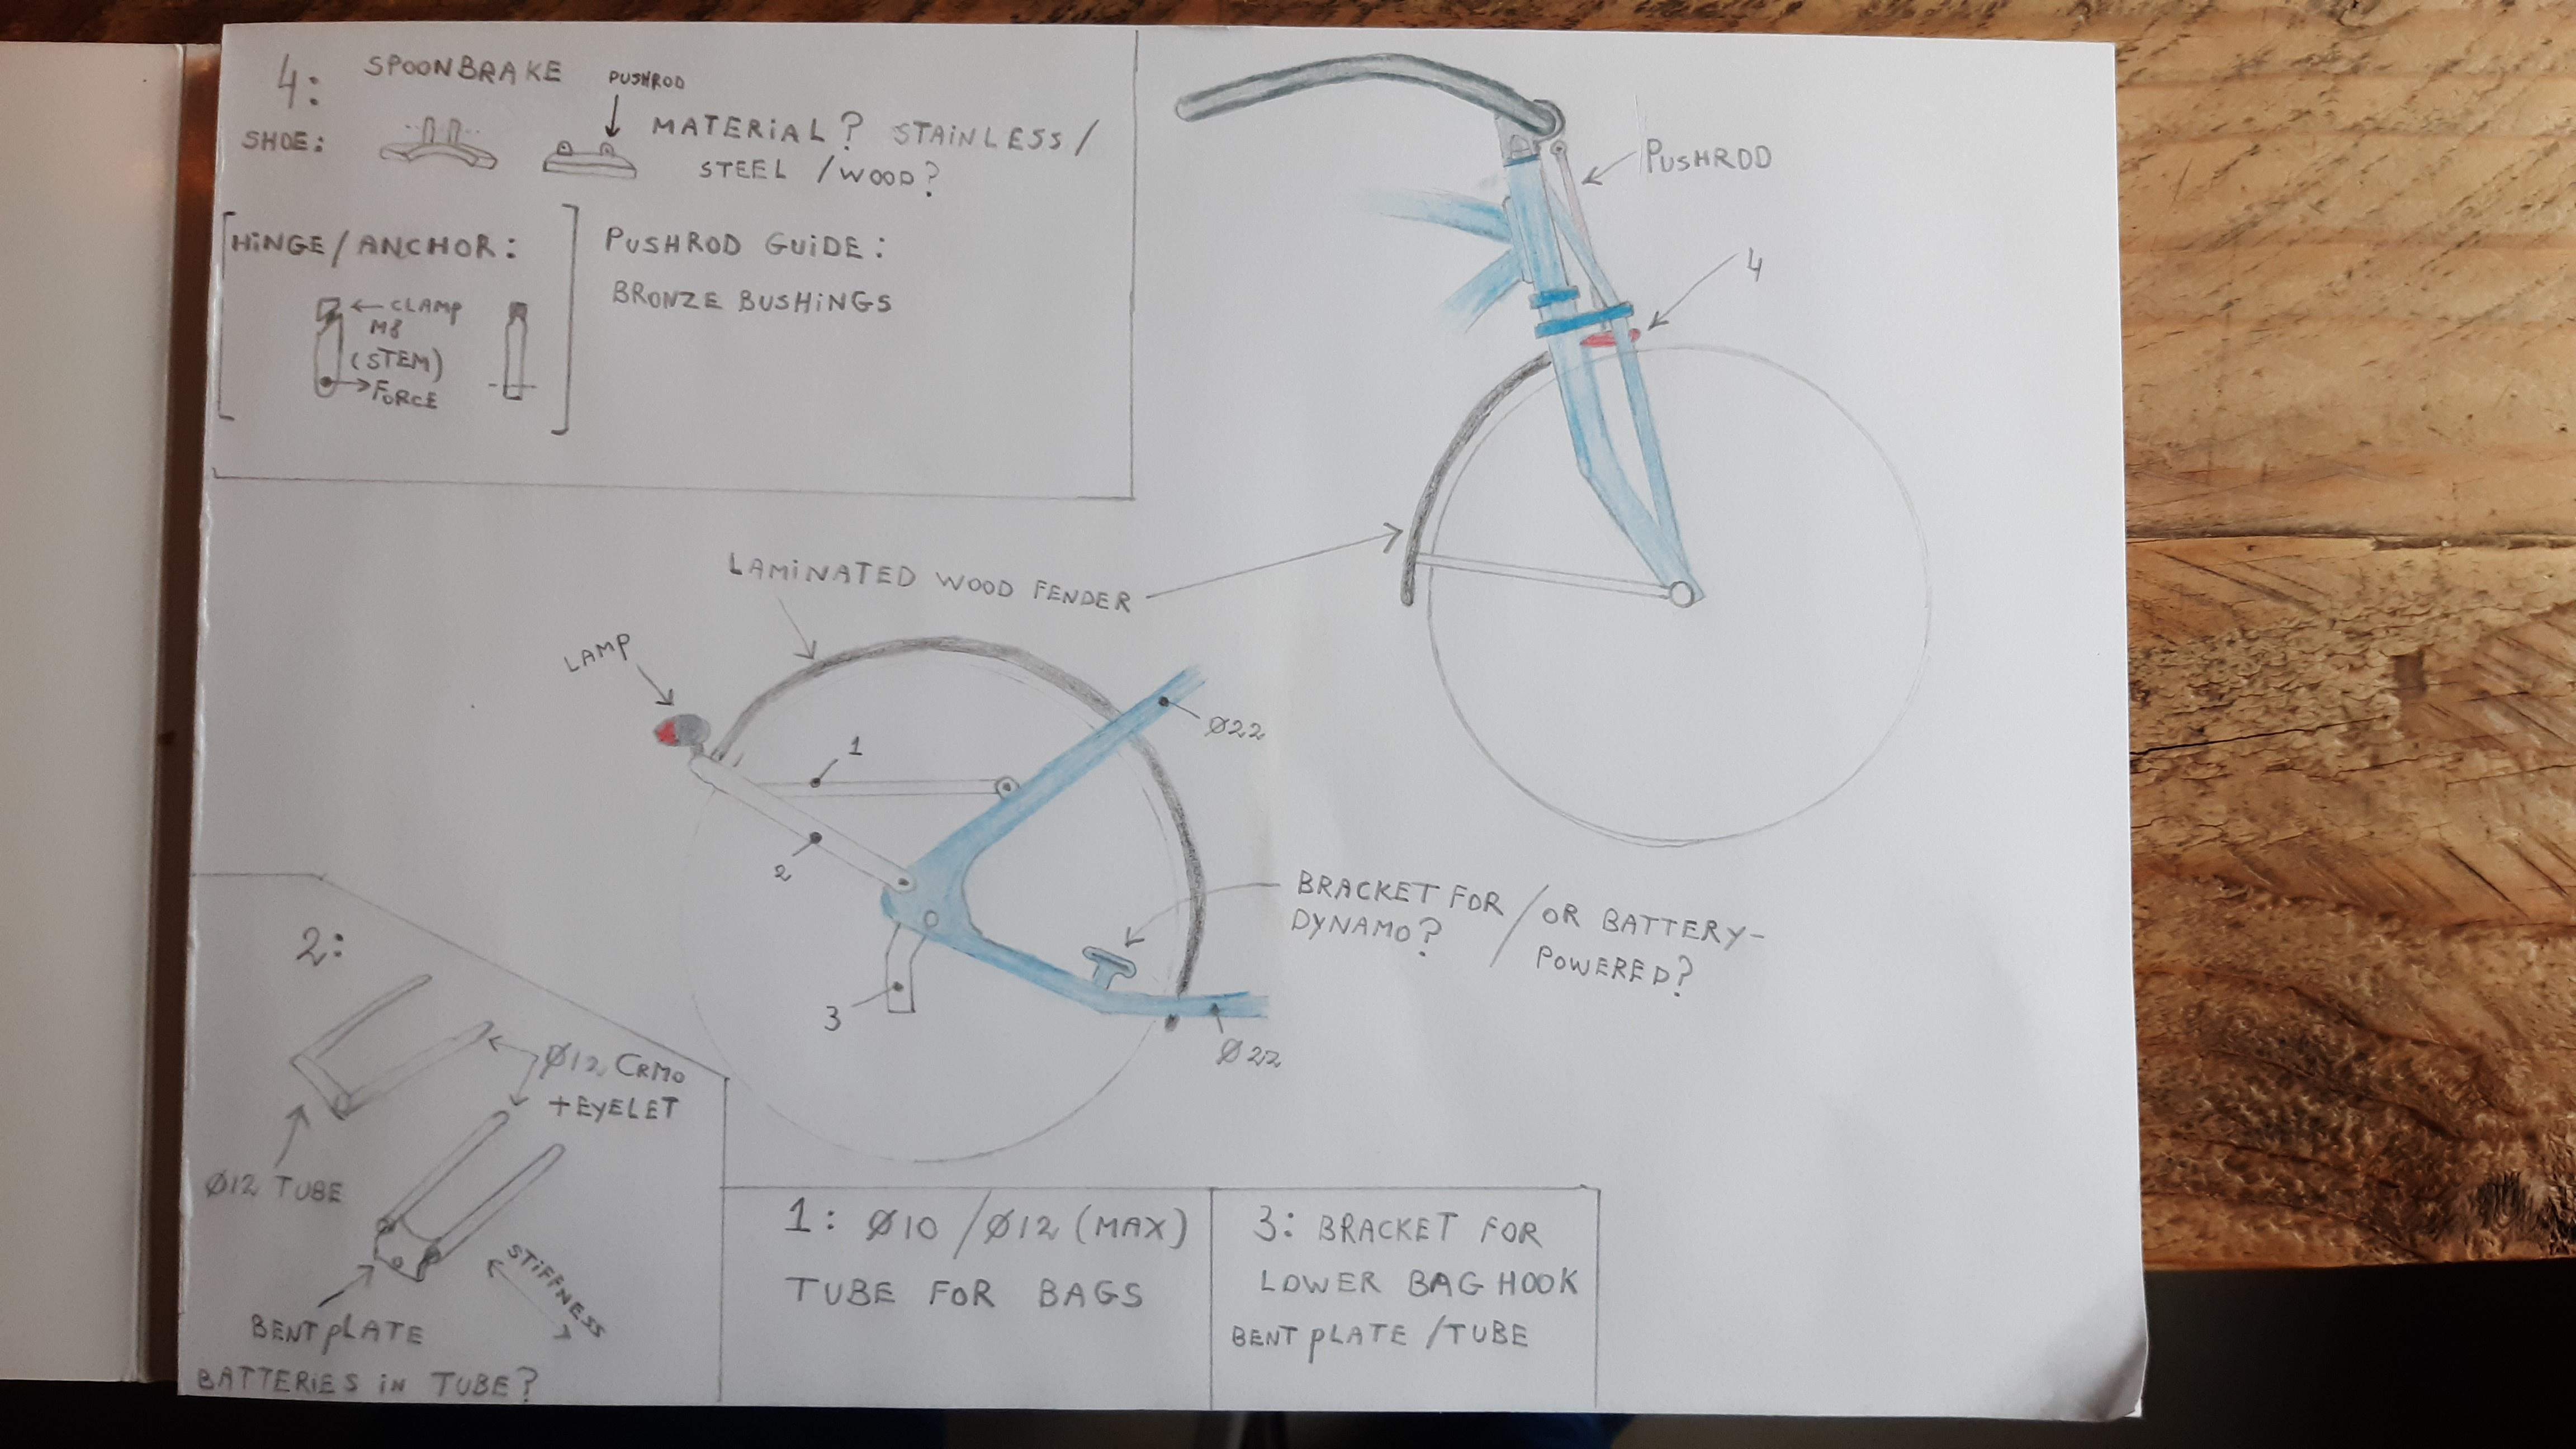
Today, I made some notes and plans:
My drawing skills are "mediocre" but you get the idea ;)

Q1F6C4g.jpeg

ZQdycKe.jpeg


The frame will get an eyelet. I do not want to weld big stuff on there permanently. Keep it a tad bit original.

Plans for now:
-Measure the rear rack and create a drawing.
-Finish the front fork (welding).
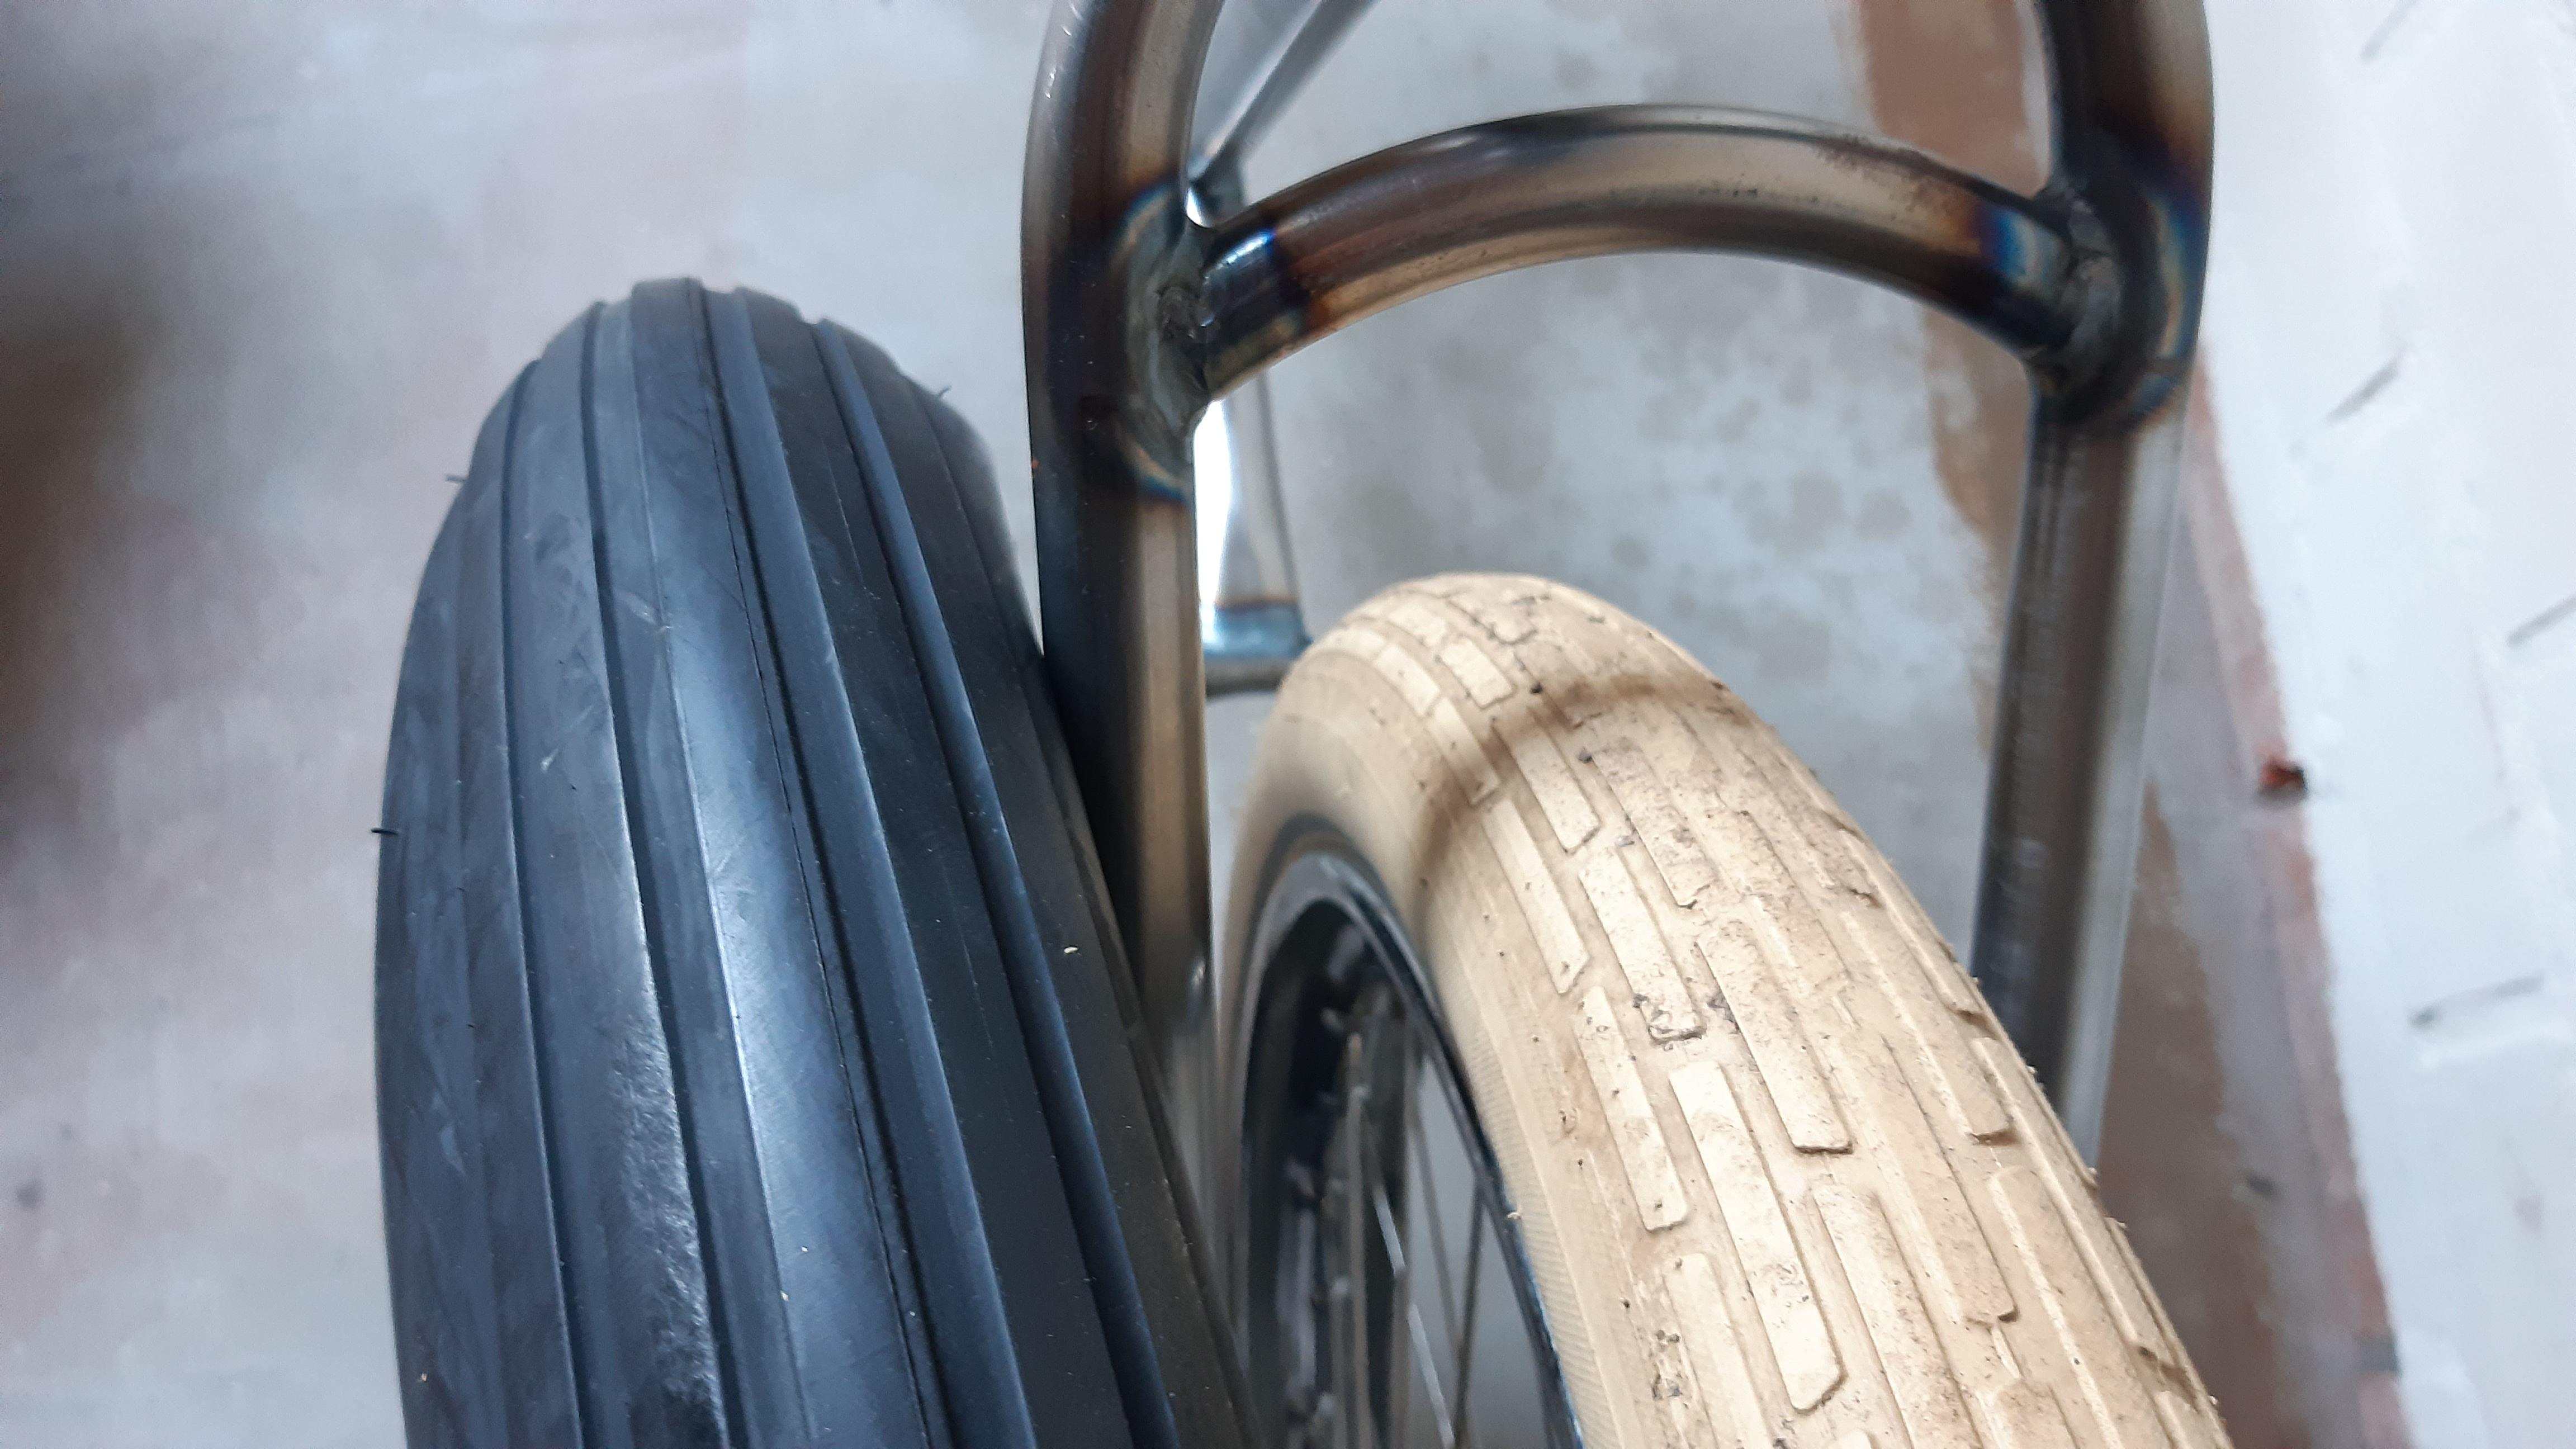
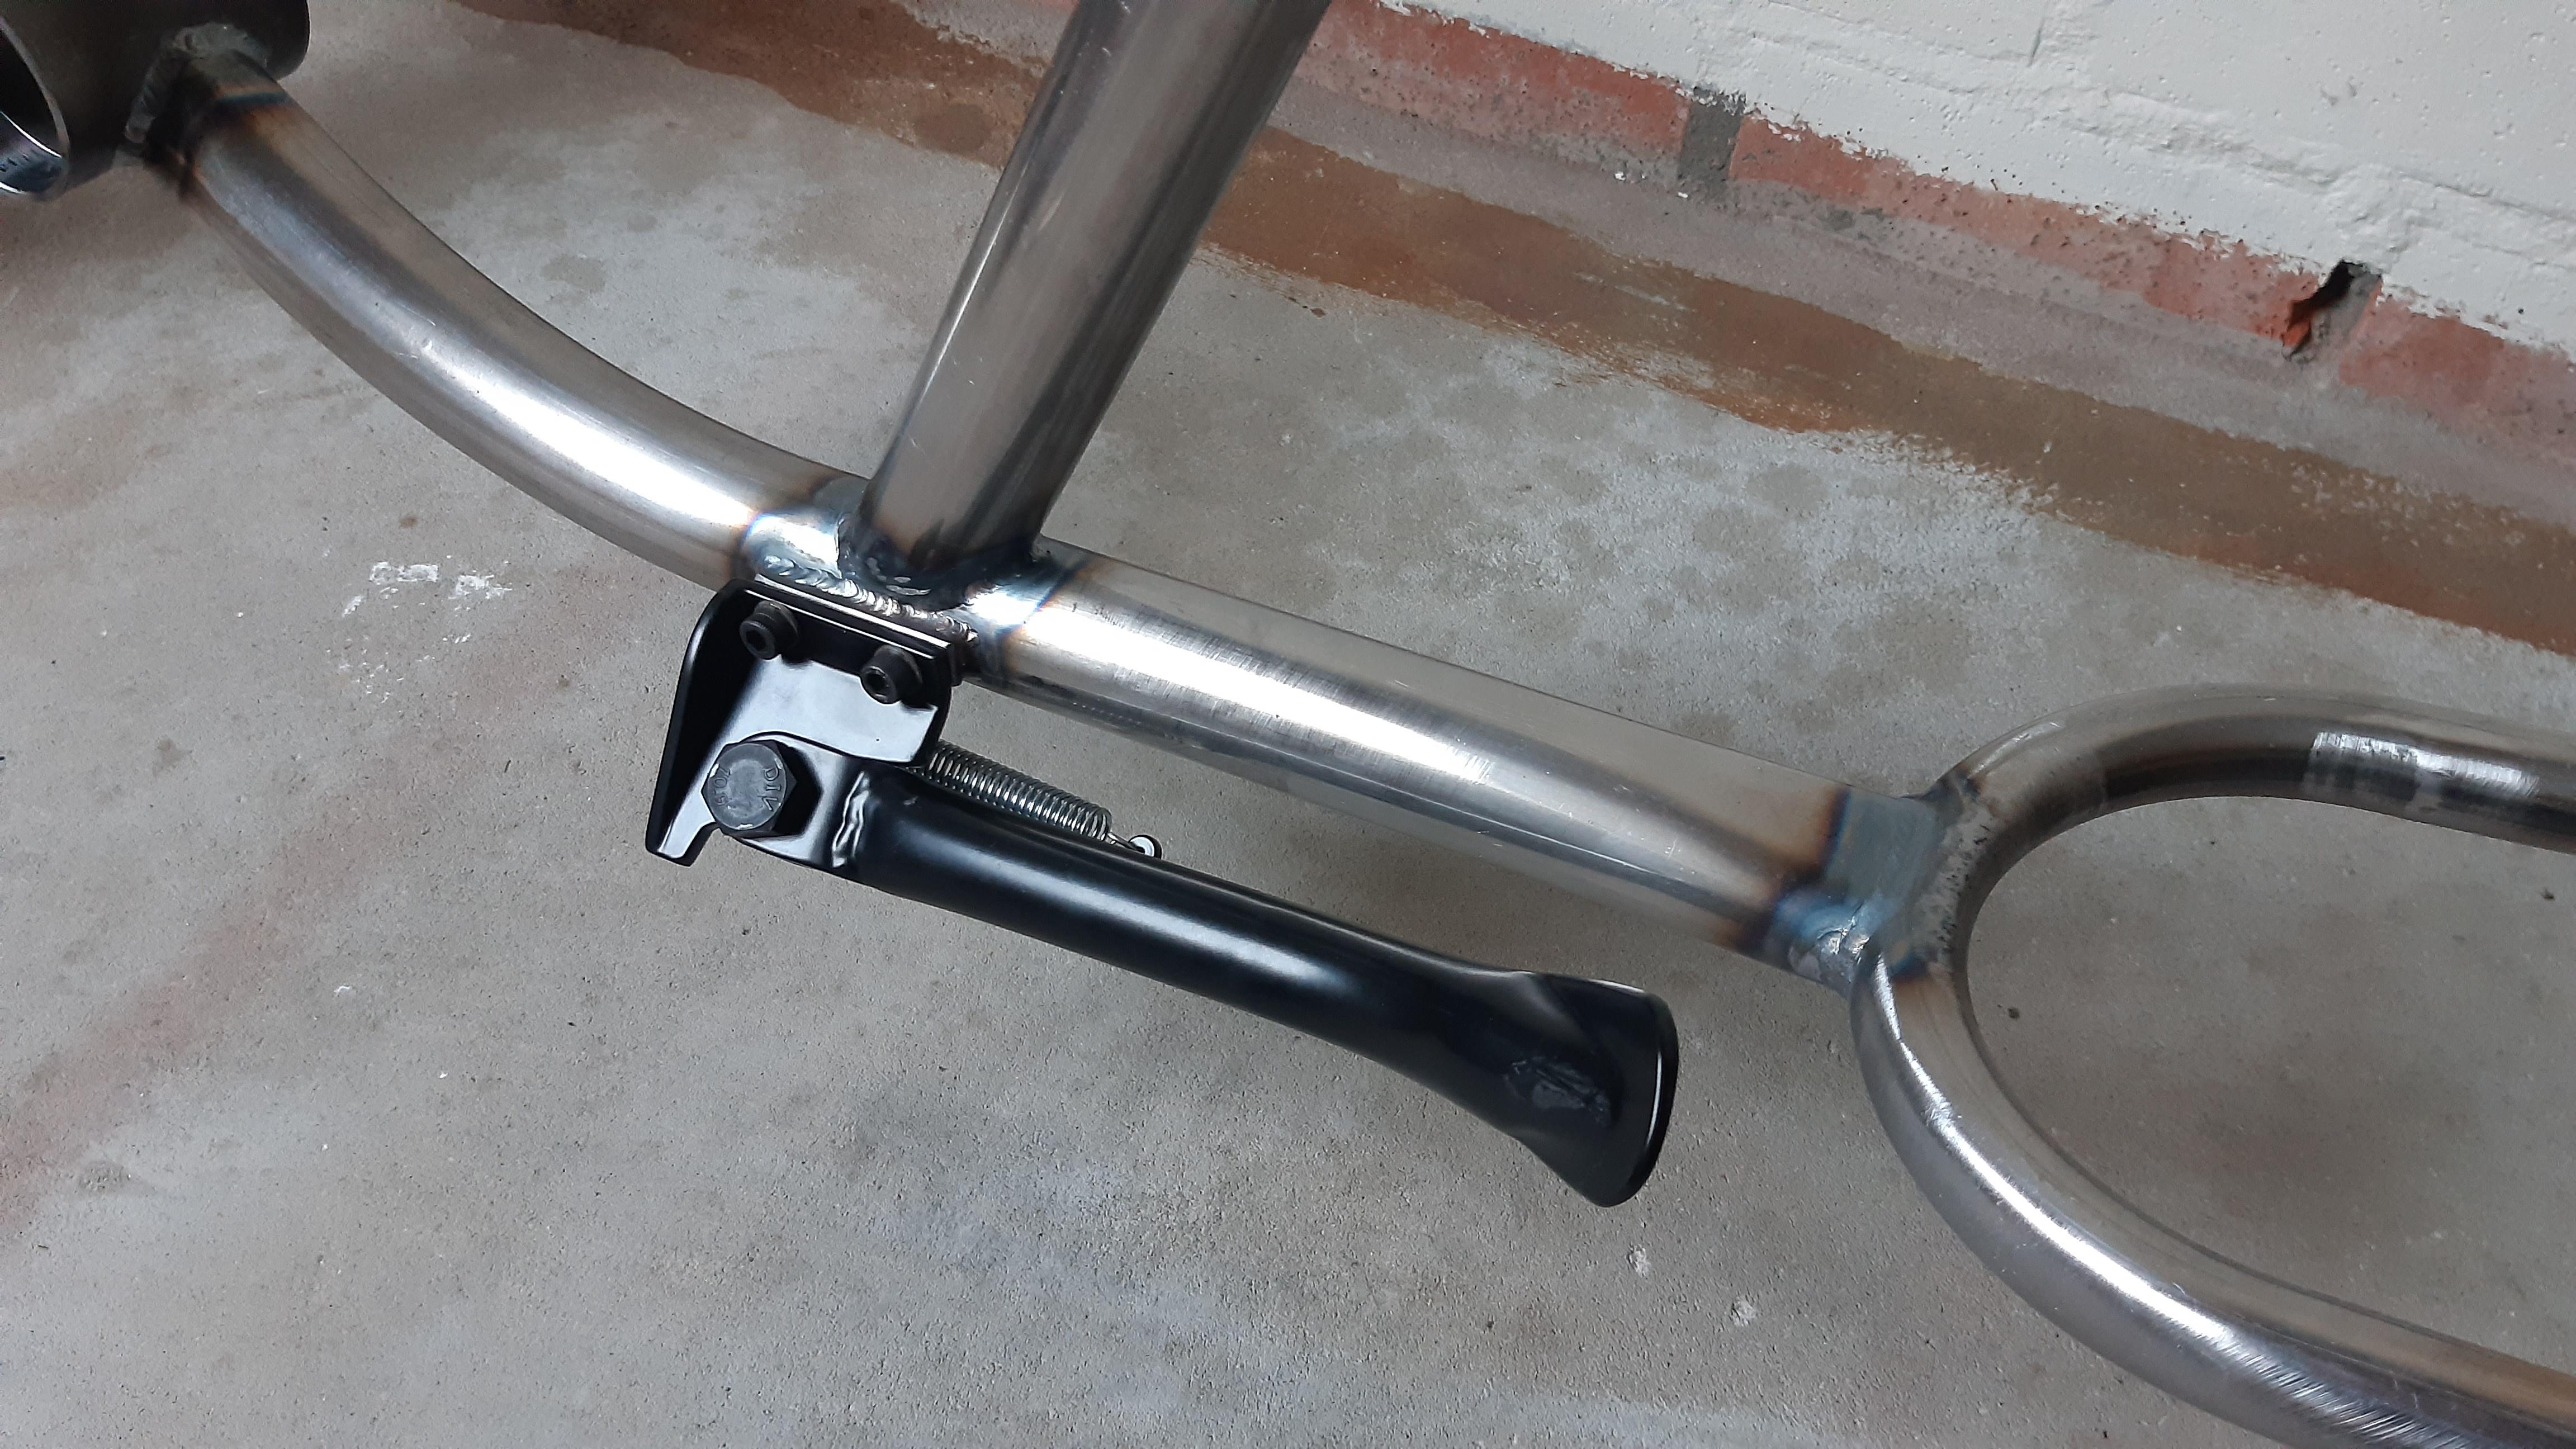
-Order a ruff porucho kickstand and the ruff 26x3.0 tires. Probably the black ones with the lines, they look so good!
-Plan for paint, a tank? And lighting.

So this will not be a hardcore boardtracker, but a generally inspired one with racks and fenders.
 
Update
@Starnger I took your advice and selected the black Ruff Cycles 3.0 balloon tires:

sDqHK7P.jpeg

These tires are sick! :rockout:Thanks for the tip mate!

HfvLM2a.jpeg

Standard.

MxoUuSp.jpeg

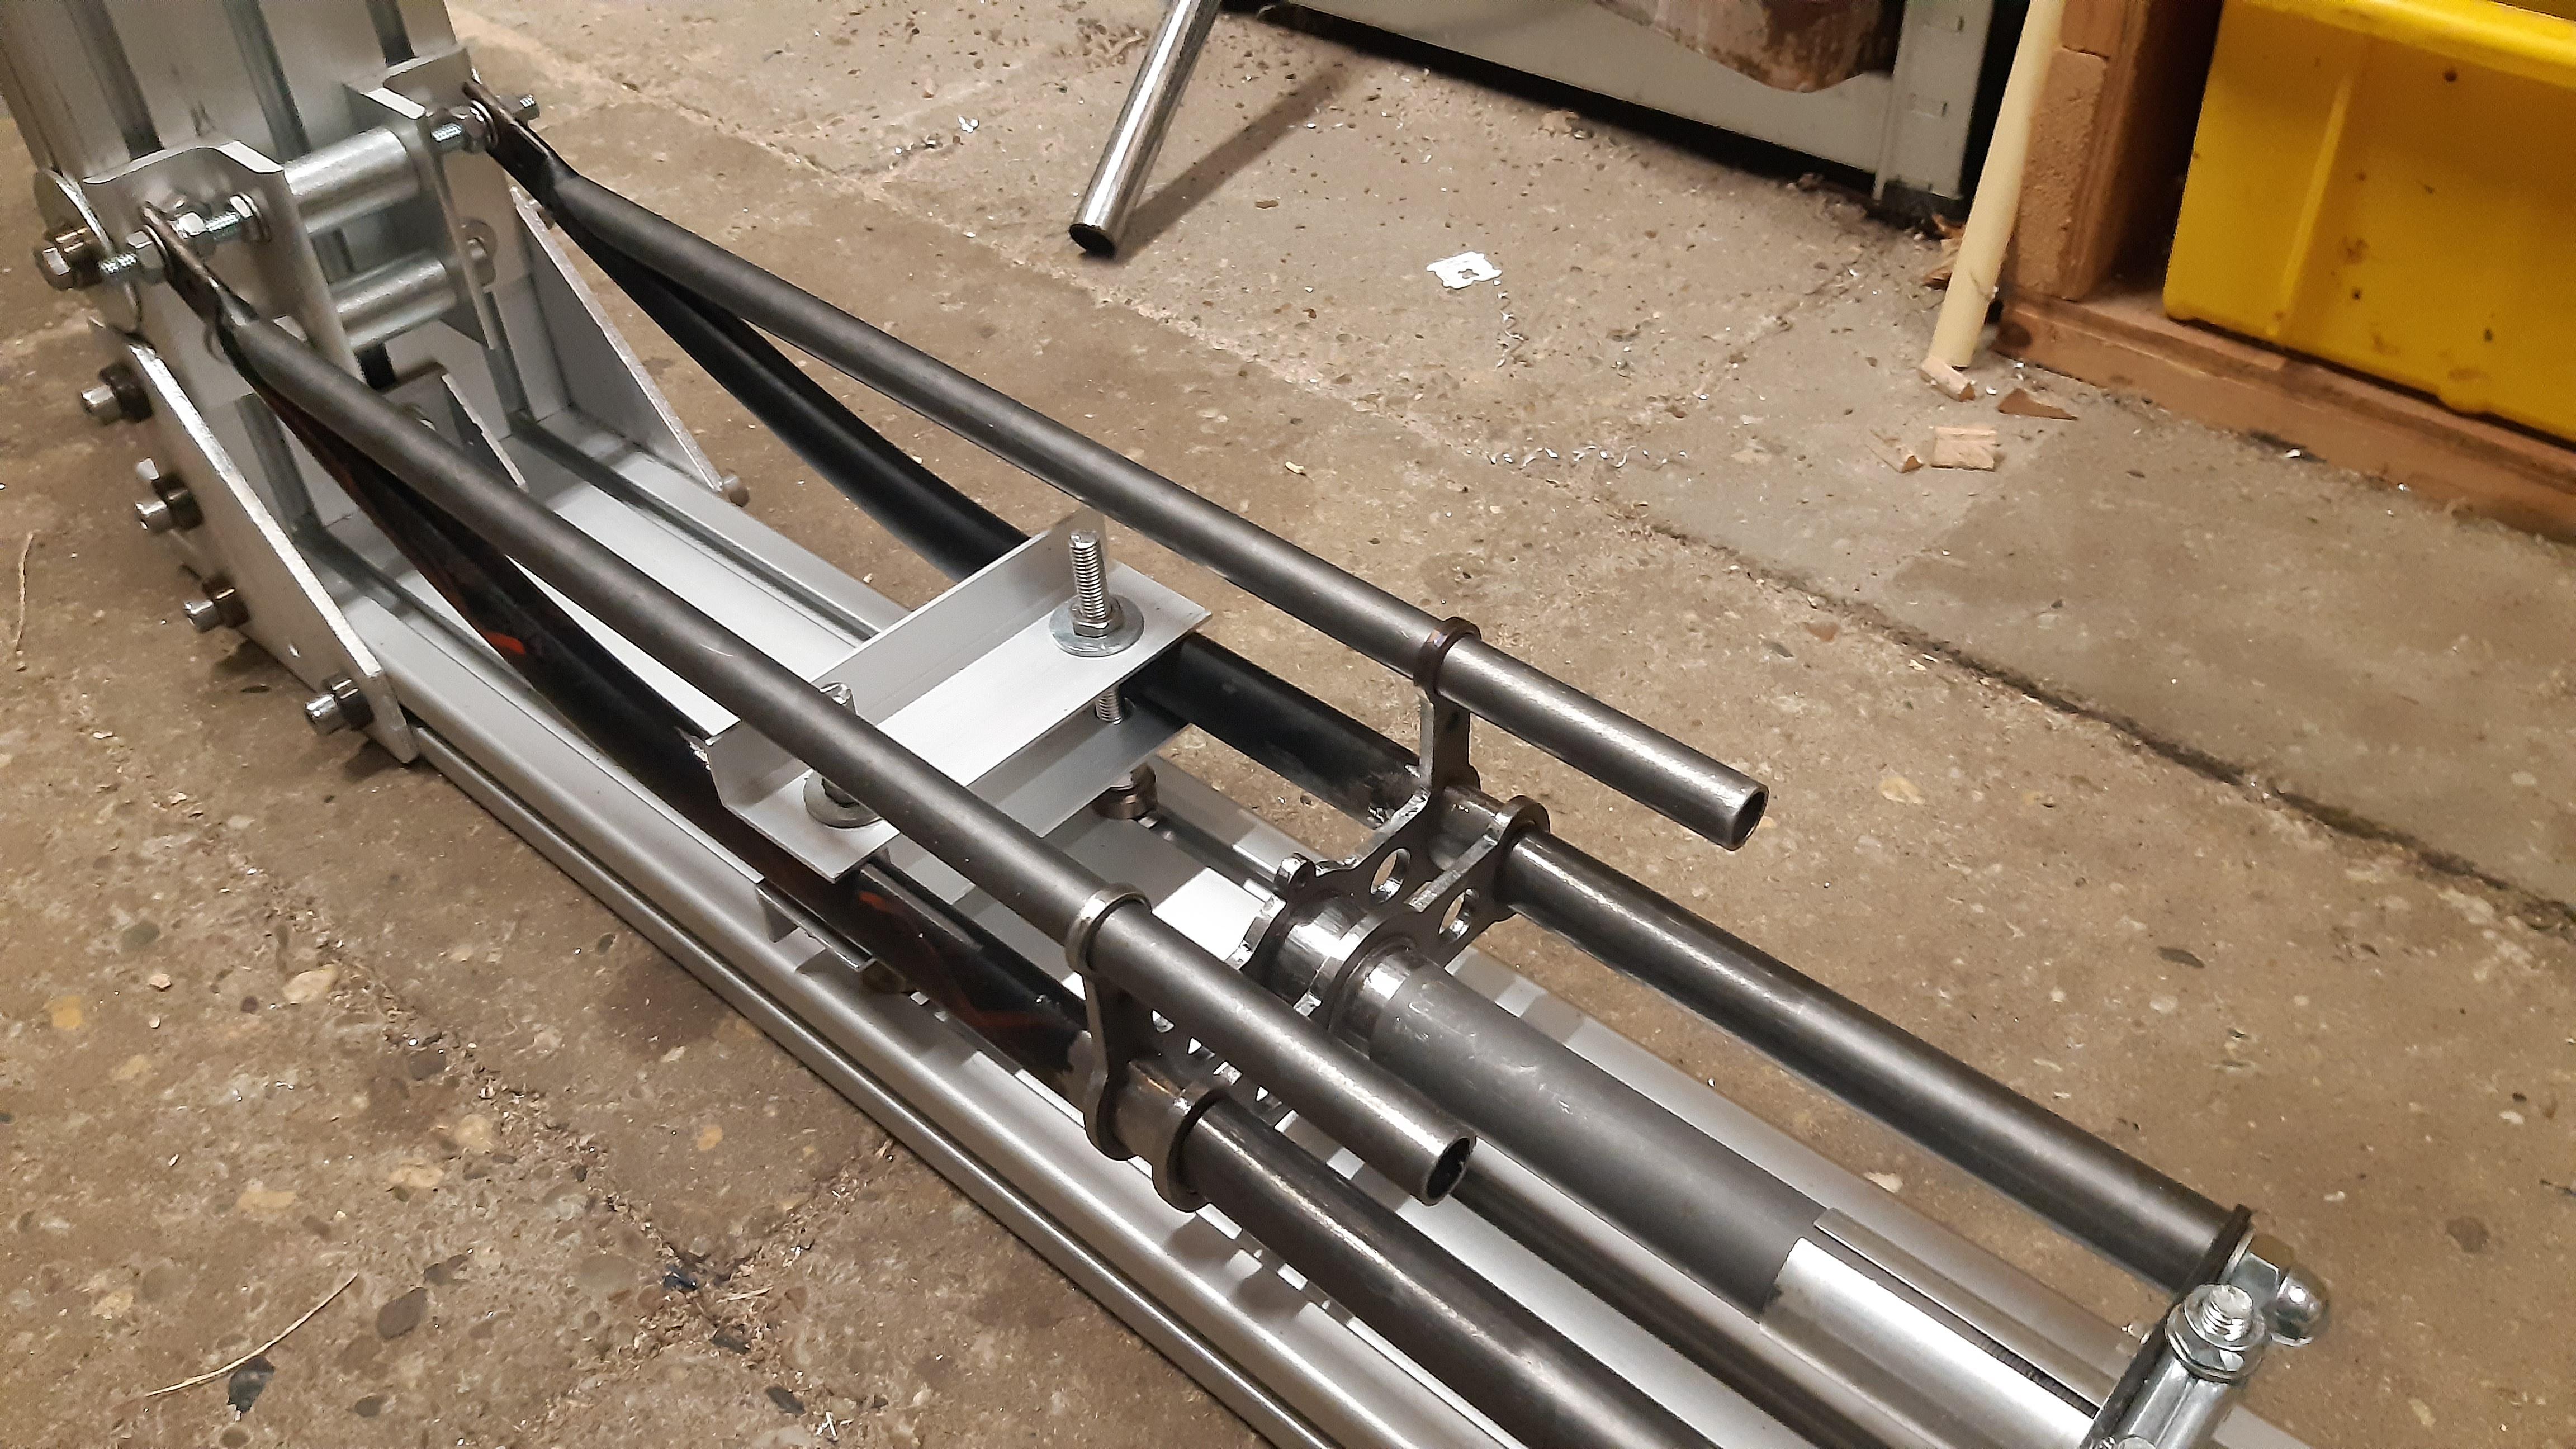
I introduced some changes to the fork welding JIG. To be honest: Not that much experience with welding and resulting tensions, but:
I used a old broken stem inside the fork shaft, so I could place the clamping JIG part farther outward. This means more space for welding and the rest of all parts.
The next update on the JIG are the aluminum strips that hold the fork legs. Now I can hold/clamp the legs and adjust them slightly in height, so everything will be perfectly aligned.

G5FXmXZ.jpeg

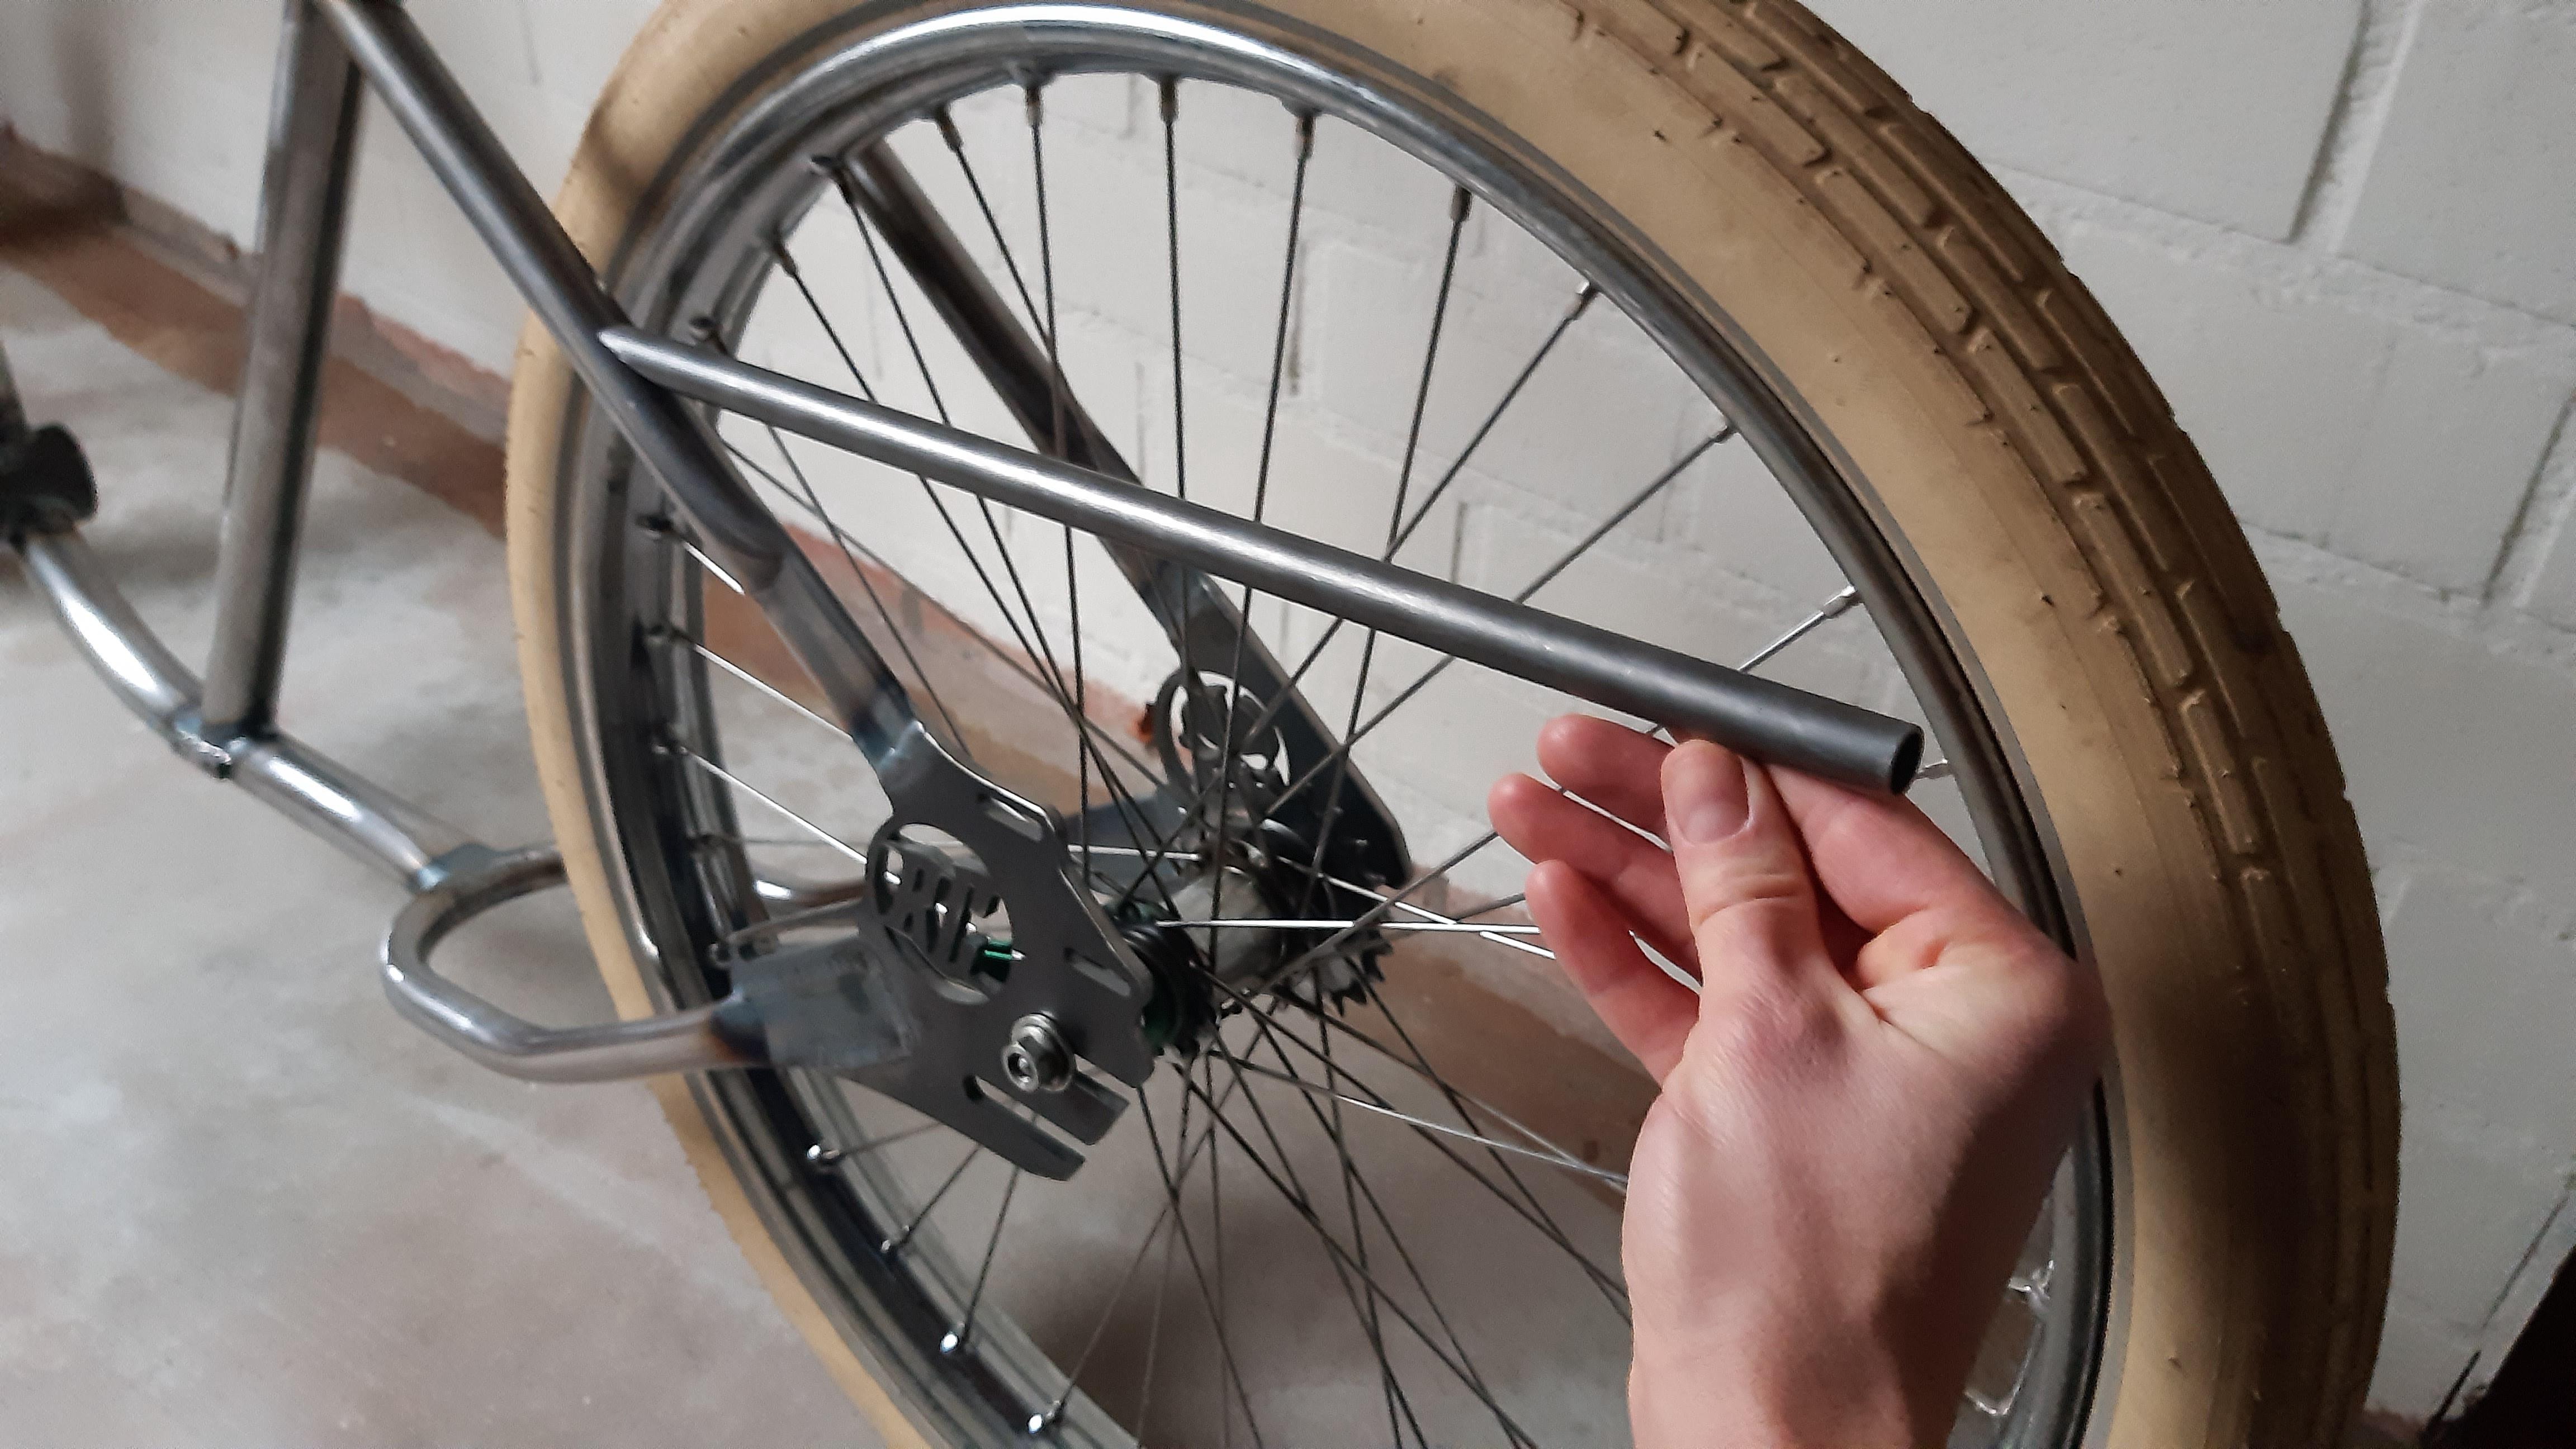
I bent the CroMo tube and got busy with my hacksaw and file. I not that hard, it takes a lot of patience.
I like this setup with the bent tube even more.

Next:
  • Make a start with the fenders (mahogany wood perhaps): planning and making a jig.
  • Fit the rear rack (I found a rear rack that fits very nicely). And make a bracket.
  • Lasercut some tools for the fork and a new Coasterbrake arm.
  • Fit the tires on for measuring purposes. (maybe not permanently, because the rim could be painted).
  • Check for ideas on the spoon brake :p

Thanks for reading people!
 

Latest posts

Back
Top