- COMPETITIONS
- THE COMPETITION ARCHIVES
- RRBBO OFFICIAL COMPETITIONS
- BUILD OFF 8 - (2013)
- BUILD OFF 8 - TRADITIONAL BIKES
You are using an out of date browser. It may not display this or other websites correctly.
You should upgrade or use an alternative browser.
You should upgrade or use an alternative browser.
Burnout Dragster
- Thread starter thedude
- Start date

Help Support Rat Rod Bikes Bicycle Forum:
This site may earn a commission from merchant affiliate
links, including eBay, Amazon, and others.
yoothgeye
I build stuff.
20" bike?
Great start! 8)
Welcome to RRB and BO8
Good luck
Good luck

$19.99
Electra Glide Wall Decal 2ft Long Sport Harley Davidson Bike Motorcylce Sticker Man Cave Garage Boys Room Decor
FatCat Wall Graphics

$222.22
$239.45
Kulana Lakona Tide Adult Beach Cruiser Bike, 26-Inch Wheels, 7-Speed, Silver
Amazon.com

$29.95
Crossroads Home Décor A Biker's Prayer, Gift for Motorcycle Riders, Inspirational Bike Picture Frame, 6451BW
Crossroads_Home_Decor

$19.99
Old River Outdoors Bicycle/Motorcycle Chain Picture Frame 4" X 6" Photo - Faux Bike Chain
Old River Outdoors (USA Merchant)
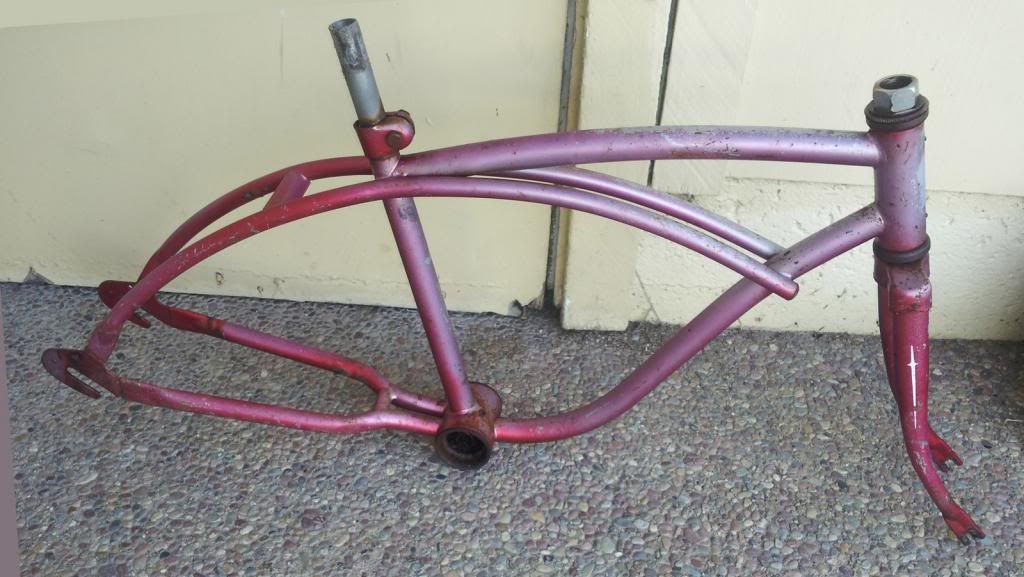
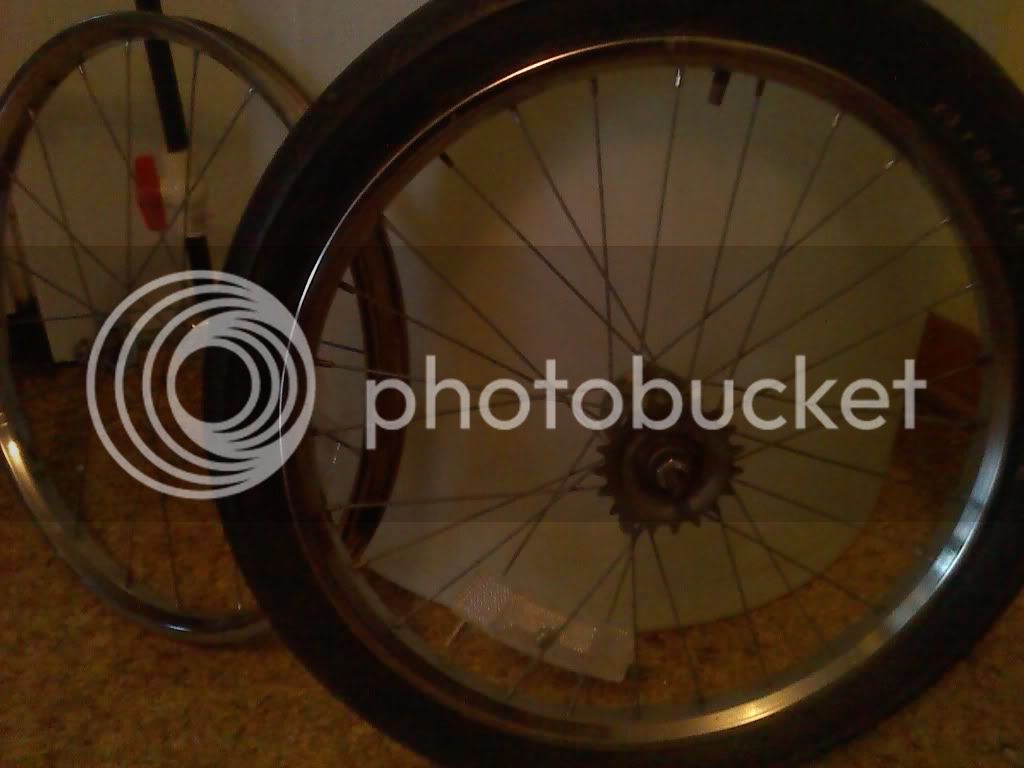
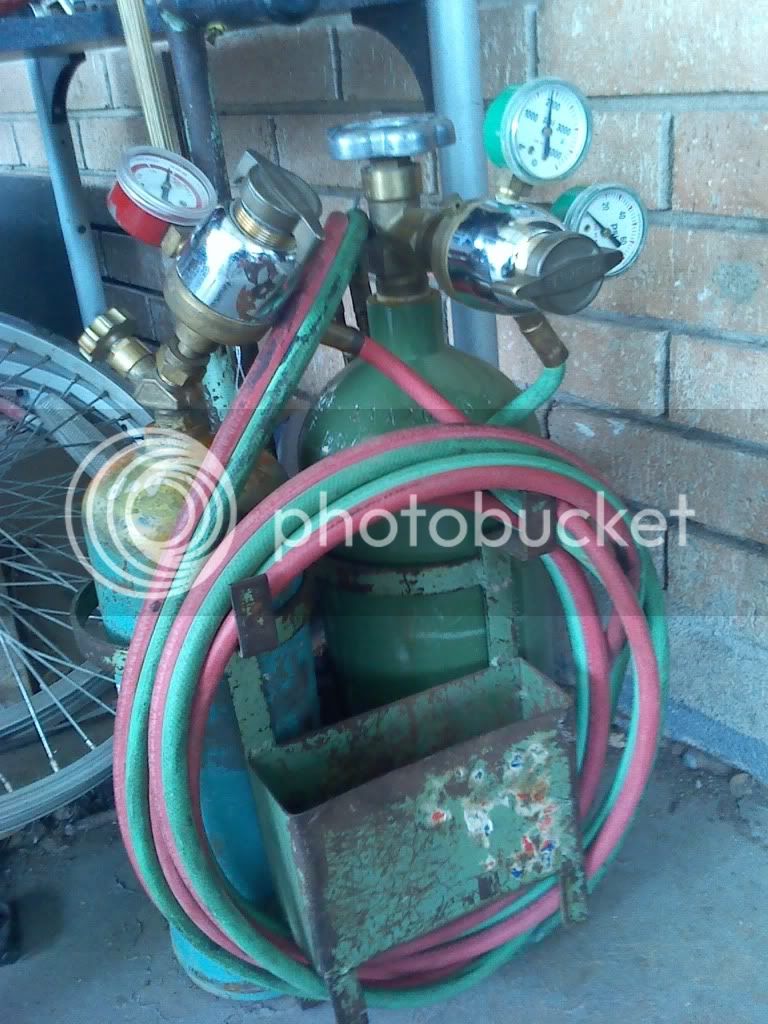
Finally got around to getting progress on the buildup. Had a stuck seat post that wouldn't budge. I had already soaked it in deruster with no luck, next was propane torch and atf fluid but that didn't work either. The whole problem was a small bend creating a lock right in the center of the frame and it was one super long seat post. Busted out the hole saw instead, after not having any luck. 2nd to the last option was Maacos frame machine. lol! Pulling any harder would have trashed the frame. Last option- Acetylene Brazing, Not having done this before I went ahead and tried it for the first time. First up,chopped it on top going past all the old brazing and its also my first time cutting an old frame too. Loll! Didn't want to mig weld it- that would be cheating, So, I hit the pawn shops and struck a deal on a mini torch setup and watched a bunch of YouTube vids on bicycle brazing techniques. The donor bike for the seat tube was a old girls flower bike Murray- for anyone wanting know. Well..Did it, Done it....Thats it for this week and we will see how the paint comes out this weekend. This is a sons and father project, my part is complete ha! They will paint and snap it together.
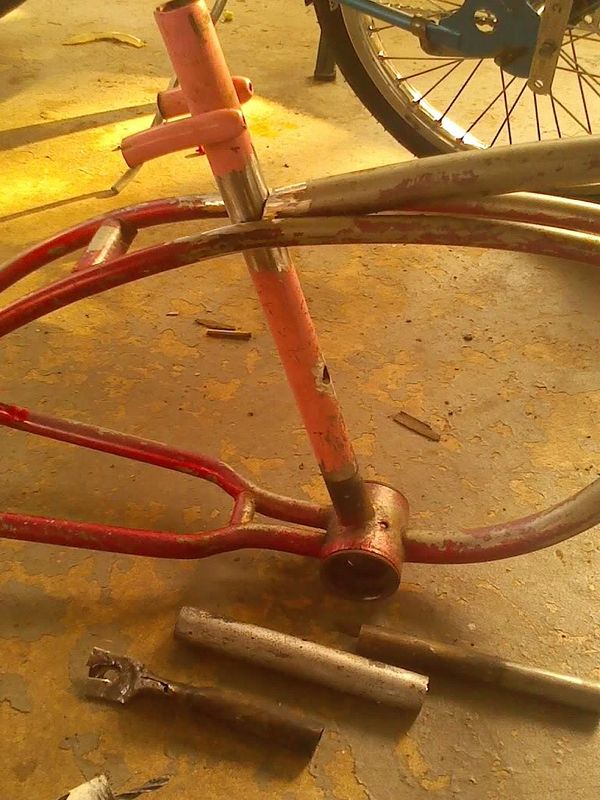
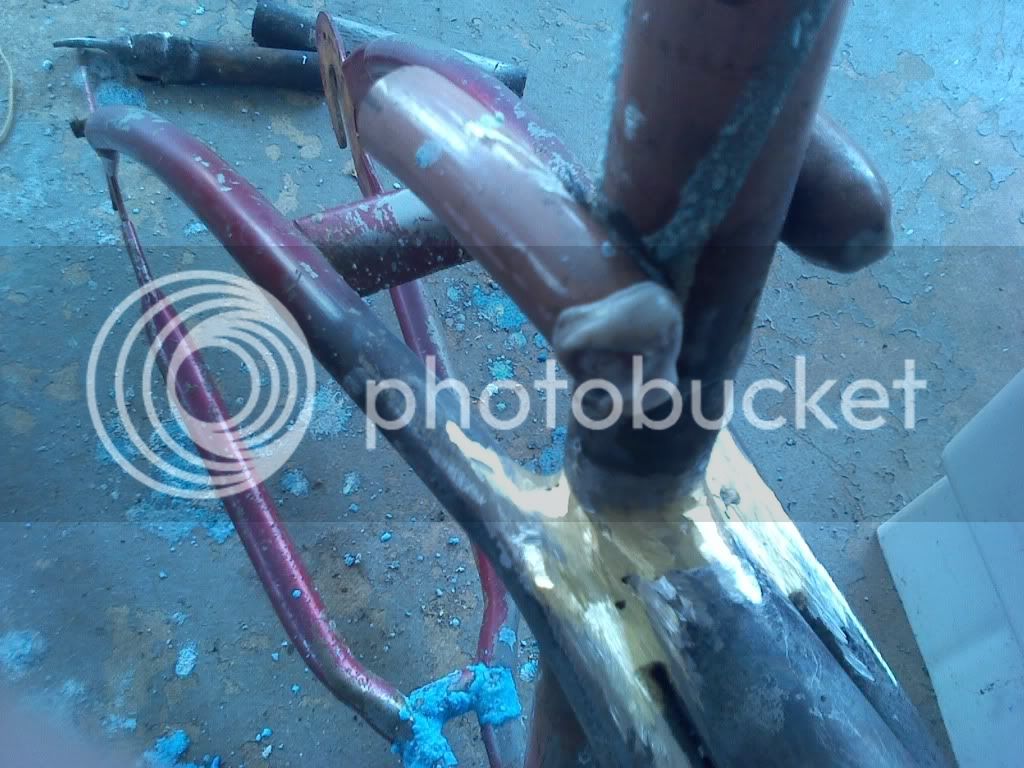
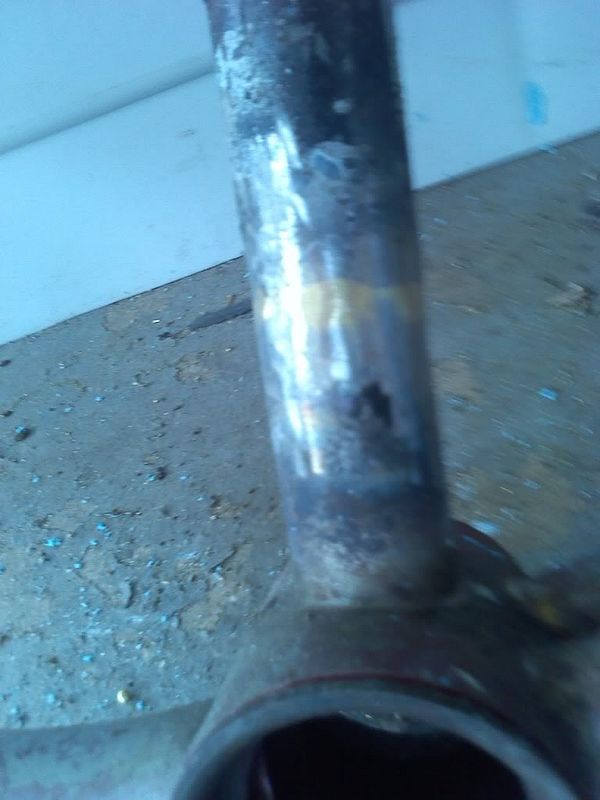
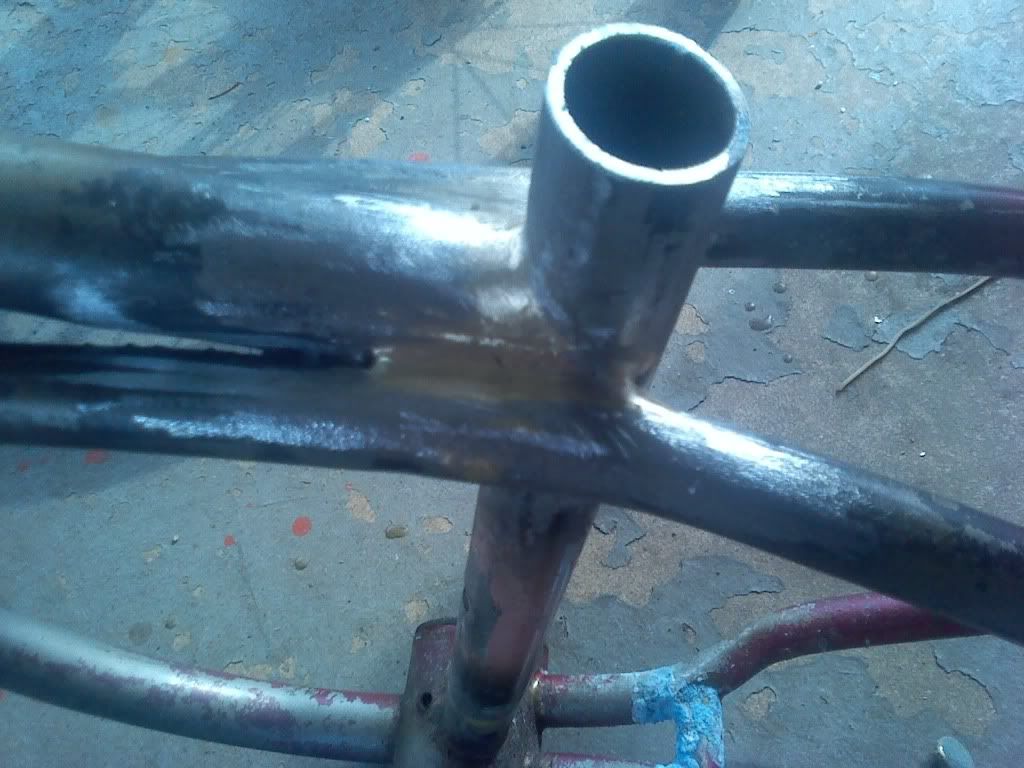
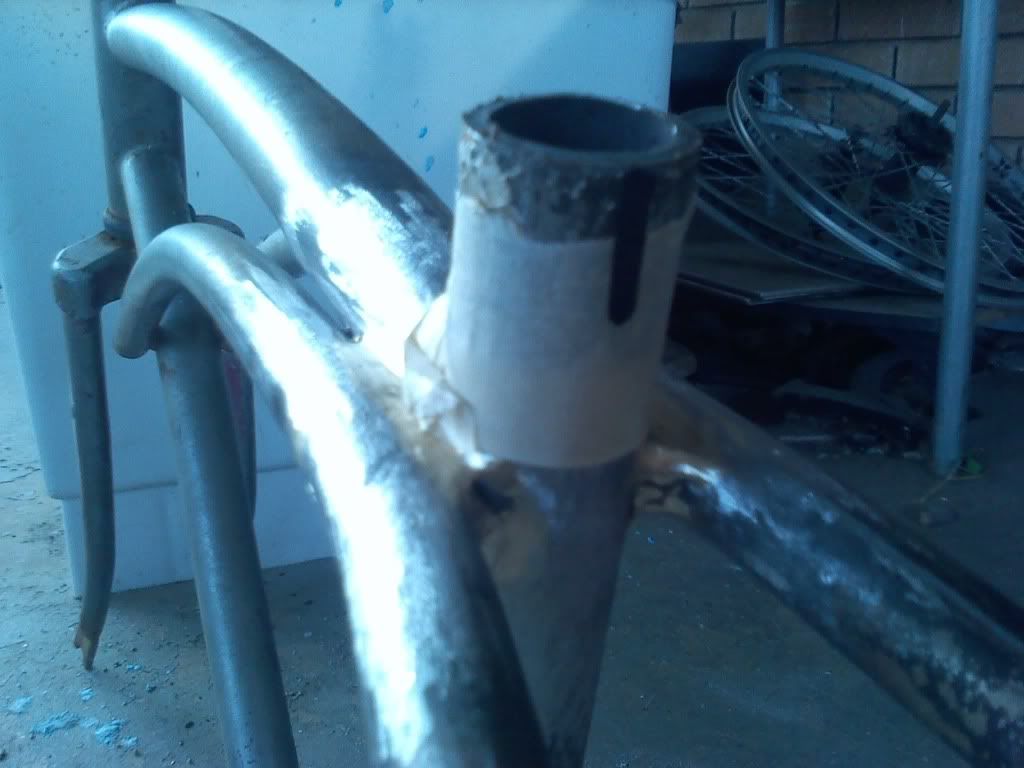
Using a tube cutter to make a nice and straight cut then filing it clean.
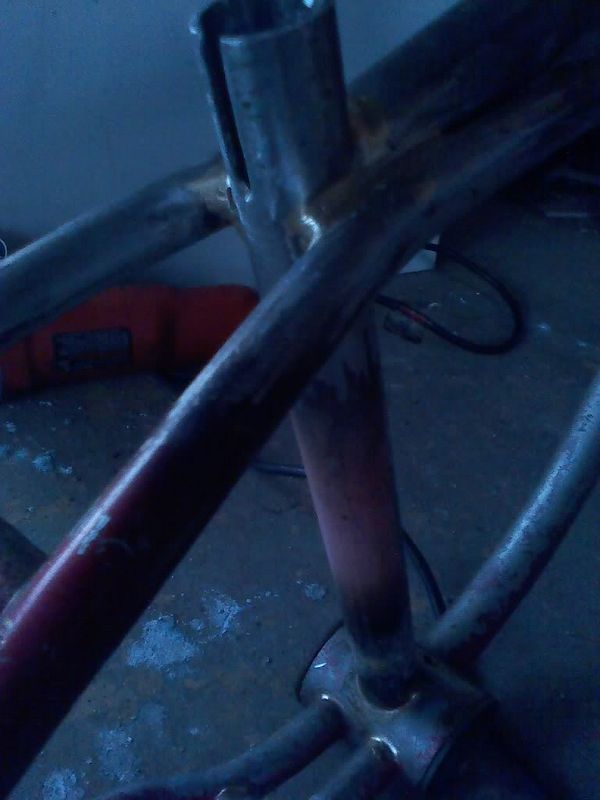
Drawing marker lines for the seat clamp notch.
Finished notch.
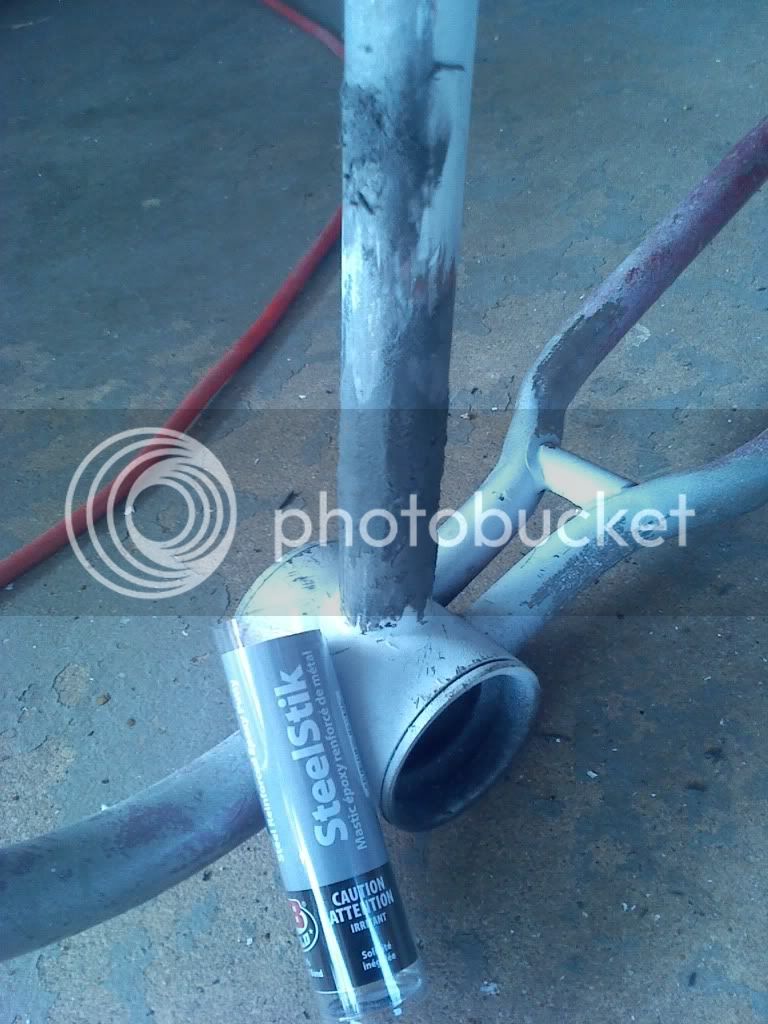
Used quick steel to fix any minor imperfections on frame.. bumps scratches etc. Then sanding down with a flat file and 240grit.
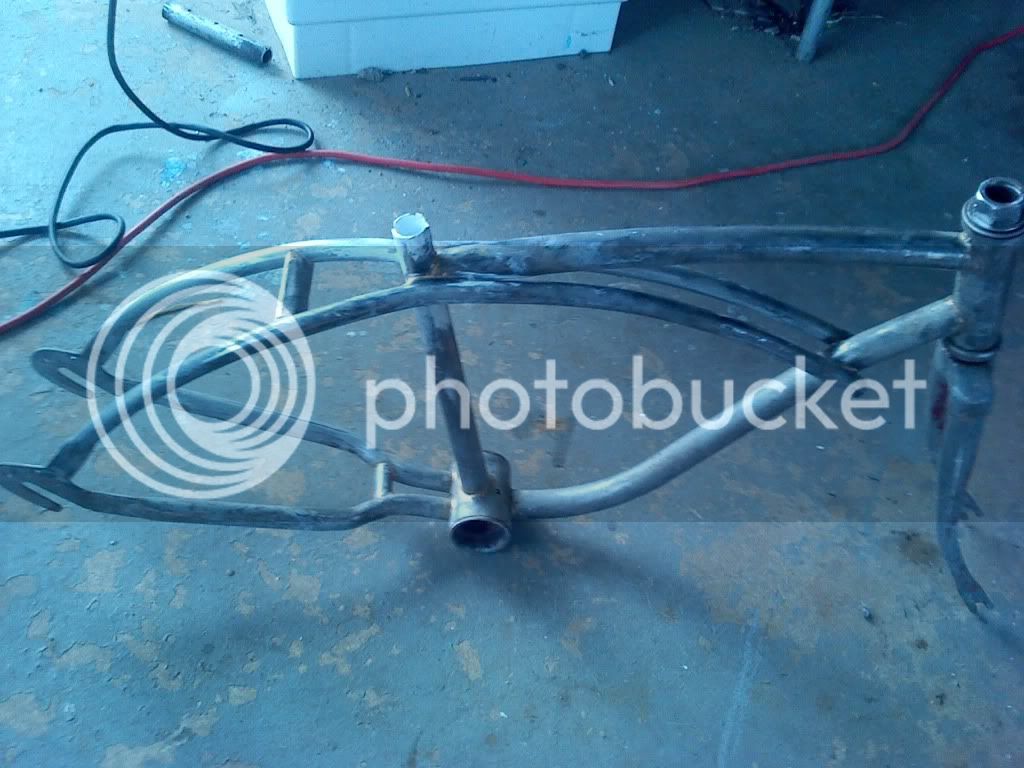
A little progress, sprayed strip clean to remove old paint. used files, Dremel, and wire brush to clean the brazing. All thats left is removing the fork and cups for spraying a nice coat of primer filler and wet sanding.


Using a tube cutter to make a nice and straight cut then filing it clean.

Drawing marker lines for the seat clamp notch.

Finished notch.

Used quick steel to fix any minor imperfections on frame.. bumps scratches etc. Then sanding down with a flat file and 240grit.

A little progress, sprayed strip clean to remove old paint. used files, Dremel, and wire brush to clean the brazing. All thats left is removing the fork and cups for spraying a nice coat of primer filler and wet sanding.
Very nice work on the frame fix!
Luke.
Luke.
LukeTheJoker said:Very nice work on the frame fix!
Luke.
Thanks, I need to build one of those rear wheel setups you made one of these days. 8)
Go for it!thedude said:Thanks, I need to build one of those rear wheel setups you made one of these days. 8)
Luke.
sweet frame fix! glad to see someone else using steel stick!!
Troy
Troy
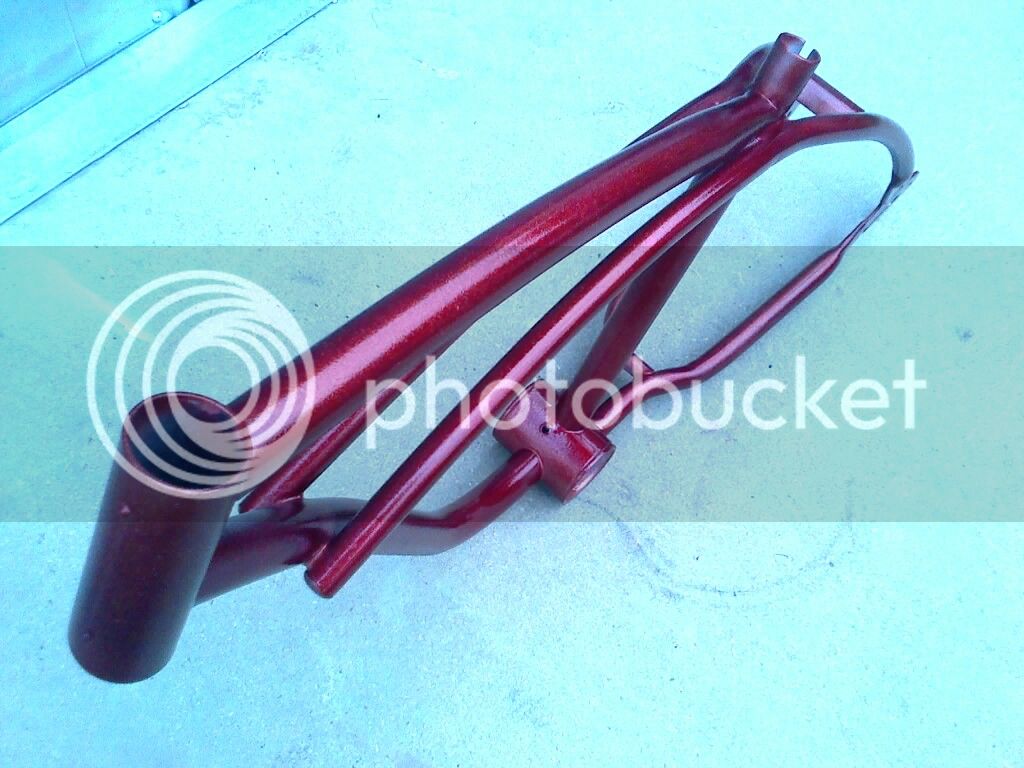
More updates on the buildup. After a struggle with a rusted headset, the forks removed and straightened I was able to get some paint applied on the frame. Nothing special, just a careful selection of spray can paint to get the retro metalflake candy color effects. This is the sec. Frame I paint with this process and comes out pretty good. Its a four stage process. Rustoleum high heat silver, glitter effects from krylon, rustoleum anodized paint, and caliper high heat clear coat and alot of sanding . Thanks for watching more later.
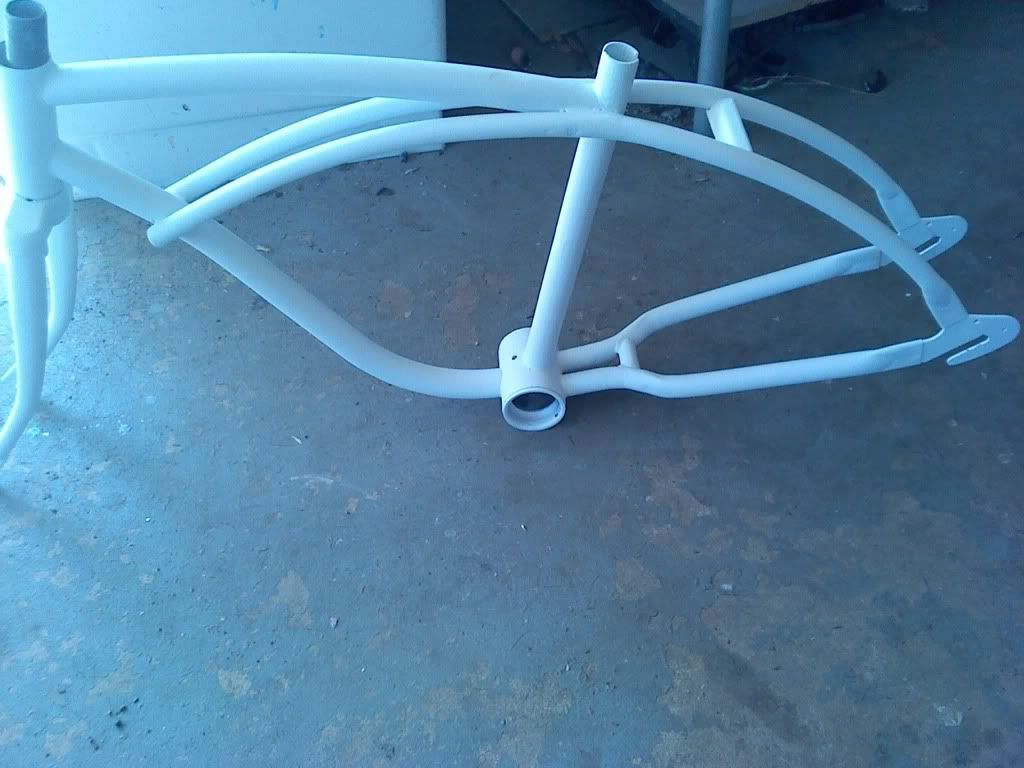
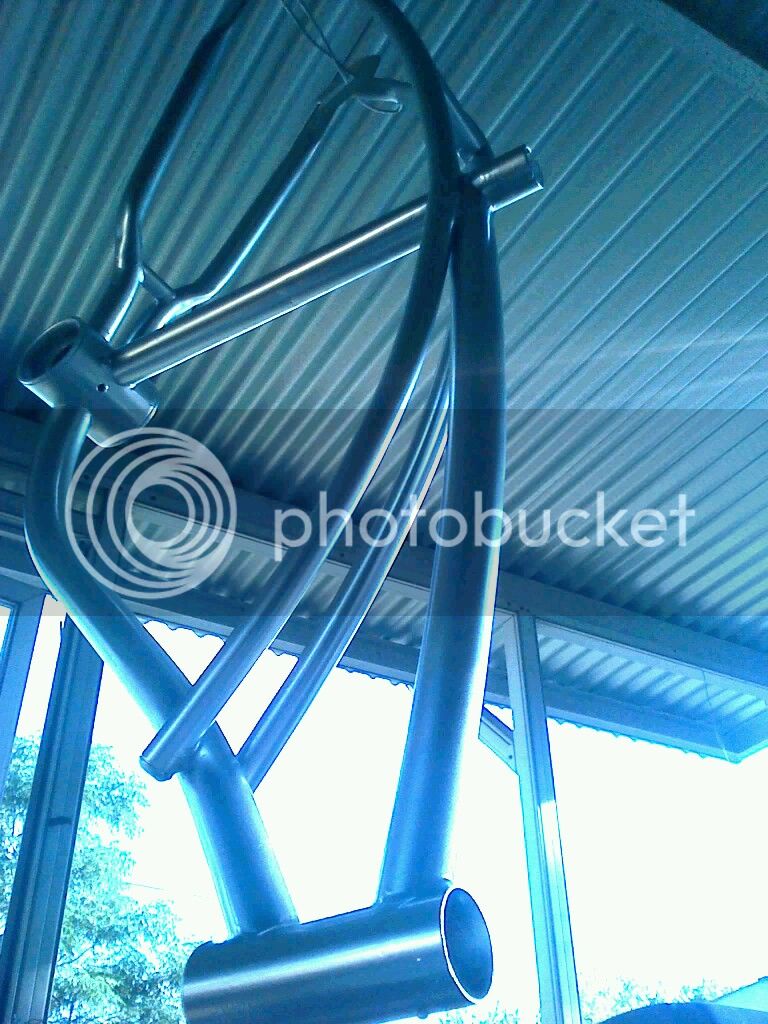
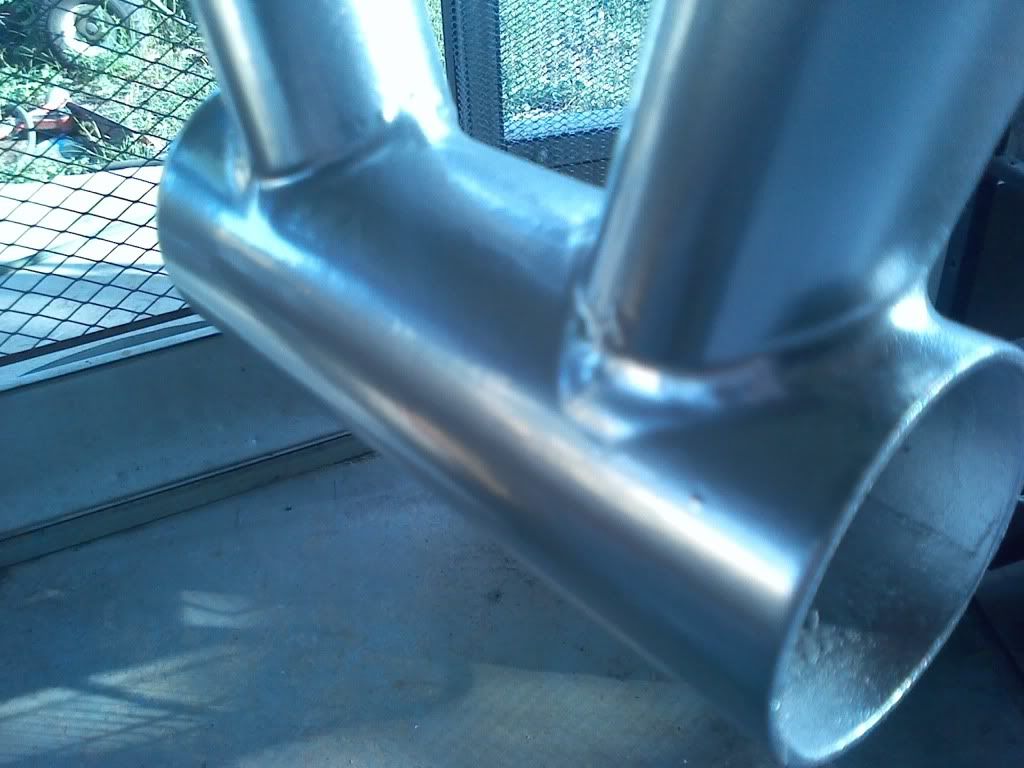
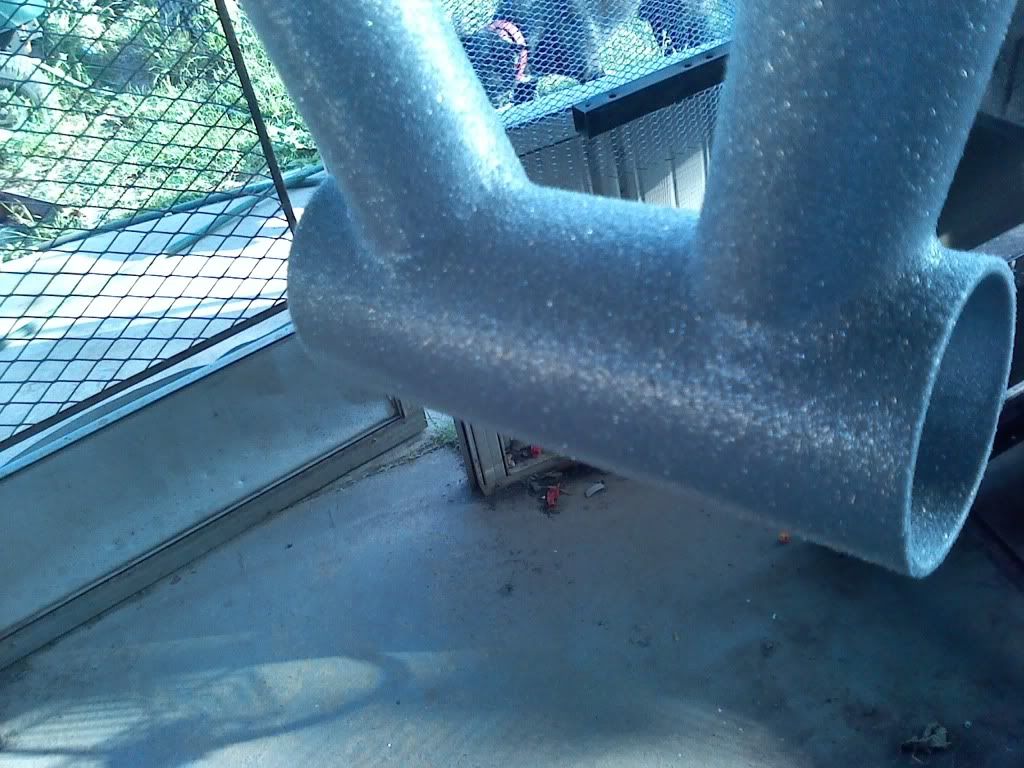
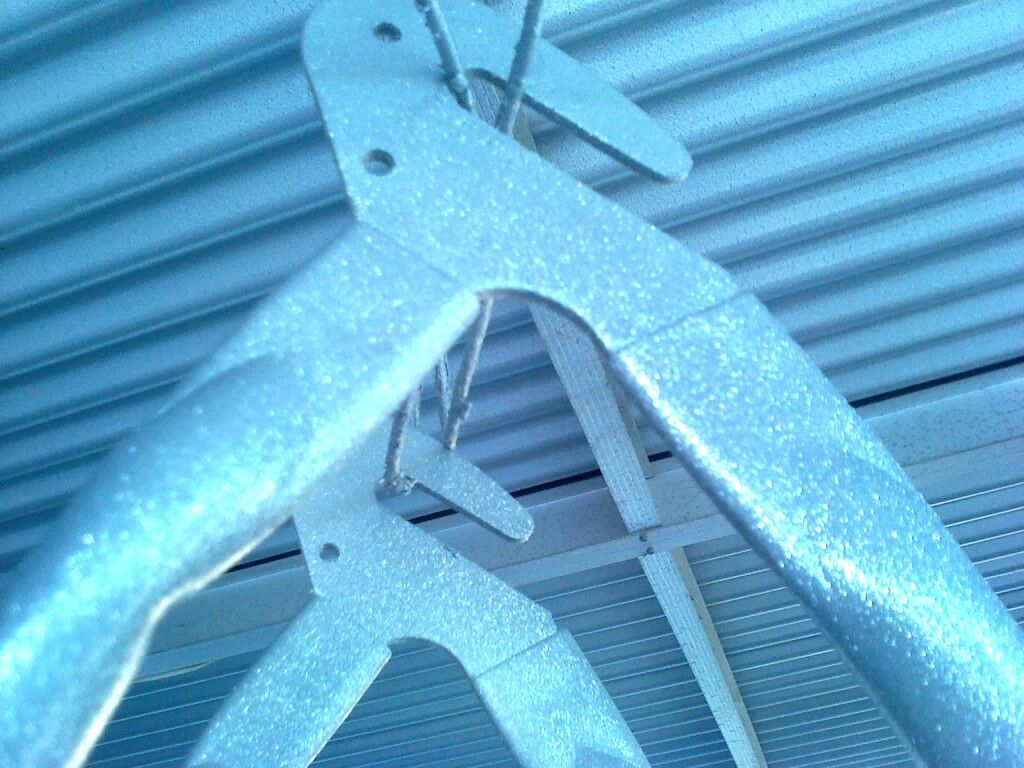
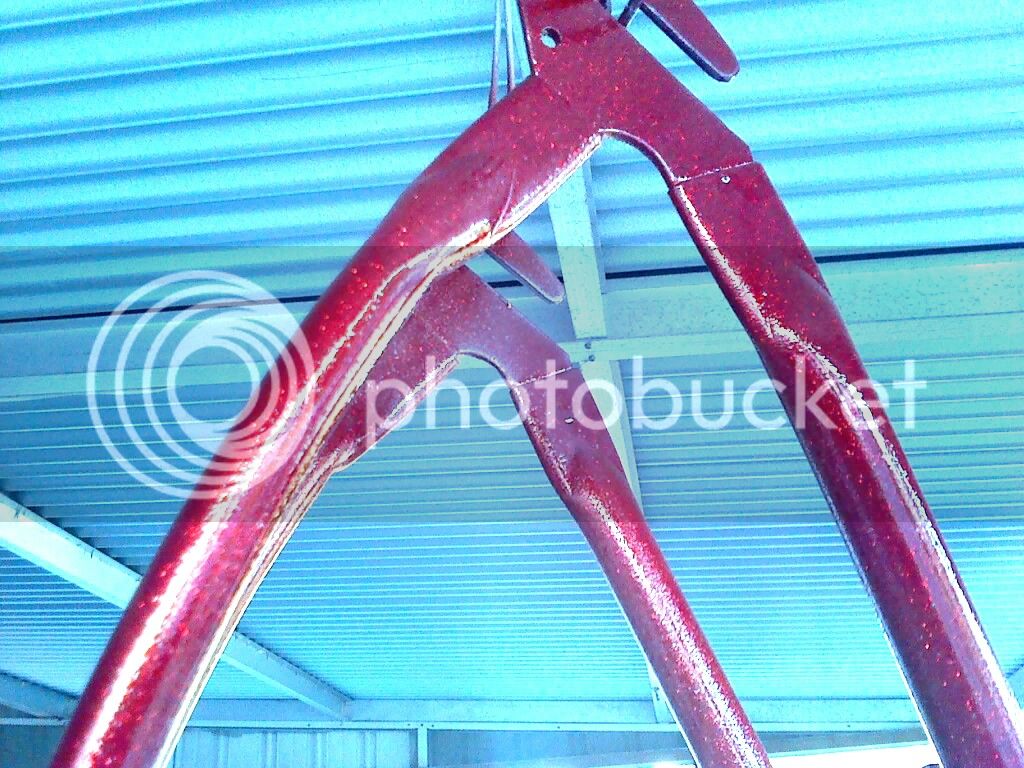


Wonderful paint job!!!
- Joined
- Aug 3, 2010
- Messages
- 12,545
- Reaction score
- 2,898
Nice color!
Cool paint job! Has gasser written all over it.
:shock: Nice work!
Excellent frame repair and beautiful colour.
Excellent frame repair and beautiful colour.
Back tracking a little bit. This is my son JP. He is only 9yrs old. Loves to draw and paint and now I'm giving him the opportunity to paint and build a bike for the first time in this contest. He's watched me closely before on other bikes and while building a 55 Chevy that will be his one day.. handing me tools. This is him prepping for his big highschool car project one day. Just being specific- its his bike build.
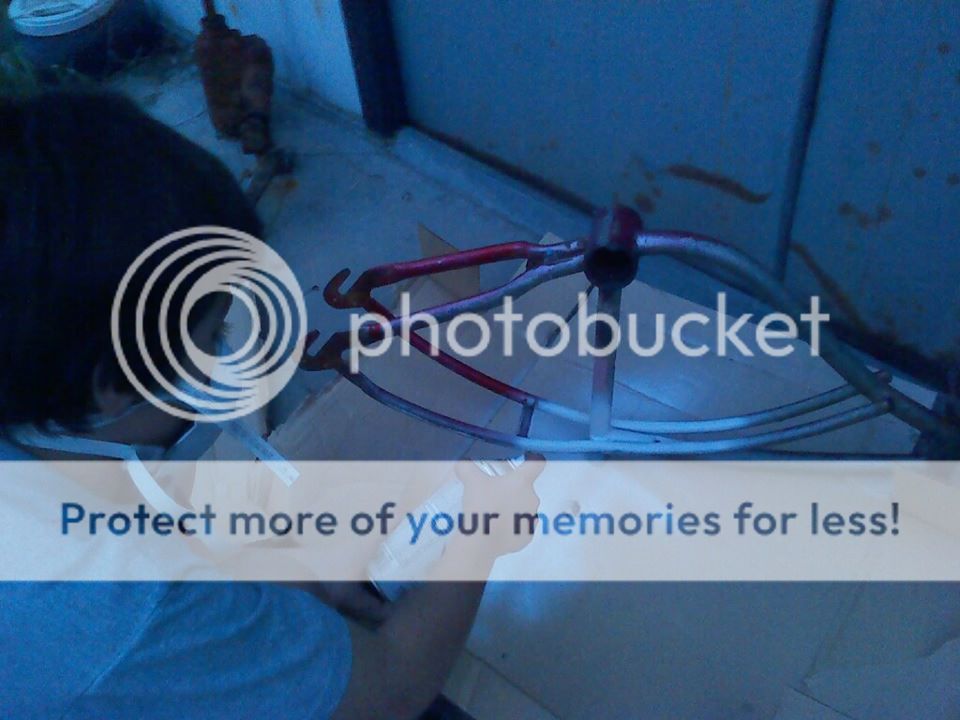
Setting him up so that he can primer the frame -finally. This is where the project was suppose to start but hey, a bent frame is a bent frame. Ebay purchase surprise. :wink:
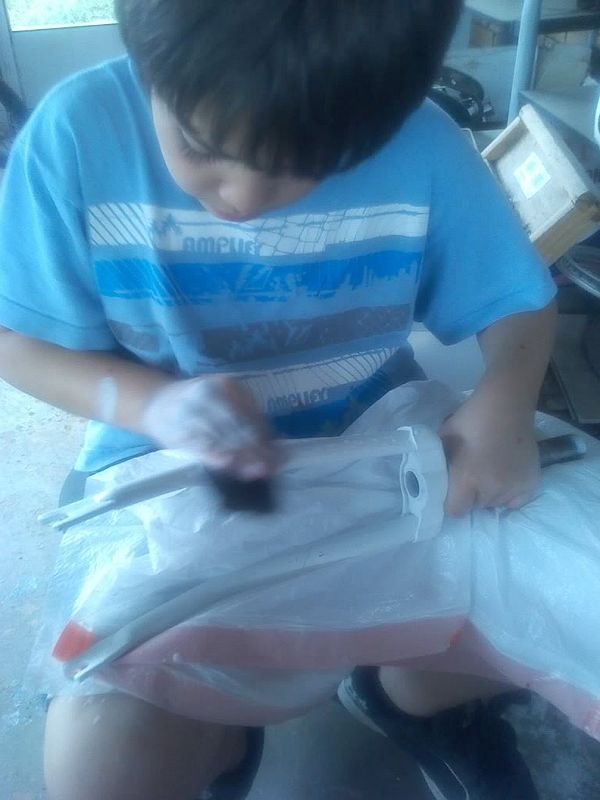
Here he is learning the wet sanding technique. He figured it out quick, the hi and lows. The best way I could explain it to him was...its like the Rocky Mountains, sand them all down even or you'll make the grand canyon in the middle and that's not what you want. :? Note: He says the sanding part is a long process and boring.
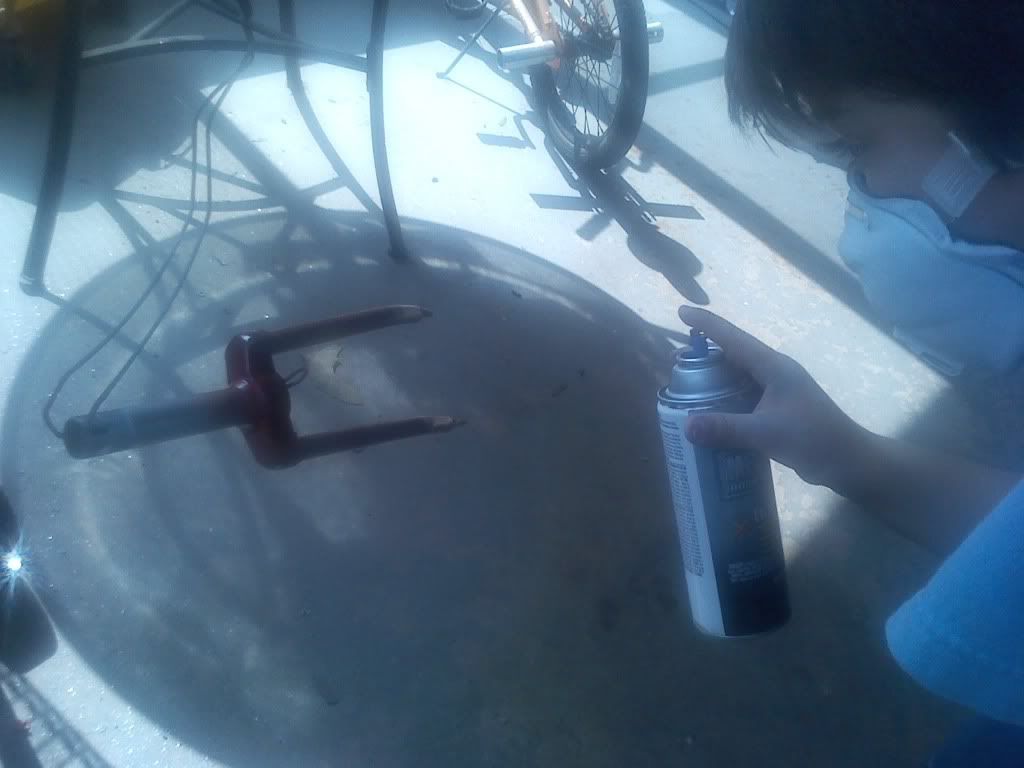
This is Josh my oldest son appling the anodized red paint. It was his first time painting worried, didn't know if he could do it but with a few trials on cardboard he got the hang of it. Especially this type of paint. He couldn't apply the flake paint coat cause his finger wasn't strong enough for the big button nozzle...he is only 9yrs old. :lol: Now that he has the hang of things he's going to apply the final coats of anodized red and clear coats and a final rub. Waiting on the frame to hardened a few days plus letting the rainy days pass.

Setting him up so that he can primer the frame -finally. This is where the project was suppose to start but hey, a bent frame is a bent frame. Ebay purchase surprise. :wink:

Here he is learning the wet sanding technique. He figured it out quick, the hi and lows. The best way I could explain it to him was...its like the Rocky Mountains, sand them all down even or you'll make the grand canyon in the middle and that's not what you want. :? Note: He says the sanding part is a long process and boring.

This is Josh my oldest son appling the anodized red paint. It was his first time painting worried, didn't know if he could do it but with a few trials on cardboard he got the hang of it. Especially this type of paint. He couldn't apply the flake paint coat cause his finger wasn't strong enough for the big button nozzle...he is only 9yrs old. :lol: Now that he has the hang of things he's going to apply the final coats of anodized red and clear coats and a final rub. Waiting on the frame to hardened a few days plus letting the rainy days pass.


