- Joined
- Jul 30, 2013
- Messages
- 1,960
- Reaction score
- 2,753
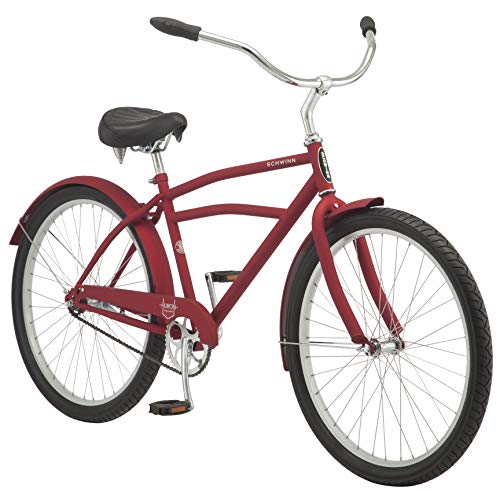
This was a build I originally slated for the WBO in 2018, but I never got past removing the saddle...how embarrassing. Anywho...the bike has been sitting in the queue for five years, awaiting another chance to shine. Same plan as the last attempt--cosmetics, with a few subtle updates. A warning in advance: I'm still not so great with the journal-writing.