dude your a grinding animal! you shoudl ask for an air tank for x-mas - it opens whole new world of power air tools. DIG the forks, very cool, hope you get them to work! Like the way it looks so far - liek the black apes best too... - maybe rename your bike "Eddie" Munster, or Eddie Gangsta istead of Frank!. - he he... KILLER BIKE! -
You are using an out of date browser. It may not display this or other websites correctly.
You should upgrade or use an alternative browser.
You should upgrade or use an alternative browser.
Frank N. Stine - updated pics 7-2-08
- Thread starter fast eddie
- Start date


Help Support Rat Rod Bikes Bicycle Forum:
This site may earn a commission from merchant affiliate
links, including eBay, Amazon, and others.
Shes coming along good, U need B I G G E R Ape hangers!!
Looks good though love the springer front end, :mrgreen: Cant wait to see the finished product.
Looks good though love the springer front end, :mrgreen: Cant wait to see the finished product.
major surgery on Frank N. Stine
All of the pics so far, and the pics to come have been taken by my crack team of mad scientist assistants, thus far they choose to remain anonymous, but you will meet them all before the end of the build!
tonight it was time for major surgery on Frank. i needed to remove about half an inch from the bottom of the head tube. i chose to cut away from the bottom because it extended a little further passed the down tube than the top of the head tube went passed the top tube....plus i figured i could hide mistakes better on Frank's underside than his topside! i have never done this before and i had to do alot of thinking before i went ahead with it. if i screw it up and ruin the frame i would have wasted all the time i have in this project so far. deeeeep inhale, here goes!
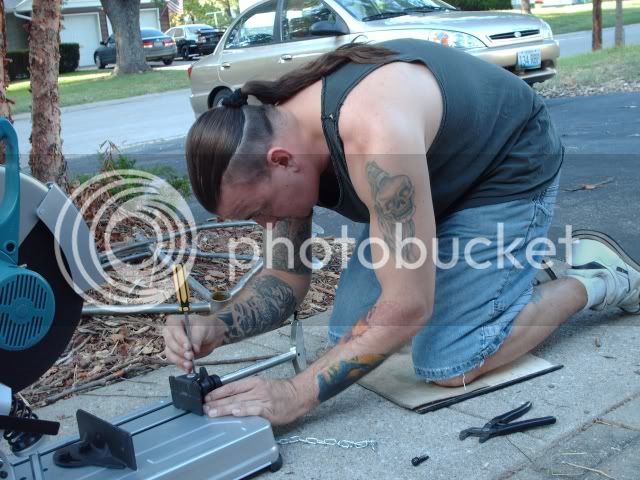
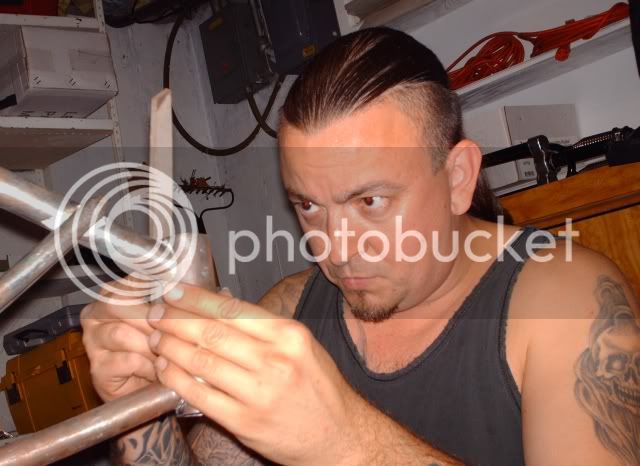
first i measure many many times.....

than i carefully draw my cut line...

i had no idea how to get a good cut line drawn around a round tube so i went through my work shop looking for ideas, then i saw something....to make sure the cut line was straight, and an even distance from the bottom of the head tube all the way around i used a hose clamp as a guide. it was almost exactly half an inch tall and once it was lined up and tightened it made the perfect line guide... im sure ill use this technique again sometime.

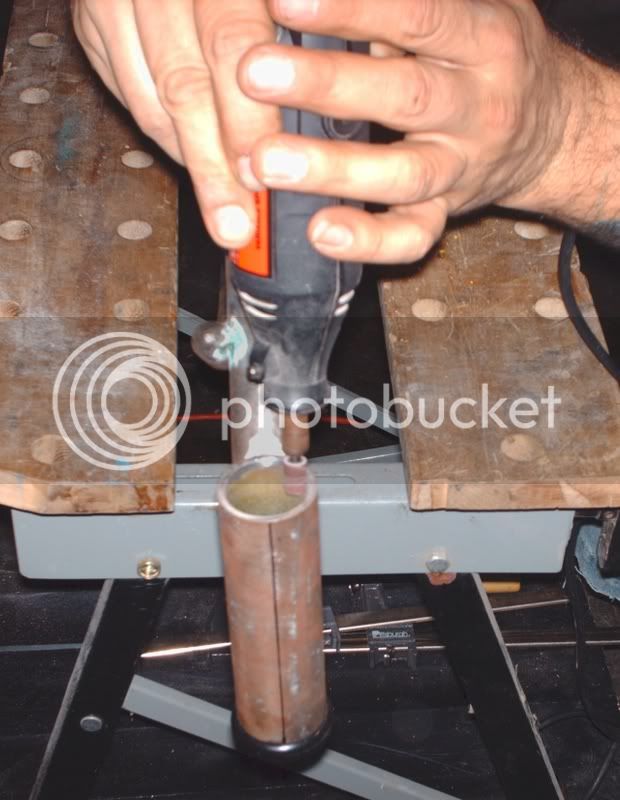
enter one of my favorite tools!!!!

i had to take part of the clamp assembly off of the cut of wheel table to get the frame on it
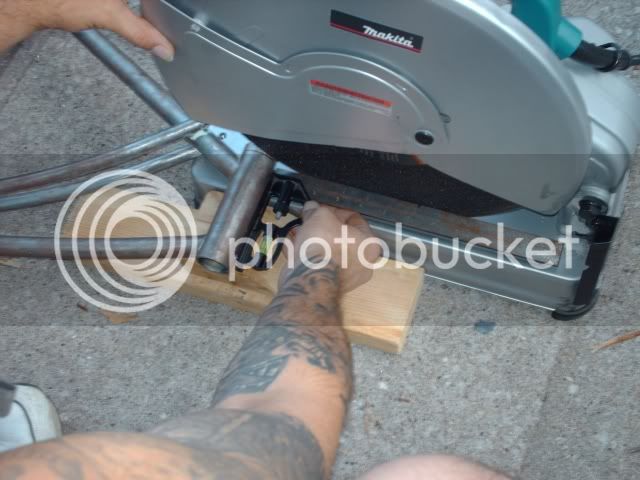
measure many times, cut once!!! i used a square to make sure the head tube was at a 90 degree angle to the cutting wheel, accuracy accuracy accuracy!!!
WHEW!!! all this work for ONE cut!!!

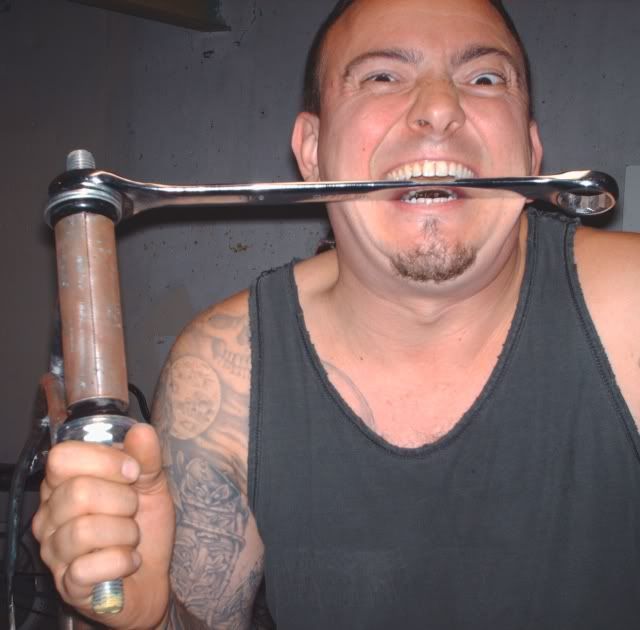
aaahhh, the human clamp! this frame isn't goin anywhere while its getting cut!!!

crap!!! it didnt quite go all the way through, i couldn't go any further or the cutting wheel would have started cutting into the top tube.
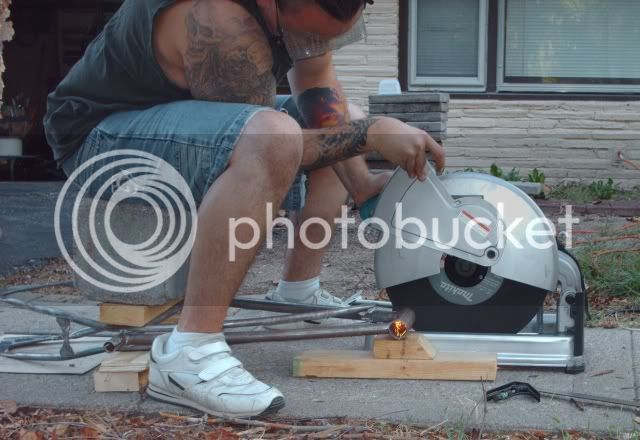
i had to turn the frame over to cut the rest of the way through, took forever to make sure it was square and everything again. i had to line up the blade JUST RIGHT to make sure the cut was smooth.
WHEW!!! all this work for 2 cuts now!!!
and now, filing with focus and determination!!!
aaahhh!!! so smooth ya could eat off it! after i used a few different metal files i used some 400 grit sandpaper, then an old leather belt. turned out nice, im kinda proud even though its just a cut through a metal tube.

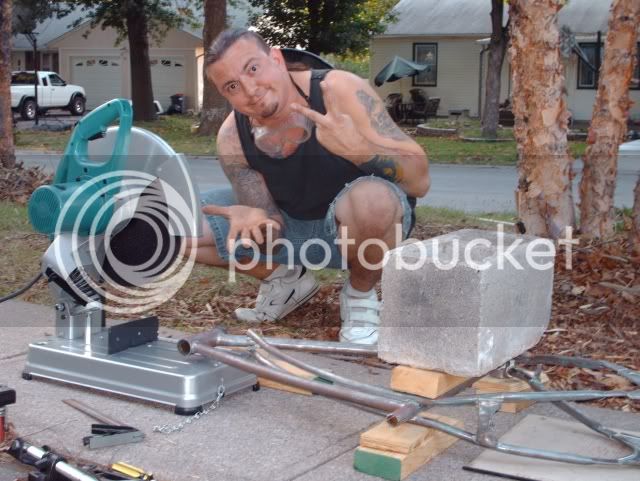
in my hand is the peice i cut off. this is also how the head tube looked before i filed/sanded/leather strapped it.

well now wait a minute....what am i doing here?????

whatever could these lines be for????


you'll just have to wait and see!!!!!!!!!!!!!!!!!!!!!!!!!!!
fast eddie outty
All of the pics so far, and the pics to come have been taken by my crack team of mad scientist assistants, thus far they choose to remain anonymous, but you will meet them all before the end of the build!
tonight it was time for major surgery on Frank. i needed to remove about half an inch from the bottom of the head tube. i chose to cut away from the bottom because it extended a little further passed the down tube than the top of the head tube went passed the top tube....plus i figured i could hide mistakes better on Frank's underside than his topside! i have never done this before and i had to do alot of thinking before i went ahead with it. if i screw it up and ruin the frame i would have wasted all the time i have in this project so far. deeeeep inhale, here goes!
first i measure many many times.....
than i carefully draw my cut line...
i had no idea how to get a good cut line drawn around a round tube so i went through my work shop looking for ideas, then i saw something....to make sure the cut line was straight, and an even distance from the bottom of the head tube all the way around i used a hose clamp as a guide. it was almost exactly half an inch tall and once it was lined up and tightened it made the perfect line guide... im sure ill use this technique again sometime.
enter one of my favorite tools!!!!
i had to take part of the clamp assembly off of the cut of wheel table to get the frame on it
measure many times, cut once!!! i used a square to make sure the head tube was at a 90 degree angle to the cutting wheel, accuracy accuracy accuracy!!!
WHEW!!! all this work for ONE cut!!!
aaahhh, the human clamp! this frame isn't goin anywhere while its getting cut!!!
crap!!! it didnt quite go all the way through, i couldn't go any further or the cutting wheel would have started cutting into the top tube.
i had to turn the frame over to cut the rest of the way through, took forever to make sure it was square and everything again. i had to line up the blade JUST RIGHT to make sure the cut was smooth.
WHEW!!! all this work for 2 cuts now!!!
and now, filing with focus and determination!!!
aaahhh!!! so smooth ya could eat off it! after i used a few different metal files i used some 400 grit sandpaper, then an old leather belt. turned out nice, im kinda proud even though its just a cut through a metal tube.
in my hand is the peice i cut off. this is also how the head tube looked before i filed/sanded/leather strapped it.
well now wait a minute....what am i doing here?????
whatever could these lines be for????
you'll just have to wait and see!!!!!!!!!!!!!!!!!!!!!!!!!!!
fast eddie outty
CCR
Mouth-Breather
Awesome documentation Fast Eddie !!! Its like one of those blue 3D viewmasters and ive lost the last slide-disc !!!

nice work on cleanin the tube up too man, mine woulda came out much uglier. :wink:
nice work on cleanin the tube up too man, mine woulda came out much uglier. :wink:


$19.99
Electra Glide Wall Decal 2ft Long Sport Harley Davidson Bike Motorcylce Sticker Man Cave Garage Boys Room Decor
FatCat Wall Graphics


$24.99
Top Brass Bicycle/Motorcycle Chain Picture Frame 5" X 7" Photo - Faux Bike Chain
Old River Outdoors (USA Merchant)


$19.99
Old River Outdoors Bicycle/Motorcycle Chain Picture Frame 4" X 6" Photo - Faux Bike Chain
Old River Outdoors (USA Merchant)


$34.99
Bicycle/Motorcycle Chain Picture Frame 8" X 10" Photo - Faux Bike Chain Vertical or Horizontal Table Top Display
Old River Outdoors (USA Merchant)


very cool - love that fame, one of my favorites. GREAT JOB! Your neighbors must think your nuts! OK, what up w/the lines!?
CCR said:Awesome documentation Fast Eddie !!! Its like one of those blue 3D viewmasters and ive lost the last slide-disc !!!
:
I was thinkin more like a comic strip. Great pics and fun to read
the lines.....are for.......ohhh should i tell!!!???!!! ok here it is...
im gonna paint the fork steer tube to match some other parts of the frame, then im gonna drill a few small holes int he head tube so ya can see the steer tube moving through the holes. since this bike wont be getting rode too often i figure i can get away with it. im planning to do the same thing with the seat post and frame seat tube except that tube will be chrome or just metal, should look trick! another low budget rat rod mod!!!
hey, is that a frame modification that would disqualify the bike? i should ask that before i do it i suppose.
fast eddie outty
last night at around 10 i decided to cut off some of my seat post and do some mock up, i ended being up till 1:30 am!!! sheeeeesh! at the end of the session i found that my 3" rear tire wont fit into the frame, and my front wheel wont fit into the fork...shhheeeeesh!!!! this after already paid for a tire and tube for the front wheel, i got in a hurry and didnt check it before i bought the tire/tube.. but alas..im sure it will get used on a different project.
this is the "before" shot of the seat post, you can see where i extended the existing cuts, using the existing cuts as a guide.

i did a sloppy job with the hacksaw so i cleaned it up a bit

enter the hacksaw!!!

i had to use different bearing cups cuz the originals were too "boogered up." the bottom one didnt want to go in no matter which cup i used so i had to remove some material from the inside of the head tube. getting this beast to go in is why my session took so long!!! but patience prevailed!
this is my home-made bearing cup "press." its a section of threaded rod with large washers (washer size used depends on size of cup" and a few nuts. putting it on and tightening the nuts presses the cups into place, usually works like a charm.

here it is in use..

then just turn the nuts...
this is where the front is after my latenight - early morning session. much love to my freind dawn (one of my mad scientists) for helping so much. i am often in need of a second set of hands and her and the other mad scietists help me alot!!! i took a bracket off of an excercise bike, the bracket held up the "console" that had the speedometer, timer, and tension adjuster on it. a hole in the middle went round the steer tube, and it had two other holes and those are where those 2 lil red lights are mounted. cool huh? now that im lookin at it i think ill switch the black mini apes to chrome mini apes that are on a different bike, that'll save me a ton of work painting those black ones....and chrome is always cool!

she's comin along!!! theres a swapmeet at peddlers next weekend so who knows what else ill find!!!
fast eddie outty
this is the "before" shot of the seat post, you can see where i extended the existing cuts, using the existing cuts as a guide.
i did a sloppy job with the hacksaw so i cleaned it up a bit
enter the hacksaw!!!
i had to use different bearing cups cuz the originals were too "boogered up." the bottom one didnt want to go in no matter which cup i used so i had to remove some material from the inside of the head tube. getting this beast to go in is why my session took so long!!! but patience prevailed!
this is my home-made bearing cup "press." its a section of threaded rod with large washers (washer size used depends on size of cup" and a few nuts. putting it on and tightening the nuts presses the cups into place, usually works like a charm.
here it is in use..
then just turn the nuts...
this is where the front is after my latenight - early morning session. much love to my freind dawn (one of my mad scientists) for helping so much. i am often in need of a second set of hands and her and the other mad scietists help me alot!!! i took a bracket off of an excercise bike, the bracket held up the "console" that had the speedometer, timer, and tension adjuster on it. a hole in the middle went round the steer tube, and it had two other holes and those are where those 2 lil red lights are mounted. cool huh? now that im lookin at it i think ill switch the black mini apes to chrome mini apes that are on a different bike, that'll save me a ton of work painting those black ones....and chrome is always cool!
she's comin along!!! theres a swapmeet at peddlers next weekend so who knows what else ill find!!!
fast eddie outty
sweet lookin' front end! thanks for update - lookin' great -T.
")
hey eddie (and others) - you said you went over the cut/fled neck part woth aleatehr strap - I have never heard of this - what's it do? just smooth it out more?
the leather strap thing is a way to keep a shaving blade sharp, so i figured id give it a go cleaning up the metal, i dont know if it actually makes a difference, but every lil bit helps i suppose!
fast eddie outty
fast eddie outty
I knew there had to be a use for that leather strap that Grandpa used to keep me in line and then passed down to me!!! Glad you found such a great use for it. You know I'm kidding. Frank has really come a long way in a short time for as busy as I know you've been. It's really looking sharp, Son. I'm proud of you. MOM