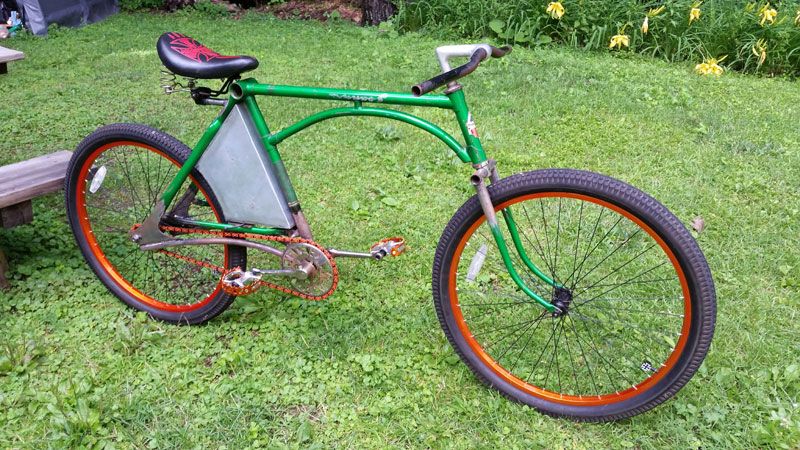
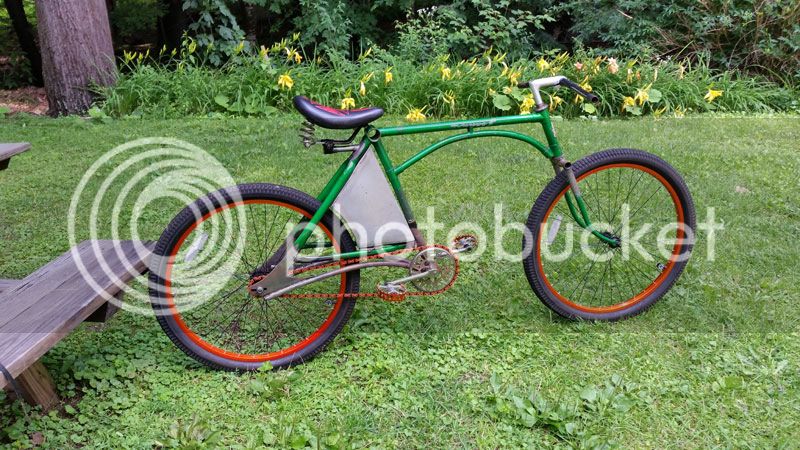
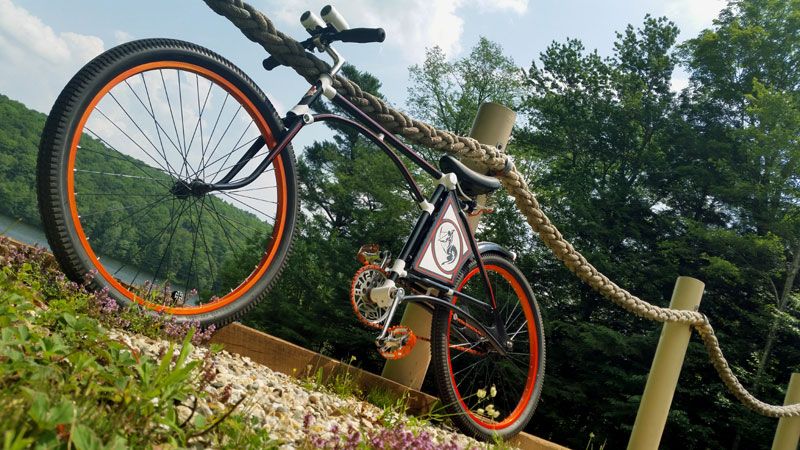
Thanks for all the replies and encouragement. This is one of the projects I've been looking forward to for a while.
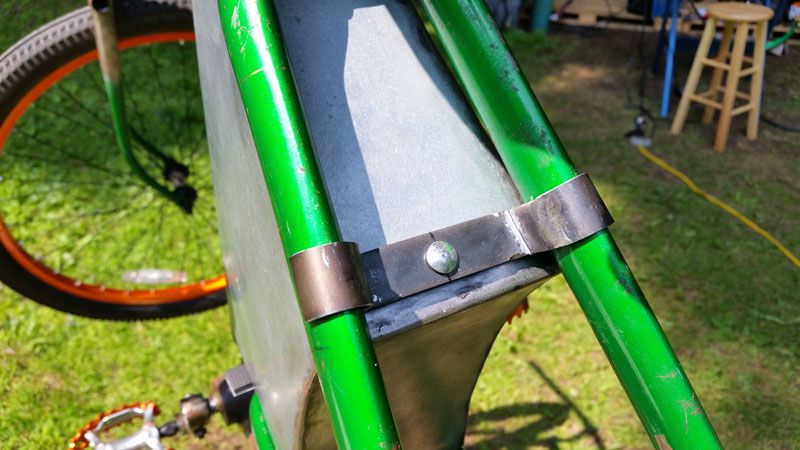
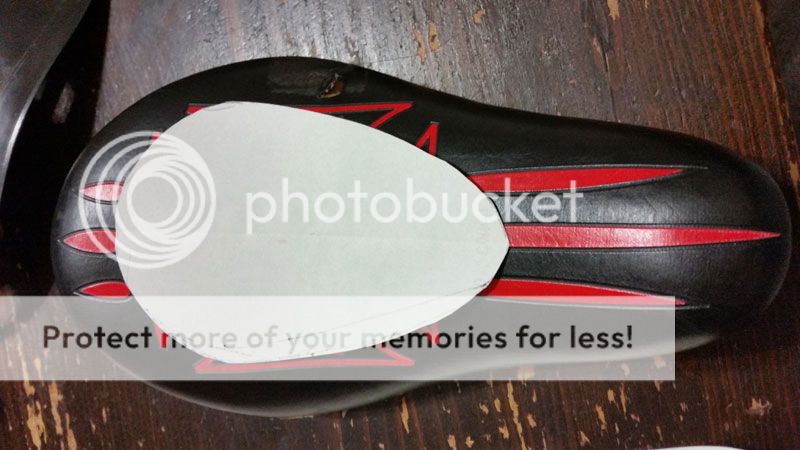
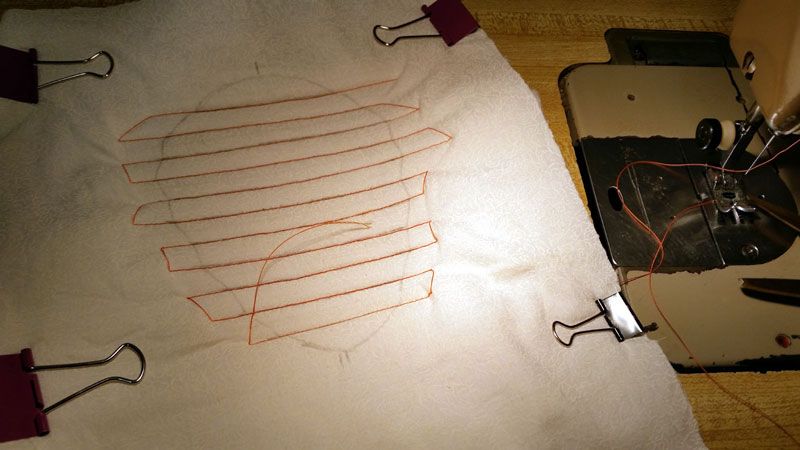
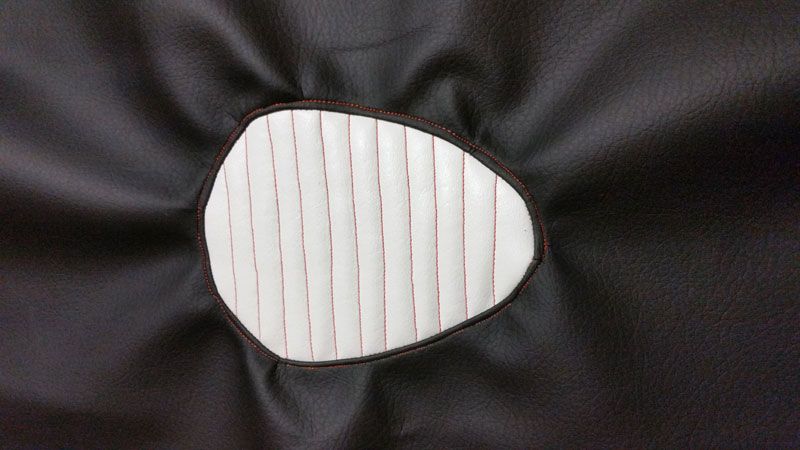
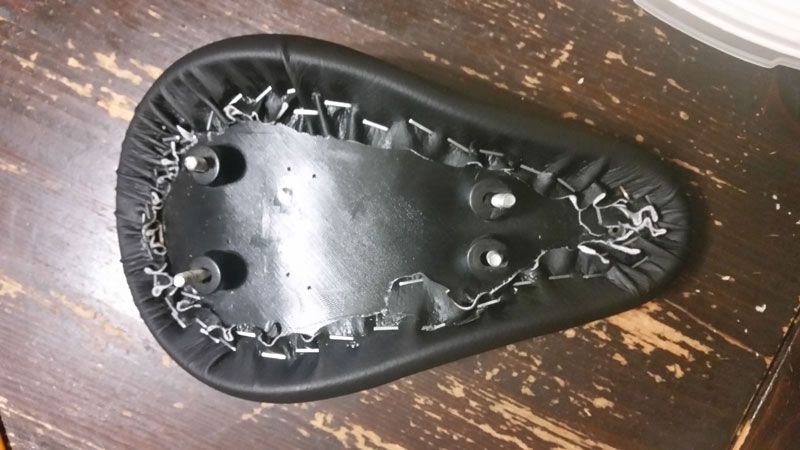
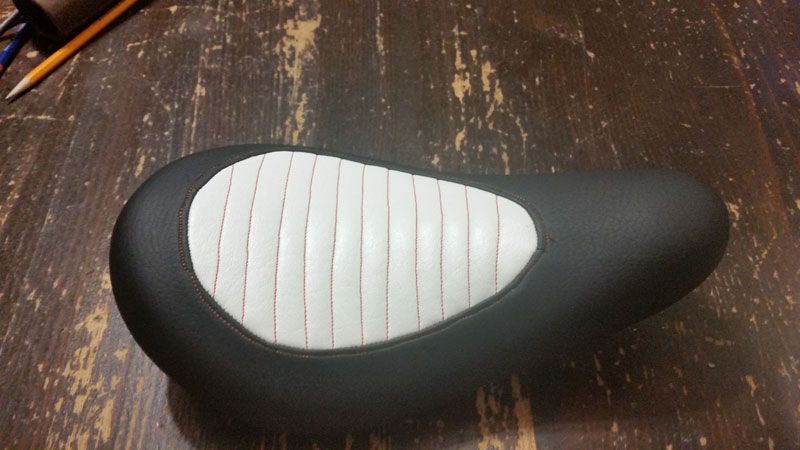
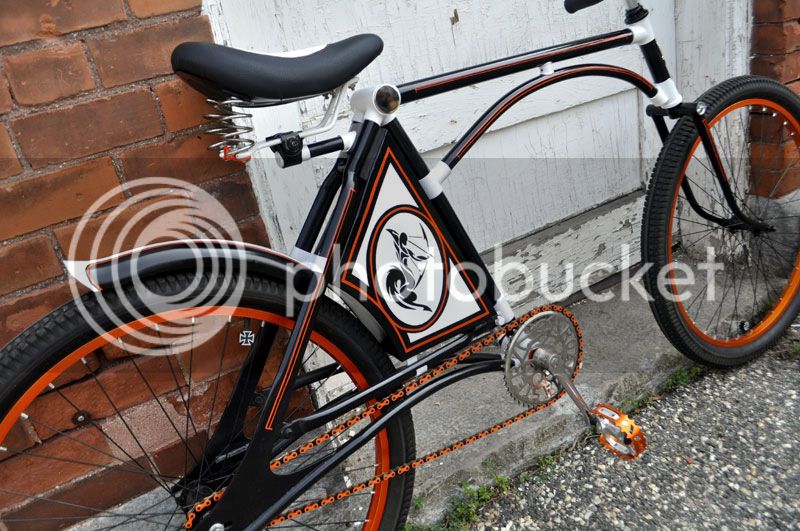
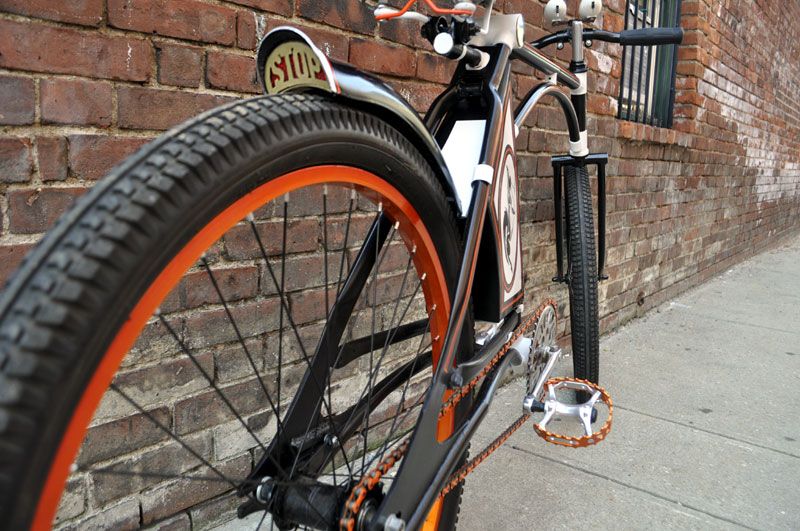
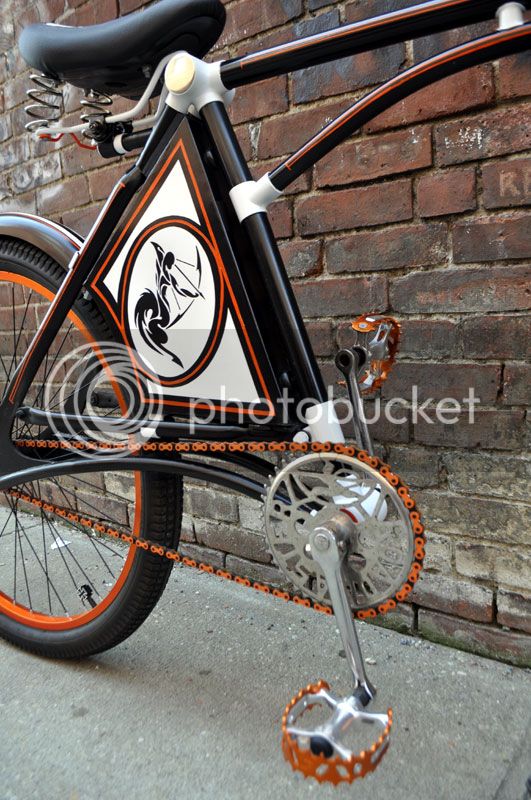
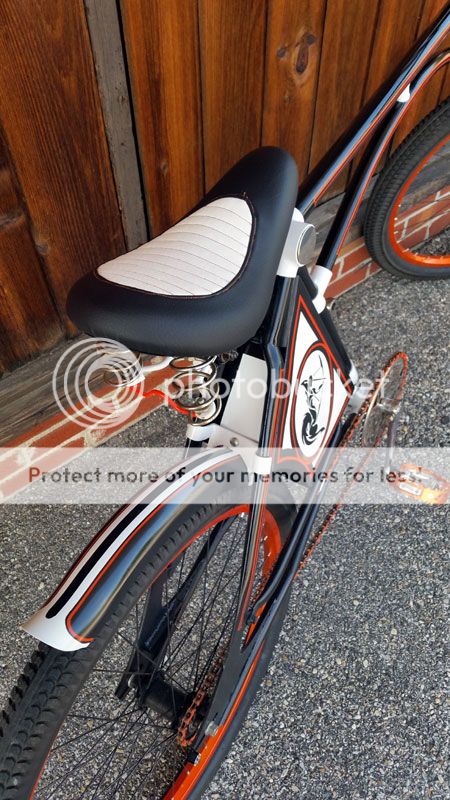
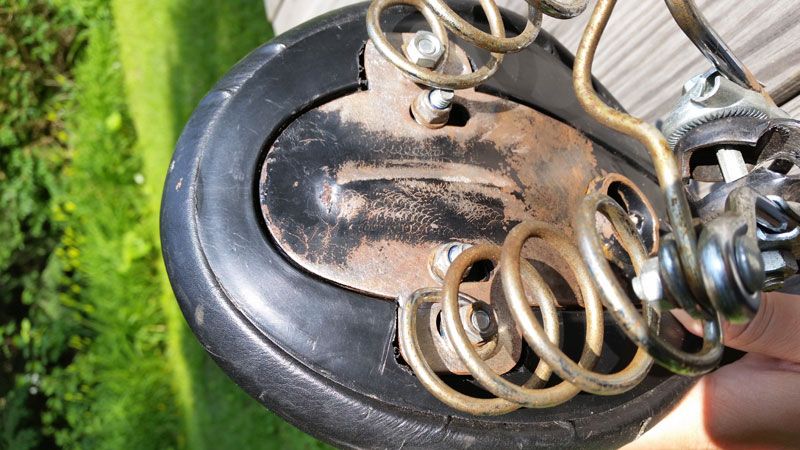
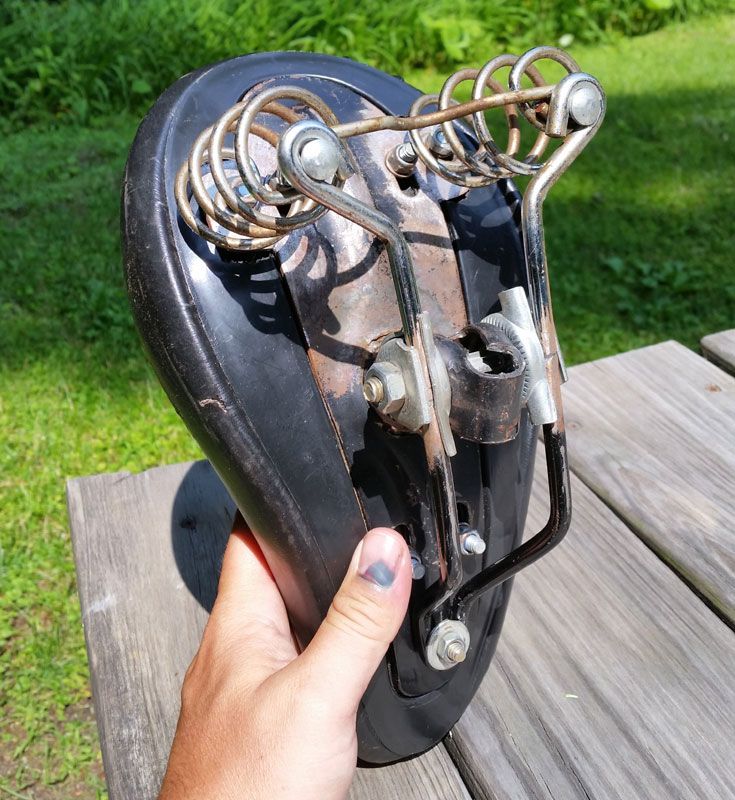
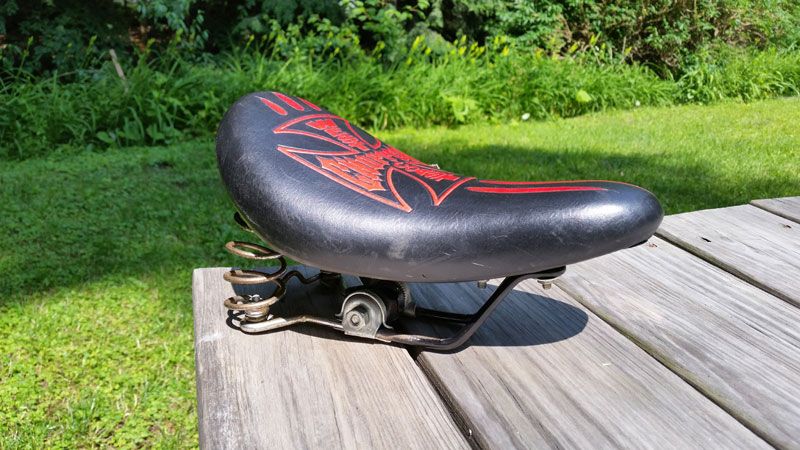
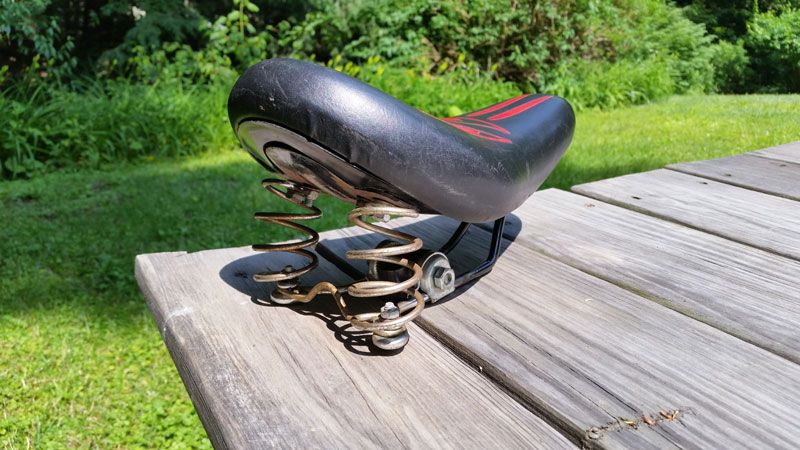
So where did I leave off last? ...Oh yeah, the seat. Like I said, I took the leftover seat from my West Coast Choppers bike, a springer undercarriage, and an extra set of rails to make a kind of springer solo seat. In order to get the right width for the springs to mount I added a couple of ears to the WCC seat support. And to get the right length to match the seat I had to lengthen the rails. I don't know where it needs to be positioned, so I haven't come up with a mount for it yet. I am going to reupholster it to match the final paint, though.
Now back to our regularly scheduled frame modifications!
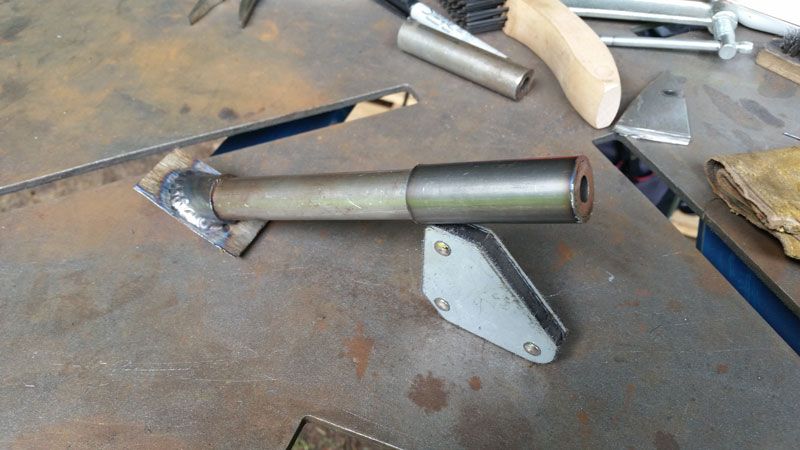
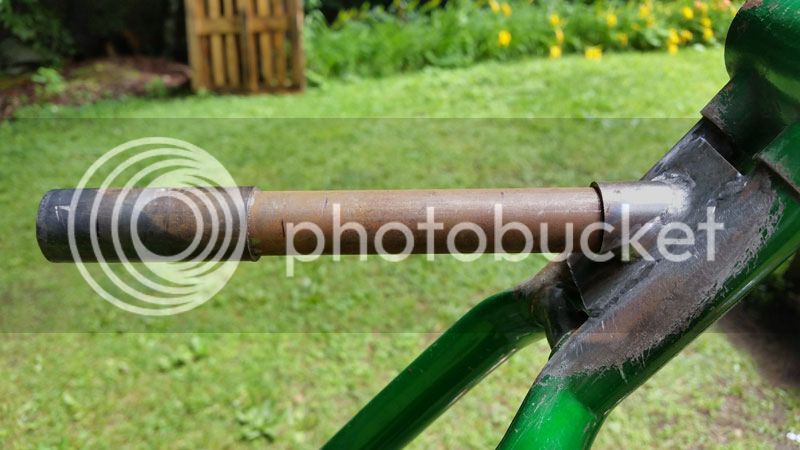
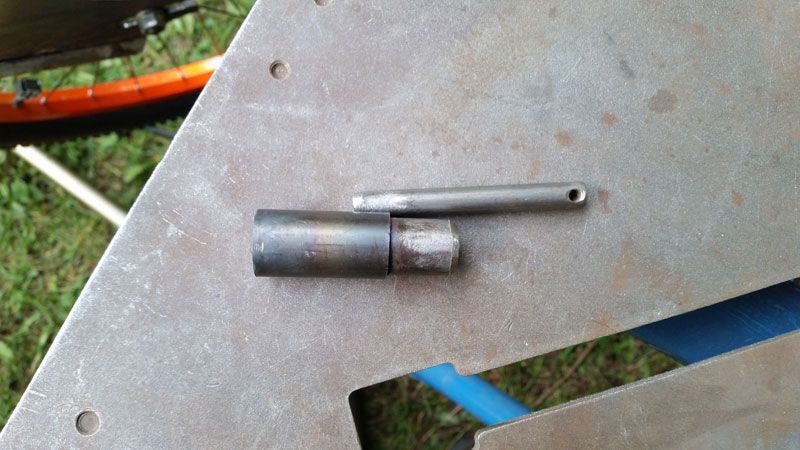
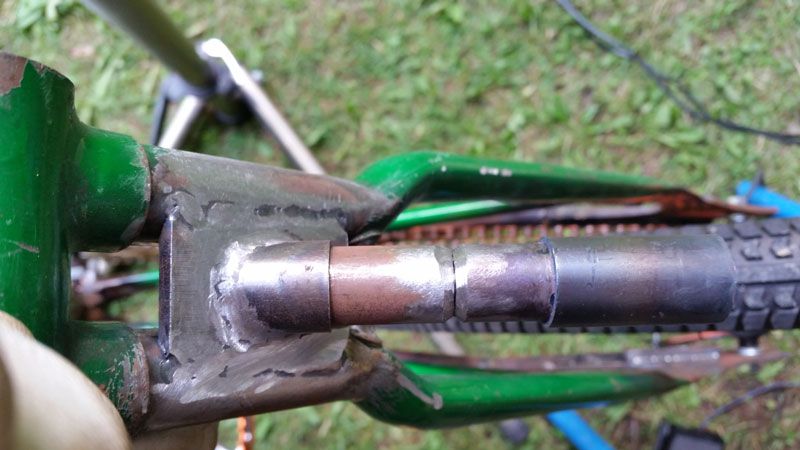
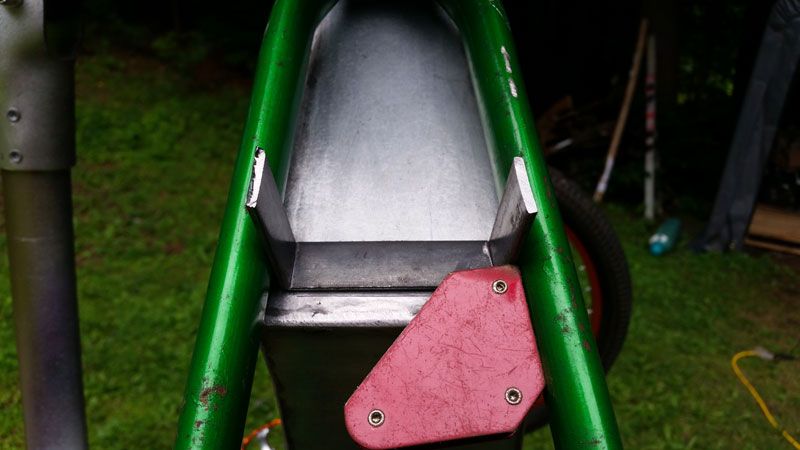
Here is the bottom bracket, frame extension, and the seat post assembly prepped for attachment.
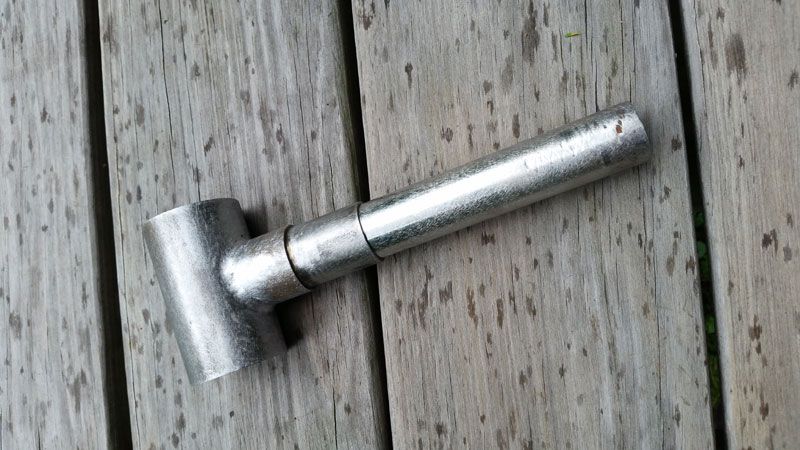
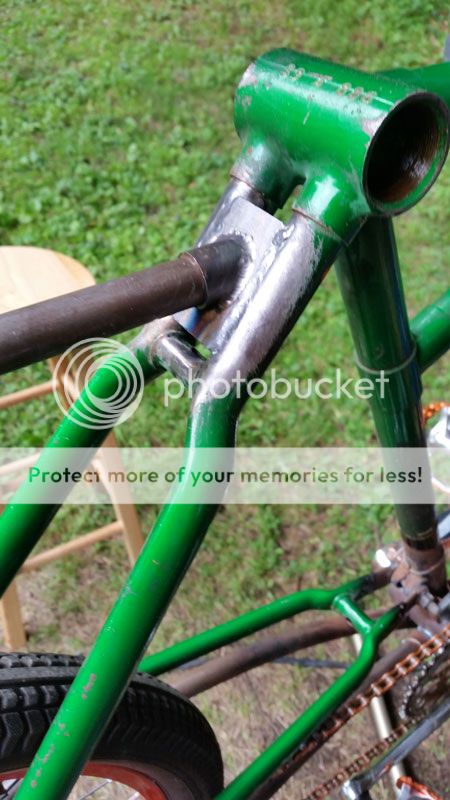
I took the Dremel and a sanding drum to take the paint/rust off the inside of the original seat post mount so that the braze would stick.
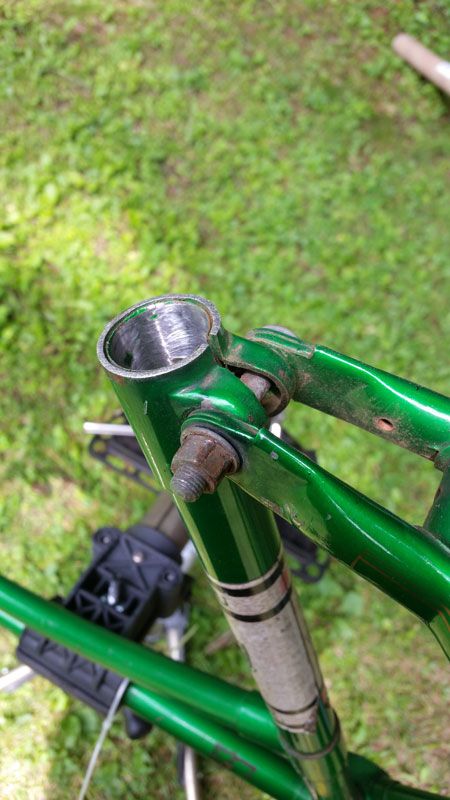
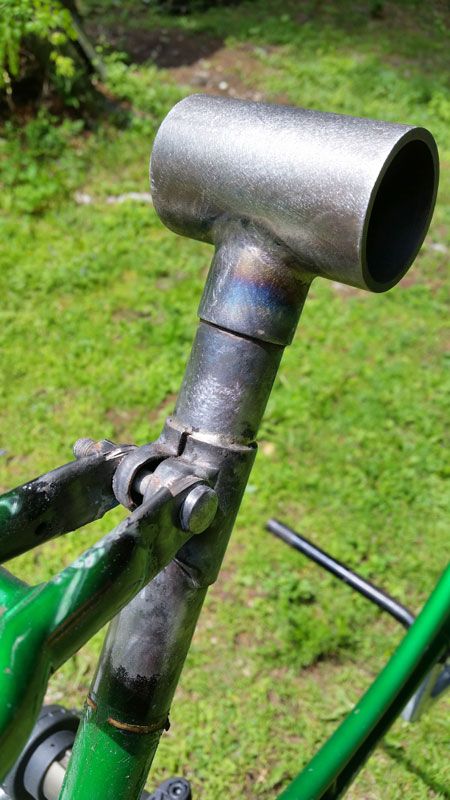
All mounted up.
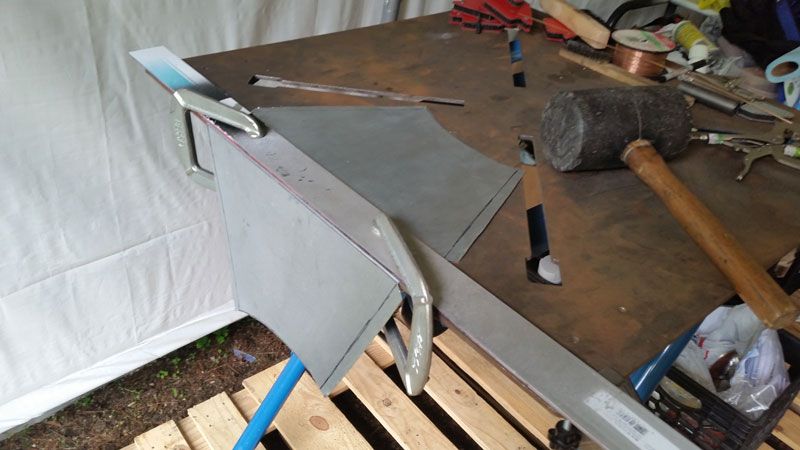
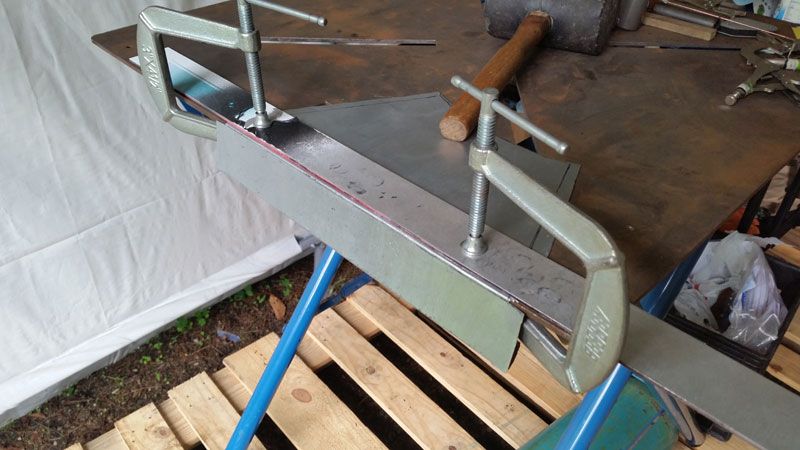
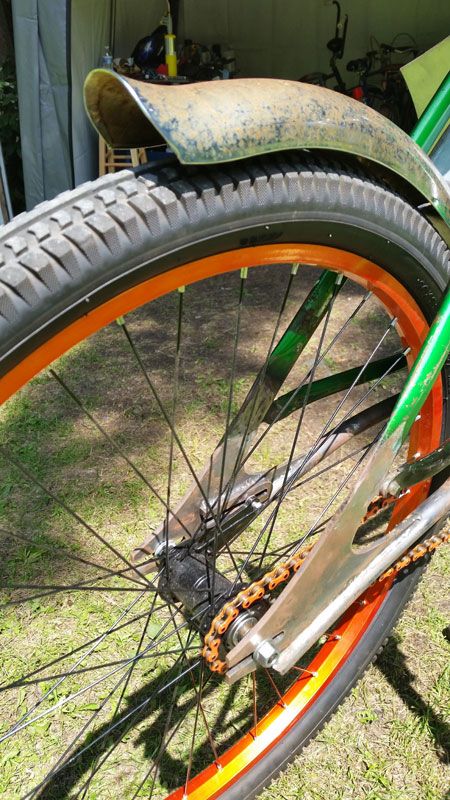
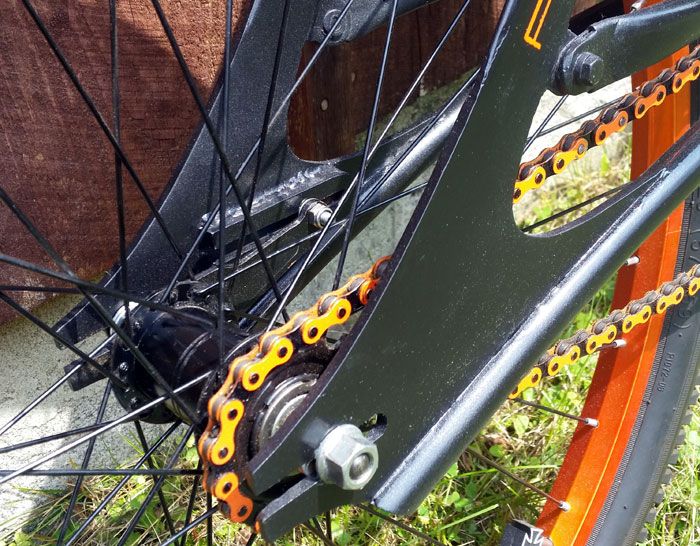
For the chainstay arches to meet at the bottom bracket I had to bend them just in front of the dropouts. Instead of heating and bending I elected to cut, bend, and weld.
Sprocket side: Measure twice, cut once.
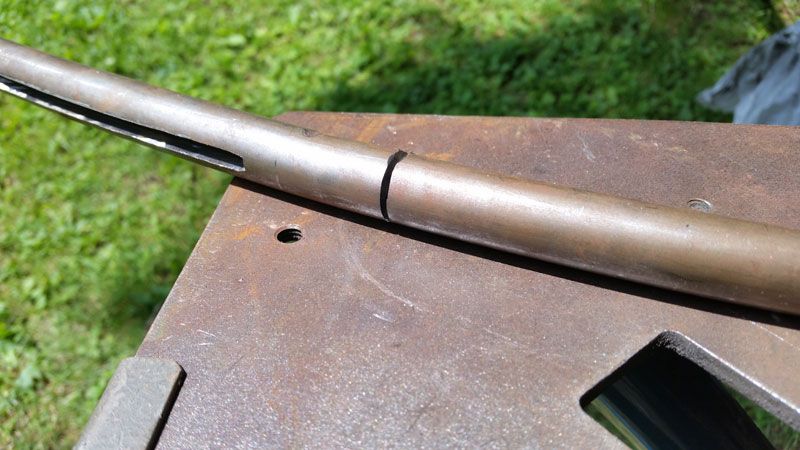
Brake side: Measure twice, cut once..... wait, something doesn't look riii..... Sunnova...mrnafrna...
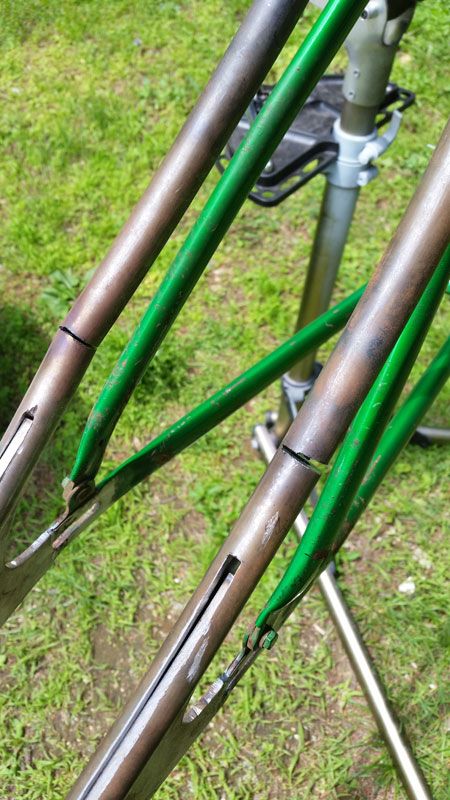
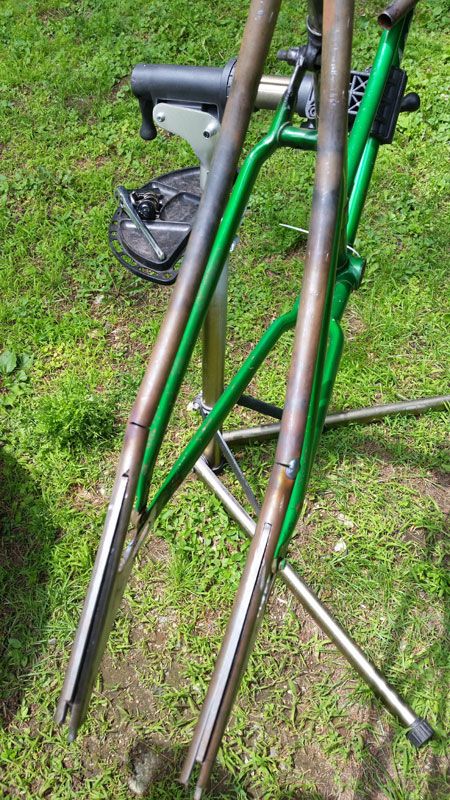
I got this! Weld the gap, cut the CORRECT side, bend, and viola!
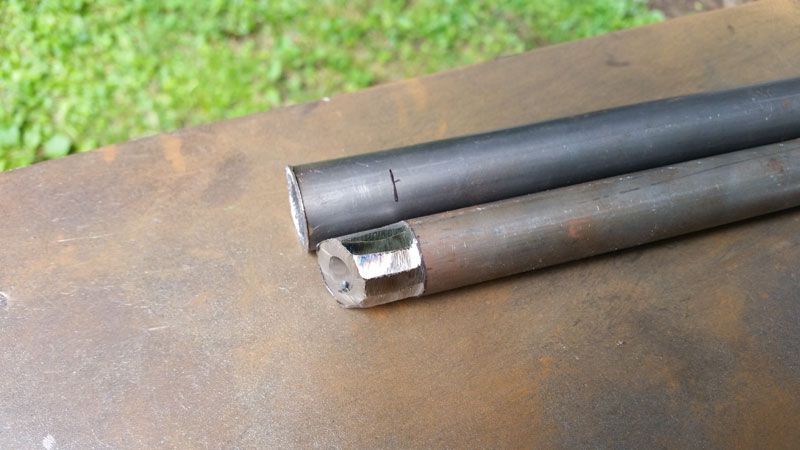
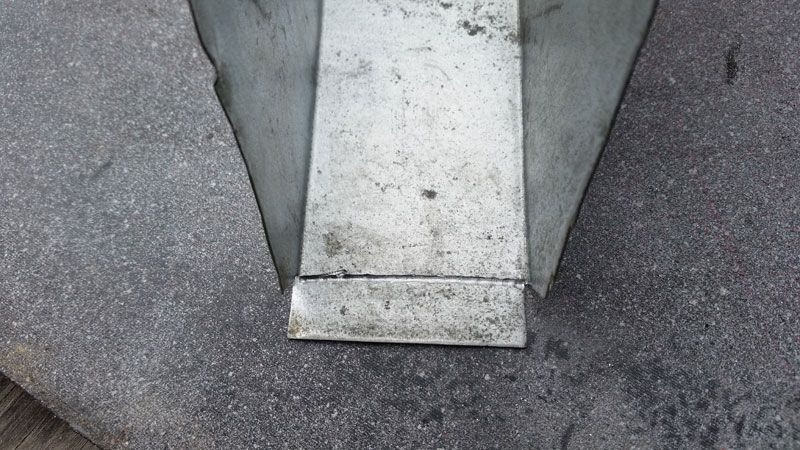
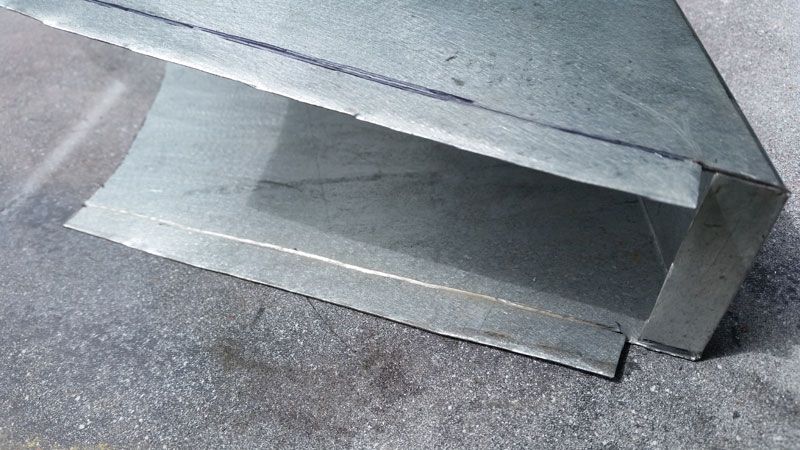
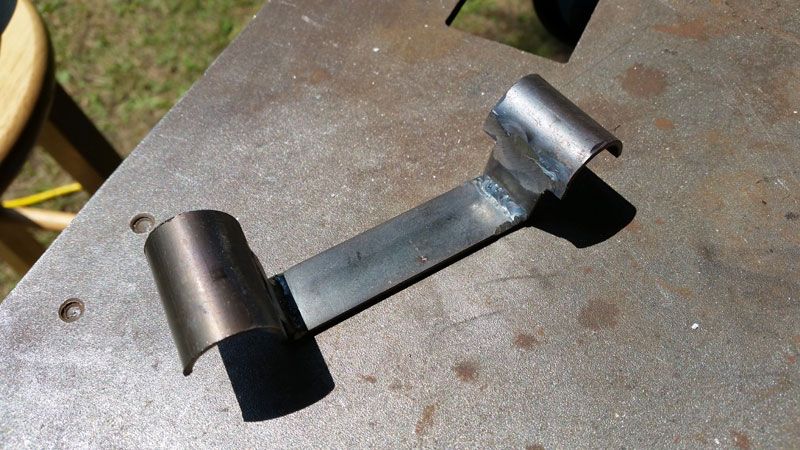
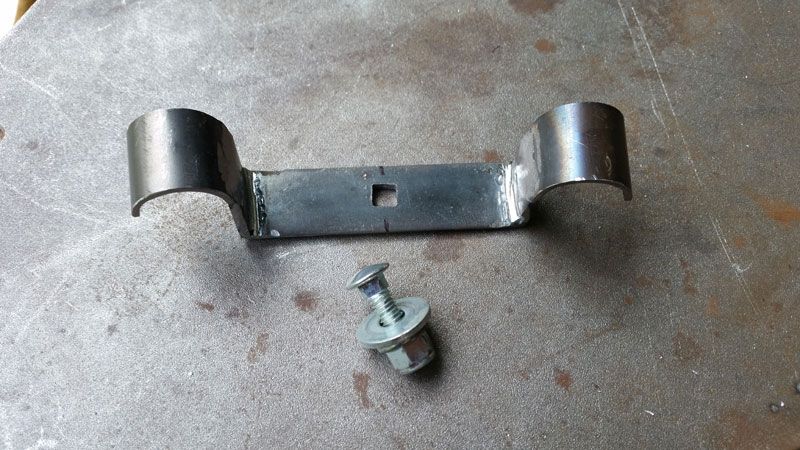
Now for the "lugs" that will be part of the BB. The tubing ID was a bit smaller than what I needed, so I ground down the arc ends to fit.
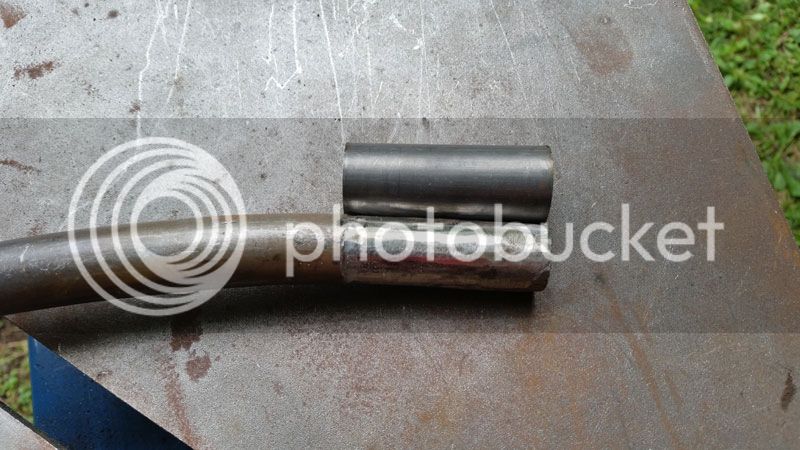
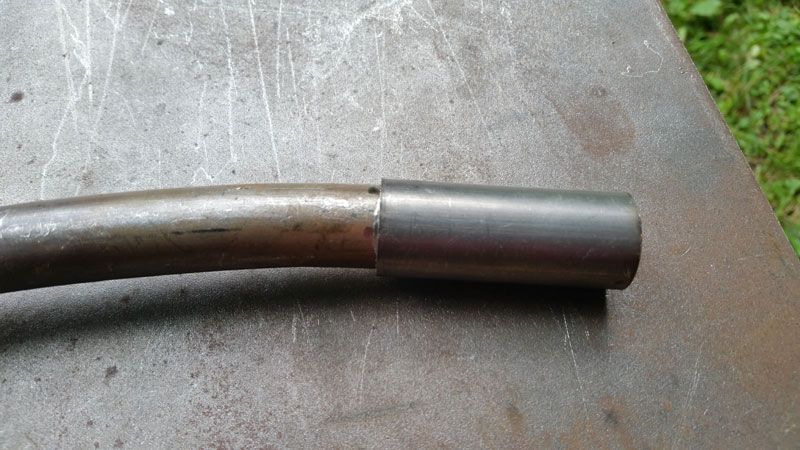
I brazed the ends on, and ground the undersides to fit the BB.
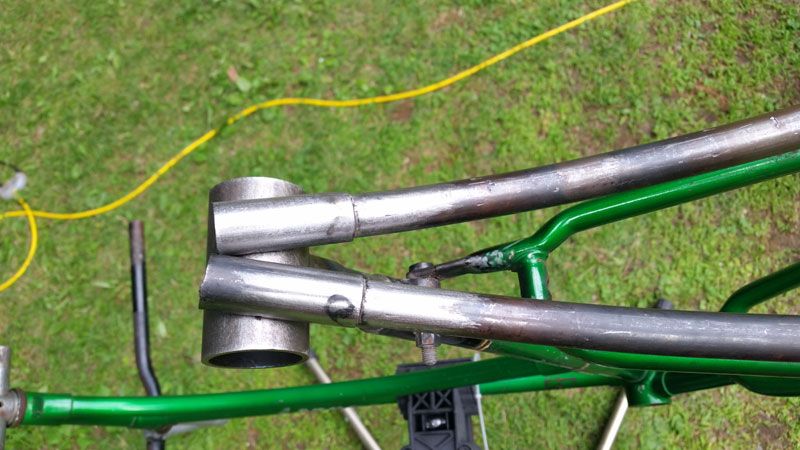
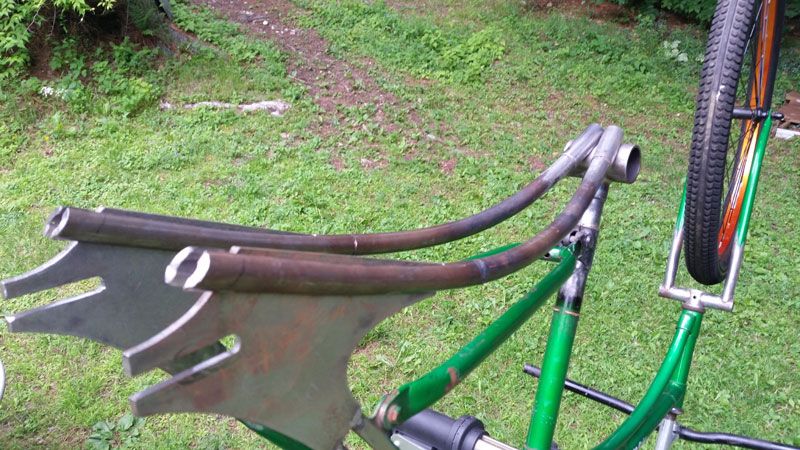
I tacked it all in place and put the drivetrain all together to check clearances. I had to splice in a piece of a second chain to get the length I needed.
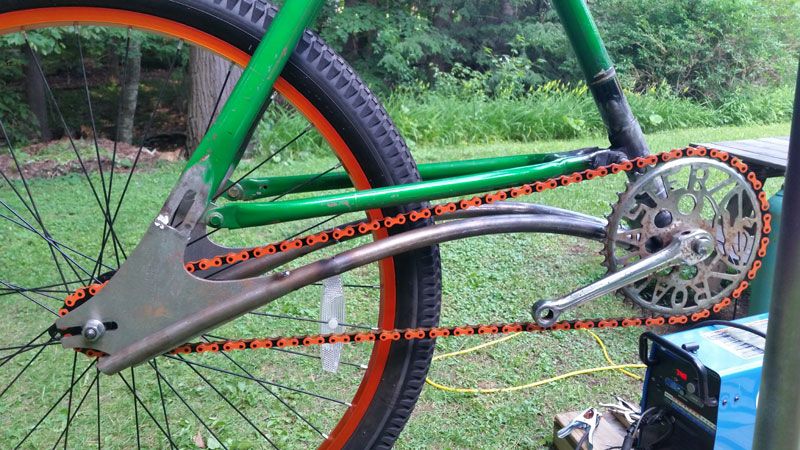
So after getting it together there were some chain clearance issues with the original frame.
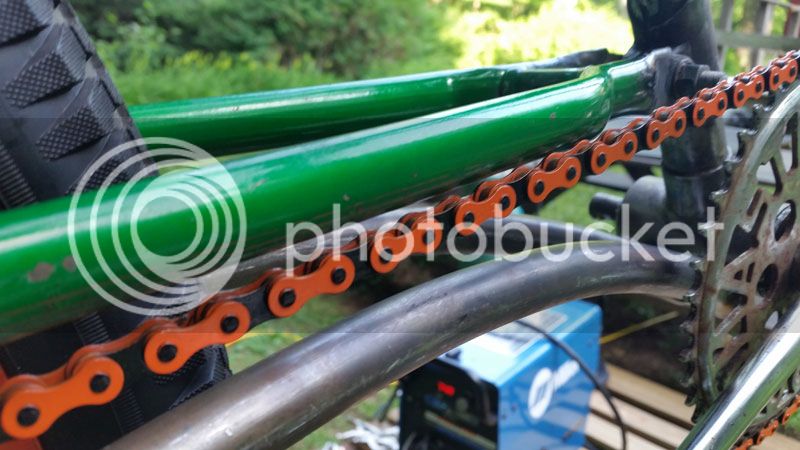
Okay, I figured I'd pull a link out of the chain, slide the wheel forward, reduce the angle, it'll be fine. I made the dropouts long so I could get away with this. Nope, that didn't do it. At this point I suspecting that g-ratter may have jinxed me. But then I noticed that the sprocket wasn't in the correct position on the spindle; it was all the way in against the frame. Once I slid it back to where it should be everything fit well. At that point I wanted the tire back to it's original position in the middle of the dropout. I went back and looked at my original picture; yep, the sprocket was out of place then as well. So I added the link back in, put the sprocket in the right place, and clearance was still good.
So now that I knew the fitment was good it was time to get things mounted permanently. I welded the lugs in knowing that they were longer than I needed.
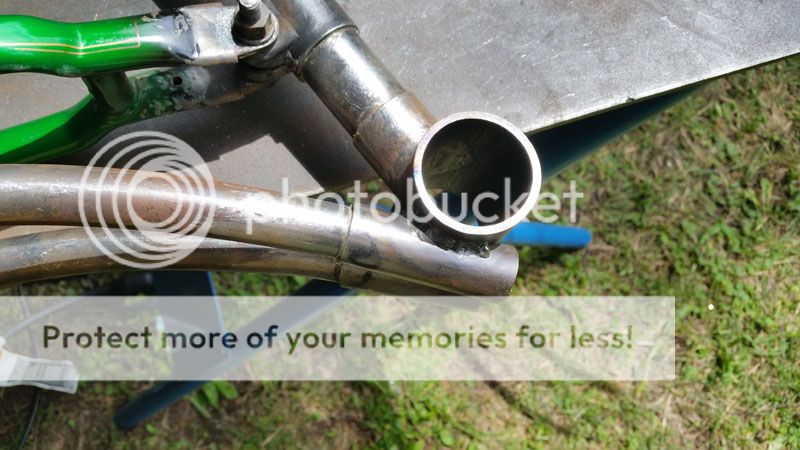
I then ground them down to match.
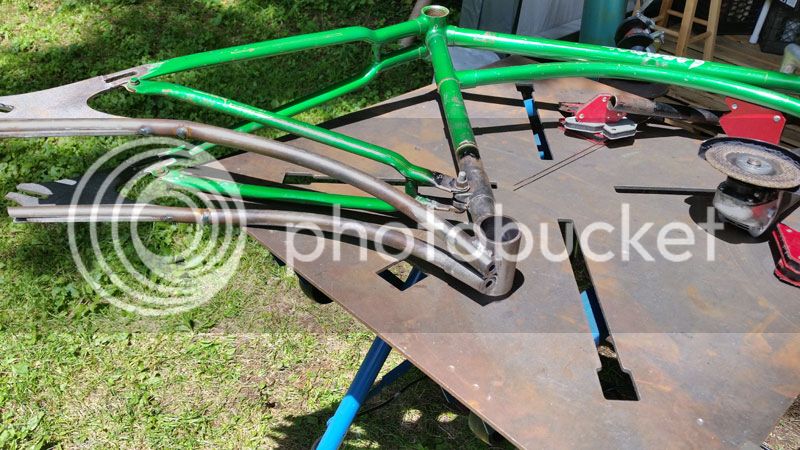
After welding the ends of the arc lugs to make caps and grinding them flush, the BB was finished. I drilled two holes in the bottom bracket case, marked the threaded shell, removed the spindle and bearings, and brazed the shell into the BB.
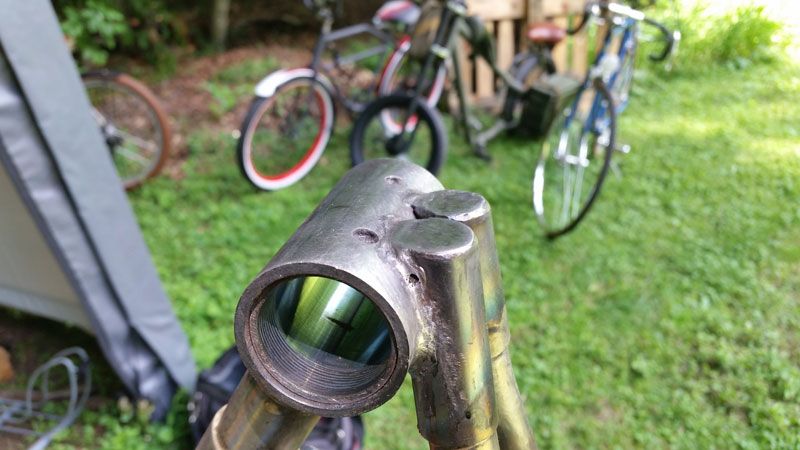
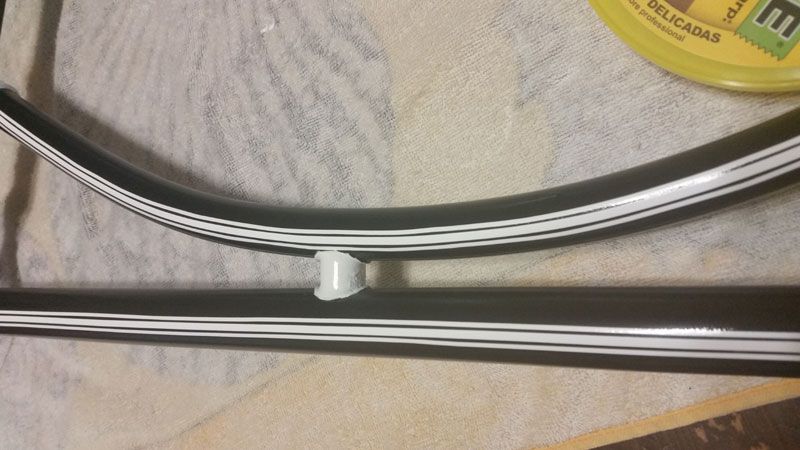
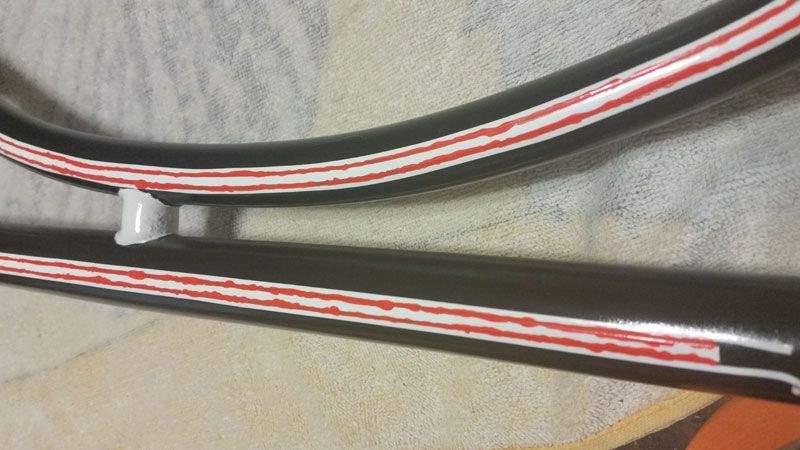
I had tacked the arcs to the dropouts when I placed them. When I went to braze them together I just couldn't put enough heat into the amount of metal that was there to get the braze to flow to my satisfaction. So I made a compromise: Weld the bottoms for strength and then braze the tops for looks.
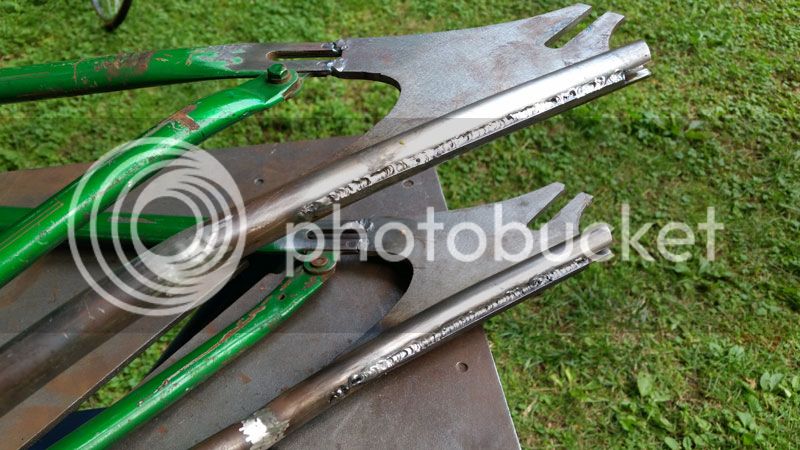
Then I cut and ground the arc ends to match the lines of the dropouts.
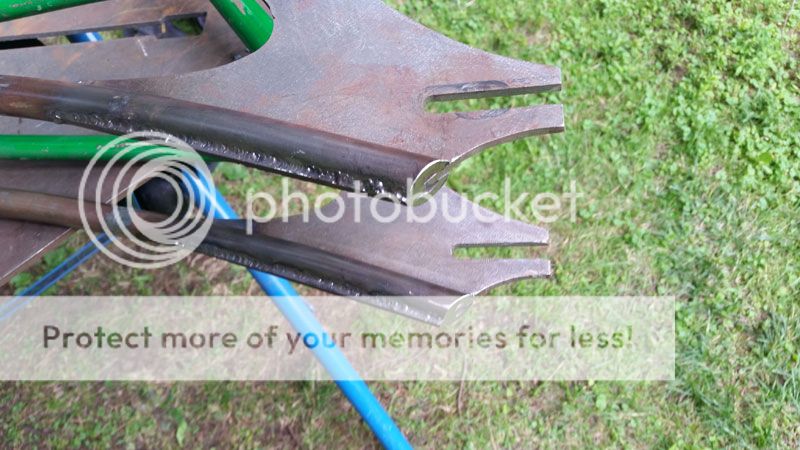
I wanted to make sure everything fit still, so I put it all back together.
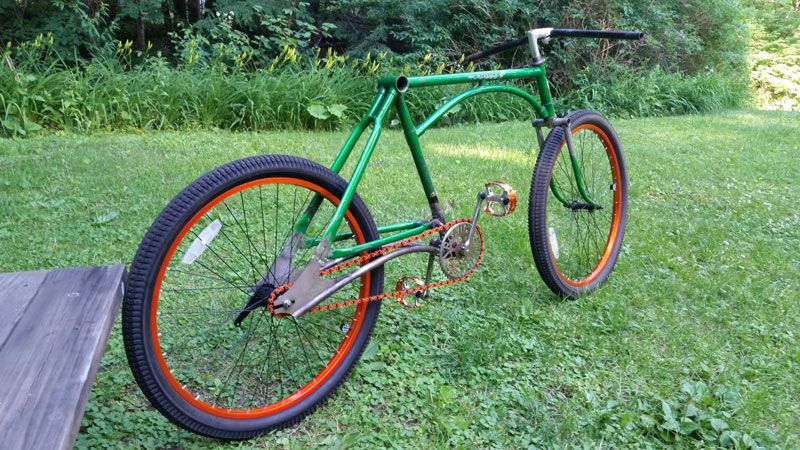
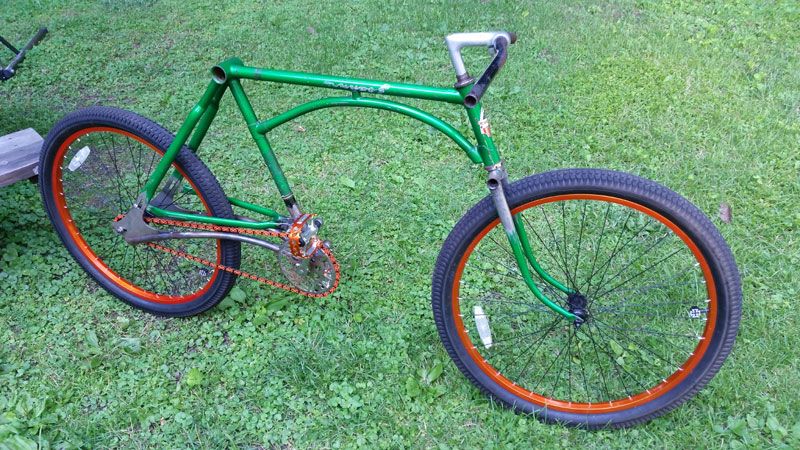
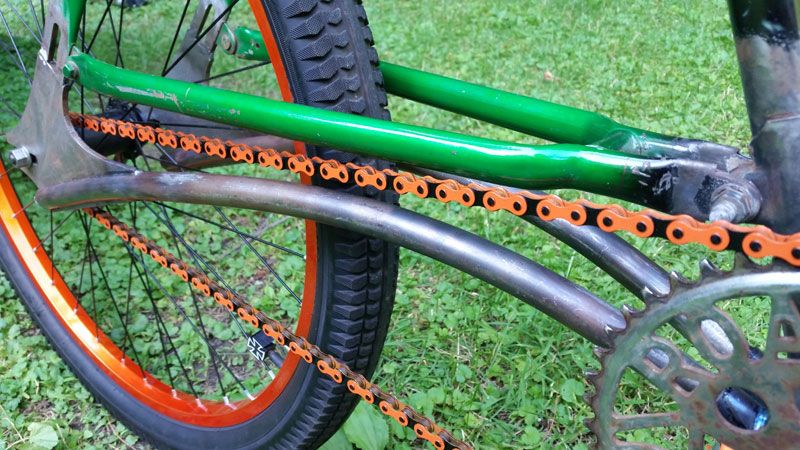
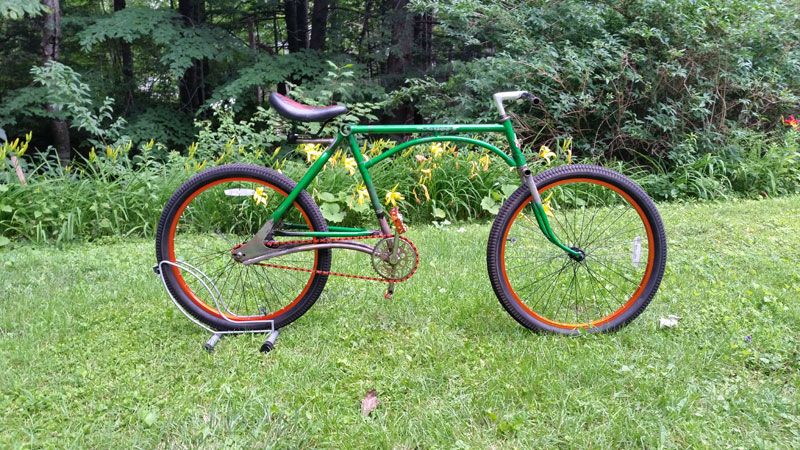
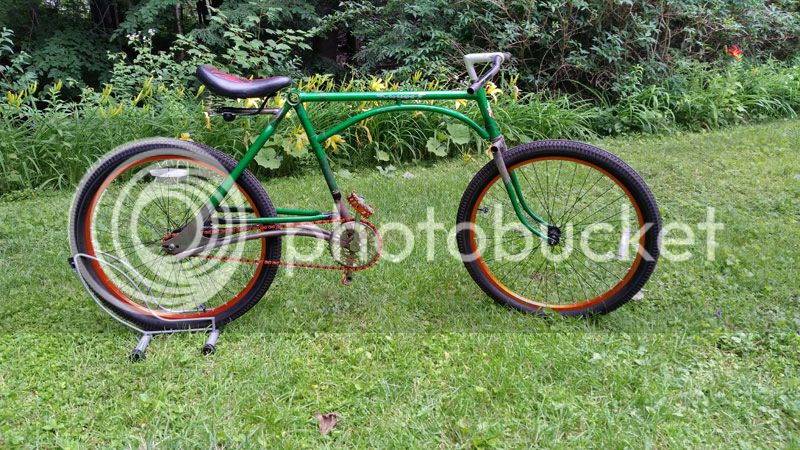
With the excuse of needing to find the "optimal seat placement" I had to take it for a quick spin. I was stoked! It rode just fine and wasn't a complete deathtrap!
Then I remembered I had some more frame mods to finish. I had to fill in the original dropouts. A couple pieces of plate ground down to size and welded in will work just fine.
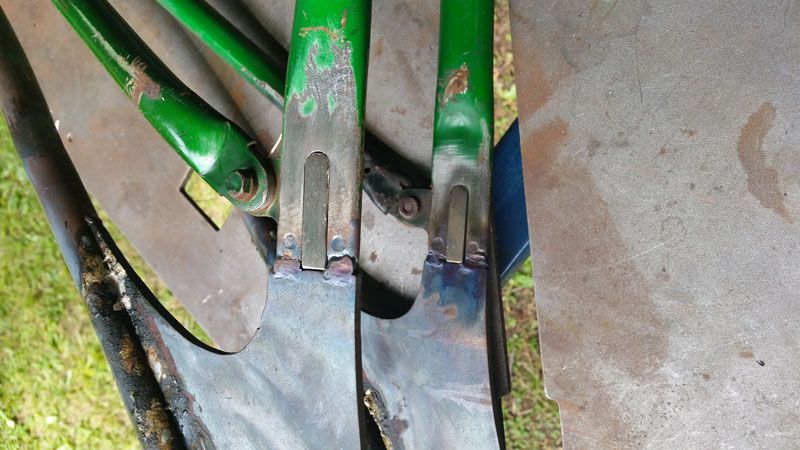
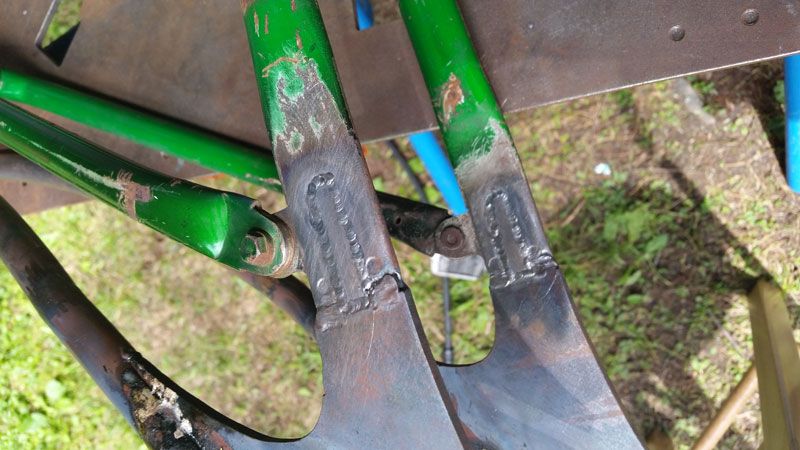
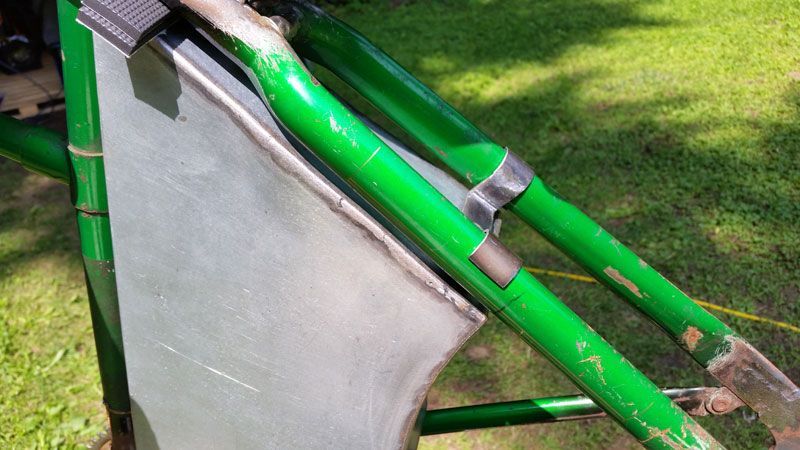
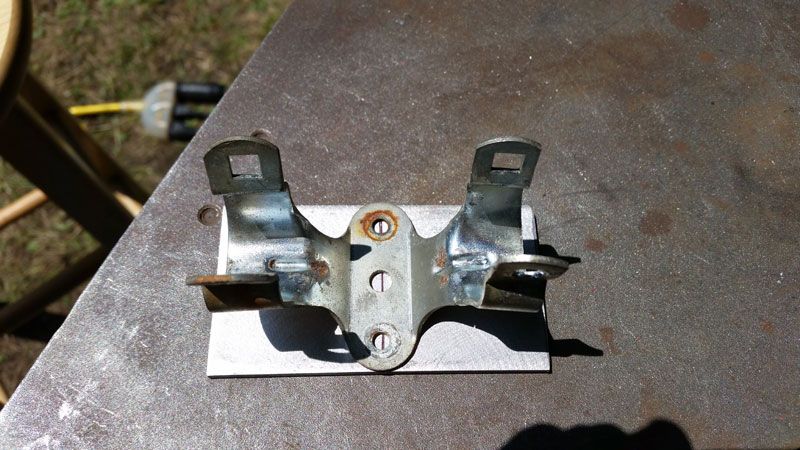
The next issue to address was the brake arm for the coaster brake. The tried and true method of the strap over the frame and a bolt wasn't going to work here. My original plan was to weld on a slotted tab to the part of the dropout that extended through the arc. It turns out that the arc was going to get in the way. The next option was to flip the arm up and cut a slot in the dropout. This was going to be functional, but I didn't think I was going to like the look of it. So I puzzled over it for ten minutes or so. Looked at the frame.... Looked at the wheel.... Looked at the frame...... I need a slot. I don't want to cut one. How can I make a slot without.... MAKE a slot! That was it. Don't cut a slot. Make one!
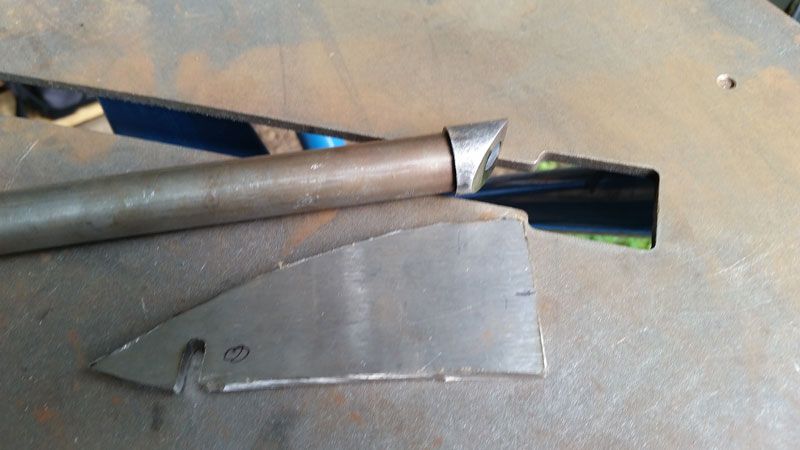
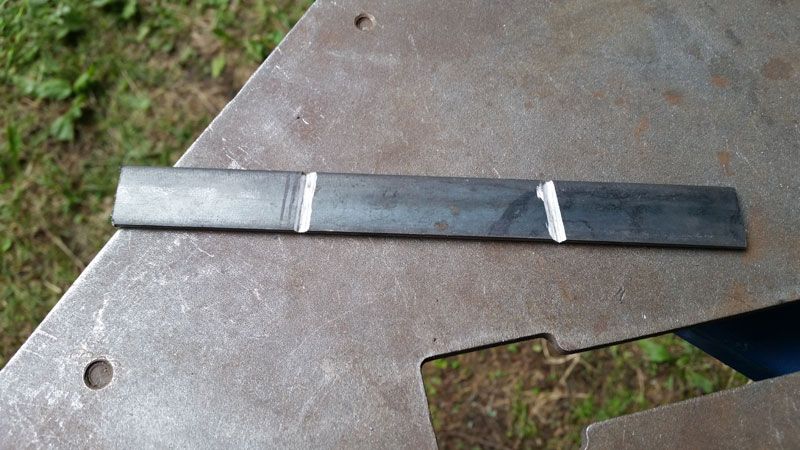
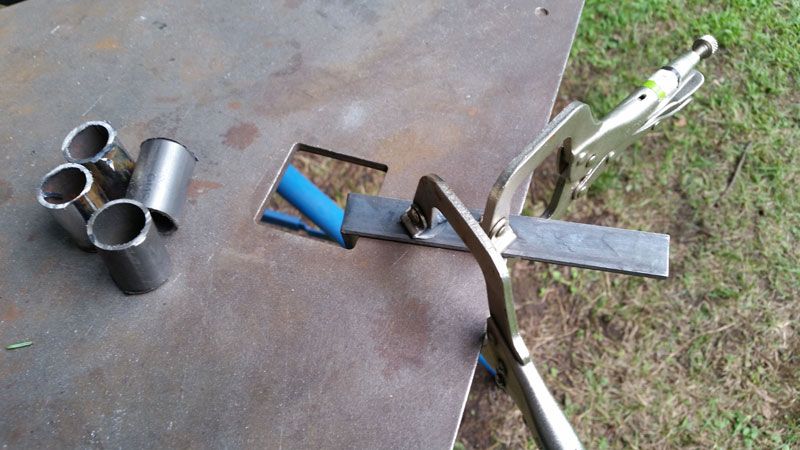
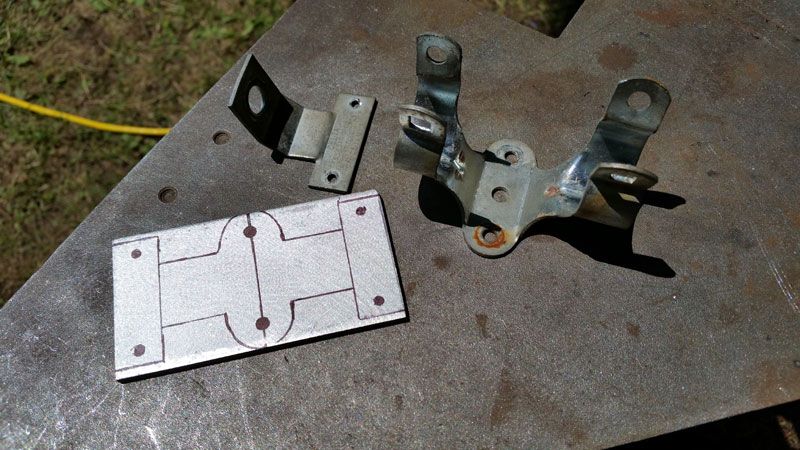
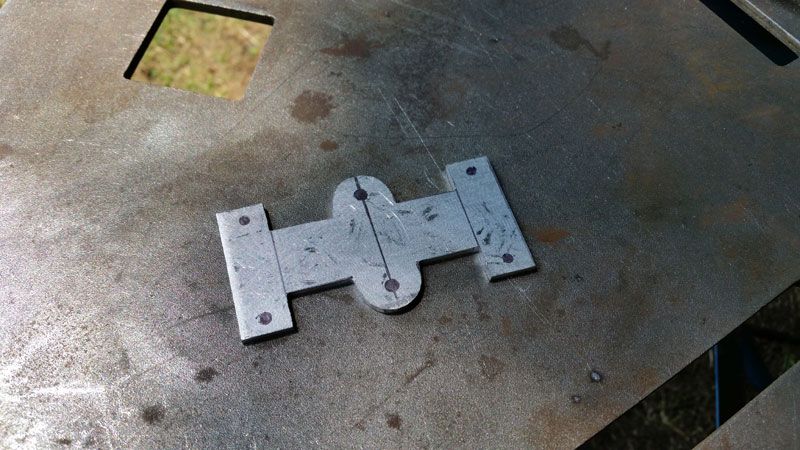
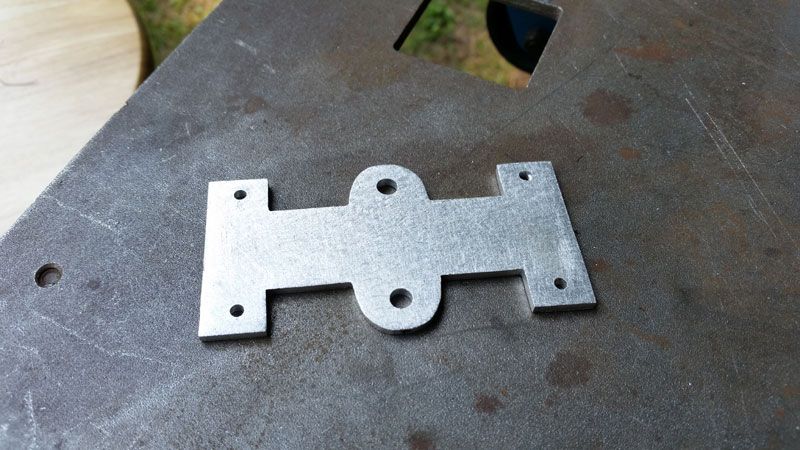
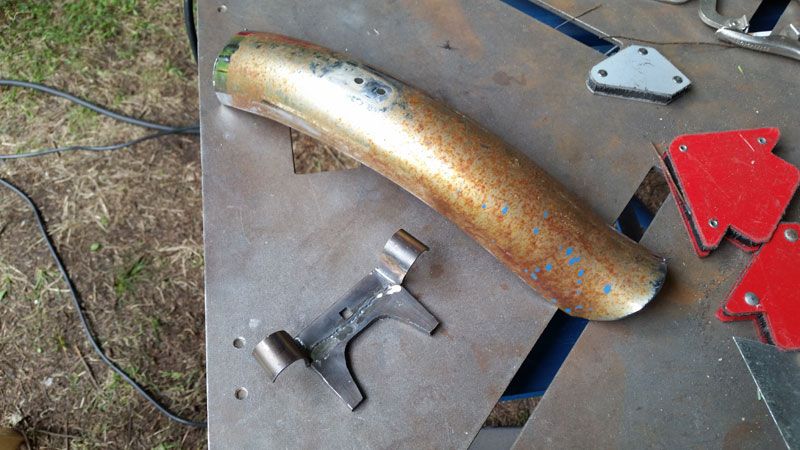
I took the two pieces of scrap from the dropout plates and a hex head bolt whose head was thinner than the plates.
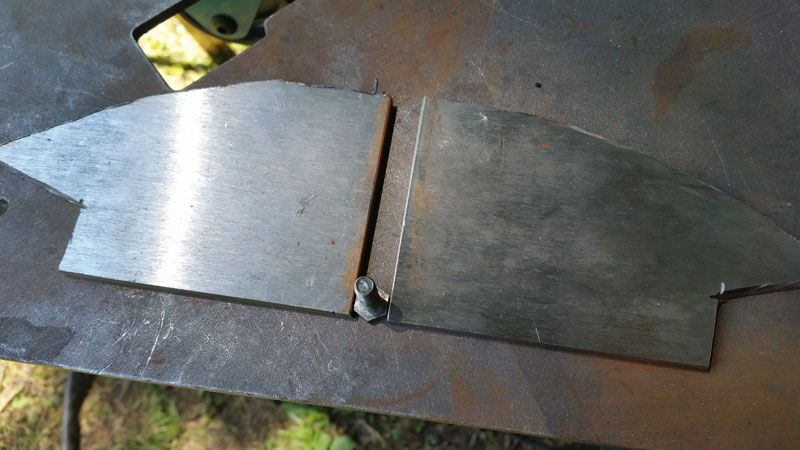
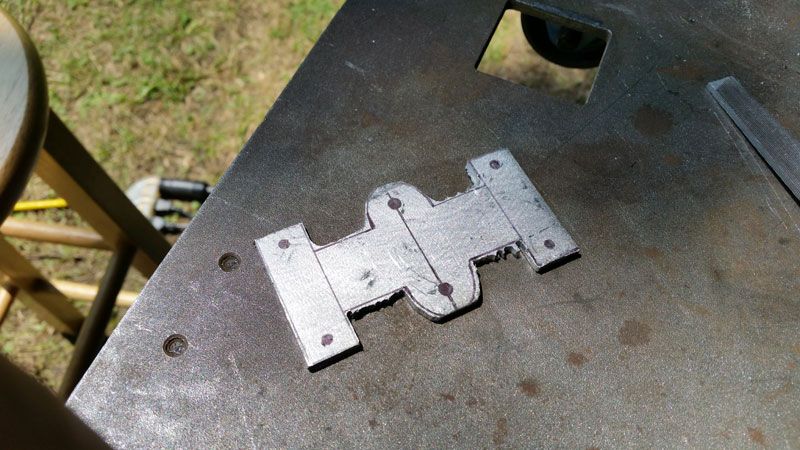
I cut off the two straight machined edges and tacked them to another small piece.
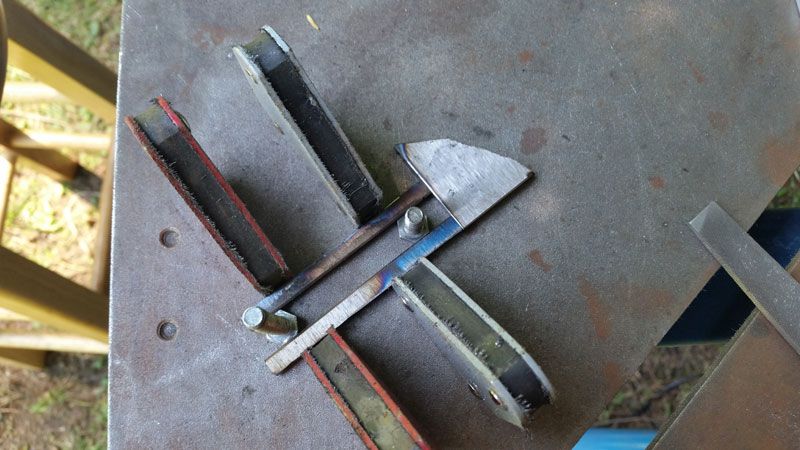
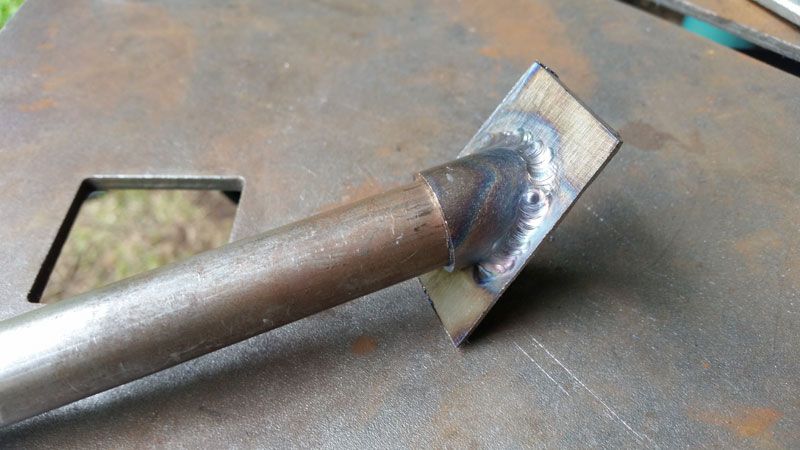
I then welded one edge of that tuning fork shaped piece to one of the plates, cut it off, and welded the newly cut edge.
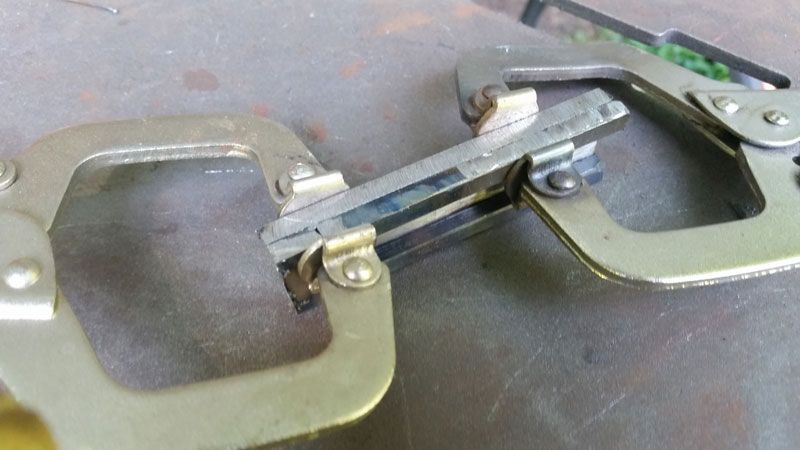
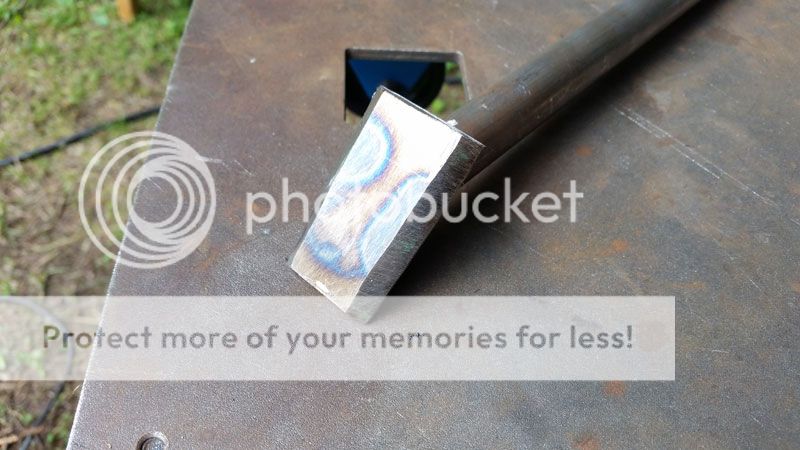
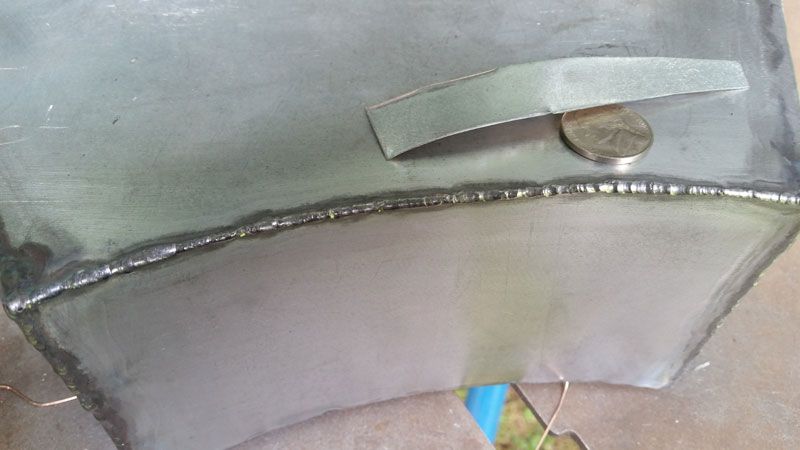
I have to take a second here and apologize. I got so entranced with this piece I kinda forgot to keep taking pictures. After fully welding the outsides of the "forks" to the backing plate I used the cutoff wheel and a bunch of filing to make a slot wide enough for the bolt threads. A little grinding and sanding to shape the piece and I had this awesome T-Slot brake arm mount!
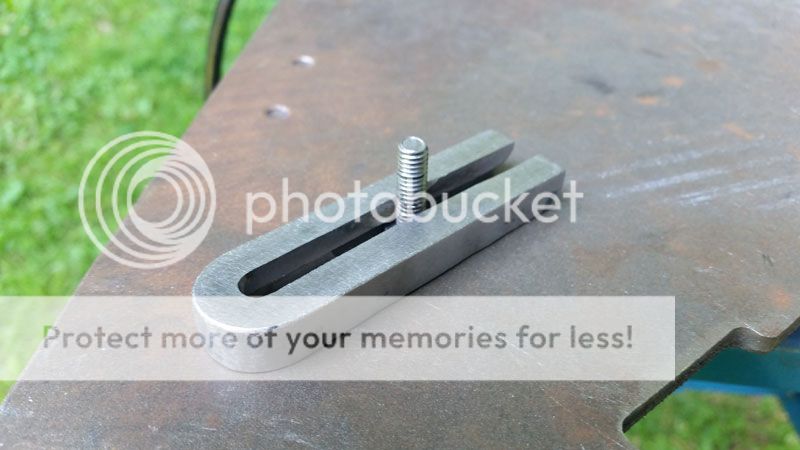
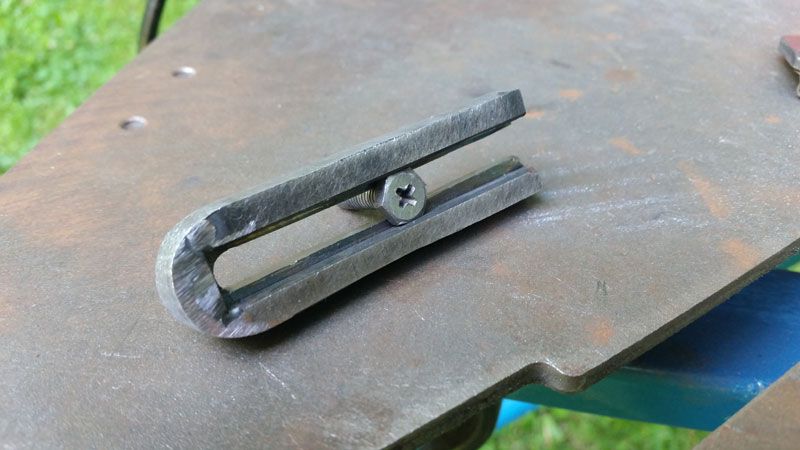
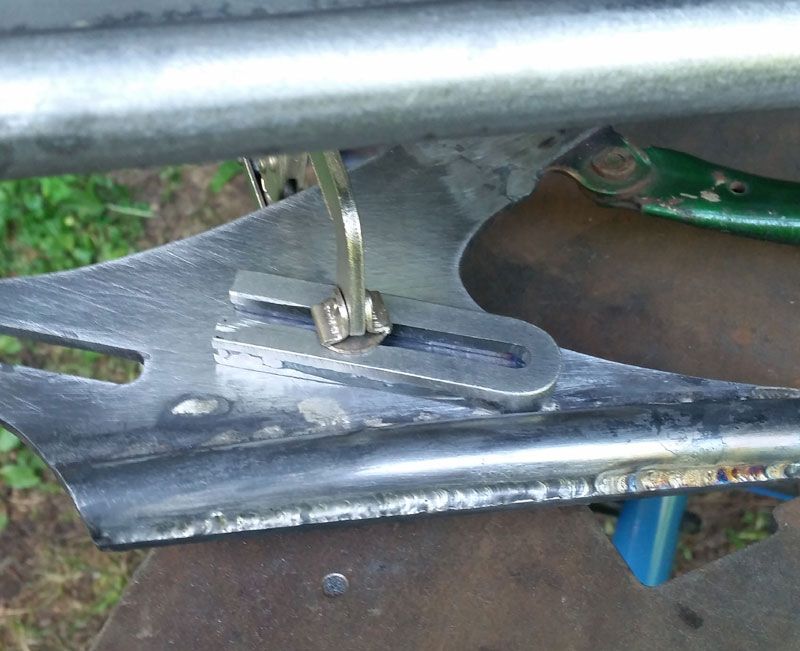
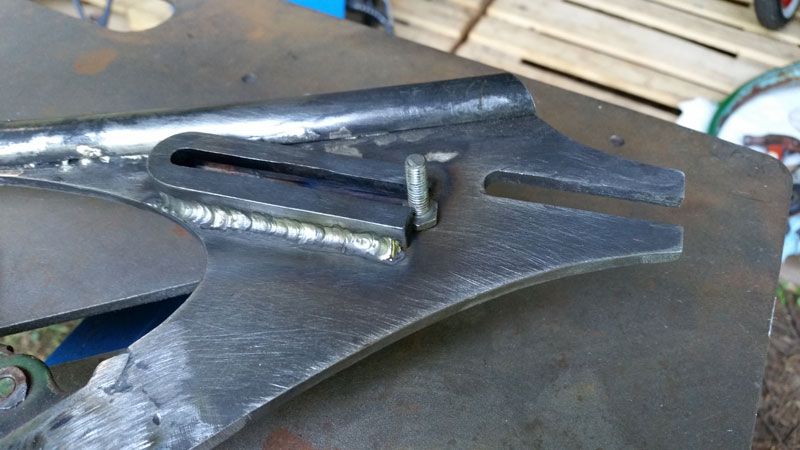
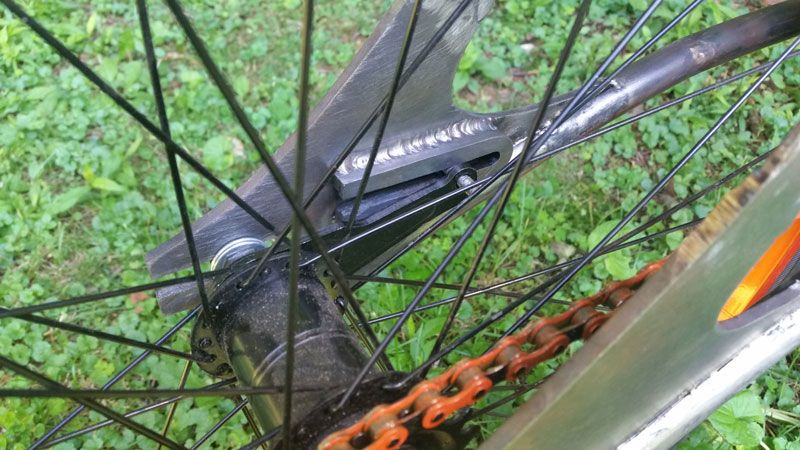
For something that probably won't be noticed by many people I think this is one of my favorite parts on the bike so far. An novel way to solve a problem, it hides the brake arm from breaking up the lines of the bike, and it's a totally bitchin' weld!
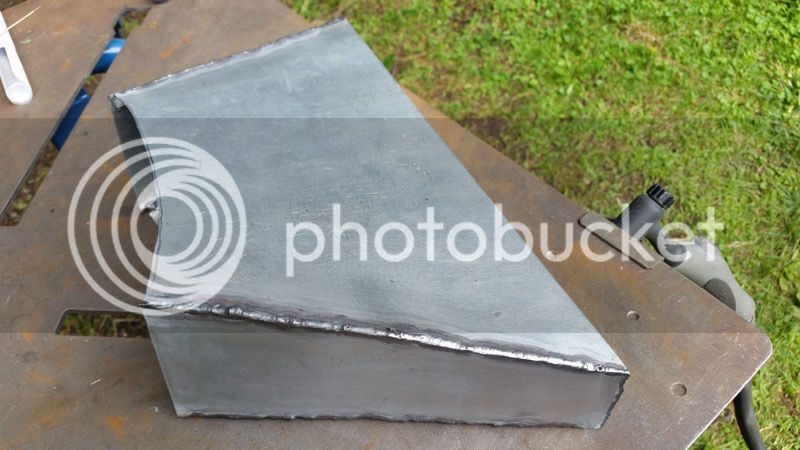
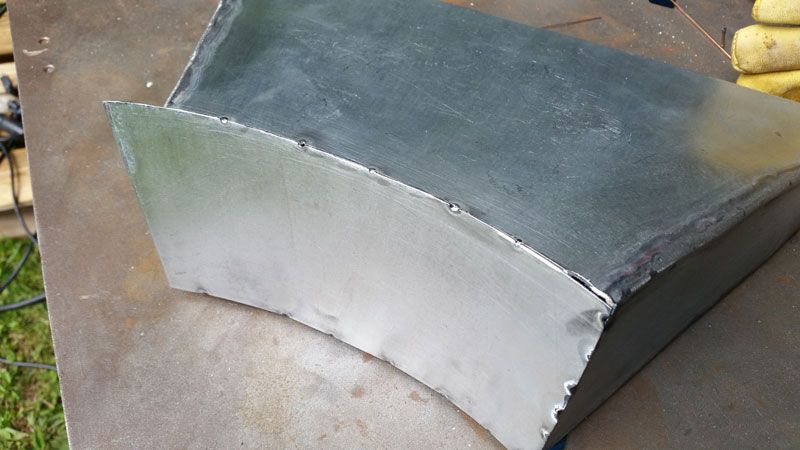
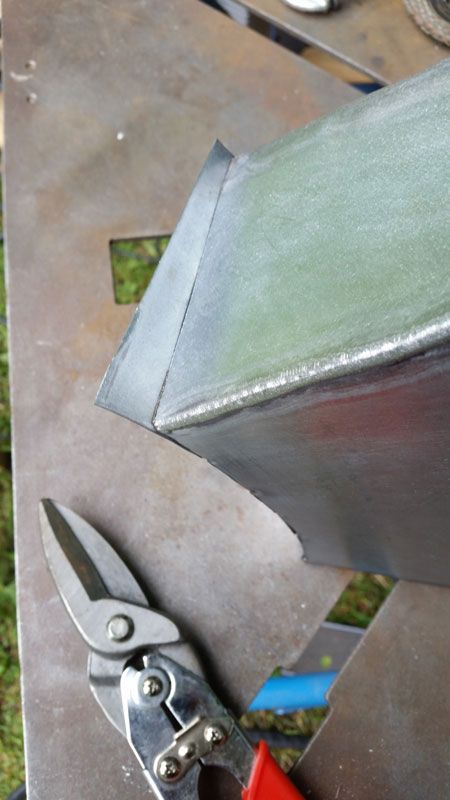
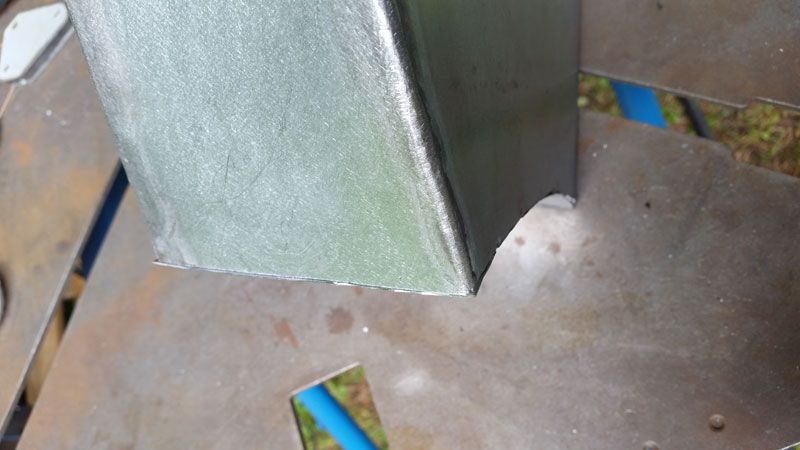
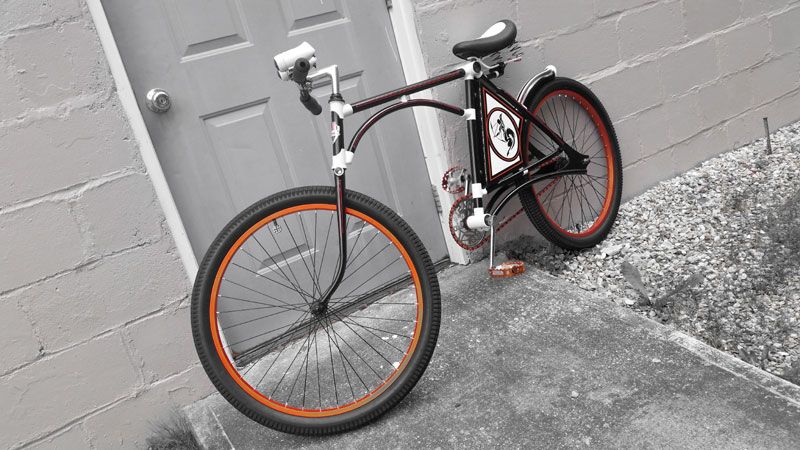
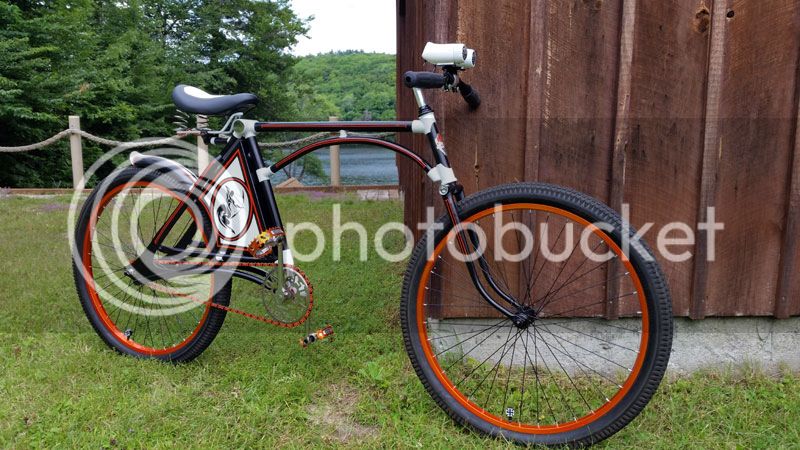
So now that the bike is flipped, it goes, and it stops, I should probably find a place to sit on it. It's going to have to be behind and slightly above the original BB. A seatpost welded to some plate and then welded to the frame will be functional, but probably not appealing. This is the one part of the bike I don't have thought out, yet. Suggestions are appreciated.


