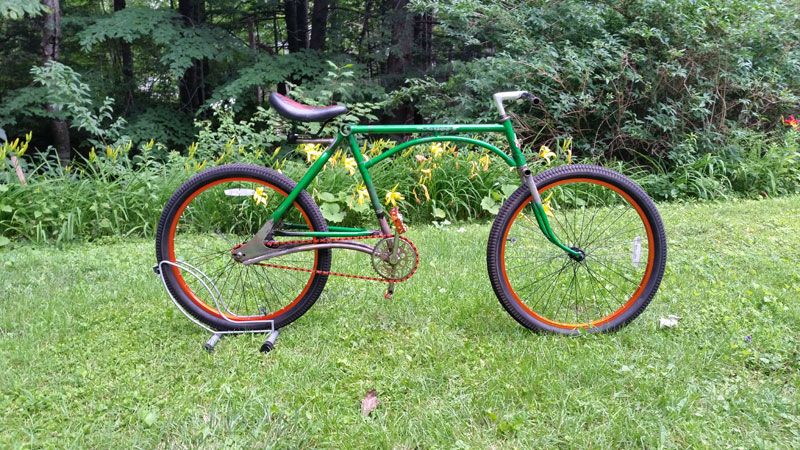
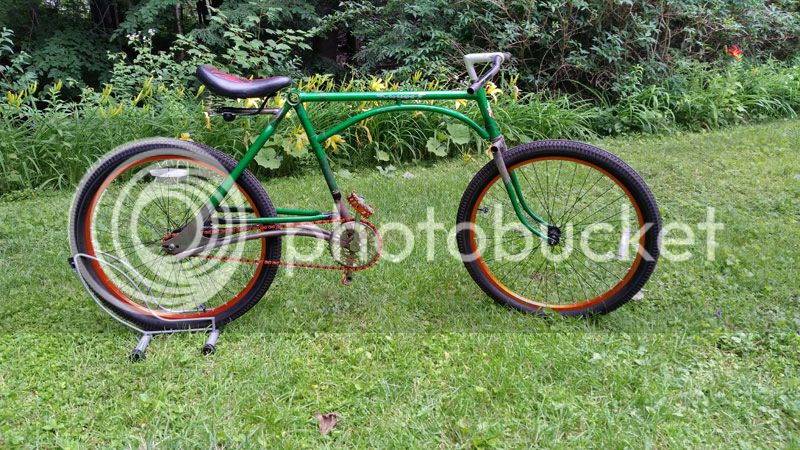
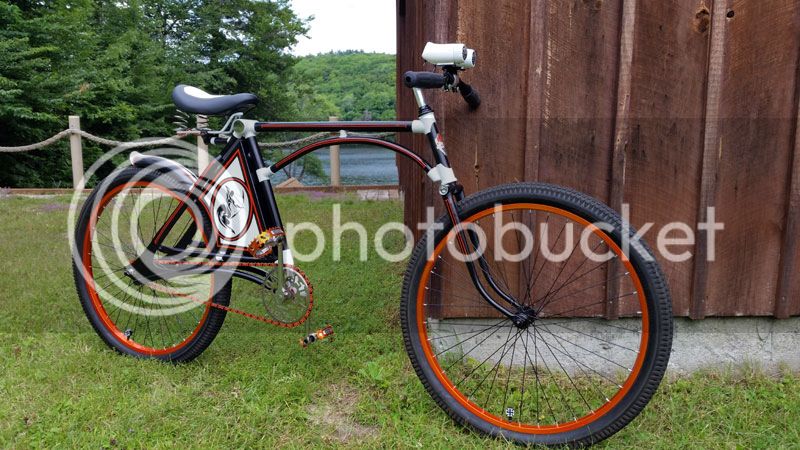
Frisco Flip (formerly Trike Trimmings)

Rat Rod Bikes Bicycle Forum

Help Support Rat Rod Bikes Bicycle Forum:

This site may earn a commission from merchant affiliate links, including eBay, Amazon, and others.
Thanks for all the replies and encouragement. This is one of the projects I've been looking forward to for a while.

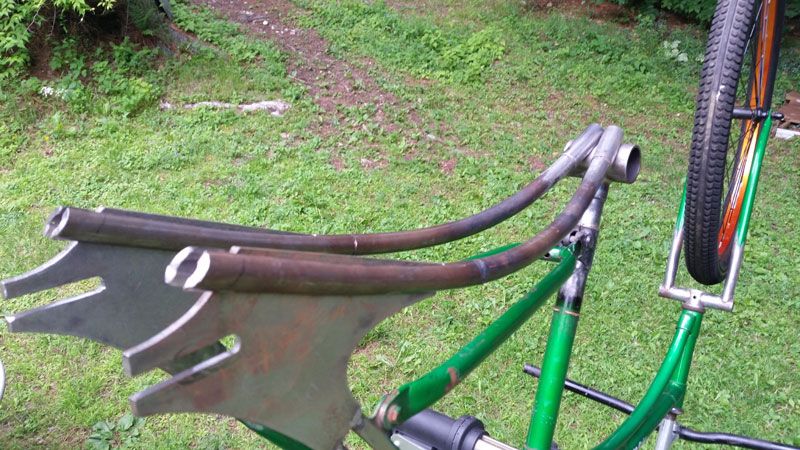
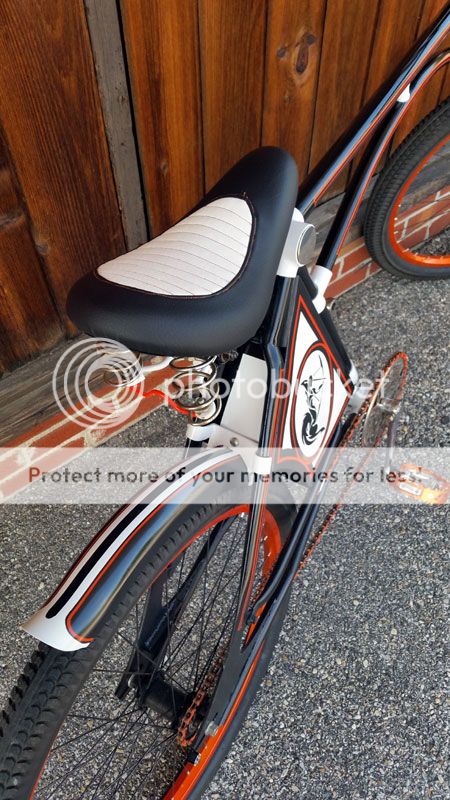
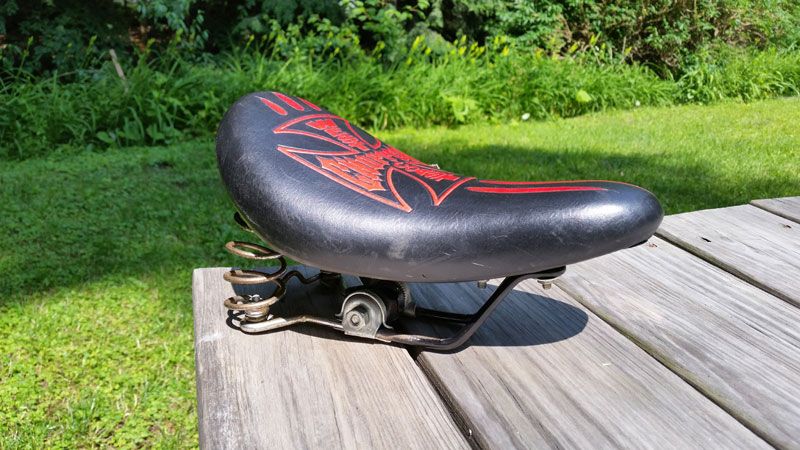
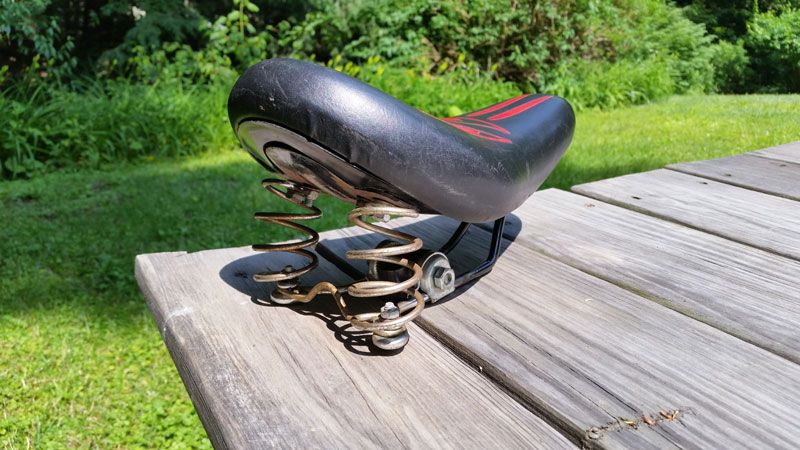
So where did I leave off last? ...Oh yeah, the seat. Like I said, I took the leftover seat from my West Coast Choppers bike, a springer undercarriage, and an extra set of rails to make a kind of springer solo seat. In order to get the right width for the springs to mount I added a couple of ears to the WCC seat support. And to get the right length to match the seat I had to lengthen the rails. I don't know where it needs to be positioned, so I haven't come up with a mount for it yet. I am going to reupholster it to match the final paint, though.
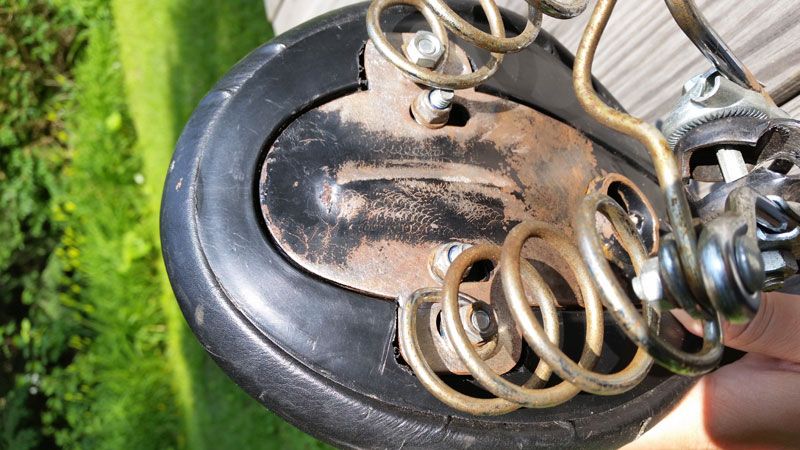
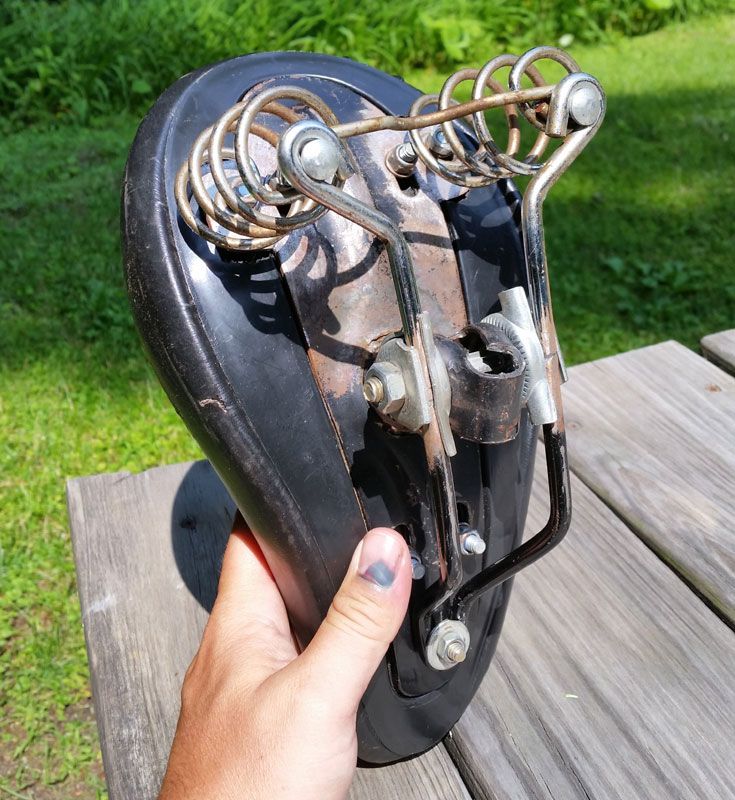


Now back to our regularly scheduled frame modifications!

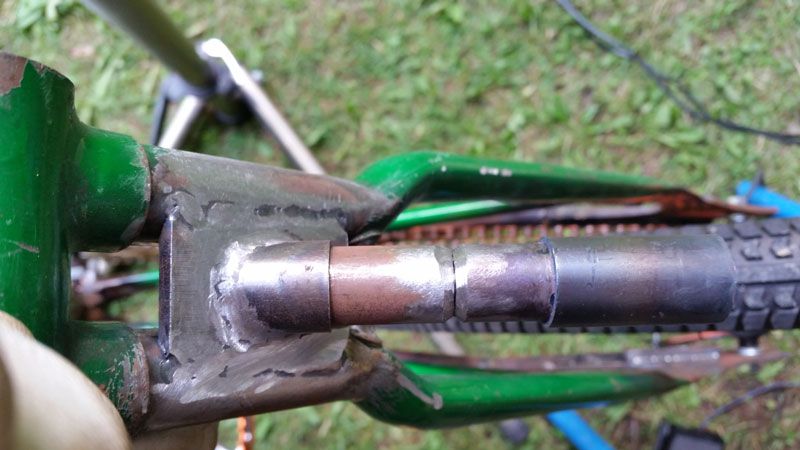
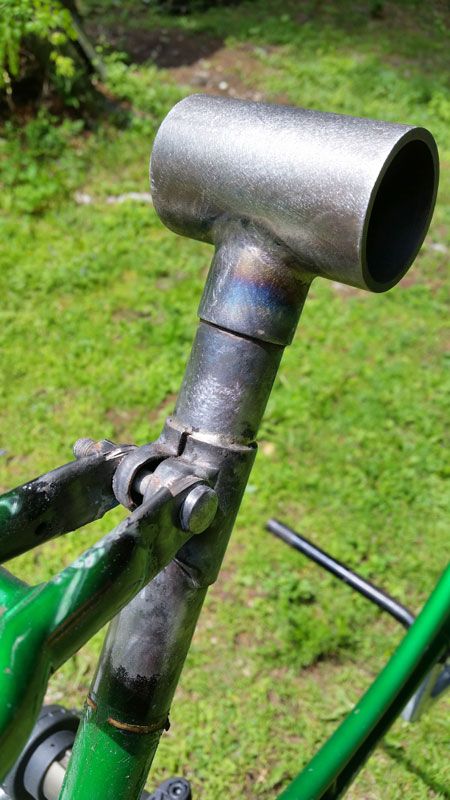
Here is the bottom bracket, frame extension, and the seat post assembly prepped for attachment.
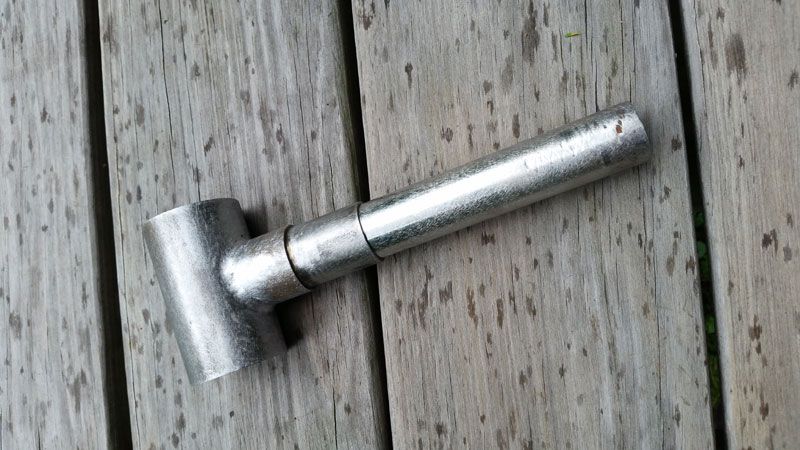


I took the Dremel and a sanding drum to take the paint/rust off the inside of the original seat post mount so that the braze would stick.
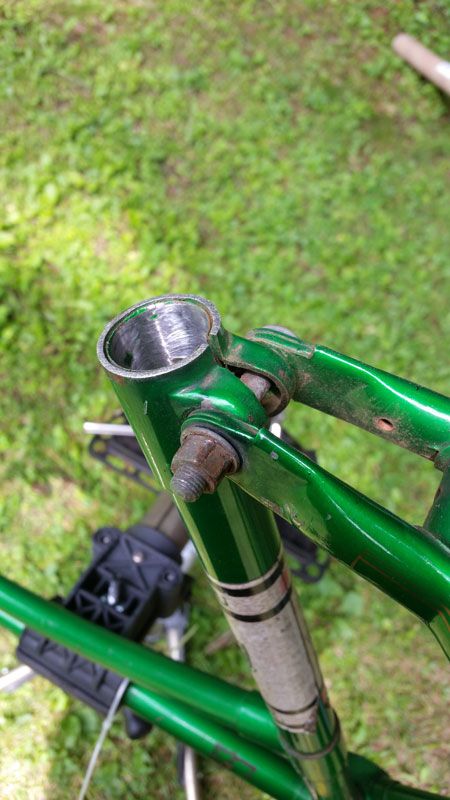


All mounted up.


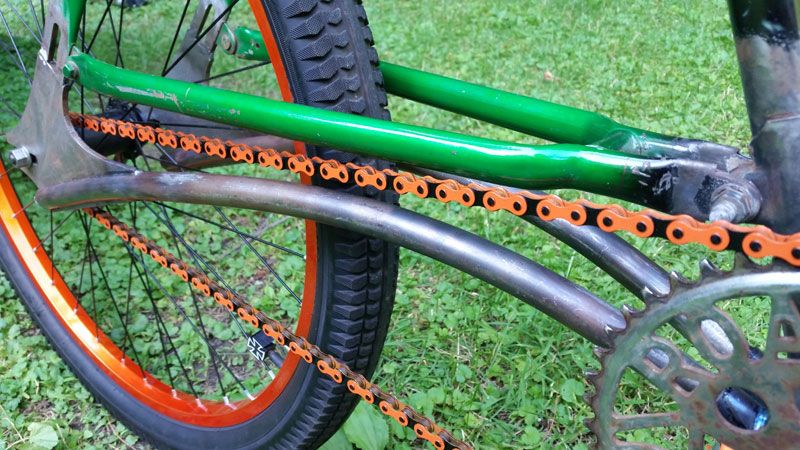
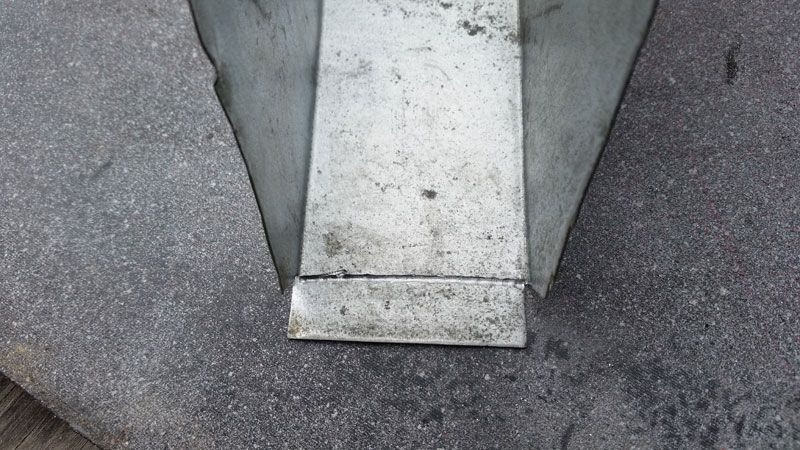
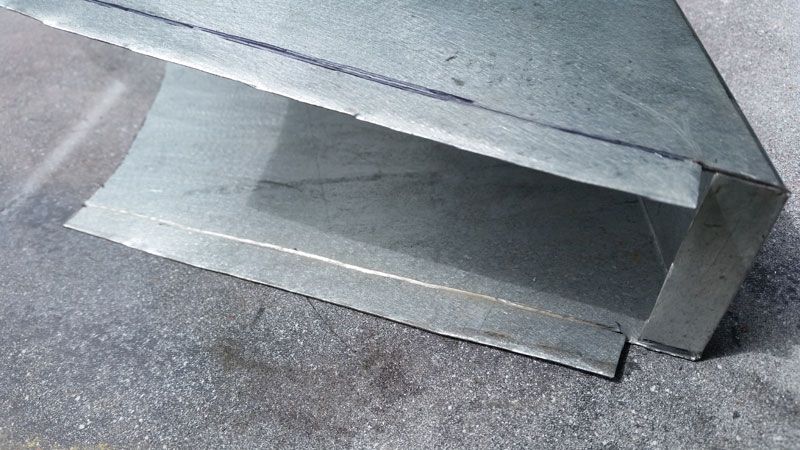
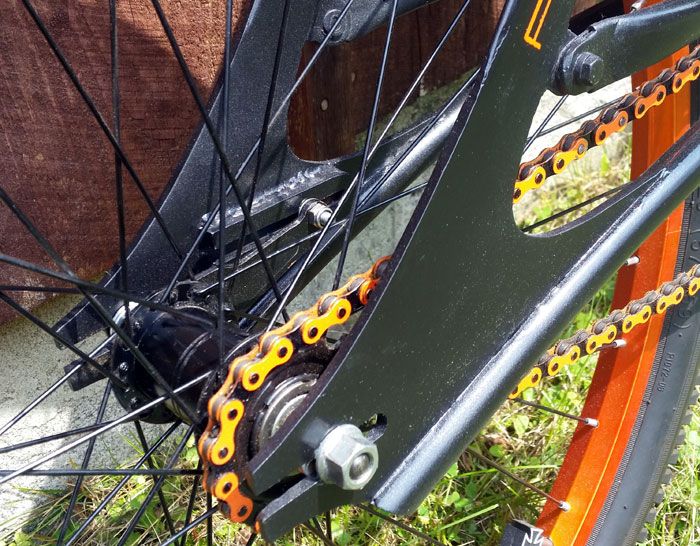
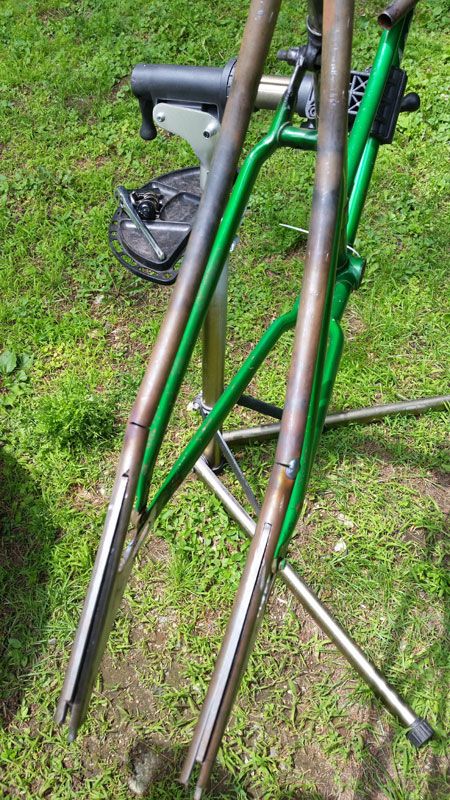
For the chainstay arches to meet at the bottom bracket I had to bend them just in front of the dropouts. Instead of heating and bending I elected to cut, bend, and weld.

Sprocket side: Measure twice, cut once.
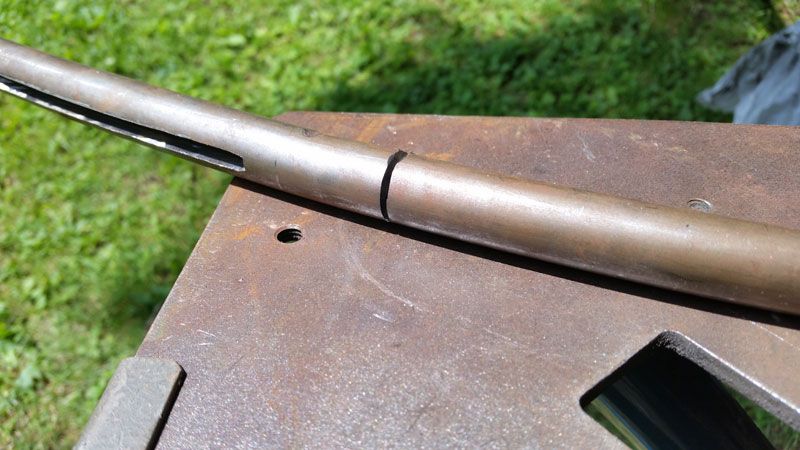

Brake side: Measure twice, cut once..... wait, something doesn't look riii..... Sunnova...mrnafrna...
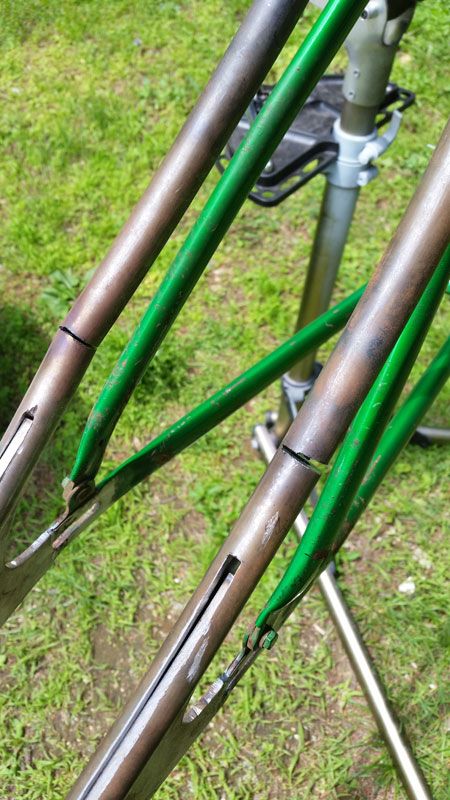

I got this! Weld the gap, cut the CORRECT side, bend, and viola!

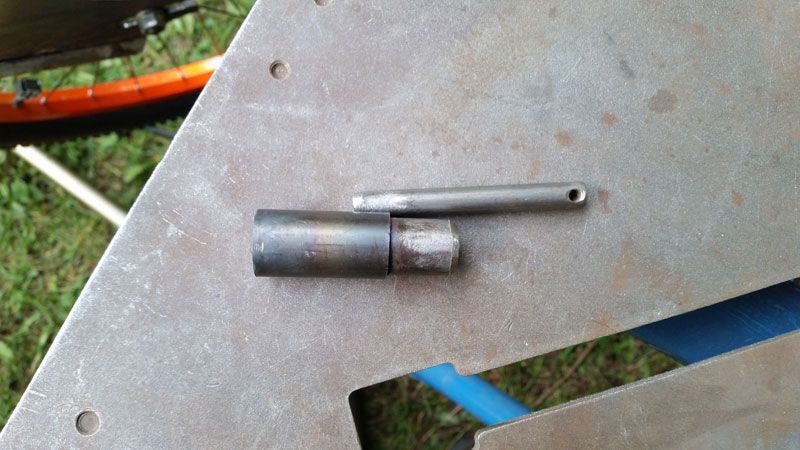
Now for the "lugs" that will be part of the BB. The tubing ID was a bit smaller than what I needed, so I ground down the arc ends to fit.
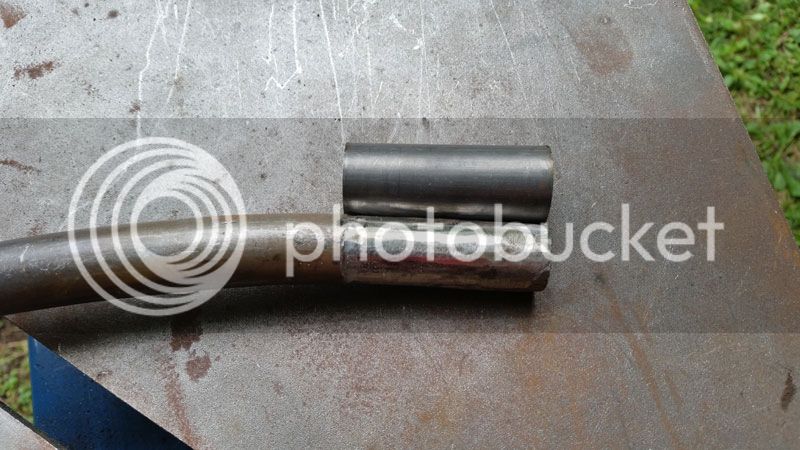
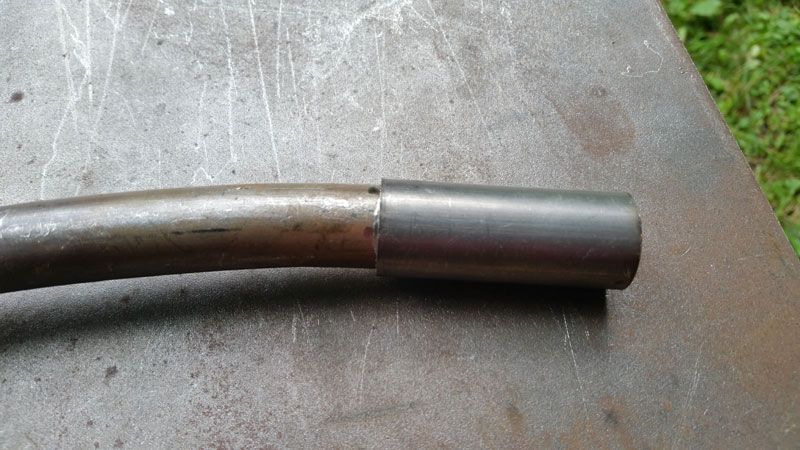


I brazed the ends on, and ground the undersides to fit the BB.
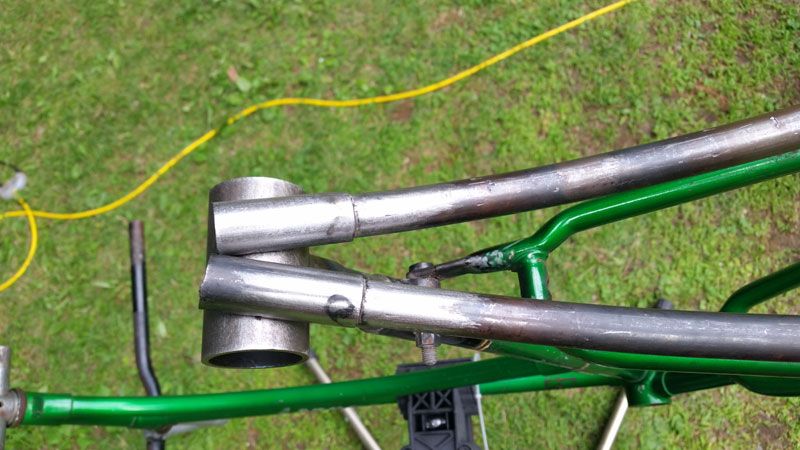


I tacked it all in place and put the drivetrain all together to check clearances. I had to splice in a piece of a second chain to get the length I needed.
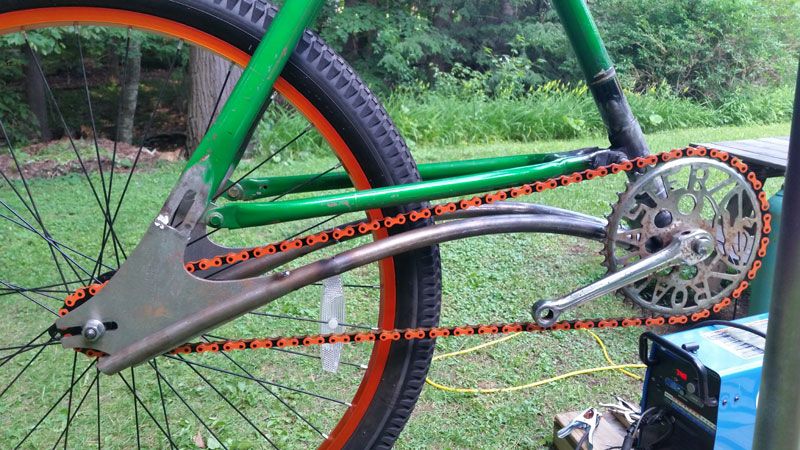


So after getting it together there were some chain clearance issues with the original frame.
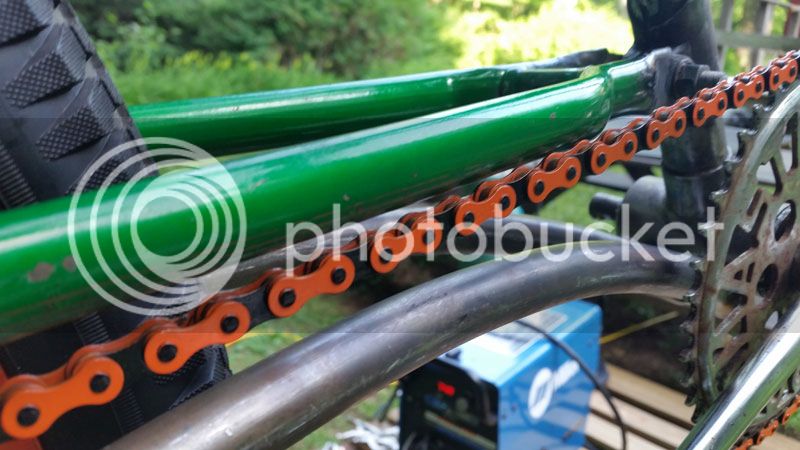


Okay, I figured I'd pull a link out of the chain, slide the wheel forward, reduce the angle, it'll be fine. I made the dropouts long so I could get away with this. Nope, that didn't do it. At this point I suspecting that g-ratter may have jinxed me. But then I noticed that the sprocket wasn't in the correct position on the spindle; it was all the way in against the frame. Once I slid it back to where it should be everything fit well. At that point I wanted the tire back to it's original position in the middle of the dropout. I went back and looked at my original picture; yep, the sprocket was out of place then as well. So I added the link back in, put the sprocket in the right place, and clearance was still good.

So now that I knew the fitment was good it was time to get things mounted permanently. I welded the lugs in knowing that they were longer than I needed.
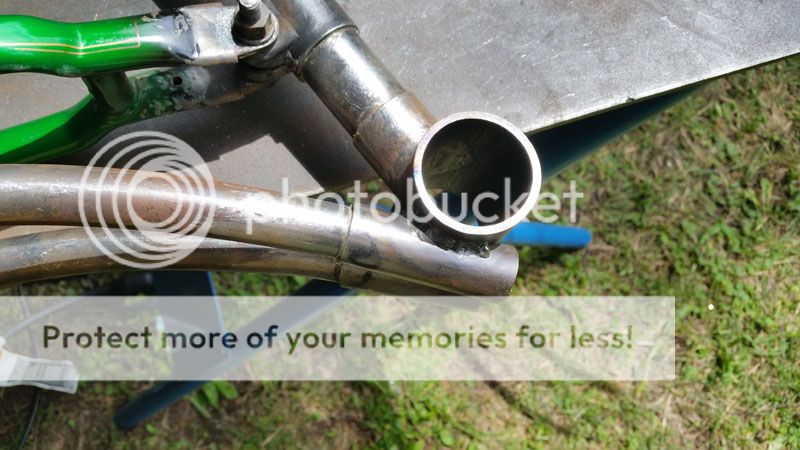


I then ground them down to match.
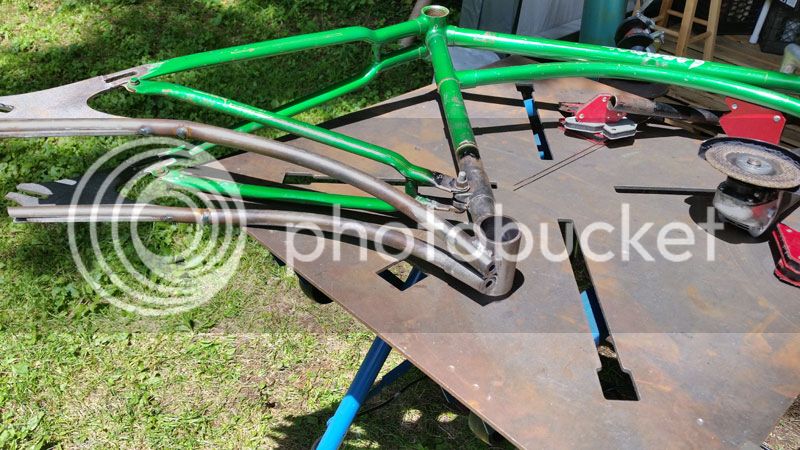


After welding the ends of the arc lugs to make caps and grinding them flush, the BB was finished. I drilled two holes in the bottom bracket case, marked the threaded shell, removed the spindle and bearings, and brazed the shell into the BB.
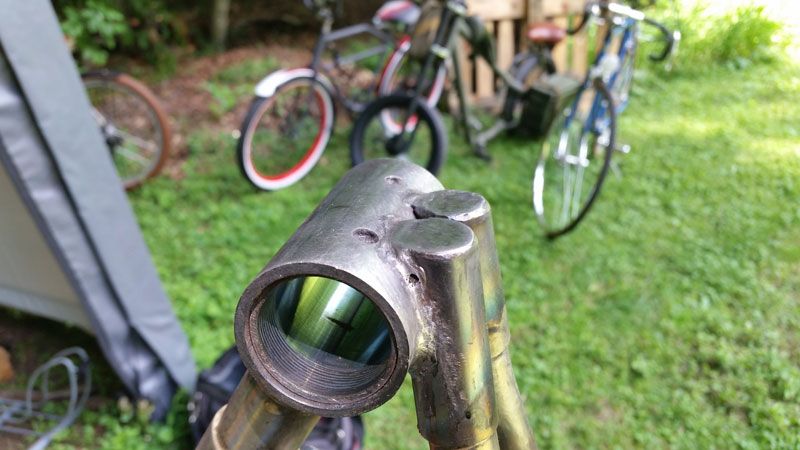


I had tacked the arcs to the dropouts when I placed them. When I went to braze them together I just couldn't put enough heat into the amount of metal that was there to get the braze to flow to my satisfaction. So I made a compromise: Weld the bottoms for strength and then braze the tops for looks.
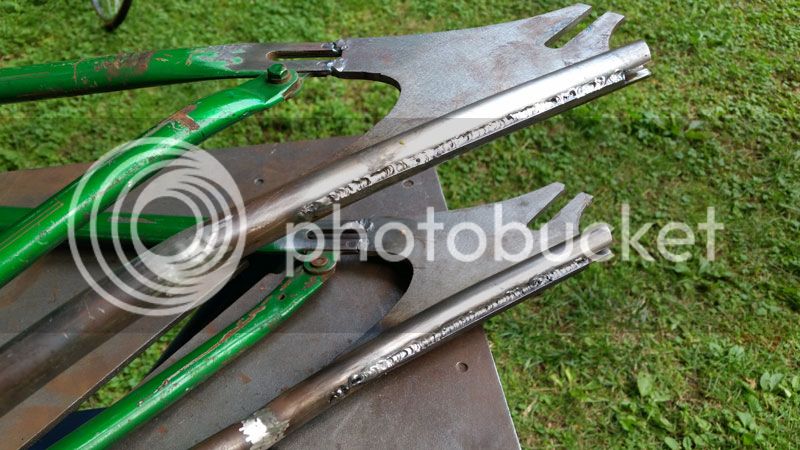


Then I cut and ground the arc ends to match the lines of the dropouts.
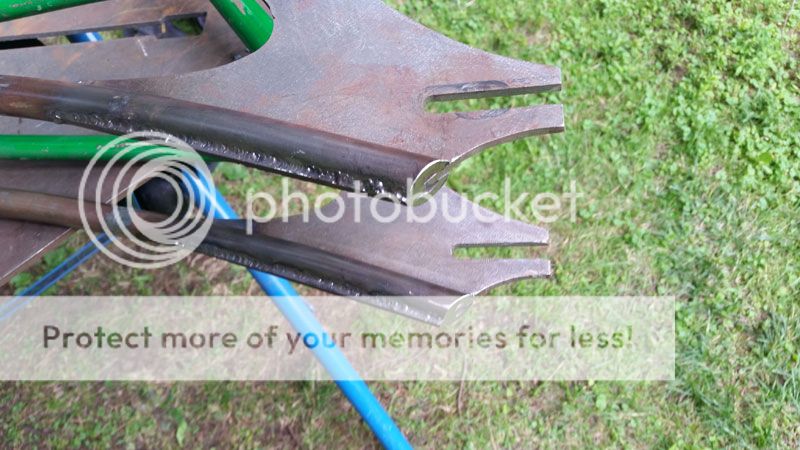


I wanted to make sure everything fit still, so I put it all back together.
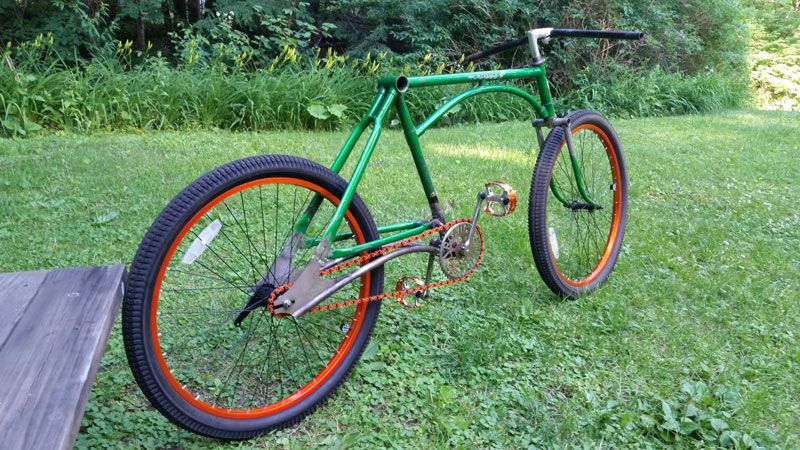


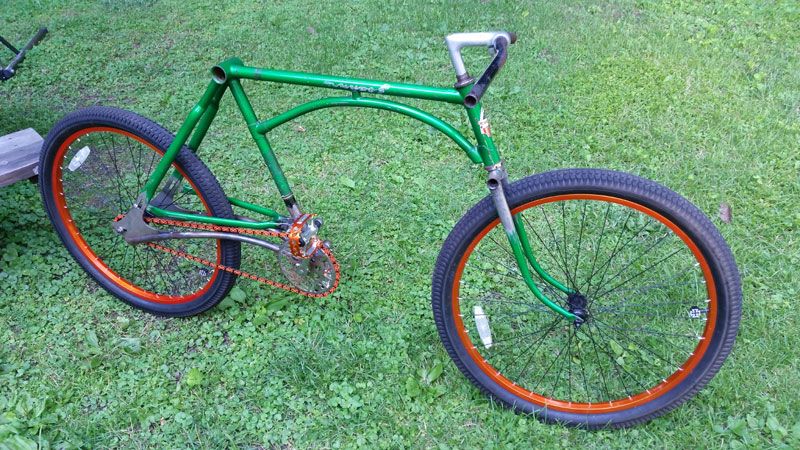
With the excuse of needing to find the "optimal seat placement" I had to take it for a quick spin. I was stoked! It rode just fine and wasn't a complete deathtrap!

Then I remembered I had some more frame mods to finish. I had to fill in the original dropouts. A couple pieces of plate ground down to size and welded in will work just fine.
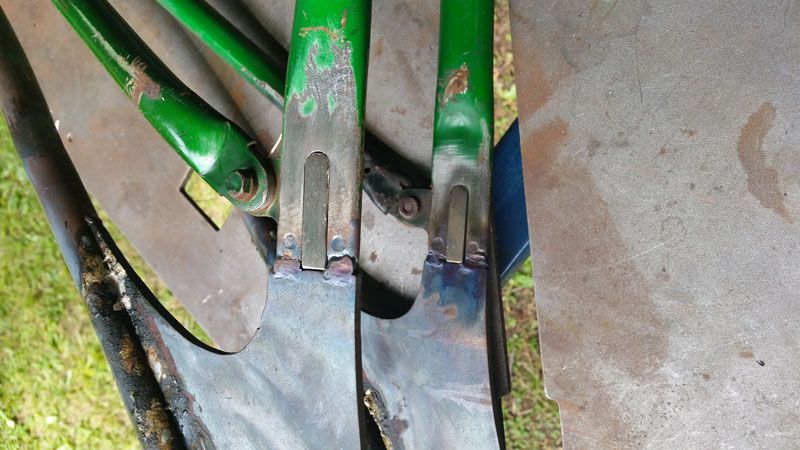
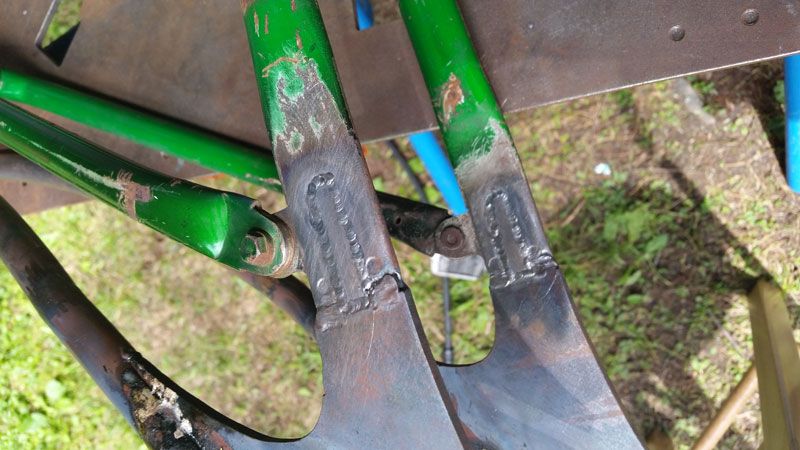


The next issue to address was the brake arm for the coaster brake. The tried and true method of the strap over the frame and a bolt wasn't going to work here. My original plan was to weld on a slotted tab to the part of the dropout that extended through the arc. It turns out that the arc was going to get in the way. The next option was to flip the arm up and cut a slot in the dropout. This was going to be functional, but I didn't think I was going to like the look of it. So I puzzled over it for ten minutes or so. Looked at the frame.... Looked at the wheel.... Looked at the frame...... I need a slot. I don't want to cut one. How can I make a slot without.... MAKE a slot! That was it. Don't cut a slot. Make one!

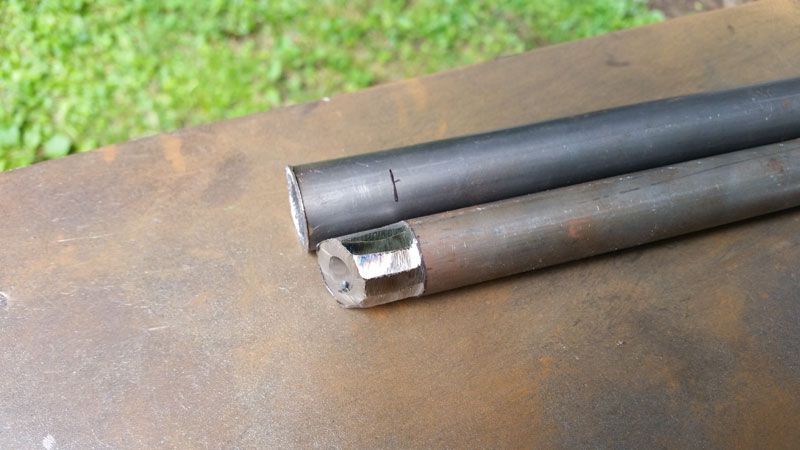
I took the two pieces of scrap from the dropout plates and a hex head bolt whose head was thinner than the plates.
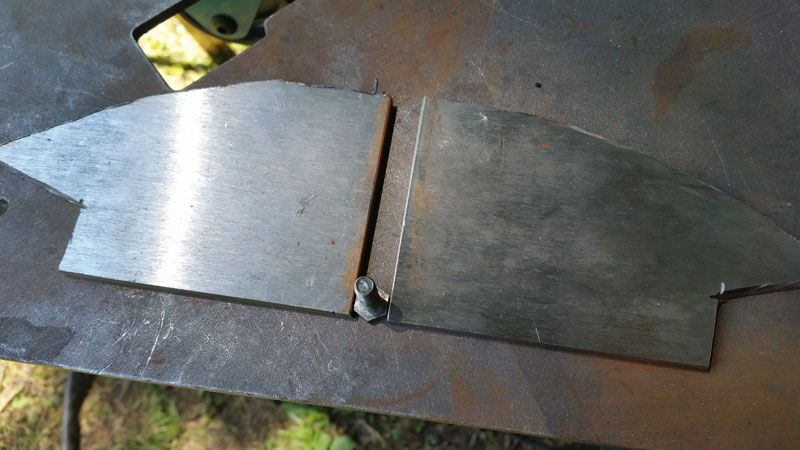


I cut off the two straight machined edges and tacked them to another small piece.
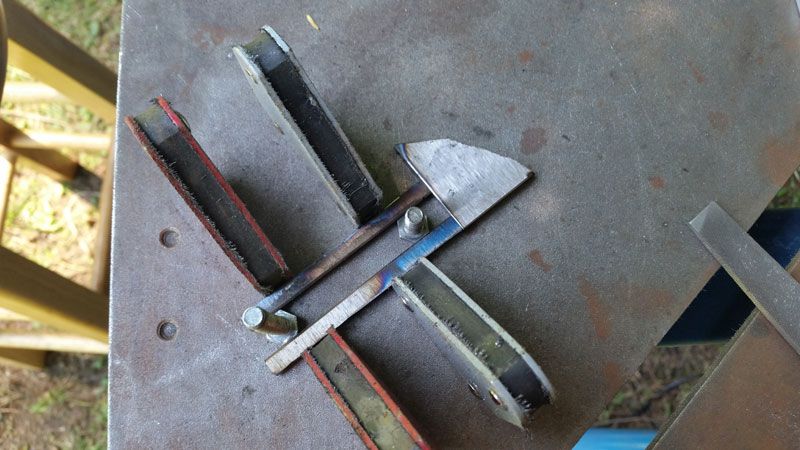


I then welded one edge of that tuning fork shaped piece to one of the plates, cut it off, and welded the newly cut edge.
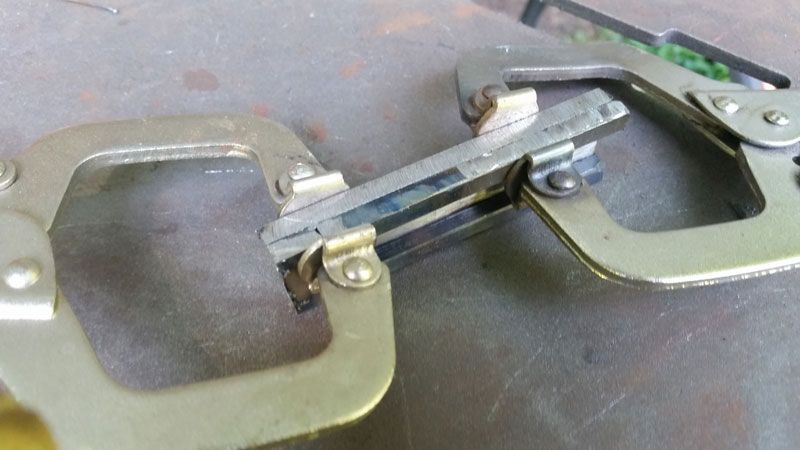


I have to take a second here and apologize. I got so entranced with this piece I kinda forgot to keep taking pictures. After fully welding the outsides of the "forks" to the backing plate I used the cutoff wheel and a bunch of filing to make a slot wide enough for the bolt threads. A little grinding and sanding to shape the piece and I had this awesome T-Slot brake arm mount!
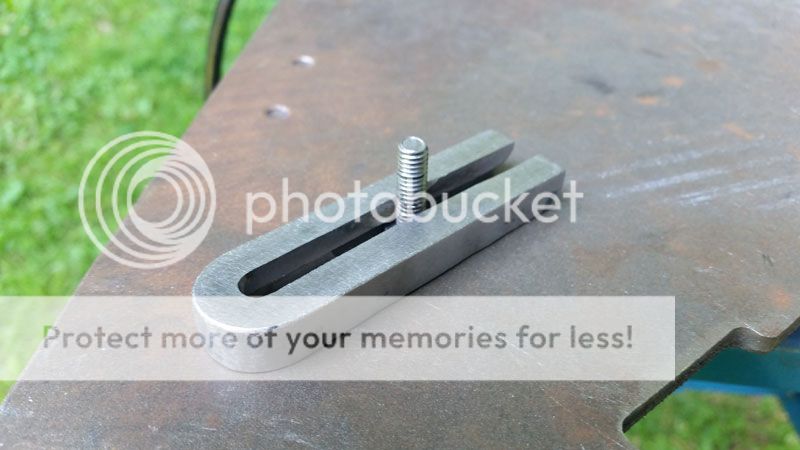
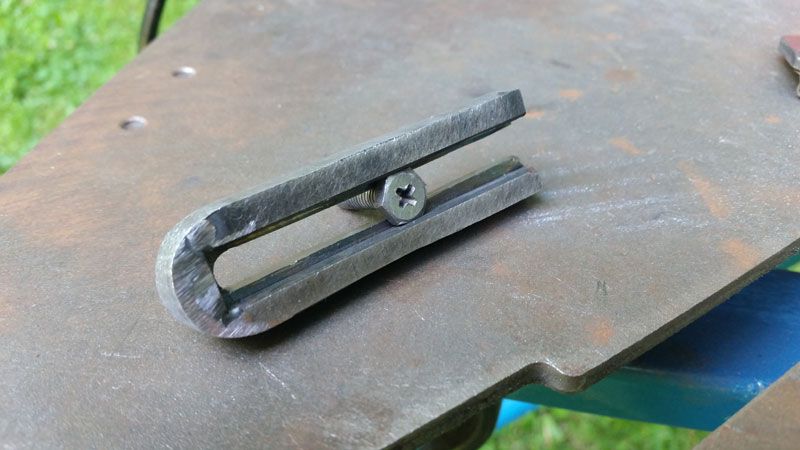
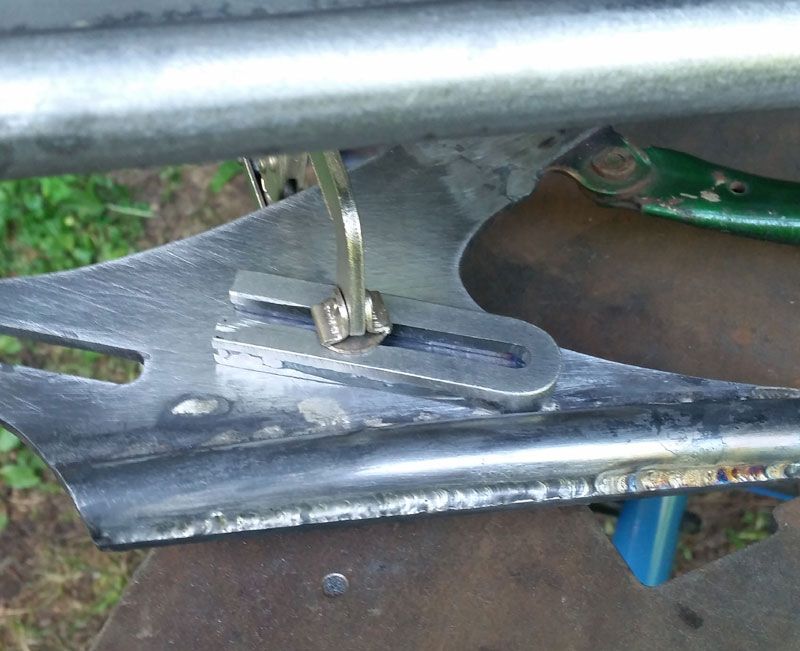
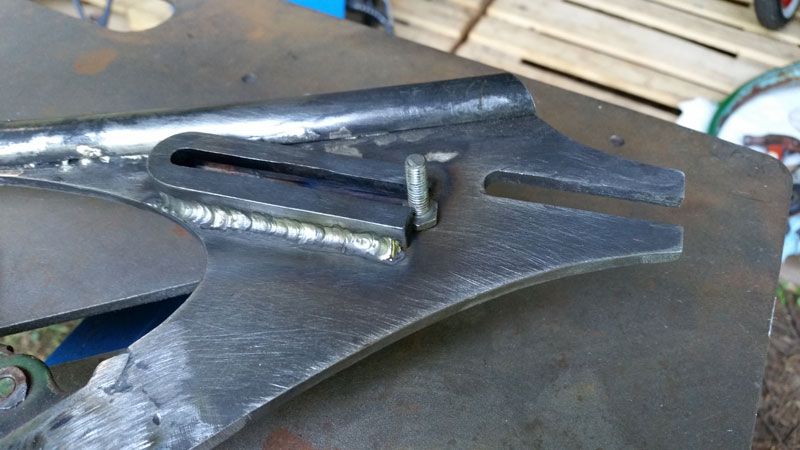
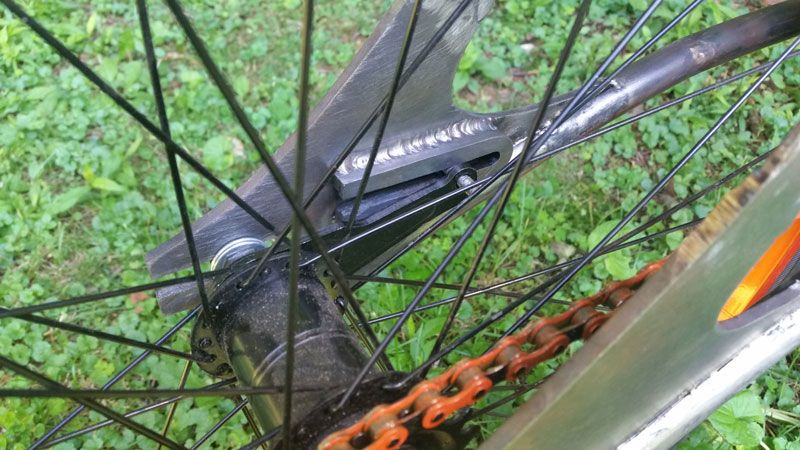


For something that probably won't be noticed by many people I think this is one of my favorite parts on the bike so far. An novel way to solve a problem, it hides the brake arm from breaking up the lines of the bike, and it's a totally bitchin' weld!

So now that the bike is flipped, it goes, and it stops, I should probably find a place to sit on it. It's going to have to be behind and slightly above the original BB. A seatpost welded to some plate and then welded to the frame will be functional, but probably not appealing. This is the one part of the bike I don't have thought out, yet. Suggestions are appreciated.
 
Masterful metalwork going on here!!!
I love the springer saddle too!
BRAVO!
 
This bike needs a new name! I almost missed it too because of my lack of interest in trikes... But this is a cool build.

Carl.
 
Man, you have some mad skills, a nice canvas for a bike and obviously some good equip. All which equals a tight friggin build I am sure.
 
This is cool, love the creativity, why not try to emphasize that it's a flip and use the original bottom bracket as a pivot point for a suspension seat?


Sent from my iPad using Tap
 
Wow, it's been forever since I did an update. It seems like life keeps getting in the way of my life. So here we go with a giant picture blitz.

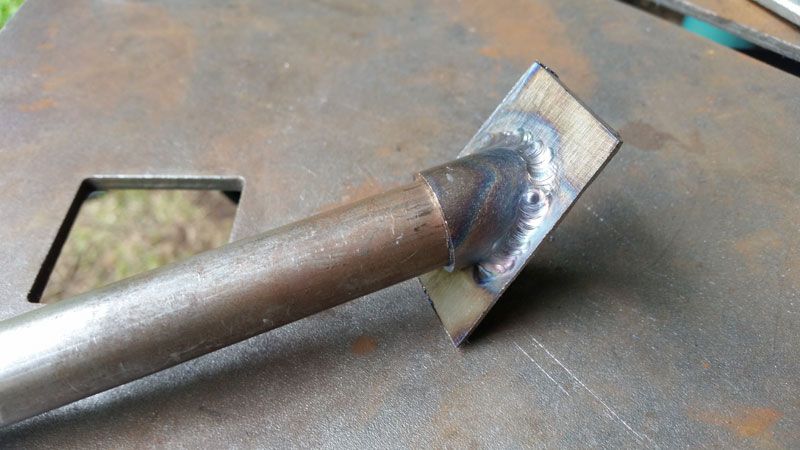
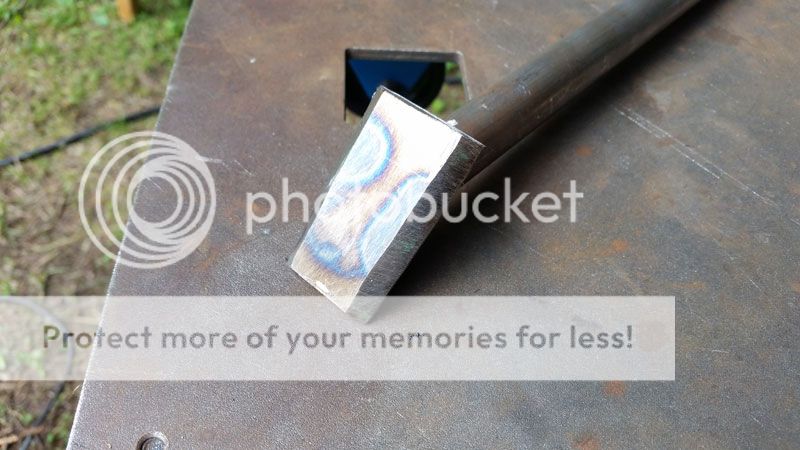
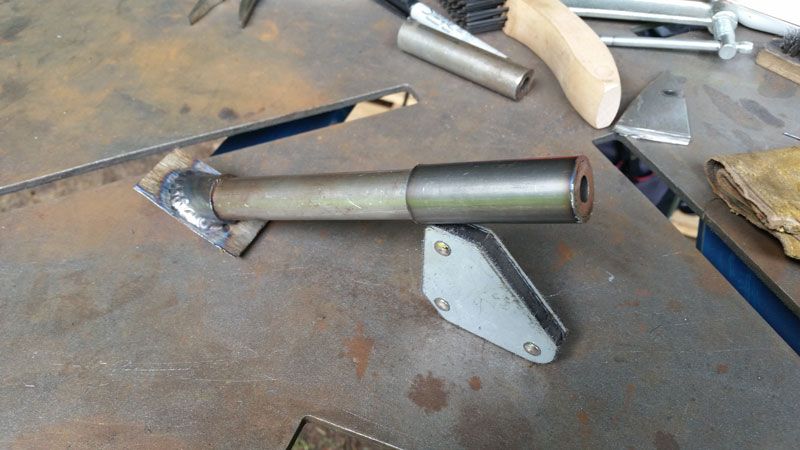
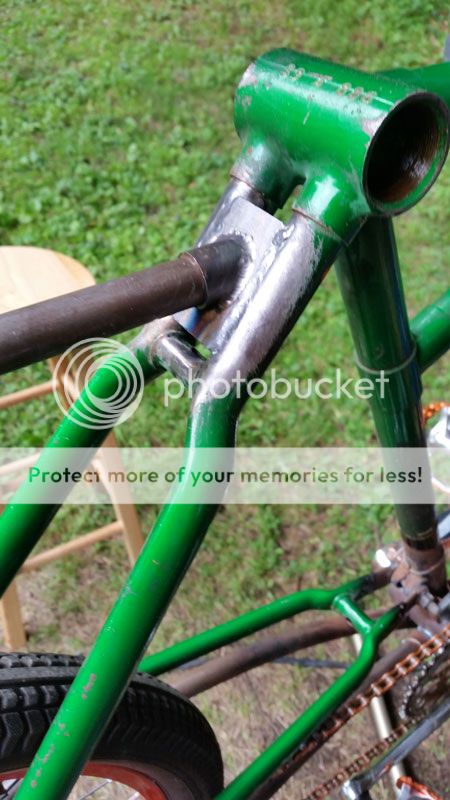
We left off with the seating situation. I wanted to keep the original bottom bracket open so that I could match it with the chrome inserts in the cross tube of the forks. I also was going to need to have the seat back quite a bit. So I made straight tube extension with "lugs" that would fit the mounting bracket of the seat. Then I welded it into the back of the frame with a piece of plate.


This left me with plenty of room to move the seat up/down or further back if I needed it.


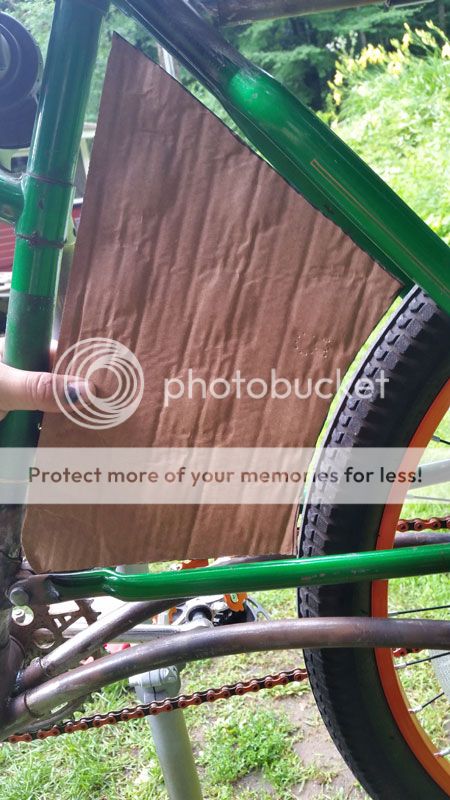
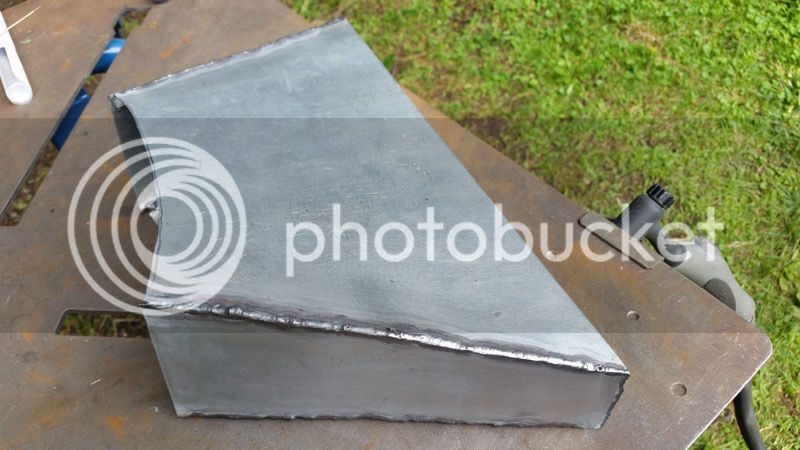
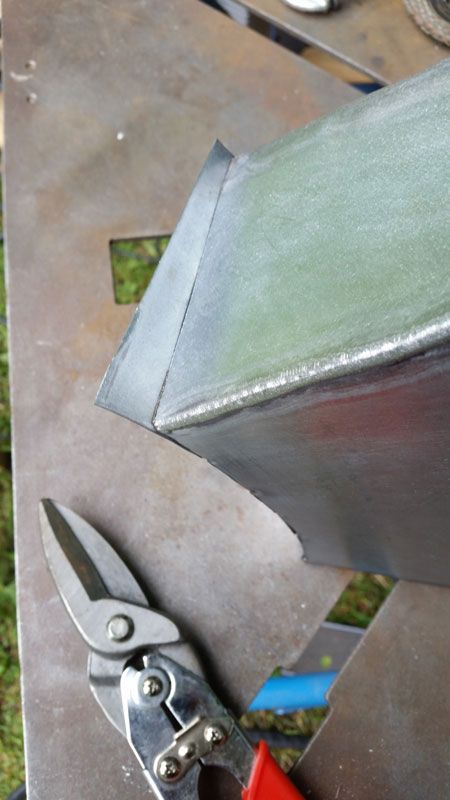
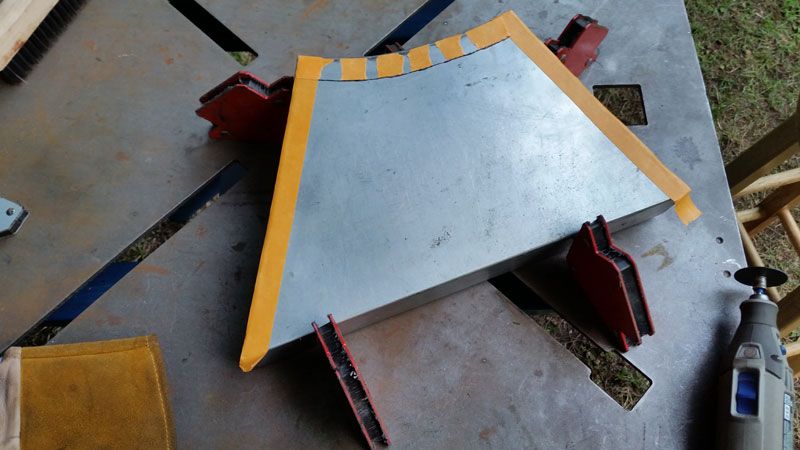
I made a ton of extra room between the rear tire and the center of the frame when I moved the tire down and back. Inspired by some of the builds I've seen on here, I decided to fill it in. A panel wasn't going to cut it; it needed to fill the space. I mocked up the side with a piece of cardboard.


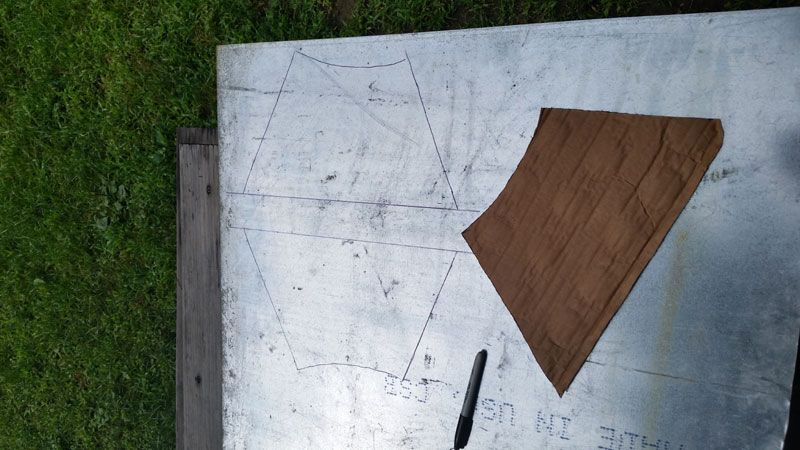
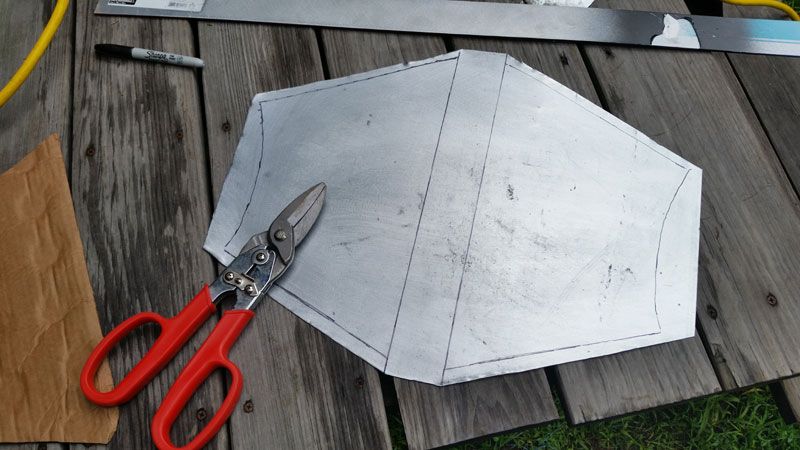
Then I marked it up on a piece of sheet, accounting for the width I wanted at the seat tube.


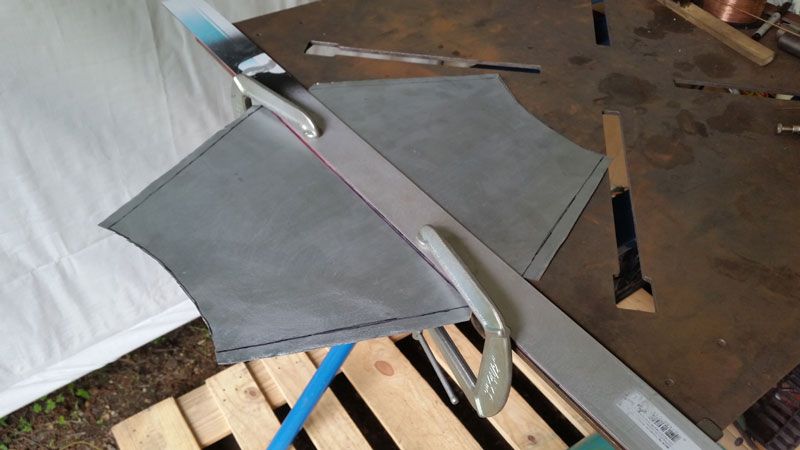
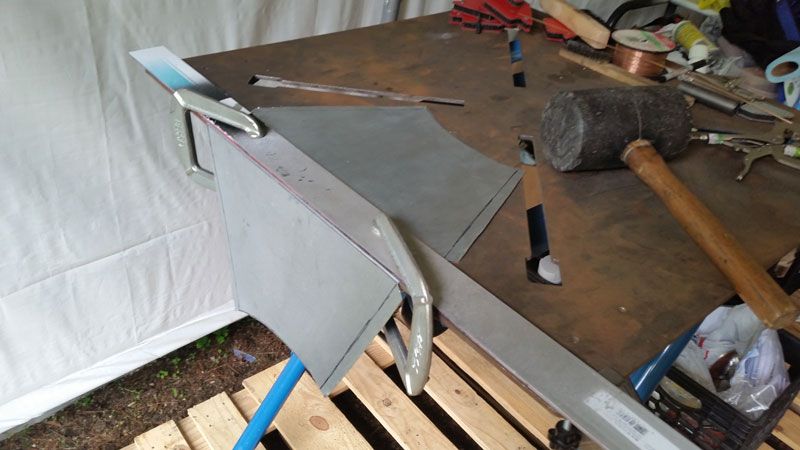
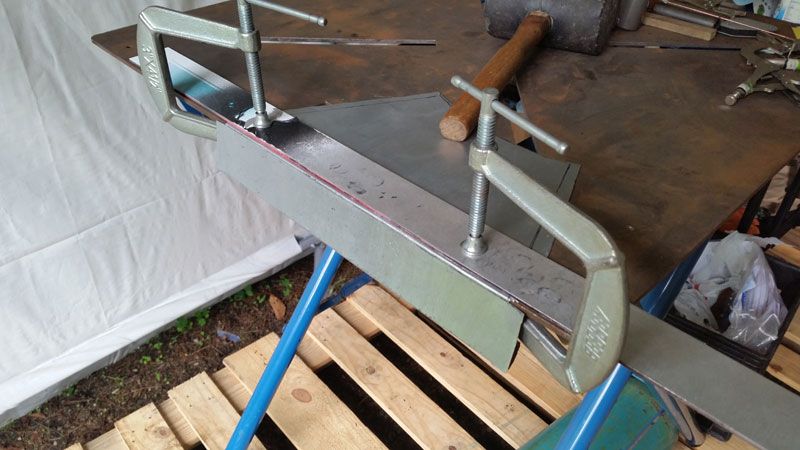
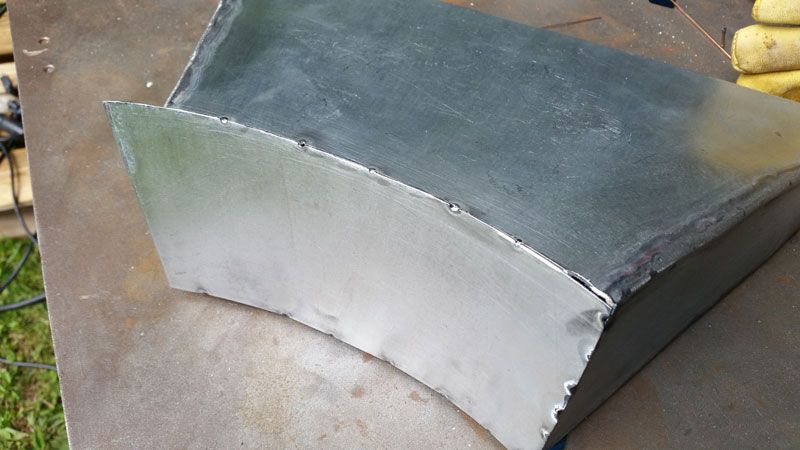
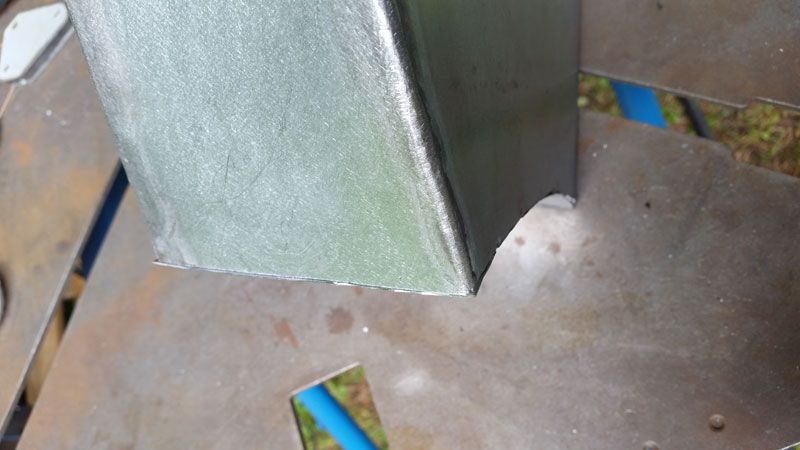
I cut it out with enough room to leave tabs so that I could weld the edge panels on. My sheet metal brake is in storage, so I bent the sides over the edge of the welding table.


In order to bend the tabs I used the Dremel to make a groove along the inside of the bend.


A little welding later and I had the top and bottom all attached.


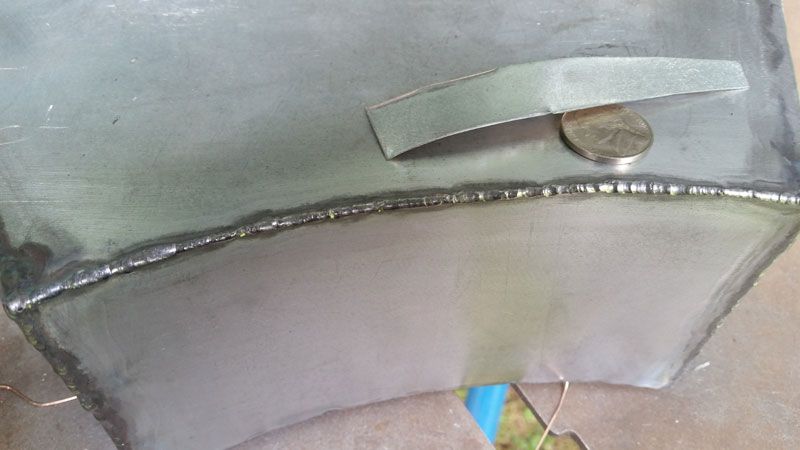
The back was going to need a little more finesse. There were no tabs here so all of the welding was going to be edge to edge. I started with one edge, tacked it along the sides, cut the excess off, and finished the welding.


At this point, I have to say I LOVE TIG! Cranked the amps down, put a nice fine point on the tungsten, and grabbed some 0.030" MIG wire. (Scrap and nickel for scale.)


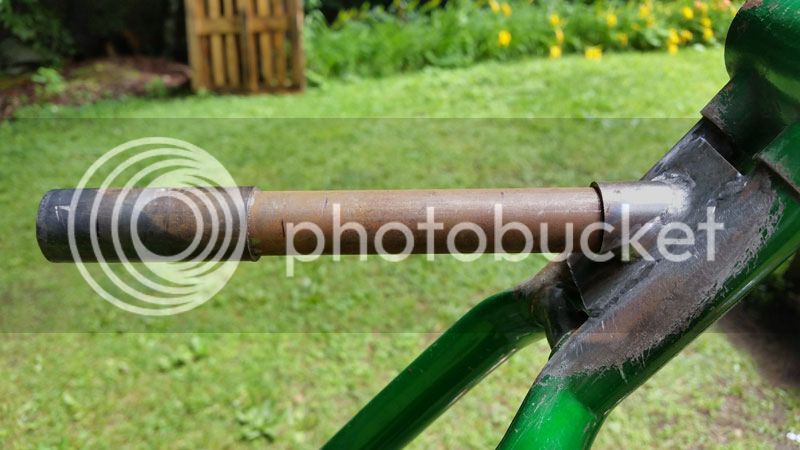
When I set the box in the frame, the frame filled in and made the seat post look like it was just hanging out in the middle of nowhere. So I cut a section out of the post, beveled the edges for a solid weld, pinned it to keep it straight, and welded it back together.


Okay, so for my 100th picture of the build I figured I'd post up a pick of how it stands.


I'm going to run into too may pictures in a post so more progress on the filler box and paint to follow shortly.
 
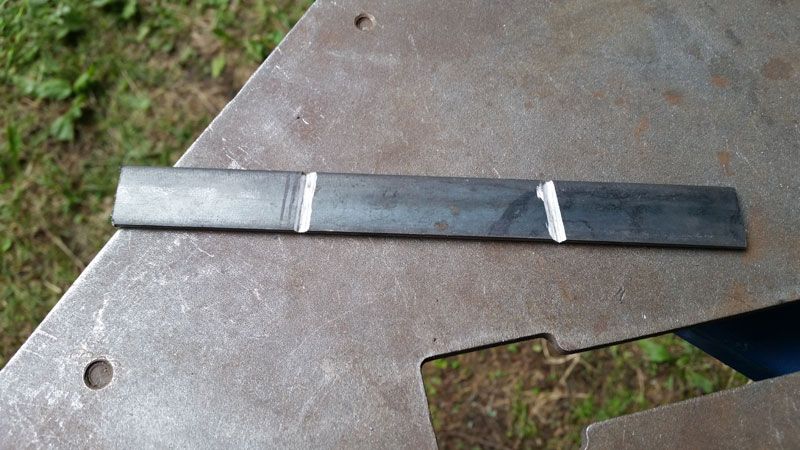
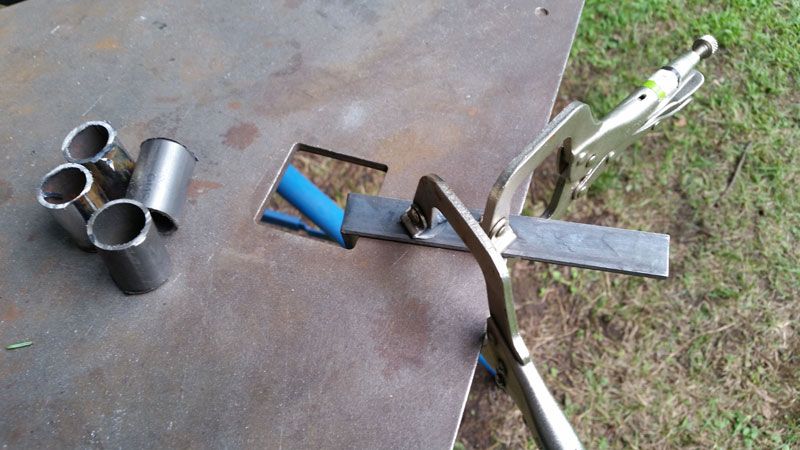
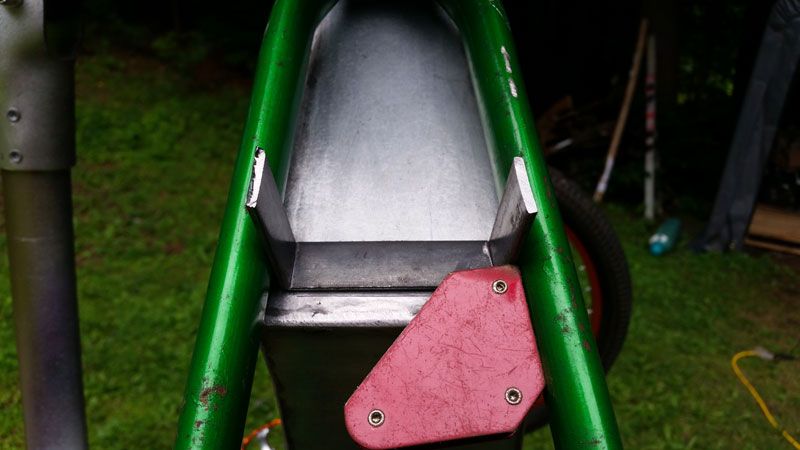
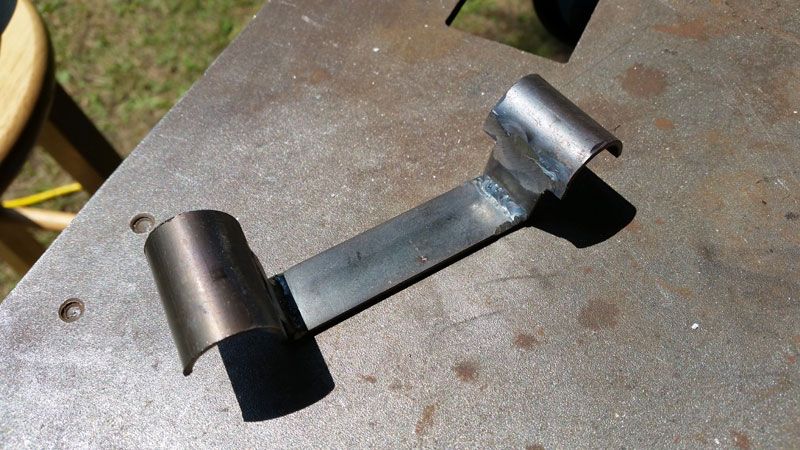
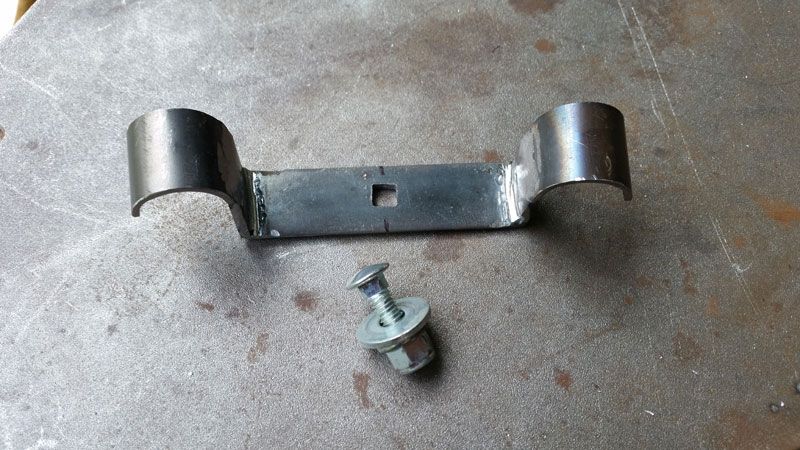
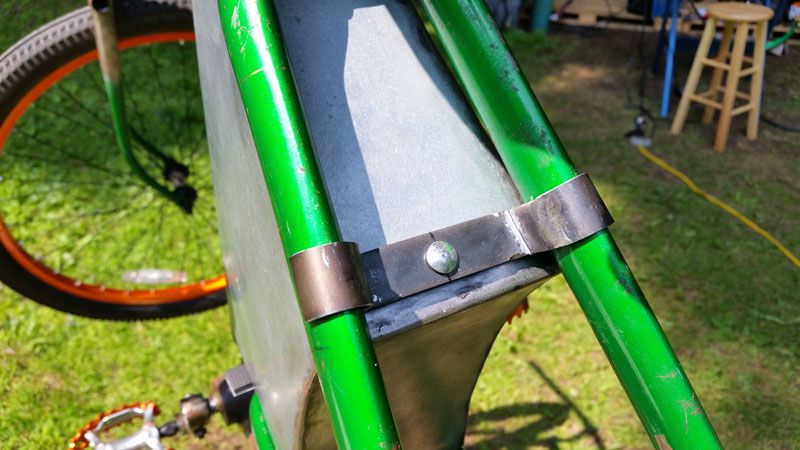
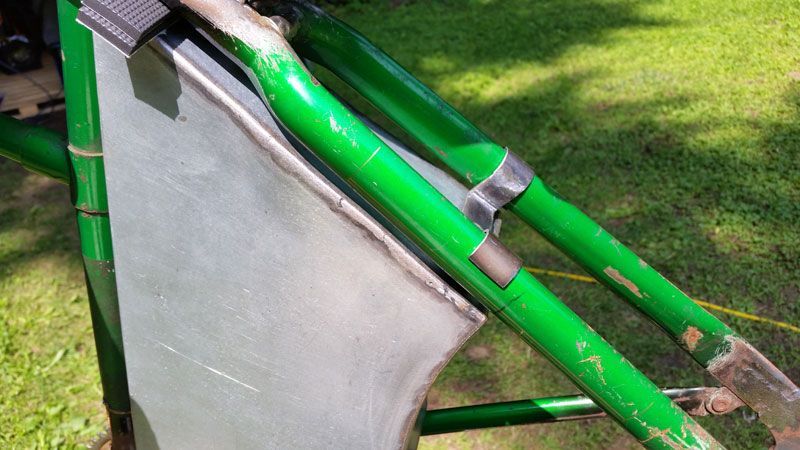
For mounting the box, I wanted to make something that wouldn't entail more modifications to the frame. So I made some clamps that would fit over the frame. I grooved a piece of flat stock so that I could make tight bends.


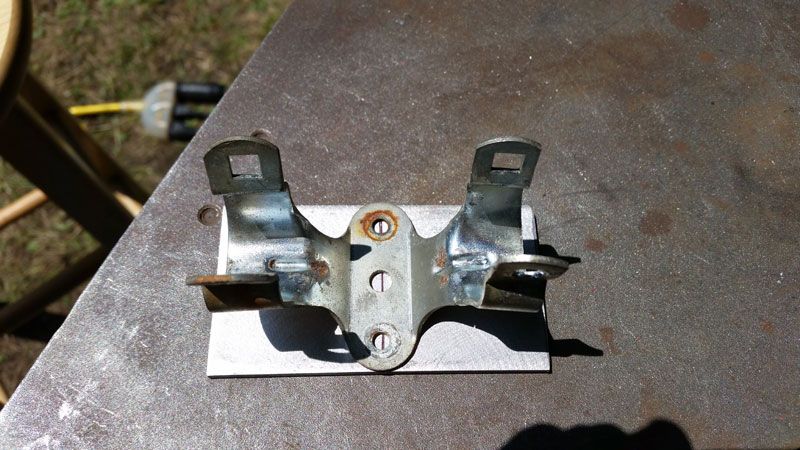
I welded on couple pieces of tubing cut in half lengthwise and squared out a hole for a carriage bolt. A similar one was made for the bottom of the box. Foam pieces will keep the front of the box wedged tight in the frame.


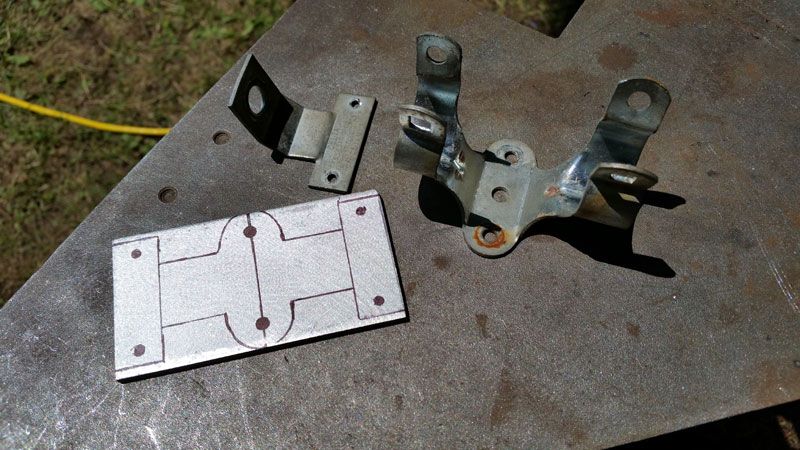
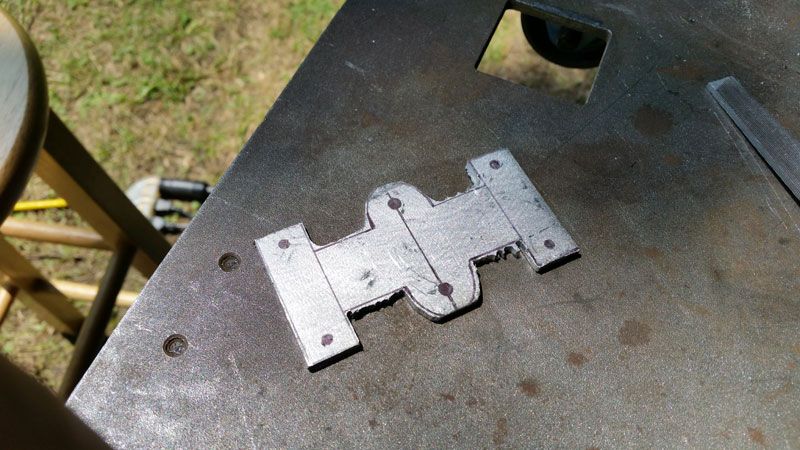
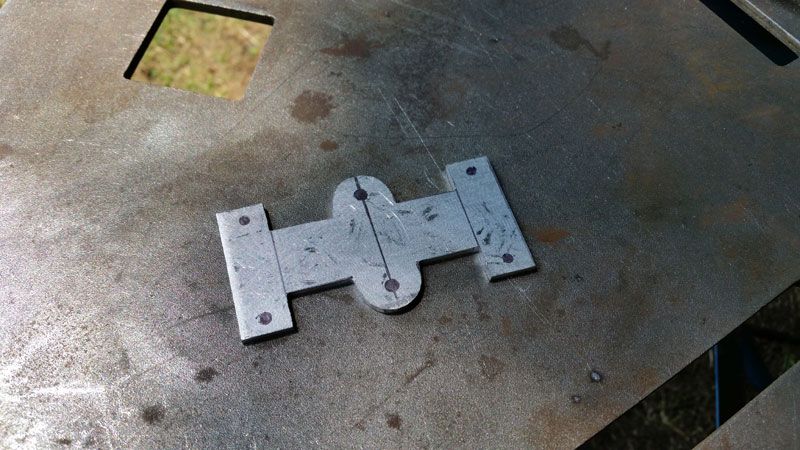
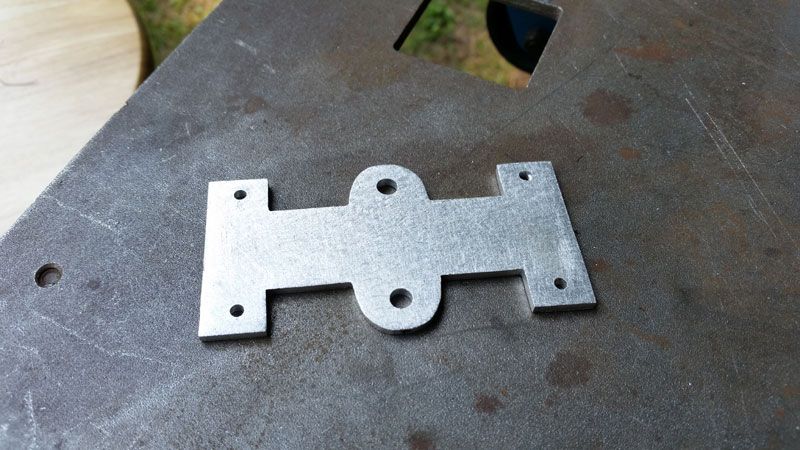
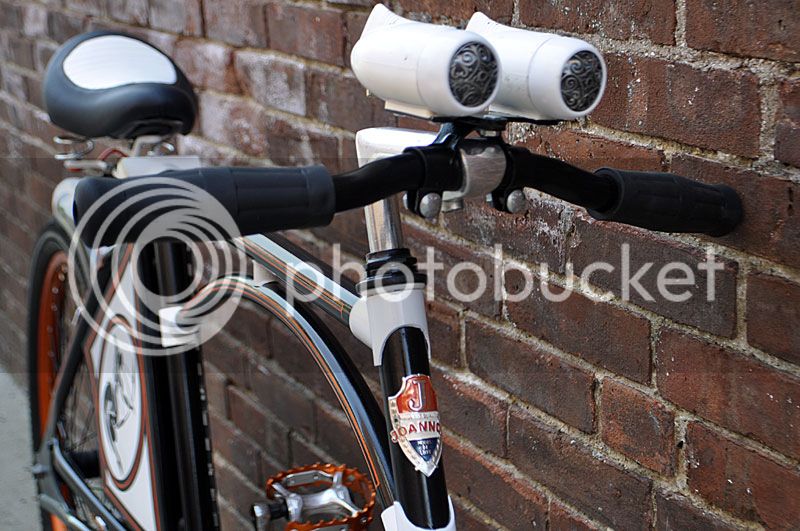
I took a little bit of a break from the box to make a mount for the headlights. I wanted to convert the handlebar mount for the single headlight to a dual headlight mount. A piece of aluminum sheet was going to work out well. I marked it out, cut/ground to rough size, filed to finished size, and drilled it out for the bolts & rivets.


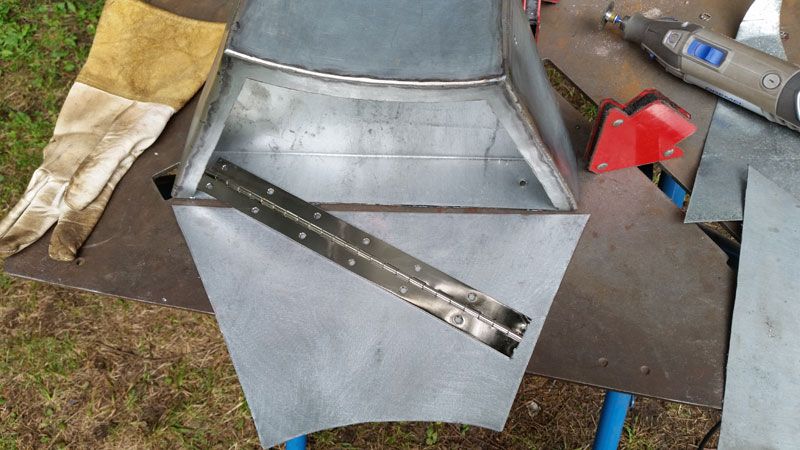
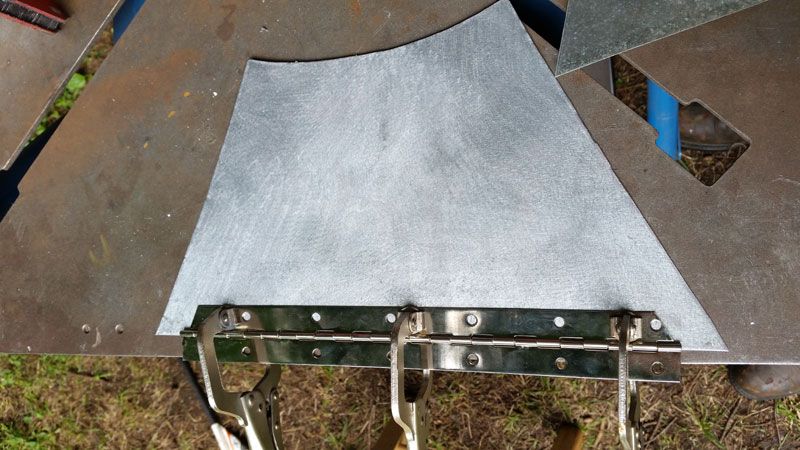
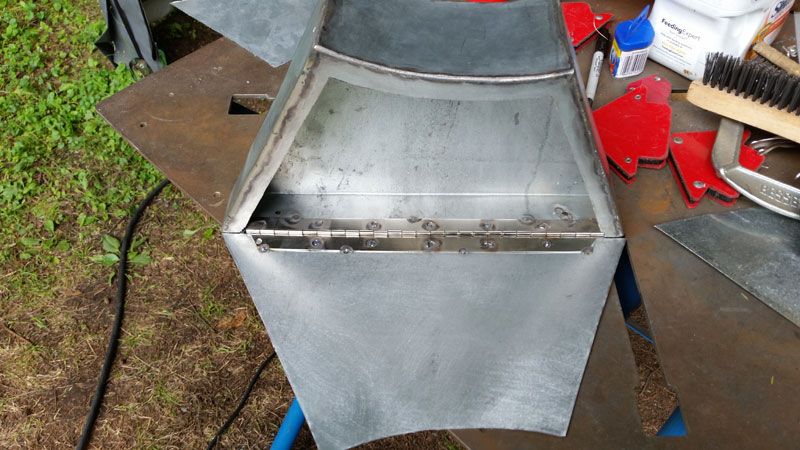
Now back to our previously scheduled programming: The filler box was just a visual item at this point. I figured it was time to make it useful. I cut another full side to cover the side I opened up. Using a section of piano hinge, I attached the door to the box. A couple of magnets in the corner of the box hold the door closed. Now I've got a storage box.


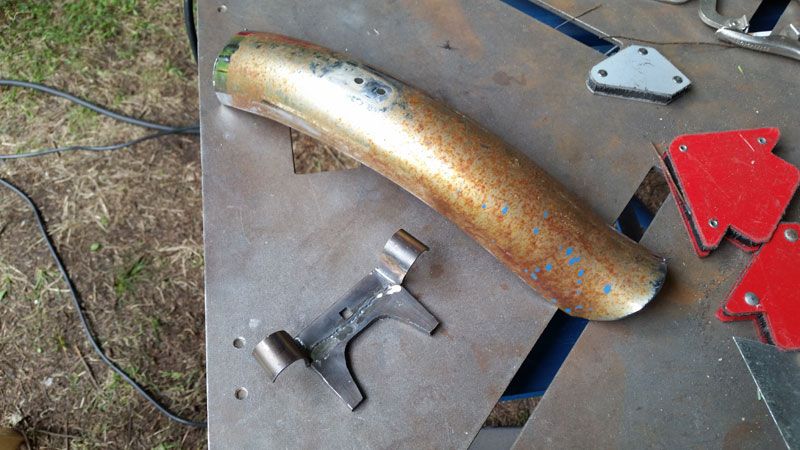
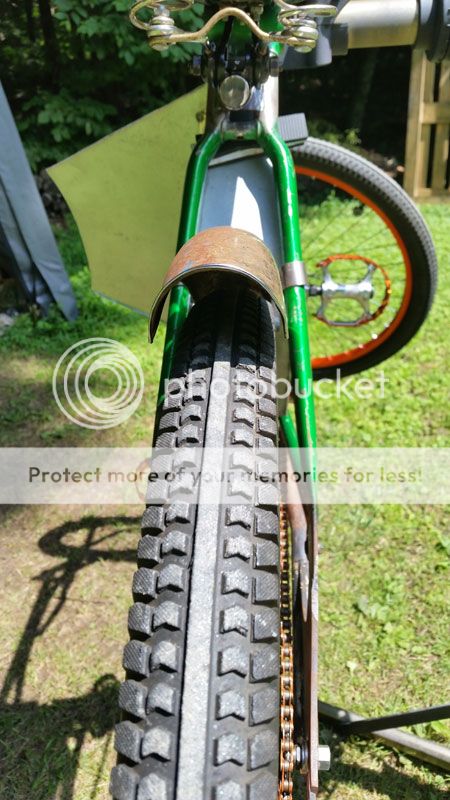
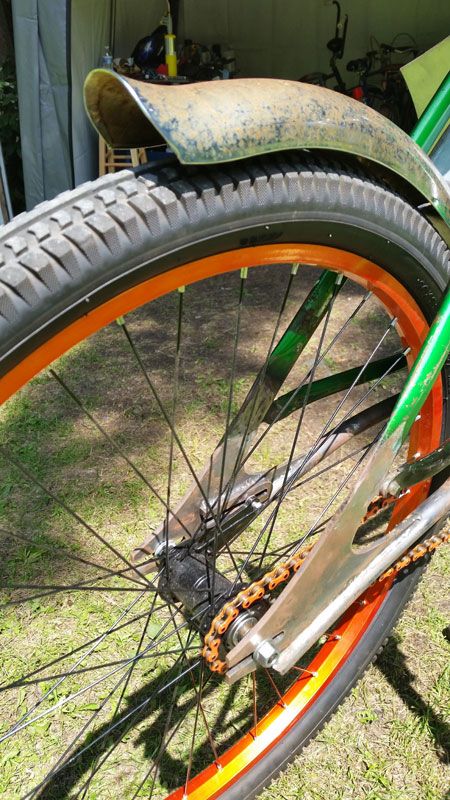
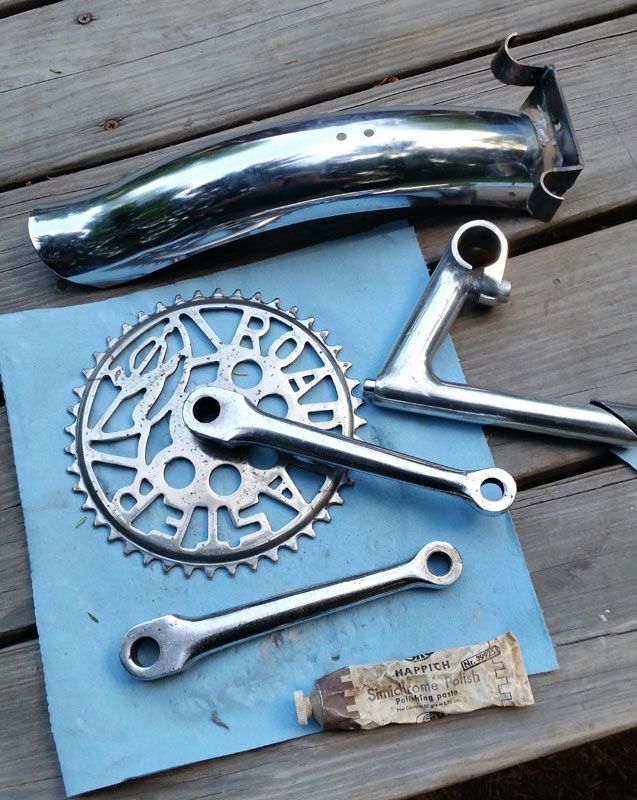
After wrestling with how to mount a section of 24" fender to a 26" bike I settled on using the storage box mount. That meant I had to modify the mount to create a base for the fender to be welded.


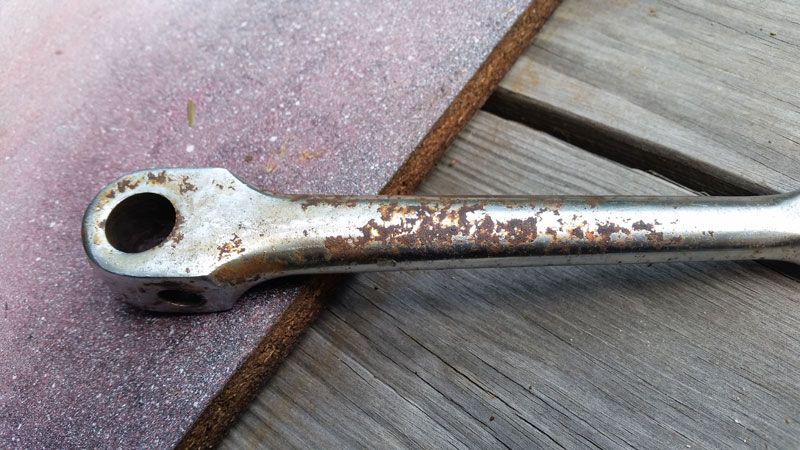
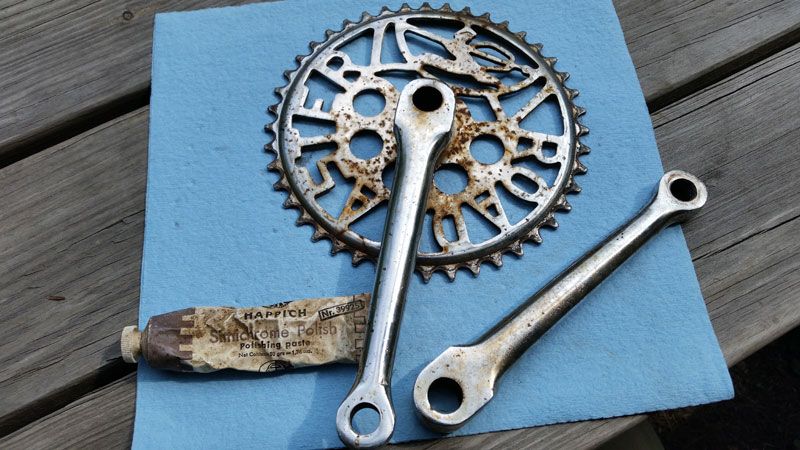
Okay, so that should finish up the largest portion of the mechanical. Time for finish work. I wasn't sure if I was going to be able to resuscitate the finish on the cranks an d sprocket.


A little attention from a stainless steel brush on the dremel and the majority of corrosion came off. So that meant there was a chance. If I was going to revive old school parts I was going to need some old school polish.


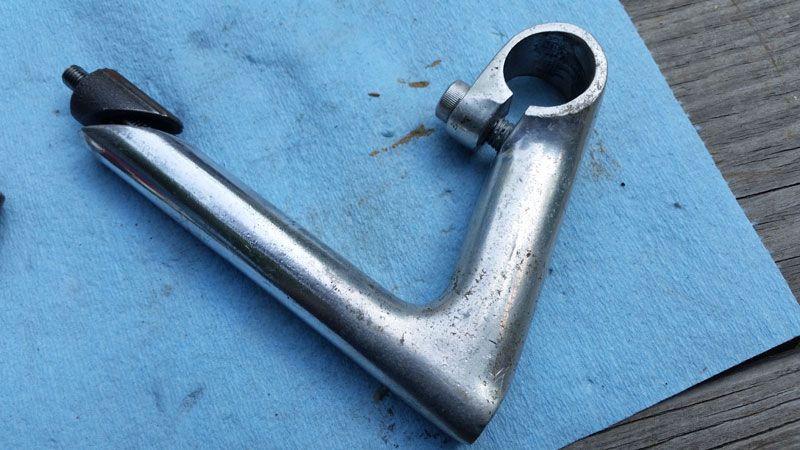
Hey, this stuff is good for aluminum too, right? Let's see what I can do with this...


Let's take a look at what a little elbow grease and some polishing compound will do:


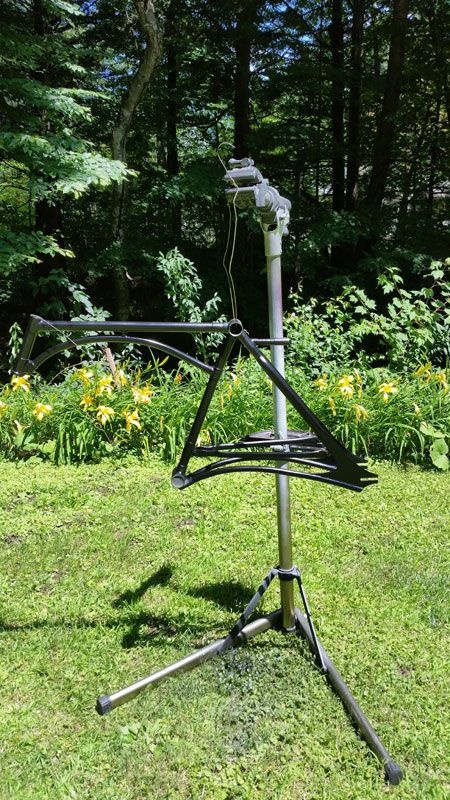
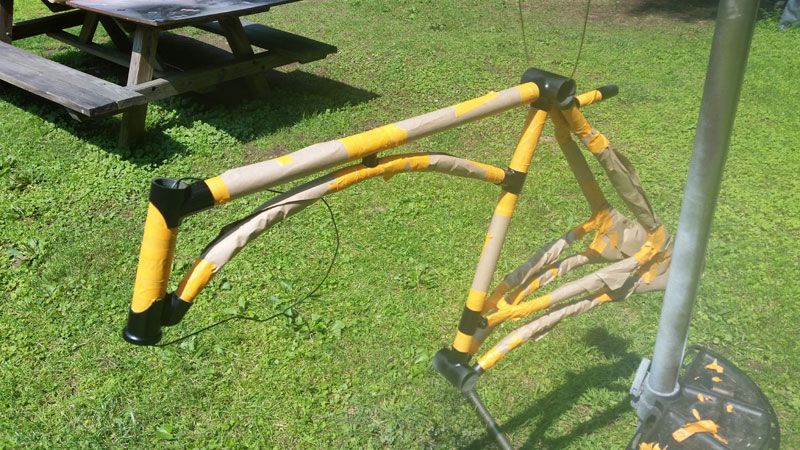
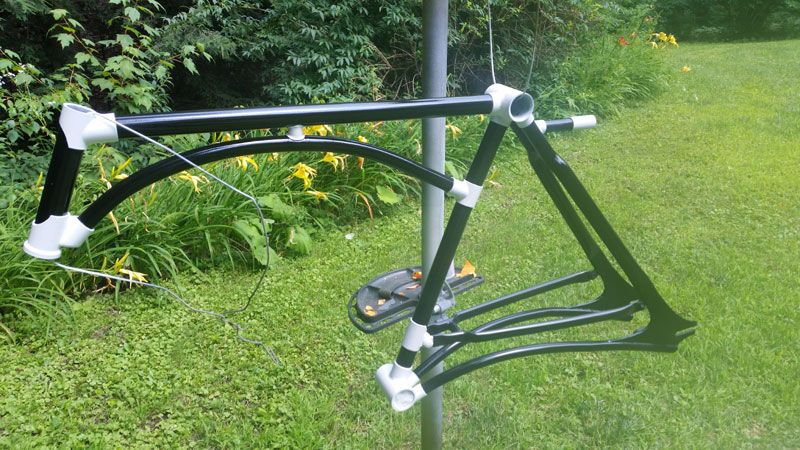
Now on to the paint. After a bit of Bondo and self-etching primer, I put on the primary color: gloss black.


Brown paper packages tied up with tape.....


Gloss white lugs.


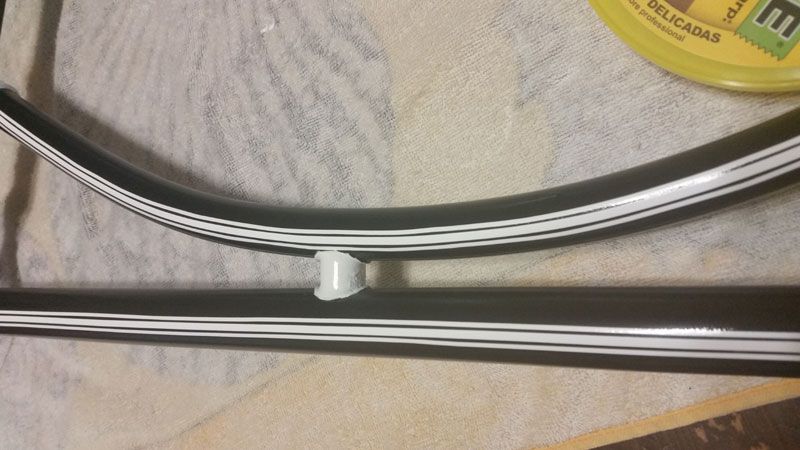
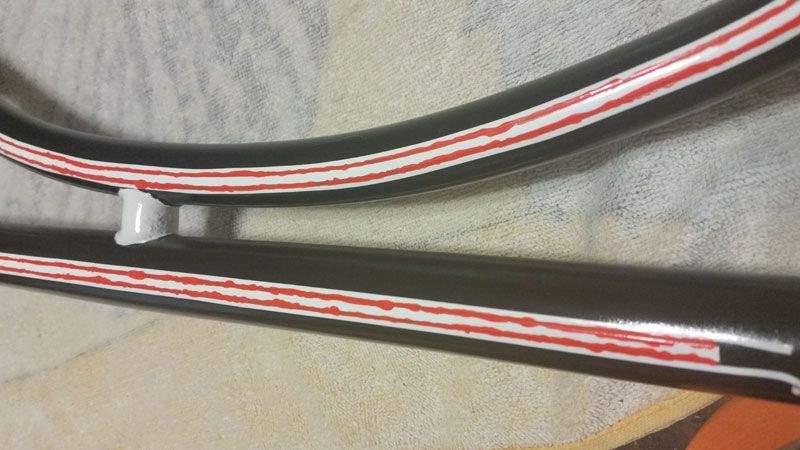
Laying out the masking for the pinstripes. (My artistic skills do not extend to freehand pinstriping.)


You're going to have to wait to see how they came out..... Mua ha ha ha ha!

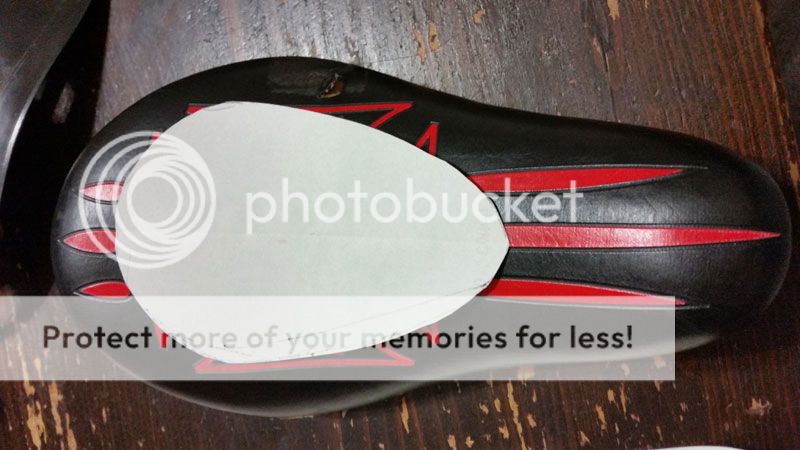
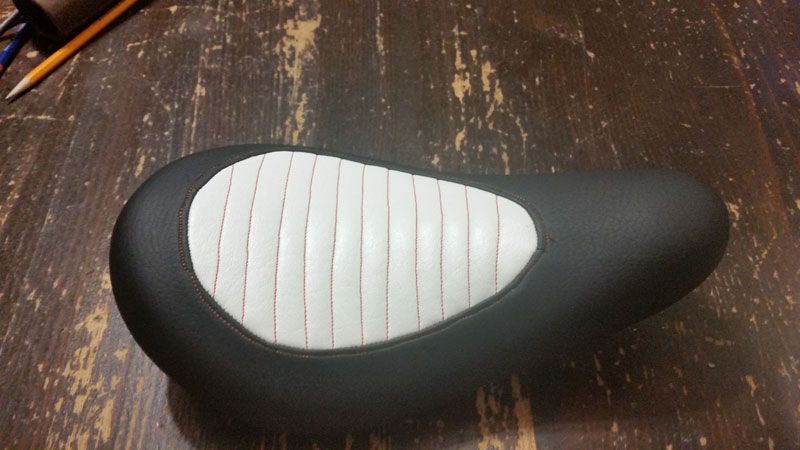
The seat wasn't going to jive with the rest of the bike. Even if I could paint the red to orange, it was going to still be too busy. It's been countless years since I had home ec. but I have access to a great coach with professional tools. My mom used to do reupholstery and has a bunch of industrial machines for her quilting. So with a bunch of coaching I made a custom cover for my custom seat. I started out with a plan for the size/shape of the insert I wanted.


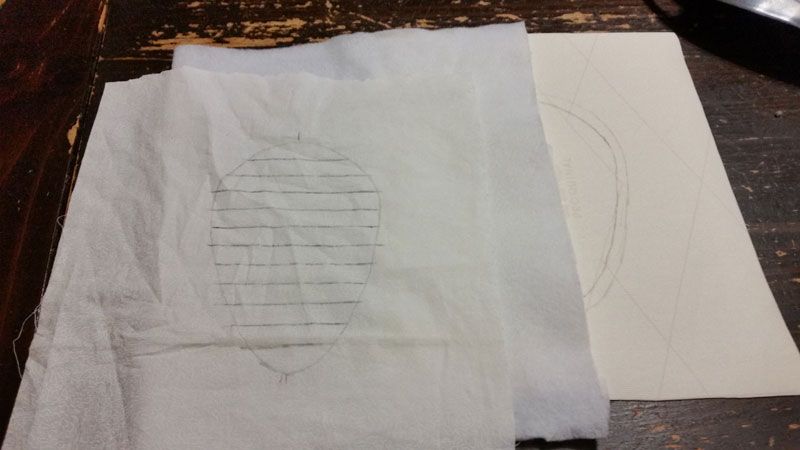
Some white vinyl, a couple layers of batting, and a piece of backing cloth with my stitching pattern.


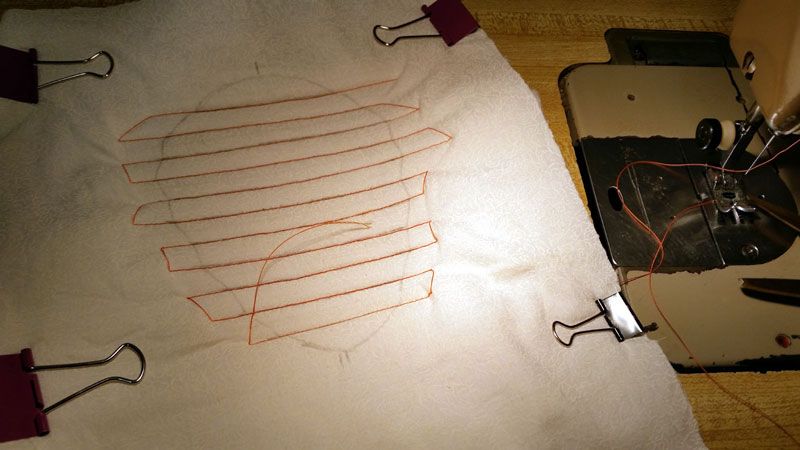
All stitched up with orange thread.


Marking the center and shape of the hole to cut in the black vinyl.


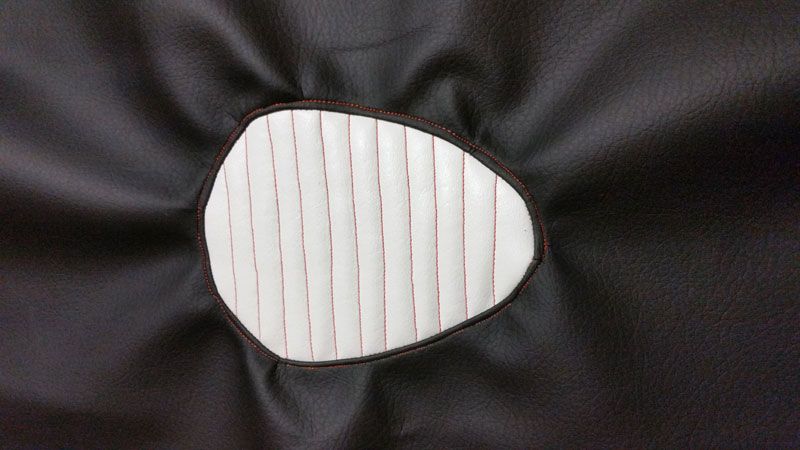
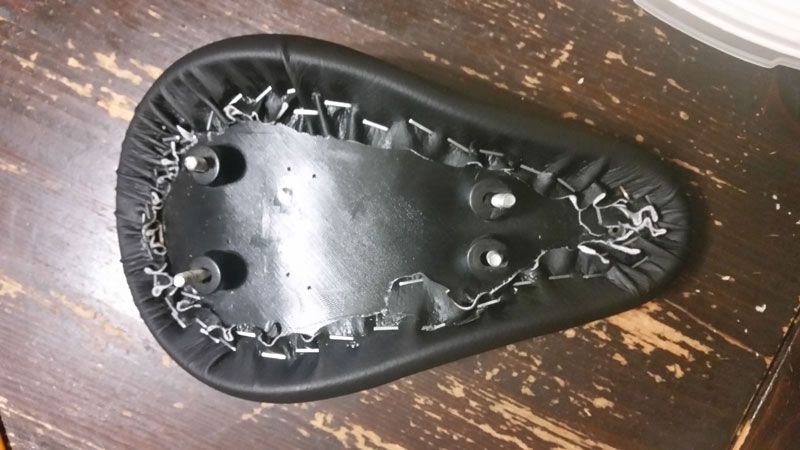
All sewn in. You can see how much of a PITA it was to try to sew the insert into a single piece of surrounding vinyl. I was assured that the hair dryer and a bunch of staples could solve this problem.


Okay, so if that's the case let's staple the living crap out of this thing. (I covered over the original vinyl.)


So after heating, pulling, and a bunch of staples:


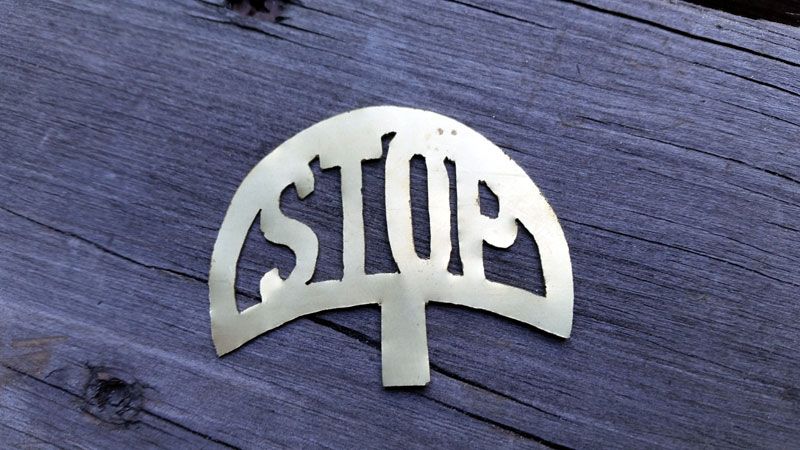
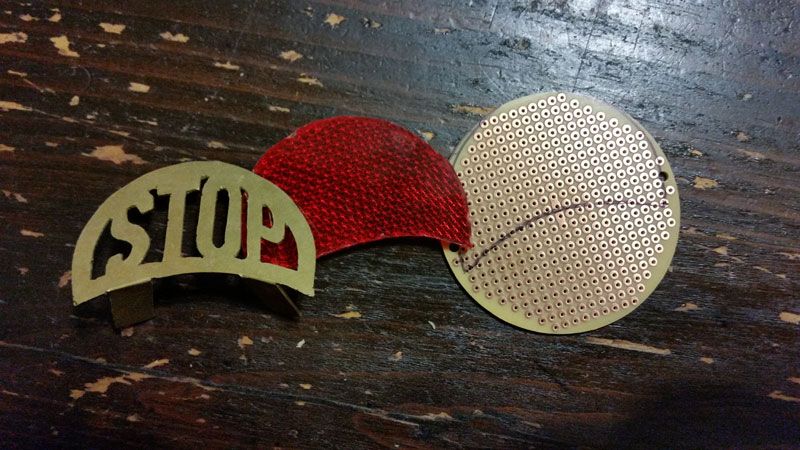
As parts and projects were checked off the punch list, it had come time to tackle the taillight. I printed out the design I wanted, stuck it to the brass with some contact adhesive, and cut it out on the scroll saw. A little filing and shaping later and I was ready to braze it into the base.


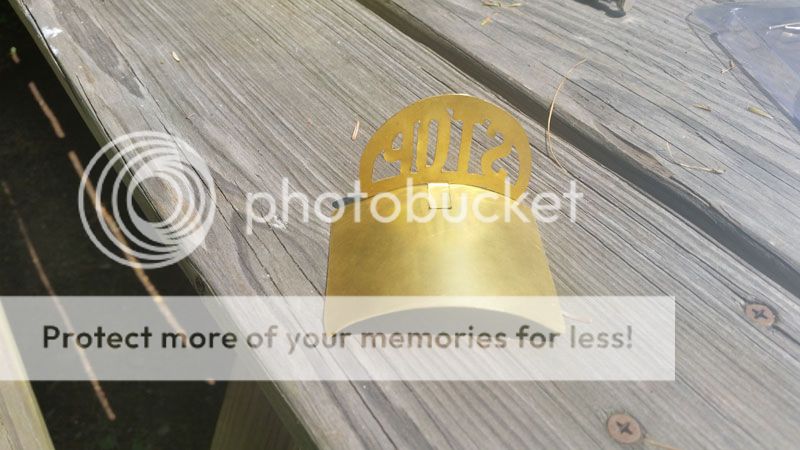
That's where things went wrong. The MAPP torch I normally use to do my brazing was a little much. I melted right through the letters pretty much instantly.

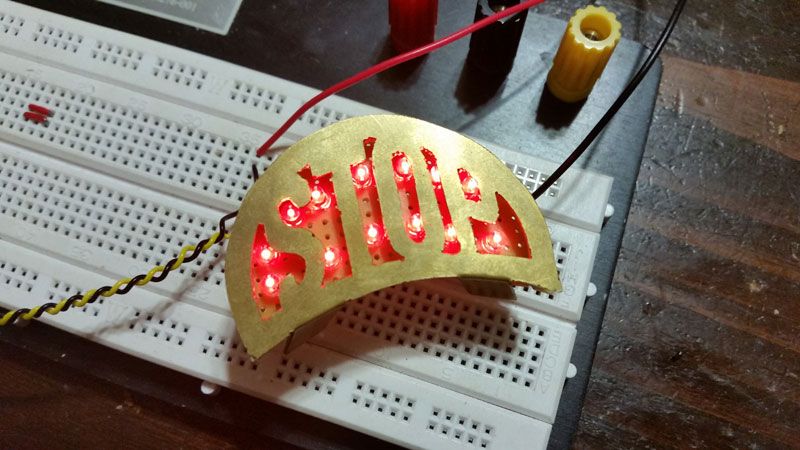
So I grabbed another, thicker, piece of brass and started over. I shaped a reflector & a piece of blank circuit board and soldered in some LEDs.


Final paint and pictures to come before the deadline. I promise.
 
Okay, I made it! I promised you that I would. The weather was giving me some heart palpitations, but I forged on through.

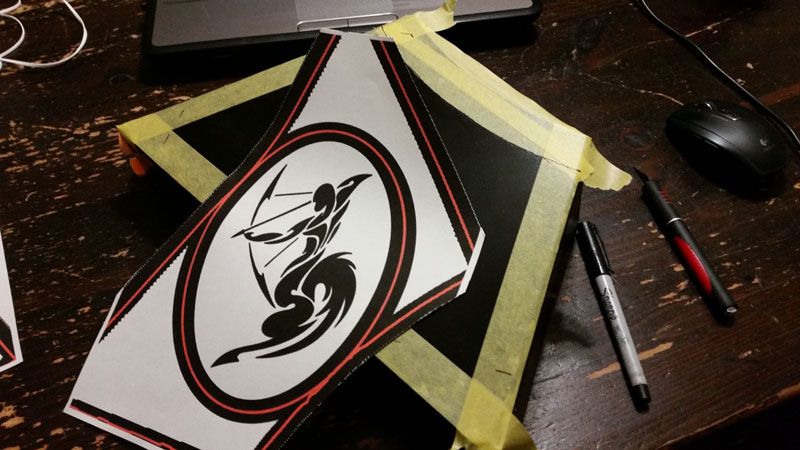
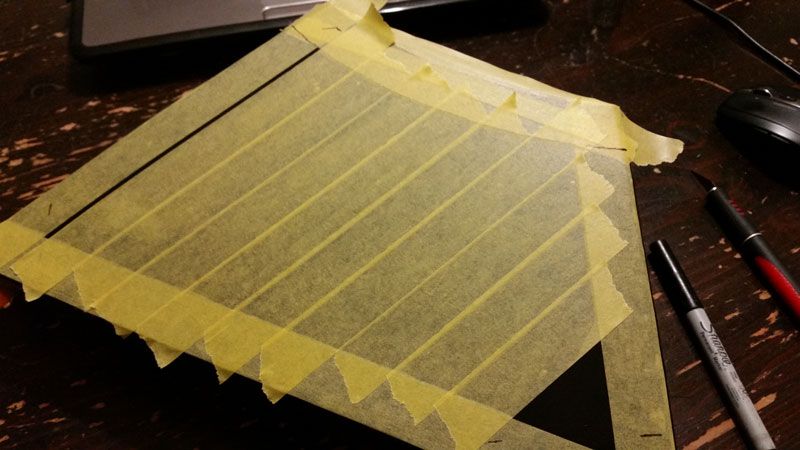
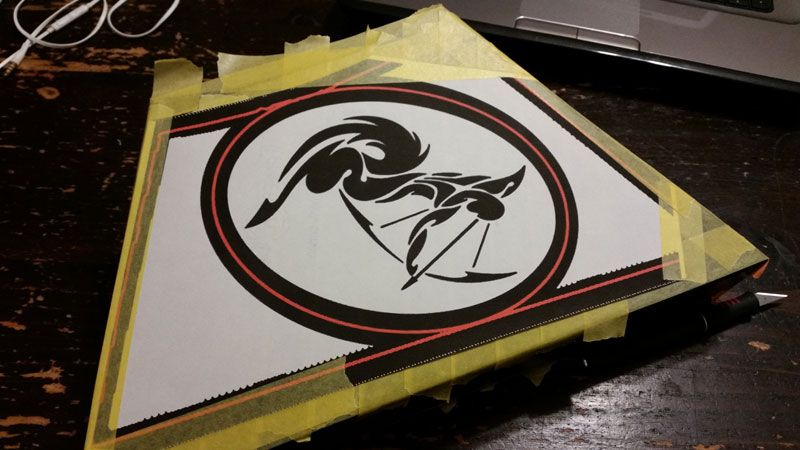
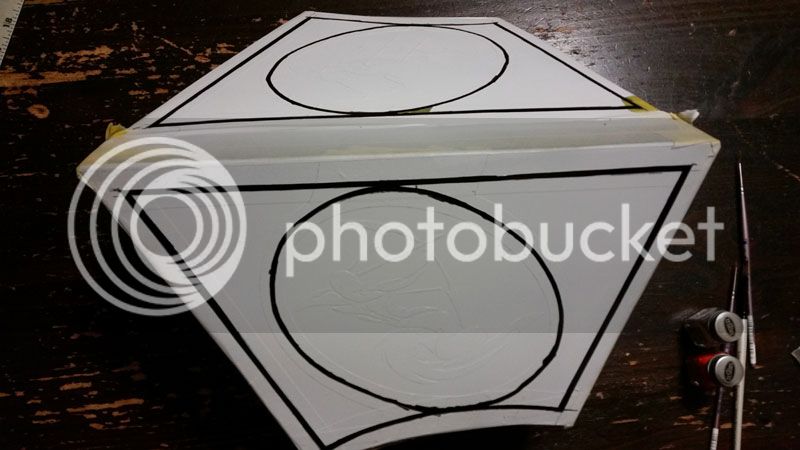
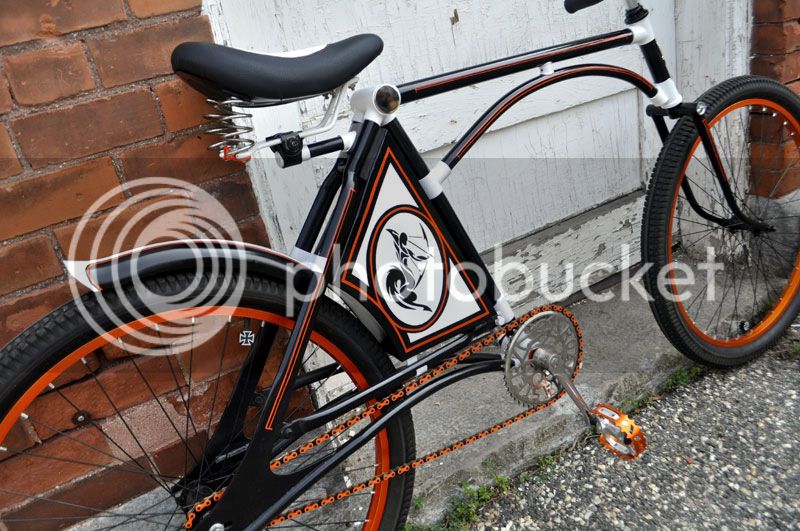
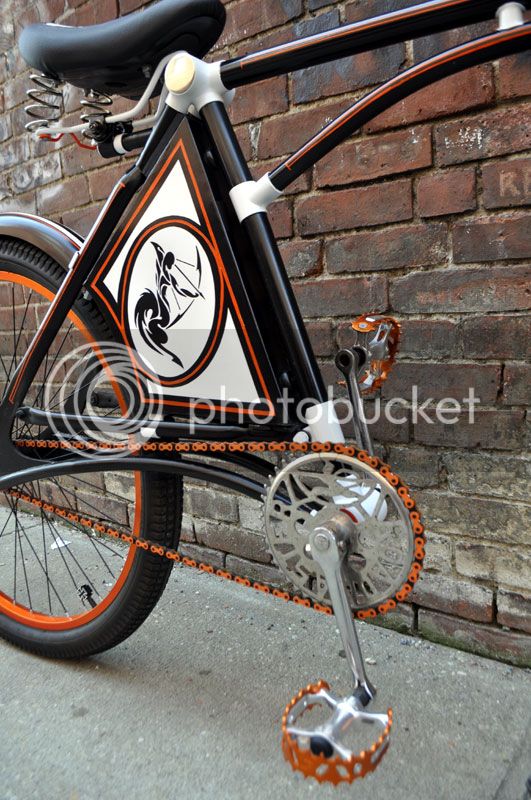
We left off with the light, so pretty much the only thing I had left was the final paint on the storage box. I wanted a design that was going to pick up other parts of the bike. The color scheme was a given, but the image was going to take a little more effort. I decided that the centaur in the sprocket needed to be emphasized. (Yes I know it's technically a satyr, but I'm going to say it's a stylized version of a centaur.) After laying down the base coat of black, I taped off the edges, figured out the design placement, laid out the tape to mask off the design, and taped on a print out of the design I wanted to paint.
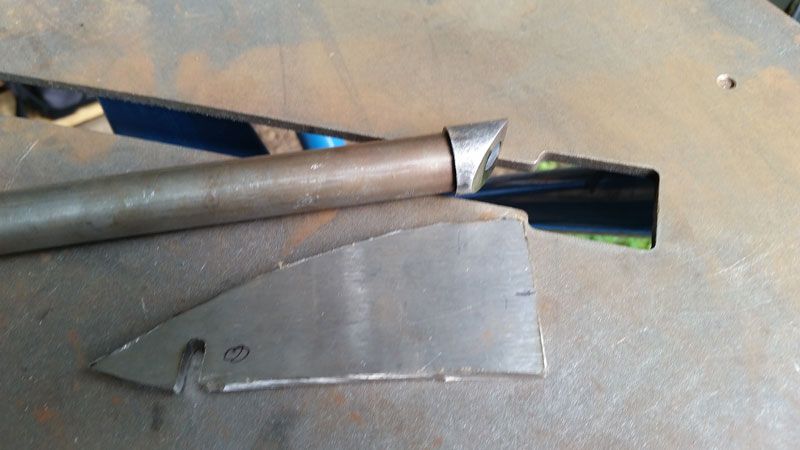


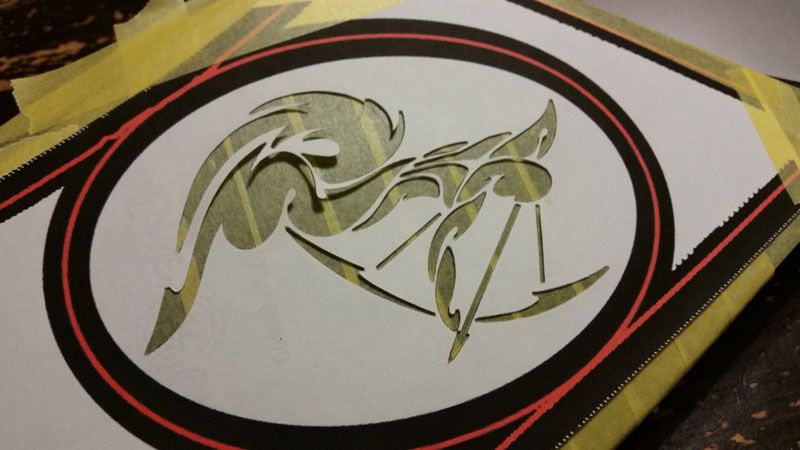
I then took an X-Acto and cut along the lines.
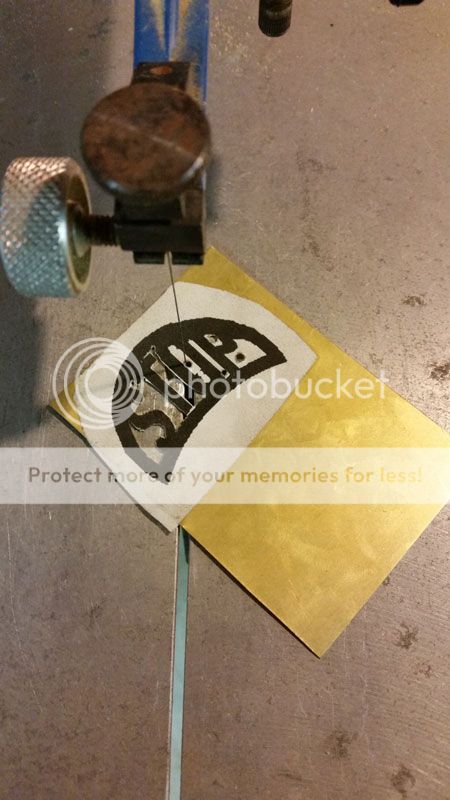


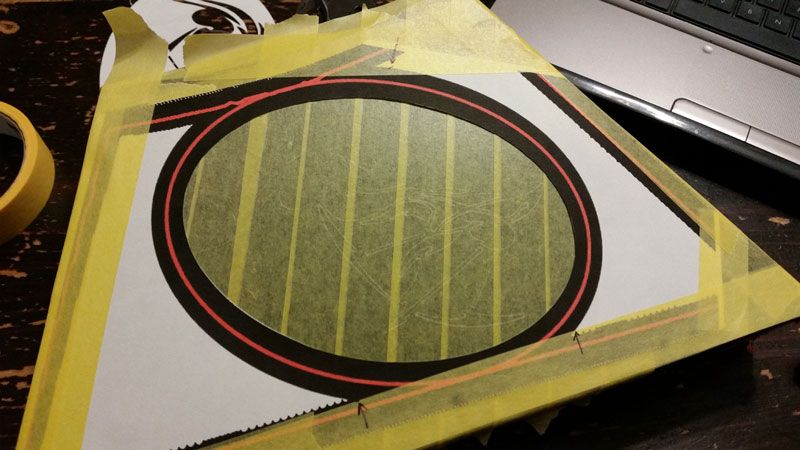
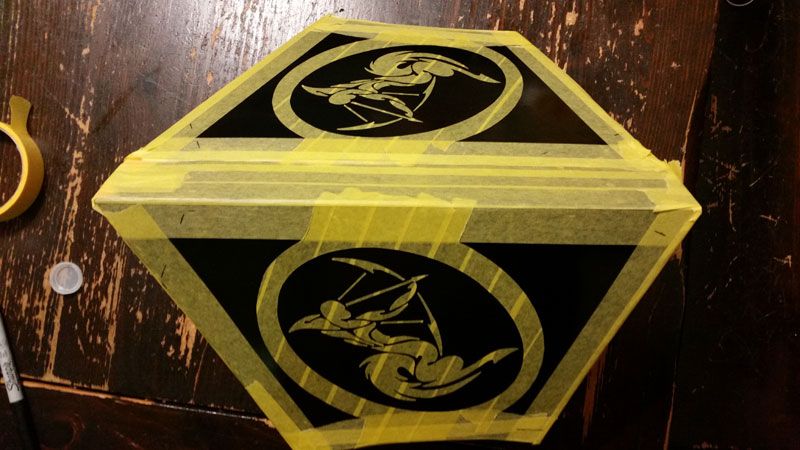
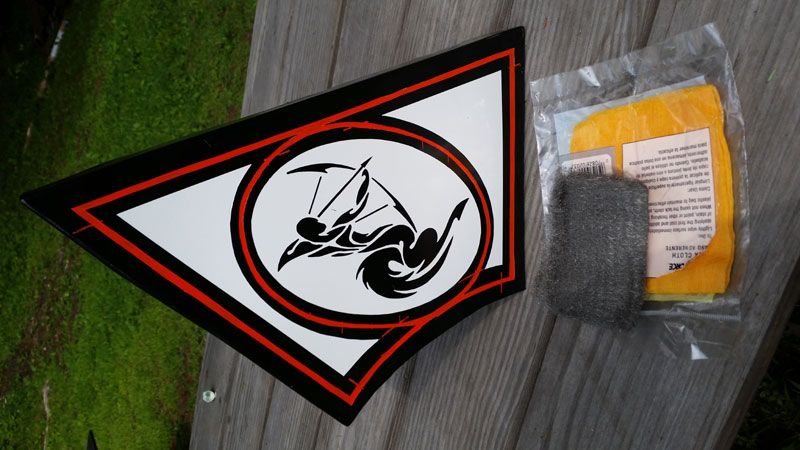
After all the cutting, I weeded out the pieces of tape where I wanted the white. After spraying on the white, I marked off where I wanted the orange pinstriping using a magic marker.


My choice of using tape instead of contact paper and brushing on the orange instead of spraying it came back to bite me in the .... There was all kinds of bleed through and plateauing. I took care of the plateauing with some fine steel wool and painted over the holidays with a small brush.


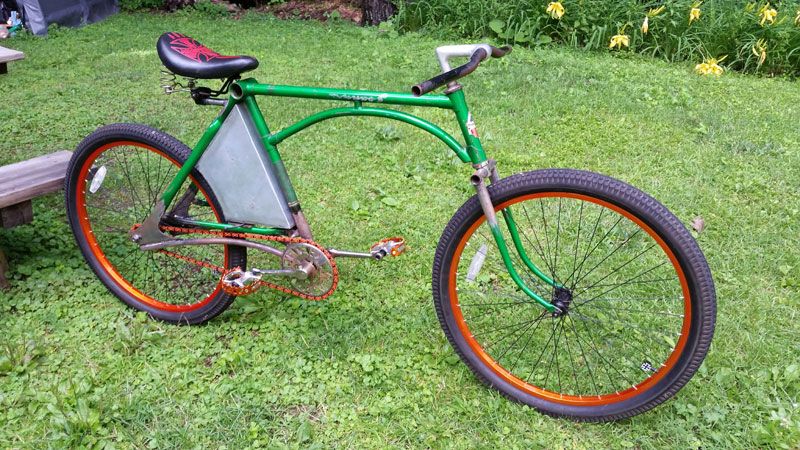
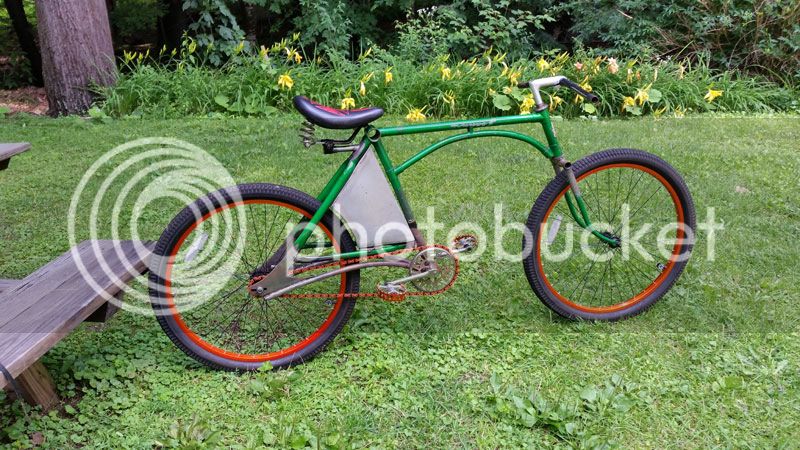
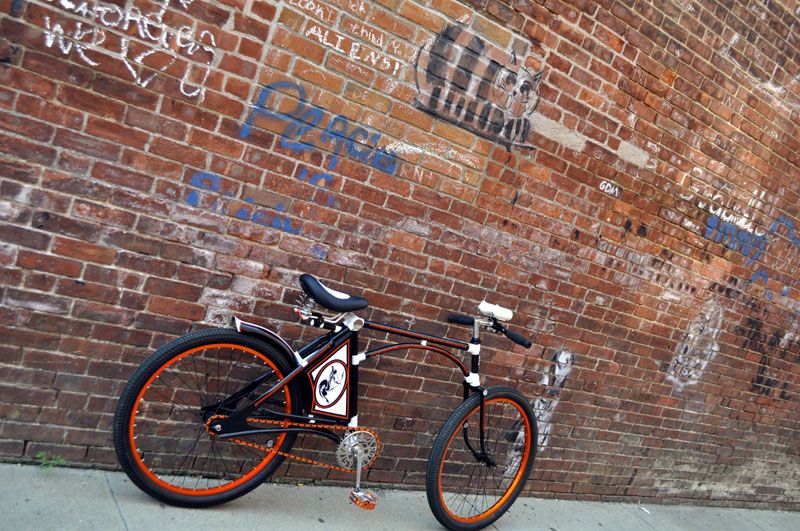
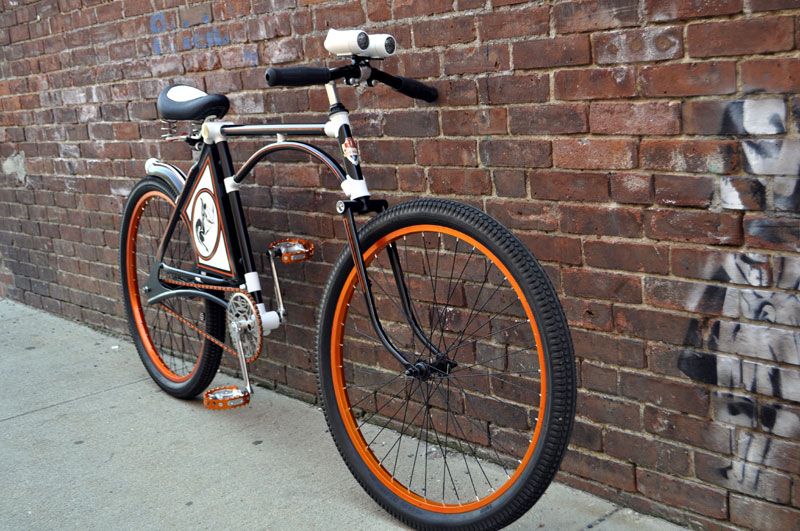
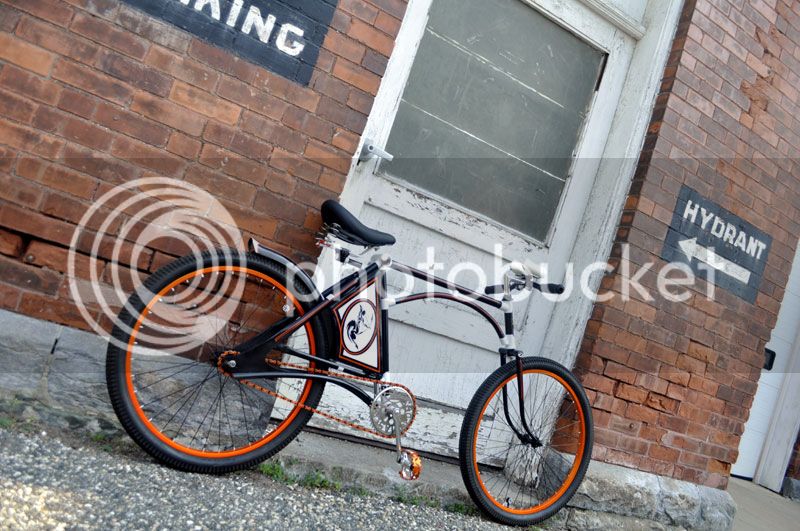
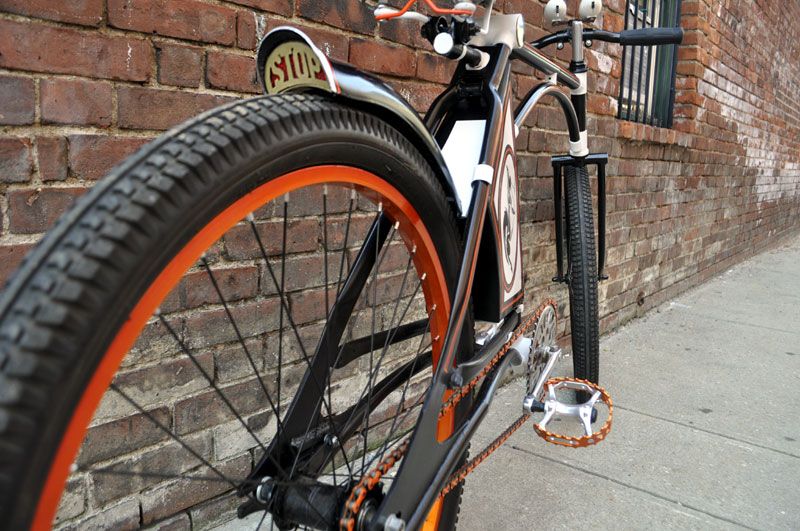
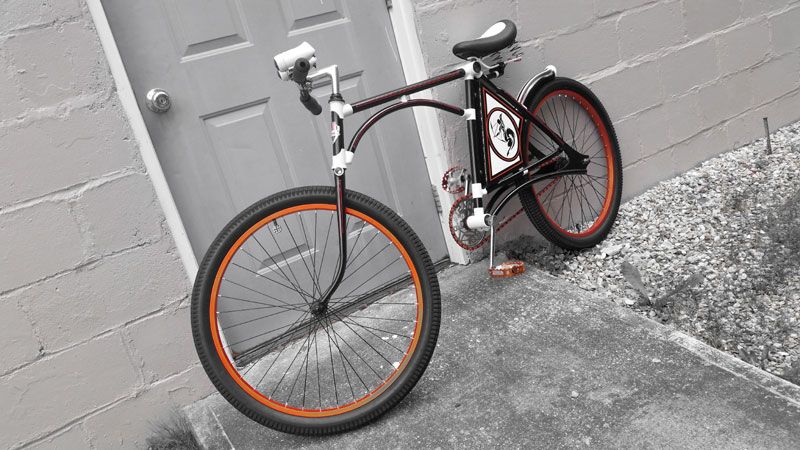
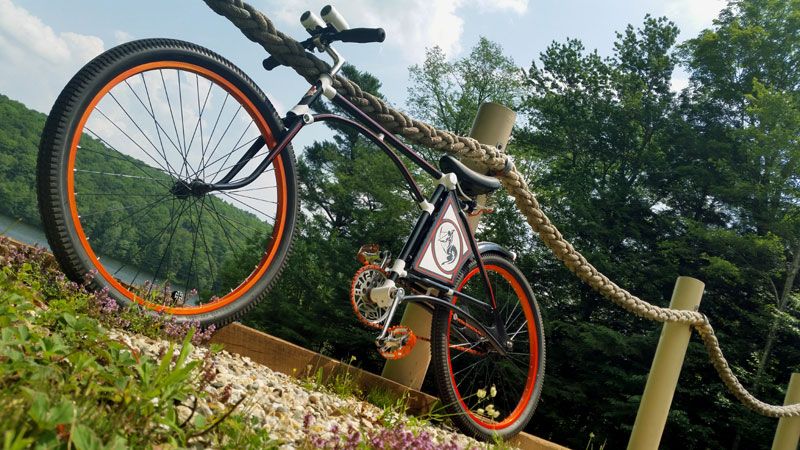
So that's it. Time to assemble all the parts and take some beauty shots. After getting it together I was starting to think of what I wanted to call this bike. "Trike Trimmings" was more of a description of the parts I was working with than a true name. So combining the Frisco style motorcycle theme and the gender-bending frame flip I've officially named this one "Frisco Flip". Now that I'd done that, it was going to be hard to find some background scenery to work up the urban Frisco style out here in the woods of Western Mass. So we took a quick road trip and found some nice alleyways in Great Barrington. I couldn't resist throwing in a couple of more rural pics, though.


This build has been one I've been looking forward to doing. I wasn't quite sure what the final product was going to turn out to be, but I'm happy with the results. The geometry and gearing works out so that it's pretty much a big BMX, the coaster brake mount was one of the coolest things I've thought of in a while, and the color combination is a winner. I'd like to thank all of you for the great comments and encouragement.
 
SKILLS TO PAY THE BILLS!!! Nice work man! I have wanted to do the tool box for a while. Thanks for your approach. I do not have the sweet welding set up that you have but I think I can get around that with some extra bends and rivits for future builds. VERY NICE!!!
 
Thank you! Yeah, when I built my WCC chopper I used rivets on the tray for the ammo can saddlebag. That has seen WAY more abuse than this ever will and it's still going strong.
 

Latest posts

Back
Top