George...Sweating it ...(7/27/11)

Rat Rod Bikes Bicycle Forum

Help Support Rat Rod Bikes Bicycle Forum:

This site may earn a commission from merchant affiliate links, including eBay, Amazon, and others.
Re: George...New Pics..( 5/28/11)

whoinphx said:
Short update I think.
I've been working on "Details". Unlike most other builds here I'm probably going to be doing painting last, or at least near the end. I've ideas for the paint scheme but how I actually do it depends on what I can pull off before hand.

I'm with you on this one, I've painted a lot of bikes early in the build only to have some technical problem once assembled thus wrecking the paint.
I've ridden Mutley around for a couple of weeks now just making sure everything is working first!
 
Re: George...New Pics..( 6/3/11)

Not much of an update....
I spent quite a bit of time working on my fender skirts, and had to redo the left one, (three skirts for two sides). I was pretty happy how they were turning out until I tried them on WITH the forks....(**Cue Loser sound effect from The Price Is Right**). I'll have to do major alterations to get them to work.
I've learned when your gumption has been drained and you're set back, just leave it and come back to it when you're in a better place of mind...Eh....

So...
I started working on little details that need to be done.
I drilled a hole in my custom seatpost set up, so i can bolt my seat down...

PICT4479.jpg


(The patience of Job was needed to make and expand that hole in solid aluminum, with a hand drill and too small bit)

PICT4481.jpg


And then, as you can see from the second photo, I started to deconstruct and clean up by banana seat in preparation of recovering it.

PICT4477.jpg

PICT4478.jpg


So that's where I'm at sot of...
A little behind where I want to be, but still doing good.

I am enjoying watching alot of the rest of these builds. Great stuff out there. I comment on some, not on others, but that means nothing as to which I'm really digging or not.

Everyone, have a good one today... :D
 
Re: George...New Pics..( 6/14/11)

My boys are out of town visiting their Mom, so I've been doing some overtime at work and generally goofing off otherwise.
Yesterday I did busy work on my seat, stripped everything off carefully and then removed the rust and crud from both sections of it.

PICT4482.jpg

PICT4483.jpg

PICT4485.jpg

PICT4486.jpg


After these photos I banged out some dents and straightened out the edges so it'll fit together better.
I need to go out tomorrow and get some primer and black paint. I'm going to recover the seat in black leather I obtained from a thrown out couch. The bottom of the seat will be visible from the back so I want it black like the rest of the seat.
I also did some work on a light that I'm going to try to incorporate into the back of the seat. I took an old bullet style taillight and jury rigged a LED taillight I had together.

PICT4489.jpg

PICT4491.jpg


Not perfect or done yet, but I want to use what I have around, so I'll figure a way to make it work in the end.

I hope to have way more progress tomorrow, since I have all day off until league bowling at 6.
 
Re: George...New Pics..details, details etc...( 6/17/11)

This bike is progressing VERY nicely...What you did for the seat post is "slick". 8)
 
Re: George...New Pics..details, details etc...( 6/17/11)

You have made your mark when one of the RBB gang wants to use your idea in thier build; that's what it's all about sharing ideas; kudos.

BTW: Love the "machine tools" (Large Pipe, Bowling Bowl, etc.).
 
Re: George...New Pics..details, details etc...( 6/17/11)

Likein' the whole diy approach you got going. The bike is looking as though it'll come together good. Keep up the good work.
 
Re: George...New Pics..details, details etc...( 6/17/11)

Busy work update....
I started making the headrest for my sissy bars. I couldn't decide whether to do a full backrest, or just a headrest ? So, I decided on just the headrest, I thought doing the full might draw too much attention from the rest of the bike....( I hope the bike ends up good enough for that to be a worry ).
Once I'm done with it ... who knows I might make a second version and then decide...
***Everything being used on this was free.. groundscore/alleyscore, whatever (except the sissy bar)****

Here is what I'm starting with:
Black leather from a couch and foam padding from other couches:

PICT4495.jpg


I then started tracing and cutting:

PICT4496.jpg

PICT4497.jpg

PICT4498.jpg


I've recovered seats before, but have never made something like this from scratch. I figured a good core wrapped in more solid foam padding, with a good solid back to it:

PICT4499.jpg

PICT4500.jpg

PICT4501.jpg

PICT4503.jpg

PICT4504.jpg


I guess the glue was purchased as well (oops)
***Note on the glue.. I love this stuff... I used the yellow foam glue they make on a banana seat recovering with vinyl.....Not Good in the Az Summer Heat, it actually caught fire and melted the foam and vinyl, live and learn****

Final product before covering it in leather...
PICT4506.jpg

In the next few days I'll cover it and figure out exactly how I'll attach it to the bars. I have a pretty good plan for that , which should work no problem.

I went bowling and shopping with my boys today. They're home from their visit with their Mom, but take off to Grandpa's in San Dimas for two weeks this Saturday.
Anywho...I finally bought primer and paint so I can recover my seat that I'd stripped down...
Once again using foam from an old couch cushion I'd scored..

PICT4508.jpg

PICT4510.jpg


And that's it for today...
Someone in another post I'd read mentioned their favorite tool was a cheap angle grinder from Harbor
Freight...I AGREE... I've been using it to shape the foam and plastic sheet I used. It makes a heckuva mess but man it does a good job, ( Picture foam "sawdust" everywhere mixed with melted plastic Ha ha :D :D ).
 
Re: George...New Pics..seat work...( 6/23/11)

You are the king of recycle/repurpose. Great choice on the headrest; it came out really well.
 
Re: George...New Pics..seat work...( 6/23/11)

GREAT WORK ON THE HEADREST AND SEAT. I'VE SEEN THE HEADREST ATTACHED WITH THREE CLAMPS TO IT. ON THE SEAT I'VE USED A STADIUM CUSHION. WORKS GREAT, HOLDS SHAPE AND SPONGY ON THE BUTT. YA KNOW I'M WITH YA BUILD. NOW GRAB ANOTHER PBR...AND GET TA BUILDIN'!! PEACE
 
Re: George...New Pics..seat work...( 6/23/11)

Okay then.... The last few days have been busy, I got my boys off to CA to hang with Grandpa for a couple of weeks, then thought I'd have most of all day Sunday to work on the bike , BUT NO ... work calls me in early ... Sunday nothing got done... :x

So today I got right on it,
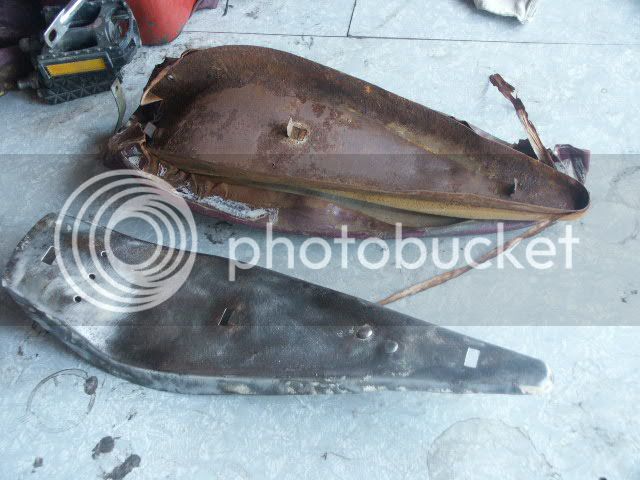
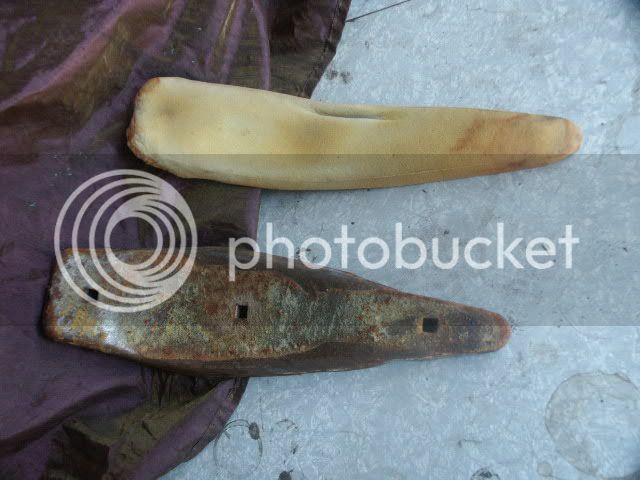
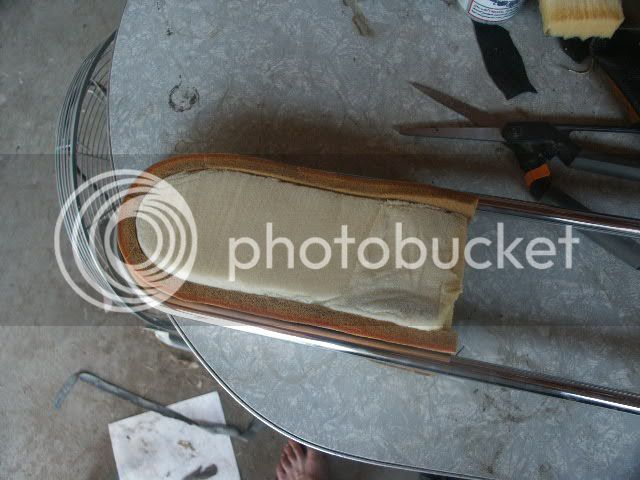
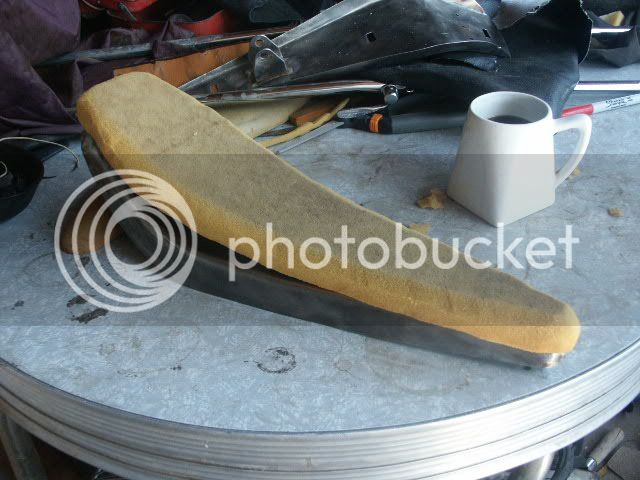
When last I updated I was working on my seat and headrest. Good progress was made and here it is...

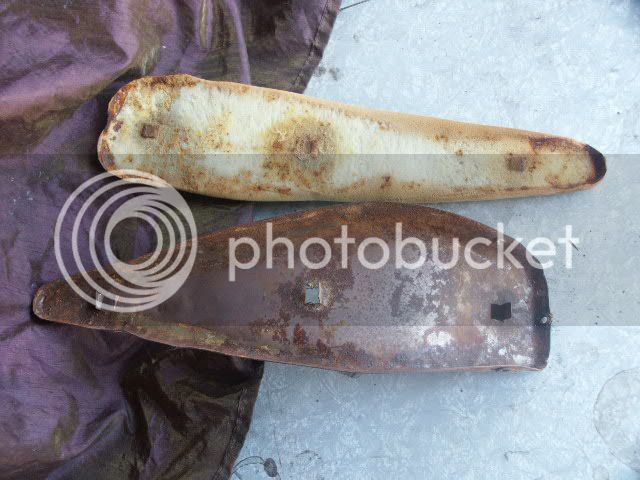
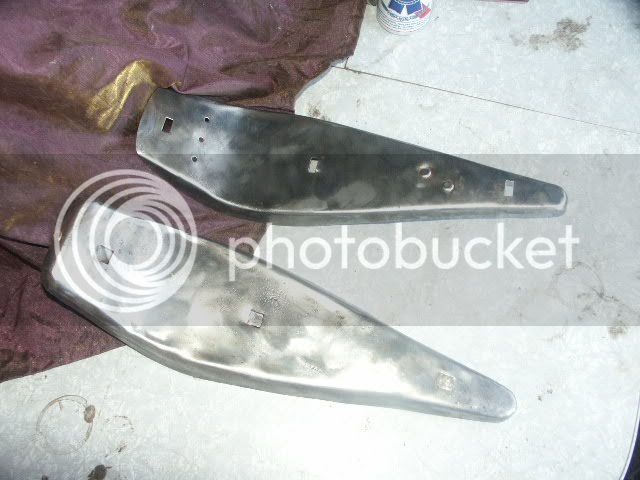
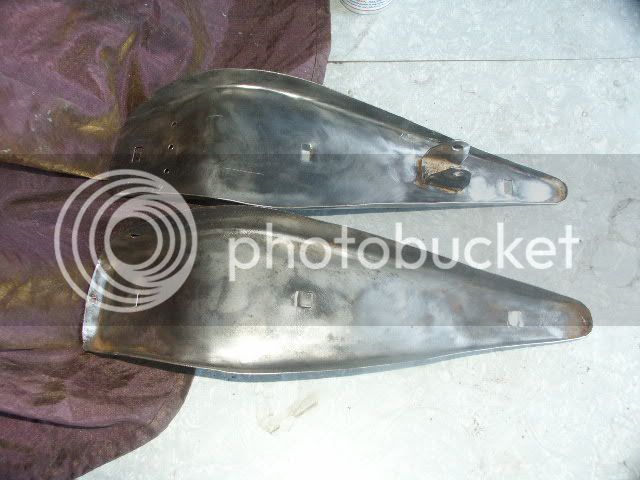
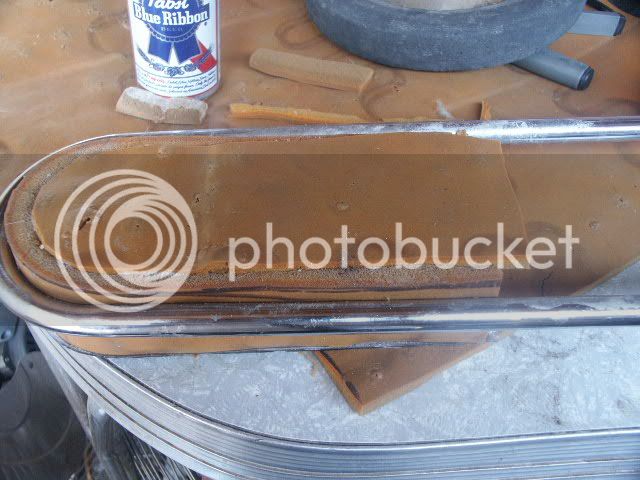
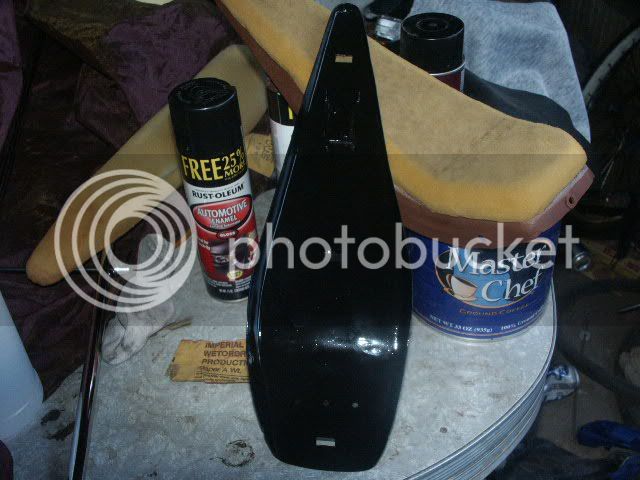
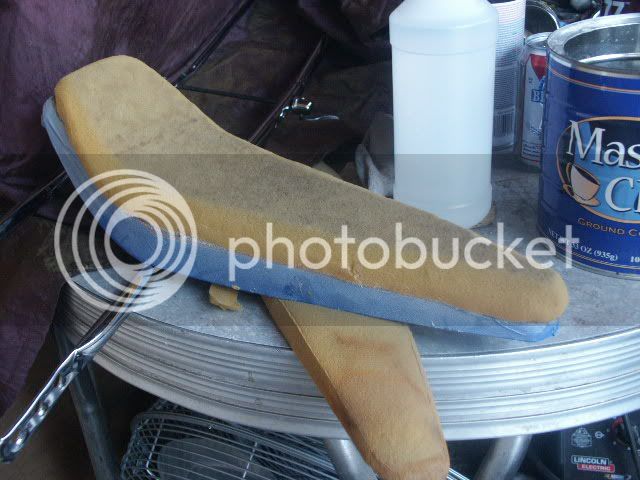
Shaped the cushion a bit, and then started painting the seat pan. The bottom of it will of course be visible so I need ed to make it look nice. The rest of it had been covered in rust as you've seen so after cleaning it all I primered it as well.

PICT4511.jpg

PICT4512.jpg

PICT4516.jpg

PICT4519.jpg


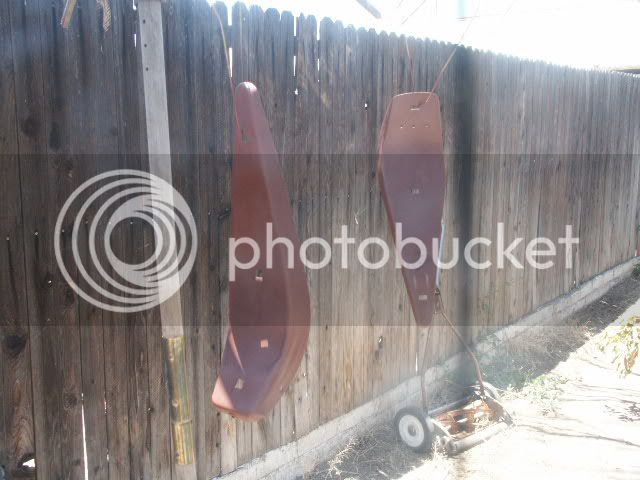
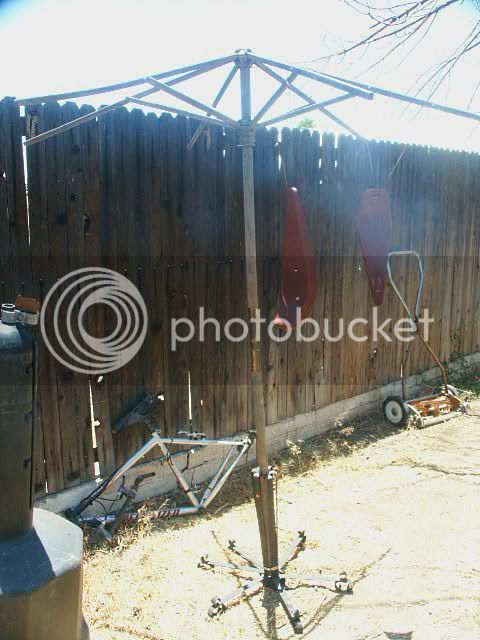
Dig my paint set up...An old umbrella shade skeleton anchored by three rod iron decorative arm thingies:

PICT4513-1.jpg


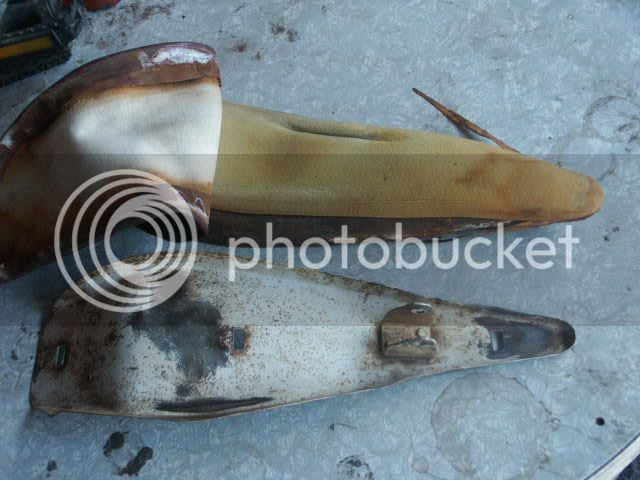
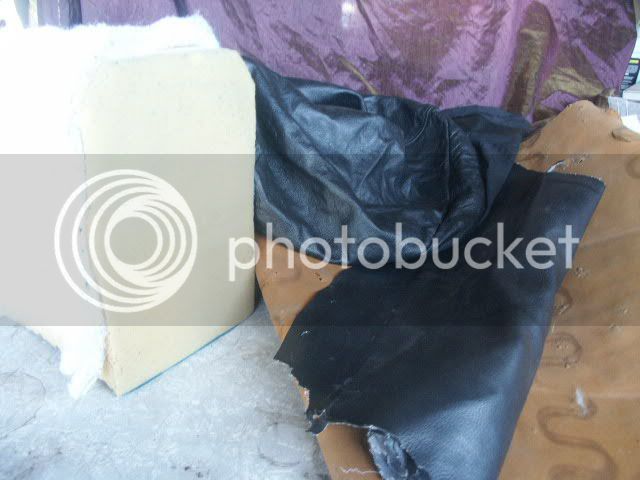
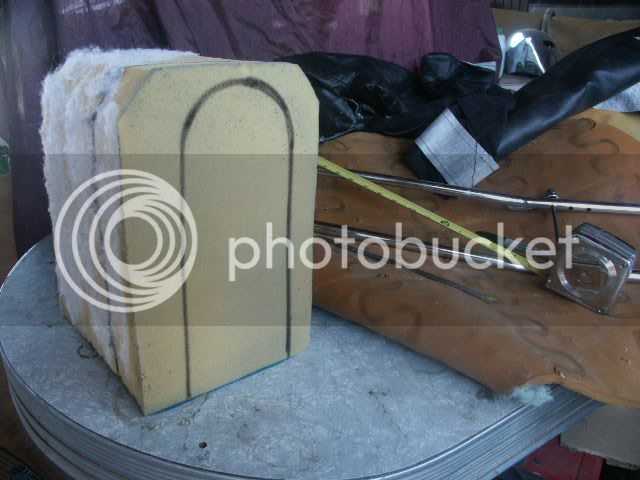
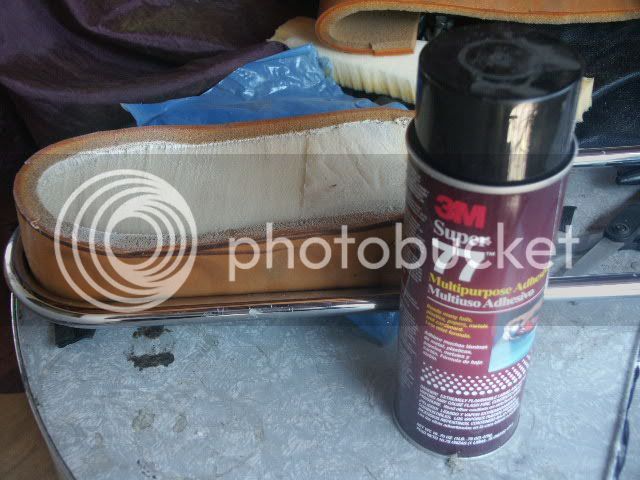
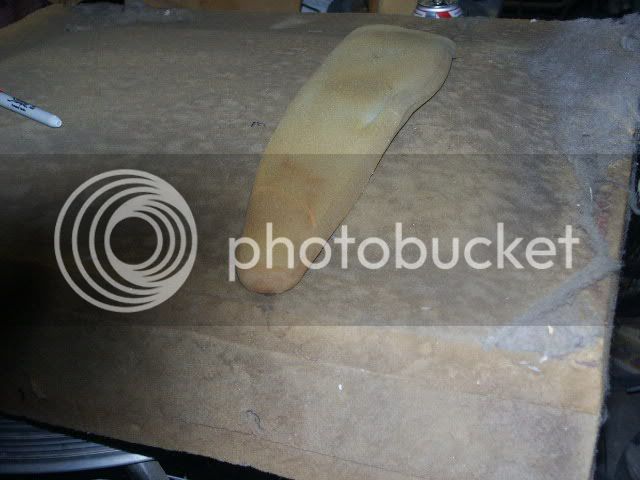
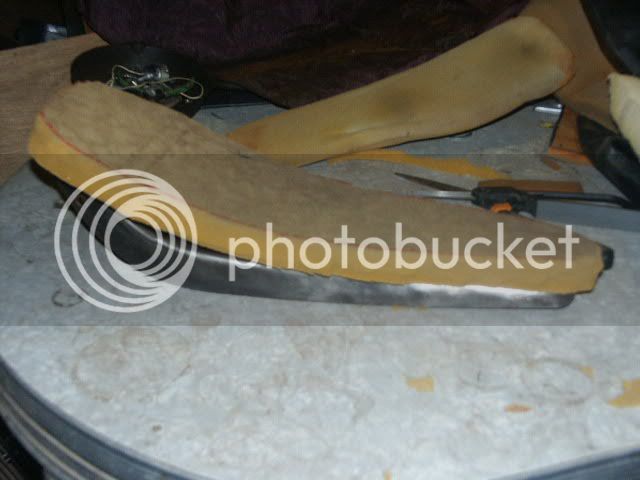
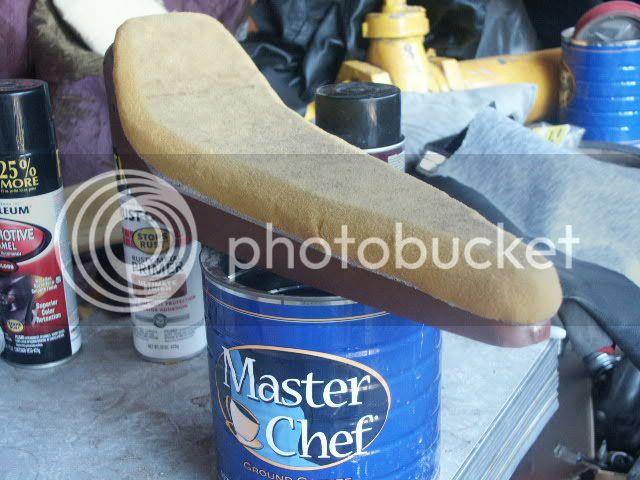
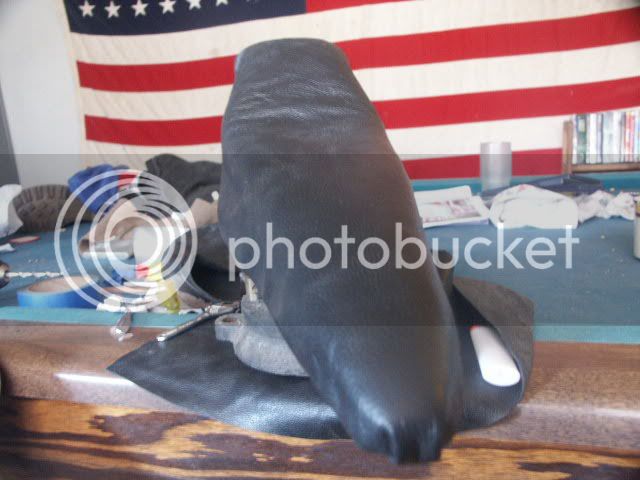
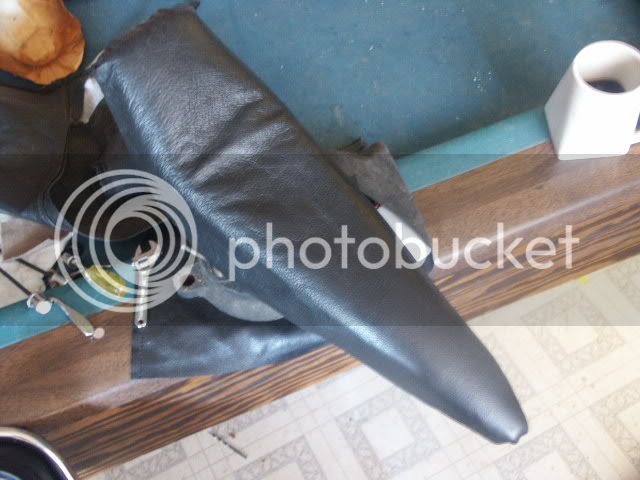
Moving on now...further shaping the cushion and then gluing it to the seat pan...

PICT4515.jpg

PICT4517.jpg


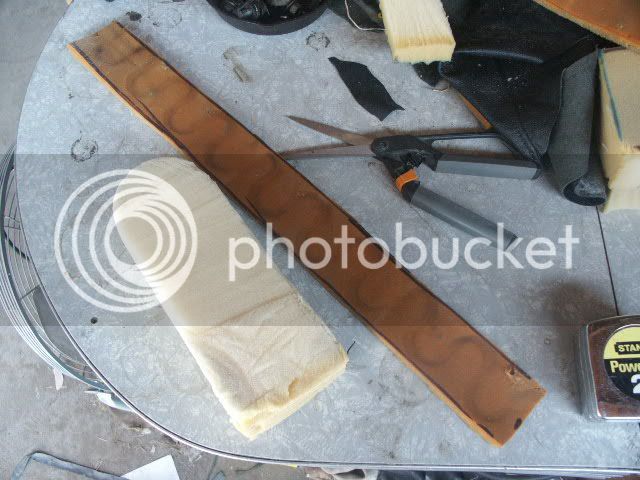
I've got the leather cut and ready to go on, but that is really a pain with the thicker leather to get just right so I haven't got to it yet.

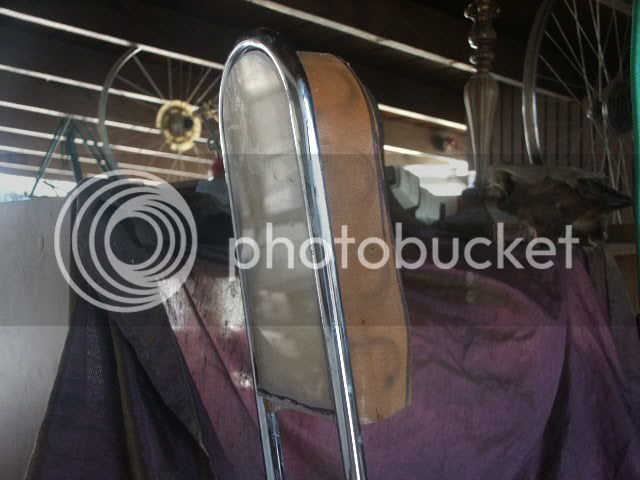
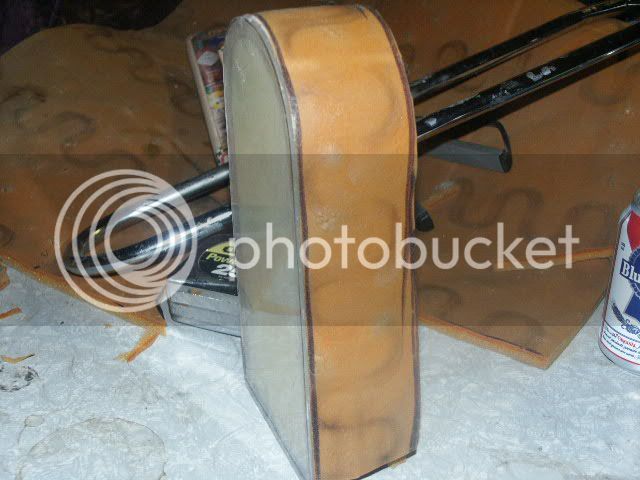
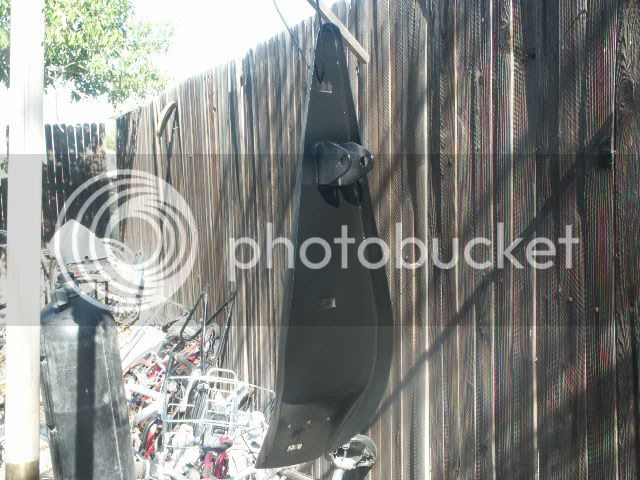
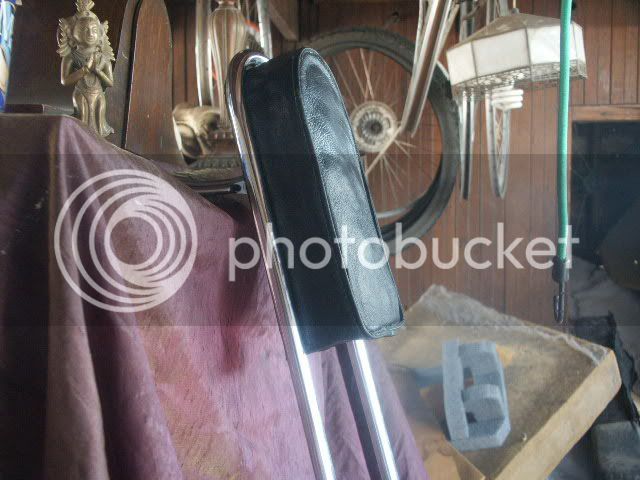
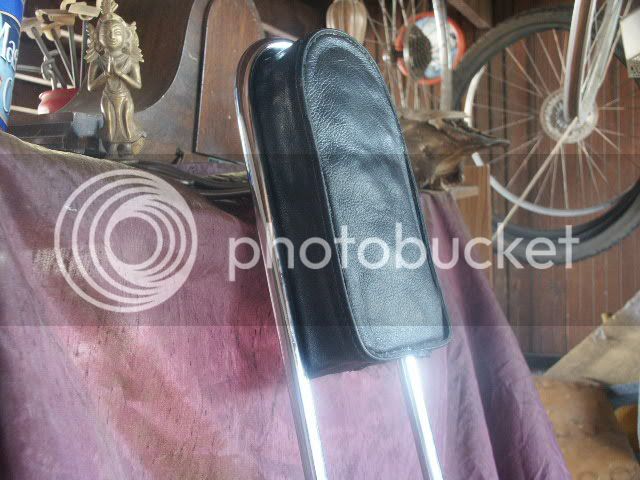
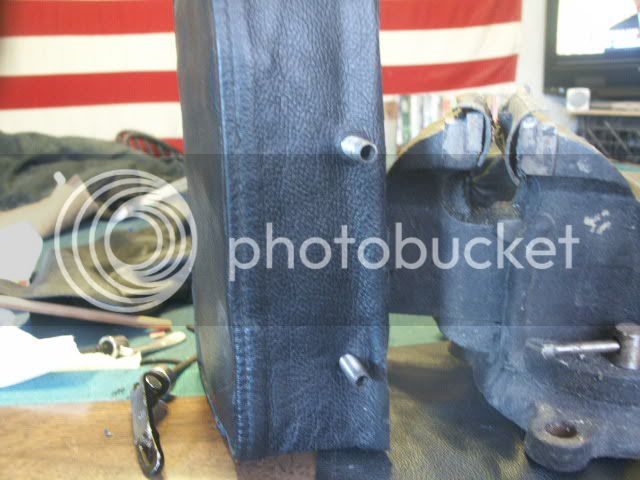
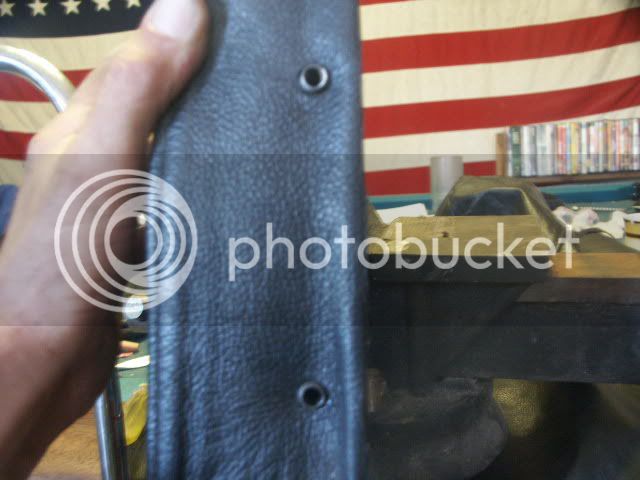
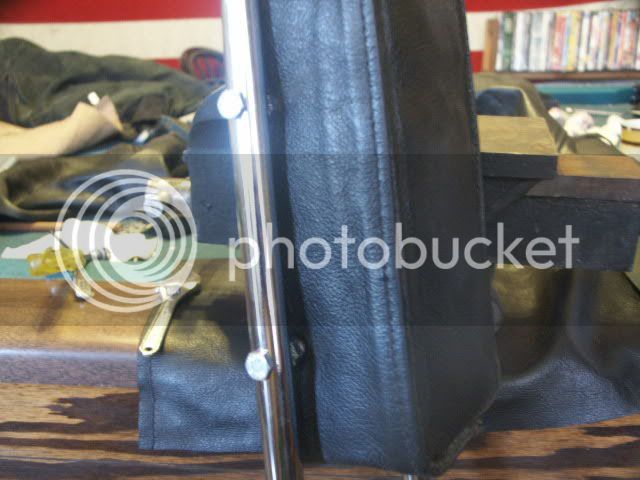
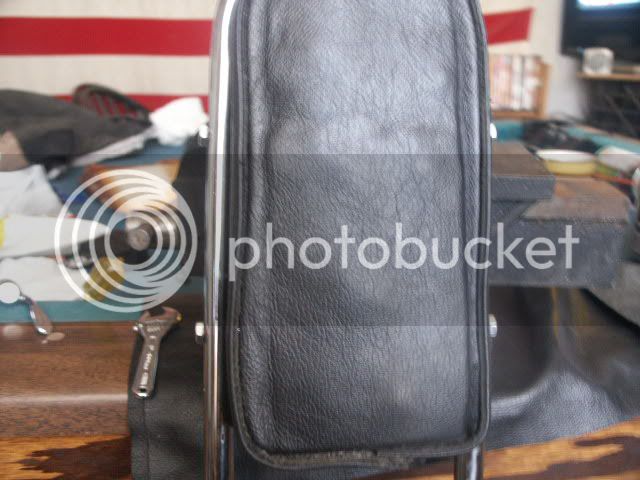
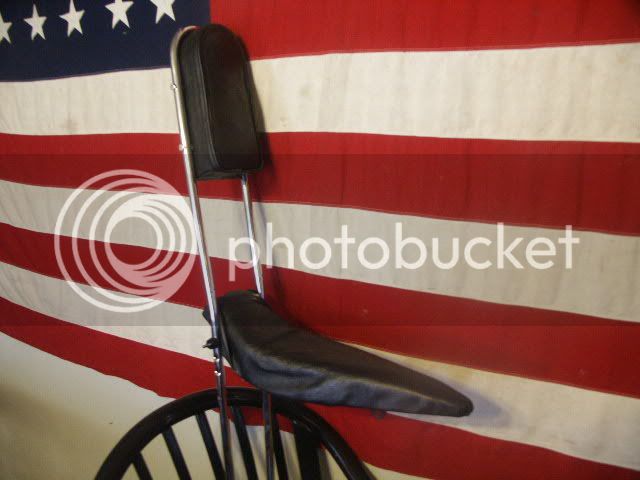
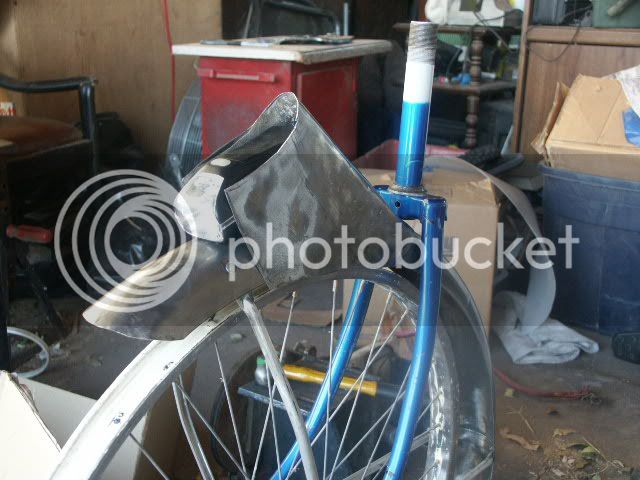
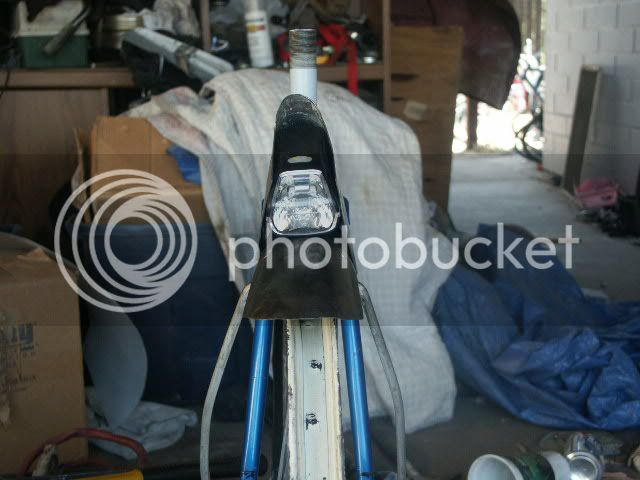
I instead finished covering my headrest. I tried a couple of different ways and finished with this...

PICT4526.jpg

PICT4525.jpg


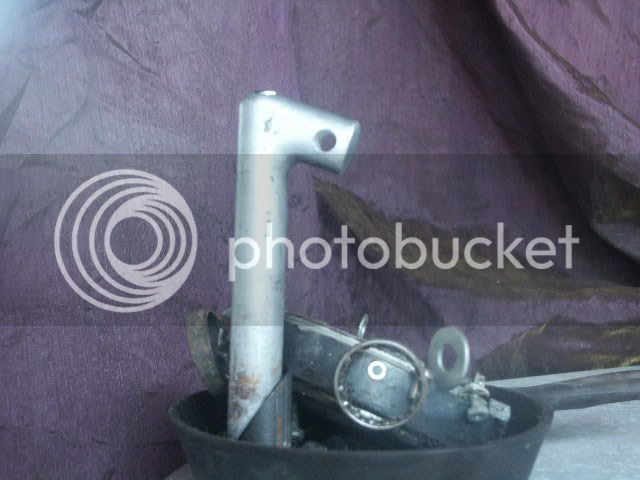
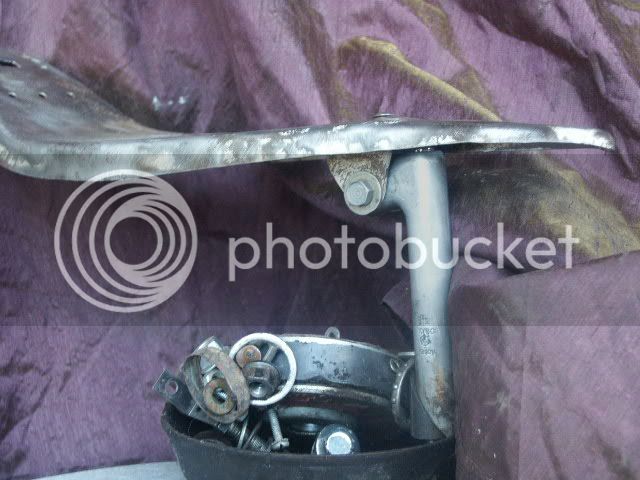
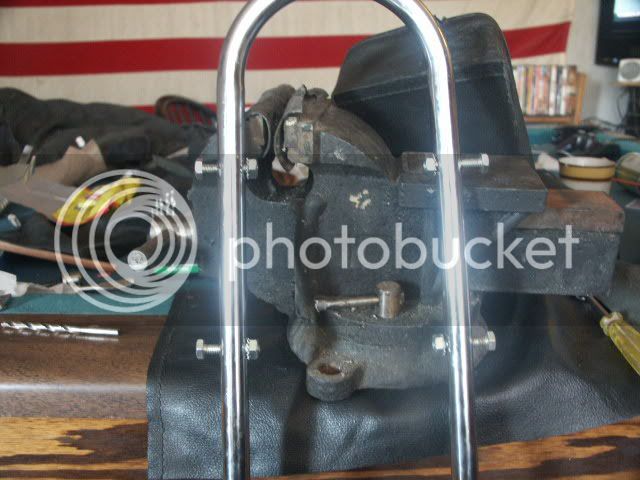
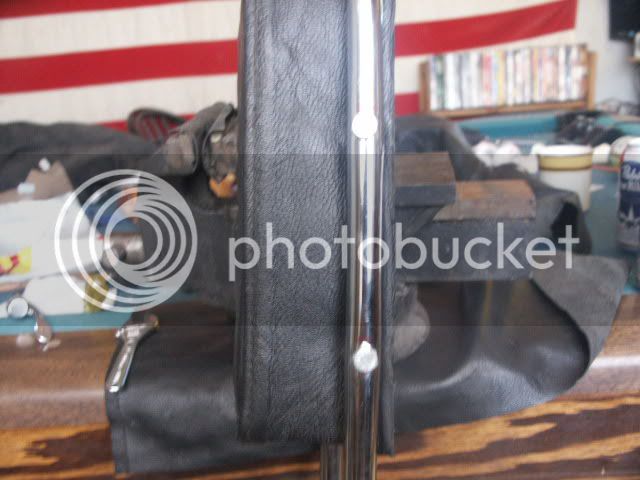
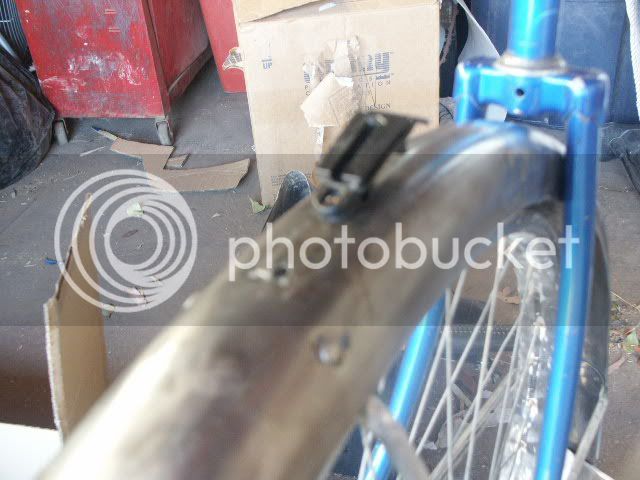
Now as I mentioned in my earlier post I need to anchor it/attach it to the sissy bar. My idea it to drill two holes in the bars on either side, and then through the headrest itself I'm going to install two bars.
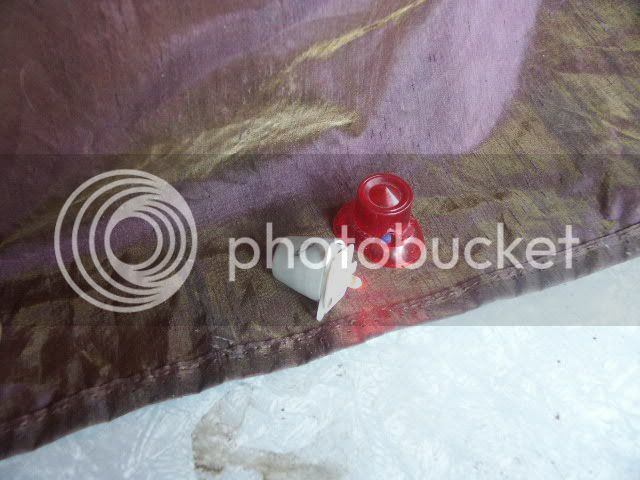
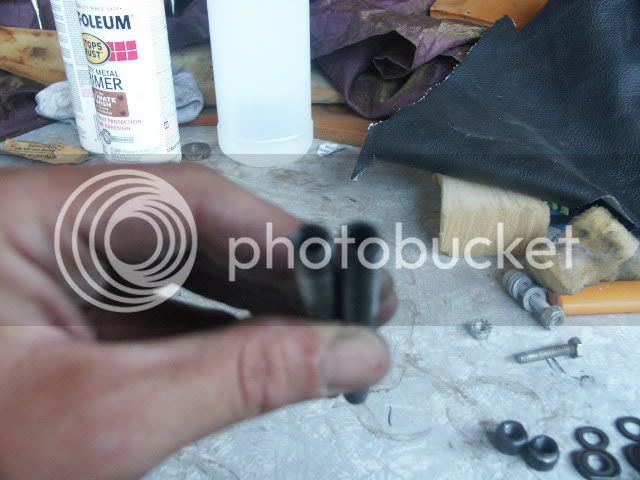
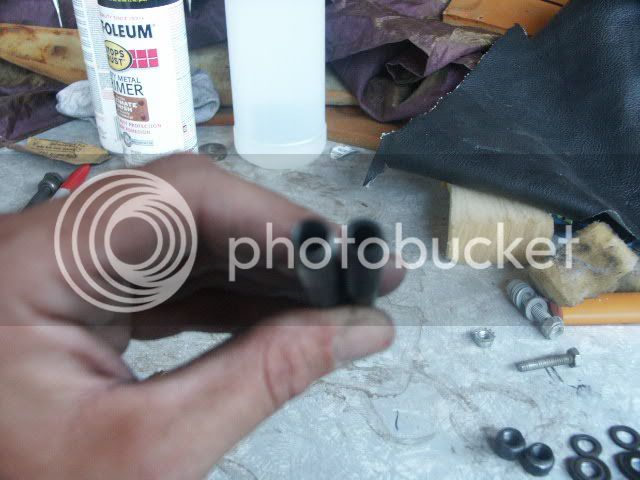
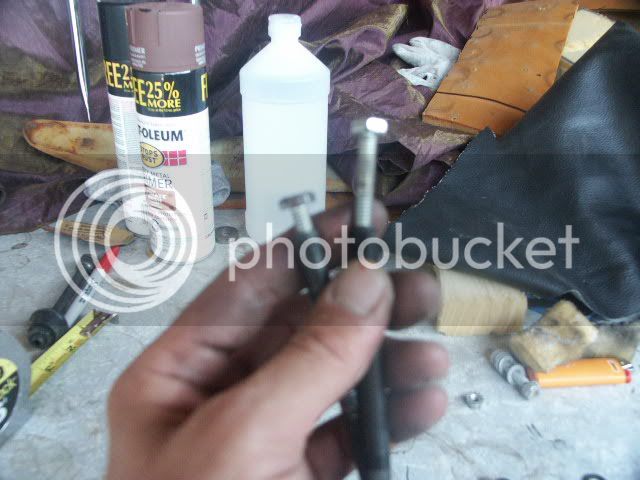
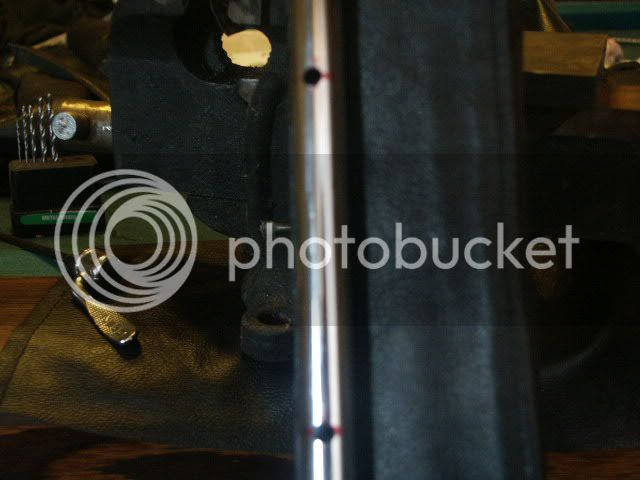
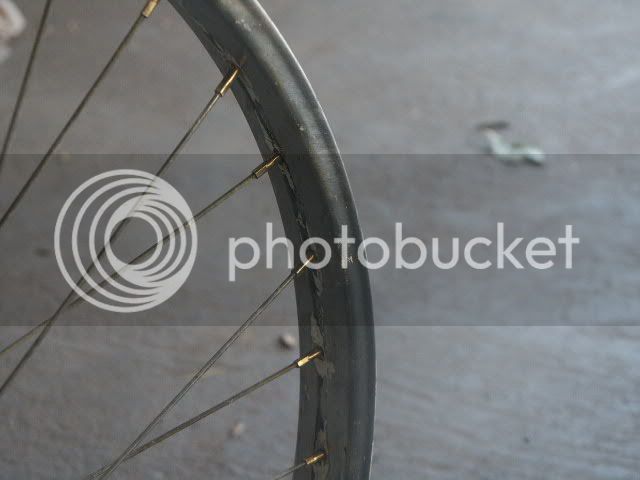
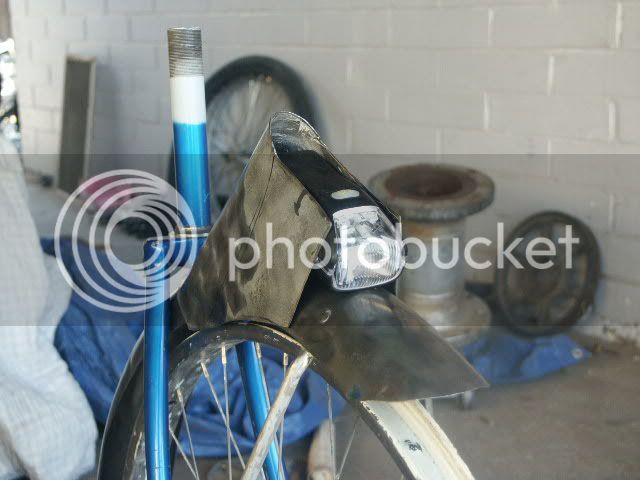
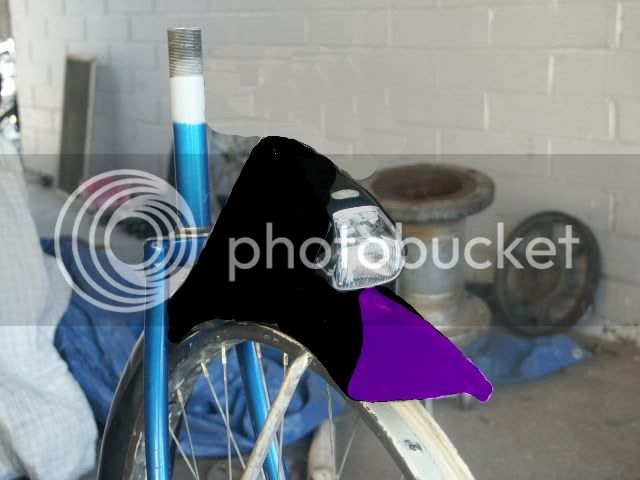
The bars themselves are axles from quick release front tires, so they are hollowed out and can accept bolts into them. The problem with that is I need to drill them out just a wee bit to fit the bolts I have.In these next pics I"m trying to show the difference...

PICT4522.jpg

PICT4523.jpg

PICT4524.jpg


I'm using a 1/4 inch bit to widen the hole. The beauty of this system is that the bolts don't actually screw into the axle rods themselves . They are secured with a locknut placed inside the bars and then the bolt rest inside the headrest.....
It'll be clearer when I do it I'll have pictures.
Right now I still need to drill out the second axle rod, and then I'll install them, I should have pics of that tomorrow.

To all you Gentleman ( I use that term loosely of course ) and Ladies out there ( I know that there have to be a few at least ) Thank You for checking out my build.
To you guys that have left comments on it, I am Very appreciative of your support and insight. On the Discussion page for the Build Off a guy named Elmer made a comment that I related to. It was about being new to this forum and building, and being treated with respect and fairness, not as a NOOB, etc.
I Really love that some members here have been very complementary to me. I haven't really left responses to these comments because I'd be uncomfortable bumping my thread to the top without an update. I know odd... maybe I'll get over it.... But once again THANK YOU to Everyone....I'm digging a bunch of the builds out there...
 
Re: George...New Pics..Headrest done !...( 6/29/11)

So over the course of a couple of hours this morning I got the headrest installed...!

Her is how I did that....
First drilled the sissy bars

PICT4529.jpg


Then installed the quick release axle rods

PICT4532.jpg

PICT4533.jpg


Put the bolts into the sissy bar

PICT4534.jpg


Then put the bolts into the axle rods, securing the headrest

PICT4535.jpg

PICT4537.jpg

PICT4538.jpg


So, I'm happy with that :D

I also did some preliminary work on fitting the leather to the seat. Here are early mock ups
Though remember it's not a finished product yet...

PICT4540.jpg

PICT4542.jpg


And finally, a preliminary mock up of the seat and headrest together

PICT4544.jpg


I like it.....
I have tomorrow off from work so I hope to get some substantial work done....but then again...
The Best Laid Plans of Mice and Men....
 
Re: George...New Pics..Headrest Done !...( 6/29/11)

...Gang aft agley.

Hopefully they won't and you'll get some good work done on your day off.

Great work on the seat and headrest and a neat solution to securing it.
 
Re: George...New Pics..Headrest Done !...( 6/29/11)

Fireworks.jpg


Happy 4th Of July....
Well I've been slacking the last few days, doing a little of this and that...you know.....slackin

I finally broke a builders block....I REALLY really wanted to do the fender skirts, but I'm not going to on this build....I finally have accepted this...it's been holding me up.
I have problems with the front fork fitting over the skirts, would have to cut them, alter them somehow....yada yada...That and the lines would be wrong (See Kota's and herr rudolph's builds to learn about lines of the bike) here's a quick pic I made to show what I'm talking about....

linesallwrong.jpg


So I finally got to other things....Since I'm not doing the fenders I can start finishing stripping paint and such...Worked on my front rim....

PICT4551.jpg


I've never laced wheels, don't have the tools for it, so I'm being careful not to farnk these up stripping them...I do plan on painting them spokes and all to match the bike....I had a hard time messing with them at all they are original Schwinn 26"ers, S-7's....

When stripping the front fender I found two screw holes near the front of it, they'd been Bondo-ed over...It must have originally had a fender light in a past life.... So I fond a headlight I had that I could attach with (hopefully) little work....Here's what I'm doing....

PICT4555.jpg

PICT4554.jpg


Cardboard mock up ...template...


PICT4553.jpg

PICT4552.jpg


Then cut out the template in leftover washing machine sheet metal and started forming it to fit...

PICT4547.jpg

PICT4548.jpg

PICT4550.jpg

PICT4549.jpg


Here's how I hope it looks like when finished...

HeadlightHopeFor.jpg


I have a Lincoln Welder that I want to learn with but with lack of time left, I don't want to mess this up with amateur welding....I plan to JB Weld it on and then maybe try my hand at Bondo.....
The batteries come in and out of it from the top, so I need to leave that open...It's a modern light has both LED and regular bulbs, and I already own it......

We'll see how things turn out.......
Now, to borrow from Jake Sensi...CUE "Schoolhouse Rock - Fireworks" (NOT Kate Perry)....
 
Re: George...New Pics..Fender Light ...(7/4/11)

So what's going on with George; all eyes are waiting for more!
 
Re: George...New Pics..Fender Light ...(7/4/11)

Yeah ...OK...
I was on vacation in Milwaukee, WI for a week, so I fell behind on EVERYTHING ..... Though I had a Great time ( I LOVE that city ).... I found some way cool reflector plates and light covers and odds and ends for my bike.
I've been drilling my back rack for lights, and developed a new headlight for the front fender. Before I left town I had stripped the paint off of most everything that needs painting, so now I need to start primer and paint.
Sorry I don't have any pictures, I'm posting this from work ... and I haven't taken any pictures lately anyhow......

To be Honest, I really don't think I'm going to make the Deadline .... Too many projects that didn't work out..ideas changed..yada, yada...
BUT I am going to try to beat that Deadline, this is my first Build-Off and I want to make it on time.... next year I'll be better prepared for the timing aspect of all this.....
 
Lookin good! You still have 4+ days left, don't give up! Even if you don't make it, you will still have a cool bike! 8)
 
WhoinPhx,

Don't worry about the deadline, you have much to be proud about this really cool build. Besides it isn't 8/1/11 Midnight yet.

I pulling for you to make it. Believe me, many veterans of the build-off (myself as well) have fallen prey to time management crunch.

Praying I'll see your build in the finish section.
 
Back
Top