stretch: Oh man, I've got a long way to go before I'd consider myself a great metalworker you know! I'm still guessing my way!!

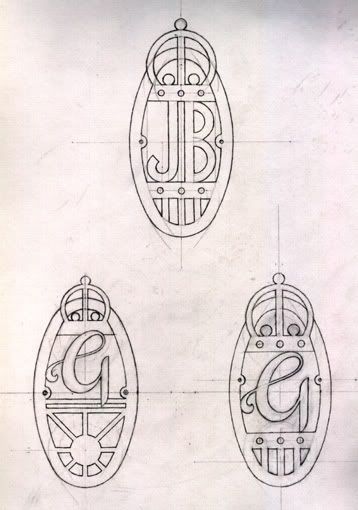
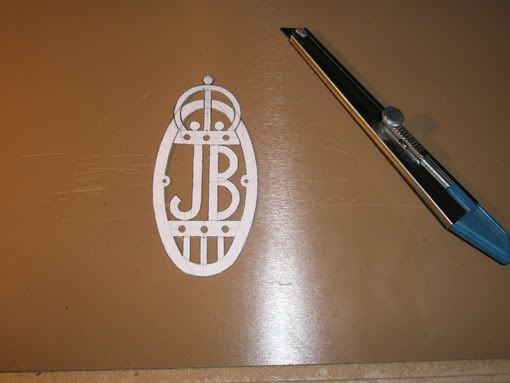
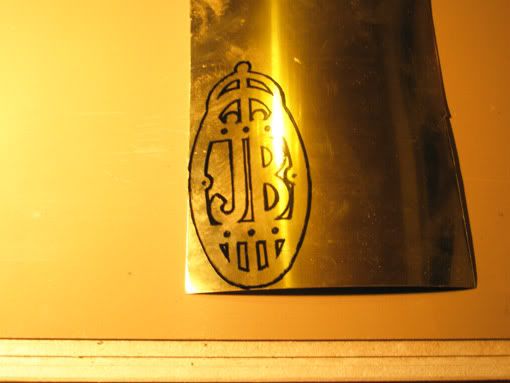
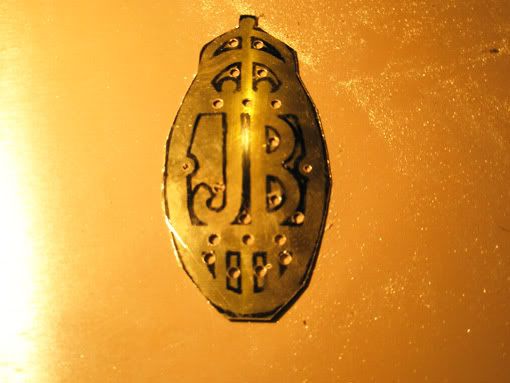
Yeah, I think the headbadge will be bent into shape easily. Brass is soft and after I've cut the pattern in it it will be even softer.
deorman: I've been seeing it like that all the time! :lol: Thank you, glad you like it!
Thanks g kustom kuhl! I've been admiring your bikes too, they're beautiful!
Have I been awfully quiet lately? Have you enjoyed the peace? :wink:
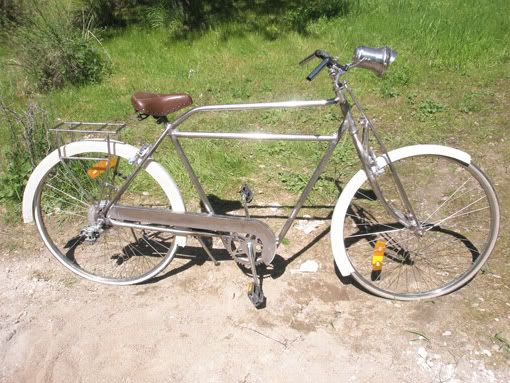
Anyway, the reason for my absence is that I've spent every minute I could trying to finish as much as possible on the bike. Tomorrow is my brother's birthday and the bike will not be done by then, but I hope it'll be finished not too long from now.
Here's photo proof of what I've been up to:
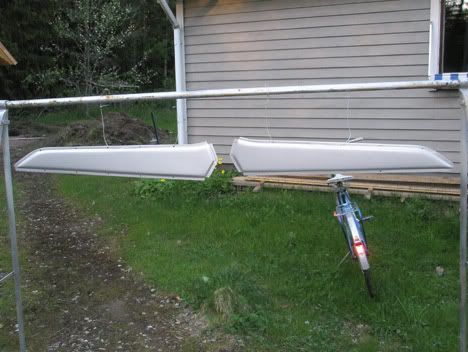
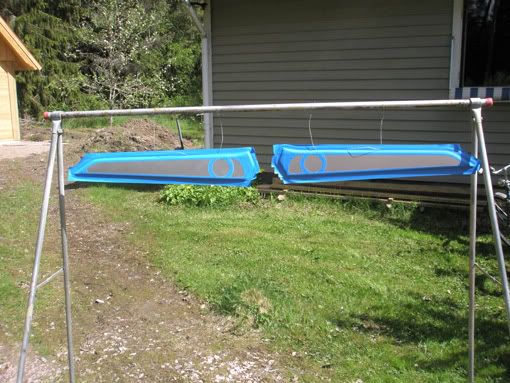
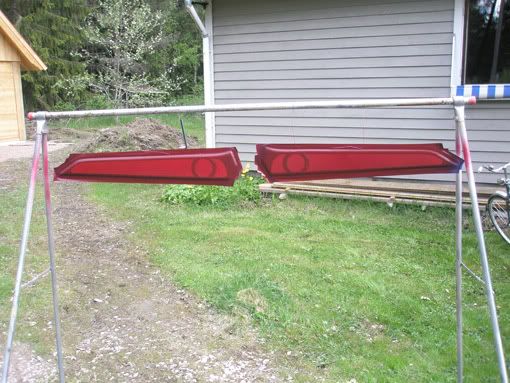
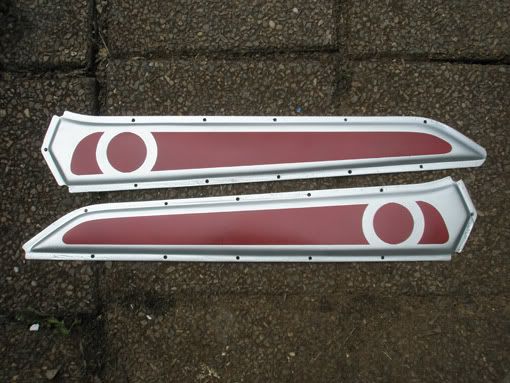
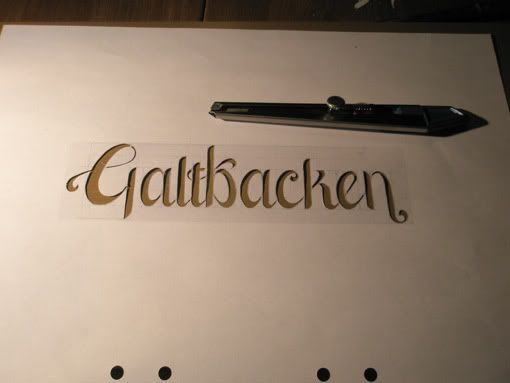
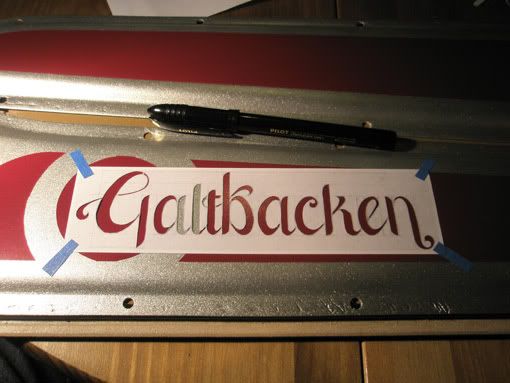
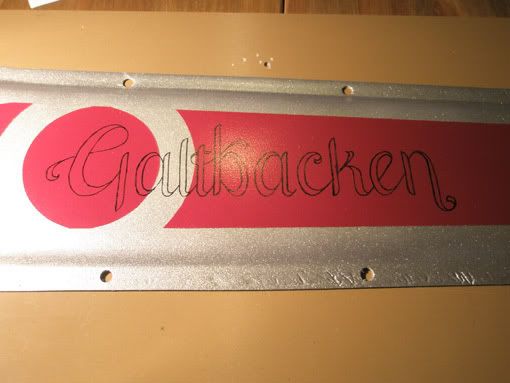
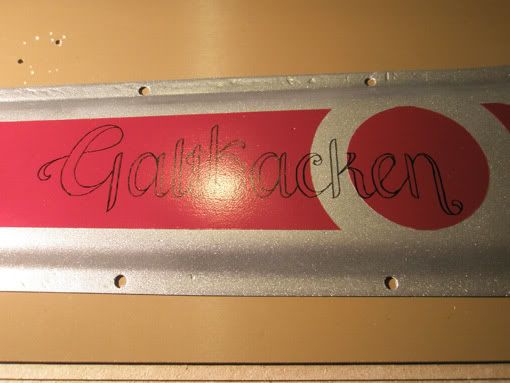
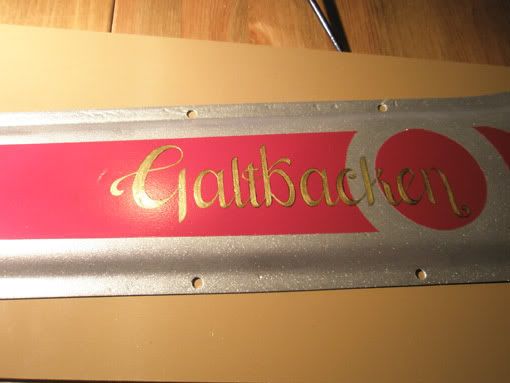
Painted the logo on one of the tankhalves and started on the other.
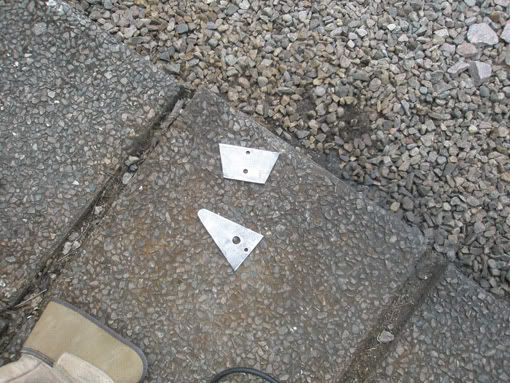
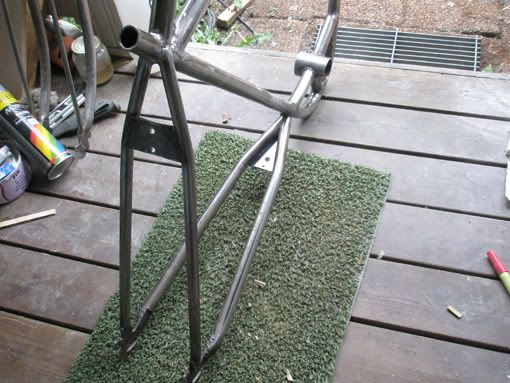
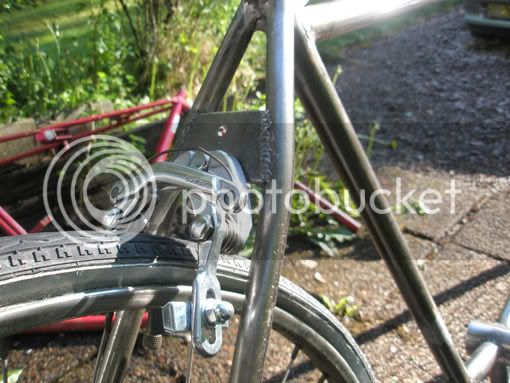
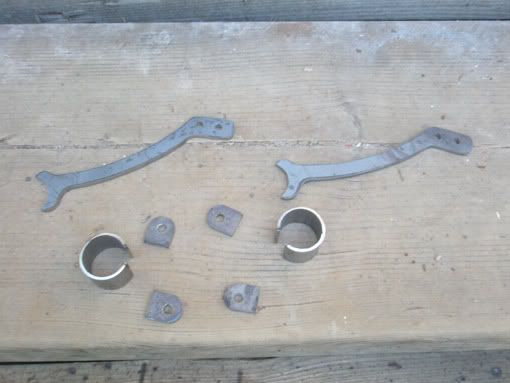
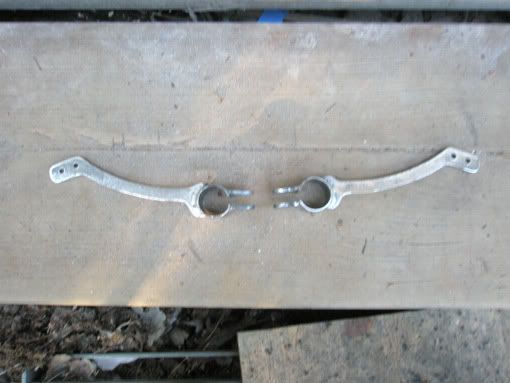
Rearbrake- and bikestandbrackets.
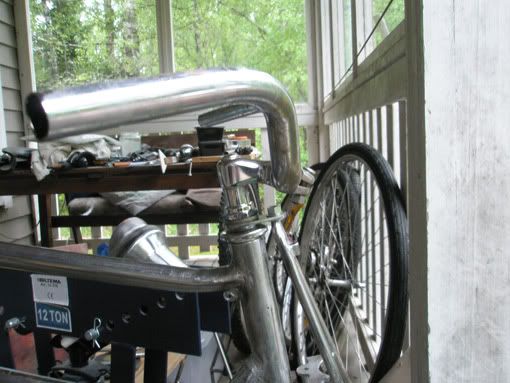
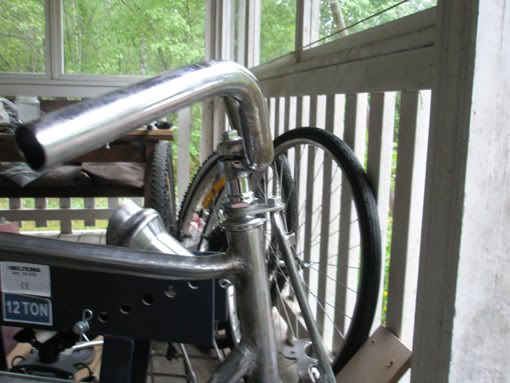
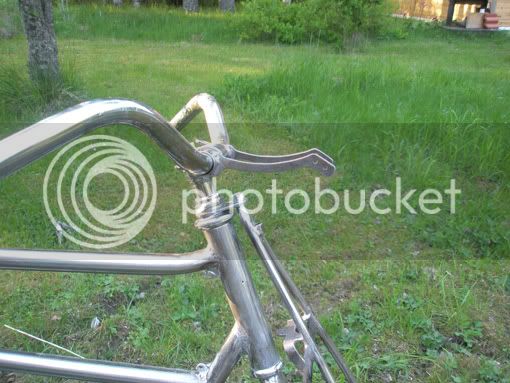
Here's the stem from the donorbike:
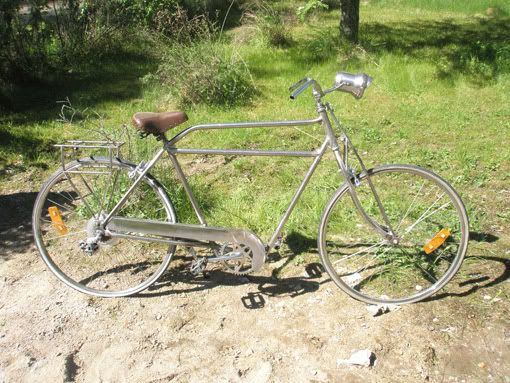
Decided to use this one instead! The other one will go on my next build...
Here's how the headlight is mounted:
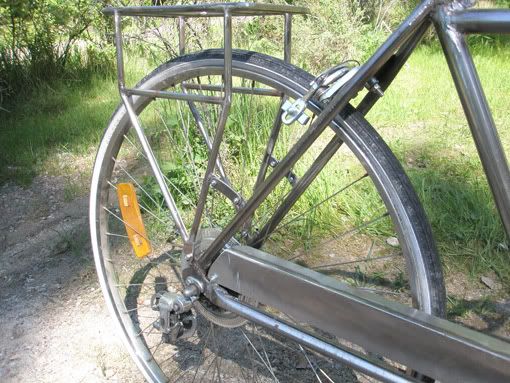
Oh, and there's the chainguard too!

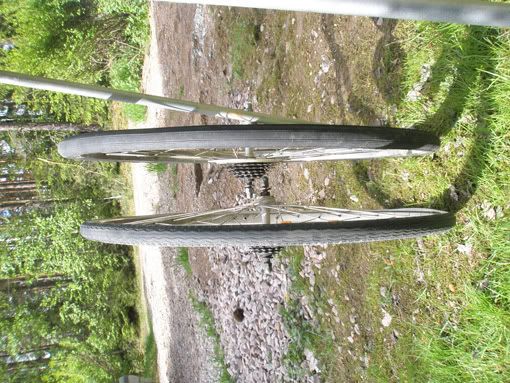
I learned the difference between 28" wheels and 28" wheels! :lol:
Ooops sorry, forgot to rotate! I originally planned on using the top one (the one on the right, had I only turned the photo a quarter turn clockwise) but the fender molds were made from the measurement of the other wheel (which is a 700c and what I up to then thought was the only 28" there is...) so I had to go for the smaller 28" wheels.
Talking about fenders, here they are!
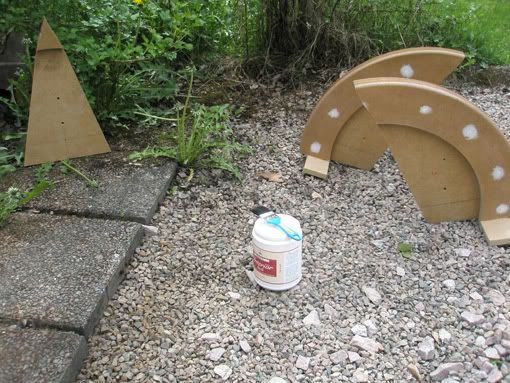
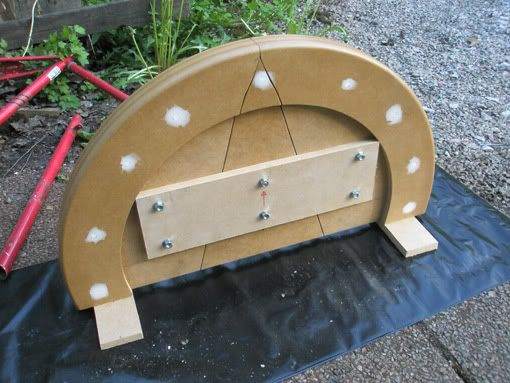
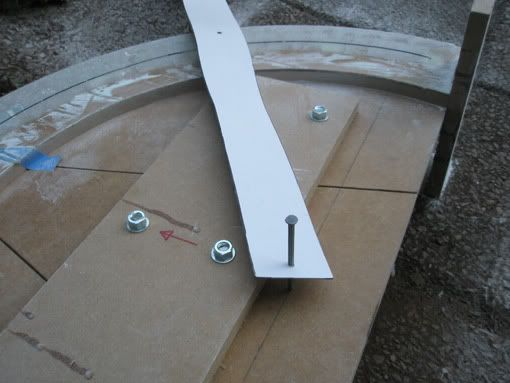
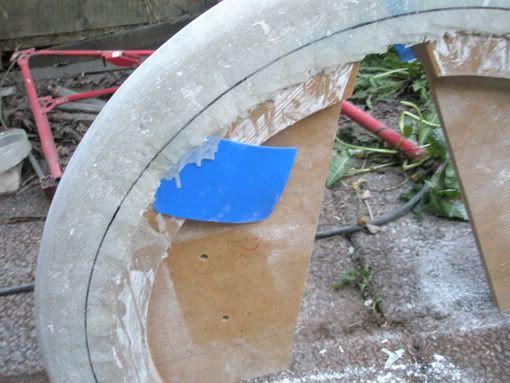
Some pics of the mold first. Used acrylic clearcoat on them. Not sure how that will hold up in the long run...
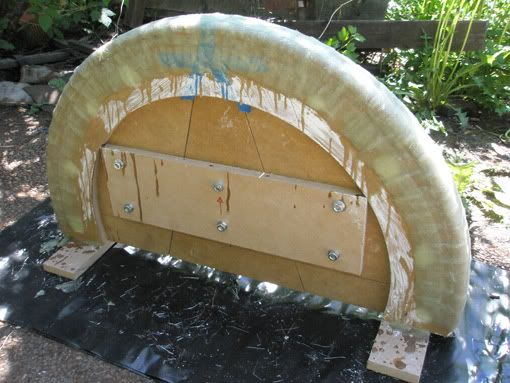
I cut 1" squares of fiberglass (the kind with fibers going crosswise in all directions, not the woven one) and put them on overlappning, so that there where two layers of fiber everywhere. Car wax was applied on the mold before the fiberglass and polyester went on.
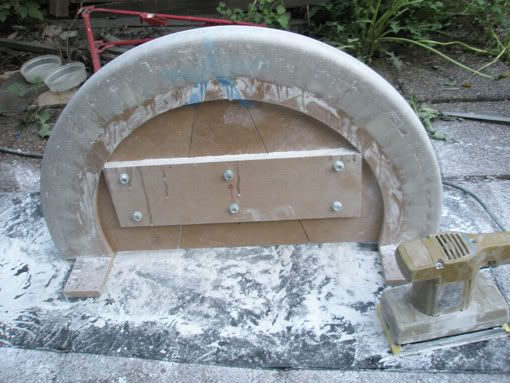
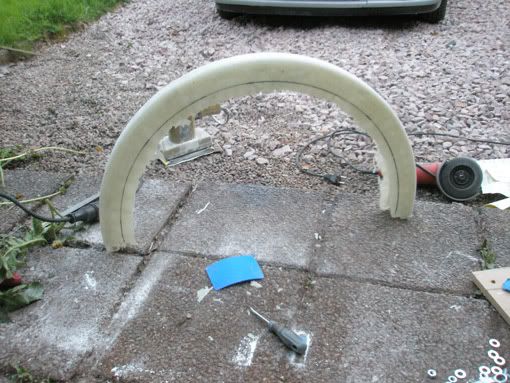
Sanded somewhat smooth, will use some filler to make them really smooth.
I had drilled a hole in the center of the mold to be able to easily draw the contours of the fenders using a strip of cardboard with a hole punched in each end and a marker pen. For the front fender I had drilled another hole to get it...more...uh...you'll see it later. :wink:
Then I released the fender from the mold using one of those plastic whatever-they're-called-in-english that you get when you buy filler.
Raw.
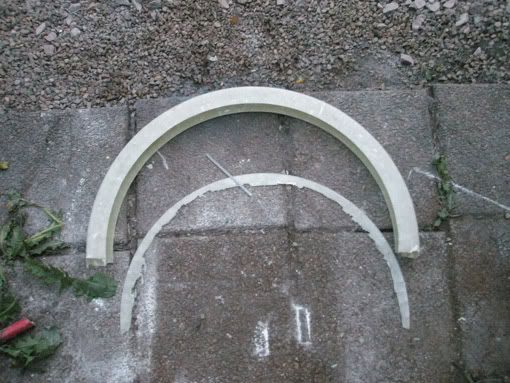
Trimmed.
Laid over the wheels to get a feel what they'll look like on the bike. Here you see how the front fender is thinner at the top/front than at the back/bottom.
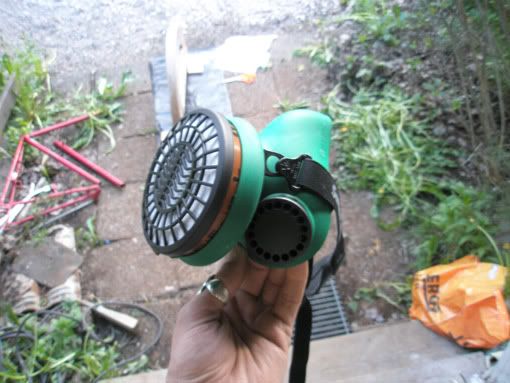
I bought this to use when I work with fiberglass or spraypaint or when I'm sanding stuff. Got a couple of different filters depending on what you'd like to not get into your lungs, fumes or particles or fumes and particles. Great investment! Last time I worked with fiberglass I didn't have this, and those fumes are like a kick in the head (in a bad way!! :shock: ) and when you sand fiberglass the dust is like...awful. I wouldn't want it in my lungs! With this on, the only thing I could smell was... my own breath, hm....
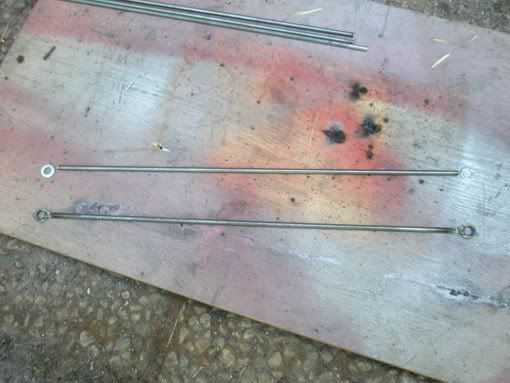
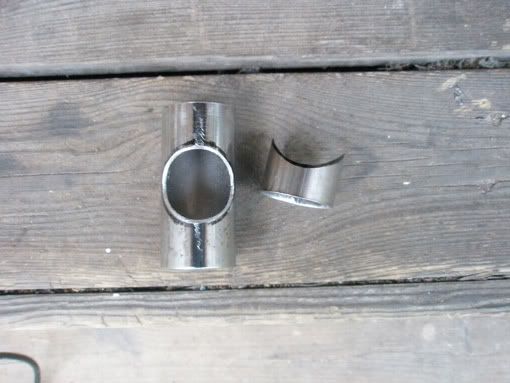
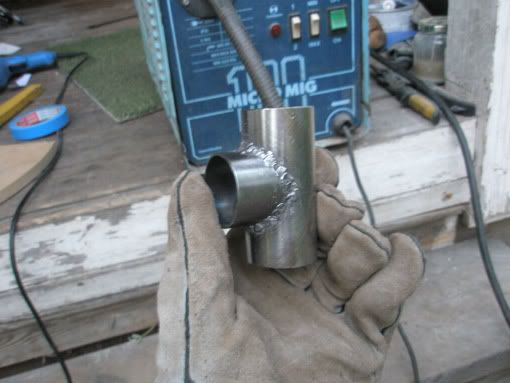
Fender struts...hehe, "struts" means ostrich in swedish!

Braces for the rack.
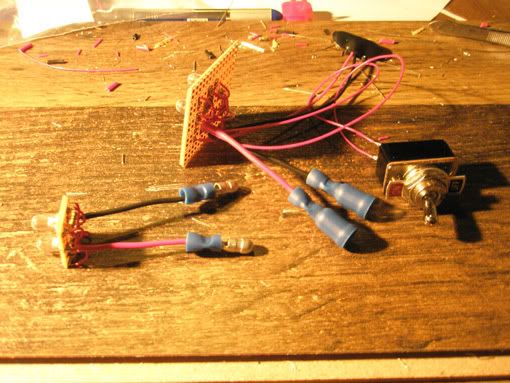
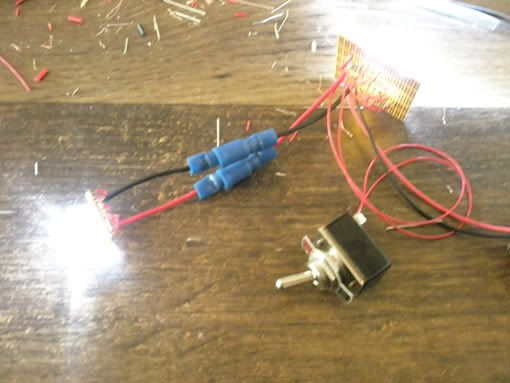
LED-circuits for the lights. This time I'll only have a battery and a switch in the headlight and run cables inside the frame to the rearlight.
click...aaaaah!

And I've started on the rearlight.
Now I'm working the nightshift so I won't get anything more done on the bike until tomorrow afternoon when I get off from work...no, wait a minute... :wink: ...I brought the other half of the tankplate to work, so now when all the others are sleeping I can do some painting!!


More to come soon! Take care everybody!

