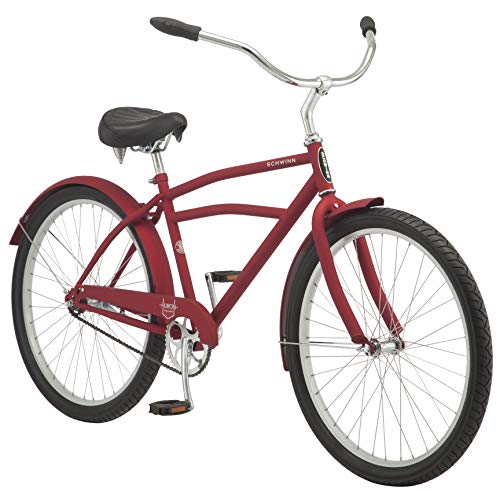
Jetflow for Johnny - Finishing up!

Rat Rod Bikes Bicycle Forum

Help Support Rat Rod Bikes Bicycle Forum:

This site may earn a commission from merchant affiliate links, including eBay, Amazon, and others.
Now that’s better! 😄

IMG_8783.jpeg


IMG_8784.jpeg

Giving it another day or so to dry, then maybe hit it with the clear and see how it holds up. Also considering what, if any graphics to put in.
 
Quick mathe lesson: 32 is less than 36. Took apart my donor wheel the other day, started to lace up the hub, then realized I was a few spokes short! :oops:

Didn’t think to count first. Well, a few days and a few bucks later I have 36 new spokes and the Super Komet laced up into a Halo SAS rim I’ve had sitting around for some time.

View attachment 236864
Sorry man... I typed this response before I looked at your updated pics! I see the end result is great! without the black line!

Hooray, im not the only one to dive in head first! dont worry bro, thats me all over, like my seat post yesterday, spent 30 minutes polishing it real nice only to find it was a fraction too big.
great work on the tank, those masking lines would of been gone if you did what you mentioned, darker colors first and overspray em a bit, I can see that it would of been the most tedious job to mask those side's but theres another danger and that is..."when is a good time to remove the border masking tape" if left too long and hardened it can crack and peel a bit of both surfaces as you remove the tape, if you remove the tape too early then it can run and smudge in the smallest way, things get bumped etc! so you did well! the black line painted over the join should look good but let it dry and mask up that line too!
 
The biggest problem is how fragile the chrome paint’s mirror finish is. Any masking over it ruins it. Had this go not turned out so well, I woulda had to free hand the border. I did end up touching up a few spots by hand anyway, just sprayed some red into a disposable container and broke out the small brushes.
 
View attachment 239211
Hot today. Was hot yesterday. Say it’ll be hot again tomorrow.

Working inside. Cleaned and re-greased the crankset, only to realize the 48t sprocket hits the chainstay! :headbang:

Have a similar 36t on the way. Stand by to stand by. 😄
Was the washer on the inside of the chain wheel? I think the bike probably came with a 48, so it should fit.


1688348815380.png
 
Was the washer on the inside of the chain wheel? I think the bike probably came with a 48, so it should fit.


View attachment 239271
Hmm, it’s a random crankset and did not come with a drive side washer. There is the anti-rotation washer for the other side. On the crank side all I have is the cone/nut that both holds the cranks tight outward and is the race for the bearings.

I admit I’m no expert on one-piece cranksets and may be missing something or have a less-than-compatible one. The clearance interference was by not a lot, so, a washer might be enough.
 
I tried two fender washers between the cone nut and the sprocket. It does provide clearance, but pushes the chainline out of alignment. The rear cog is slightly dished, so I could flip it and improve the chainline.

IMG_8802.jpeg


I’m just iffy on having washers in there. Maybe if I could find some with a better fit.

I’ve already ordered the 36t, so, kinda moot. The rear cog is 20t, which should be a nice, easy cruise ratio. If not, I’ll try something else.
 
Crisp and clean build! Paint is looking killer.
 
I’ve been looking for a fender ornament all summer. Nothing I liked has come up, at least not at a resonable price. Even considered some toys.

Then today, or yesterday, Skunk Works released some kind of recruiting thing with the NGAD (Next Gen Air Defense) silouette.

IMG_8806.png

IMG_8807.png


I thought “I’m renewing this Jetflow, why not use the Next Gen Jet Fighter?”

So, I got busy.

IMG_8808.jpeg

IMG_8809.jpeg

IMG_8811.jpeg

IMG_8812.jpeg

IMG_8813.jpeg

IMG_8814.jpeg

IMG_8815.jpeg

IMG_8816.jpeg


Still have to work the mounting, but that should be easy by comparison.
 
I tried two fender washers between the cone nut and the sprocket. It does provide clearance, but pushes the chainline out of alignment. The rear cog is slightly dished, so I could flip it and improve the chainline.

View attachment 239309

I’m just iffy on having washers in there. Maybe if I could find some with a better fit.

I’ve already ordered the 36t, so, kinda moot. The rear cog is 20t, which should be a nice, easy cruise ratio. If not, I’ll try something else.
Your 48/20 setup is a 63 gear index.
You'll probably find the ratio too easy at 36/20. That's a gear index of 47.
A smaller cog is cheaper than a chain wheel and if you went with a 36/16 would put you at a gear index of 59, a little lower than a standard one speed cruiser, which has a gear index of about 65.
A 44 chain wheel with a 20 cog would put you at 58 gear inches.
To get an idea of where the gear indexes ride at, a standard 3 speed will have a low gear of 50 GI, 2nd of 66 GI, and high gear at 88 GI. Yours will be a little lower than low gear on a 3 speed with 36/20.
 
Thanks for that. I’ve never really internalized the GI ratios. Your break down of the 3-speed makes a lot of sense.
 
Back
Top