Little girl from Cleveland saves boys life

Rat Rod Bikes Bicycle Forum

Help Support Rat Rod Bikes Bicycle Forum:

This site may earn a commission from merchant affiliate links, including eBay, Amazon, and others.
Joined
Feb 15, 2009
Messages
438
Reaction score
0
Location
Indy
Rating - 0%
0   0   0
Here is the frame section replacement pictorial.

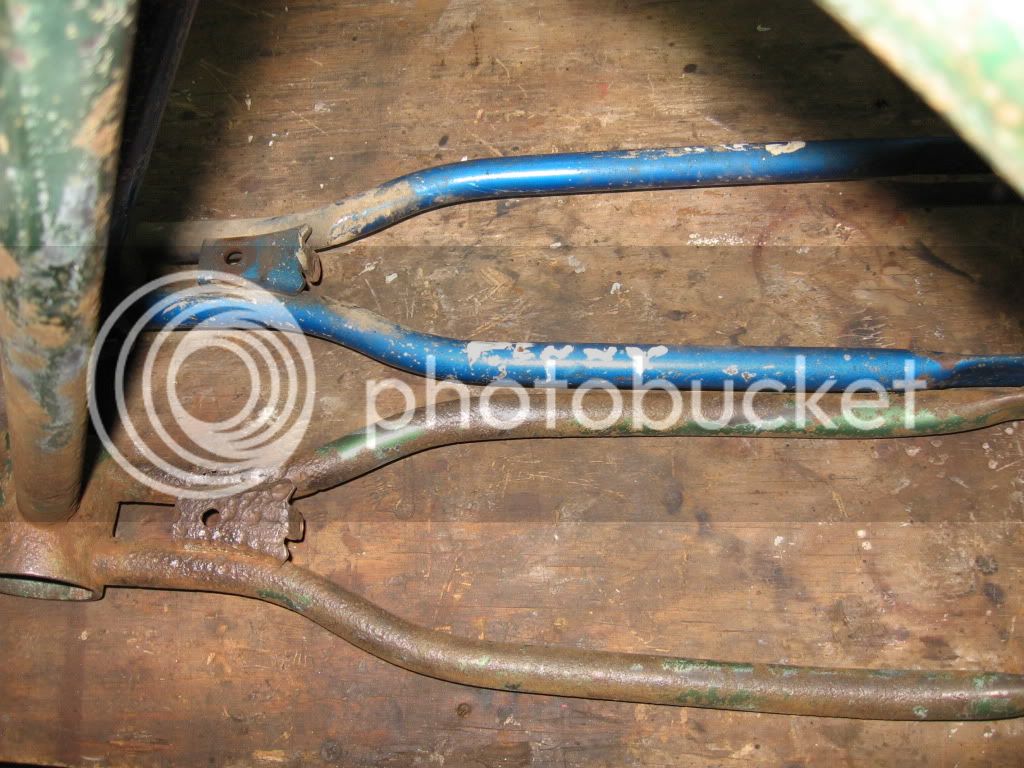
1. The kickstand mount is identical. The chainstays on the girls frame are flat while the boys kicks up at the rear. Still the tubing diameter is the same and the section that needs replaced is not dependent on the difference in styles.
IMG_0723.jpg
 
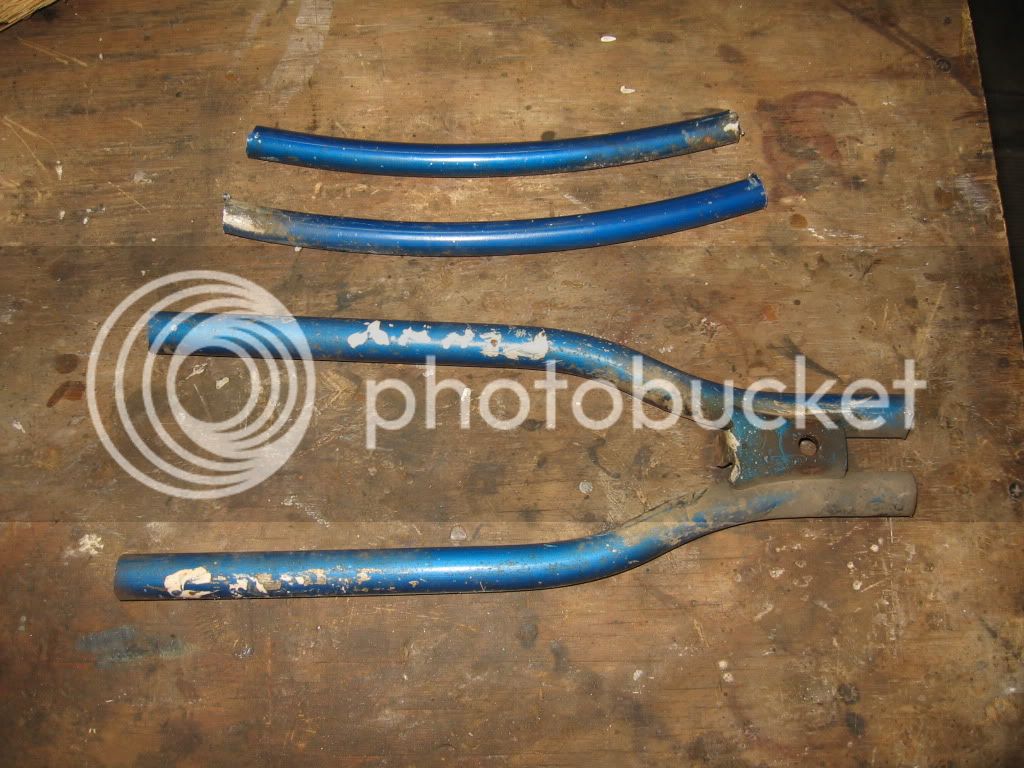
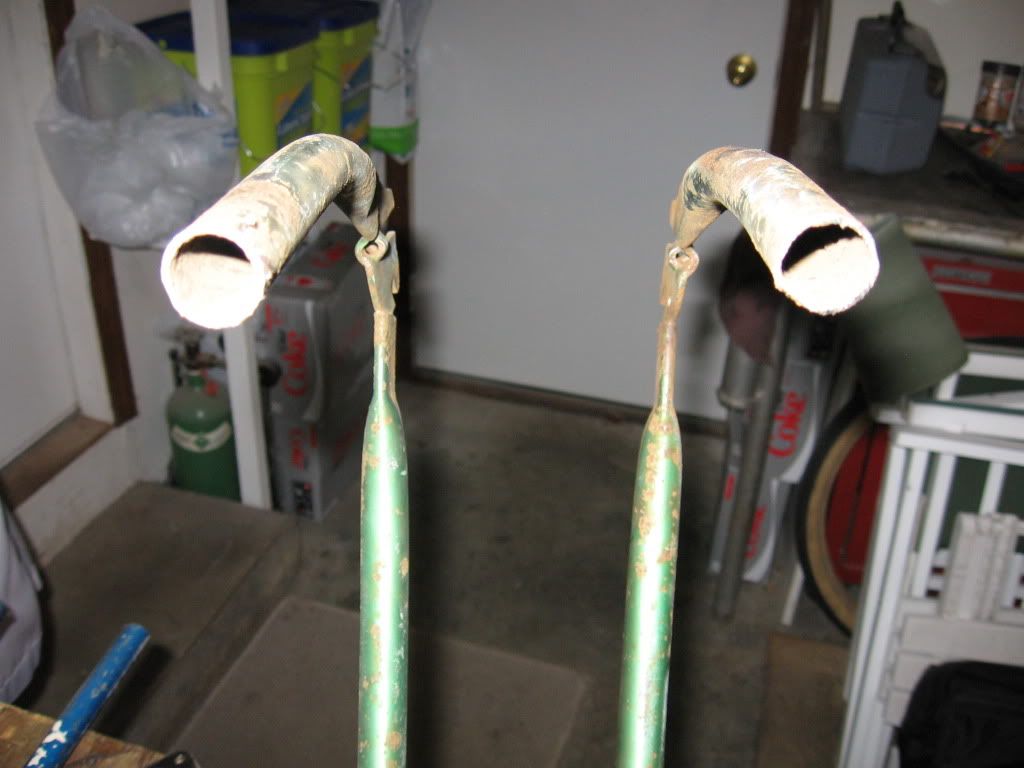
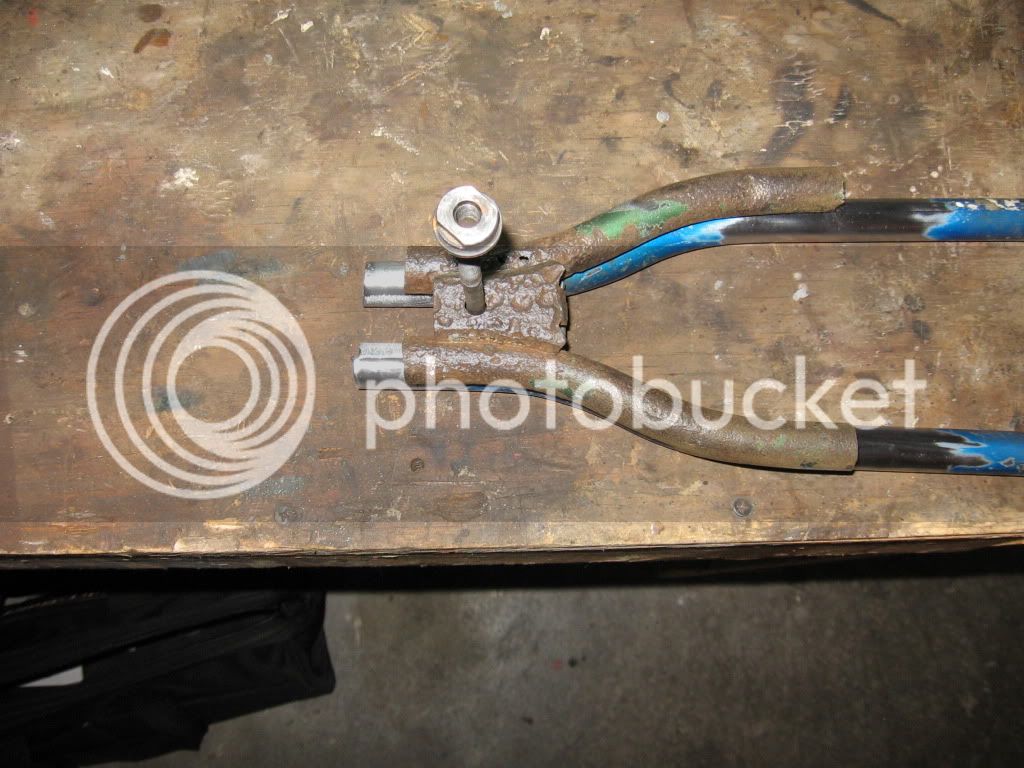
Here is the donated section from "Penny" (did you see the name on the chainstay?). I also cut out the seat stays to use for sleeving the rear of the section before welding.
IMG_0725.jpg
 
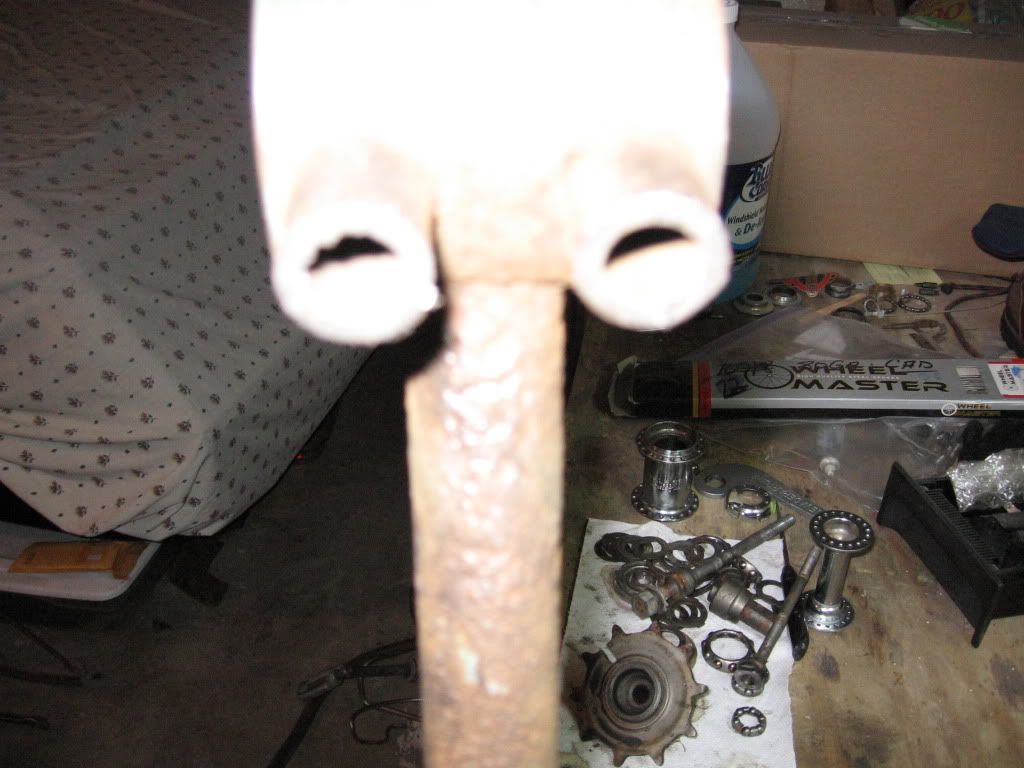
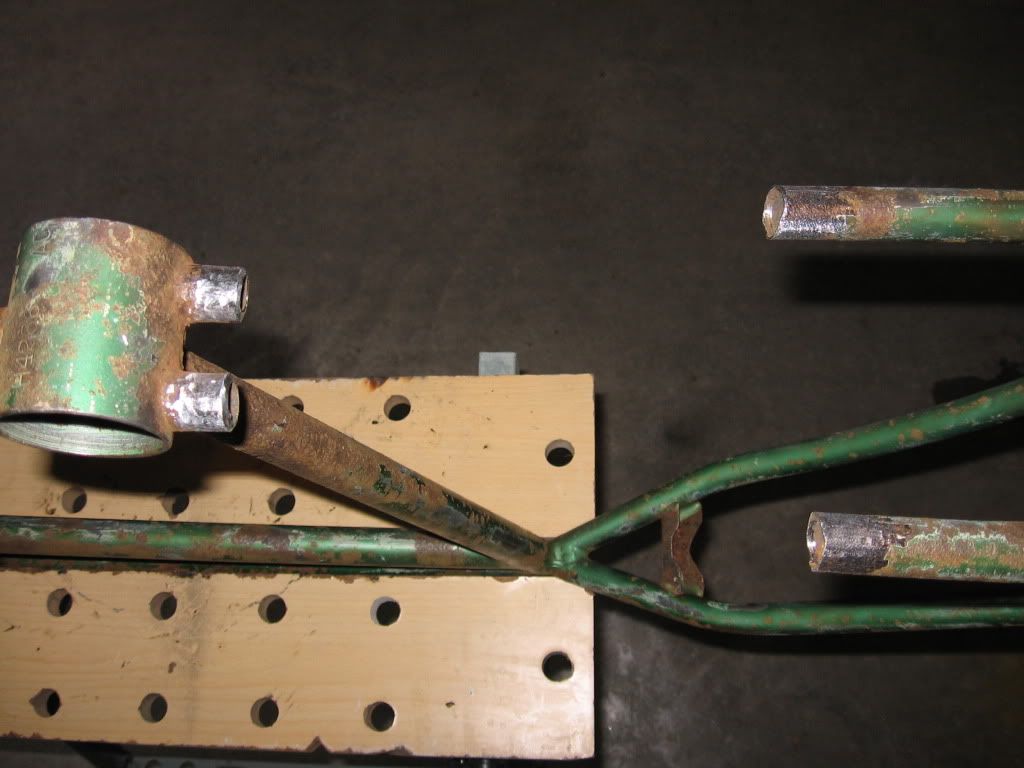
I then cut the boys frame, leaving extra to work with to fine tune the section in. To amazement, once I finished cutting, the chainstays have a unique composition: they are thicker at the bottom bracket end than toward the dropouts. This is good because even with the rust I had to deal with, there is plenty of good metal to grind into up front. Plus I can weld behind the bottom bracket and keep the nice butted look of the stock chainstay attachment there.

IMG_0726.jpg

IMG_0727.jpg
 
I knew the rear triangle was not quite aligned earlier. With the frame section cut out, I squared up the dropouts by evening them triangually (is that a word?). Then with the frame upside down on a level bench, I used a small level on the bottom bracket, the chainstay stubs and on a paintstick sitting in the dropouts. I tweaked everything until they were all level with each other and the distance from the bottom bracket to the front of the dropouts on each side were equal as well.

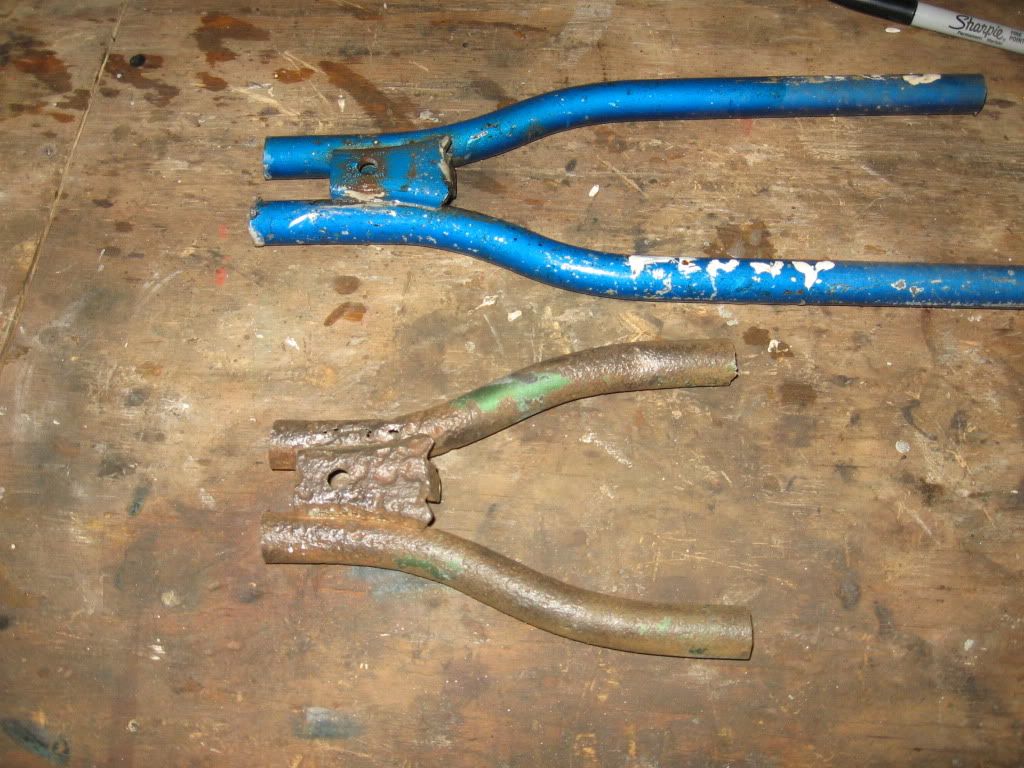
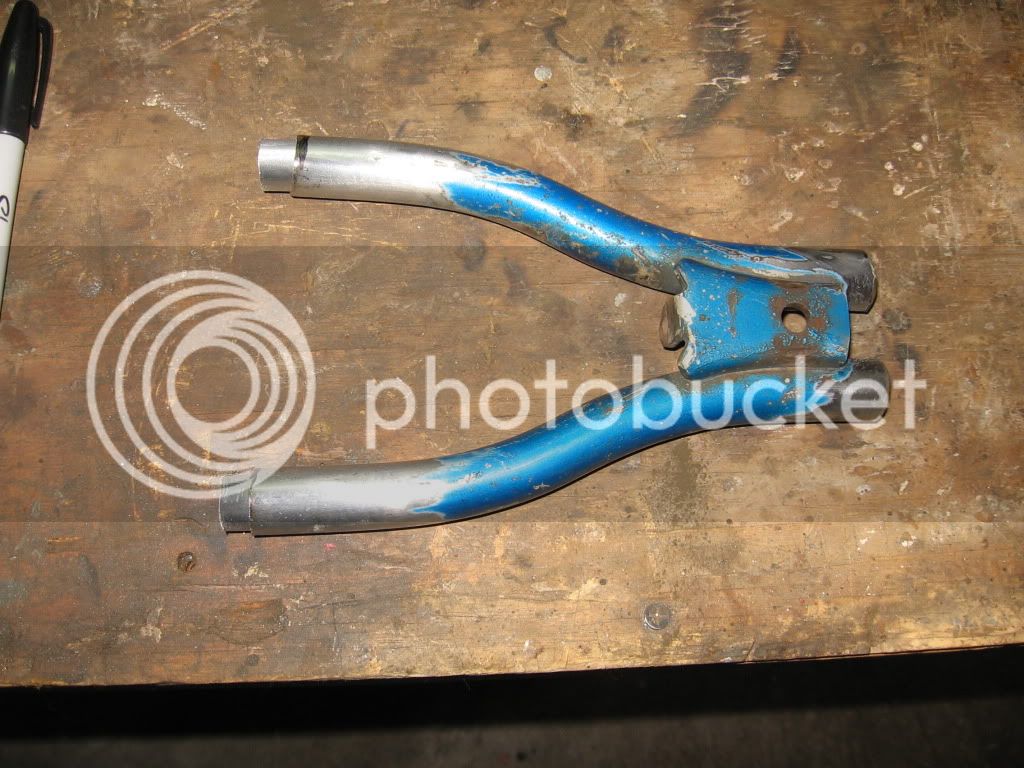
Here is the bad section next to the good section. Lots of meat to work with. The girls frame is a little more narrow than this boys frame. I will have to tweak the rear of the section a bit to open it up.

IMG_0728.jpg
 
Continuing on, I marked the piece using the original cutout piece as a template. The bolt was to help line everything up. Once marked, I trimmed the replacement piece first with a sawzall, then snuck up on the final fit with a grinder. At the end I drove the sleeves in so they would be in there snug and not move around when positioning it back into the frame. Then I ground the frame down to clean(est) metal. Here is a time series through it all.
IMG_0730.jpg

IMG_0731.jpg

IMG_0729.jpg
 
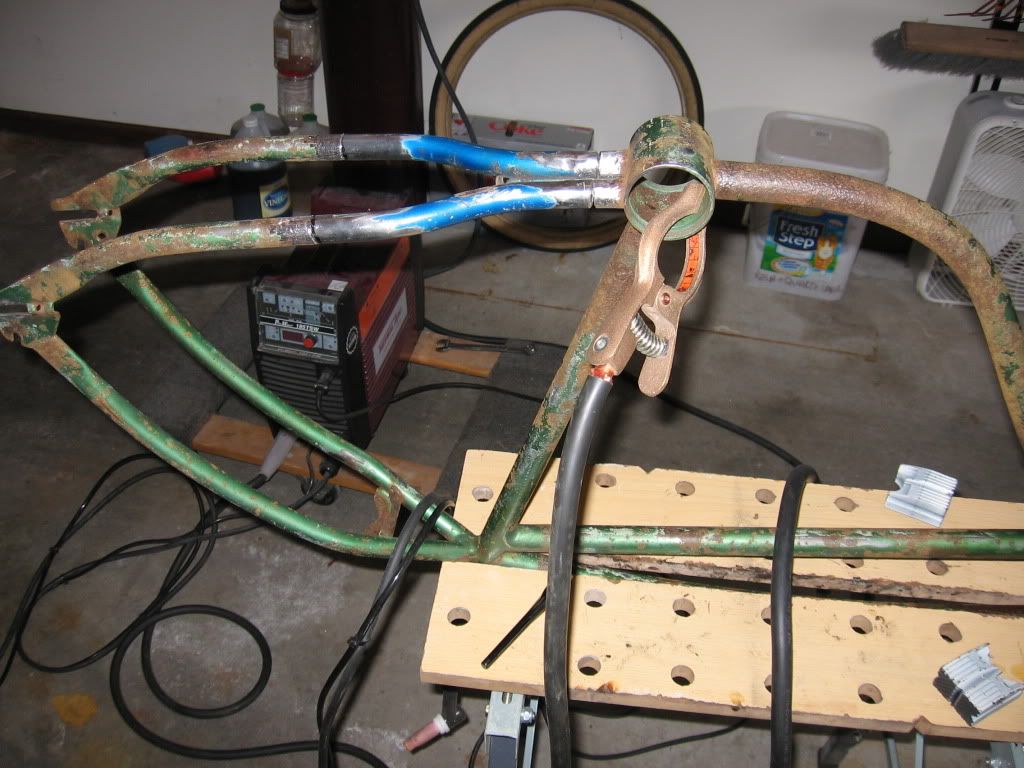
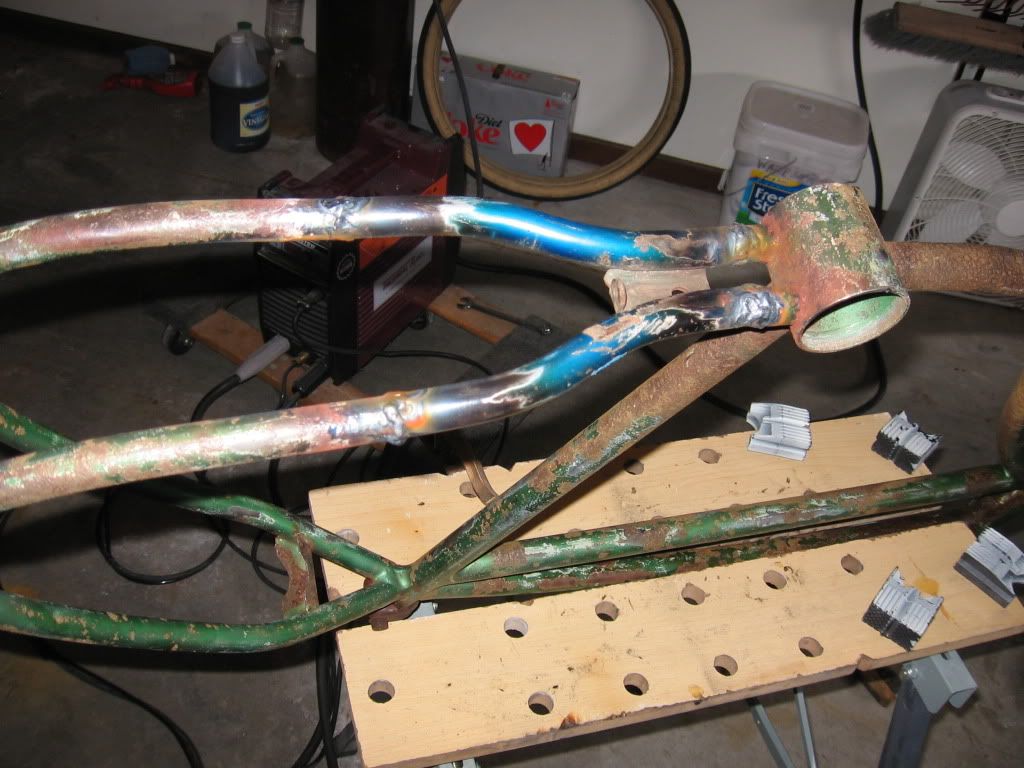
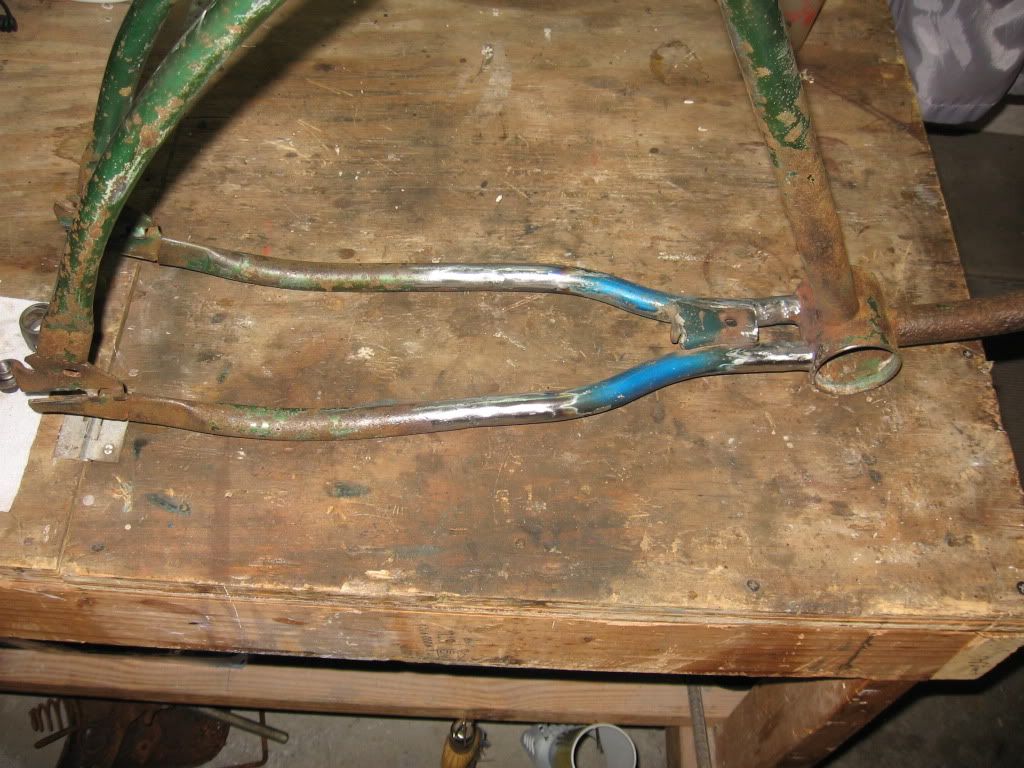
Time to weld. Everything setup and ready to go. Took alot of turning and the help of my neighbor to reposition as I went along. Afterward, I ground it all down and sanded to a smooth finish. I think it came out pretty good. Will use a little paint to blend it in. That's it!
IMG_0732.jpg

IMG_0733.jpg

IMG_0734.jpg
 
Looks good John......and bless Penny from Cleveland :mrgreen:
 
A crafty welder, while not moving furniture, rolls his machine over his cat because his garage was really hot even though he had drank up 5 cases of soda and soaked all his rusty parts in vinegar.

Tag this one if you get my humor.

BTW, nice job on the rebuild.
 

Latest posts

Back
Top