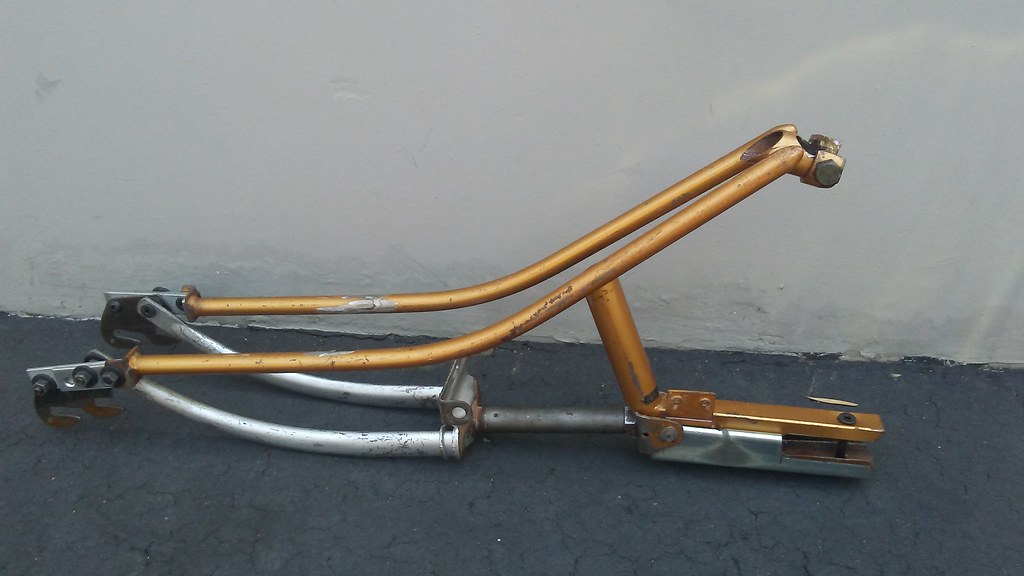
BO15 mad ratter or hack rat

Rat Rod Bikes Bicycle Forum

Help Support Rat Rod Bikes Bicycle Forum:

This site may earn a commission from merchant affiliate links, including eBay, Amazon, and others.
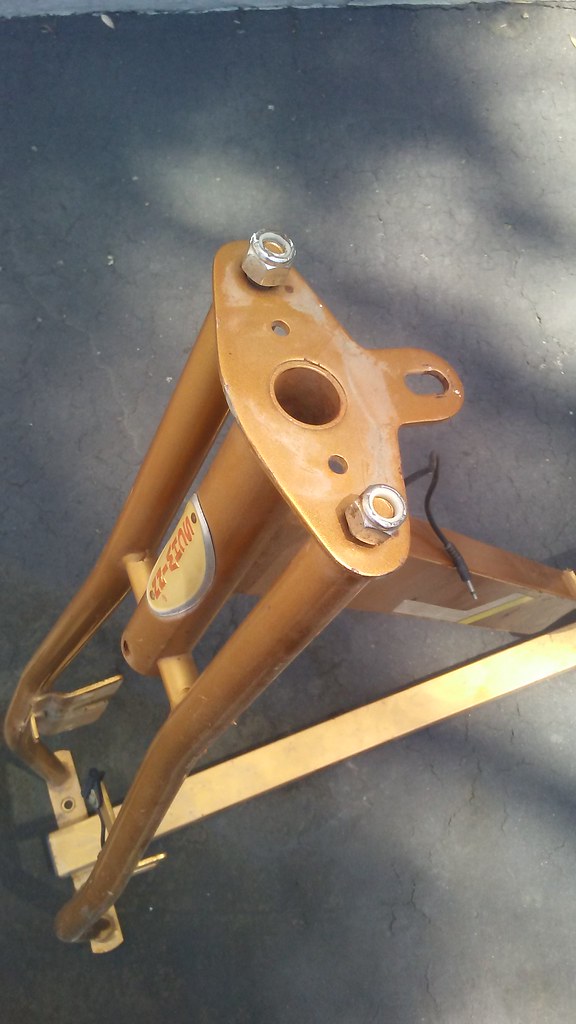
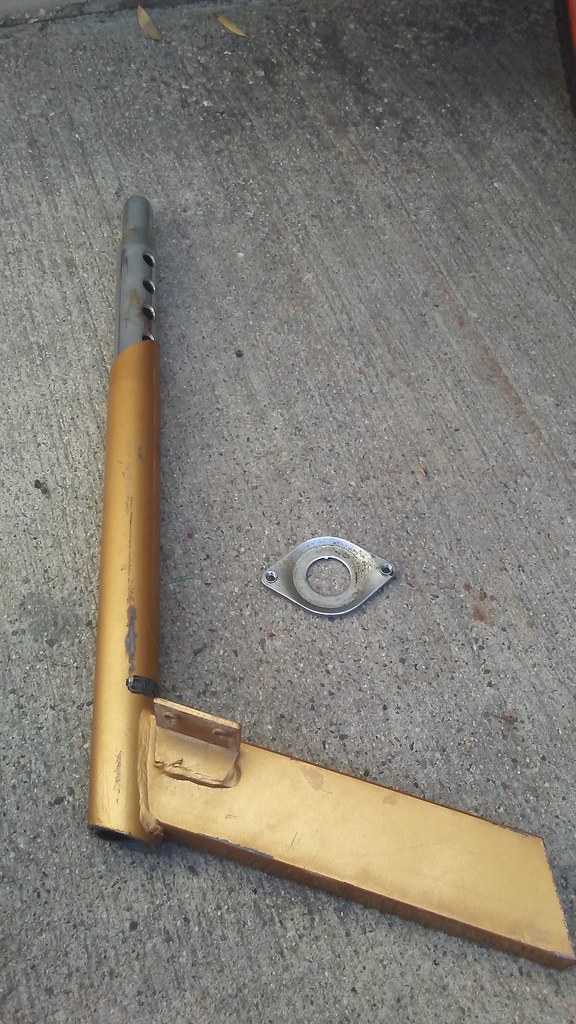
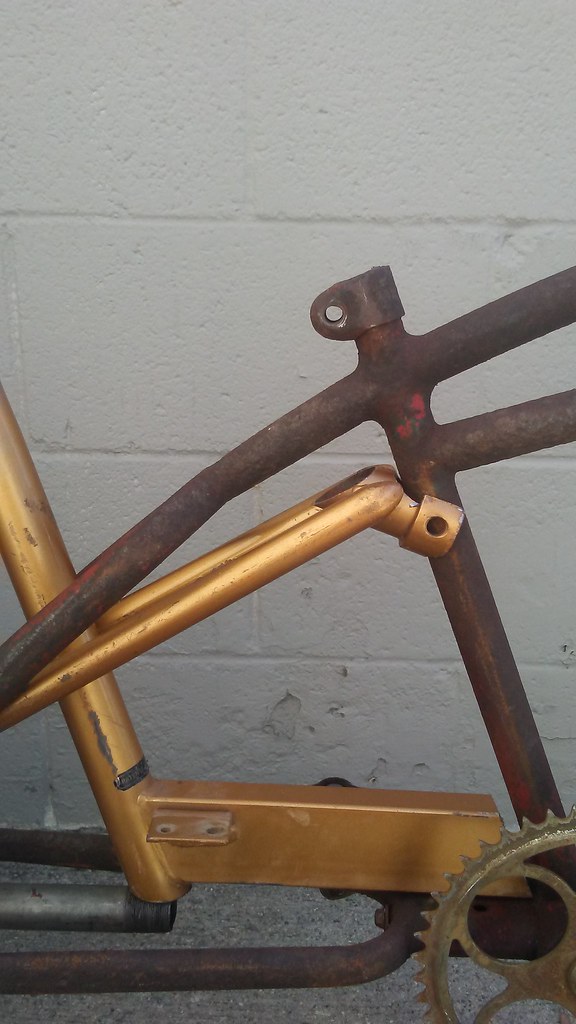
over the weekend i came up with a way to use more metal from the schwinn exerciser to use in the seat post area
50109052237_59f9b118ea_b.jpg

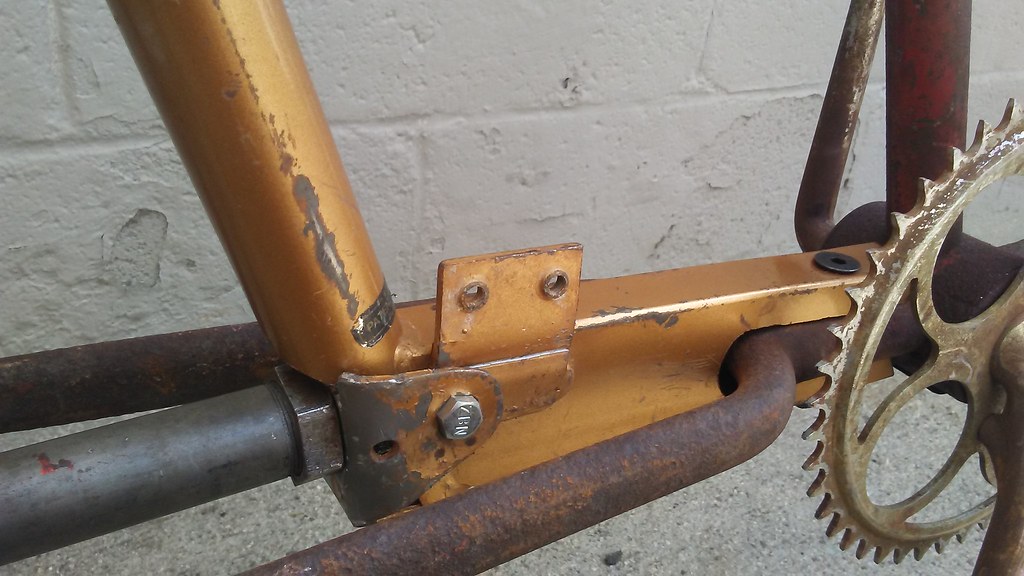
its actually the remainder of the seat post metal and a lower support bar that will get attached to the area on the monark where the kick stand bolts in
50109052292_633eb35388_b.jpg


here is the early mock up
i need to cut down the tube and cut out the center of the support bar so the frame can slide in between it
the bmx gyro cable attachment will be used to mate the rattrap headtube to the back of the seat post support

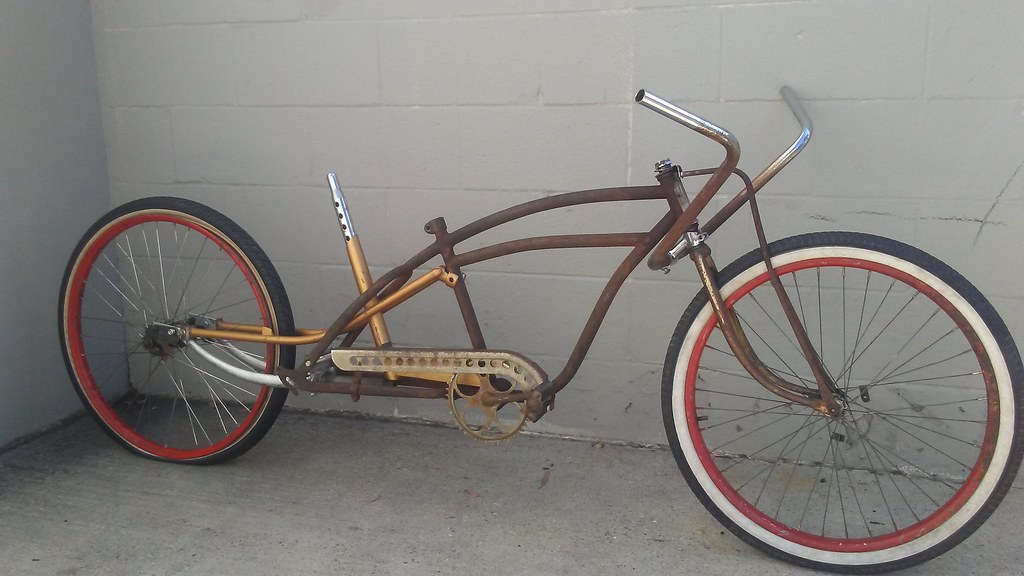
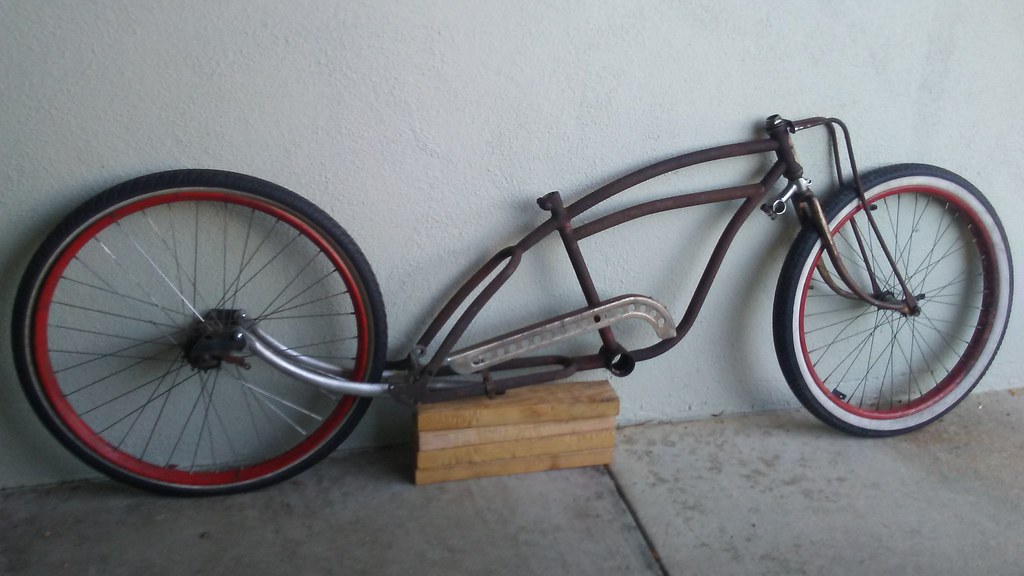
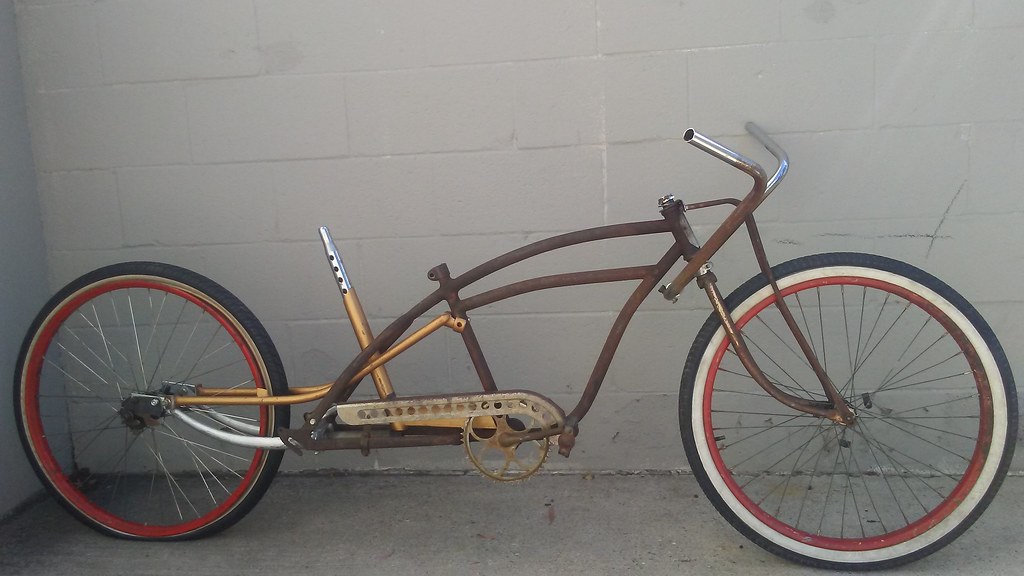
this is mock up of the bike with the 24" schwinn crank and a set of ape hangers
may use different style apes once i get sear finished
50109052337_1a0f34e590_b.jpg

50108243418_bc3ca6efa2_b.jpg


with any luck i will have it fully up and running by end of july
which should give me a month to sort out any issues and do any final finishing touches
 
That works great there.
My mind hasn't wrapped around your steering yet, but the flow of the rest of the build is awesome.
 
toro1978
Feb 20, 20187501,02441Germany, Leverkusen


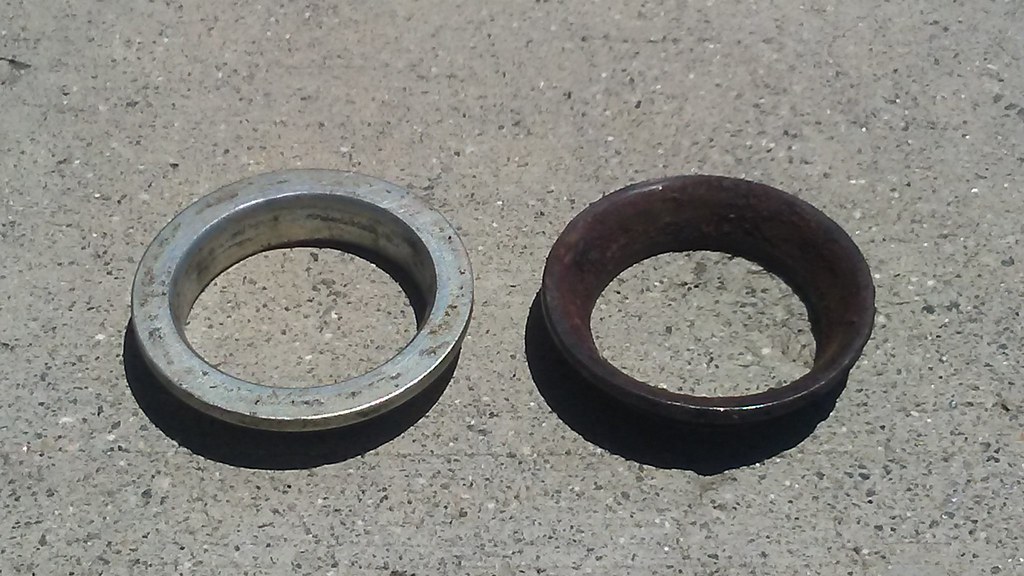
I have a question. I have noticed a fork shaft is a little bit wider at the bottom so the crown race sits really tight. So when you install a stem between the crown and the race doesn't the race sits loose, since it is positioned higher on the shaft?

the races from i believe the 60's or 70's built murrays dont have a wider base so they are snug throughout the entire length if the fork shaft
i will get pic if the difference between the two styles later
 
kingfish254
That works great there.
My mind hasn't wrapped around your steering yet, but the flow of the rest of the build is awesome.

i had to put the bars in that position to lean it up next to the wall
more worried about getting seat figured before tackling the hbars
but i know the ones i put in the mock up seem to tall
 
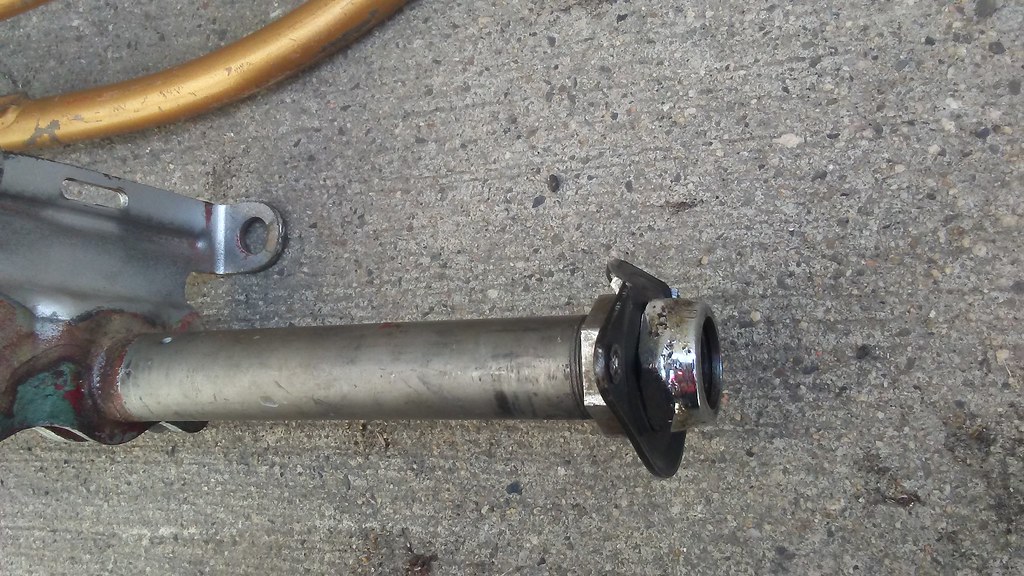
here is the close up of the dogbone mounted on bottom of the fork shaft and the 3 races
50019391863_9e3f6fd80b_b.jpg

1 race in the typical location where the base gets wider
the top 2 races are different in they typically are tight the entire way of the fork shaft

standard race style on the right (usually has a flat bottom) other style race on the right
(which is very concave) almost no center area
50116321873_55cf5669b7_b.jpg
 
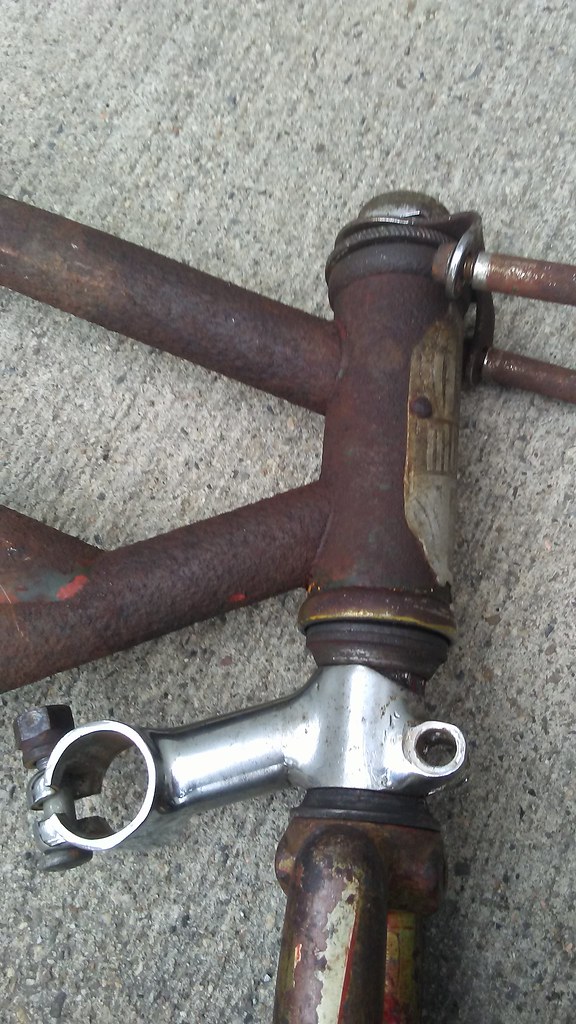
finally got around to attaching the fork stem to the seat post attachment
in this i was originally going to use a bmx brake gyro sandwiched between two nuts
50167019876_87d31e7914_b.jpg

50166486123_ce56900b51_b.jpg

then use the threaded ears to attach the two parts but i had to cut so much off the seat post attachment due to the angle
now there is too much exposed so i need to use a different attachment method but this should give a rough idea to what i have planned

50166486063_01fed966fa_b.jpg

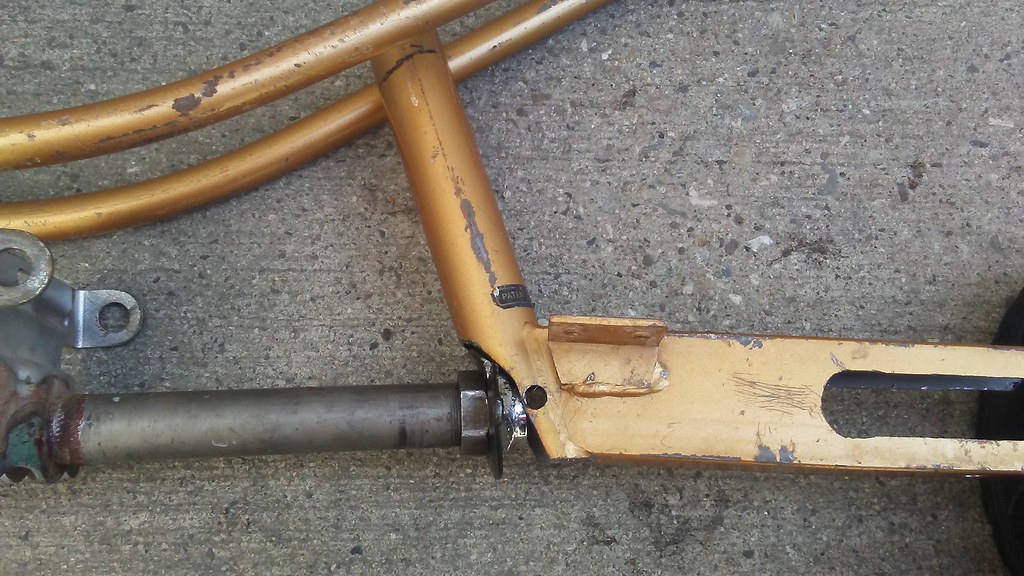
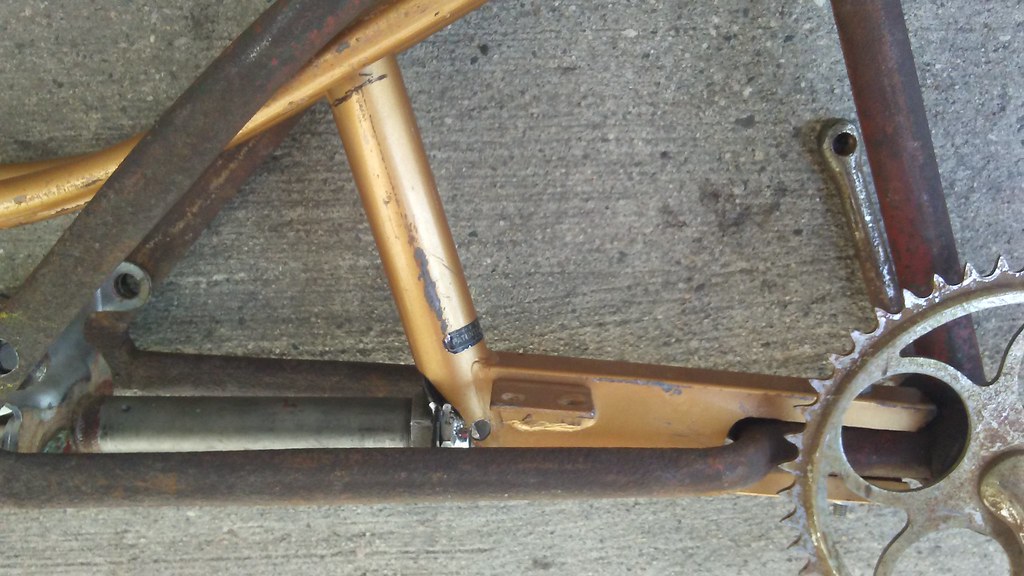
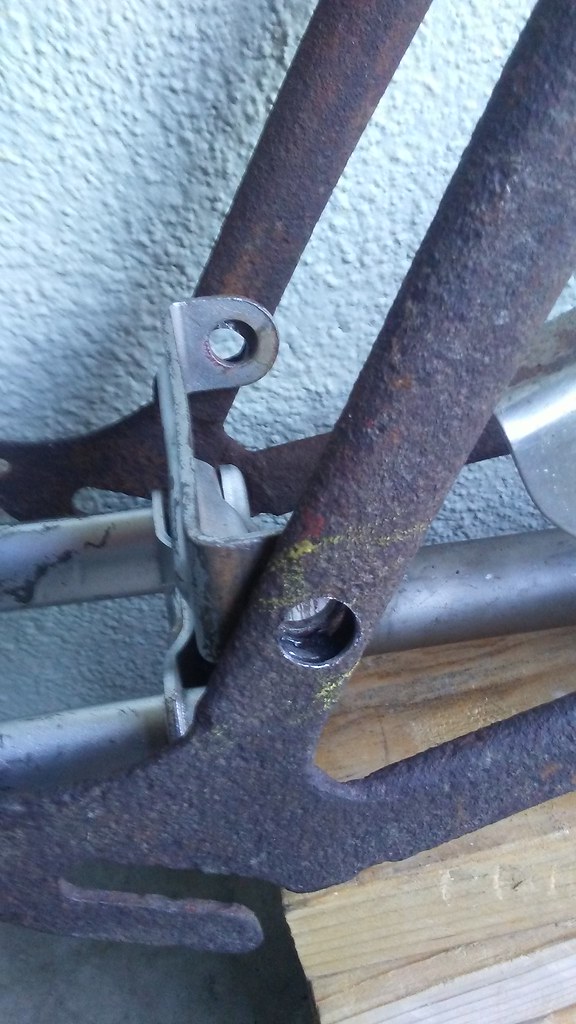
the front part of the seat post holder is bolted to the frame where the kick stand was bolted in originally


rough mock up with the seat post attachment cut down to desired length
but need to to make up new attachment bracket before i can bolt it up and test out the
ride ability
50167019811_4d92ff1bfd_b.jpg
 
i forgot that the rat trap fork rockers have a spacer on them so the fork itself is 1/2 inch too narrow for the coaster brake
i added (for now) a couple of nuts as spacers for current mock up purposes
50019533991_4009f8ecdf_b.jpg


and i drilled out holes in the frame to attach part of the rat trap to it
50019533971_e1f8e28bc4_b.jpg


but if you look closely the frame is different
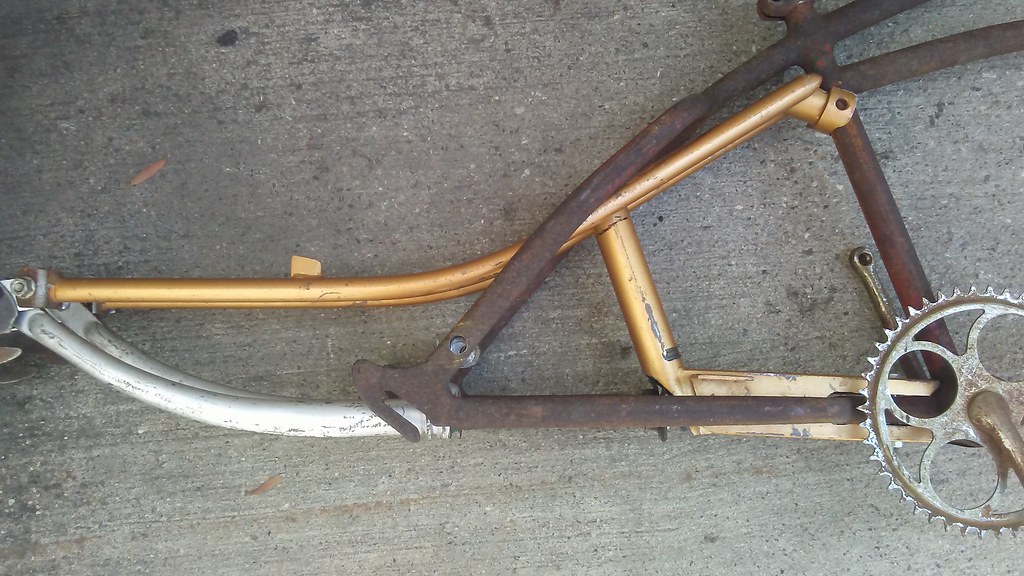
that's because i found a way to make a50's 24" monark frame work
so for now i will be using this frame instead of the shelby
(which will now be the back up frame)


I was able to make it work because of the angled tandem dogbone
that i found buried (so to say) in a location i didnt expect to find any bike parts
had i found it earlier i could have started with the monark frame from the get go
50019391863_9e3f6fd80b_b.jpg


as you can see it sits under the bearing races
ny plan all along was to have a low mounted ape hanger

so here is the monark frame mocked up
50019001593_ba82284117_b.jpg


now i can run a thick piece of steel from the new drop outs (in place of the spacer nuts) all the way to the sear post
and find a way to attach the rattrap stem to the kick stand part of the frame to give it the extra rigidity it will need since its been stretched out
Man, I always wondered how to do that. It never dawned on me to do something simple. I was about to weld something to the back of a fork to hold the handlebars.
FB_IMG_1595028505110.jpg
 
Sir Bolt A Lot is coming together. Less than a month to go. Keep pluggin at it.
 
well I had some mechanical issues with my truck in august
so that had to be resolved but now i can get back to the last few day thrash of finishing up
mad ratter

Ended up cutting off the the top of the exerciser and bending the ears to make a new connection piece
50271507853_c2f8ebd481_b.jpg
50271492168_32734e8270_b.jpg


here is the almost the final mock up of the bike
you can see i have a different set of ape hangers that i feel flow better
50271492108_9da6309ed5_b.jpg

50272160981_896f2b94db_b.jpg


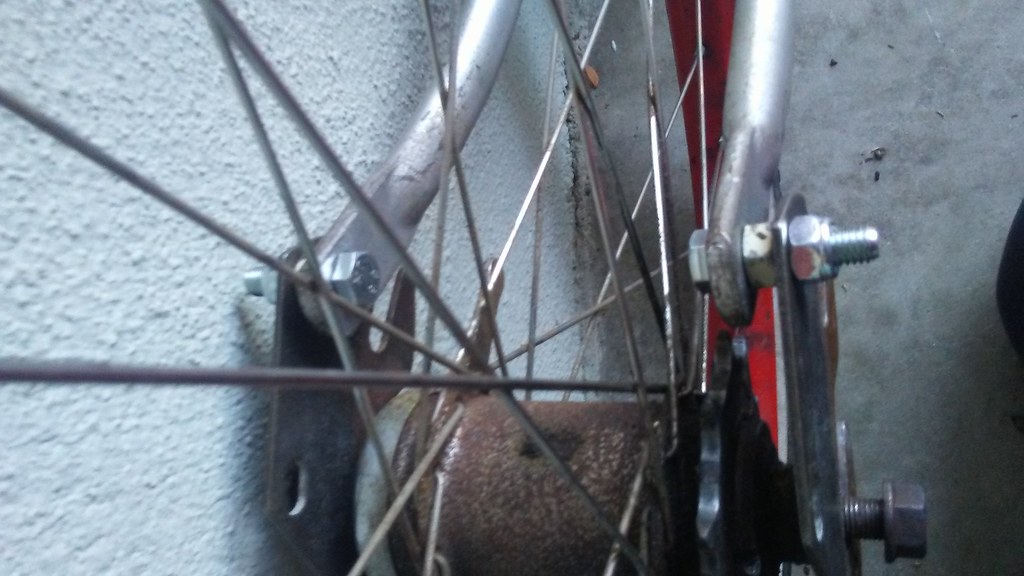
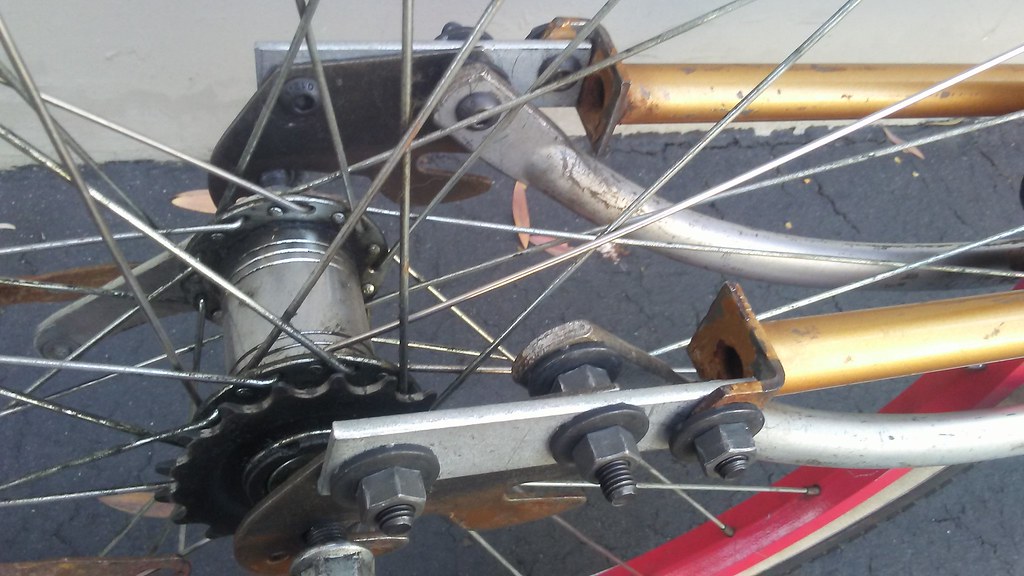
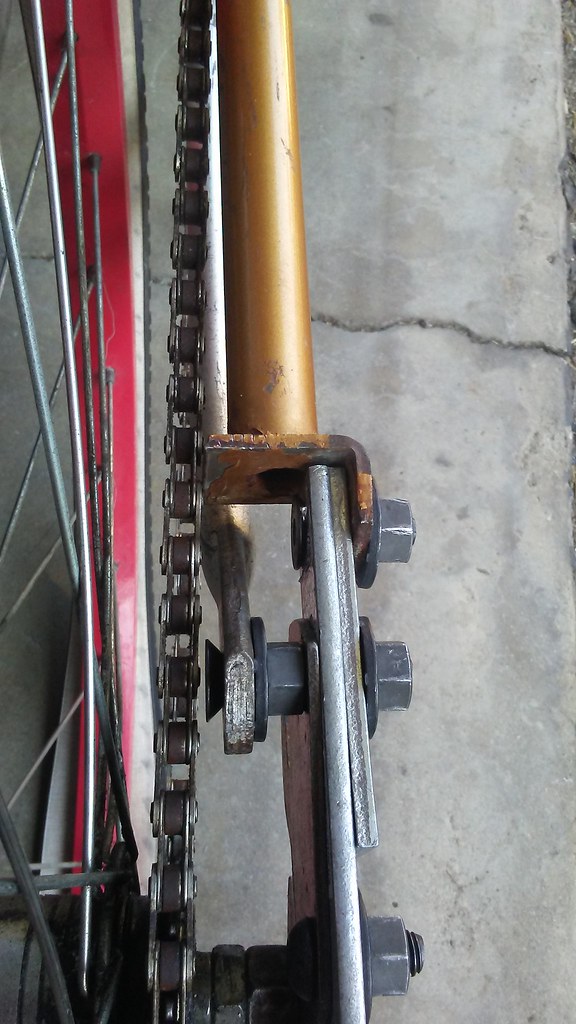
here you can see the bolted up rear drop outs
50271492028_be59e9ee58_b.jpg

just need to put on a chain to fix any clearance issues
 
Glad to see you are still getting at it. I always dig your builds. GetErDone
 
50280130002_fea0085448_b.jpg

the chain does rub just barely so i added a second brace and ground down the ear on the rear
after that it still had a small amount of clearance issues so i used some offset spacers on the coaster to finalize chain position

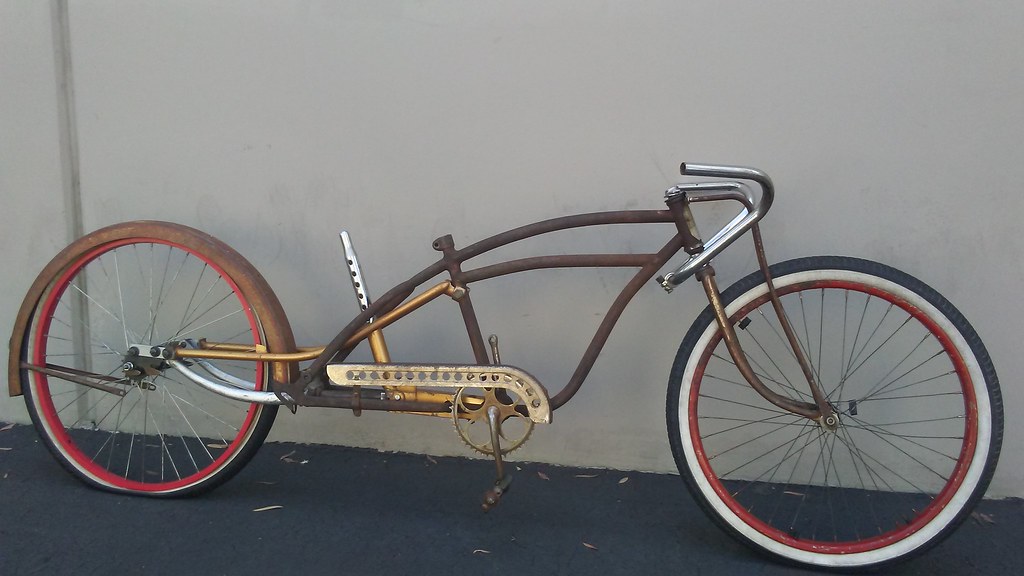
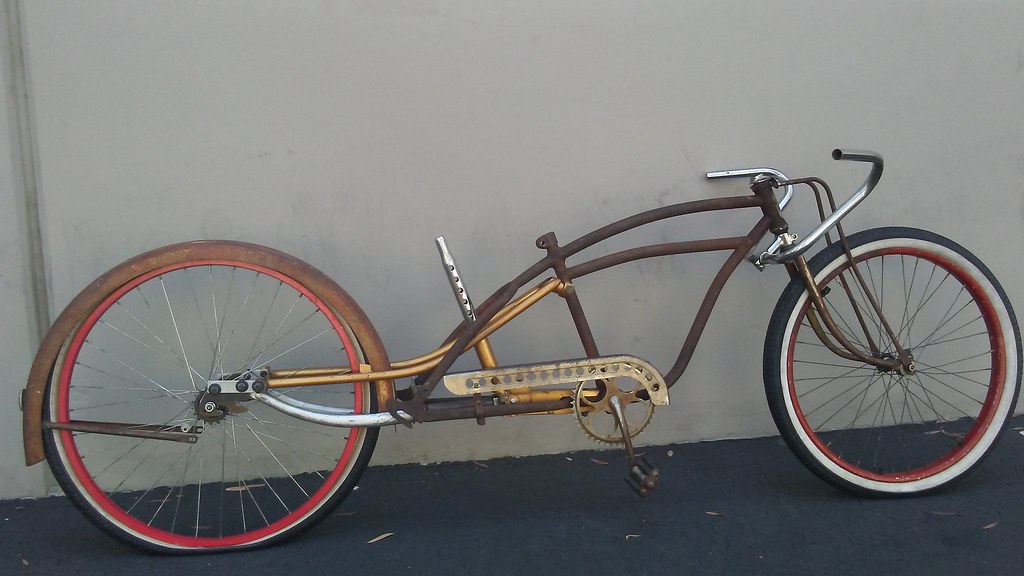
here is all the added extension parts that now need to get painted and bolted back together
50280130702_06e7edb337_b.jpg
 
1598668210521.png


Maybe you should change the build name to Praying Mantis?
 
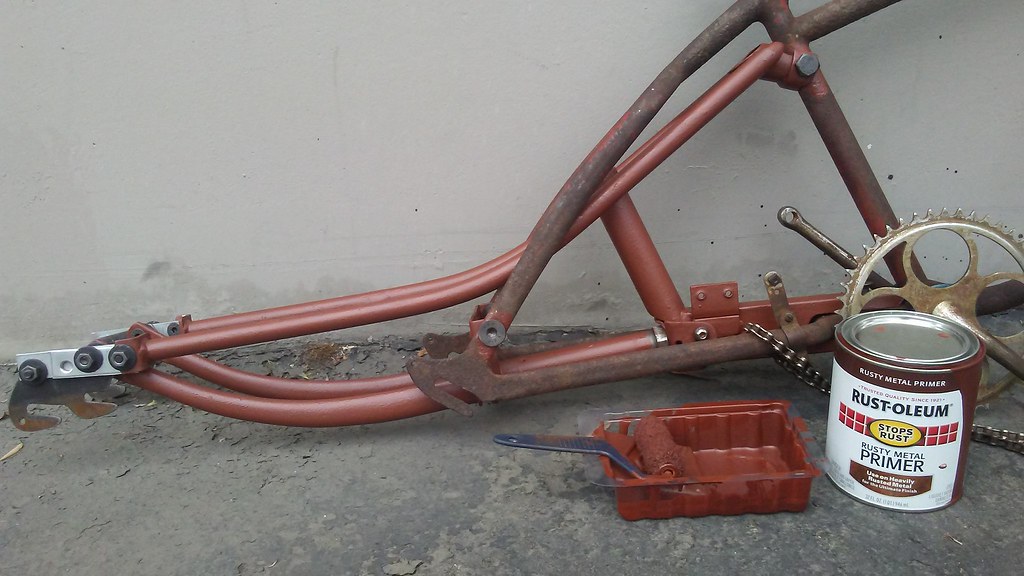
over the weekend painted the the rear extension section
50291328907_82b718436a_b.jpg

i applied the paint with a roller
yes that is how I roll

I found a trick for painting distressed wrought iron
I could have added the final black coat but i really like the rust color of the base primer
50290505688_8f9bdd721c_b.jpg

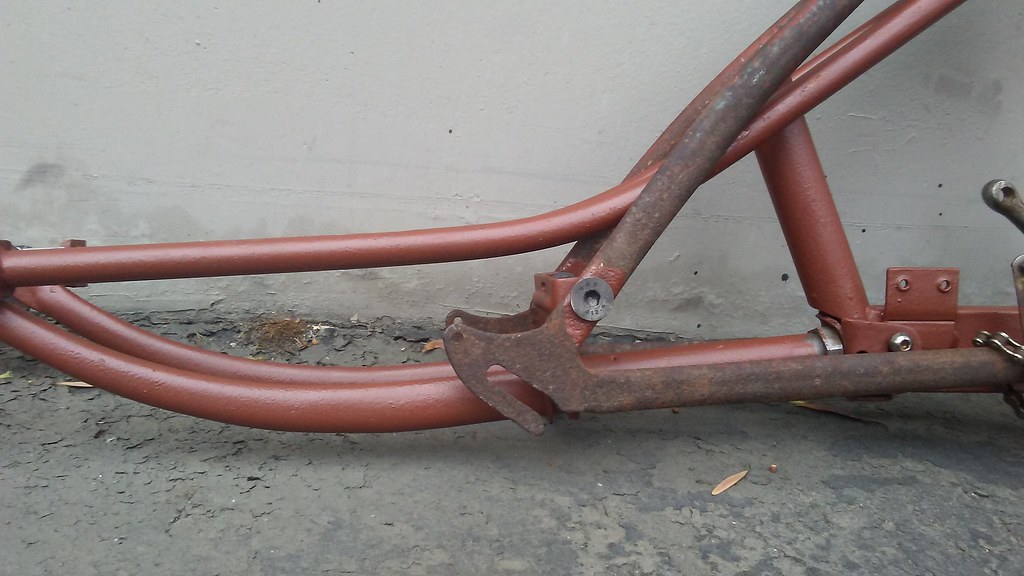
you can see how the rolled paint mimics the distress look of the original rusty frame

the primer starts out thin but each additional coat makes it look more distressed
this is two coats
may add more if i decide i wanted it more ratty looking
 
One piece that gave me fits was coming up with a way to mount the seat post on the frame to keep weight off the center section where all the parts connect
20200901_103707.jpg


These 2 adjusters from exercise bikes ended up working out perfectly
20200901_111234.jpg

final product
20200901_140829.jpg
 
Last edited:

Latest posts

Back
Top