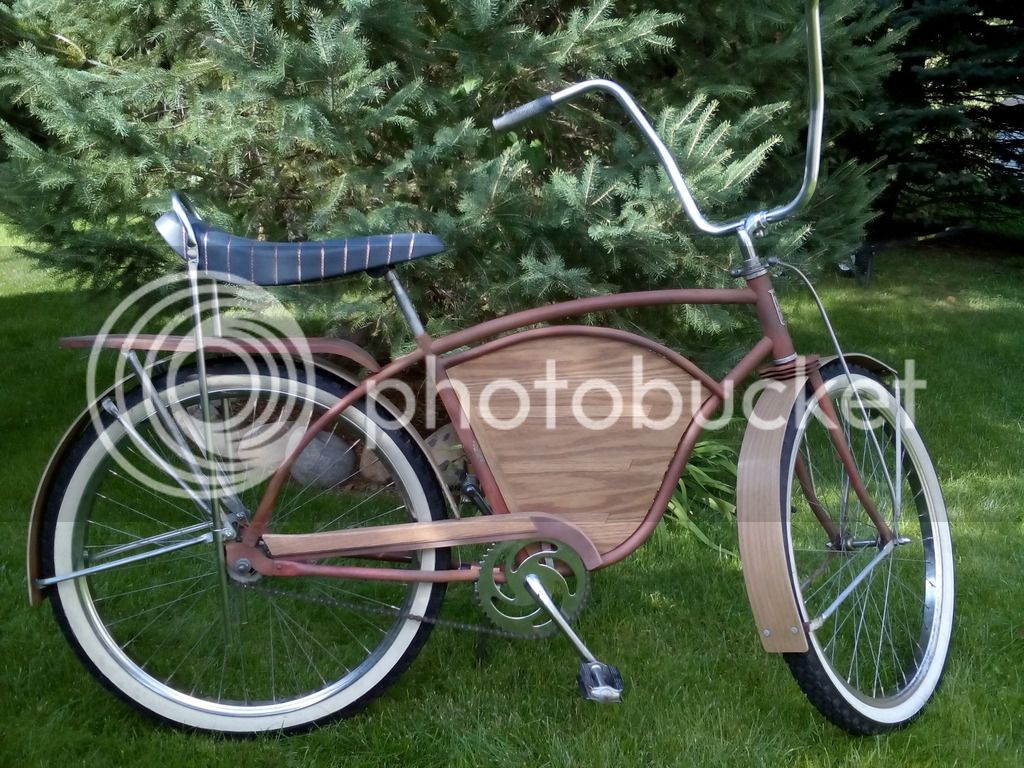
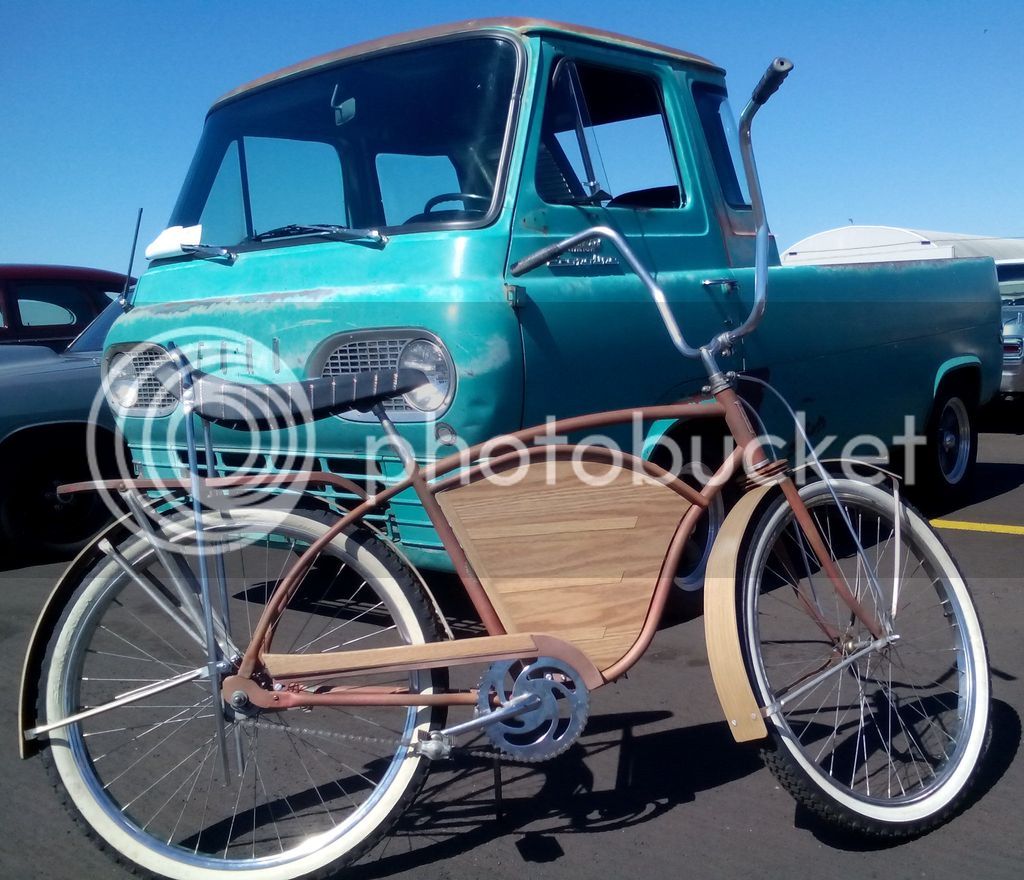
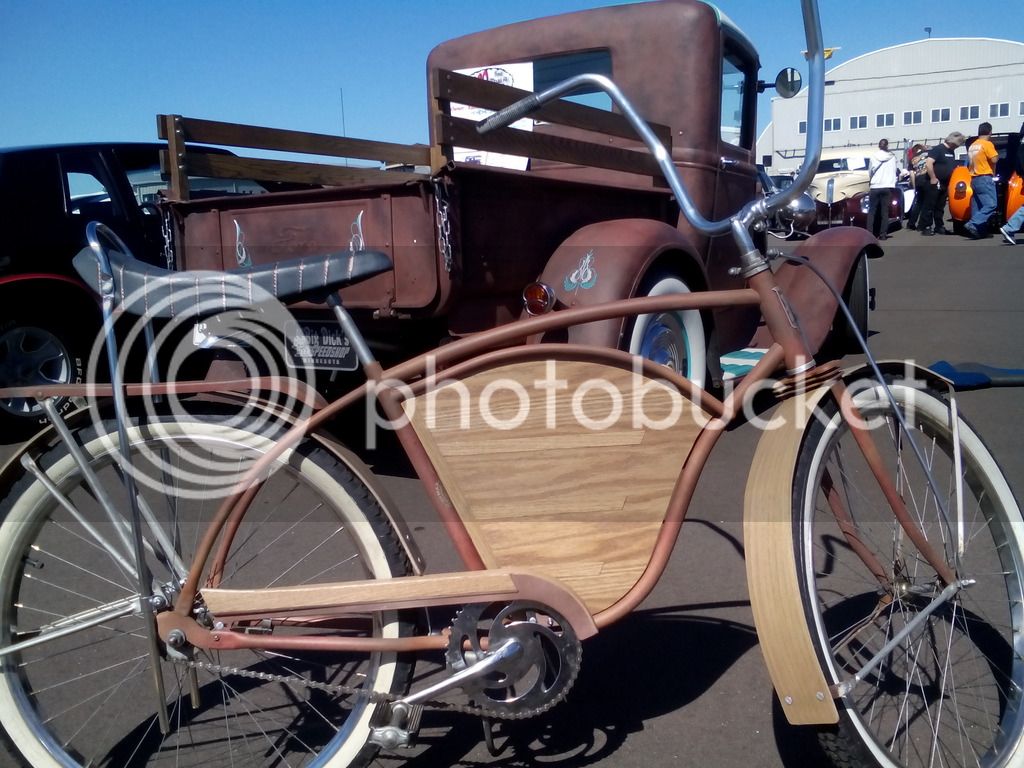
(MBBO #4 Class 1) "Shelby Flyer Woody"..Holiday Greetings from OddJob..pg 10

Rat Rod Bikes Bicycle Forum

Help Support Rat Rod Bikes Bicycle Forum:

This site may earn a commission from merchant affiliate links, including eBay, Amazon, and others.
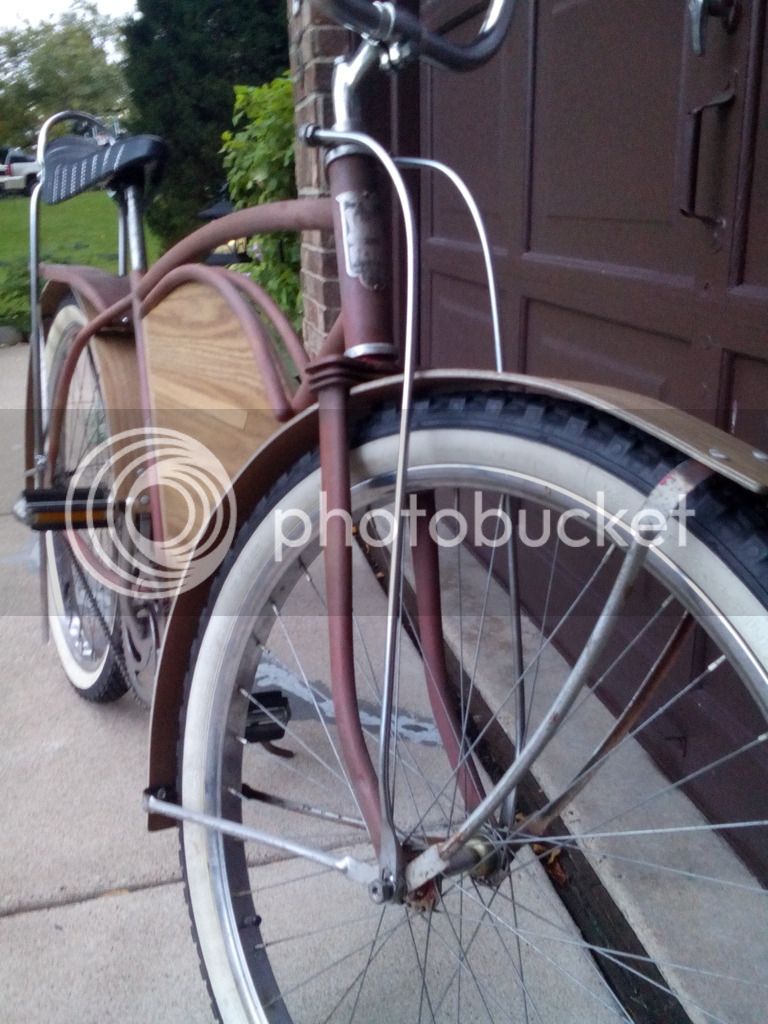
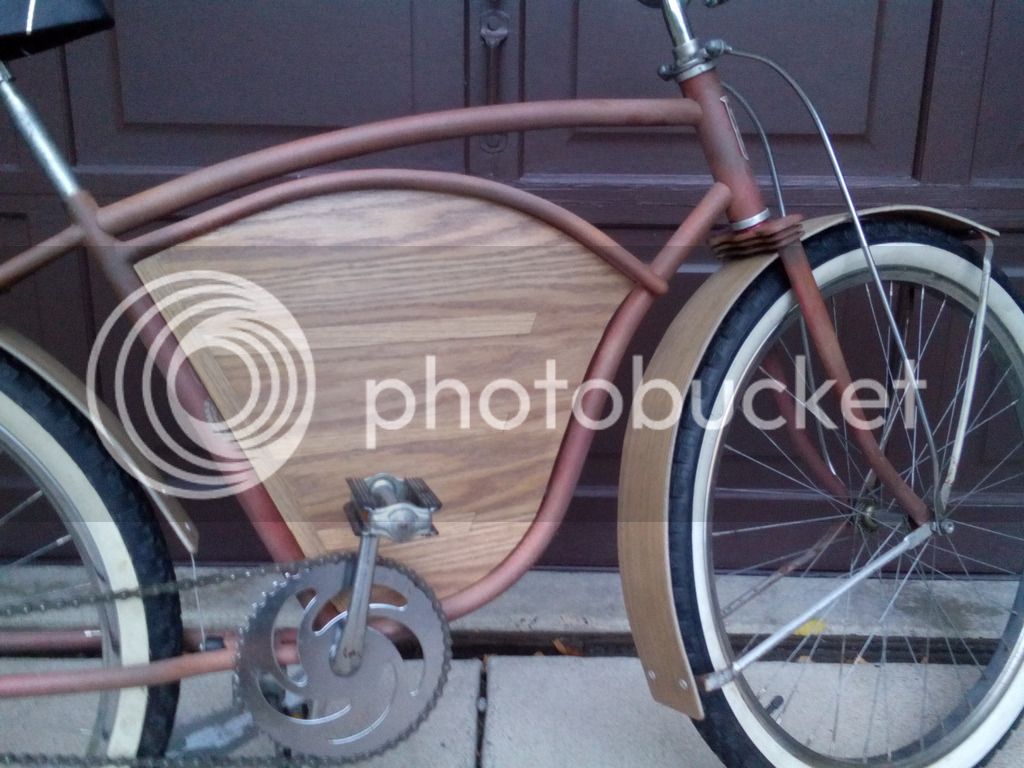
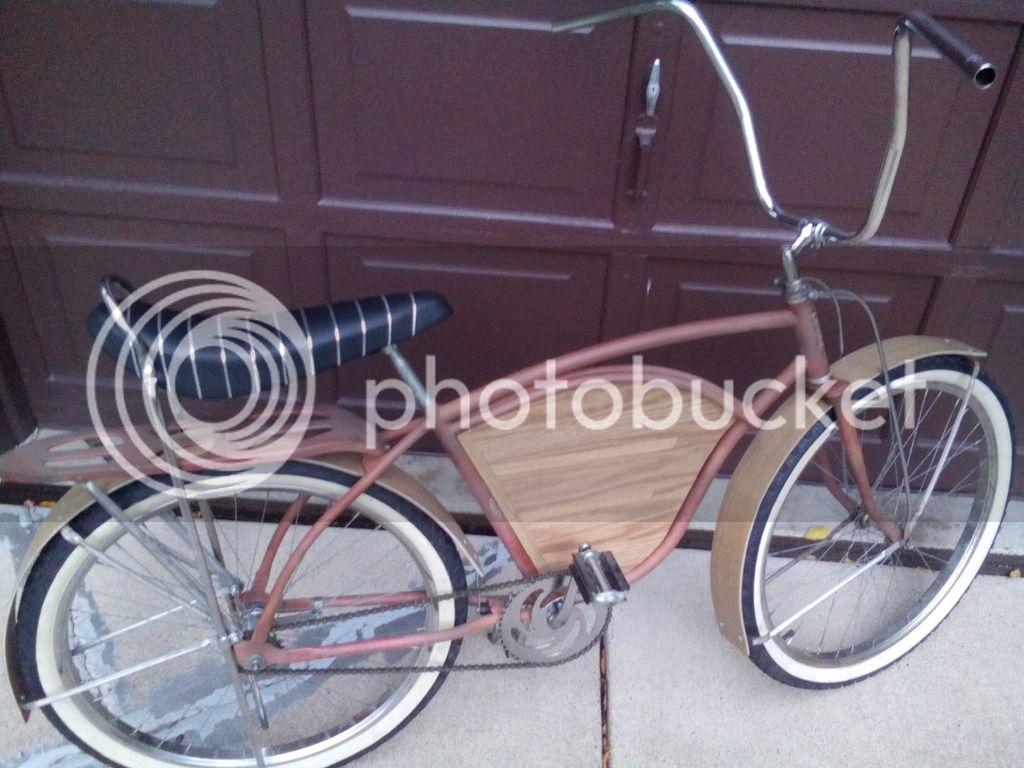
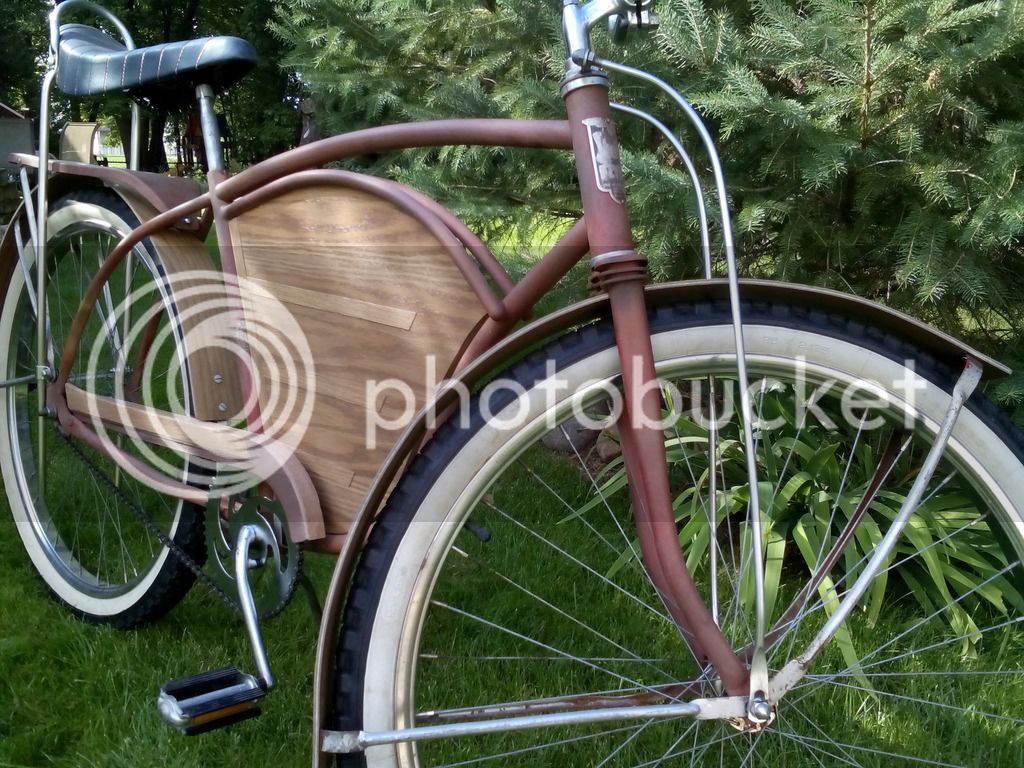
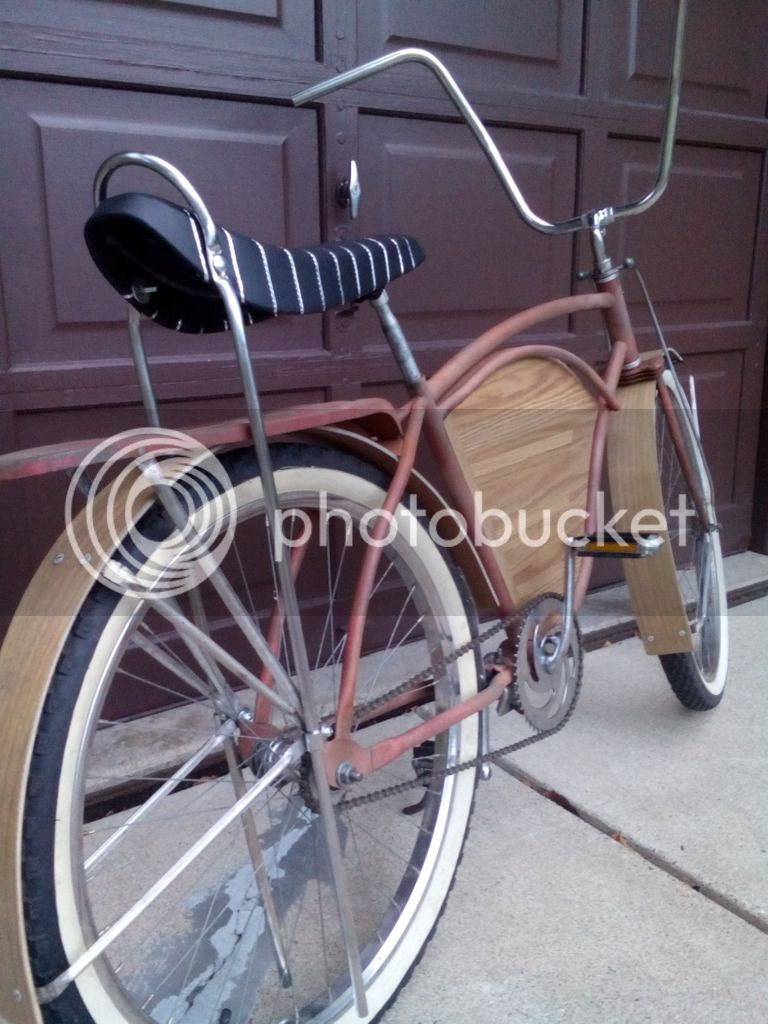
Day 6 Summary ...I'm still laughing every time I see those dancing bananas....:21: We came home this afternoon from up north, survived one storm, decided to head home before the next one moved in. Got in 4 hrs of work on SFW on Labor Day Sunday! And....it's a rider! Boy, does this baby ride smooooothhhh. Just put the "woodside panel" in after the ride for the pics. Hope to get that mounted tomorrow, rat-ify the 'naner saddle, and start on my next little addition as well. Gotta git er' dun so I can get some beach shots before they're covered in the white stuff...and I don't mean sugar sand...

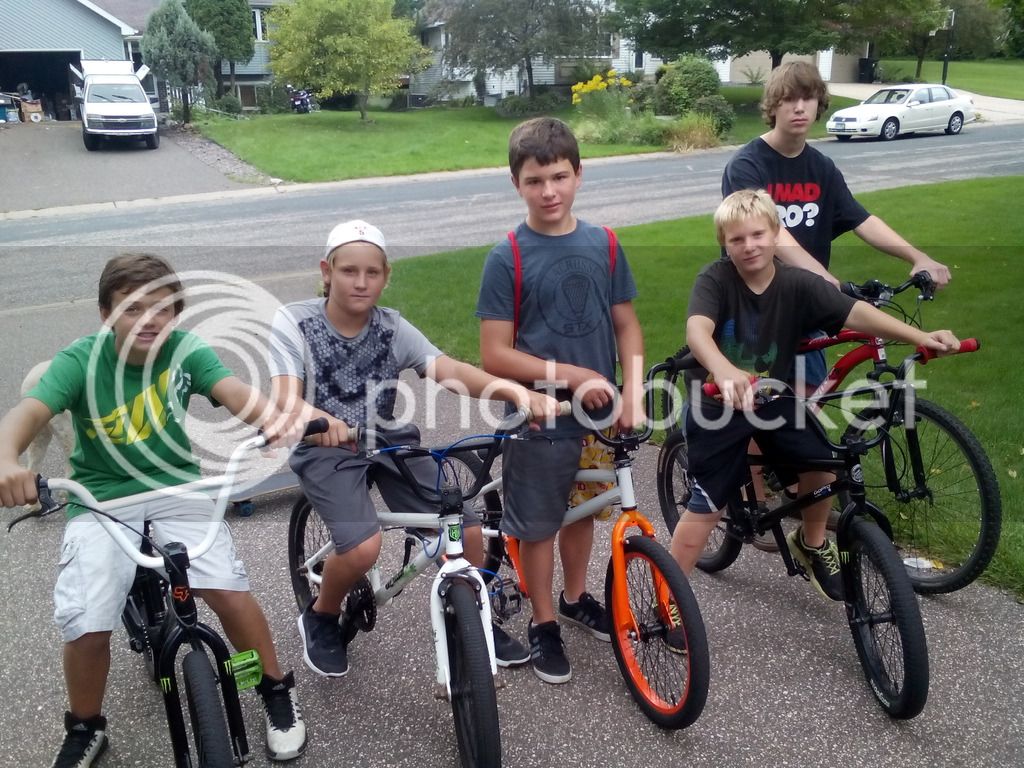
First off, I got welcomed home by this crew. The kids in the neighborhood know if they see my bike sign on that the shop is "open". They are squeezing the last bit of summer out of the next two days....

Then I went to work on the Shelby Flyer Woody and got er up and runnin'....


Rain coming down hard on the roof of our camper after a couple hours of rumbling in the early morning sky. Sitting in "The Shop Bar and Grill" (car and automotive themed bar near our place in NW Wisconsin) last night my wife spots a cool rat rod image on a sign and says,"I think you should really consider building that bike shed you talked about out-back." Wondering if it was the beer talking, I pursued the conversation further. Nope! She was dead serious! Come next spring "Back Forty Bikes" will commence! Just had to share....you guys are the only ones who would really grasp the level of excitement I feel!!:inlove::bigsmile:

When you get it built, I'll see about getting one of these to you for the grand opening.;)
back40_4upbottles.jpg

Back Forty Beer Company is our local brewery here in Gadsden, Alabama.
17130523-mmmain.jpg
 
When you get it built, I'll see about getting one of these to you for the grand opening.;)
back40_4upbottles.jpg

Back Forty Beer Company is our local brewery here in Gadsden, Alabama.
17130523-mmmain.jpg
Sweet! As long as they are delivered personally...summer's pretty nice up here typically. We could jam, ride bikes, hit a couple jazz clubs...! Cool picture, are you a fan of their beer?
 
Day 7 Summary - What better way than to spend 8 hours on a non work day? Work....on your current rat rod bike project that is! Got some great time in on the Shelby Flyer Woody muscle beach bike today. I will give a brief description of what was accomplished, followed by some pictures.
Happy Labor Day Holiday to all!:)

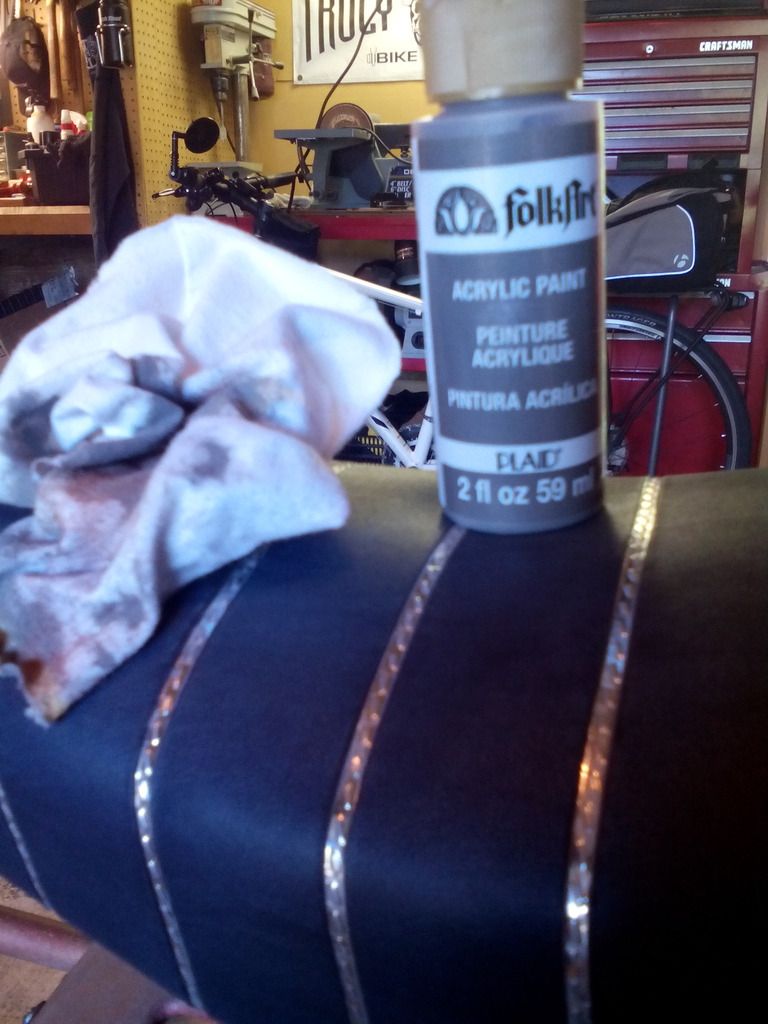
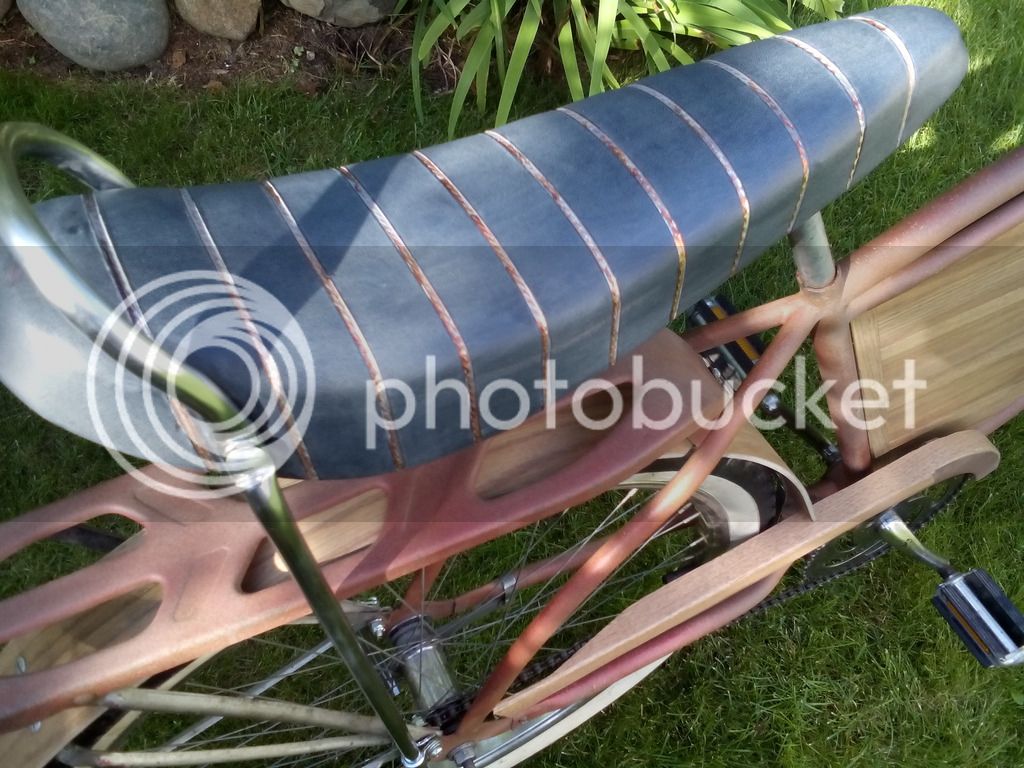
First off this morning, I went to work on rat-ifying my brand new saddle. It was just too "black" for a seat that has seen use on a beach bike. I used a Folk Art acrylic paint that is tooth paste consistency on a rag and worked in 3 coats of a grey / taupe color. I also used a fabric marker in a brown color to tone down the chrome silver stripes on the saddle....
Before....

After.....


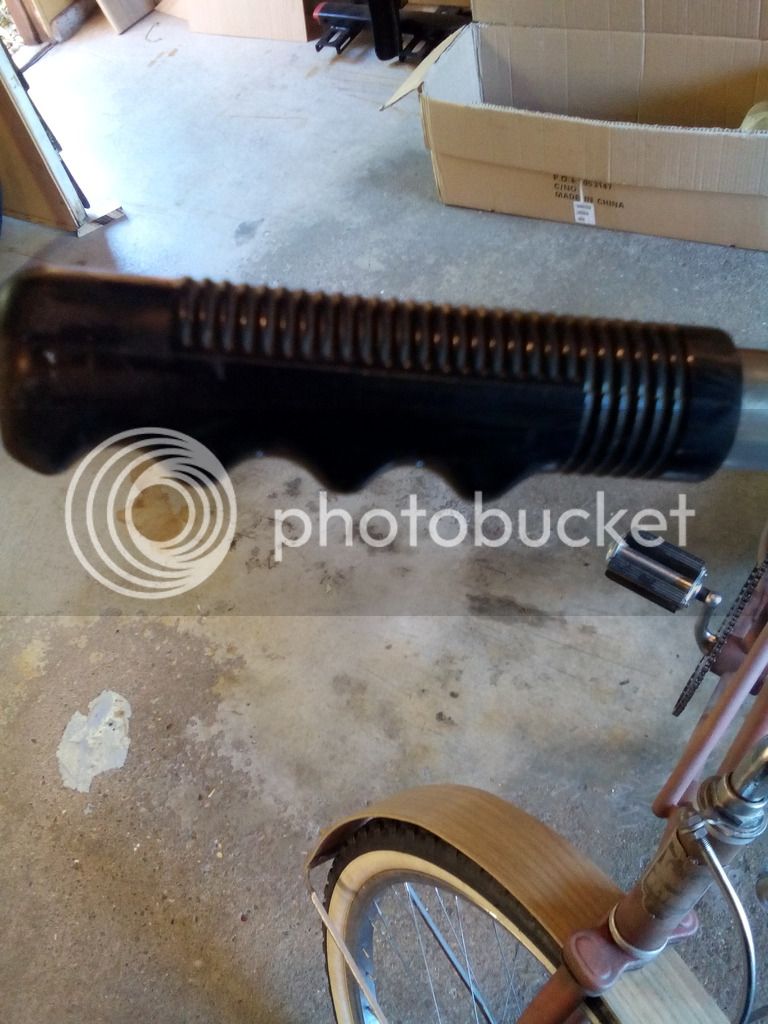
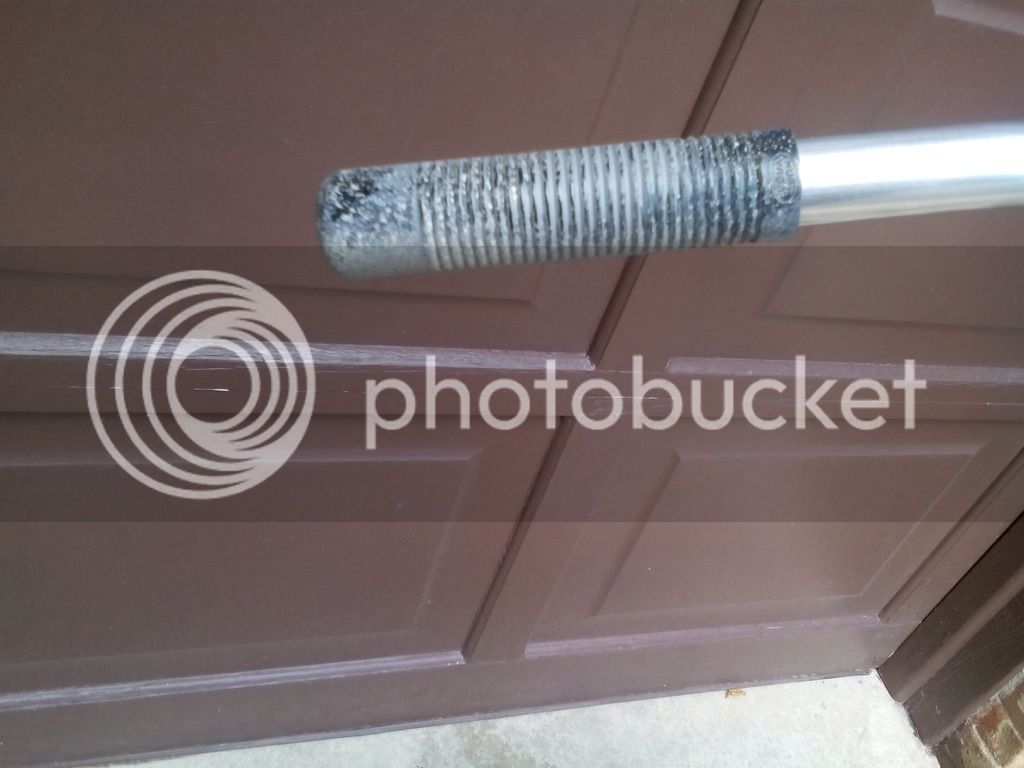
I also took the original grips which came with the bike and aged them a bit with paint and some rubbing....
Before....

After...


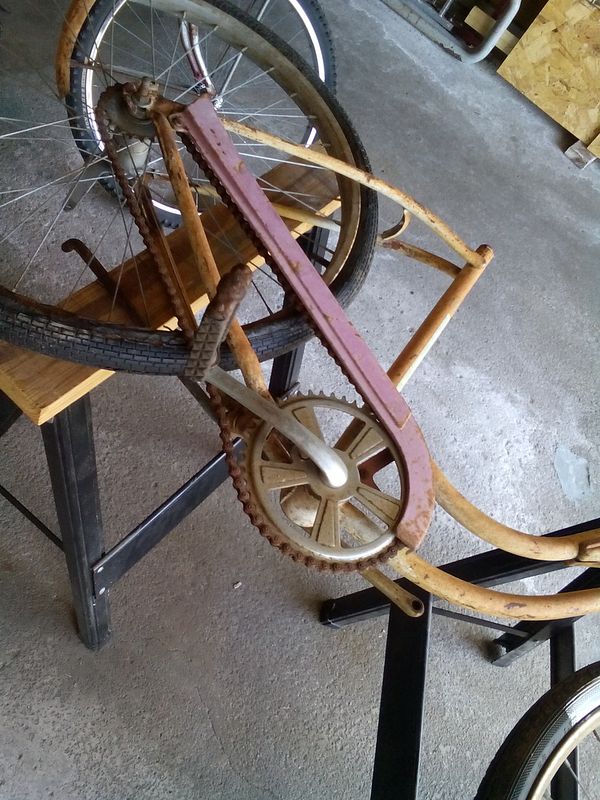
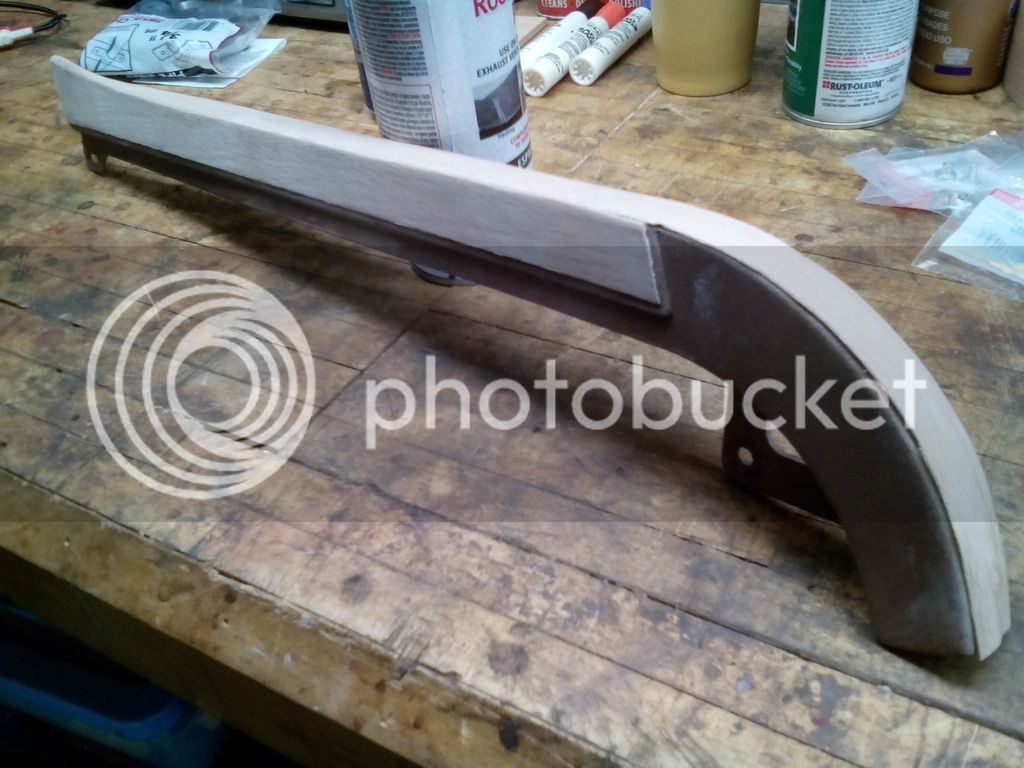
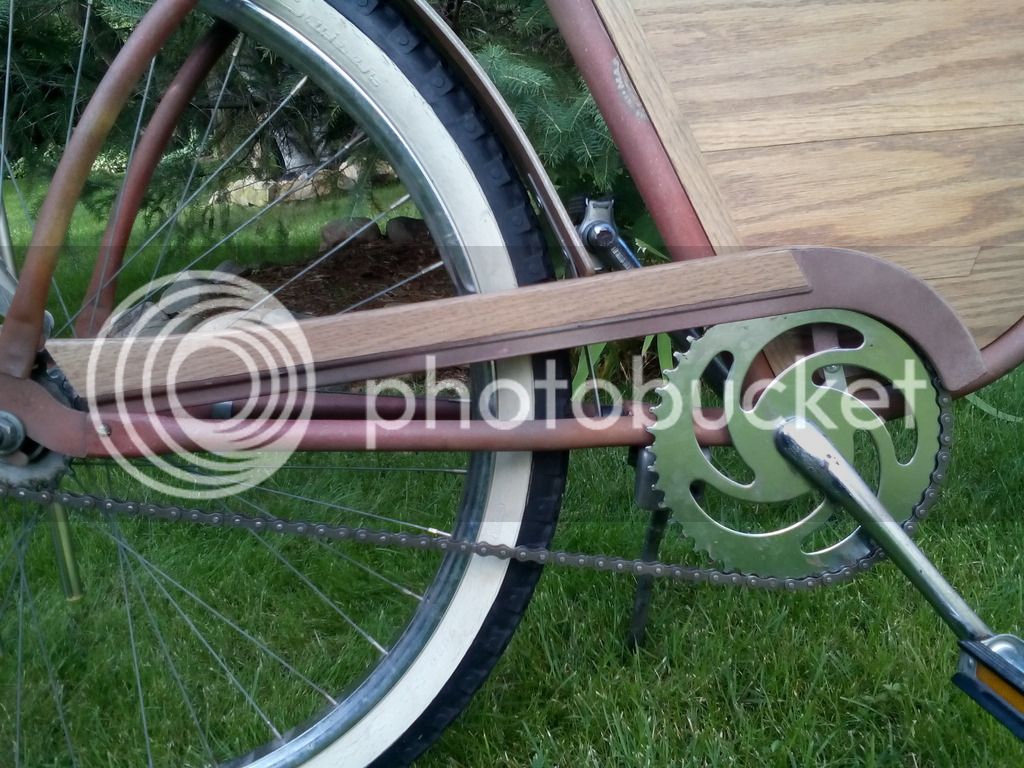
The final project was to add a chain guard to the SFW. I wanted to combine the metal and wood for this one. I had a dusty pink guard from the women's Schwinn donor bike for the BBD in BO-X left over...turned out it was a great fit length wise.


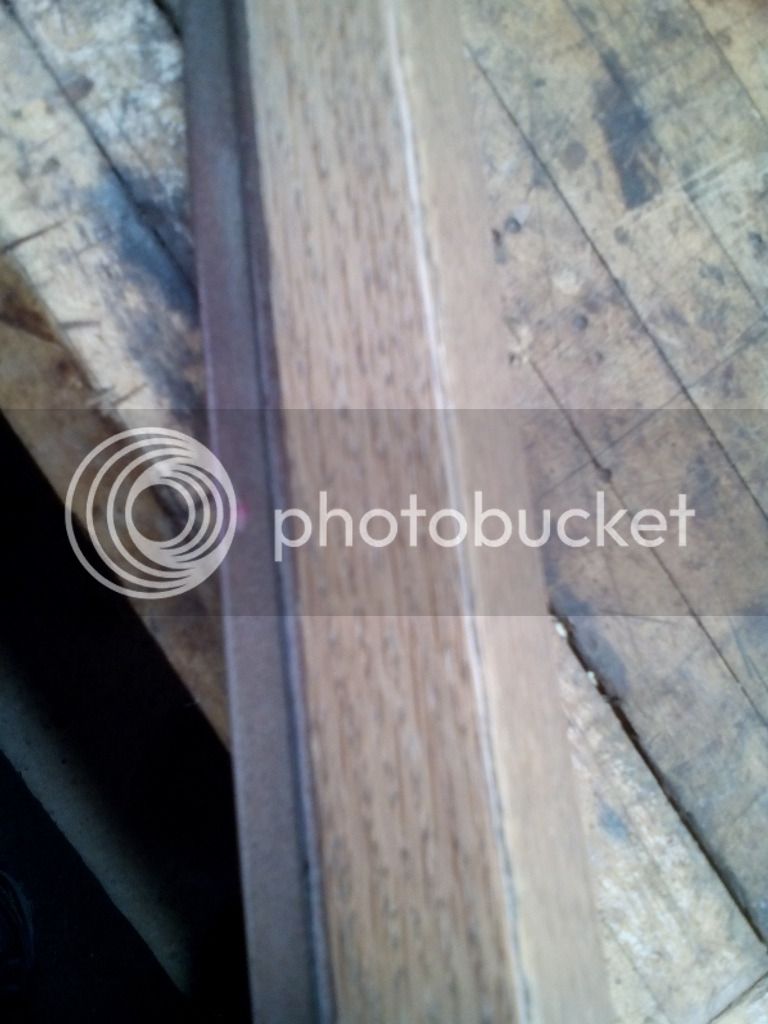
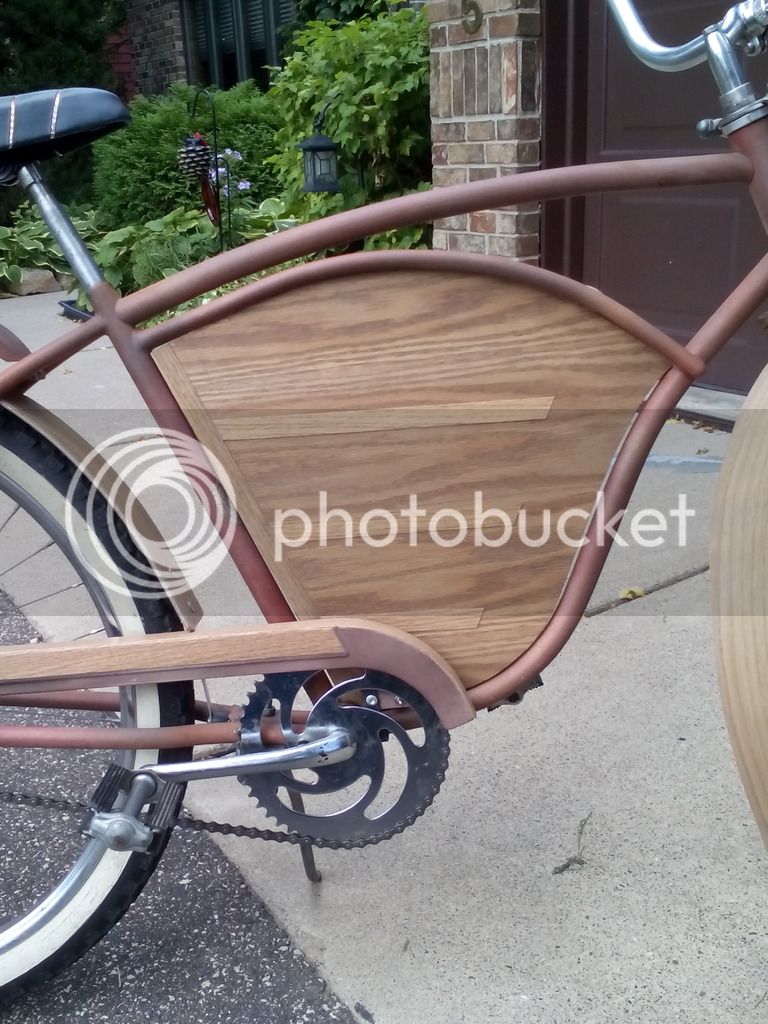
First I went out to the Back Forty to the paint booth and sprayed my not-so-secret mixture of 4 color rust-ification, then sanded it down with 400 grit paper. Next I adhered some 2" wide Red Oak Veneer to the side panel and the top of the guard. The key here is to first iron-on the adhesive backed veneer so that it comes over the edge of the piece on all sides. Then clamp it for 30 mins or so to set the glue. Then flip the piece over and use a box cutter (razor blade device) to trim off the excess veneer; leaving the finished edge open. Then I applied the veneer in the same way to the top of the guard; following the steps above. After both pieces had been clamped and cured, I went back and ironed the two edges of the veneer where they met on the 90 degree angle. This melds the glues together and creates a corner that, if done perfectly, is nearly seamless. Mine turned out okay, I mean...it's a rat rod after all...


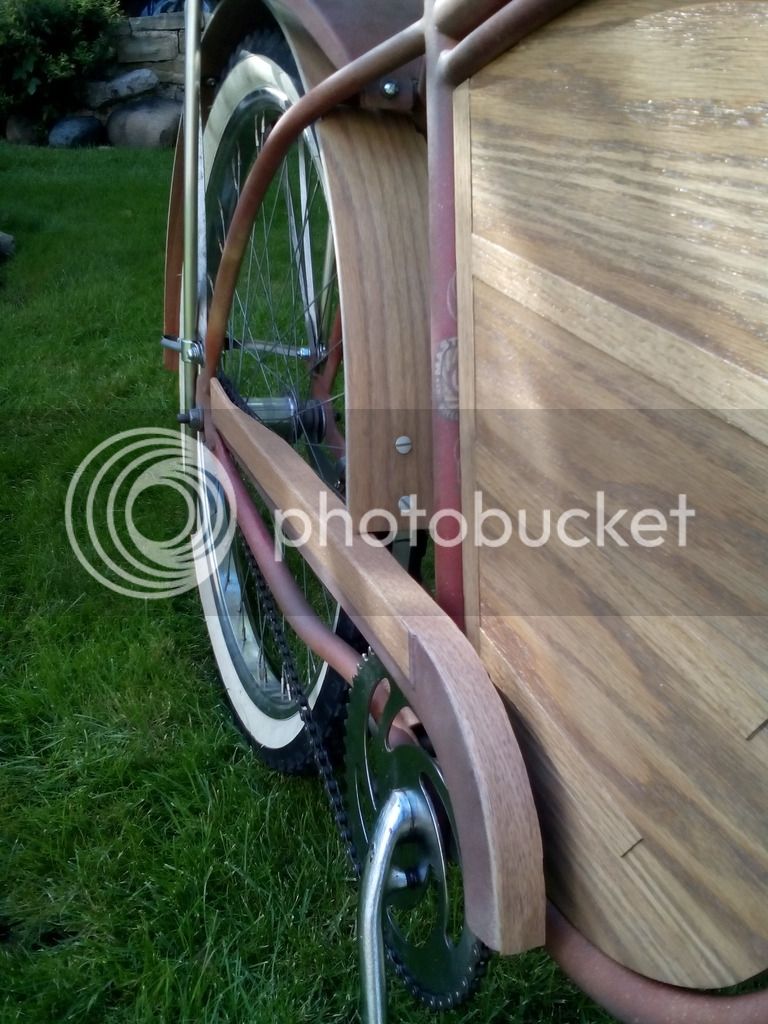
After some staining with the MinWax Weathered Oak 270 and finishing with the Zinsser Bullseye Shellac, the chain guard was ready to mount to the bike. I have been using aluminum 1/8 x 1/2" strips for mounting on this build, along with aluminum T-nuts and bolts. Seem to hold well and are very light weight, and NOT shiny! So they match the older hardware more naturally. Speaking of which, I also have been sanding the new chrome ape hangers and the rails for the saddle to give them that platinum brushed look to take away the shiny chrome and add to the overall patina of the bike.

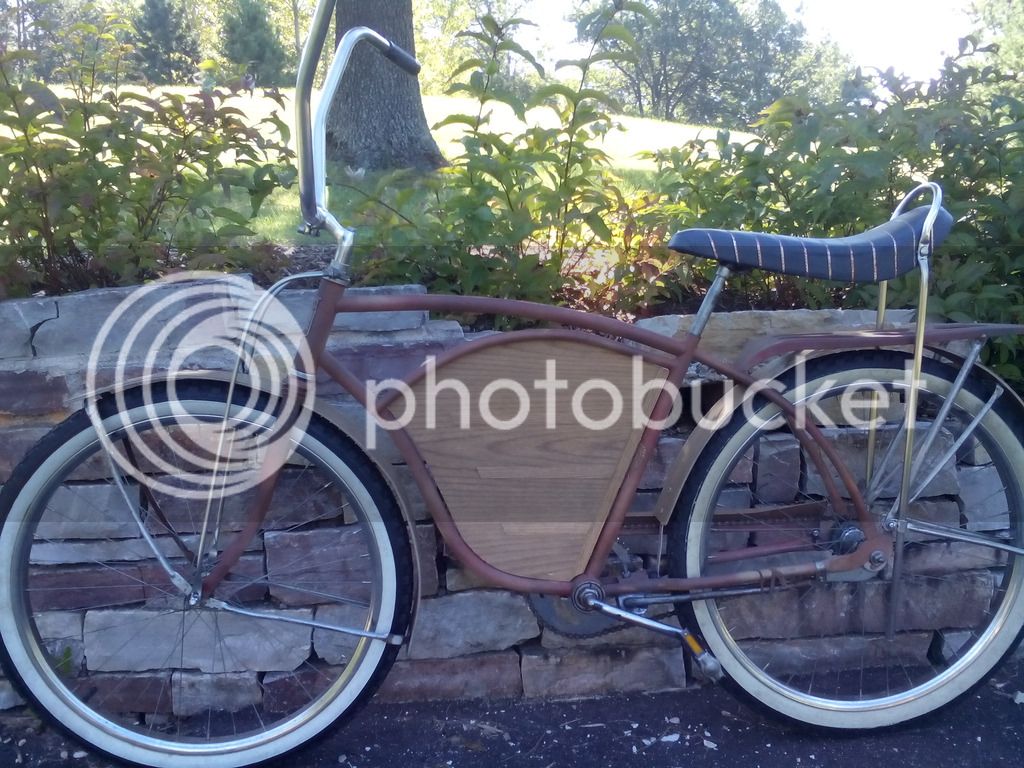
Took her out to the Back Forty for some pics as the supper bell rang and my day in the garage was ending....


Looks good OJ,chain guard came out well.
 
It was absolutely a good day,I even made a little progress of my own.
 
Love that chain guard! I've never used veneer before, I'm thinking I need to. :113:
 
Love that chain guard! I've never used veneer before, I'm thinking I need to. :113:
It really works pretty well. I have an iron that we have dedicated to snowboard and ski waxing that I use. First melt all the excess wax off the iron by rubbing it on a scrap piece of wood. The veneer sands well and takes a finish too. Give it a try, I think you'll like it!
 
When you get it built, I'll see about getting one of these to you for the grand opening.;)
back40_4upbottles.jpg

Back Forty Beer Company is our local brewery here in Gadsden, Alabama.
17130523-mmmain.jpg
I'm a huge brown ale fan. Looks like Truck Stop Honey would be right up my alley, er, backyard...
 
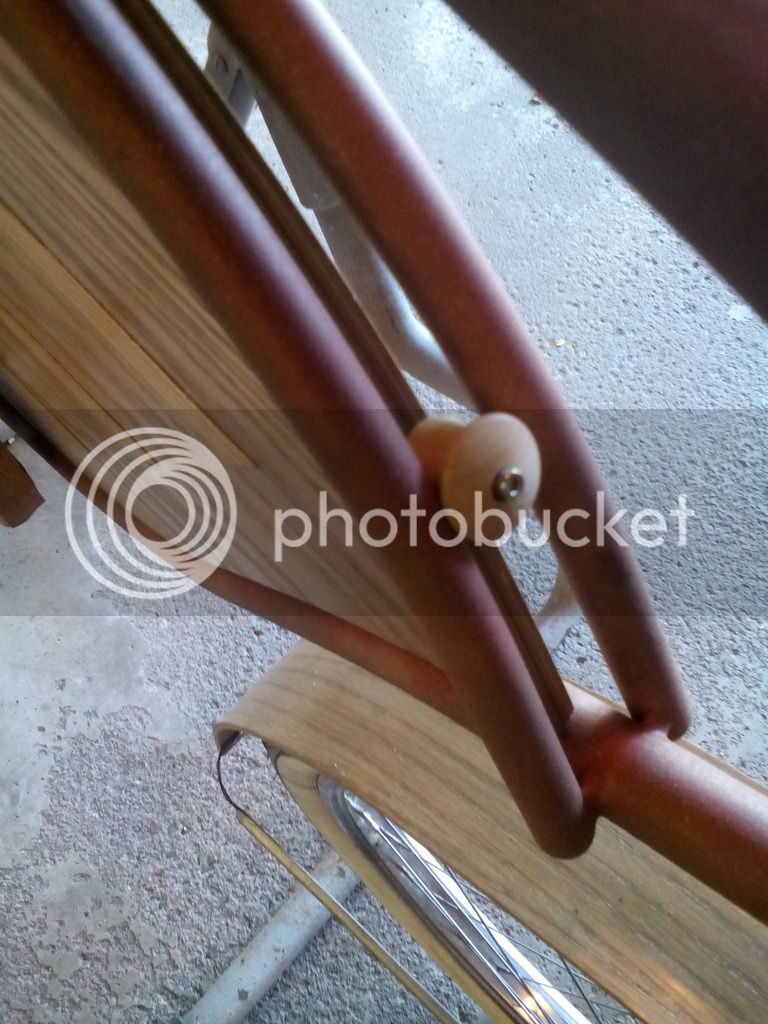
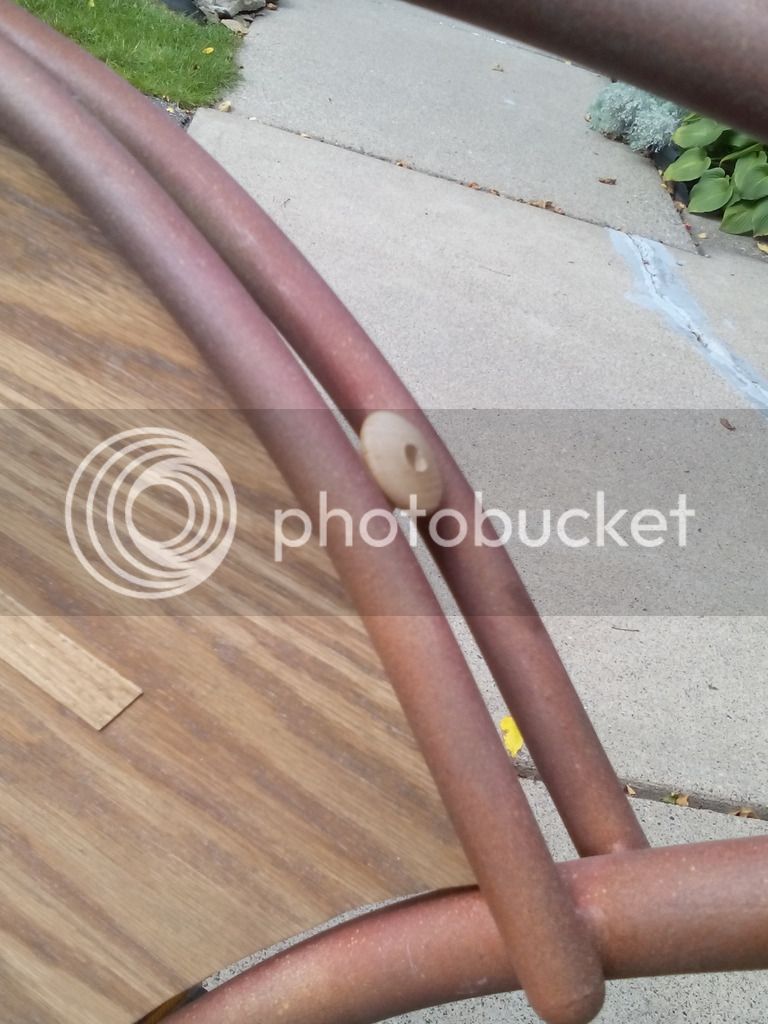
Day 11 Summary....yeah I know, skipped a few days. School's back in session now so my time is a bit more limited. Anyway, up to this point I have not had the "wood-side panel" secured in the frame for riding. What you have seen were mock ups of the positioning. Today I solved that with the following steps. I want the panel to be able to be removed if the owner so chooses, without having to go to a lot of effort. So it's held in place by two hex head bolts that are secured by threaded inserts in the panel. Here's how it came about:

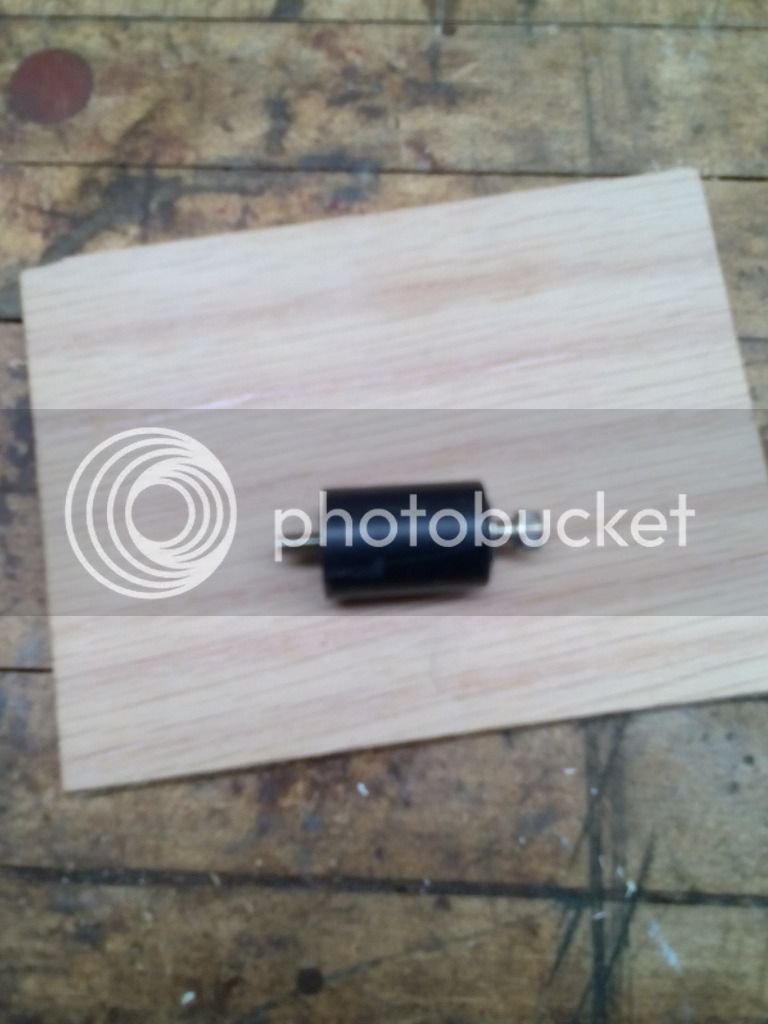
I wanted something that was wood and would put even pressure on the split cantilever tubes in the frame, and if it was curved and round all the better. Old drawer pull knob I had in the parts bin! Counter sunk the bolt head for finishing touch...


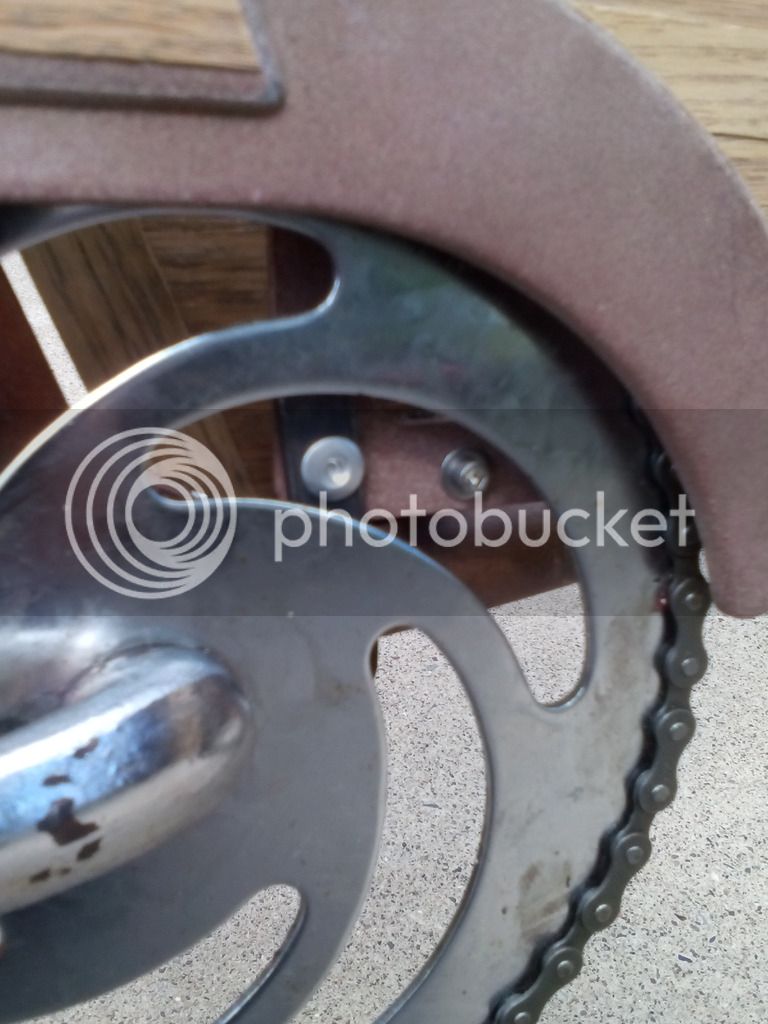
At the bottom bracket area I drilled a hole through the chain guard mount and then used a nylon spacer to hold the gap between the guard and the panel. A secondary benefit to this was increased stabilization of the chain guard as well! The bolts I used had a "non-metric" head, was called a #6 hex head, but didn't fit my 4 mm or 3 mm wrenches....learn something new everyday!

The panel is secured by the smaller bolt to the right in the first picture...


Took it for a test ride....no shakes, rattles, and she rolls!
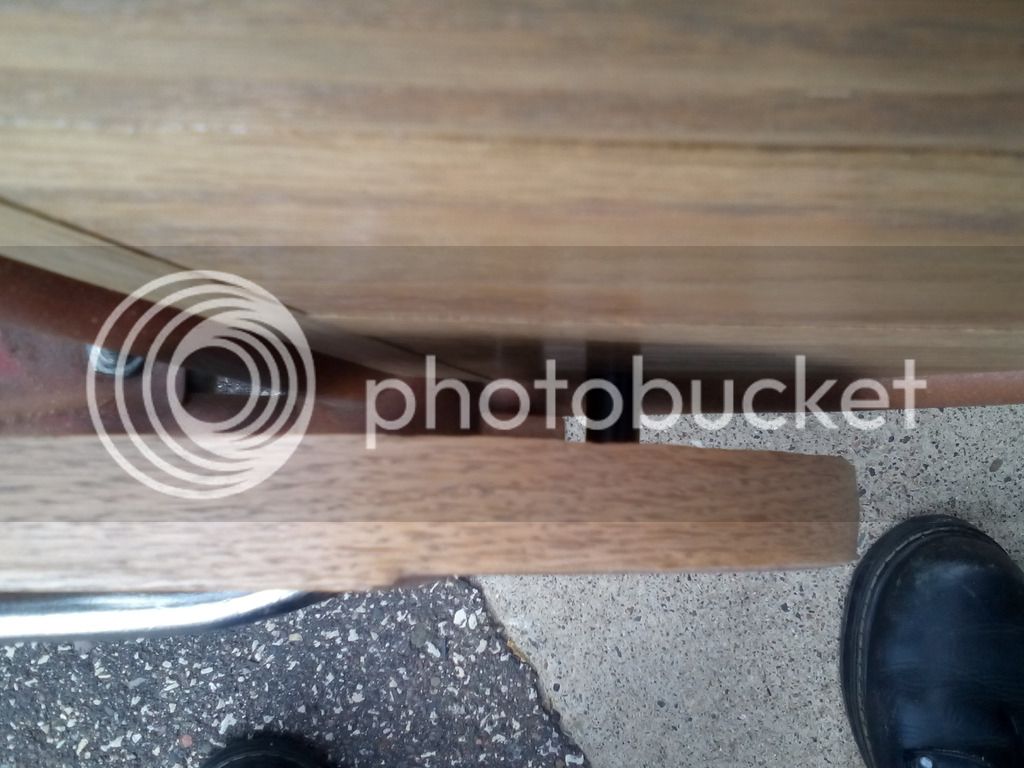
From the side, the top mount is virtually unnoticeable...


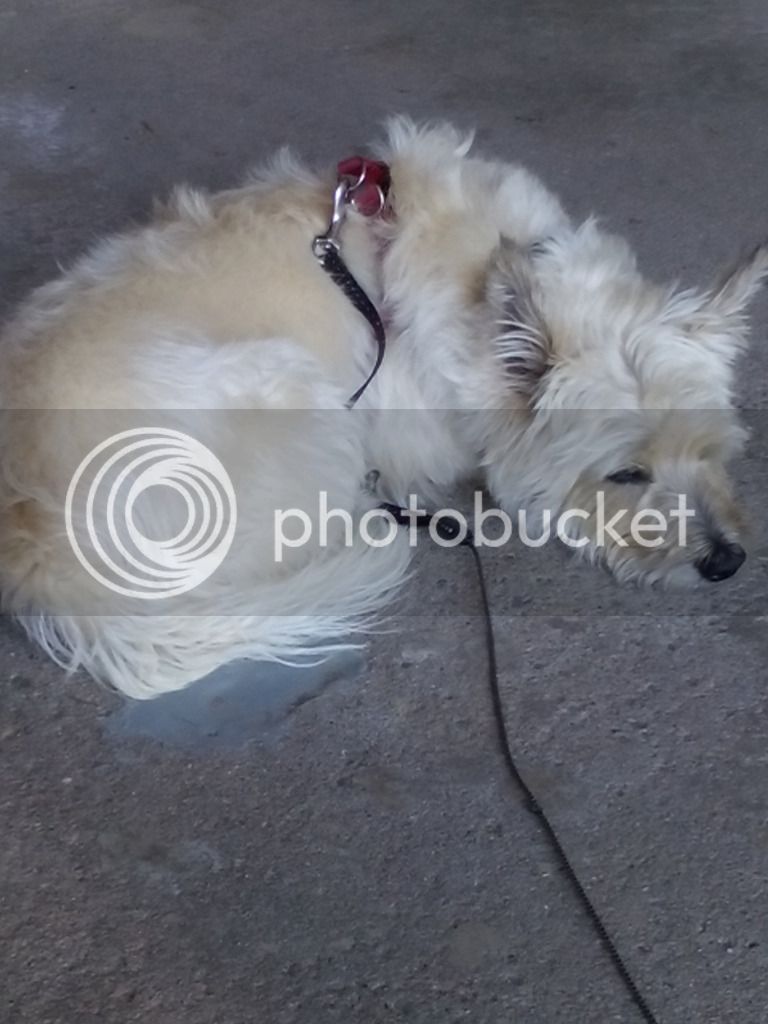
...and one last shot of my trusty Dusty, the shop dog. He finds my work very relaxing...
 
Took the SF Woody out for a spin in our neighborhood park this morning. Rides like a dream! With my low center of gravity over the back end and the high handlebar position, you can really glide through the corners! One of my favorite jazz guitarists from the 60's, Howard Roberts, providing the background music...


Latest posts

Back
Top