(MBBO-5 c2)⚜Ride O'clock⚜((FOR SALE))

Rat Rod Bikes Bicycle Forum

Help Support Rat Rod Bikes Bicycle Forum:

This site may earn a commission from merchant affiliate links, including eBay, Amazon, and others.
Looking good!
I am letting all my cutting mess collect in the corner of my bench this year, thinking about separating out the metal pieces with a magnet and using my flake gun to spray them on to something in the future for a rusty look... :21:

Luke.
 
Looking good!
I am letting all my cutting mess collect in the corner of my bench this year, thinking about separating out the metal pieces with a magnet and using my flake gun to spray them on to something in the future for a rusty look... :21:

Luke.
i would not even clean i think if it was outside:giggle: , but indoors in a tight room , 4 times a days work almost:nod:
 
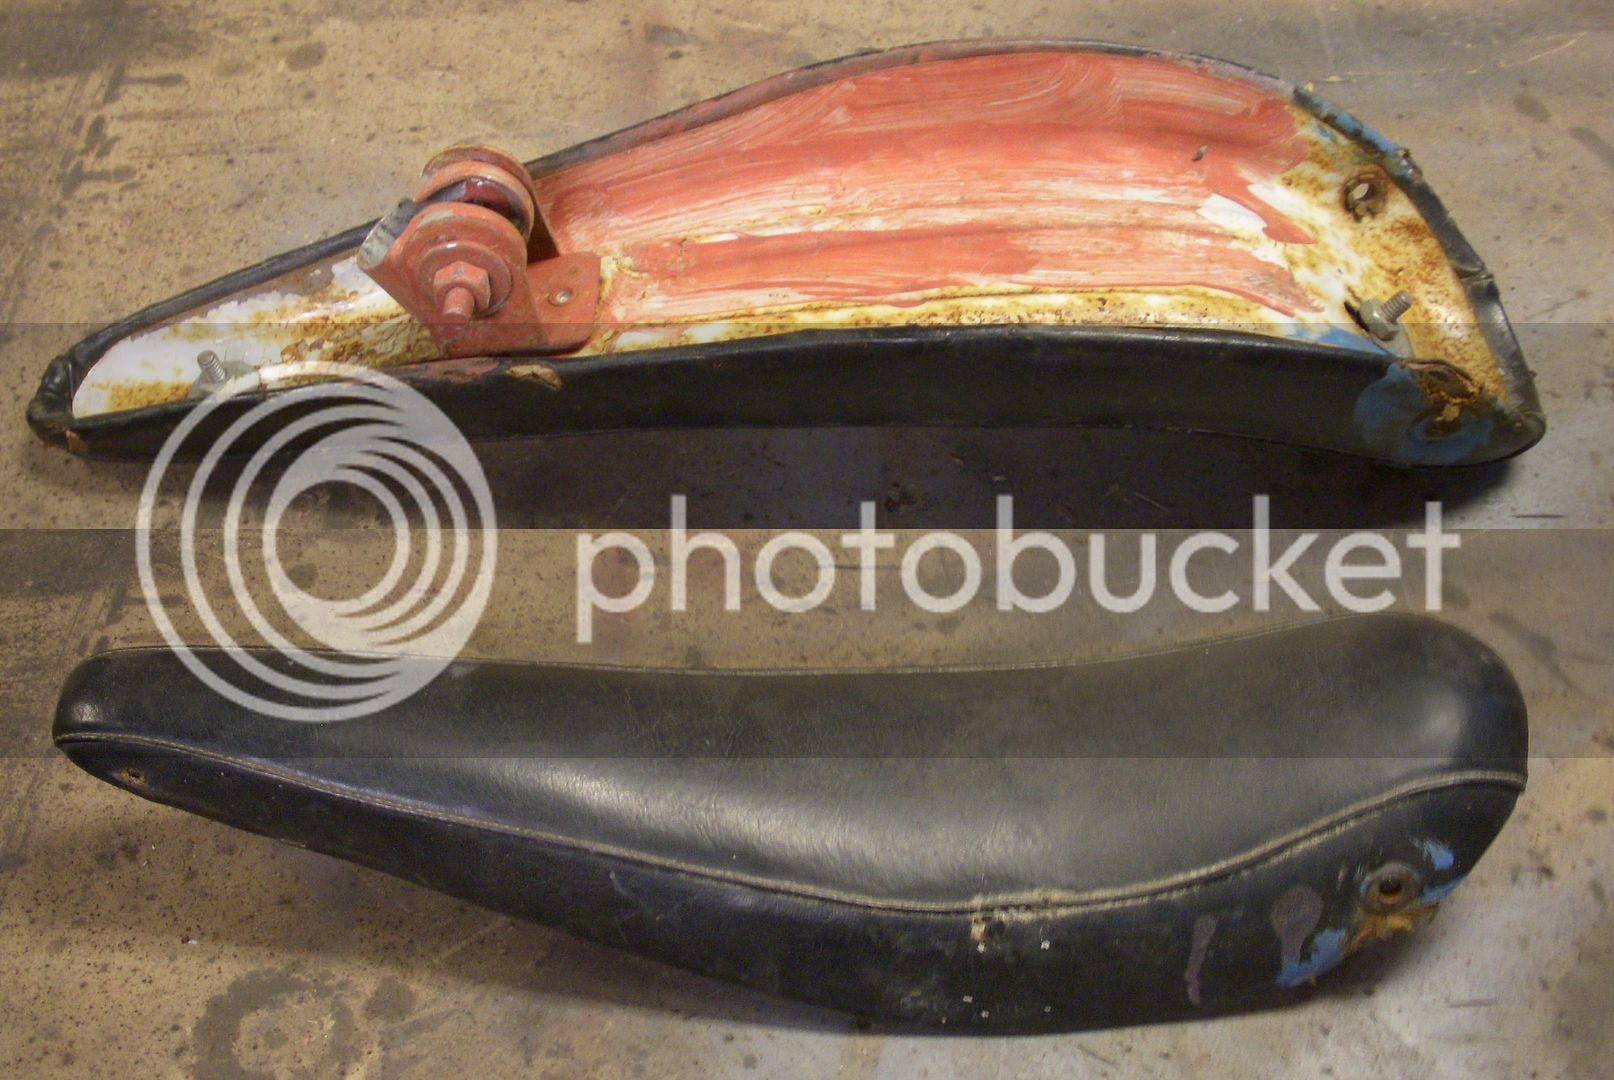
Decided to work on the seat today
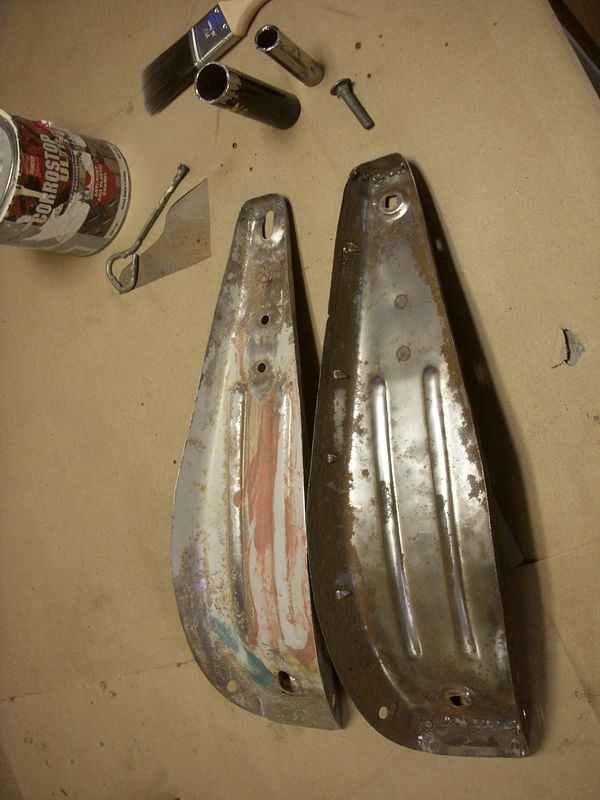
it did not look half bad when i got it in the darkness
DSCN6898_zpsrhpxjhjo.jpg

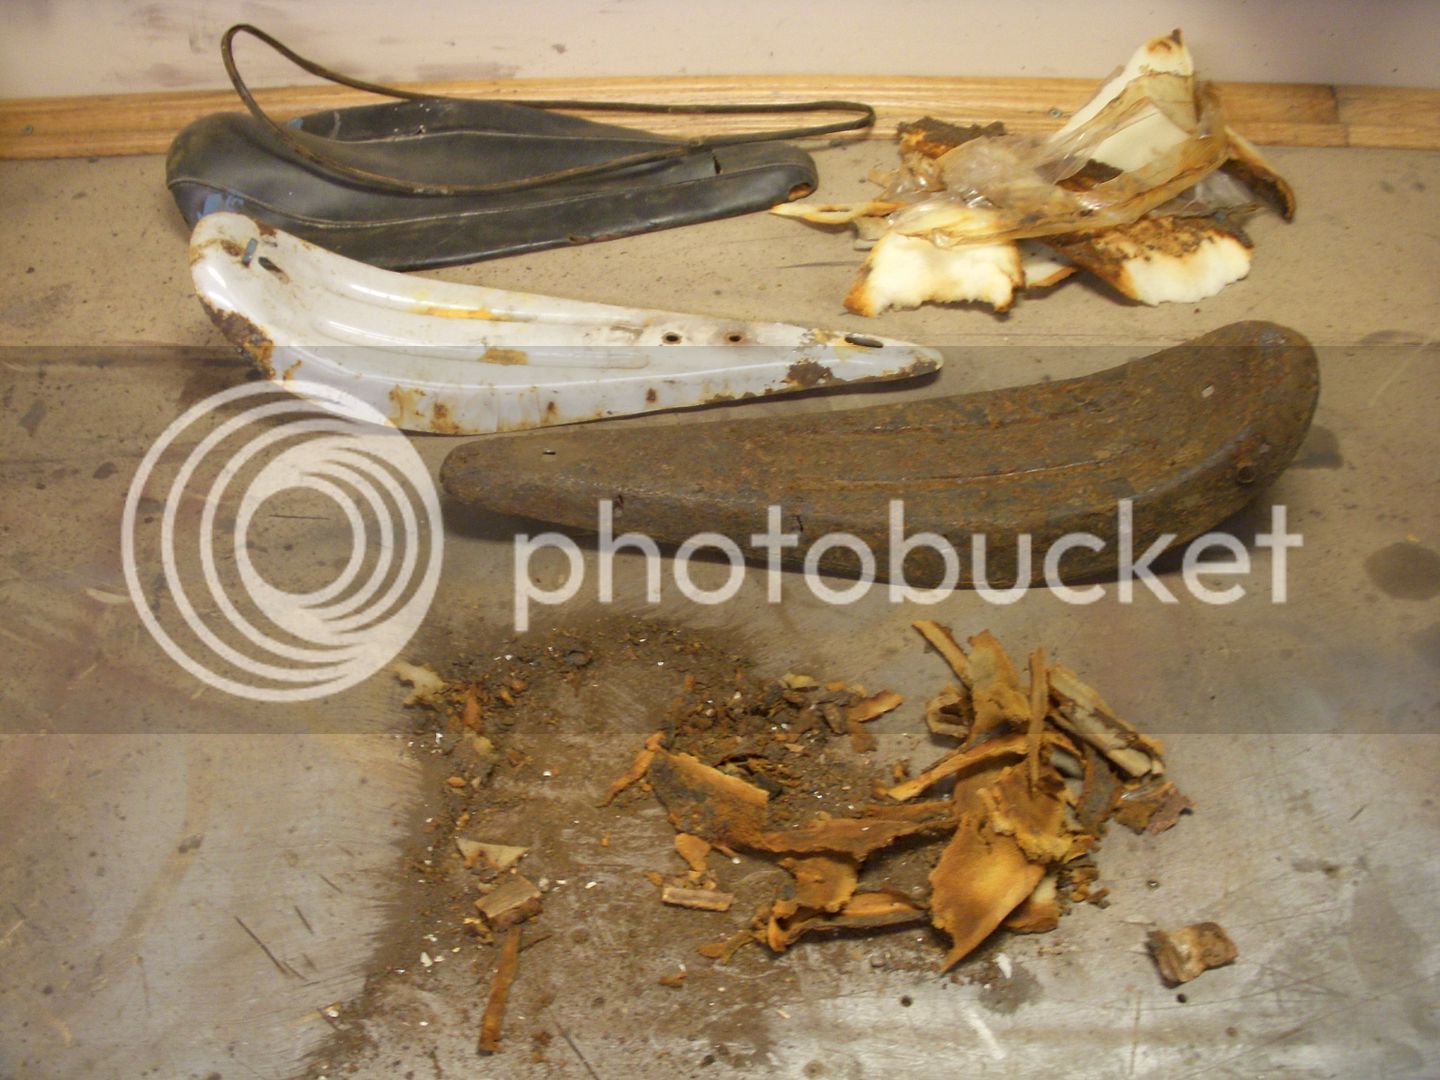
but its pretty crusty in reality
DSCN6899_zps5bknocgb.jpg

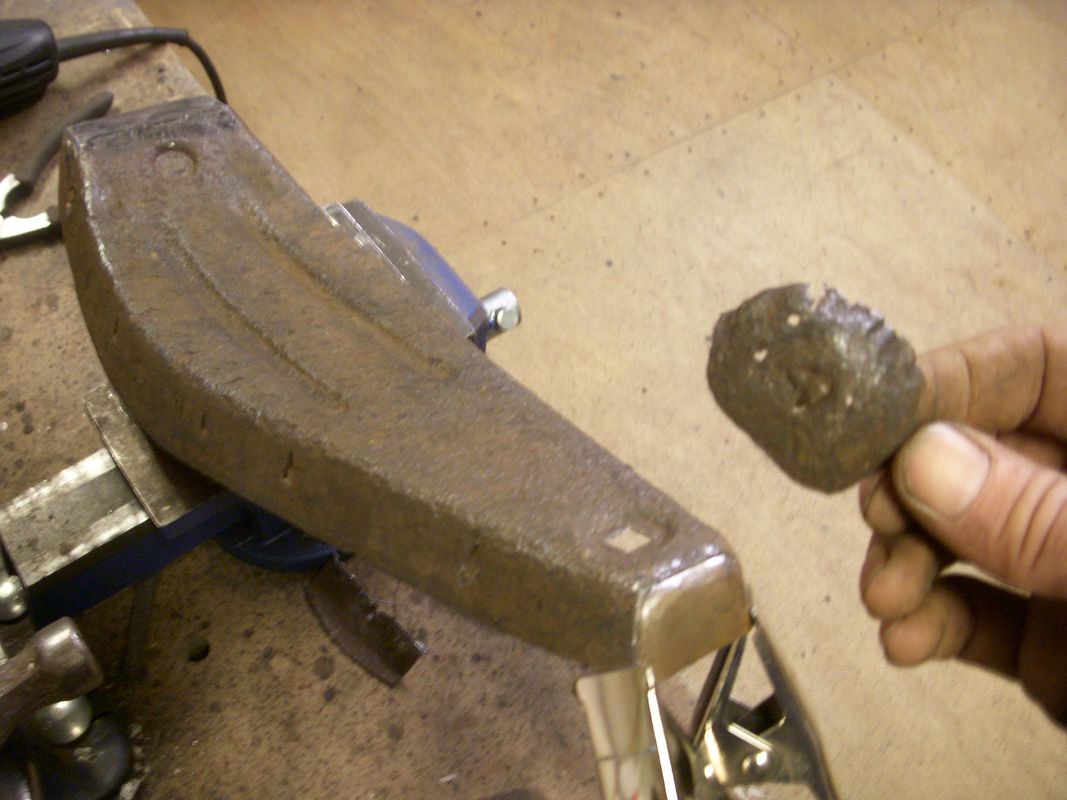
i decided to modify it a little and add new steel in the process
DSCN6900_zpsotz2gblm.jpg
DSCN6901_zpsd9u6nr0i.jpg

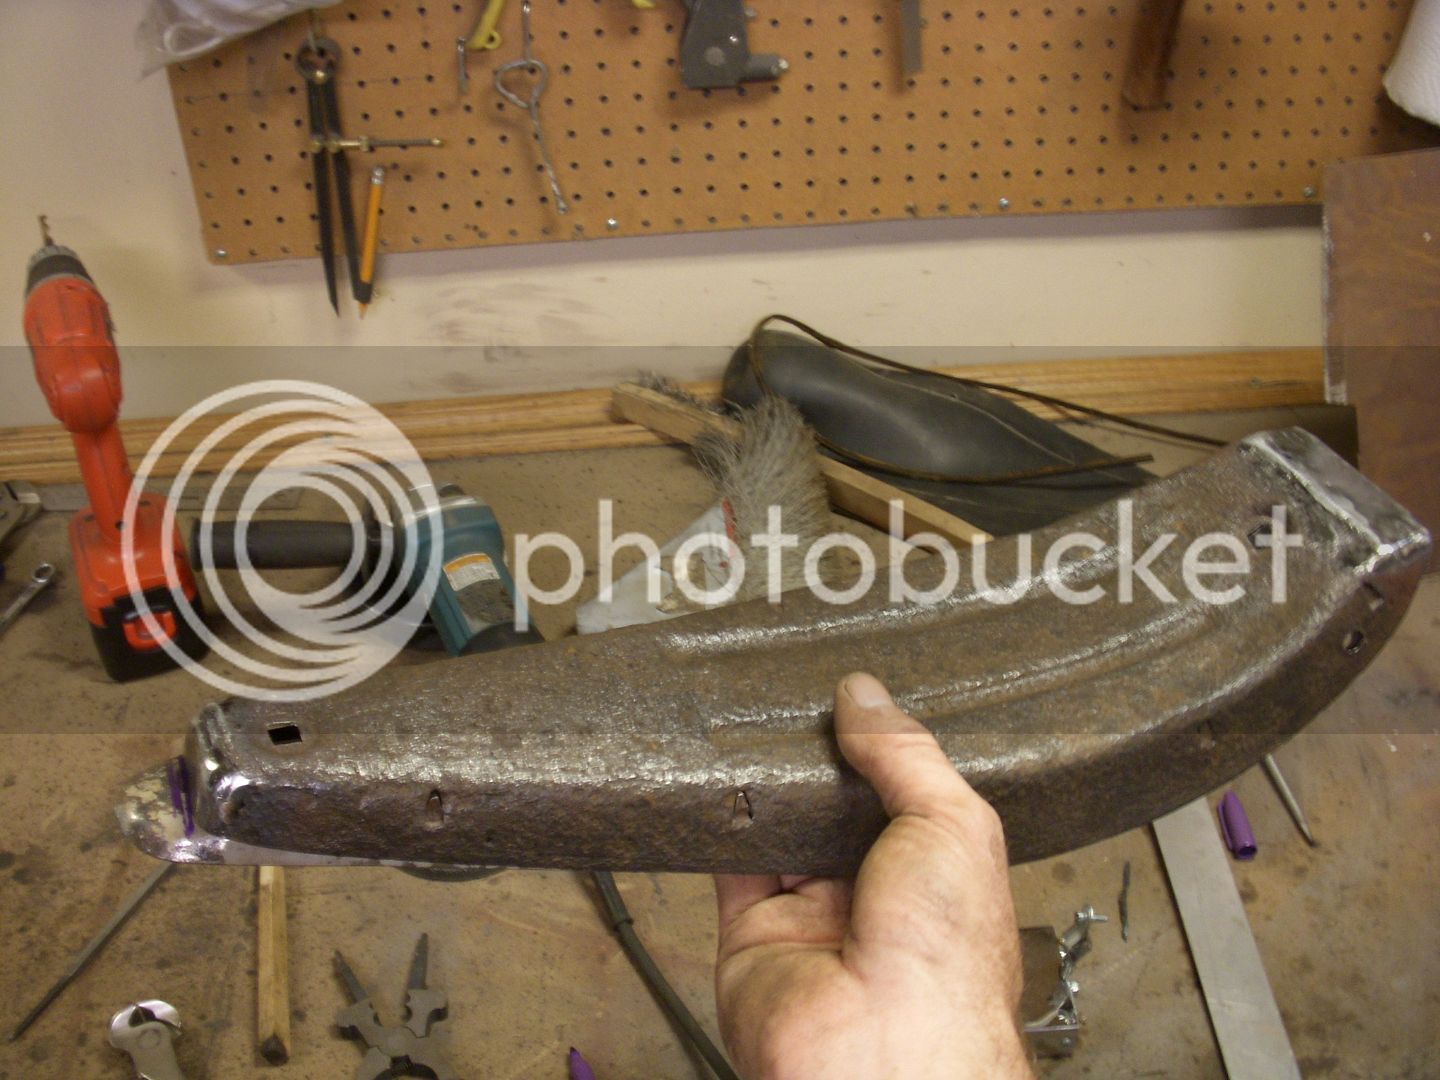
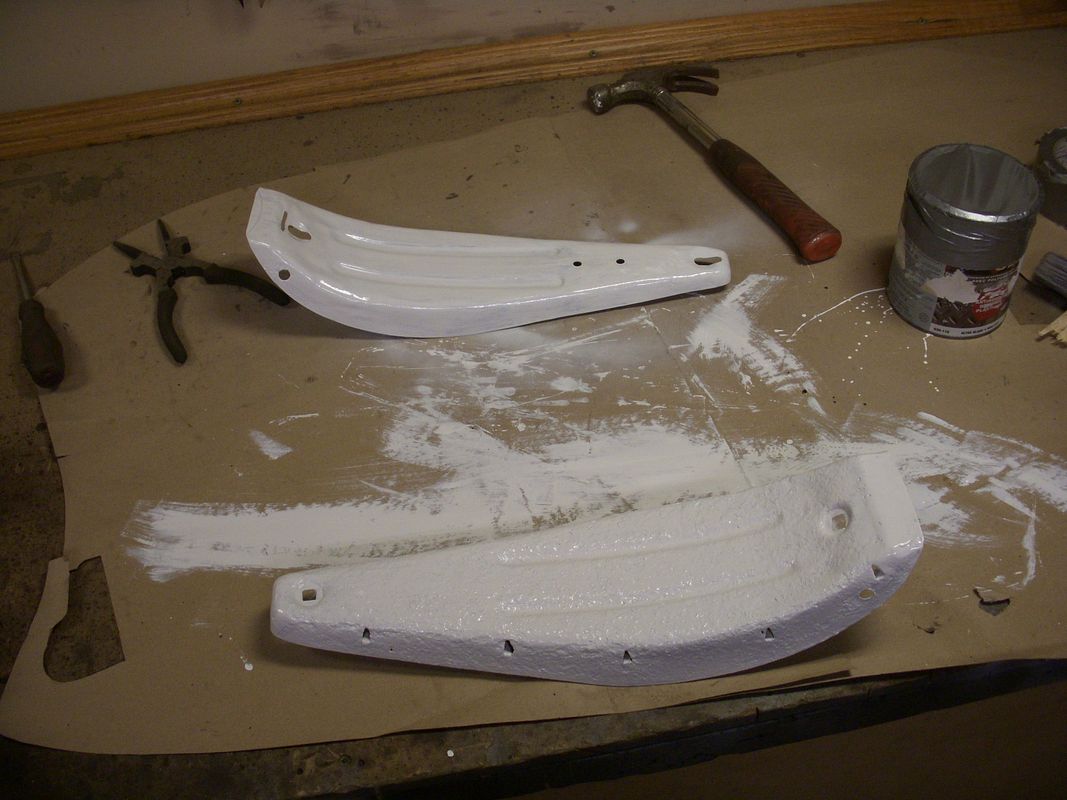
i recessed the bolt holes by hammering the bolt on the pan over the 1'' tube , and for the lower pan i hammered the 3/4' tube on the pan over the 1''tube
DSCN6902_zpshk00a1zi.jpg

first coat of anti-rust paint is drying at the moment
DSCN6903_zpsv2oapvkk.jpg

it about 1.5'' shorter than before.
pretty satisfied by the new look:nod:
 
OHP you are on a roll! So interesting to look in on your process as you take your ideas to reality. I knew you couldn't resist welding something on that seat! :21:
my reputation is set already :21: iam adicted to welding:nod:

i try to add a touch of custom to every part of this bike ;)
 
What are you welding with.. i assume wire feed but your prep is for tig.
yes a 110v mastercraft Mig/Fluxcore .. well good prep actually help alot when it come to making better looking welds , the contact is better , when i welded the rusty seat pan , it was skipping arc and made very ugly welds , it cleaned up nicely tho ..

if i could tig , i would build aluminum frame , but i don't think iam quite there yet
 
Tig is not bad... its alum thats bad... totally diff weld technique even though same tool. I thinkud be suprized how relaxing tig can be. For me its easier to set up and control variables for the material worked. Its not trying get close and work around an arc speed. Alot less clean up after. But forget scratch start rigs... can jump materials faster also ;)
 
Seat looks good 1HP!
Loving following this build, I really enjoy watching scratch builds happen, and you have an artist's flourish that is really great to watch happen!

Luke.
:dontmentionit:That's what i should have said to you :wink1: :nod:
Thanks luke!
Good job recessing the seat pan bolts. The little things make a big difference in the final results!
yeah , curiously there was no recessed holes originallyo_O
witch is weird imo , it does say made in japan on it tho:giggle::bigsmile:
Thanks TRM ! :thumbsup:
 
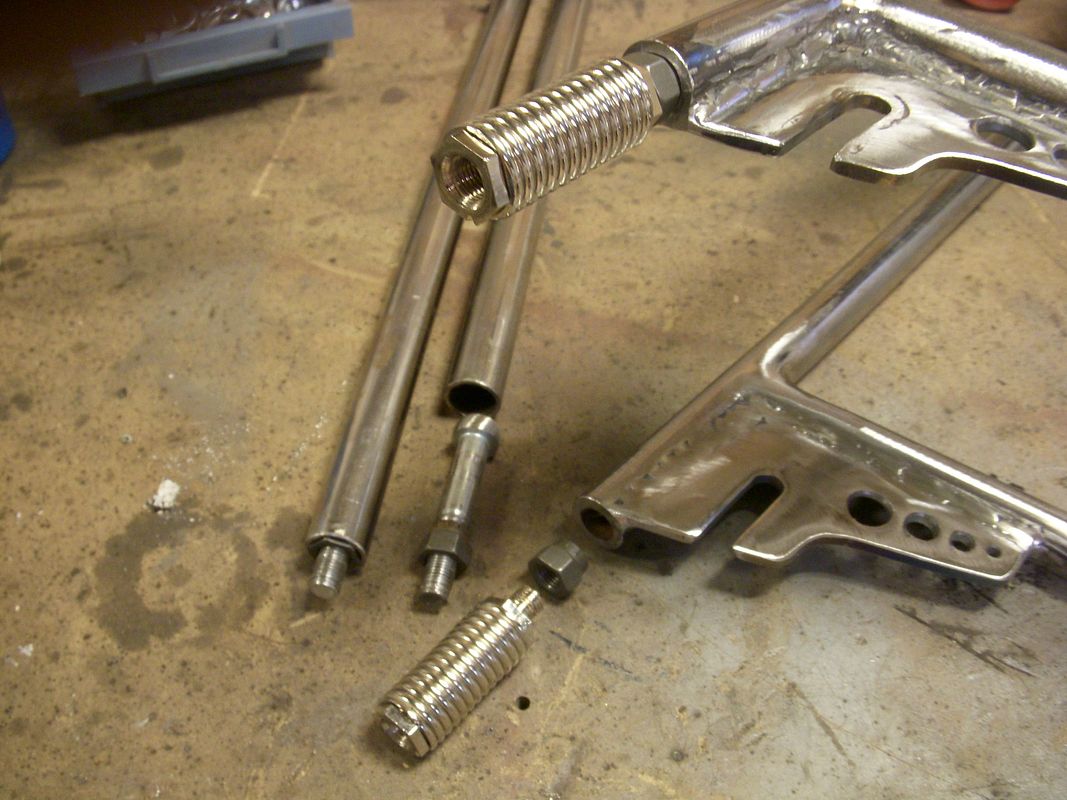
Well , i tryed something to make a wheelie bar , the original tube sticking out would not have been strong enought , so i thought adding srings to damp the shocks .. but its a fail ! springs are way to soft (truck antenna springs) the stronger ones are out of my budget and twice the diameter so no...
now i have tubes i hamered in there that won't come out ,so the 5/8 stronger tube idea is kind of out too ..
idk if i even want a wheelie bar anymore :39:
DSCN6908_zpsq9l1bixo.jpg
DSCN6909_zps8ckqnv1l.jpg


but on a good note
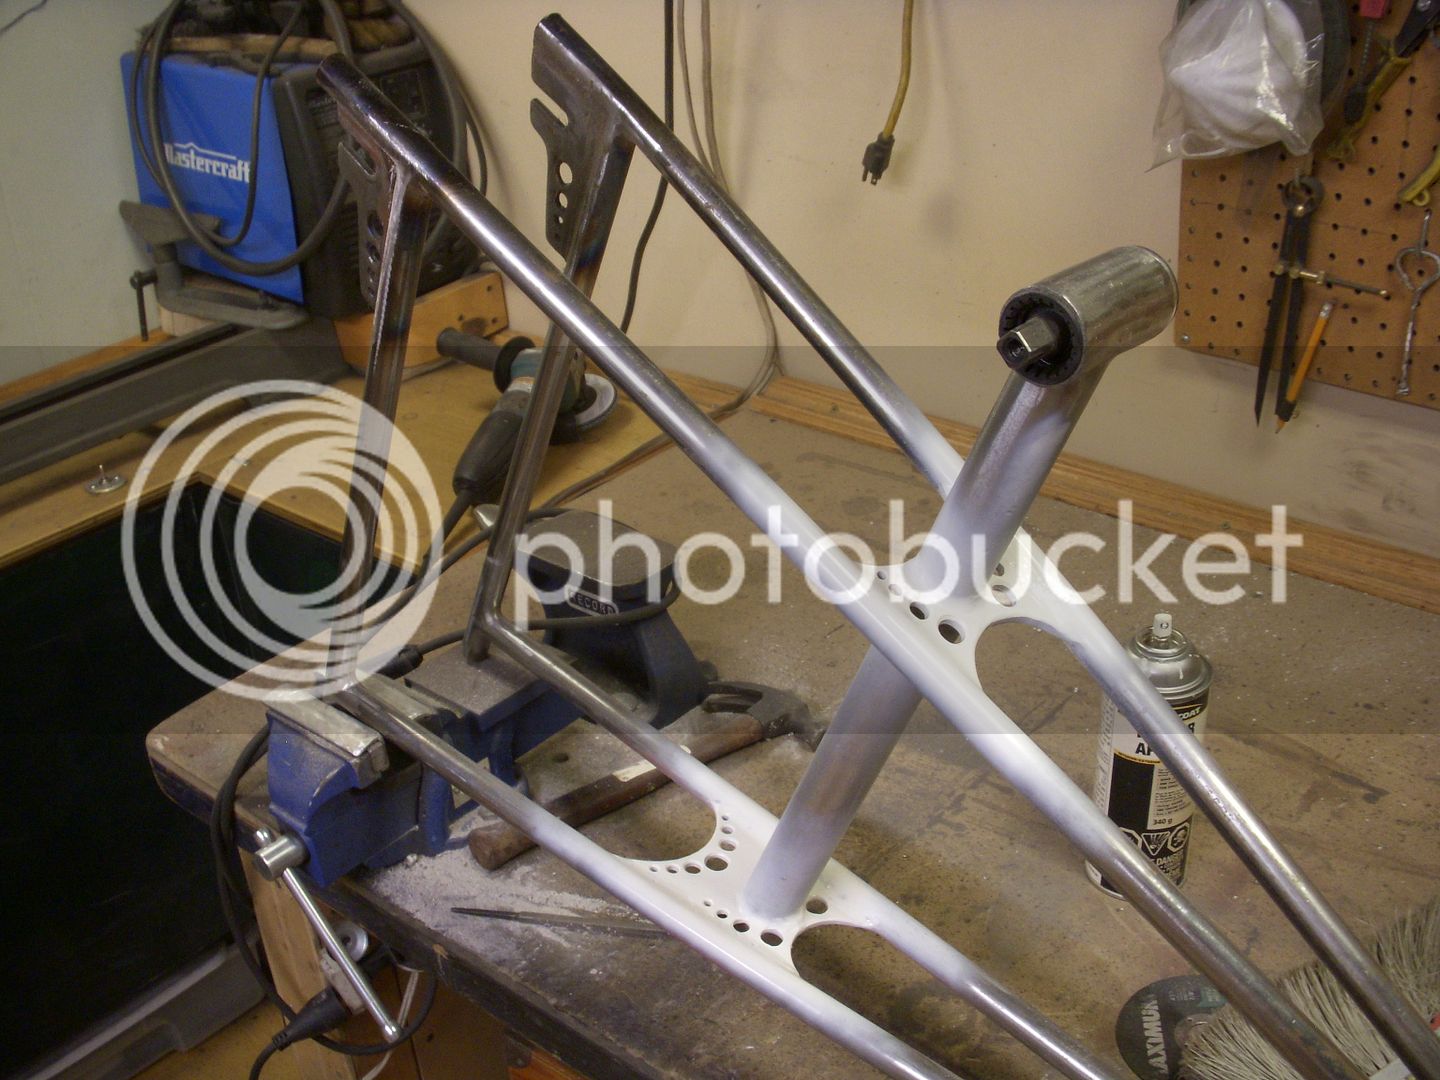
-i made the lower plates to hold the seat tube ,
-welded everything lined up
-and decided to have fun drilling other holes in there:)
-also did some fiberbondo over the welds cause my grinder can't reach these spots.
DSCN6912_zpswg9srp0g.jpg
 
Last edited:
not much progress..
been finishing the plates a little , bondo/sanding/primer ..
and did a kick stand today..
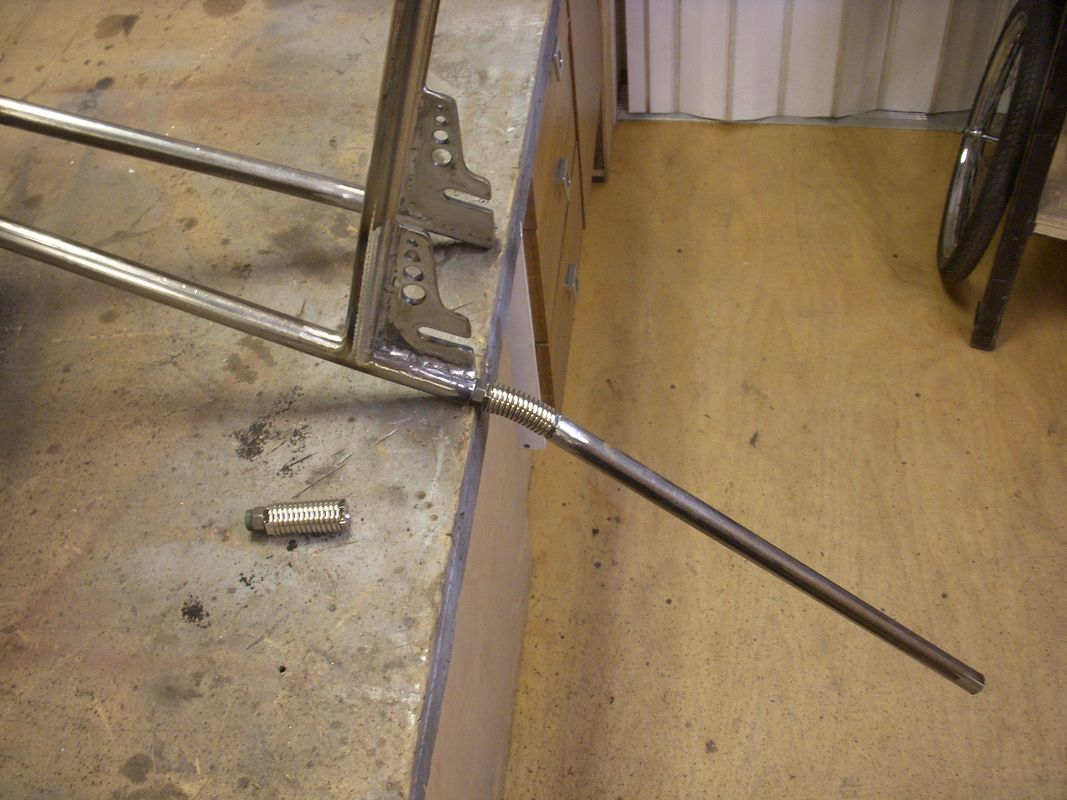
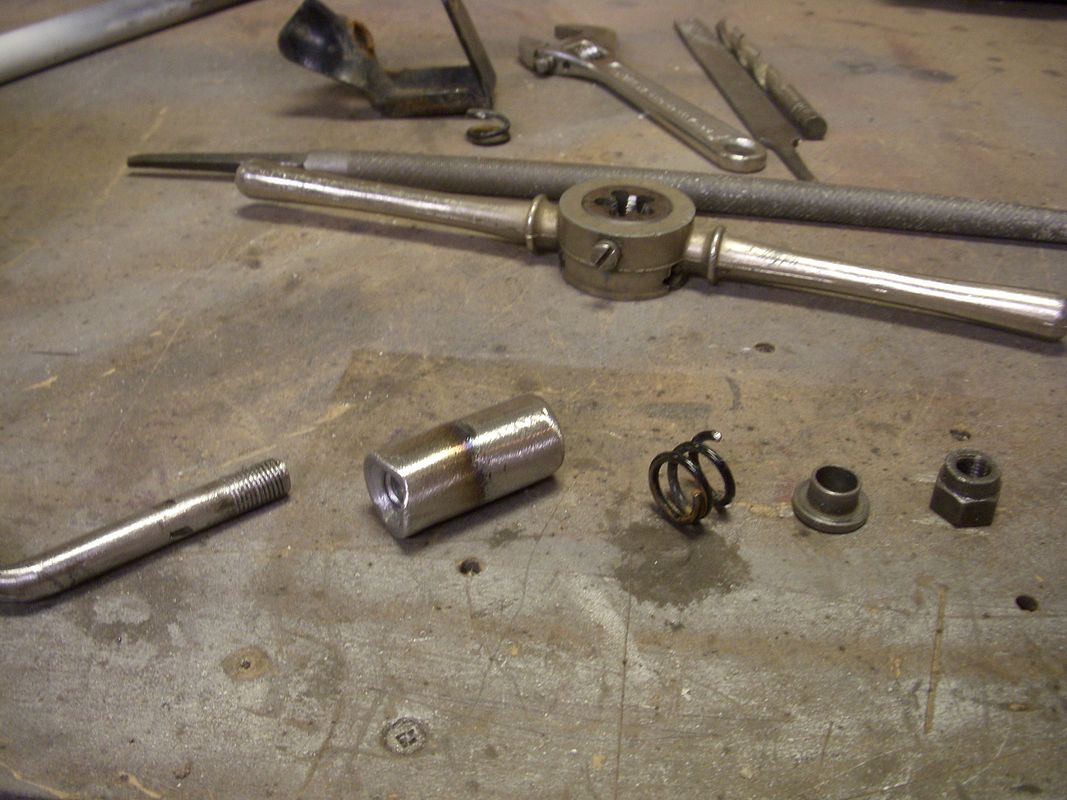
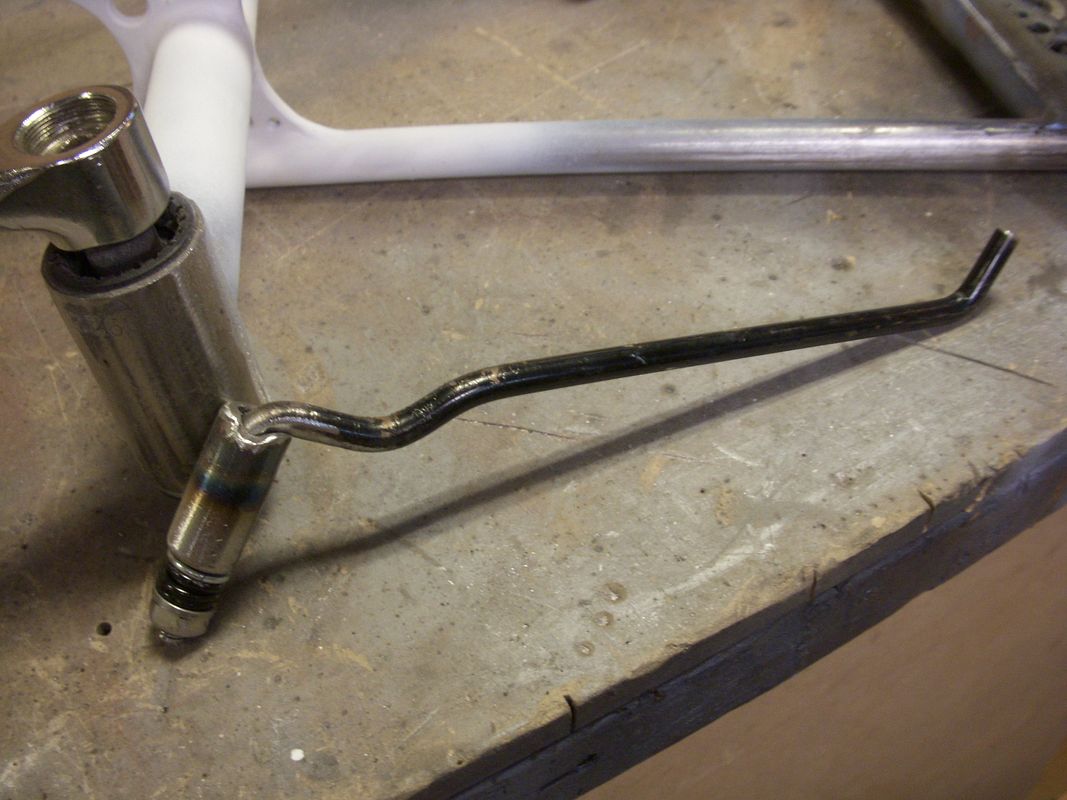
a little like schwinn use to make but mine has the spring on the exterior , the 'cam' is on the face of the cylender/stand pivot , ive cut the spring a little bit ,threaded the end of the stand to bolt and ajust the spring , the cylender is a tube with flanged bolts welded at both ends with the center drilled to the correct diameter .. i plan to pack the tube with thick greese
DSCN6916_zpsvjm46w6m.jpg
DSCN6917_zpsn48krcpn.jpg

won't be welded in place till the bike is almost complete and on wheels to see how far out it need to stick out to hold the bike upright
 
I gave up on stands... i always cut bend and bend more till made a pretzel... not once have i succeeded in setting one up that dose not take nose dive as soon as i turn my back :20:
Very cool set up u made, can i ask what you mean by collar bolts going into the tube then drilled out.

Thanks dude.. i enjoy watching your work.
 
Back
Top