Midnight Flash

Rat Rod Bikes Bicycle Forum

Help Support Rat Rod Bikes Bicycle Forum:

This site may earn a commission from merchant affiliate links, including eBay, Amazon, and others.
So… you may remember this brace with the giant hole in it.
1716486384557.jpeg


Since it’s not being used, that hole is an eyesore. My original thought was to to fill it in. But I want to make it look like it was never there. I think the better way to do that is to replace it. So I snagged some 1/2” tube from work (which has a considerably thicker ID than the original, but oh well)
E4EF6A74-B853-4A0D-B9BC-9E1250DB3088.jpeg


And I’m going to replace the brace, then relocate the tab. I may even move the brace up slightly and keep the distance. And I may make the brace wider to keep better spread in the stays for the fat tire.

Whatever I do, it means I’m going to cut a piece off the original frame and replace it with a non-original part. Because if that, even though my goal is to make it look original, in the spirit of the rules, I’m going to move this build to the “Unlimited” class.
 
Last edited:
Let me tell you the story of the forks.

*DISCLAIMER* All this was done prior to the RRBO starting. This is for entertainment purposes only.

In case you didn't know, I'm also refreshing/repairing a '71 Rail Twin Stick mag, which is an incredibly rare bike. The owner wanted to add drag forks. *pause for history lesson* For those who don't know, and probably don't care, Top Fuel drag forks were an accessory fork you could purchase for your muscle bike back in the late 60's/early 70's. They look very cool and are terrible to ride. *unpause* I told him original drag forks are almost impossible to find, and the guy who used to repop them doesn't do so any more. I told him it was an impossible errand and to not have me waste time searching. He said try. I said no.

So I did.

I reached out to @Jaxon who used to repop them. I asked if he might have some pieces left. He dug through his barn and found some scraps that had been discarded or unused for one reason or another.
1716490263612.png


So I bought him out.

Of the 6 sets of legs I have, I can use 5. The other pair need more work than I have patience to put in. So I thought this build would look good with one of the sets, plus a custom upgrade (the fender). I've built 3 sets so far, and am about to put together the last two. Here's what I had to do for this set, and all of them... basically.

The feet that had no mounting holes, I drilled them in.
1716490582130.png


On sets that matched curves, but had dissimilar lengths, I evened them out.
1716490629483.png

1716490640214.png


I rounded the feet.
1716490665840.png

1716490745472.png


I cleaned up the legs from years of barn corrosion.
1716490790432.png

1716490802867.png


The plates had very rough edges from when they were cut
1716490836762.png


So I smoothed them to look better for plating
1716490861143.png


Welded steer tubes onto base plates
1716490936908.png


Rigged up a frame to use as a jig.
1716490981872.png

1716490989955.png


Then aligned everything and tacked the legs in place
1716491026242.png


Which gets us back to where we are today.

1716491131790.png


Please resume your regularly scheduled builds.
 
Glad you decided to move over here to the unrestricted side of the fun. Now you can guide your build decisions with your gut without having to concern yourself with the rule book.

 
Yes, a cheap harbor freight coil spring compressor I modified to spread through instructions I found on here years ago

Tons of wicked knowledge buried in the pages of RRB. It's so cool to see it come to light again via your enhancements to it.
 
Let me tell you the story of the forks.

*DISCLAIMER* All this was done prior to the RRBO starting. This is for entertainment purposes only.

In case you didn't know, I'm also refreshing/repairing a '71 Rail Twin Stick mag, which is an incredibly rare bike. The owner wanted to add drag forks. *pause for history lesson* For those who don't know, and probably don't care, Top Fuel drag forks were an accessory fork you could purchase for your muscle bike back in the late 60's/early 70's. They look very cool and are terrible to ride. *unpause* I told him original drag forks are almost impossible to find, and the guy who used to repop them doesn't do so any more. I told him it was an impossible errand and to not have me waste time searching. He said try. I said no.

So I did.

I reached out to @Jaxon who used to repop them. I asked if he might have some pieces left. He dug through his barn and found some scraps that had been discarded or unused for one reason or another.
View attachment 266850

So I bought him out.

Of the 6 sets of legs I have, I can use 5. The other pair need more work than I have patience to put in. So I thought this build would look good with one of the sets, plus a custom upgrade (the fender). I've built 3 sets so far, and am about to put together the last two. Here's what I had to do for this set, and all of them... basically.

The feet that had no mounting holes, I drilled them in.
View attachment 266851

On sets that matched curves, but had dissimilar lengths, I evened them out.
View attachment 266852
View attachment 266853

I rounded the feet.
View attachment 266854
View attachment 266855

I cleaned up the legs from years of barn corrosion.
View attachment 266856
View attachment 266857

The plates had very rough edges from when they were cut
View attachment 266858

So I smoothed them to look better for plating
View attachment 266859

Welded steer tubes onto base plates
View attachment 266860

Rigged up a frame to use as a jig.
View attachment 266861
View attachment 266862

Then aligned everything and tacked the legs in place
View attachment 266863

Which gets us back to where we are today.

View attachment 266870


Please resume your regularly scheduled builds.

I had a set of the raw long fueller legs from Jaxon years ago. I had thought about building an X53 top fueler. But I ended up trading them for a Huffy DialARide tank.

1716514517499.png
 
I wanted a light for this, but wasn’t thrilled with my choices. I ended up with this motorcycle light for the look of it. It’s bigger than I thought it would be, but in order to commit and not second guess myself I’ve already drilled in the mounting hole. Time will tell if I made a good choice.

14526F7C-5F78-4D63-87E5-3FA45B7203E7.jpeg

FD28FE8C-0FB0-48E4-ADFB-870A2C28216D.jpeg
 
I wanted a light for this, but wasn’t thrilled with my choices. I ended up with this motorcycle light for the look of it. It’s bigger than I thought it would be, but in order to commit and not second guess myself I’ve already drilled in the mounting hole. Time will tell if I made a good choice.

View attachment 266917
View attachment 266918

Hard to tell without seeing it on the bike for reference, but I think the scale works for your build.
 
It’s bigger than I thought it would be, but in order to commit and not second guess myself I’ve already drilled in the mounting hole. Time will tell if I made a good choice.
Need to see it with the handlebars. Might be just right. No-limits. 😎
 
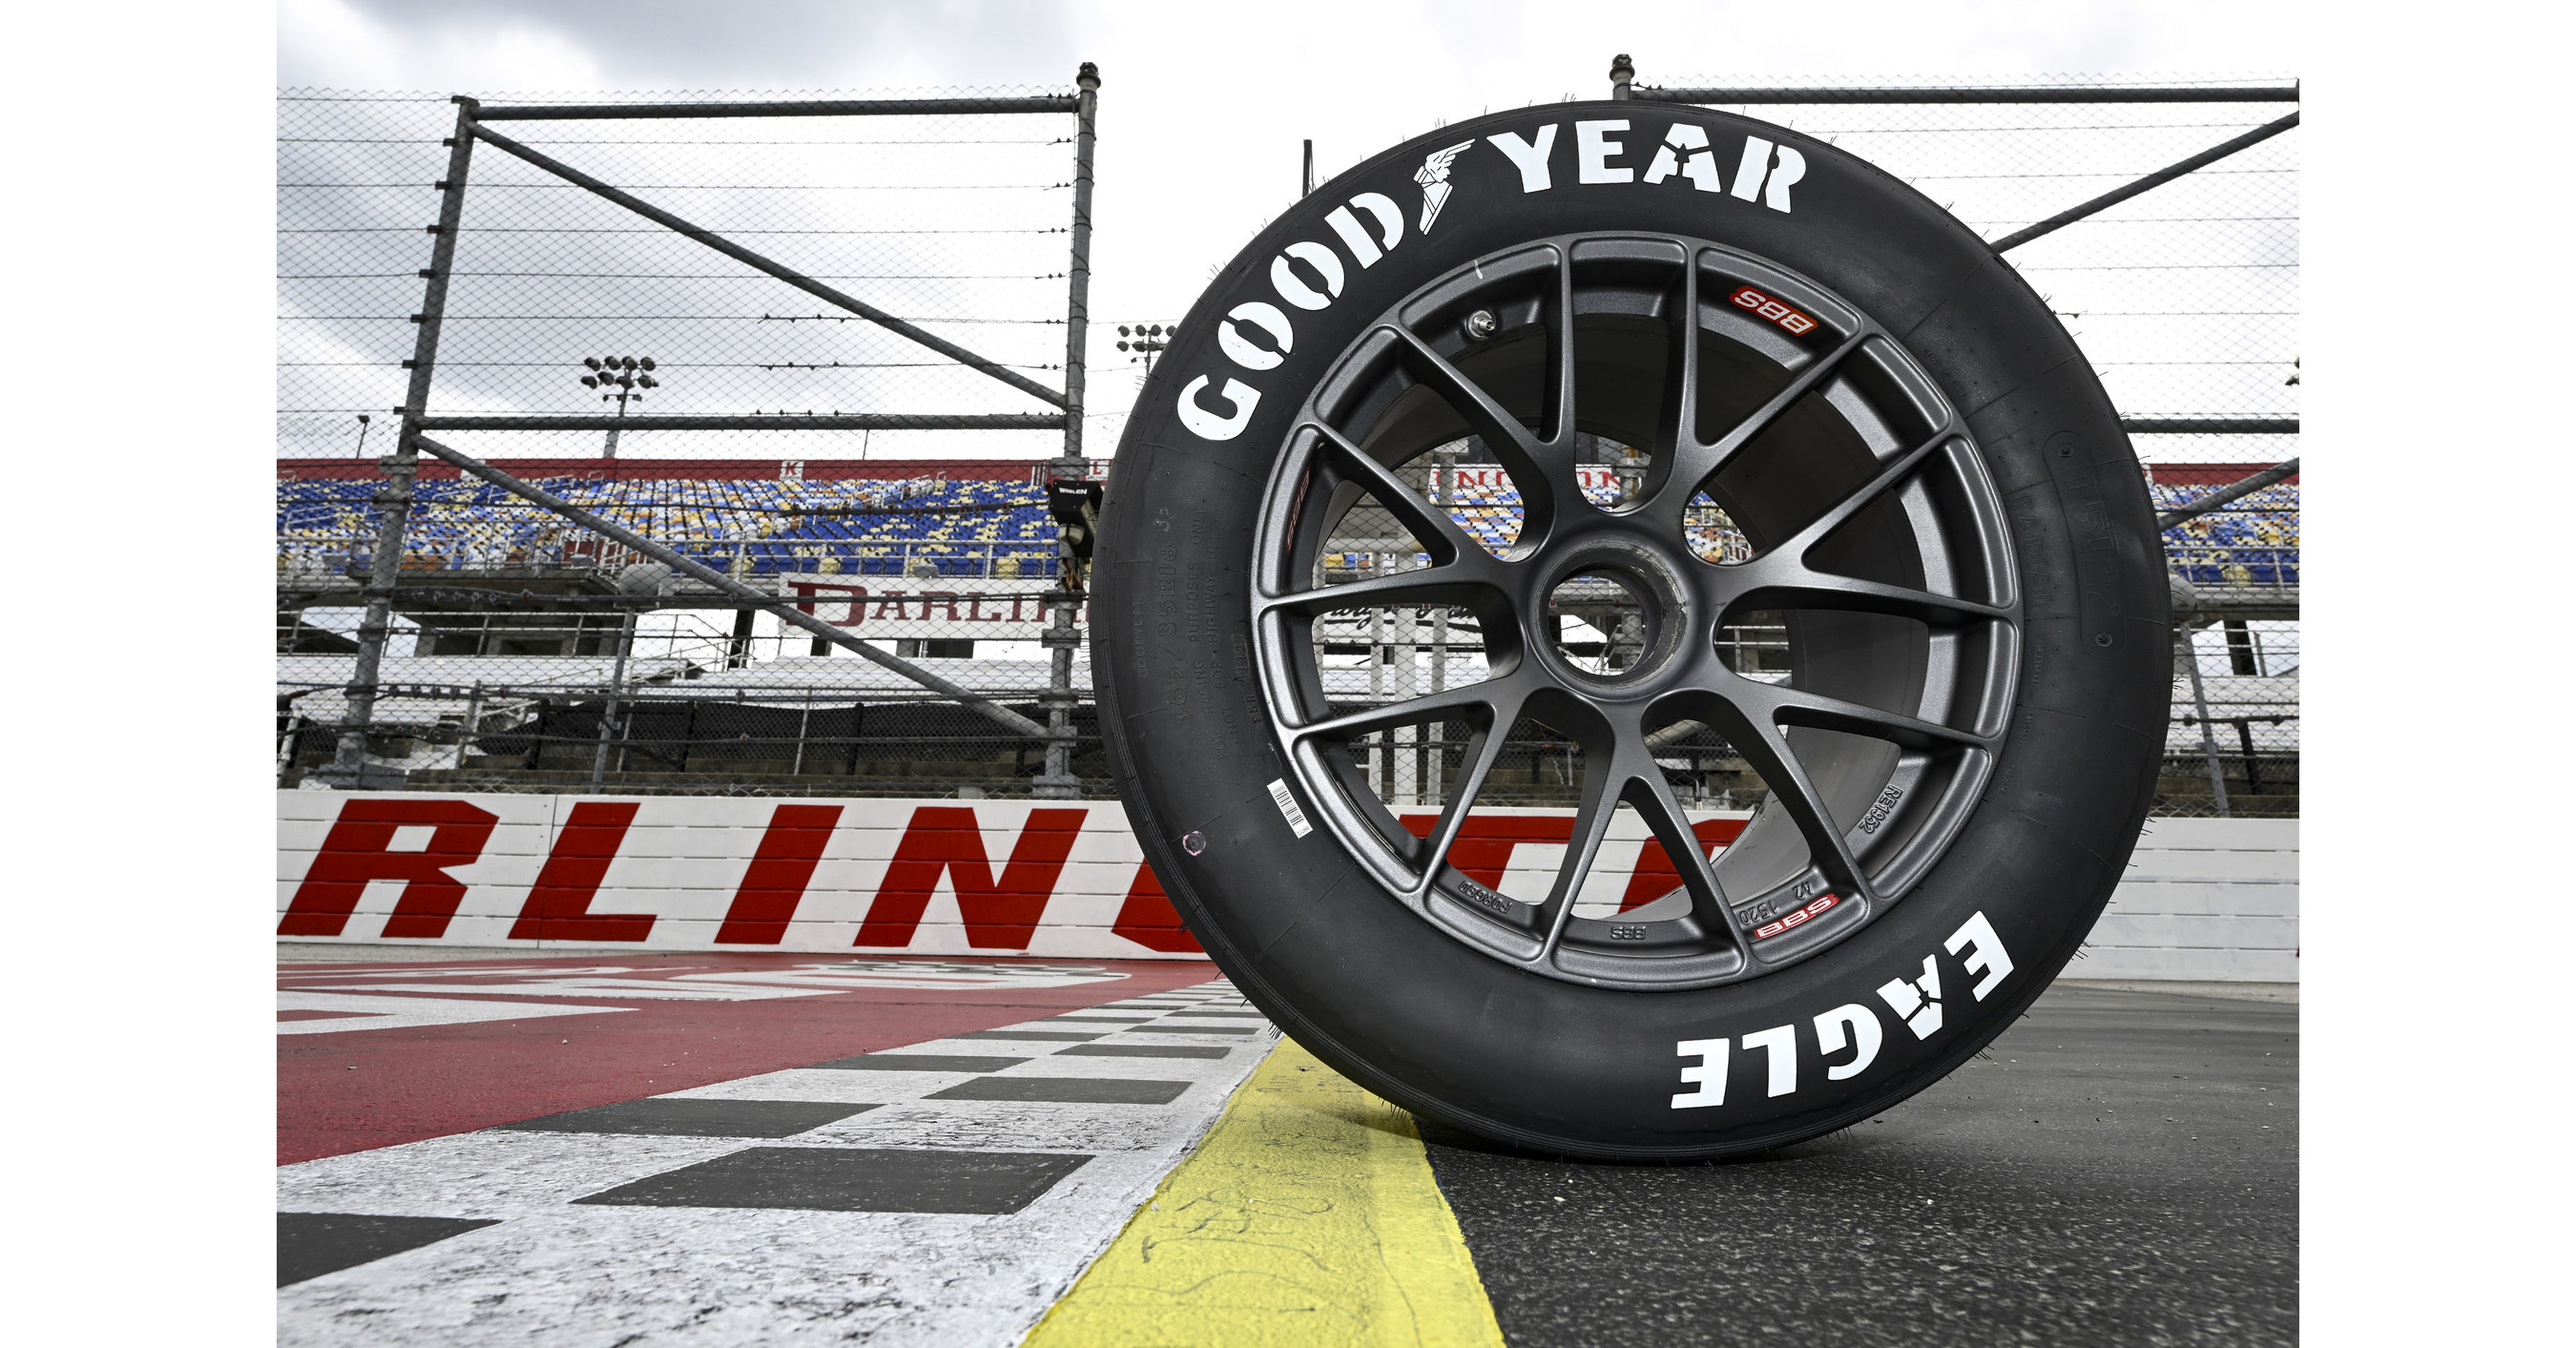
I'm going to add white letters to the rear tire. Owner likes Good Year, so that's what he's getting. So, opinion time. Good year makes a drag slick called the Eagle.

1717083638436.png


I'm going to use white letters, since yellow wouldn't really look right on this bike. So, here are the options:

1) Go with "Good Year" only.
2) Go with "Good Year"... and "Eagle".
3) Go with "Good Year" and the tire size on the facing side (20 x 3.0) [A lot of bikes showed tire size on their RWL tires]
4) Go with "Good Year" on one side, and ______________ on the other side. (Your option. "Drag Slick", or something like that)
 
I'm going to add white letters to the rear tire. Owner likes Good Year, so that's what he's getting. So, opinion time. Good year makes a drag slick called the Eagle.

View attachment 267606

I'm going to use white letters, since yellow wouldn't really look right on this bike. So, here are the options:

1) Go with "Good Year" only.
2) Go with "Good Year"... and "Eagle".
3) Go with "Good Year" and the tire size on the facing side (20 x 3.0) [A lot of bikes showed tire size on their RWL tires]
4) Go with "Good Year" on one side, and ______________ on the other side. (Your option. "Drag Slick", or something like that)
It's a tough call between 2 and 3 for me. Does the owner have a preference? What if you had "Good Year," "Eagle" and the tire size, or would that be too much?
 
It's a tough call between 2 and 3 for me. Does the owner have a preference? What if you had "Good Year," "Eagle" and the tire size, or would that be too much?
I thought of that, but thought it would be too crowded unless I went with much smaller letters. And I didn't want to go with too small of a letter. I was thinking 3/4" for the Good Year, and 1/2" for whatever is on the other side. 3 was my personal preference. The owner doesn't know what I'm doing. I'm trying to keep a lot of what I do a mystery. Partially because I want details to be a surprise. Partially because I'd have to extensively explain my decisions which are based on experience with these bikes and he wouldn't understand. But honestly, that's why he choose me in the first place. So he basically gave me carte blanche with decisions outside the name and the color.
 
I'm going to add white letters to the rear tire. Owner likes Good Year, so that's what he's getting. So, opinion time. Good year makes a drag slick called the Eagle.

View attachment 267606

I'm going to use white letters, since yellow wouldn't really look right on this bike. So, here are the options:

1) Go with "Good Year" only.
2) Go with "Good Year"... and "Eagle".
3) Go with "Good Year" and the tire size on the facing side (20 x 3.0) [A lot of bikes showed tire size on their RWL tires]
4) Go with "Good Year" on one side, and ______________ on the other side. (Your option. "Drag Slick", or something like that)

I like GOOD YEAR and EAGLE on the drive side, then GOOD YEAR and tire size on the non-drive side.
 
Back
Top