Pflugerville Pflat Tracker - New Handlebars - Update 3/24

Rat Rod Bikes Bicycle Forum

Help Support Rat Rod Bikes Bicycle Forum:

This site may earn a commission from merchant affiliate links, including eBay, Amazon, and others.
Joined
Sep 9, 2012
Messages
364
Reaction score
153
Location
Between a Rock and a Weird Place, TX
Rating - 100%
4   0   0
I have been wanting to build a bicycle around a set of tires, specifically the Felt Berm Master. Originally, I planned to do a 26/24" combo and build sort of a BMX/klunker hybrid. Upon learning that you can no longer get the 26" version, I started thinking about building a flat tracker style bike using 24" Berm Masters front and rear. I found a new bike I thought captures the overall feel of what I wanted. Granted, some things about this bike aren't totally true to a flat track racer, like the front brake, but this is more of a tribute or homage than an engine-less replica. I started a thread in bike talk about Micargi/Firmstrong brand bikes. While the general concensus was that they are cheapie quality bikes, I figured I would be changing enough for that not to matter. I nake this bike after ky town and it's silly use of the letters "Pf" in place of where a letter F is used since that is how the town name is spelled.

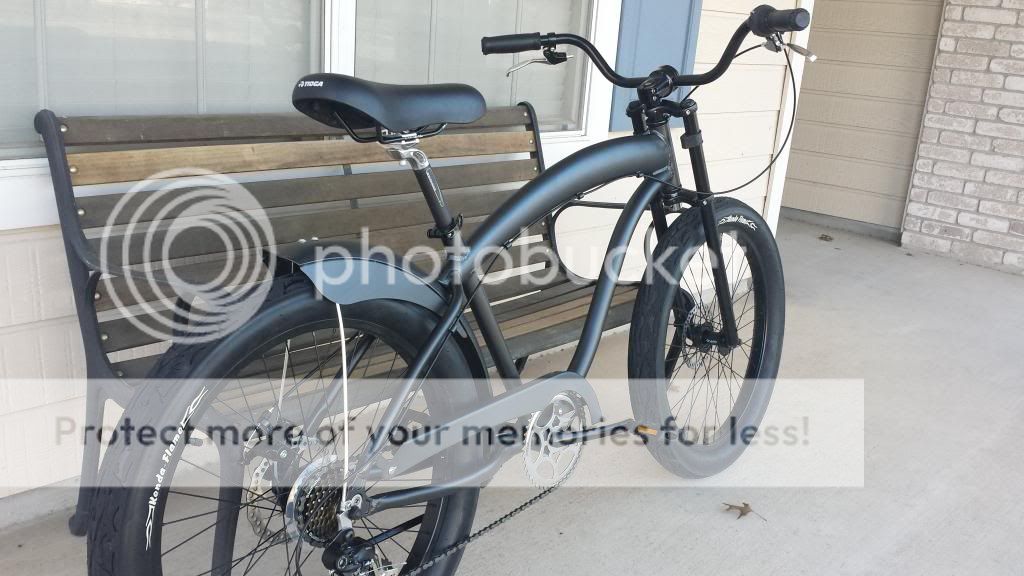
What I ordered and received today is called a Fito Modena GT 7 speed. It has an aluminum frame, disc brakes, 7 speed derailleur, and 24 x 3.0 Kenda Flame tires. Here is what came out of the box:
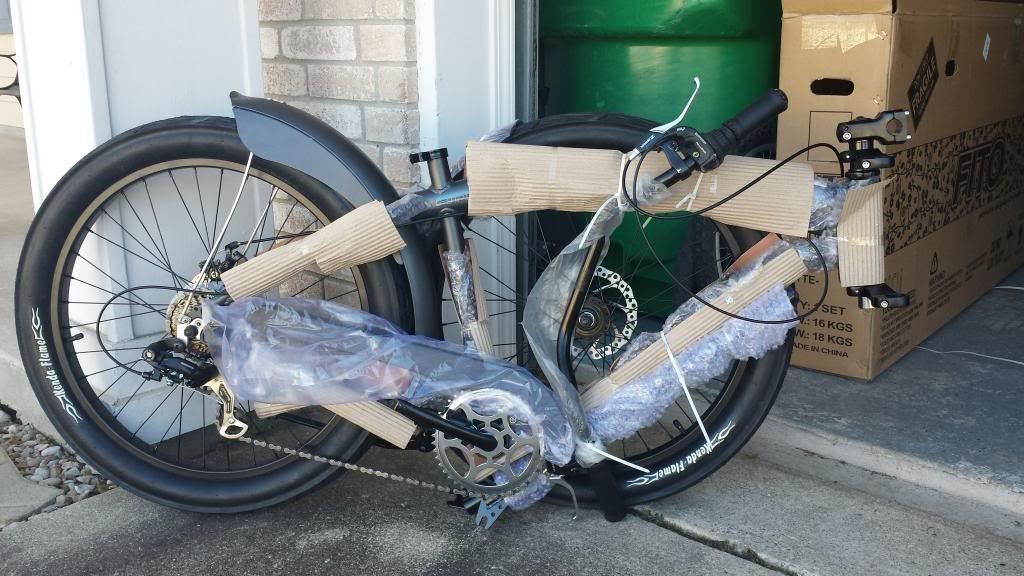

I started building it from the box. First thing I changed was the saddle and seat post. I had a nice alloy post and mounted my recently purchased Tioga mx saddle which came off a Felt Vintage Iron MX bike. I replaced the stock stem with a GT piston stem. Unfortunately, my photo hosting serice is offline, so I will have to post more photos tomorrow.
 
So, it turns out my brain was offline last night and not my photo host. I was too dang tired to figure out the simple task of getting to my mobile uploads...anyway...

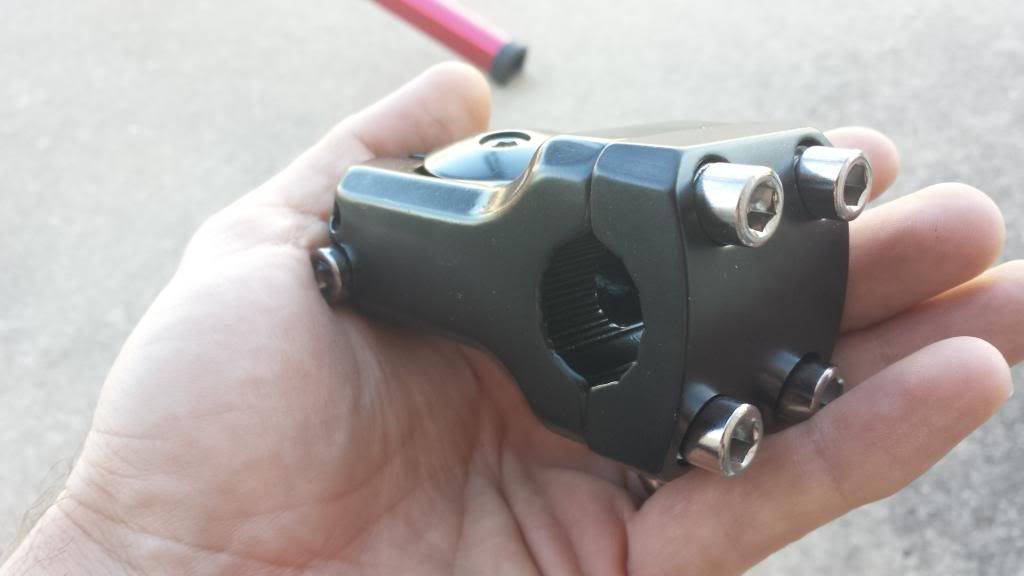
Before it got dark, I got the bike mostly together. Immediately, I installed my saddle purchased from ebay (Felt Vintage Iron MX) and a nice Bontrager alloy seatpost. I also removed this stock stem:


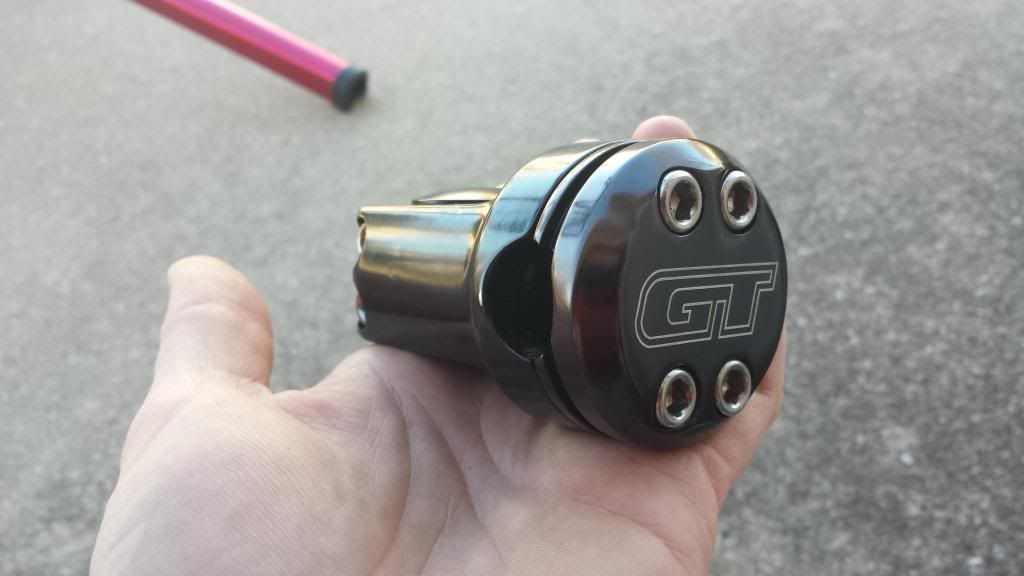
Replaced it with my GT Piston stem pulled from an old Dyno bmx I bought for parts:


In the initial assembly, I noticed that not one bolt had grease. I cringe to think of the average person assembling one of these. Since I planned to later swap tires and play with different crank/chainring options, I didn't mess with truing the wheels, adjusting bearings, or the brakes. I just wanted to make it a roller.


I did some more work later last night, but will save that for another post with more photos I need to shoot.
 
A couple more photos from the initial rough assemby:


Some more info on the name of the bike and namesake city...Pflugerville, TX was founded in the late 1800s but takes its name from the Pfluger family who settled in the mid 1800s. So many people try to pronounce the name "Puh-flugerville." So many local events and business try to capitalize on F-words (not the 4 letter variety) by spelling it Pf. One example is the Pfamily Pfun Pfest.
 
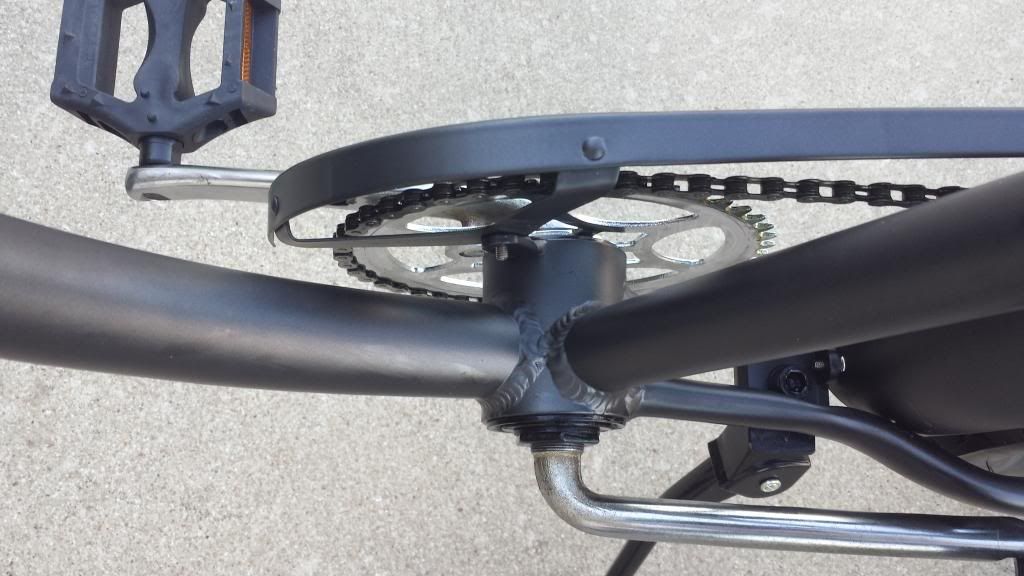
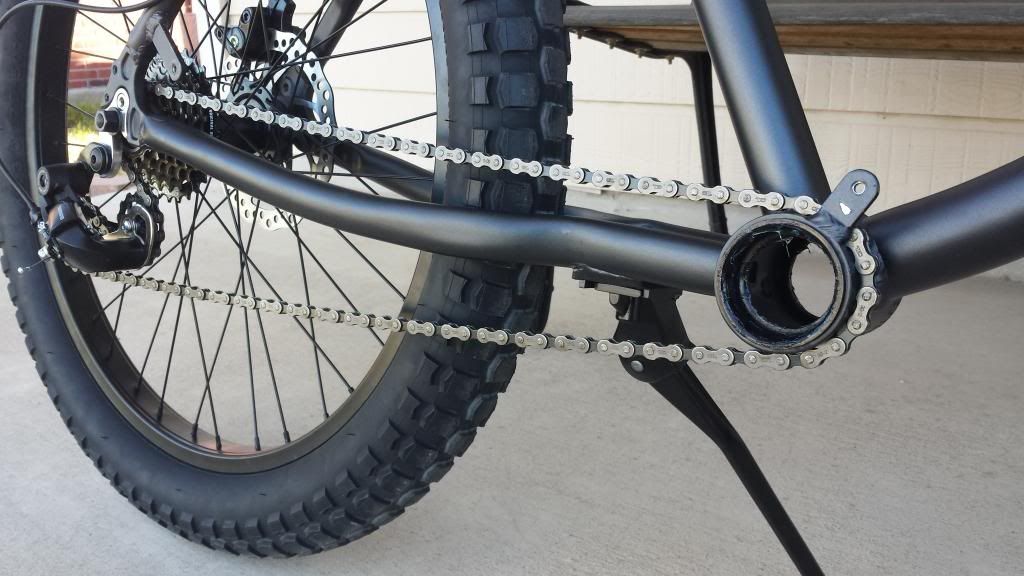
Last night, I worked on adjusting the brakes and the drivetrain. This frame has an offset bottom bracket shell. See how it is shifted toward the drive side of the bike:


That allows better clearance for the chain line to clear the wide rear tire when you are shifted to the largest cog. I noticed when I added grease to the rear hub that they used a spacer behind the 7 speed freewheel to move the whole cluster outboard to help with improving the chain line. I am hoping the Berm Masters aren't any wider or I might run into a problem. I will find out tomorrow.

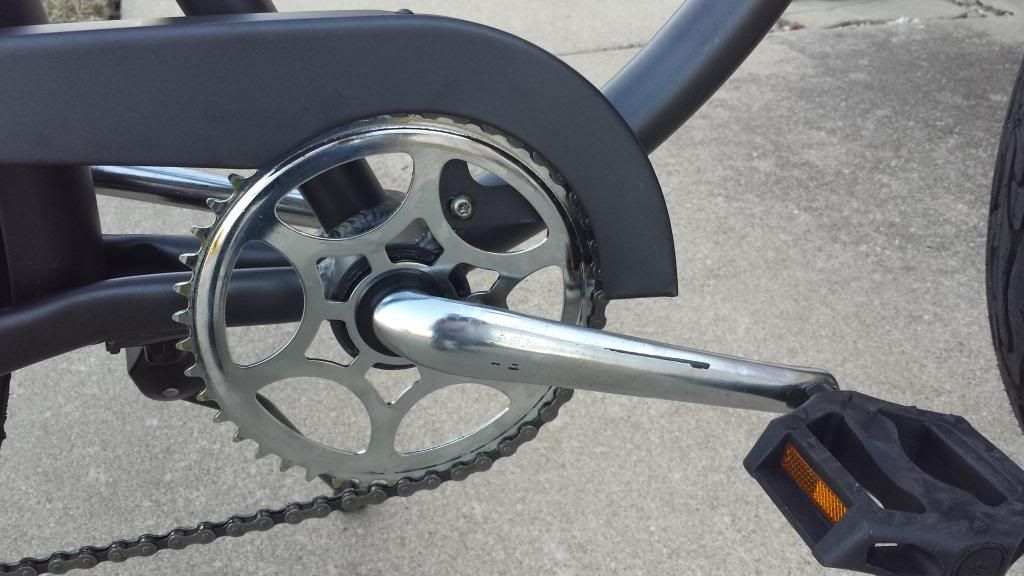
I also played with cranks. Stock cranks are 165mm which are just silly feeling to me. I had these GT 175s in my parts bin, so I swapped them in and they feel good. I am going to experiment with spraying them with Plastidip since paint doesn't stick to chrome very well. I like how the bike looks with black cranks and a chrome chainring.
 
Looks like you could flip that chainring over for more clearance if you do need it for the berm masters...

Luke.
I can do that and I have a spacer I can either remove or put it on the back side of the ring to get a few mm of extra space. The only problem with that is the chainline is super wonky when you are in the largest cogs which is a result of that offset BB shell. This bike is full of compromises, haha
 
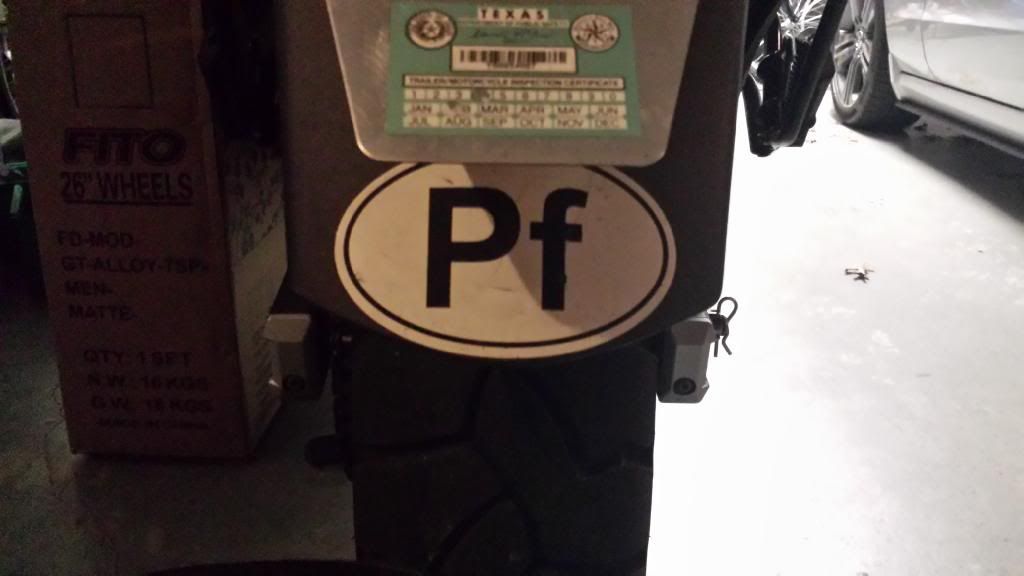
Another thing I will be adding to the bike are some number plates. While a rectangular plate is more flat tracker correct, I felt an oval plate would fit better. I also planned to mimic the "Pf" decals people put on their put on their cars which mimic the same style decals you see representing foreign nations like GB, NZ, HUN, etc. Here is my decal on my motorcycle:


I bought some number plates on ebay and originally planned to put them inside the rear triangle of the frame. The chain and chainguard interfere, so I got to looking at mounting them on the rear fender. Tbis matches the contor of the fender nicely and hides those big side plates I originally planned to trim down. I have some silver adhesive vinyl I am going to use for the background and either get some black vinyl letters or cut away the letters leaving the black number plate background.
 
You were going to cut off the sides of the fender? :eek: That's my favorite part of the bike! :)

Yep, thinking about it. That is my least favorite part of the bike, haha. If I mount my number plates back there, I won't need to cut them because they'd just get covered by the plates. The more I look at the bike, the more I want to mount the plates within the rear triangle of the frame. I may try to fab up a custom chainguard to which I can mount the plate. The other side of the bike is easy, just zip tie it to the frame. If I do that, fender side skirts are going bye bye.
 
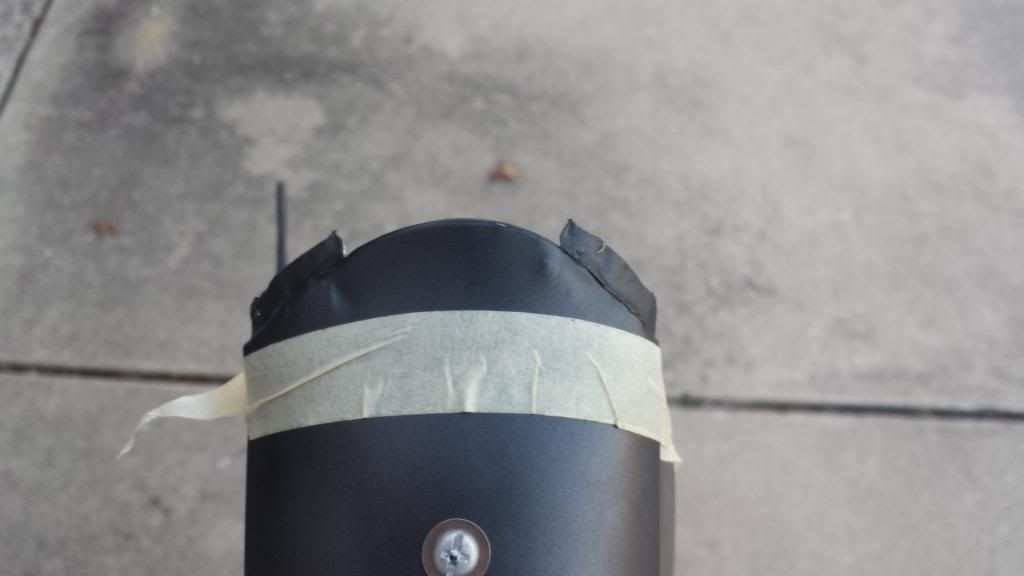
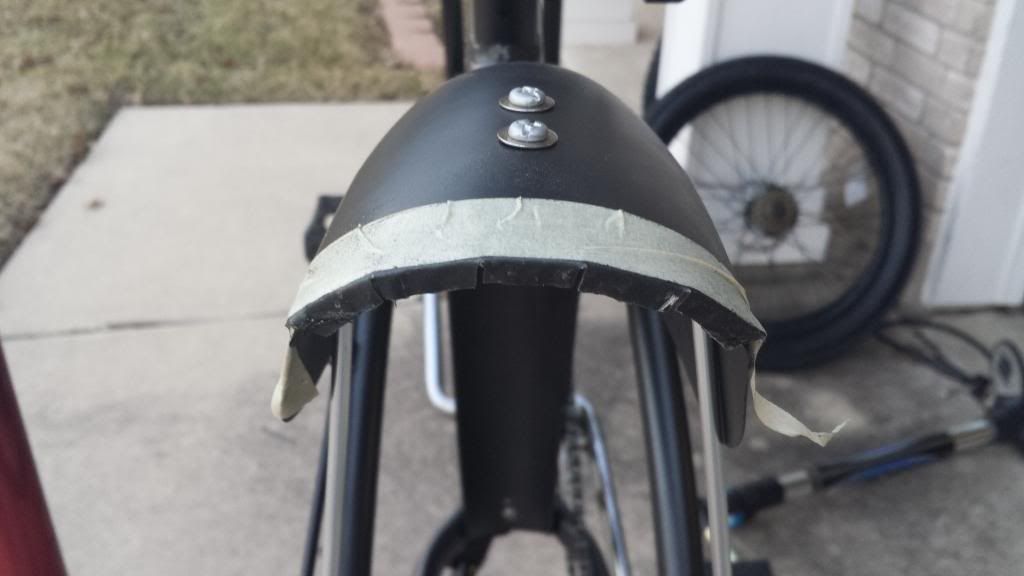
Speaking of the rear fender, I did chop it a bit last night. I wanted to remove the little flip on the end which I didn't like and it was boogered up anyway. I started by prying the metal where it is folded under to make a smooth lip at the end of the fender. This makes is easier to cut and leave about 3/8 of an inch to fold back under.


Then, I made relief cuts into the part to be folded back under so it lays down smooth and folded the end.


I also replaced all the cheesy fender bolts with stainless hex head bolts. I will get some better pics of the fender tomorrow when I have some daylight. Also got the Berm Masters mounted. They look awesome! Also went and picked up some bmx grips and nicer pedals.

My goals for this weekend are:

1.) Paint the crank arms
2.) Figure out where to mount the number plates
3.) Fabricate a chainguard
 
Been busy working on the Pflat Tracker today. Started last night fabbing up a chainguard and finished this morning. I used some drilled angle steel. Sorry, no pics since I forgot to take some.

I removed the rear fender to paint with the chainguard. Here is a little Berm Master teaser shot.


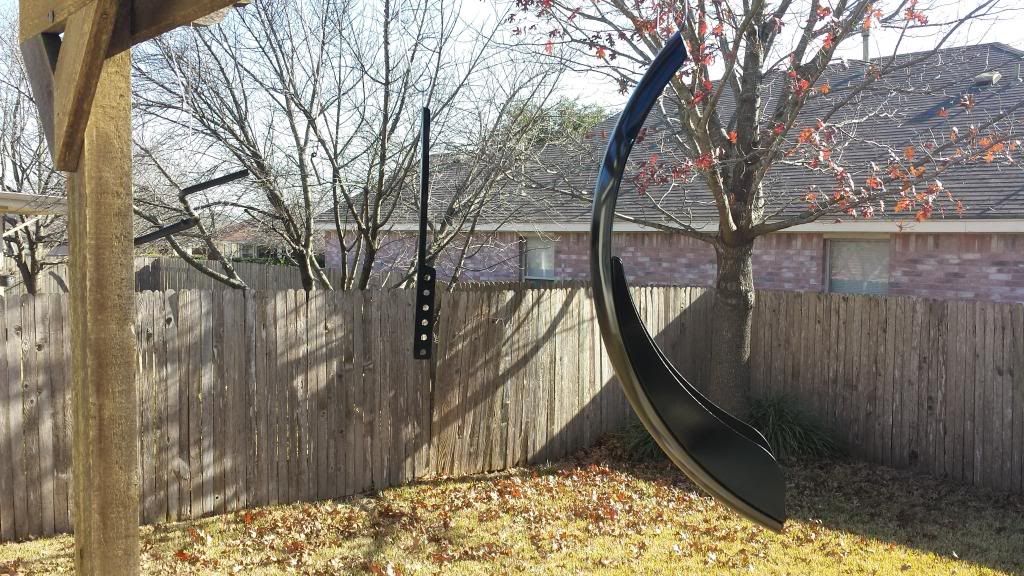
I am using Plastidip to make the crank arms black. This is a spray rubberized plastic that is real popular with shadetree car customizers. It is tough and durable, but peels off making it reversible if you don't like it. Here are all my parts hanging to dry.
 
After a lot of work this weekend, I just about have this wrapped up...for now.

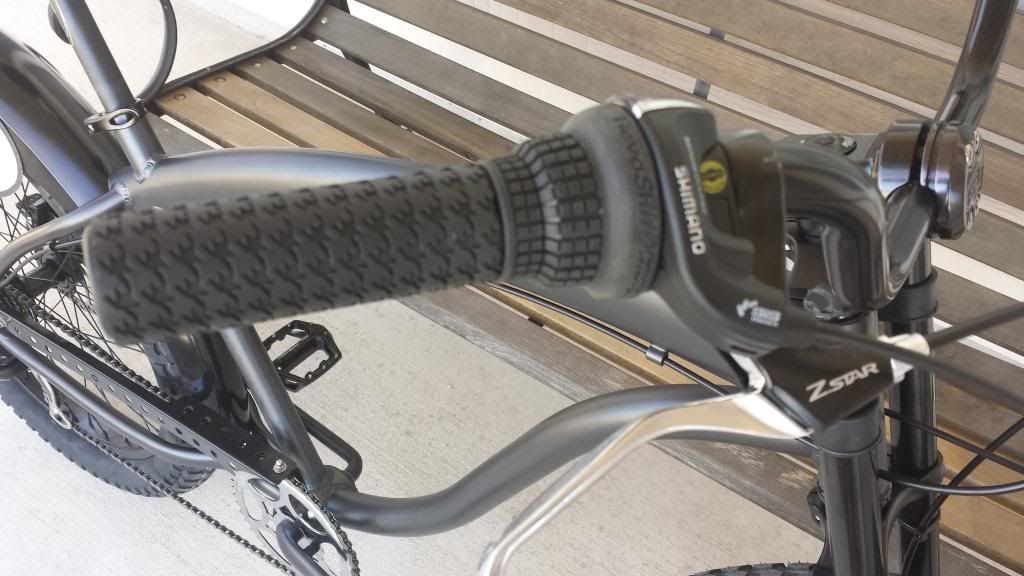
Rewinding back to Thursday, I went to pick up some new grips and pedals. Pedals you will see below. I got these Haro grips to replace the original fake leather stitched grips:


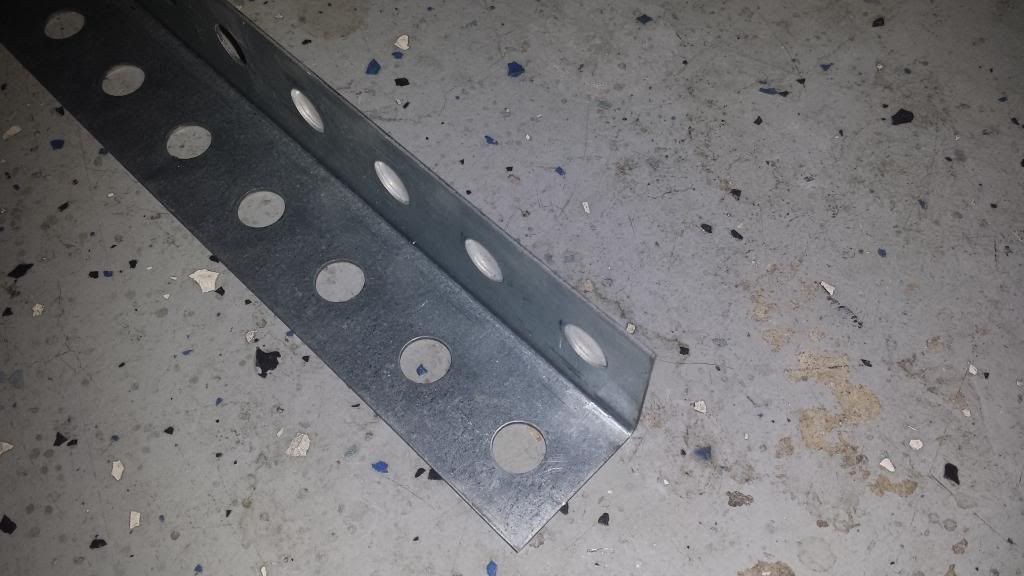
I am most proud of the chainguard you can see in the previous photo. I made it out of this stuff from my local home improvement store:

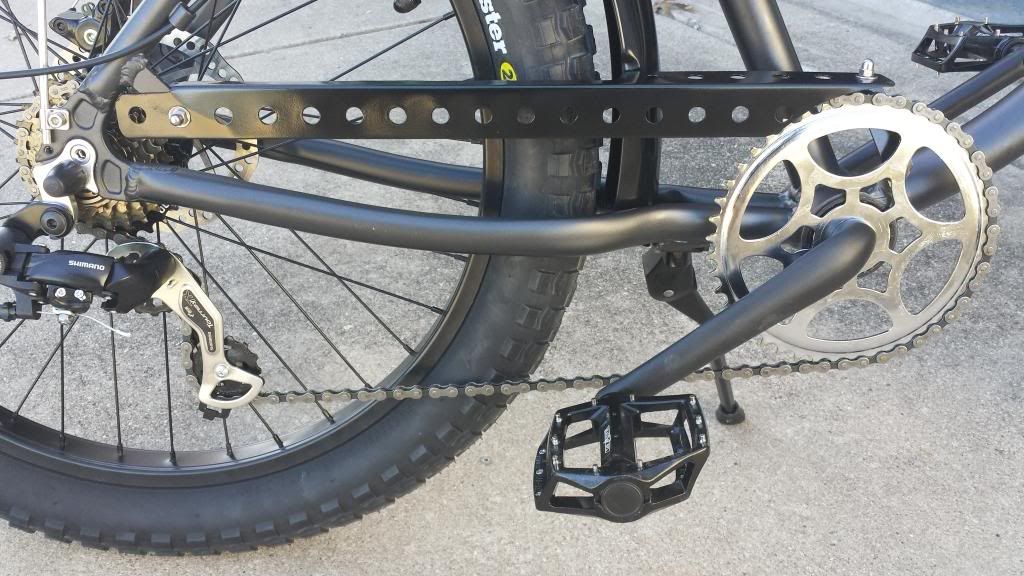
I cut it with tin snips and finished with my Dremel tool. I scavenged the bracket from the original guard. I painted the guard and rear fender black to match the forks, rims, bare, etc. Here are the new pedals, black plastidip cranks, and chainguard installed:

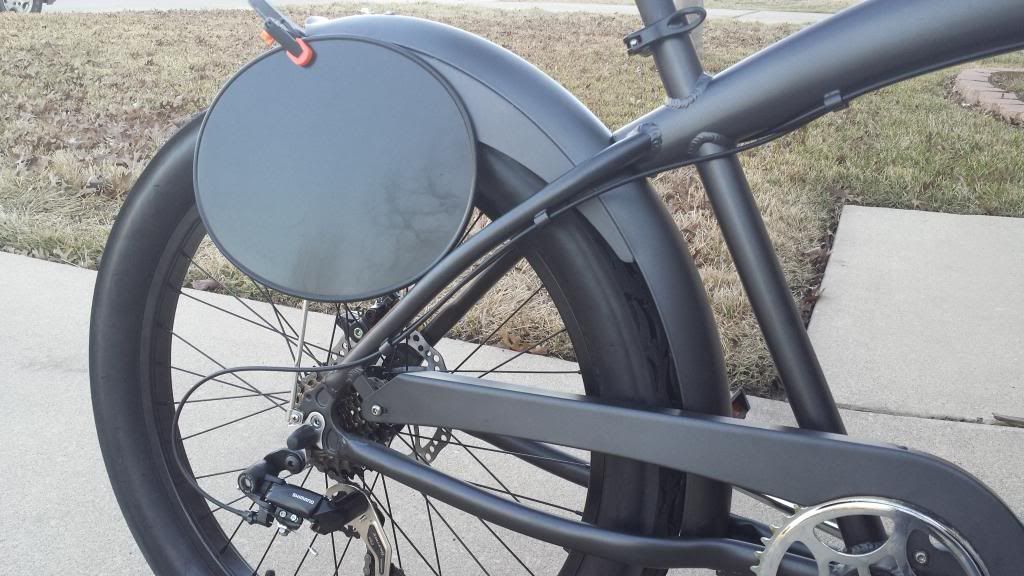
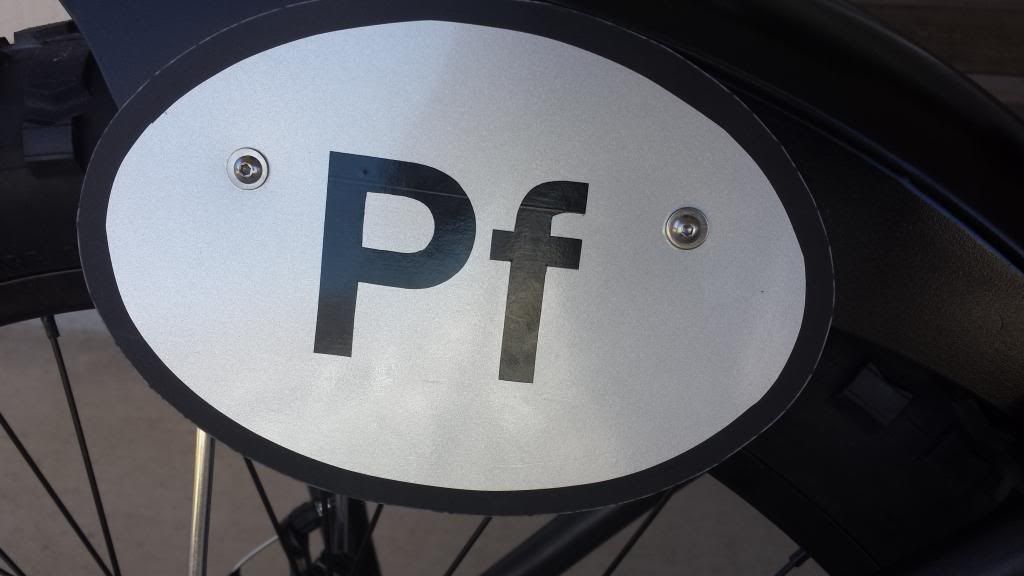
Yesterday, I turned my attention to the number plates. The motorcycle number plates I purchased were just too big. I decided to make my own. I went to an arts and craft store and bought a 5x7 inch wood oval sold as a trophy or plaque base and used as a template to trace and cut my own plate from a plastic wash tub I bought at Walmart. I then covered it with a silver 3M vehicle wrap vinyl. I cut a border with a razor blade and used the letters from a Pf bumper sticker to finish my lettered number plate. I bolted them to the fender side skirts I was tempted to cut off. I am thinking about doing one more plate for the front end, but kind of like it without anything there.

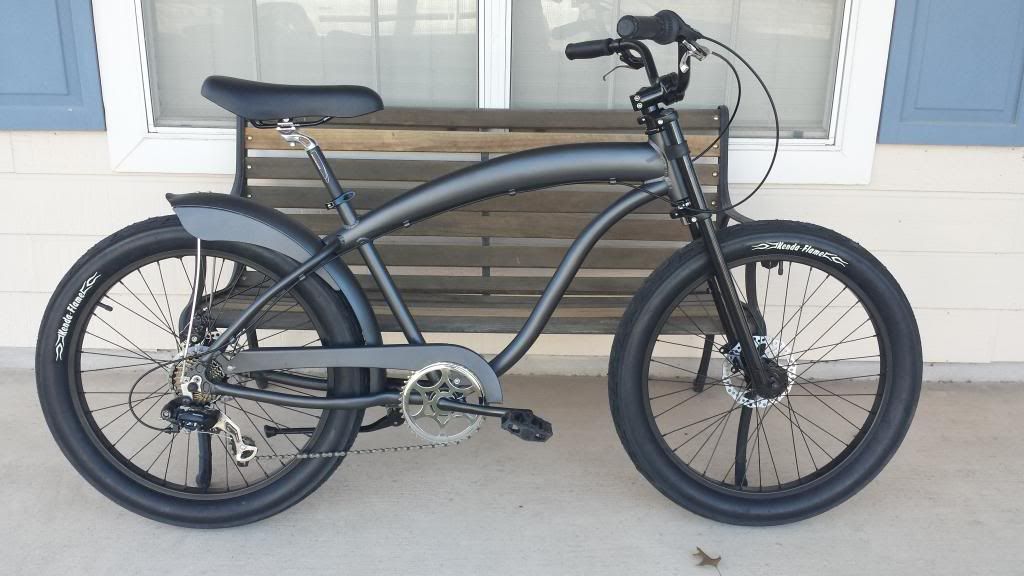
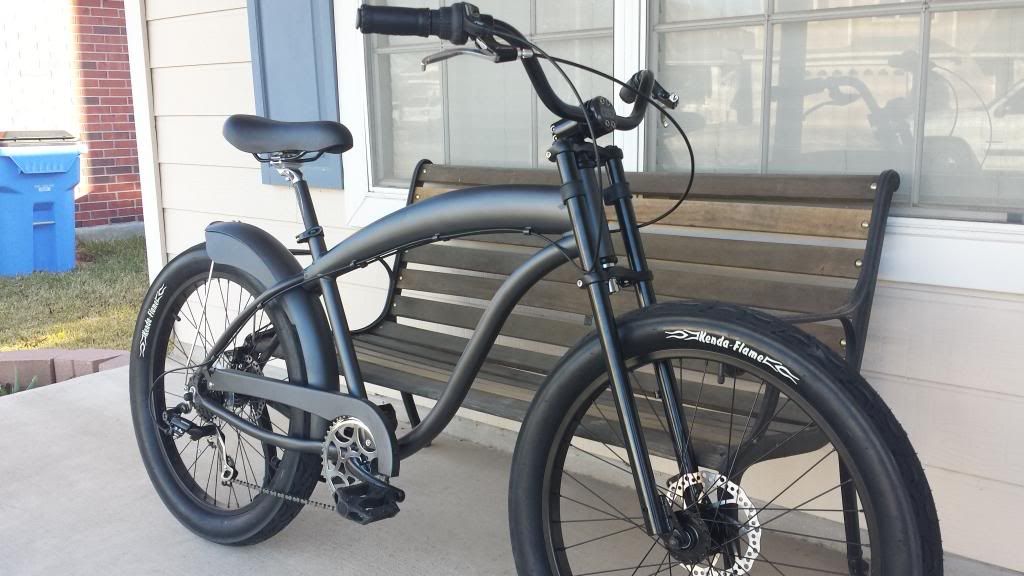
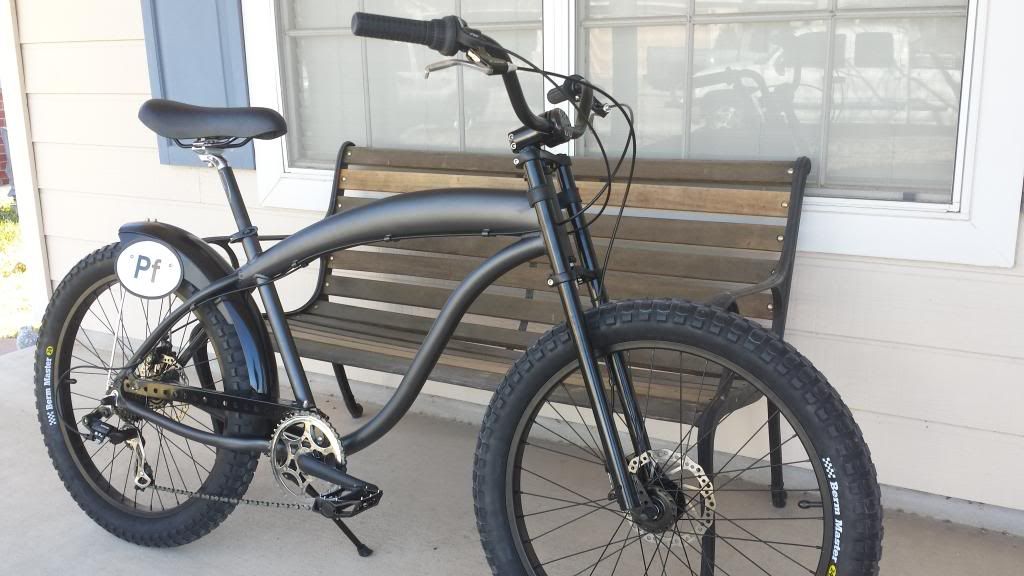
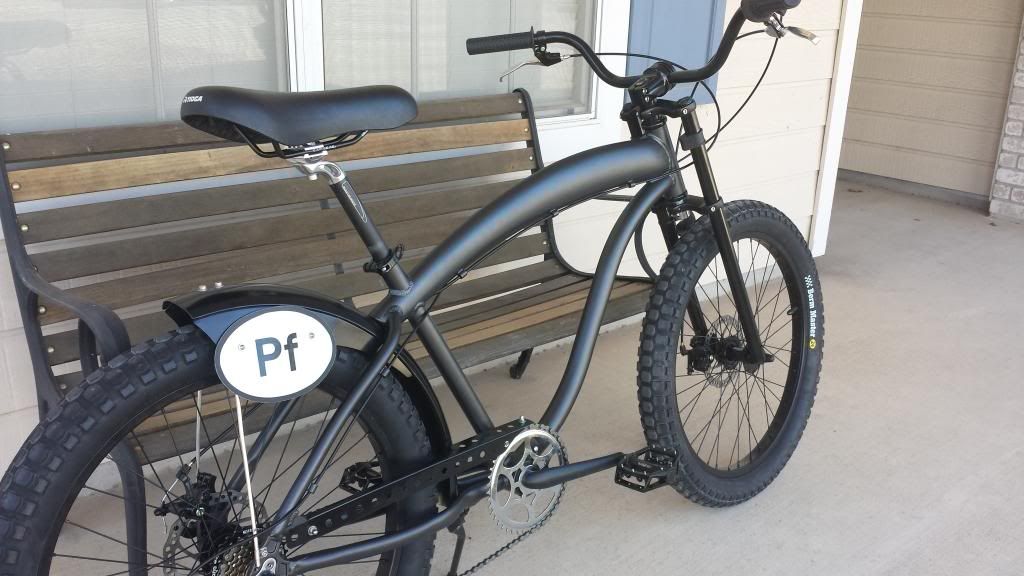
So, I am pretty much done for now. I wouldn't mind some wider rims. The stock aluminum rims are pretty cheesy and weak looking, and you can actually see where the higher tension spokes and making the rim bulge around the spoke nipple. I will keep my eyes on these rims. Here is the finished product:


=)
Extremely, Mean & Sweet.

Sent from my SPH-L710 using Tapatalk
 
Looks good. I like the smaller oval plates Pfar better than the Pfirst ones.

Instead of a plate on the front, I'd consider an off-road looking light with a brush guard on it. I know the flat trackers probably never had lights, but then again, they didn't have pedals either!;)
 

Latest posts

Back
Top