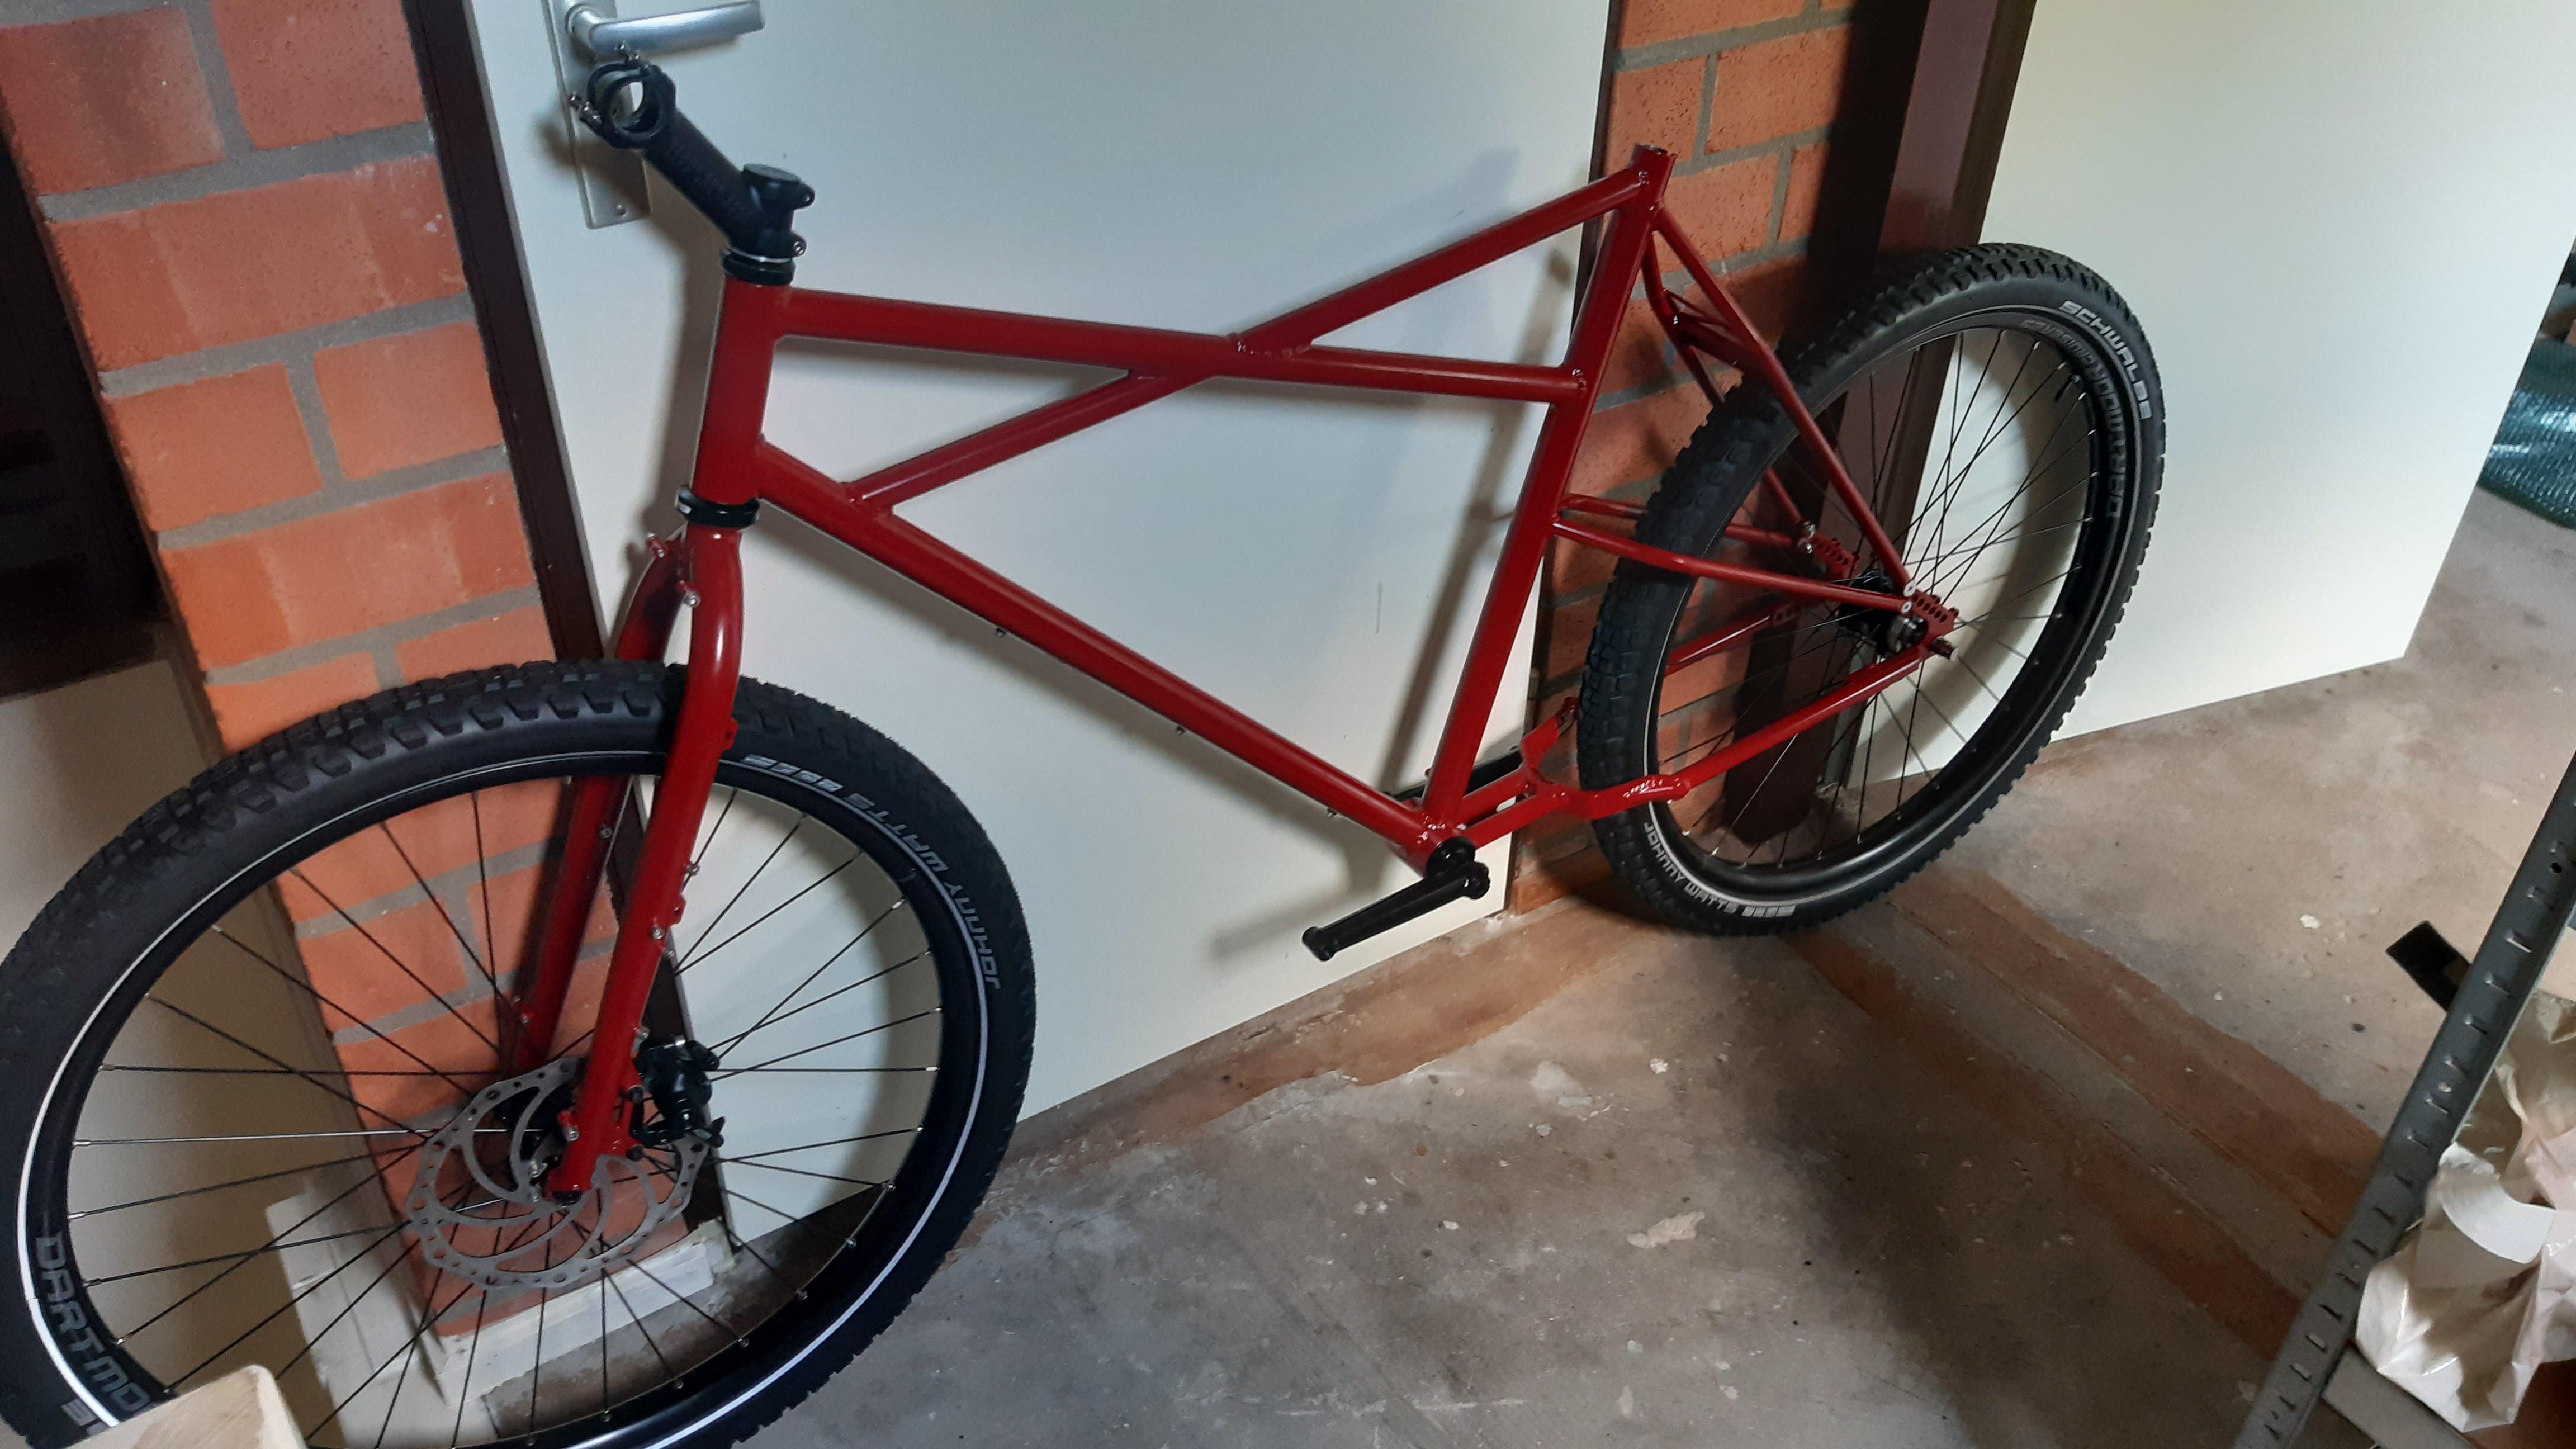
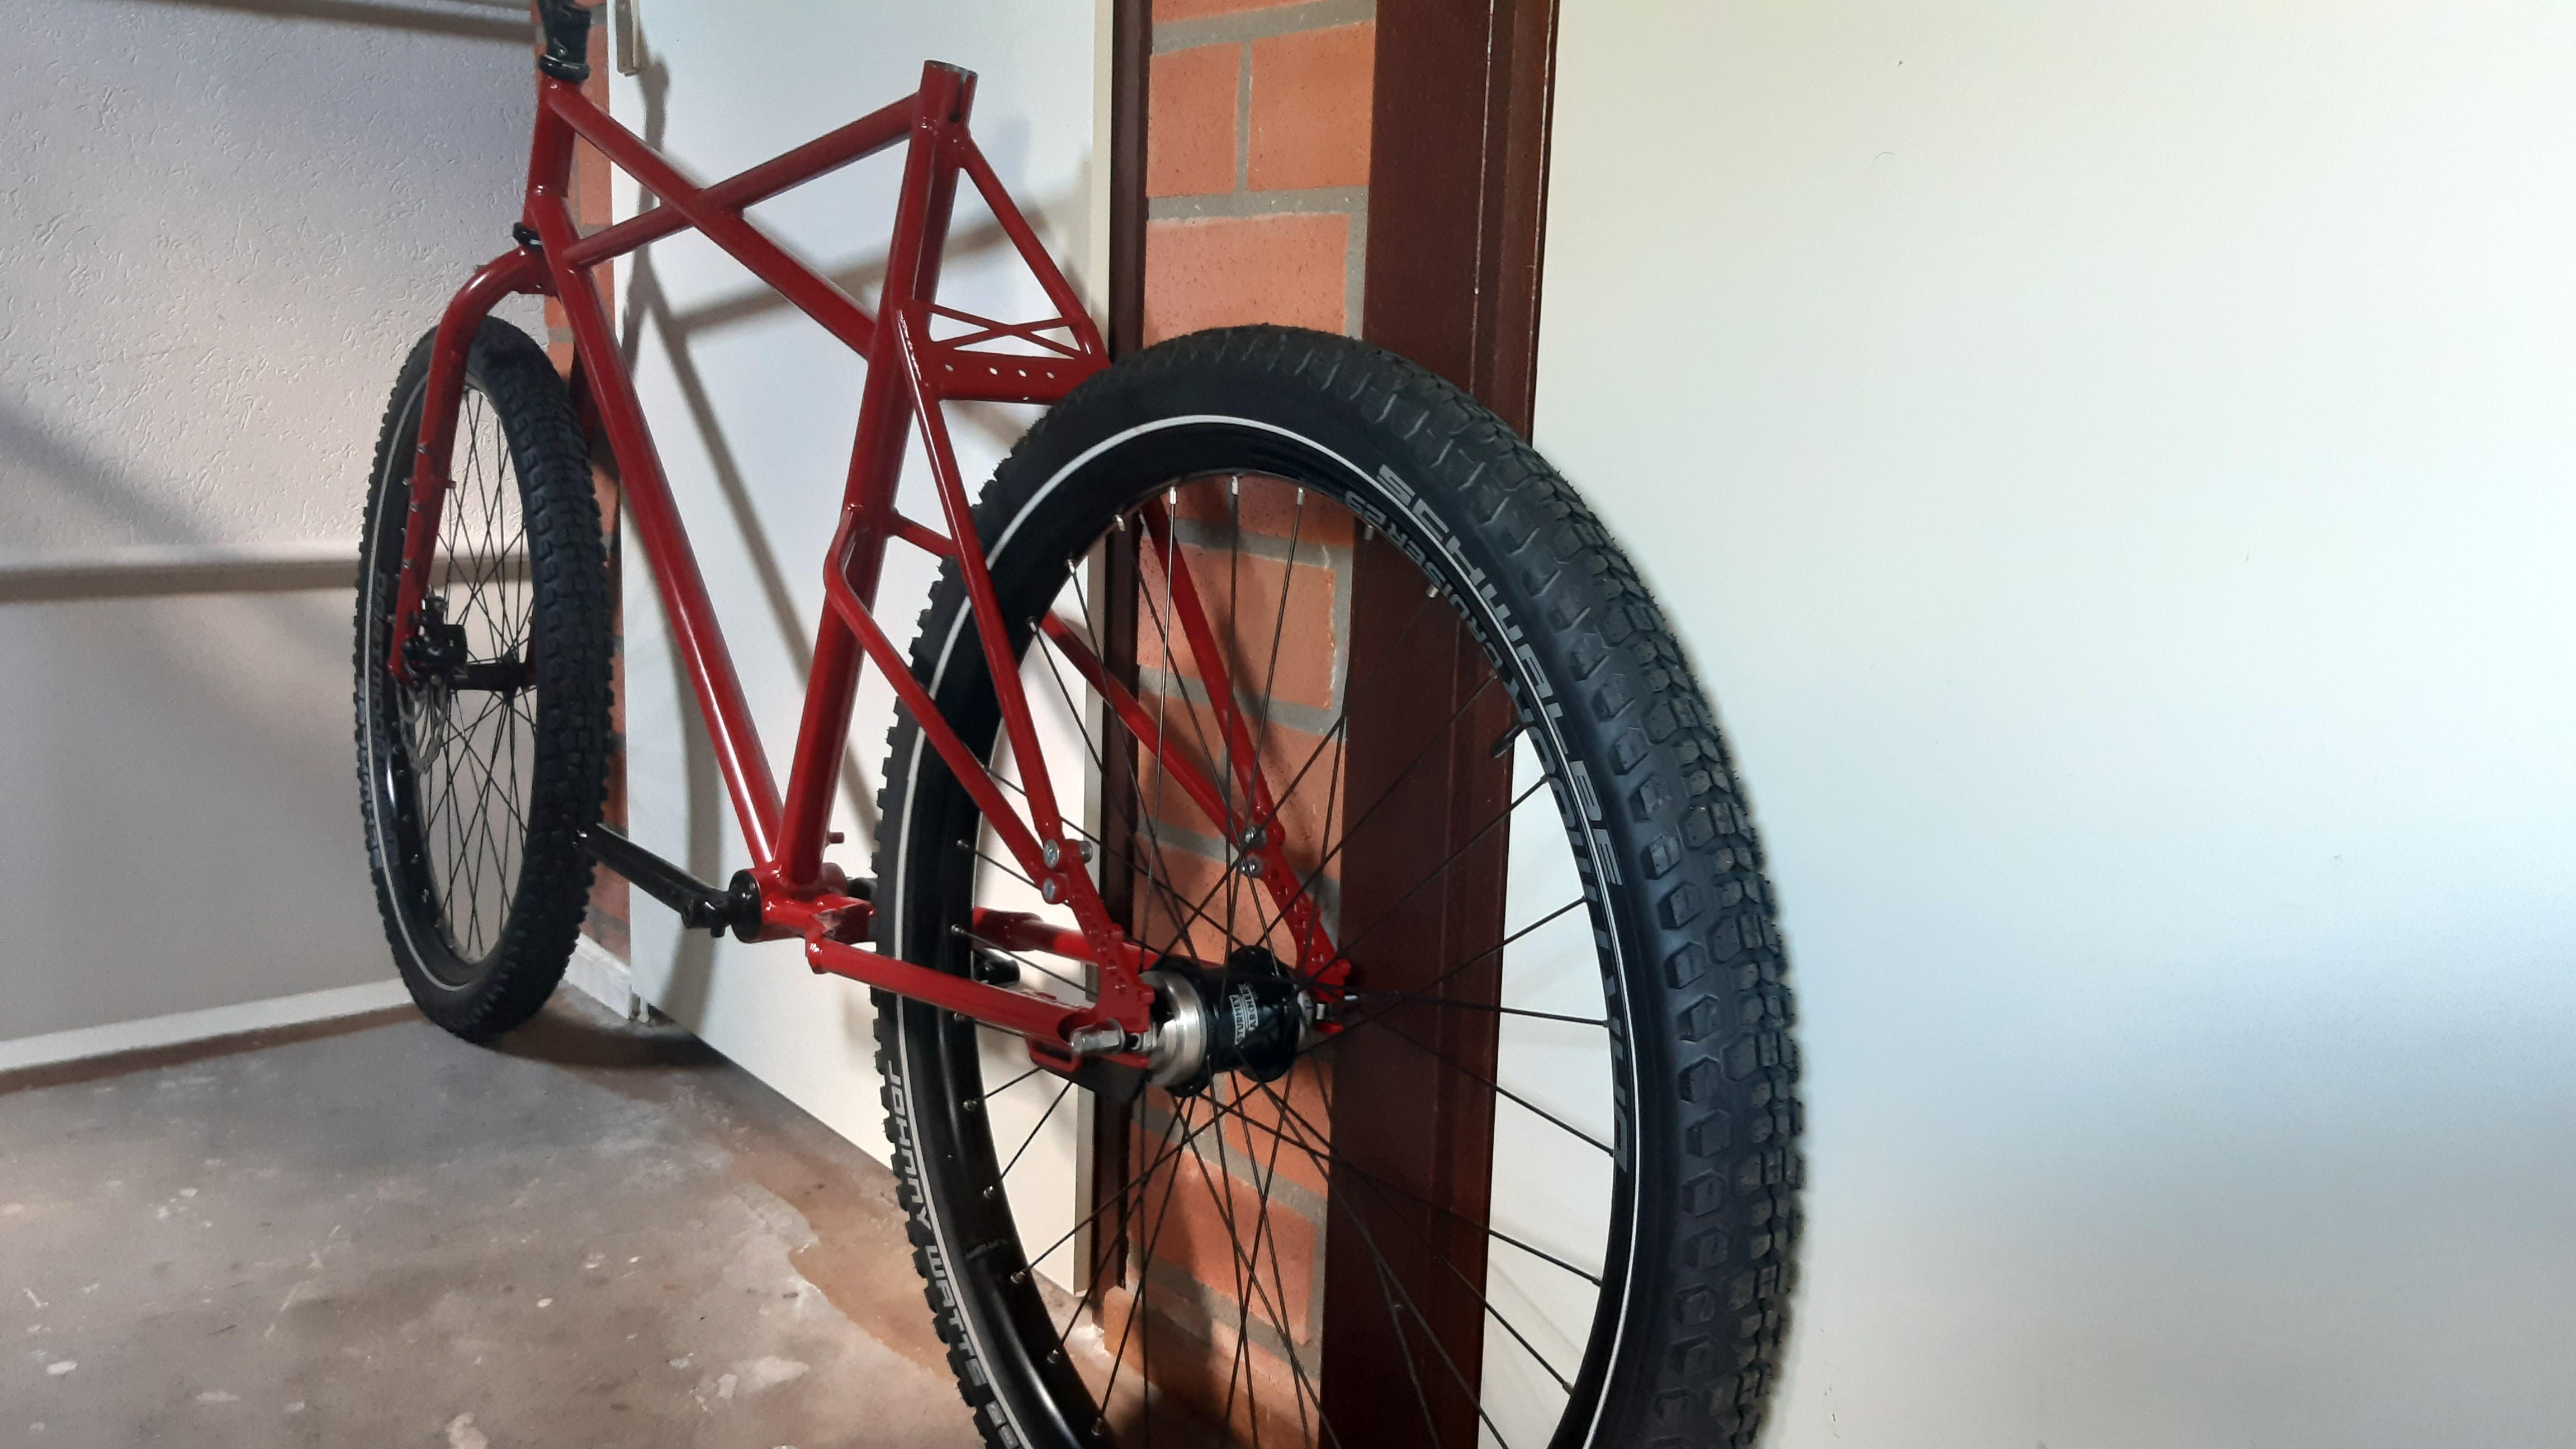
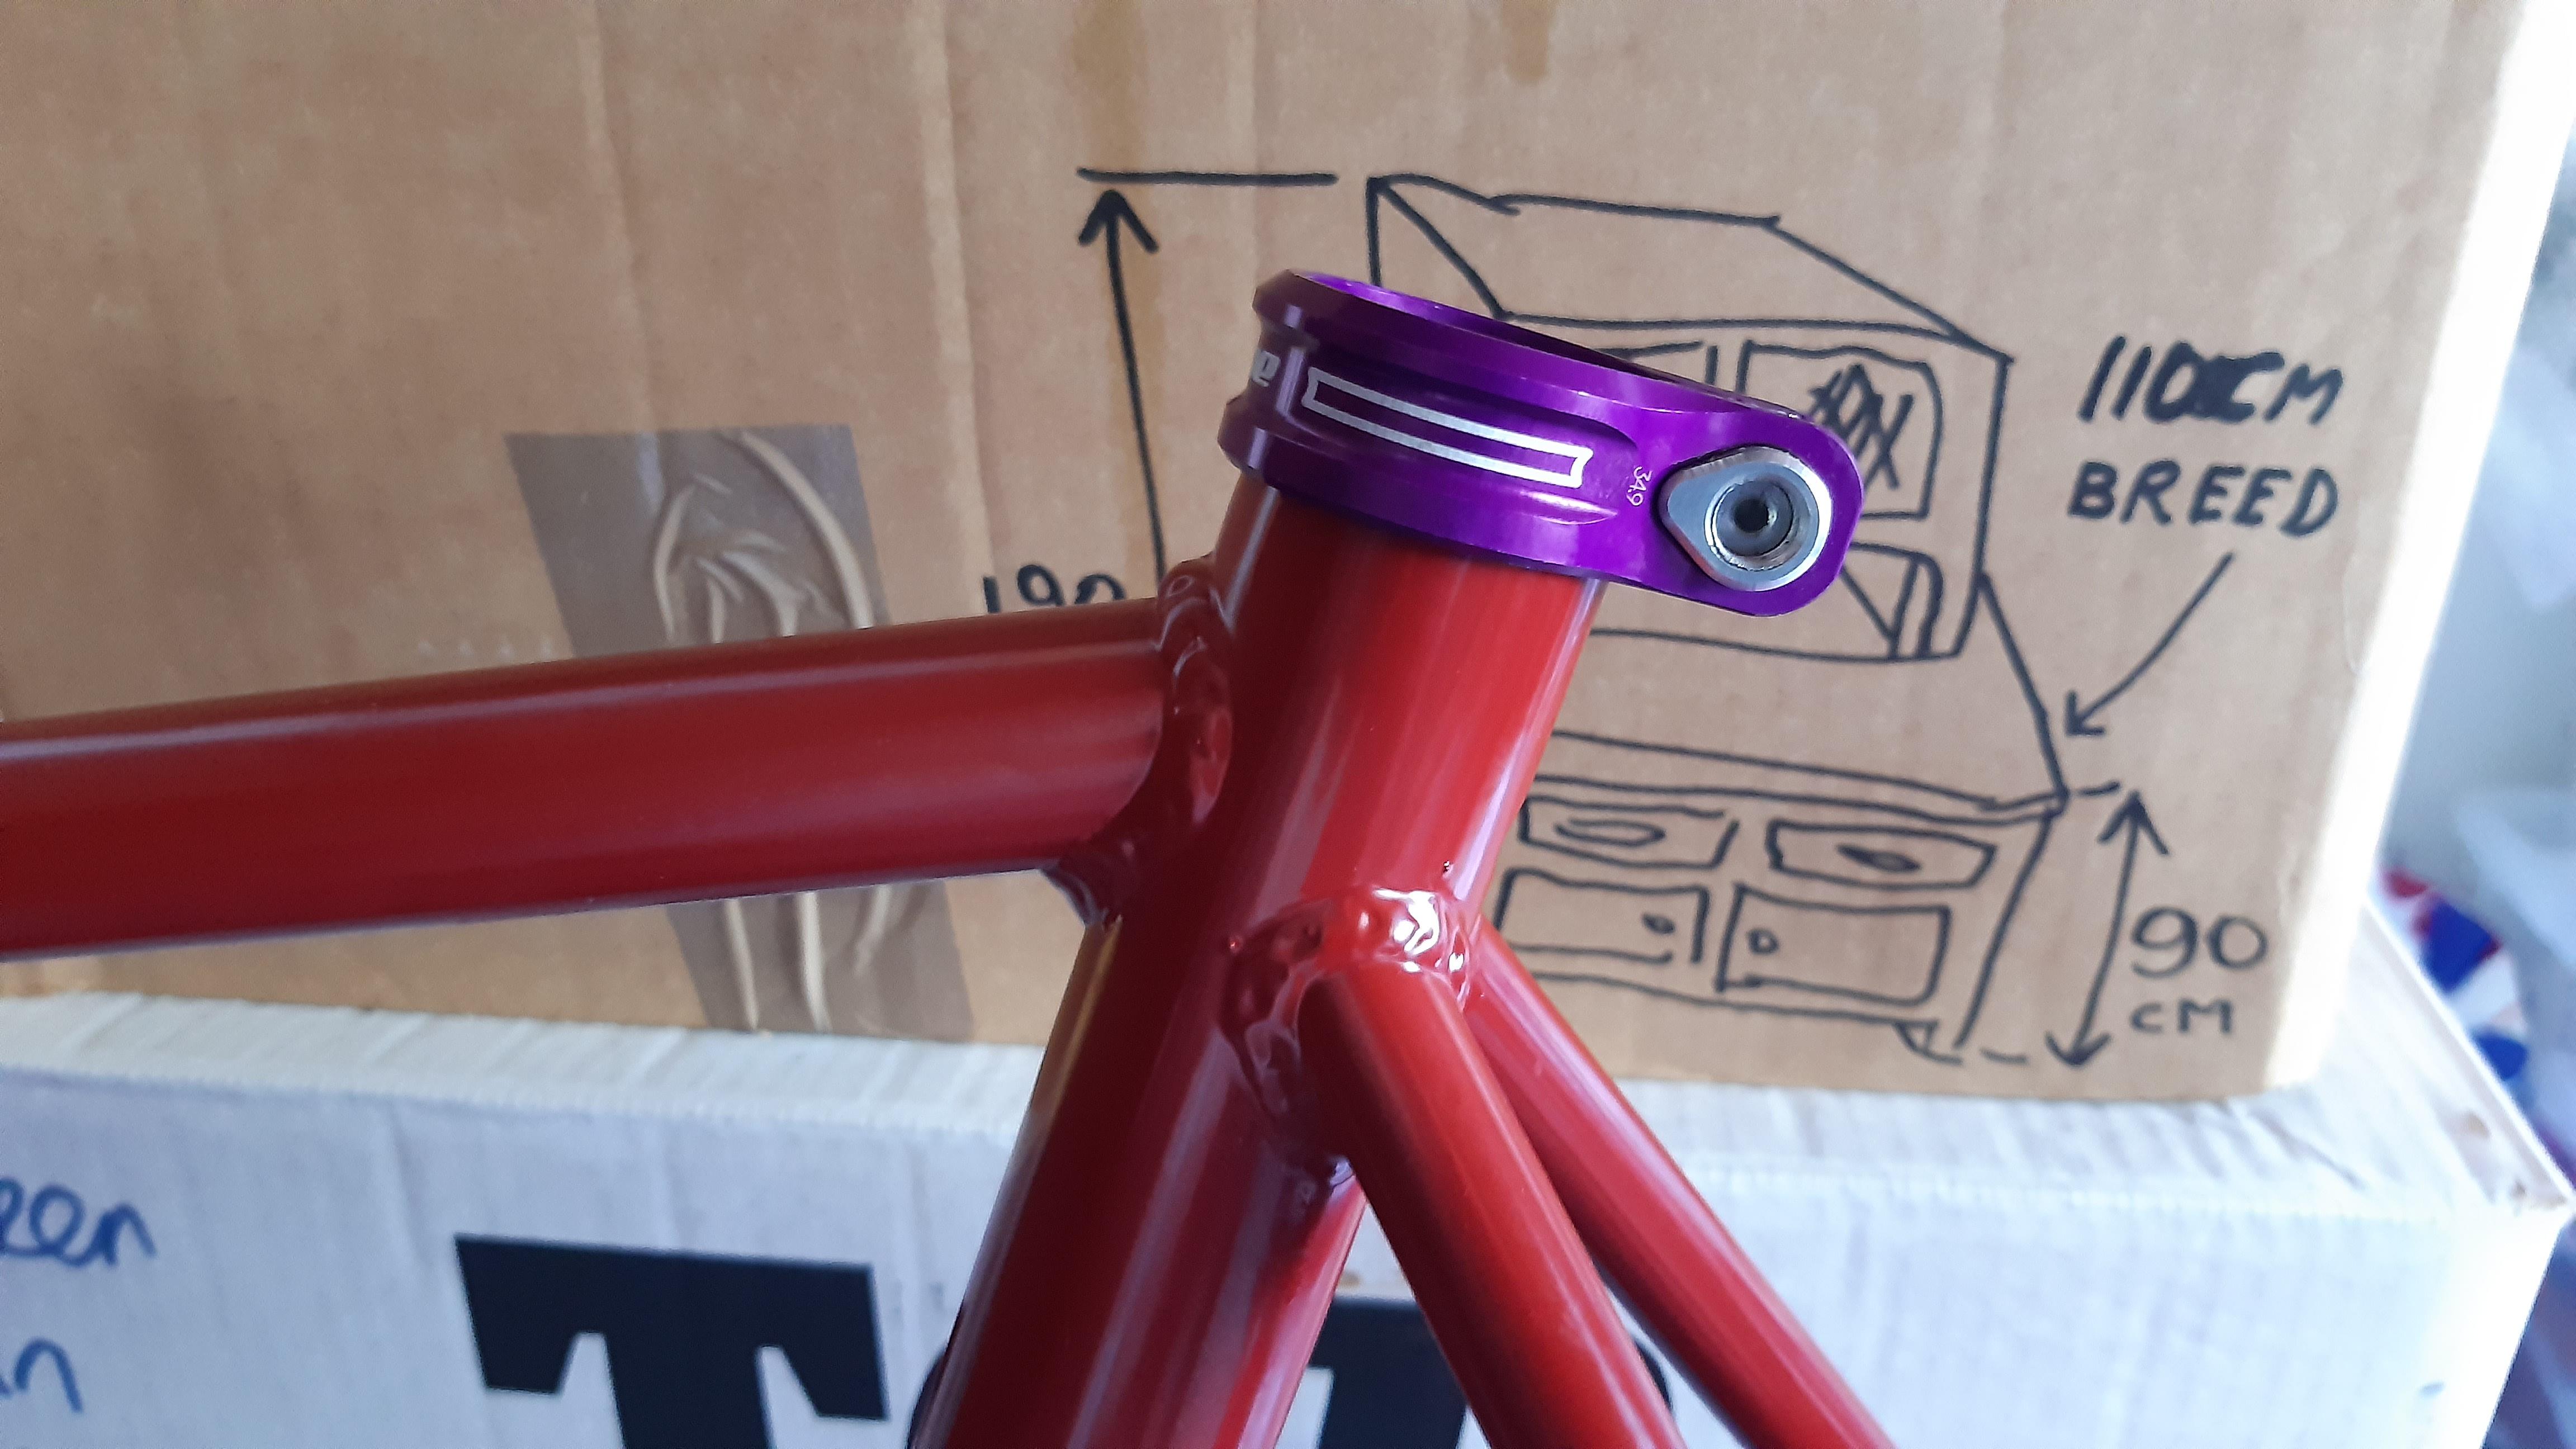
Pope Roger bike build

Rat Rod Bikes Bicycle Forum

Help Support Rat Rod Bikes Bicycle Forum:

This site may earn a commission from merchant affiliate links, including eBay, Amazon, and others.
Love that color
Thanks!
Heres another Penny Farthing with that color:
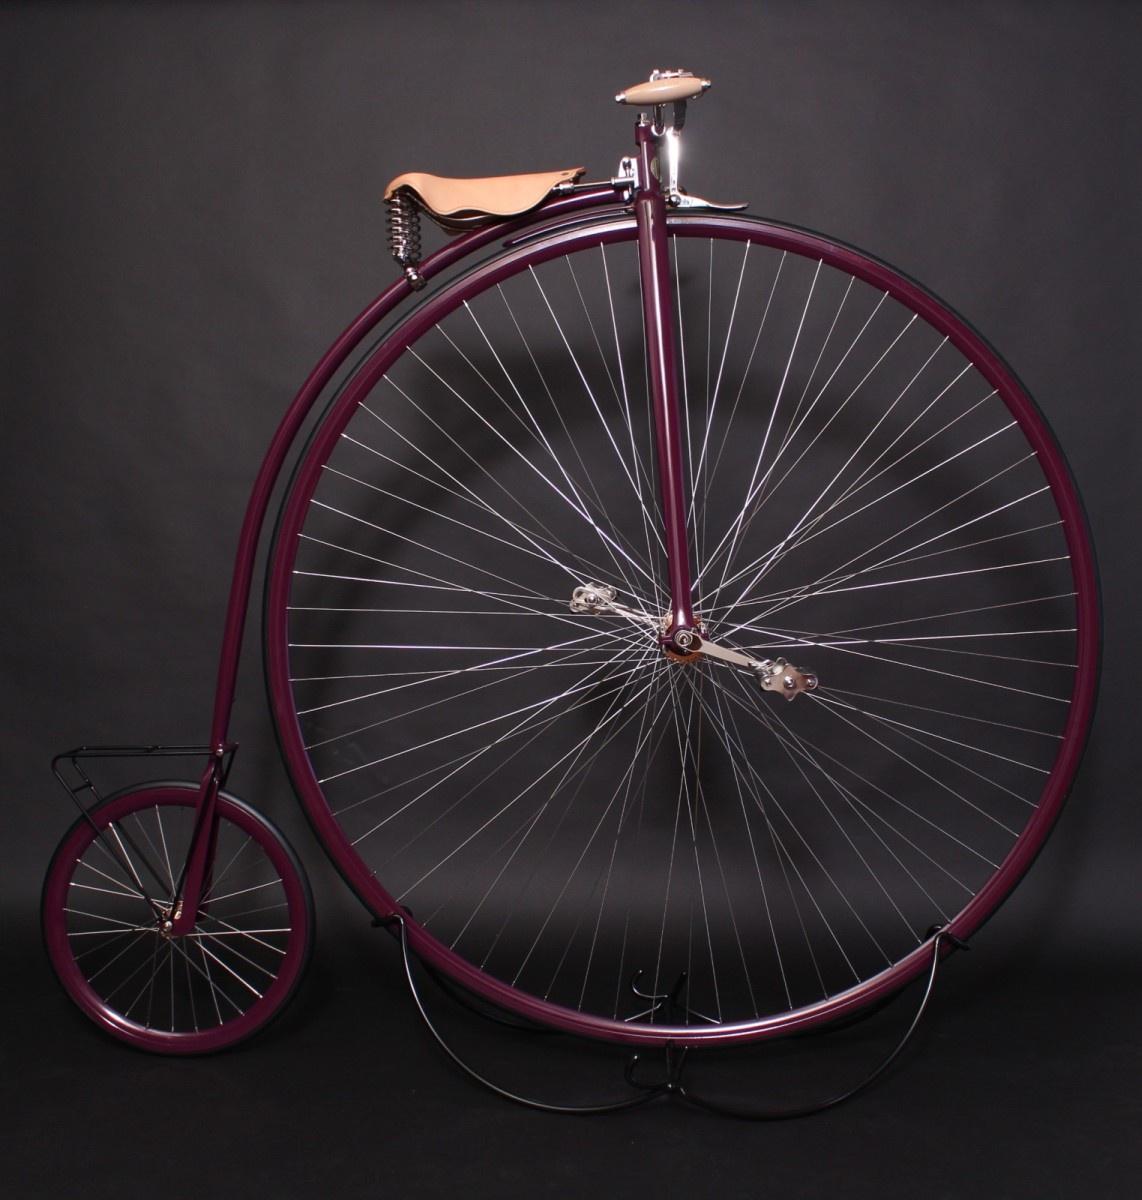
9Vb2GiP.jpg

:inlove:
 
So the entire frame is welded! I'll show you some picture below.
The coaster arm bracket is welded the wrong way around...... but luckily I can still use it without cutting it loose again.
And the "chainstay bracket" stiffening looks a bit rough, that what you get if you decide to stiffen that bit afterwards... but the welds are very solid. I am really happy how it turned out. It is meant to a cool functional apocalypse bike, not a showbike, (just a little bit ;) ).

Last thing to do before a powdercoat:
Round some corners a bit with sandpaper and file. And drill a hole for the bicycle stand. About an hour of work left.

gePdM9m.jpeg

Rear wheel testfit and check.

kidYKbP.jpeg

VYqNxq4.jpeg

The wheel is mounted to the full front of the horizontal dropout. So I think I can leave the bracket as is!

QXkQR3G.jpeg

Bracket to mount the rear rack assembly. I personnly love how it all fits!

Thanks for having a look!
 
Update

This morning I took the frame to the powdercoater! Will be ready this/next week depending on the guys mood :bigsmile:
But: RAL4007 was not available anymore. There were multiple reasons for us both to choose something that was in-house.
Now it will be:
RAL 3011 - BrownRed

pjFzM8I.jpeg

Frame and fork in my car.

nSTX2iO.jpeg

Colour sample on the spot.

Some confessions:
As a rookie frame builder I made the mistake of not pressing/holding the bottom bracket while being welded...

This resulted in a slight oval bottom bracket (0,6mm / ¹/₃₂ inch).

I solved this partially by making a presstool that pressed it (from the inside out) passed the "material elastic limit".
This was quite hard, because CrMo steel is quite tough/springy.

I tried the bearing cups and measured the bearing races. It is OK now.

You learn a lot by building this stuff.

Can't wait for first assembly next week.

Question:
What kind of assembly grease do you guys use?
Do you use different kinds of grease for bearings/assembly etcetera?

I bought and am currently I am very content with:
  • Assembly of static parts/between contact surfaces: Klüber Nosol GBY 2.
  • Bearings: Klüber isoflex topas nca 52.
  • Keeping stuff clean and protected afterwards: Fluid Film ASR 1 spray. (based on wool grease, so not chemical or corrosive).

Thanks!
 
Light Update

The bike has a name now. And a headbadge (sticker).
Why a sticker? Well.... the bike will be quite heavy now and I'm trying to balance it a bit :crazy2: 
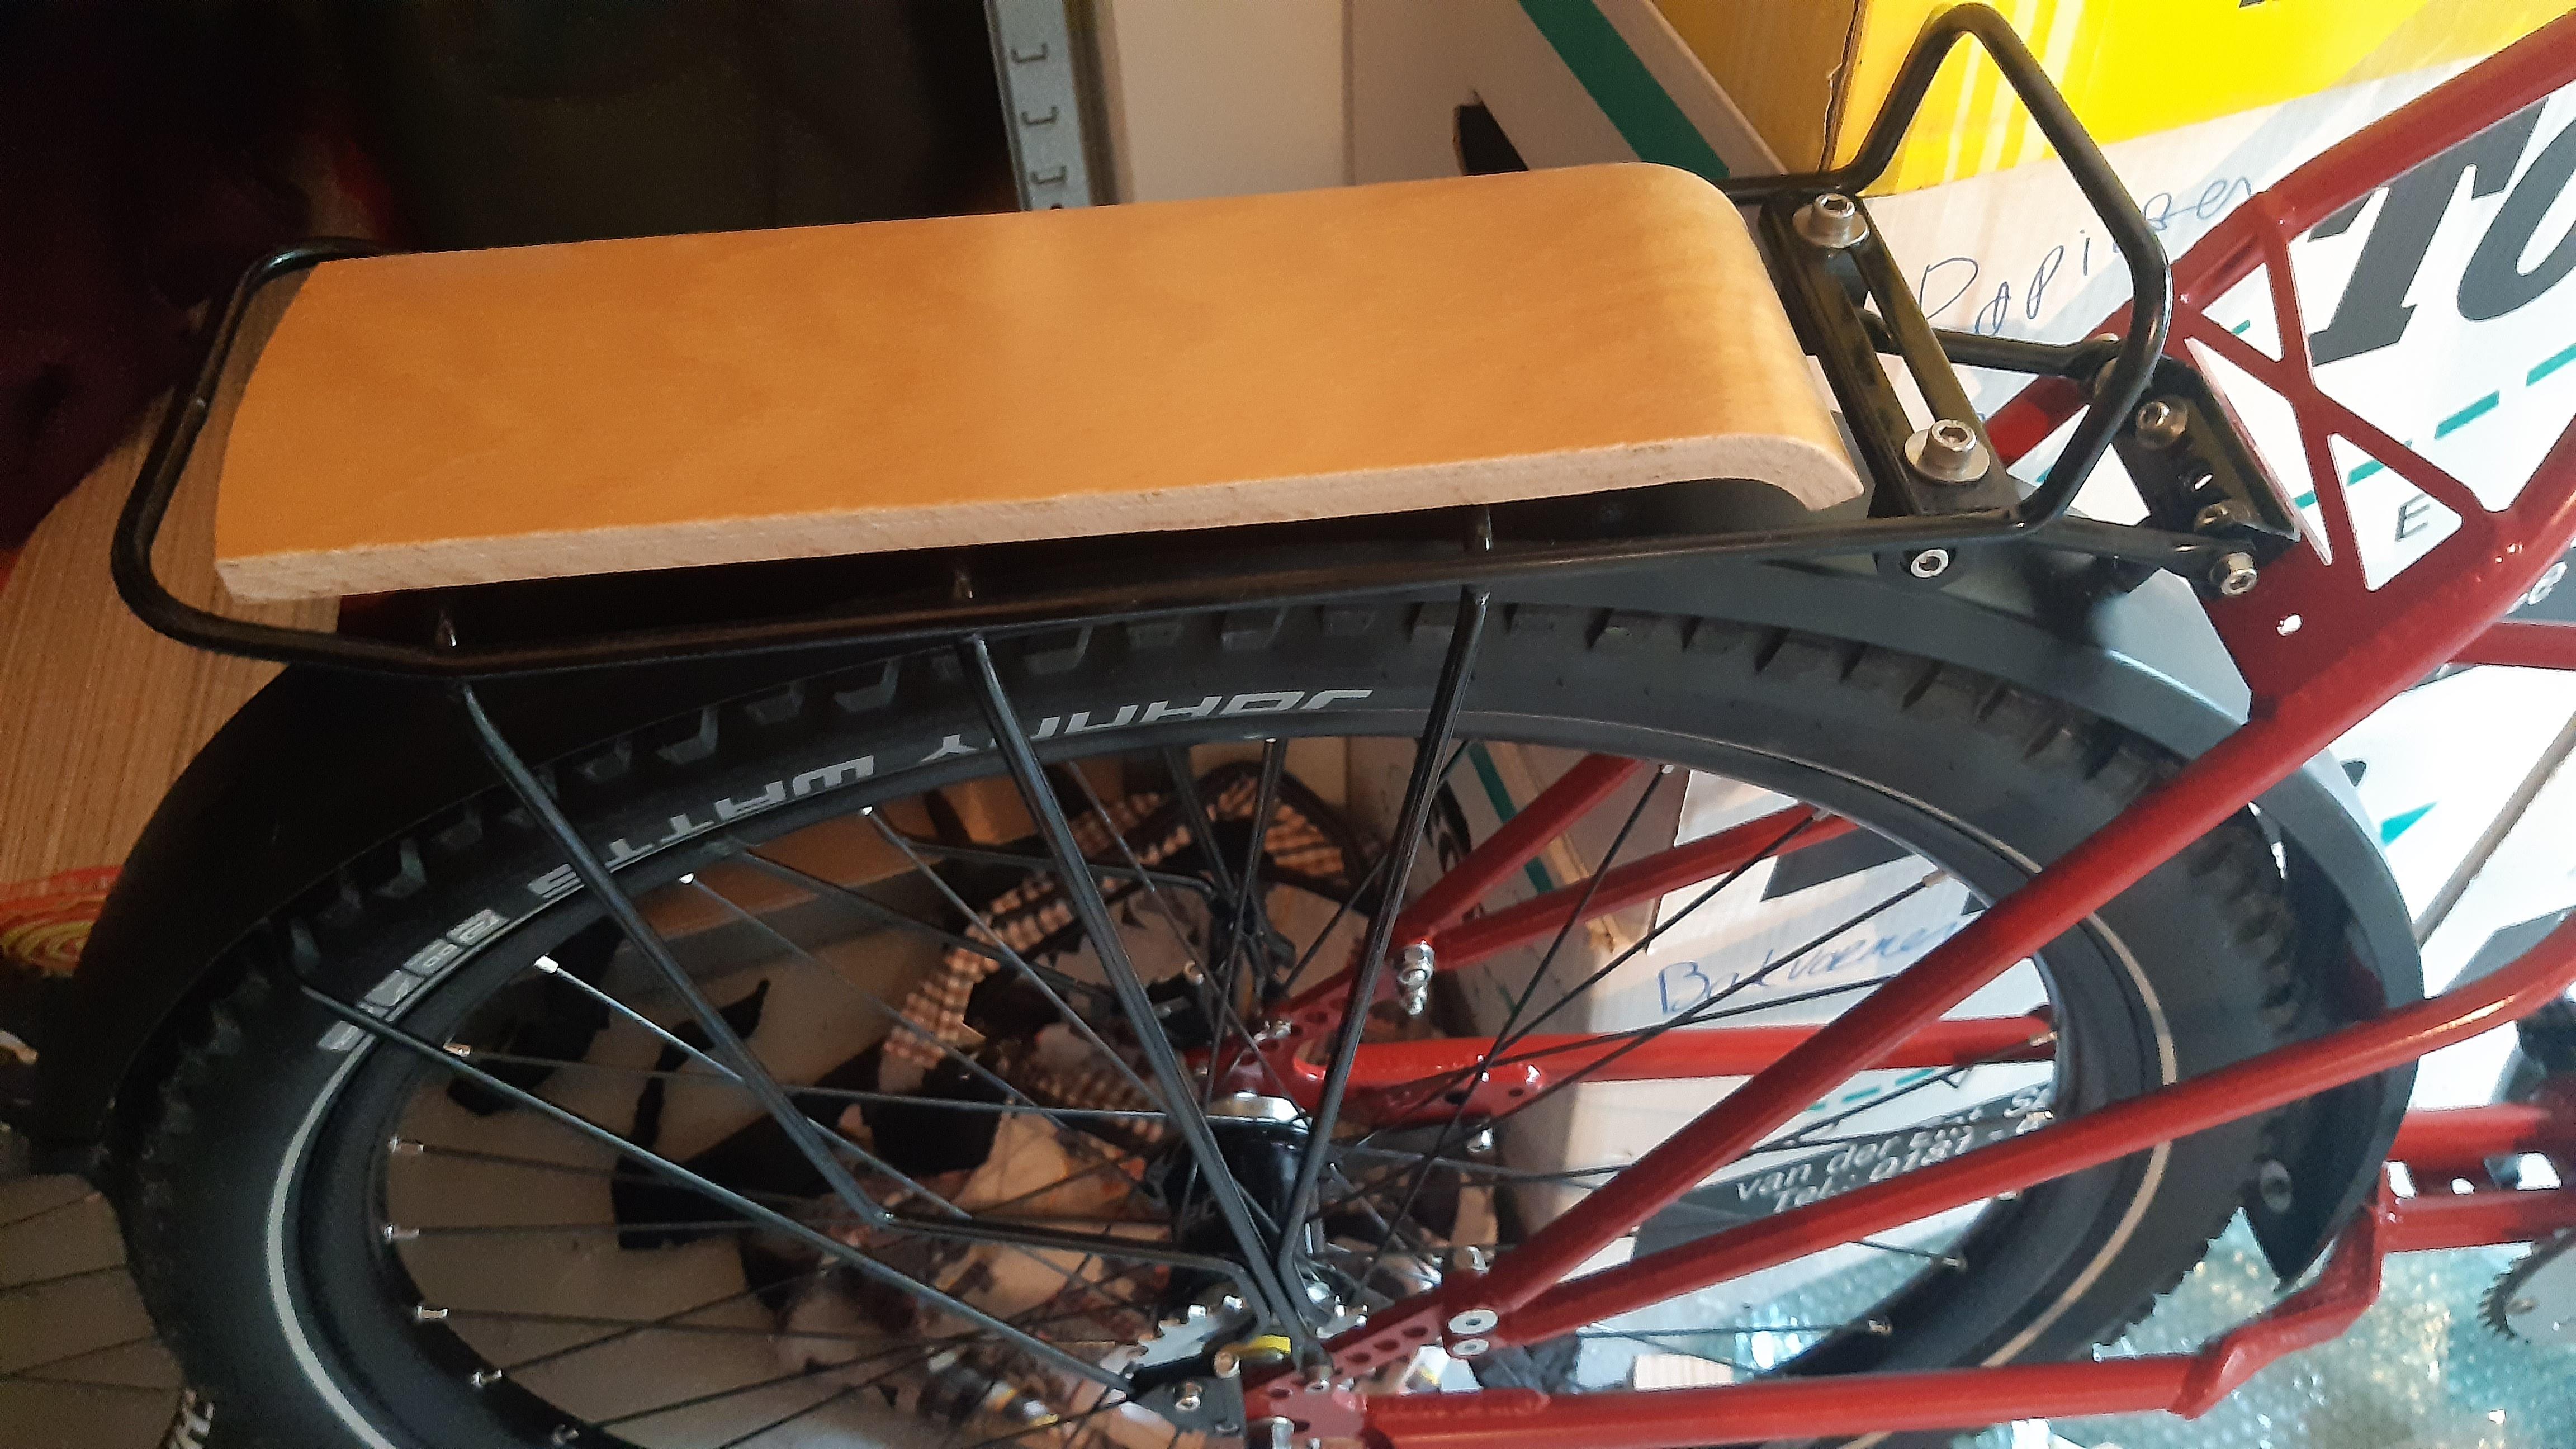
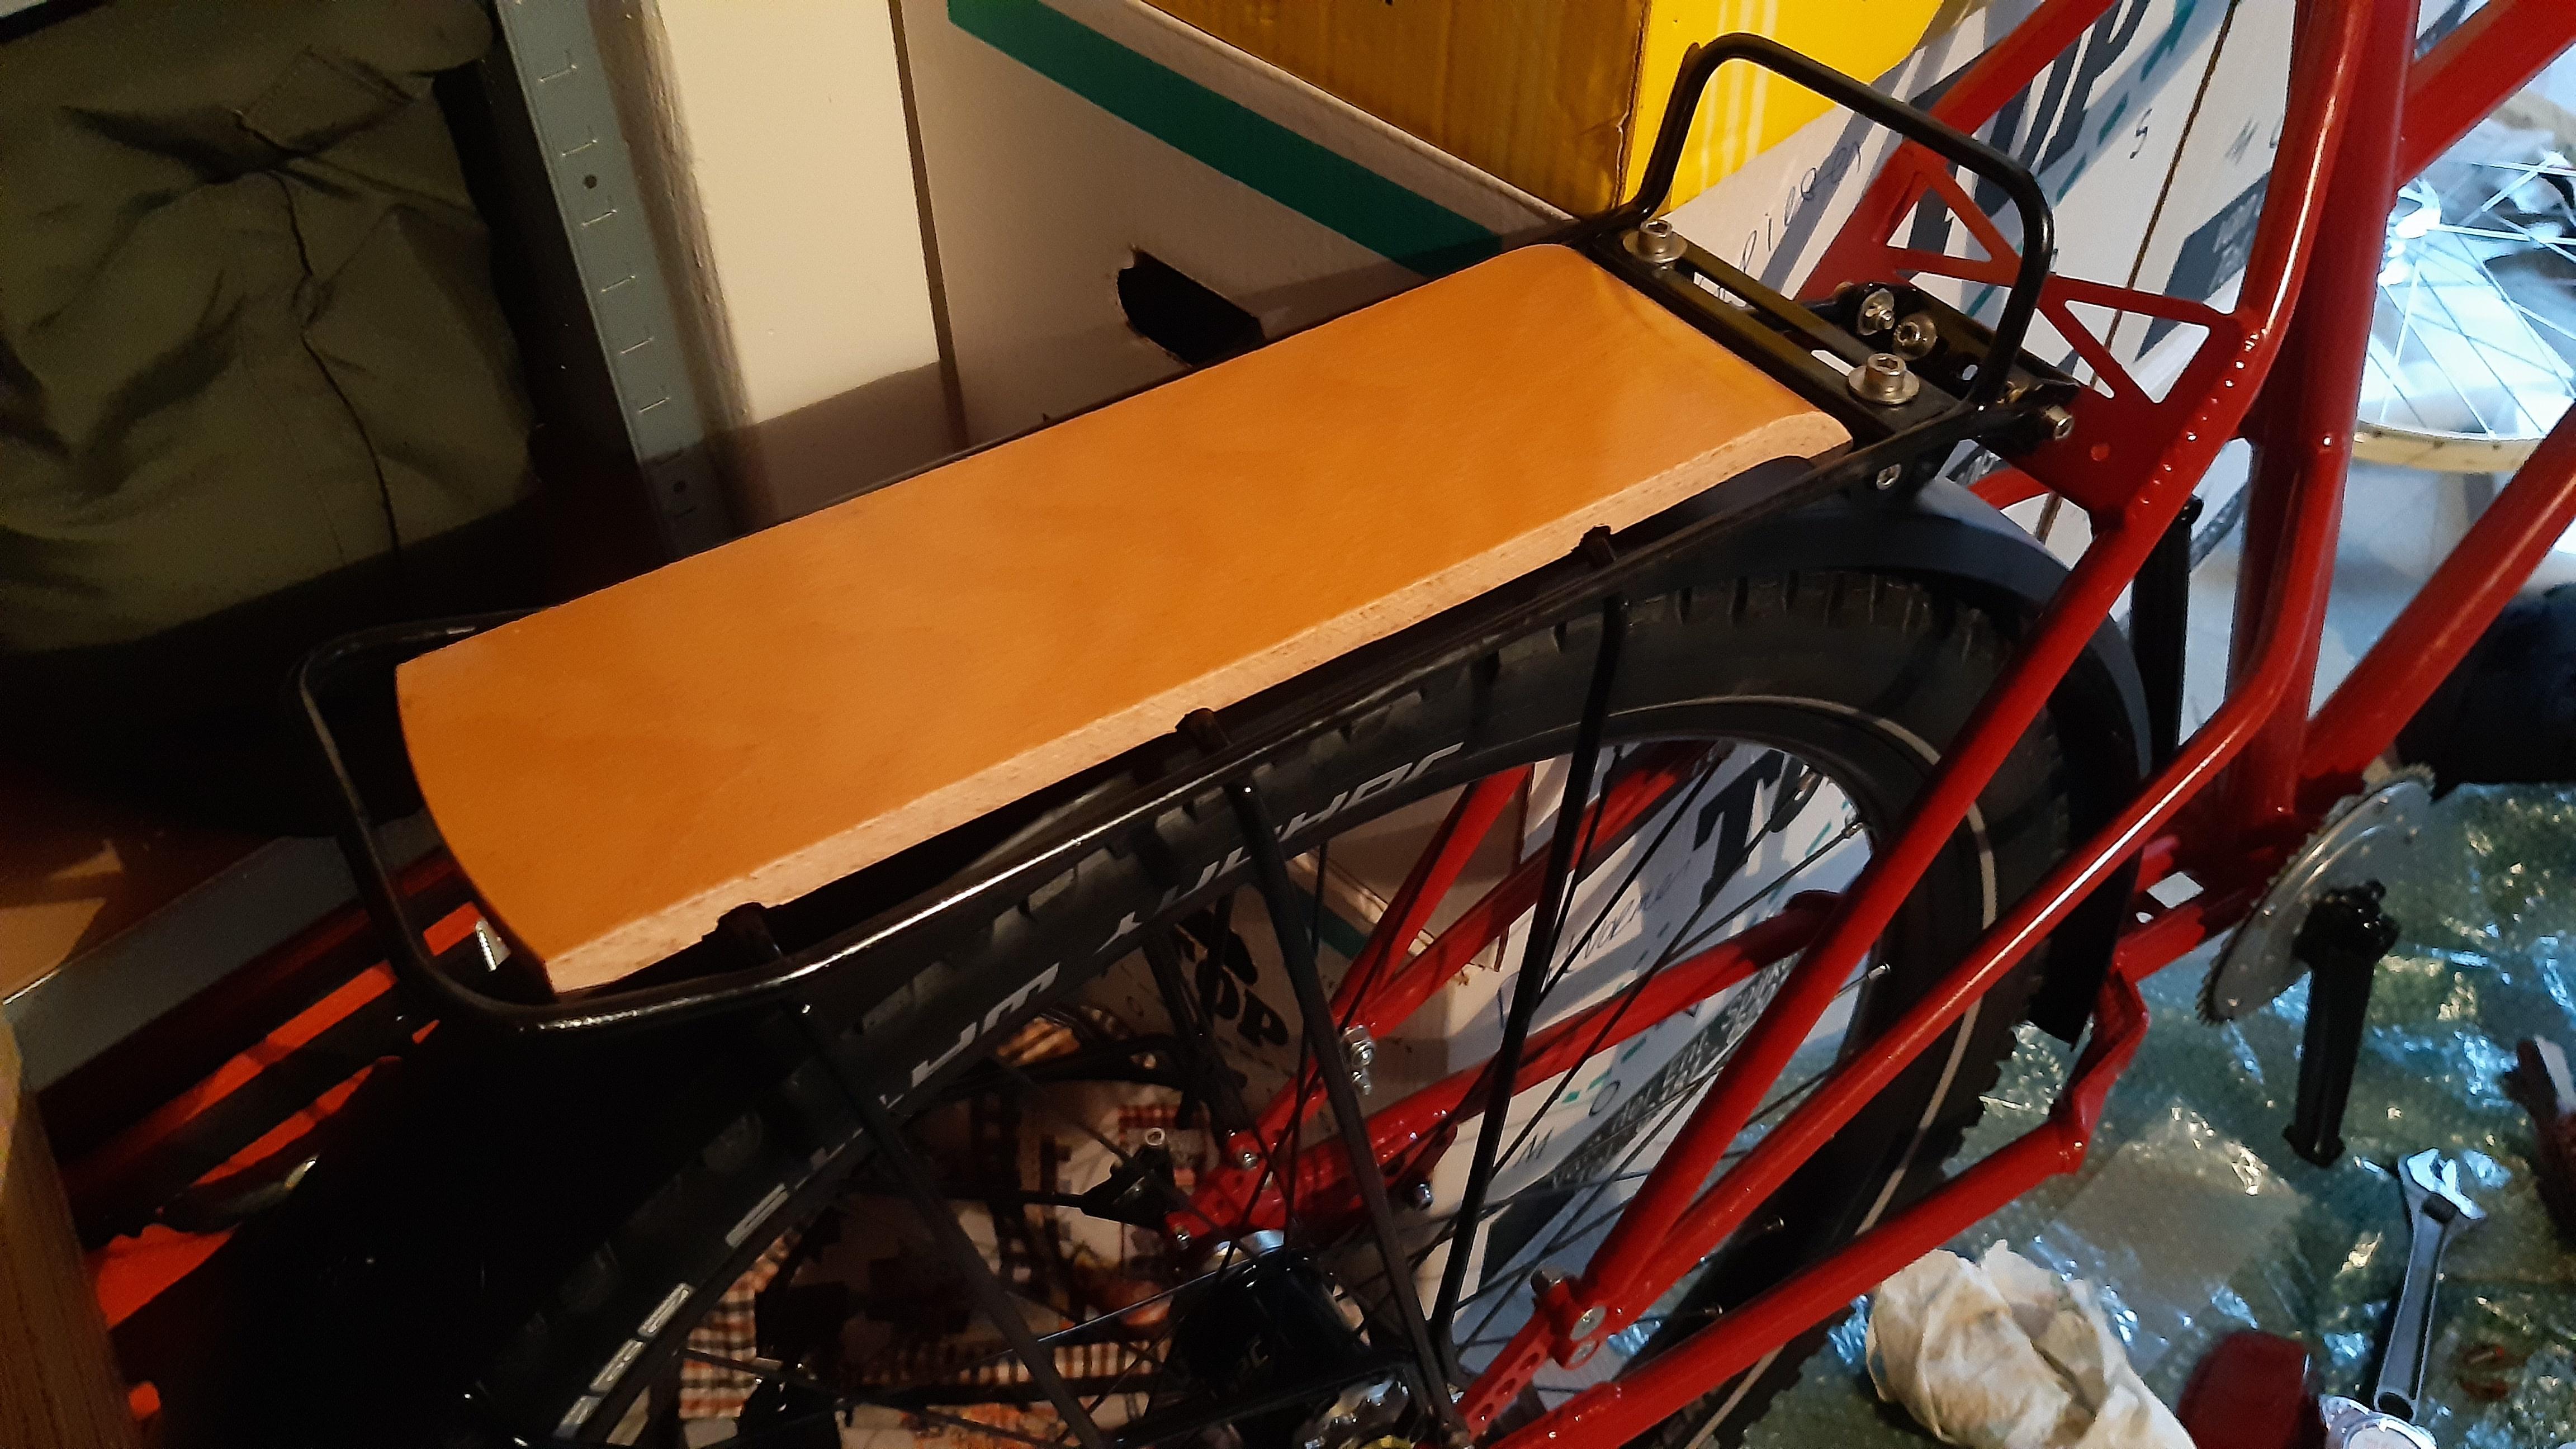
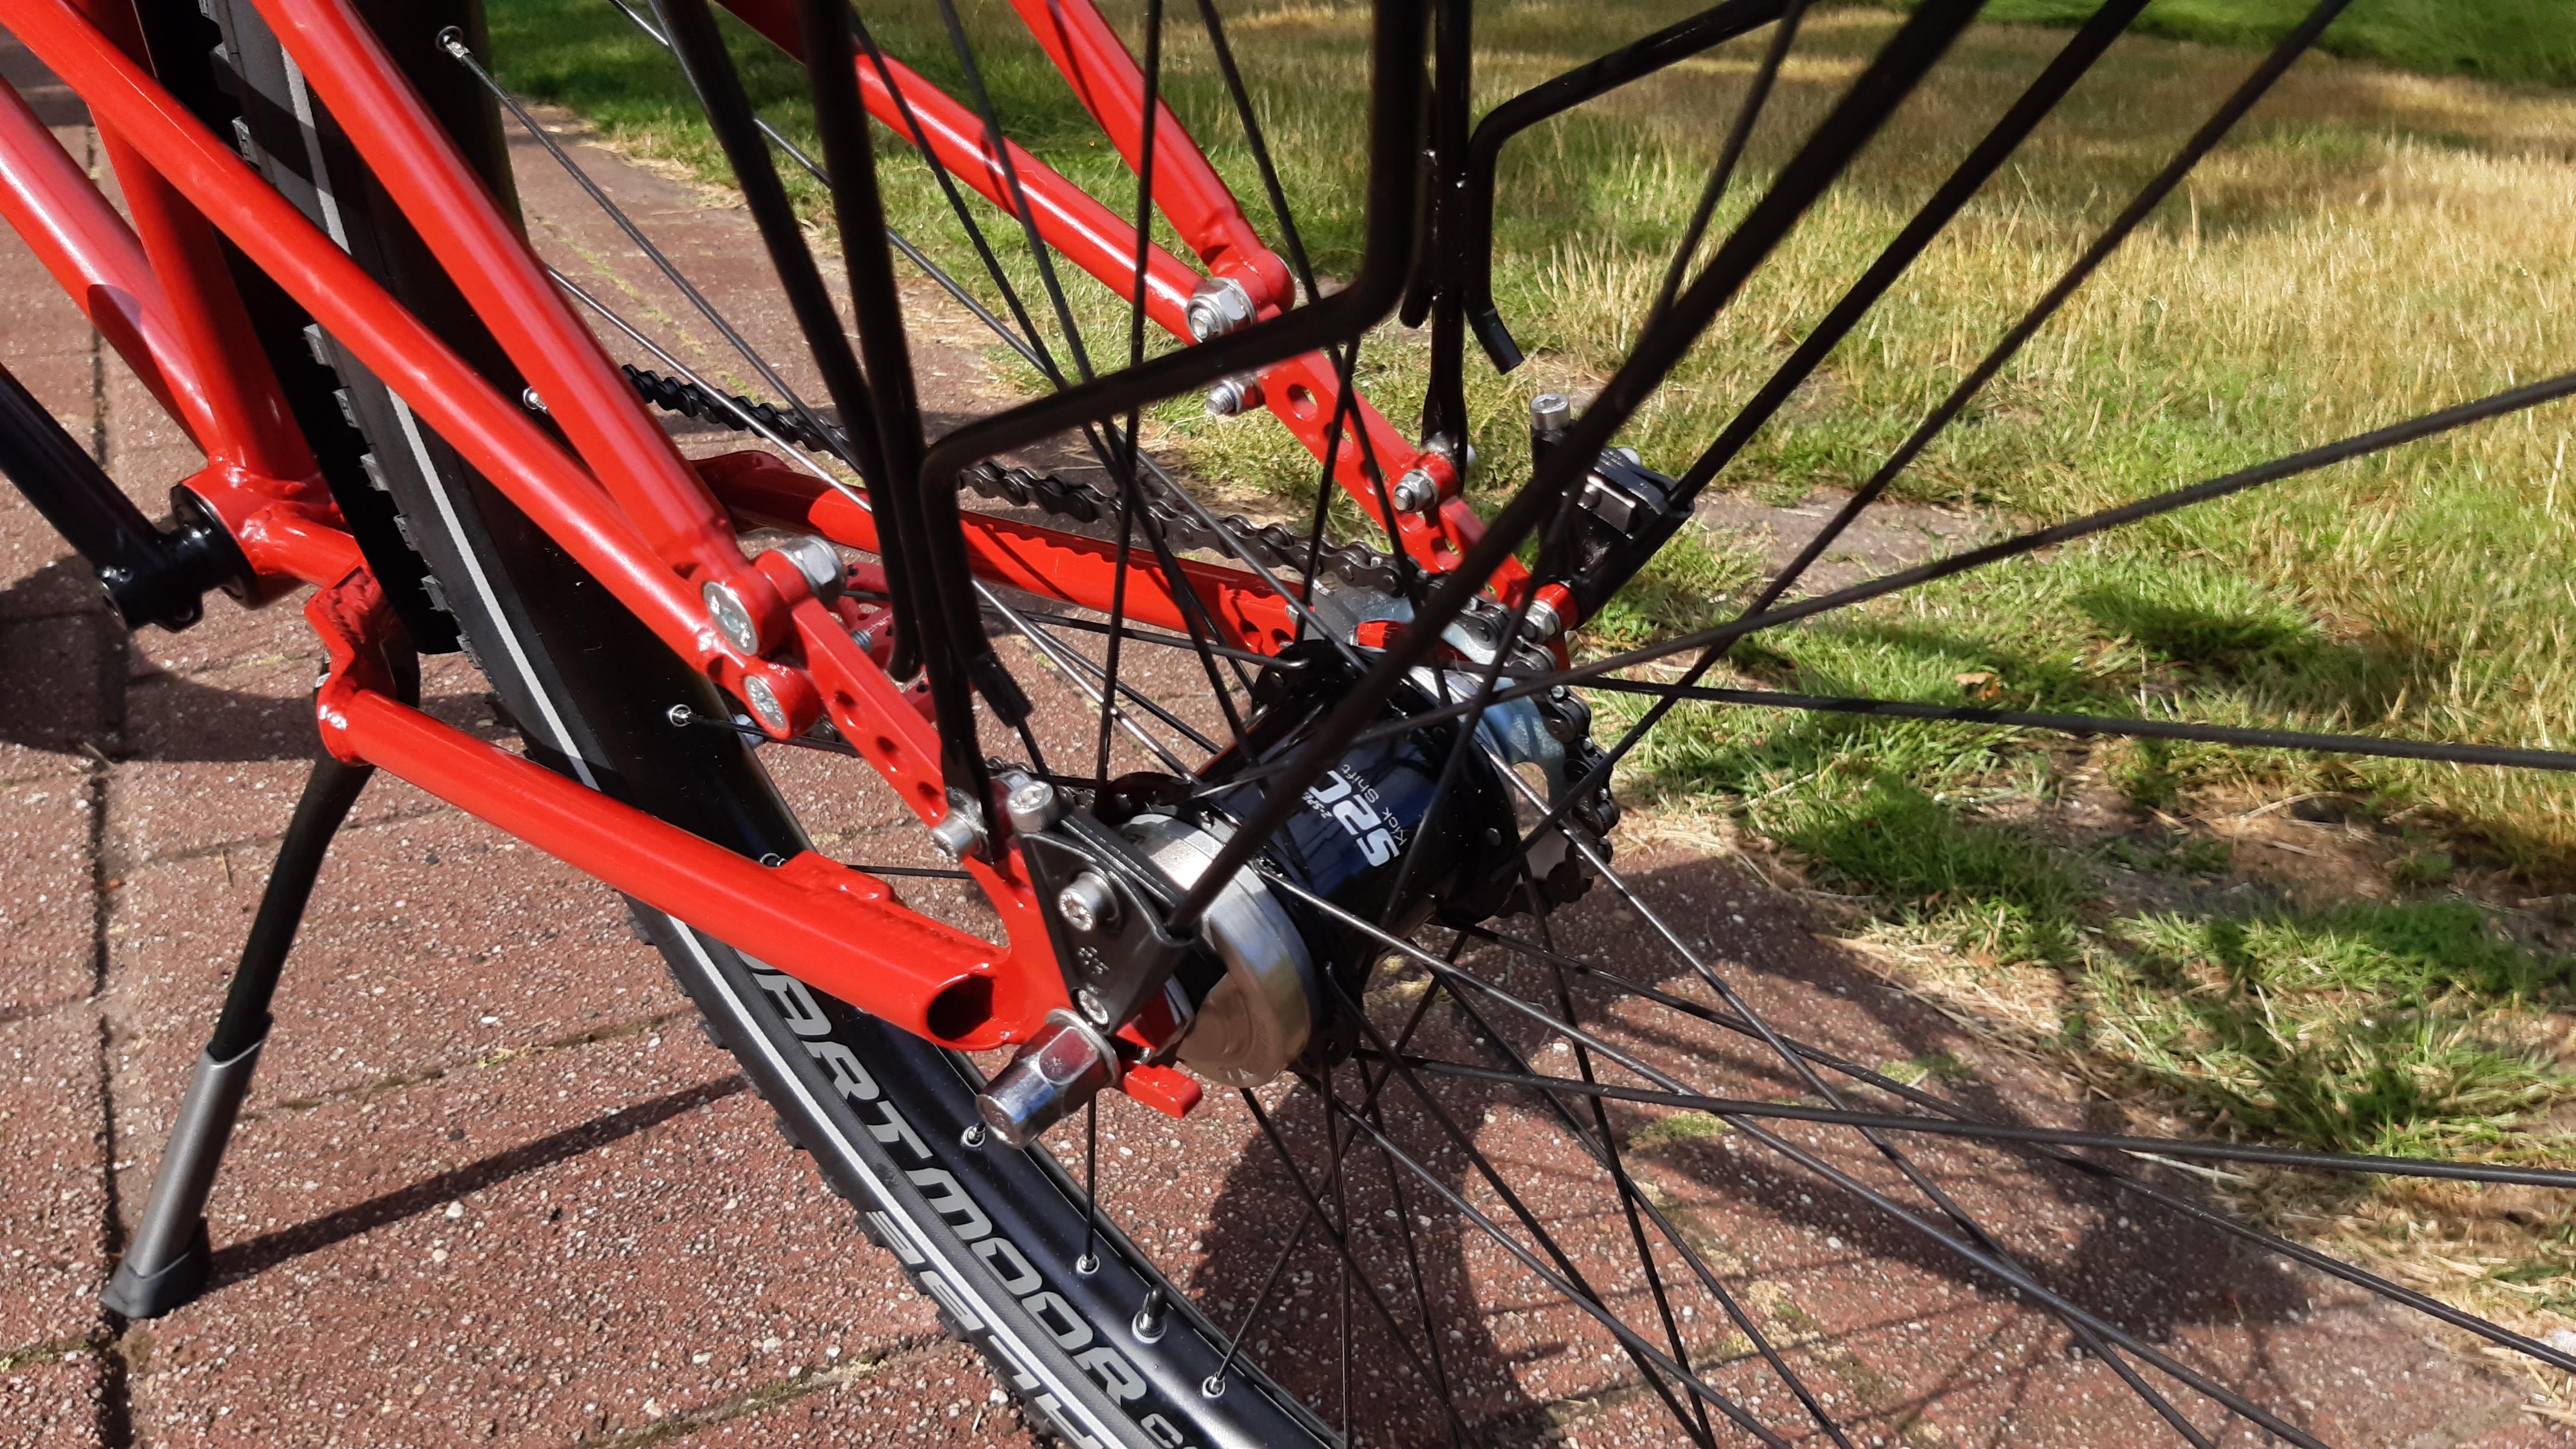
give my beautiful legs a bit more rest....

First I wanted to fabricate and etch a brass plate, but time limitations and practicality made me design a sticker:

tkrU2Nq.jpeg

The skull is not my design, I really liked it and could not do it better. The rest I designed in "paint" :crazy: 
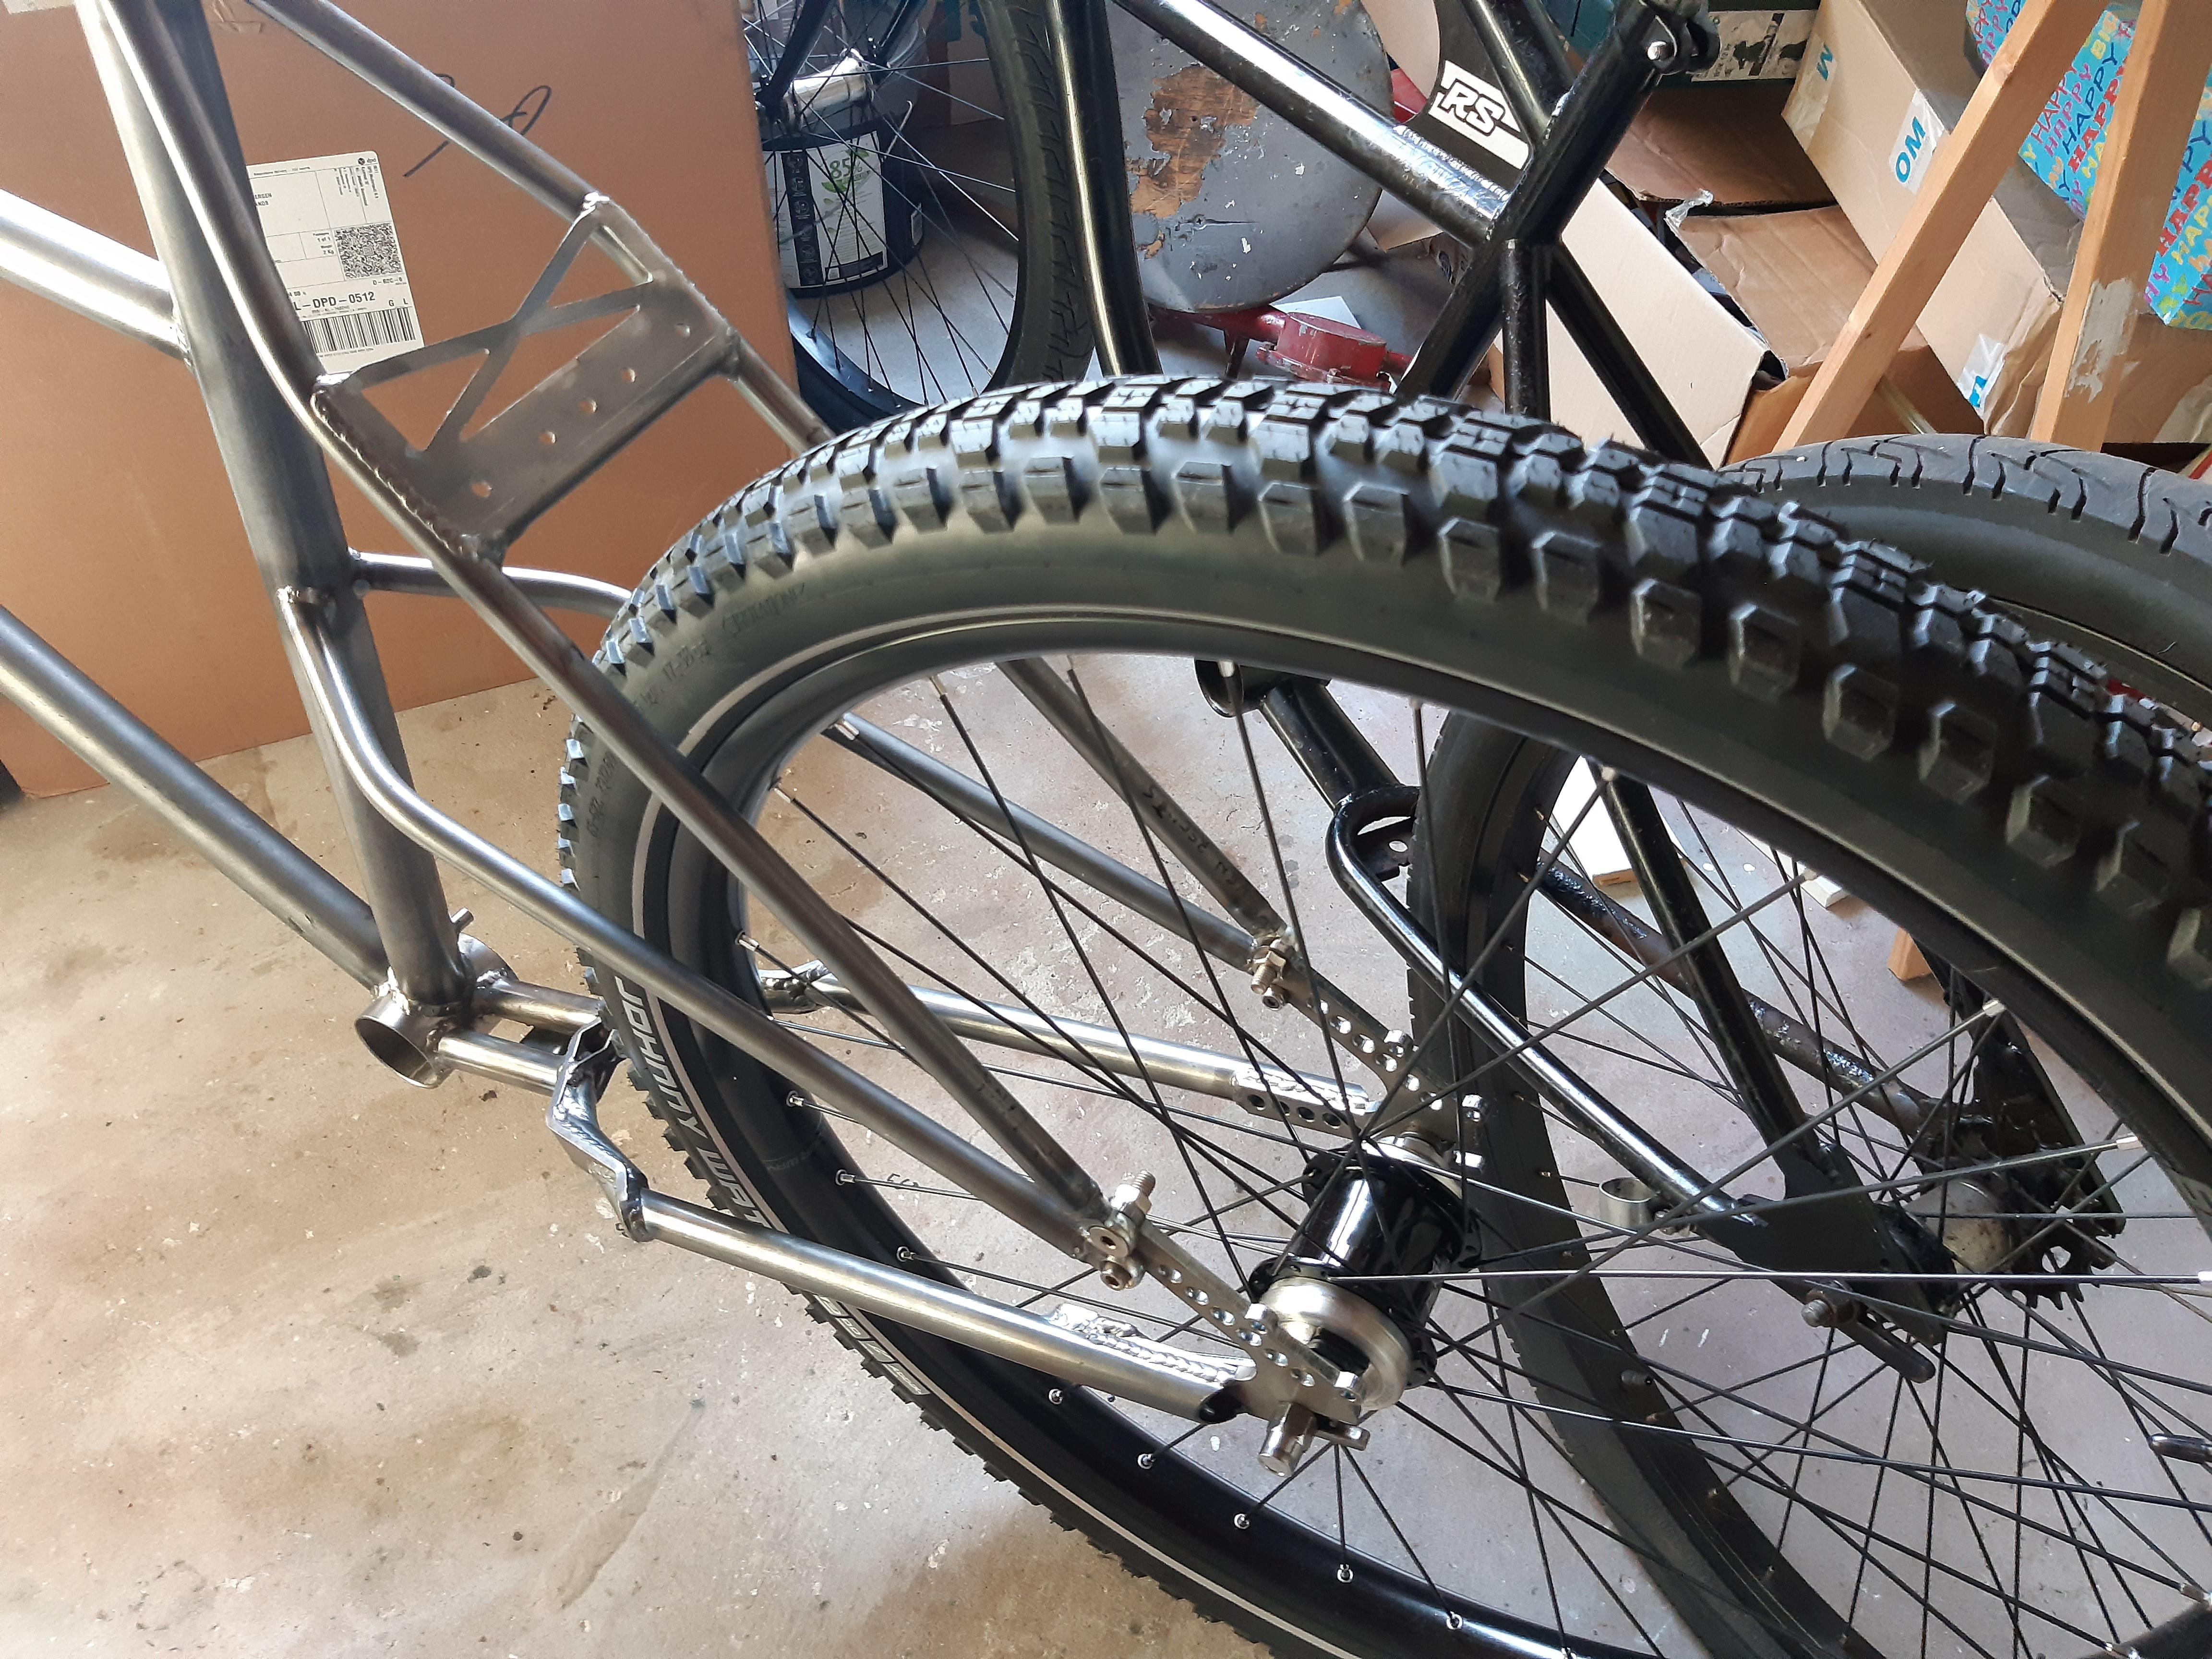
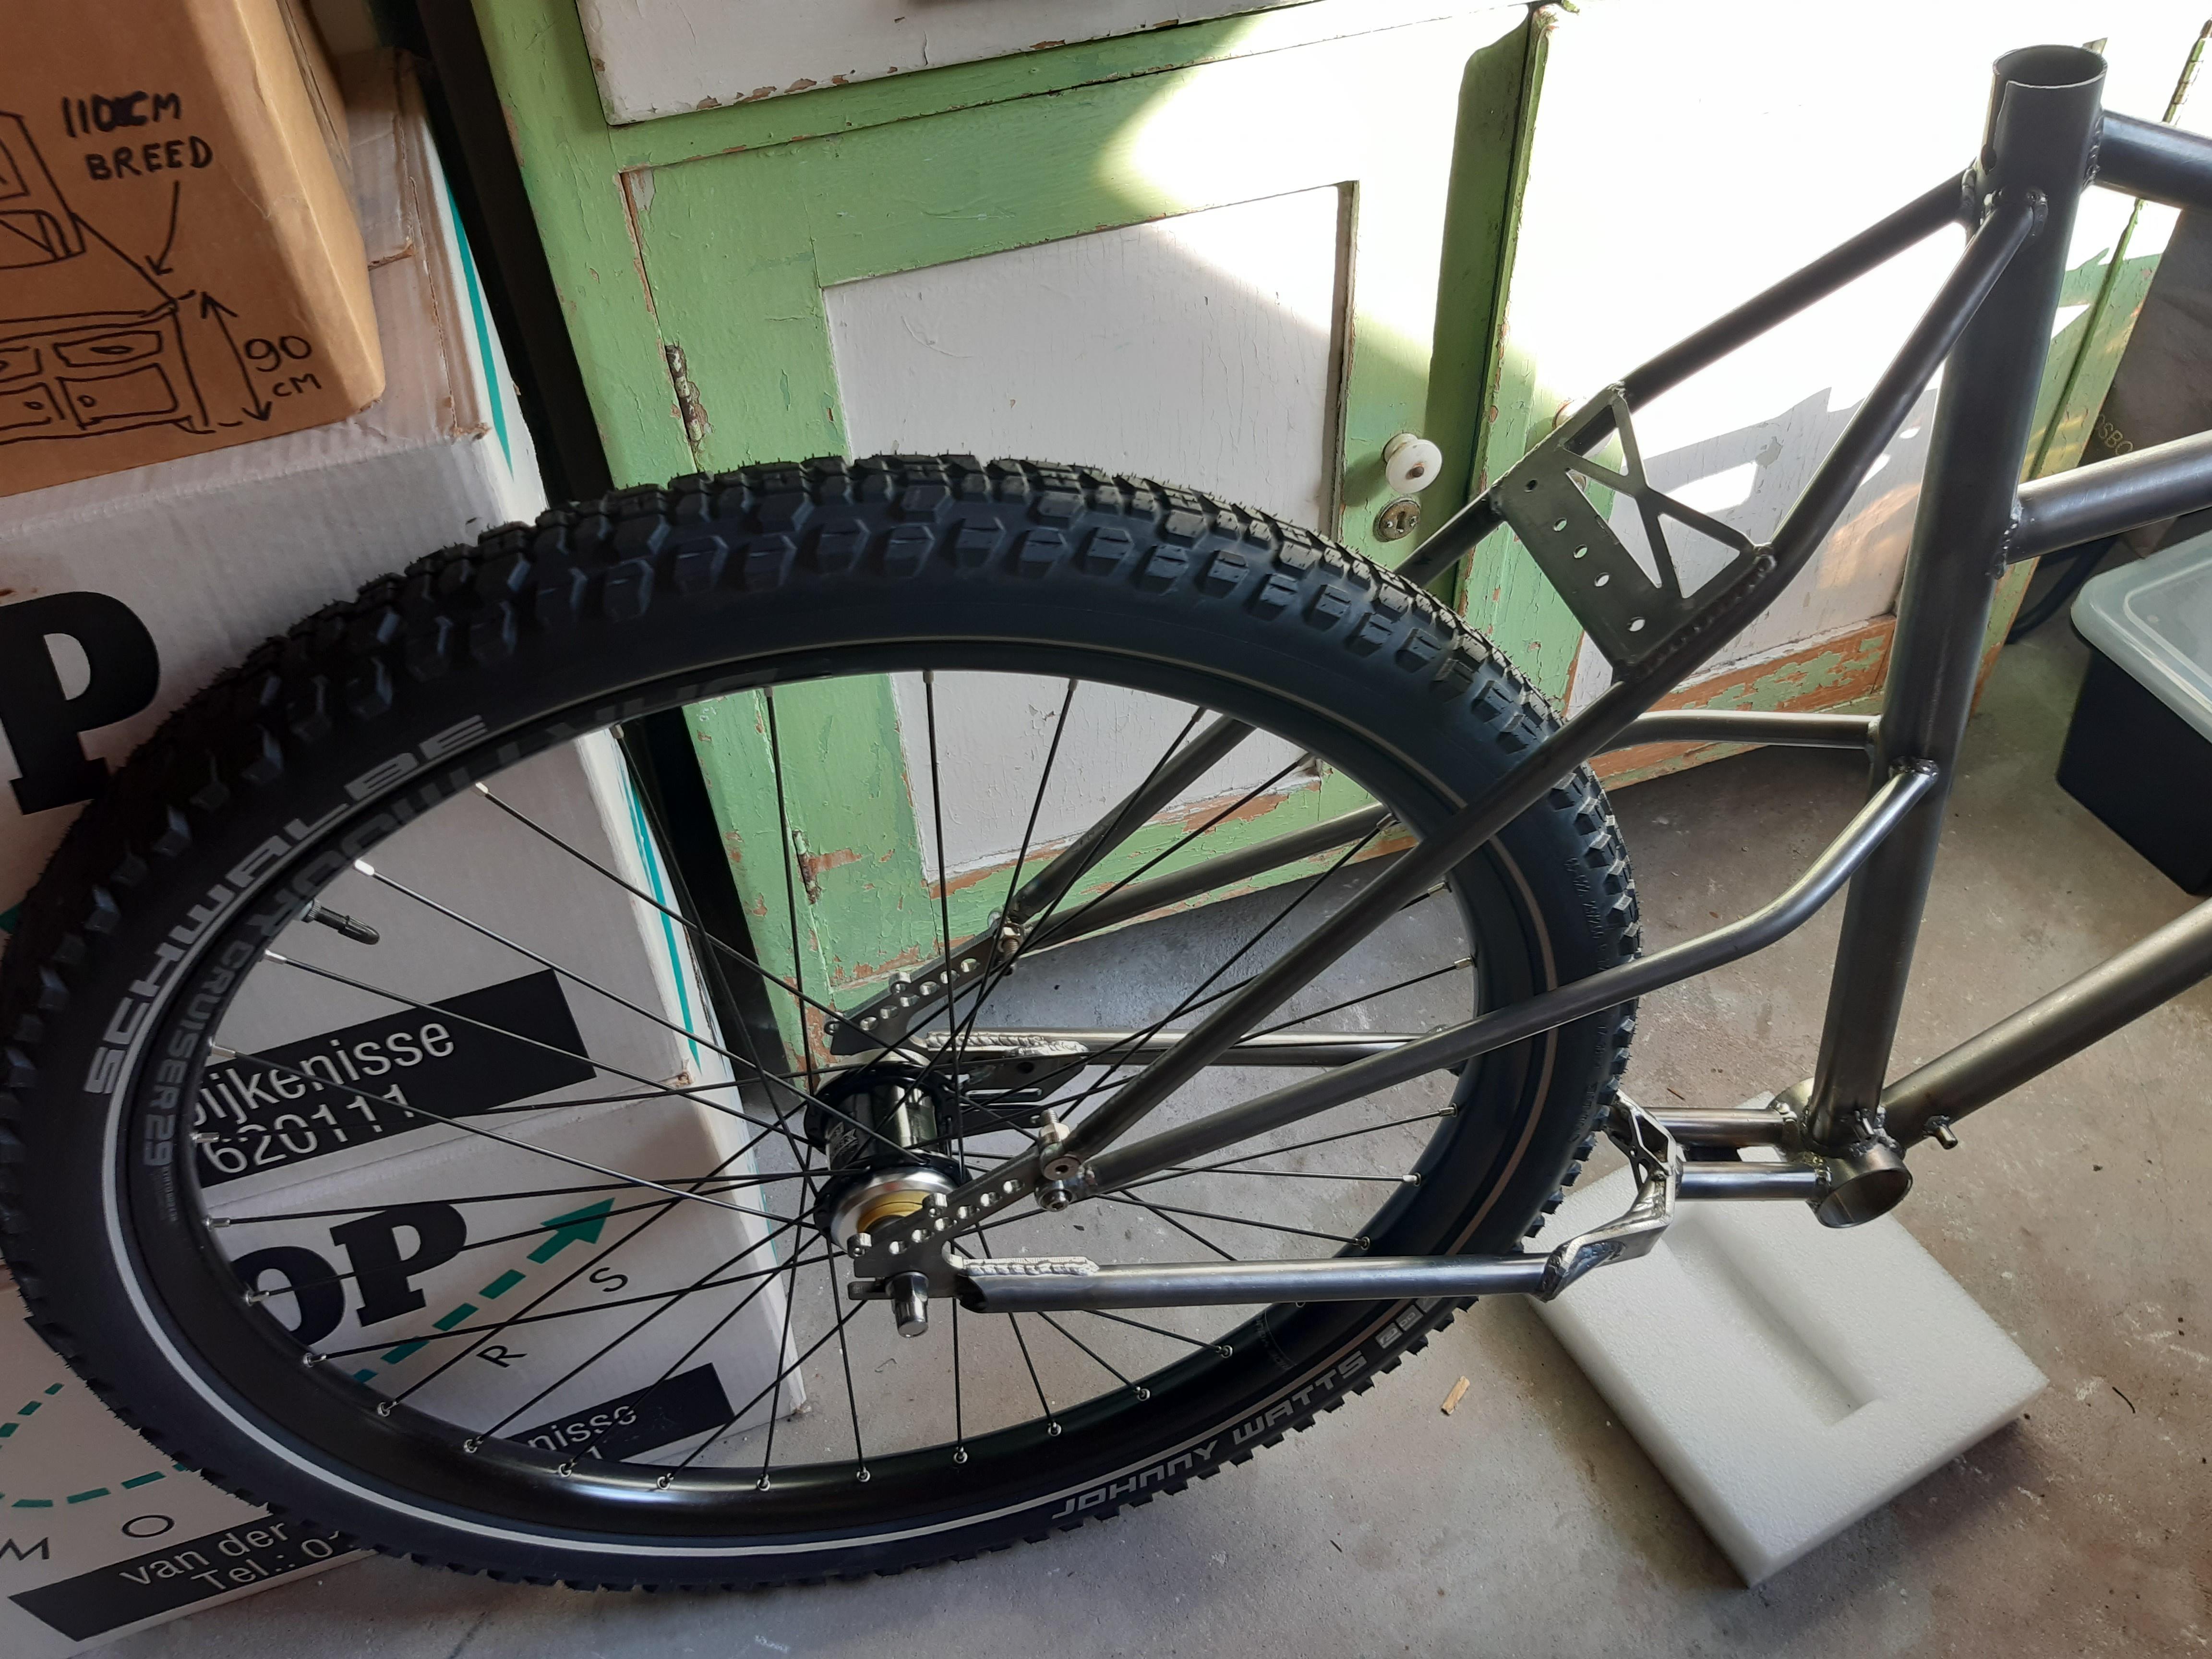
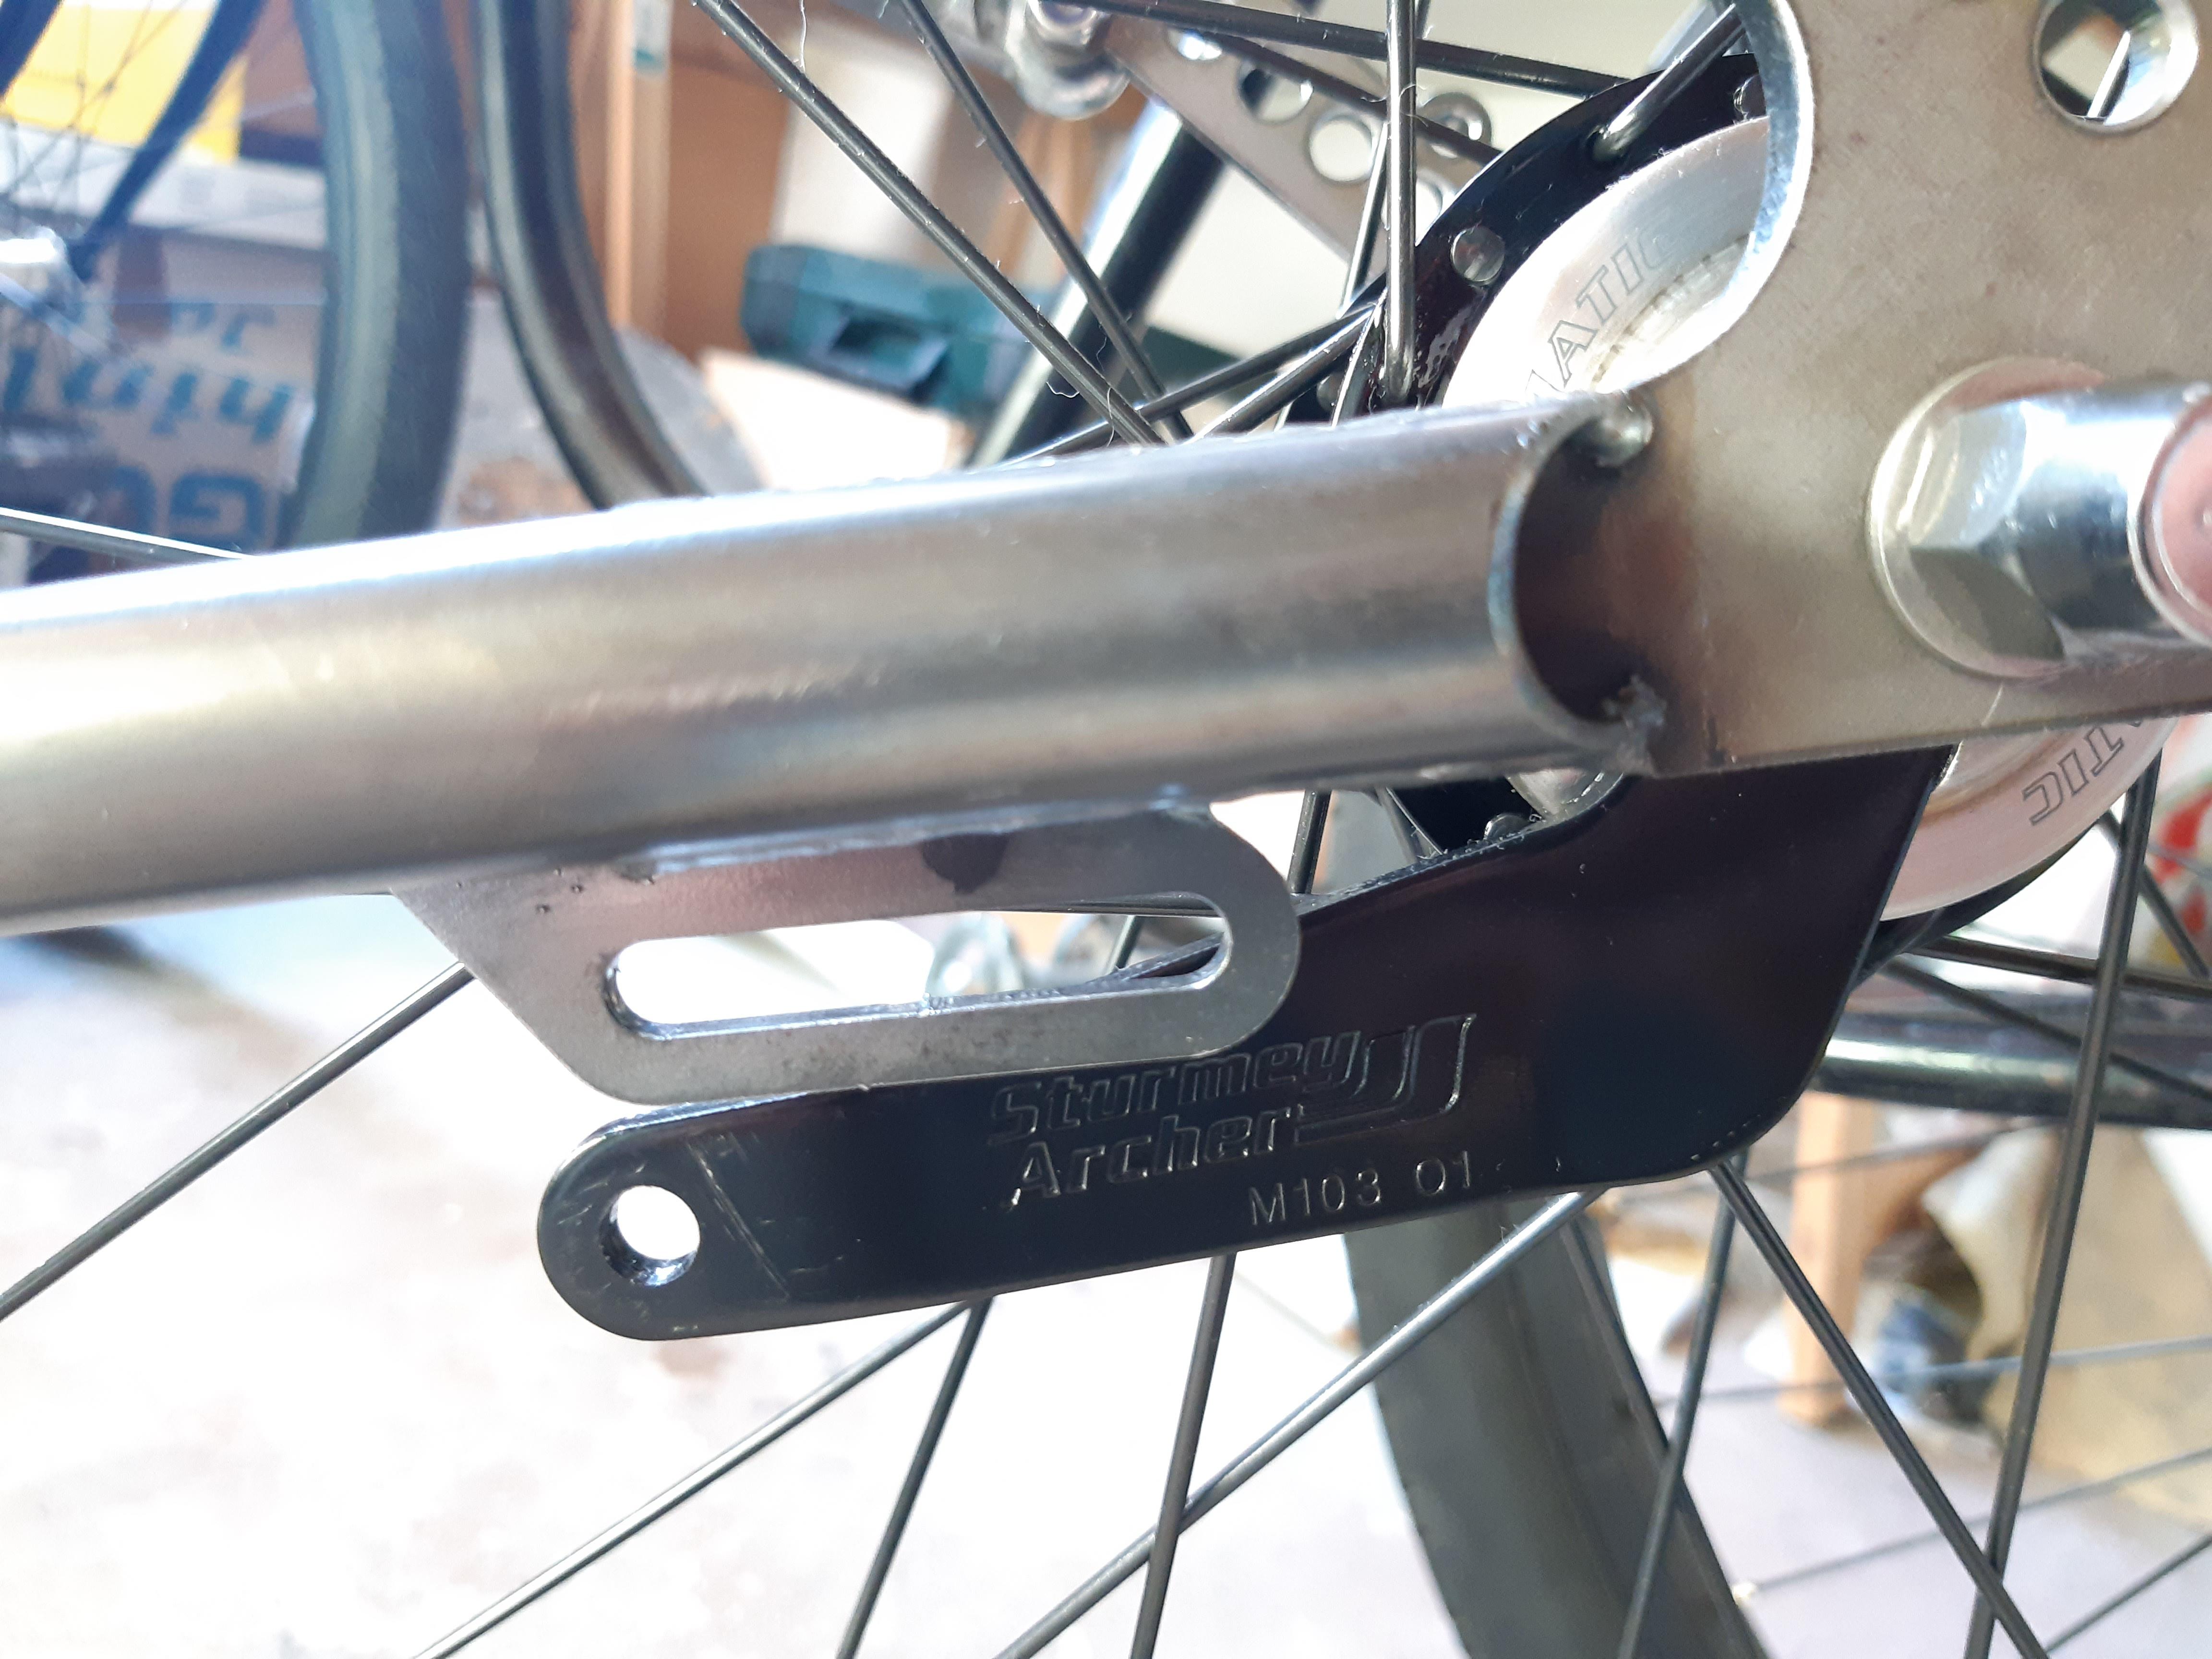
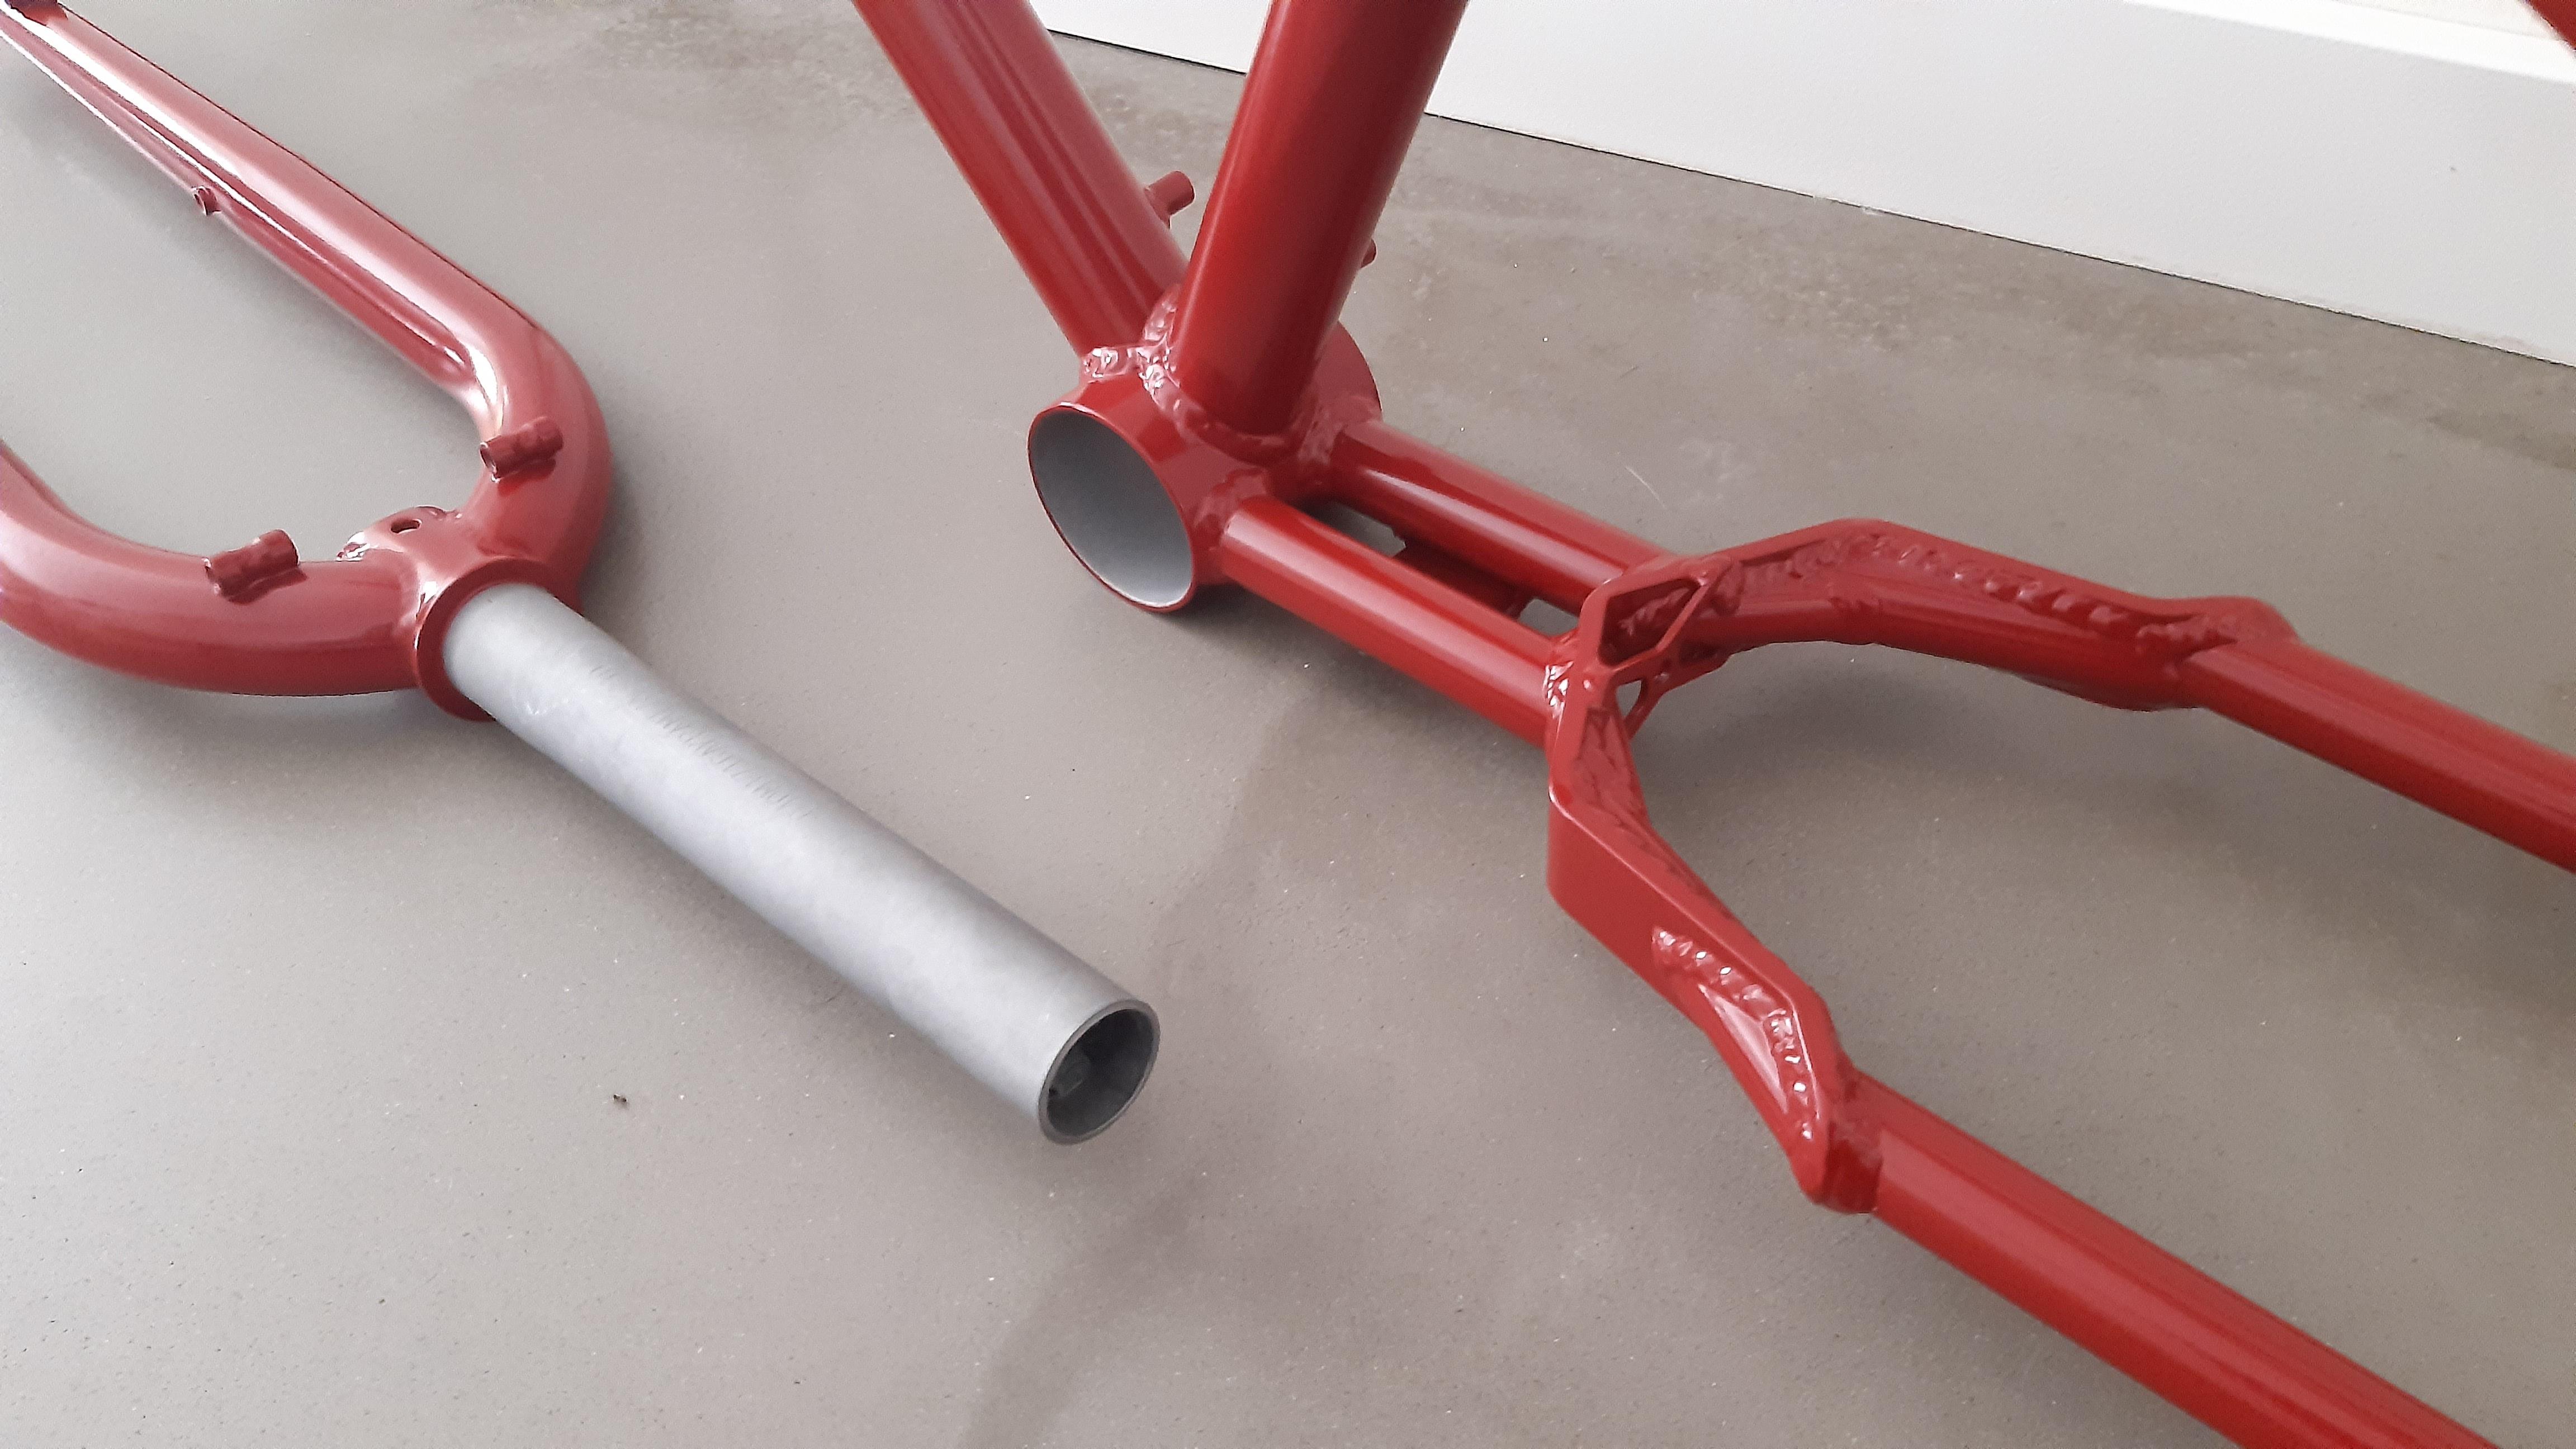
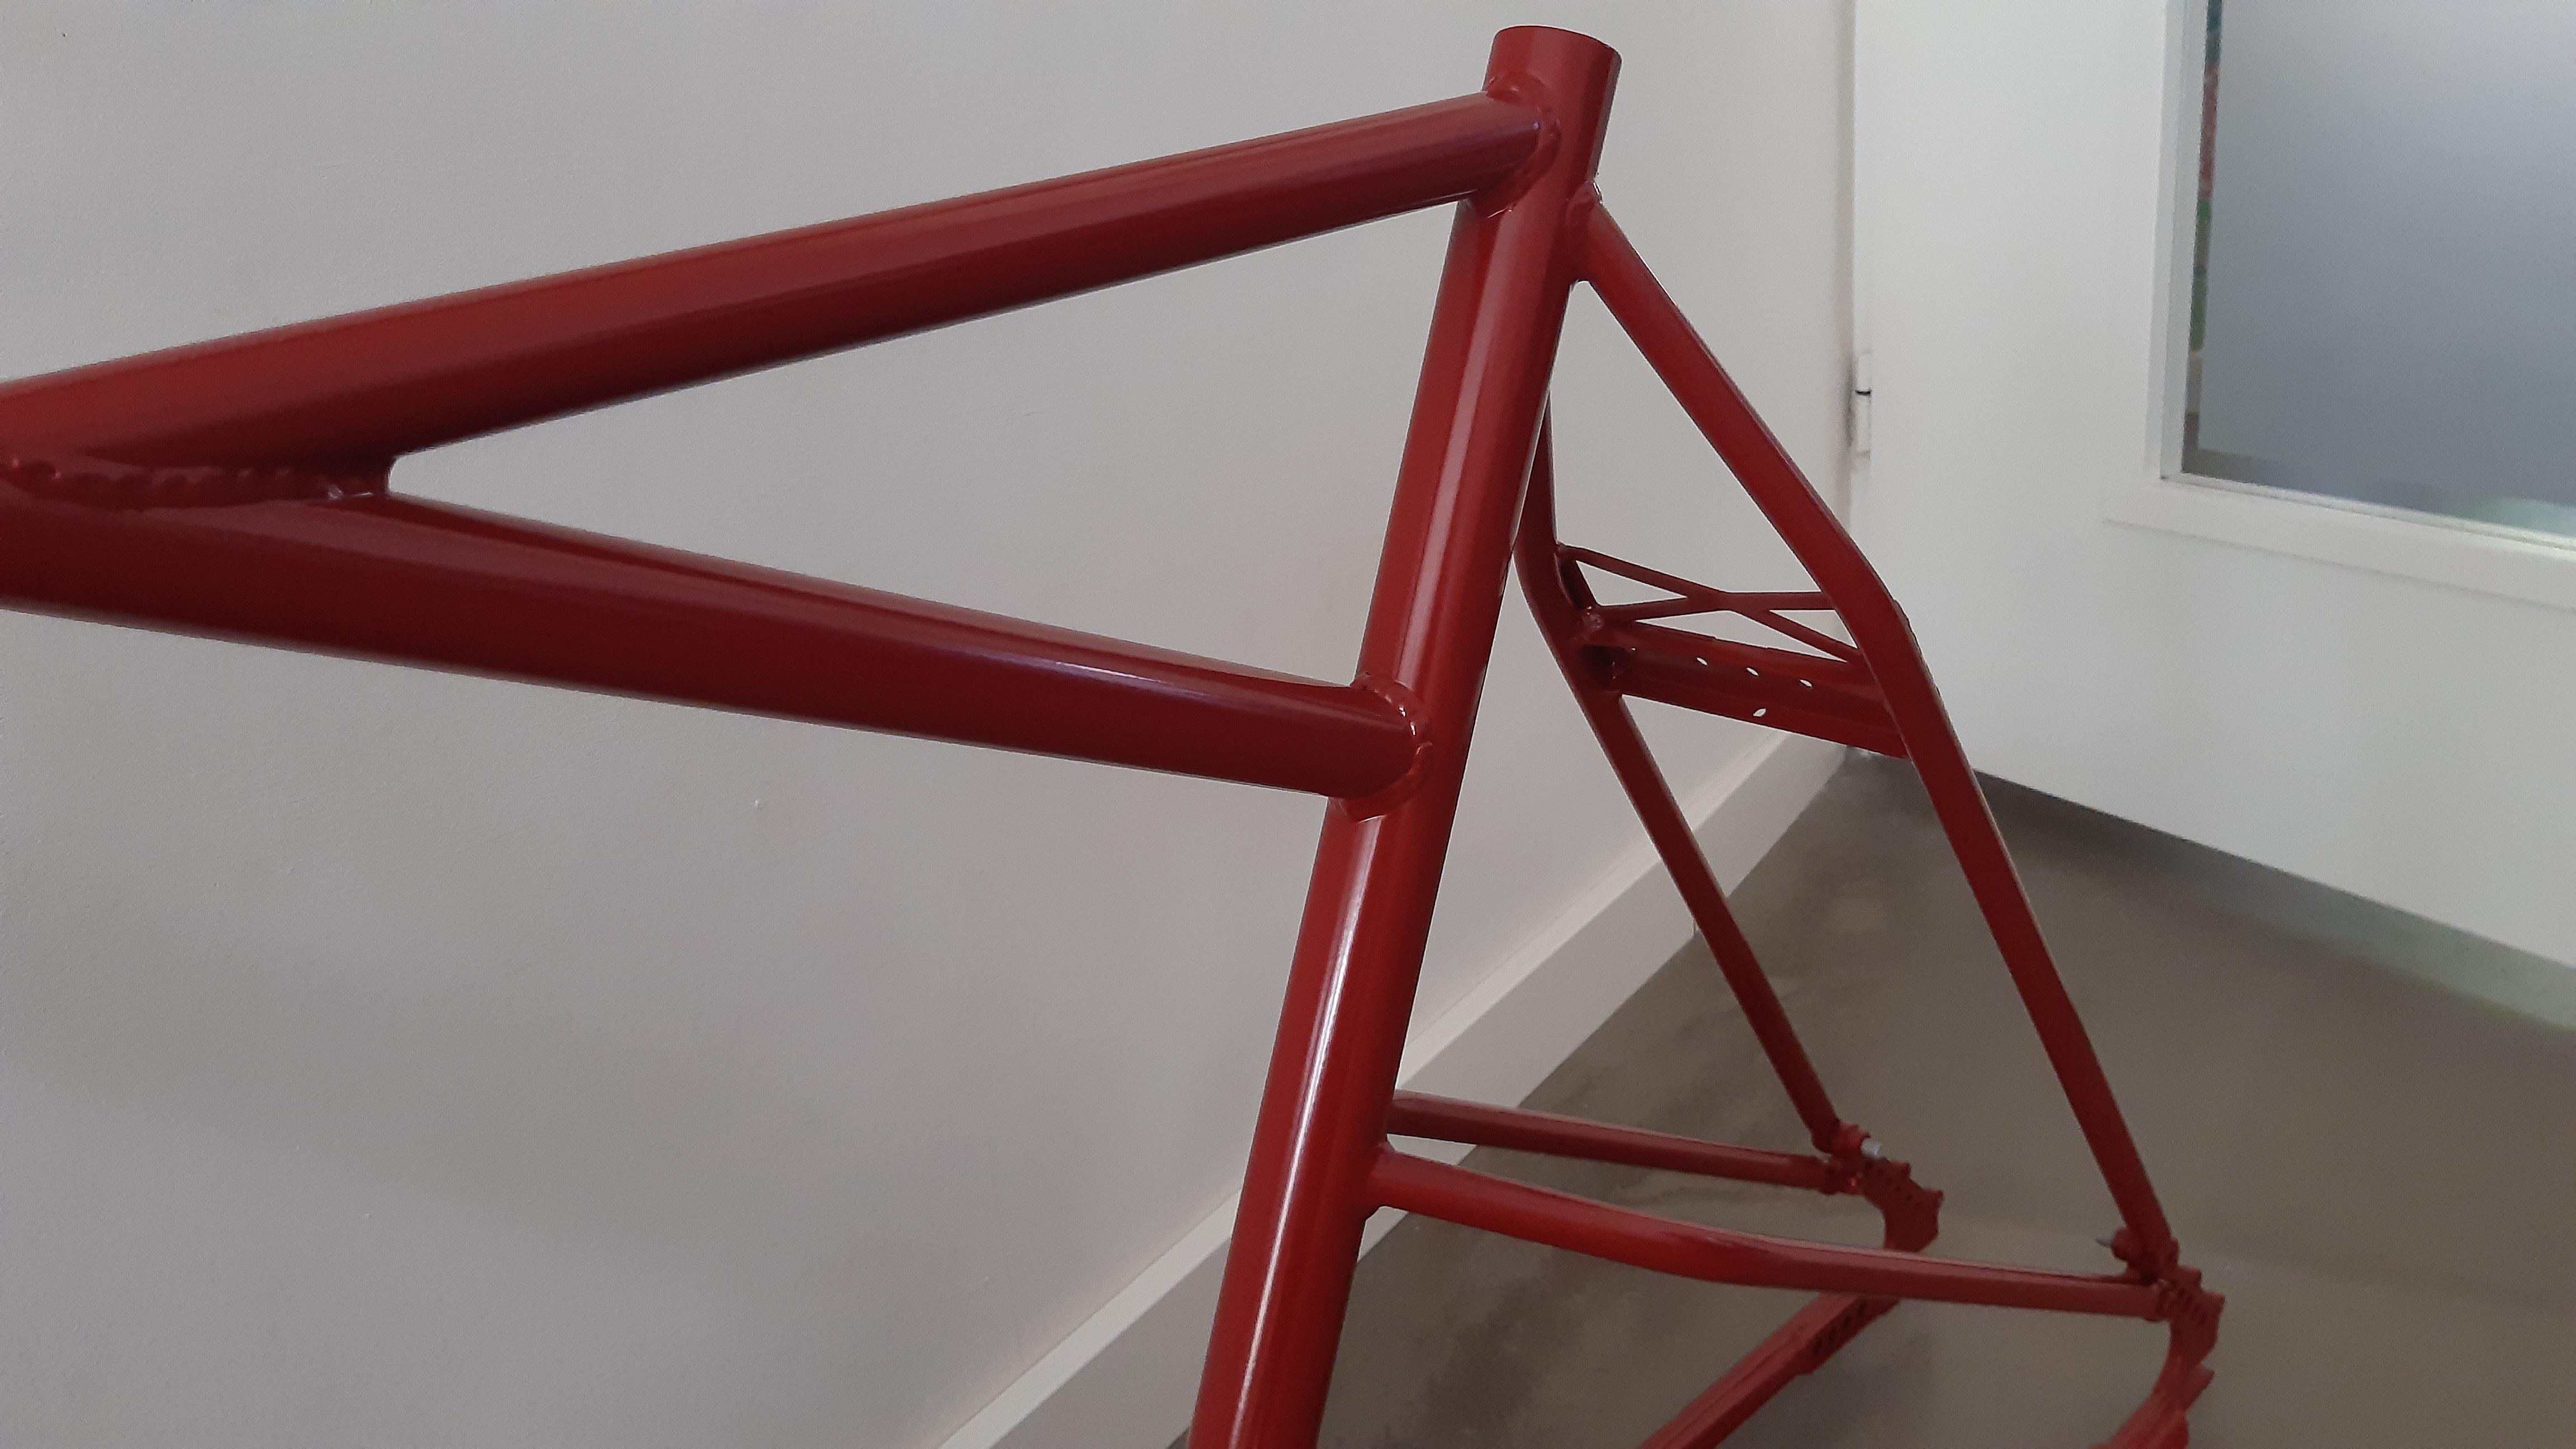
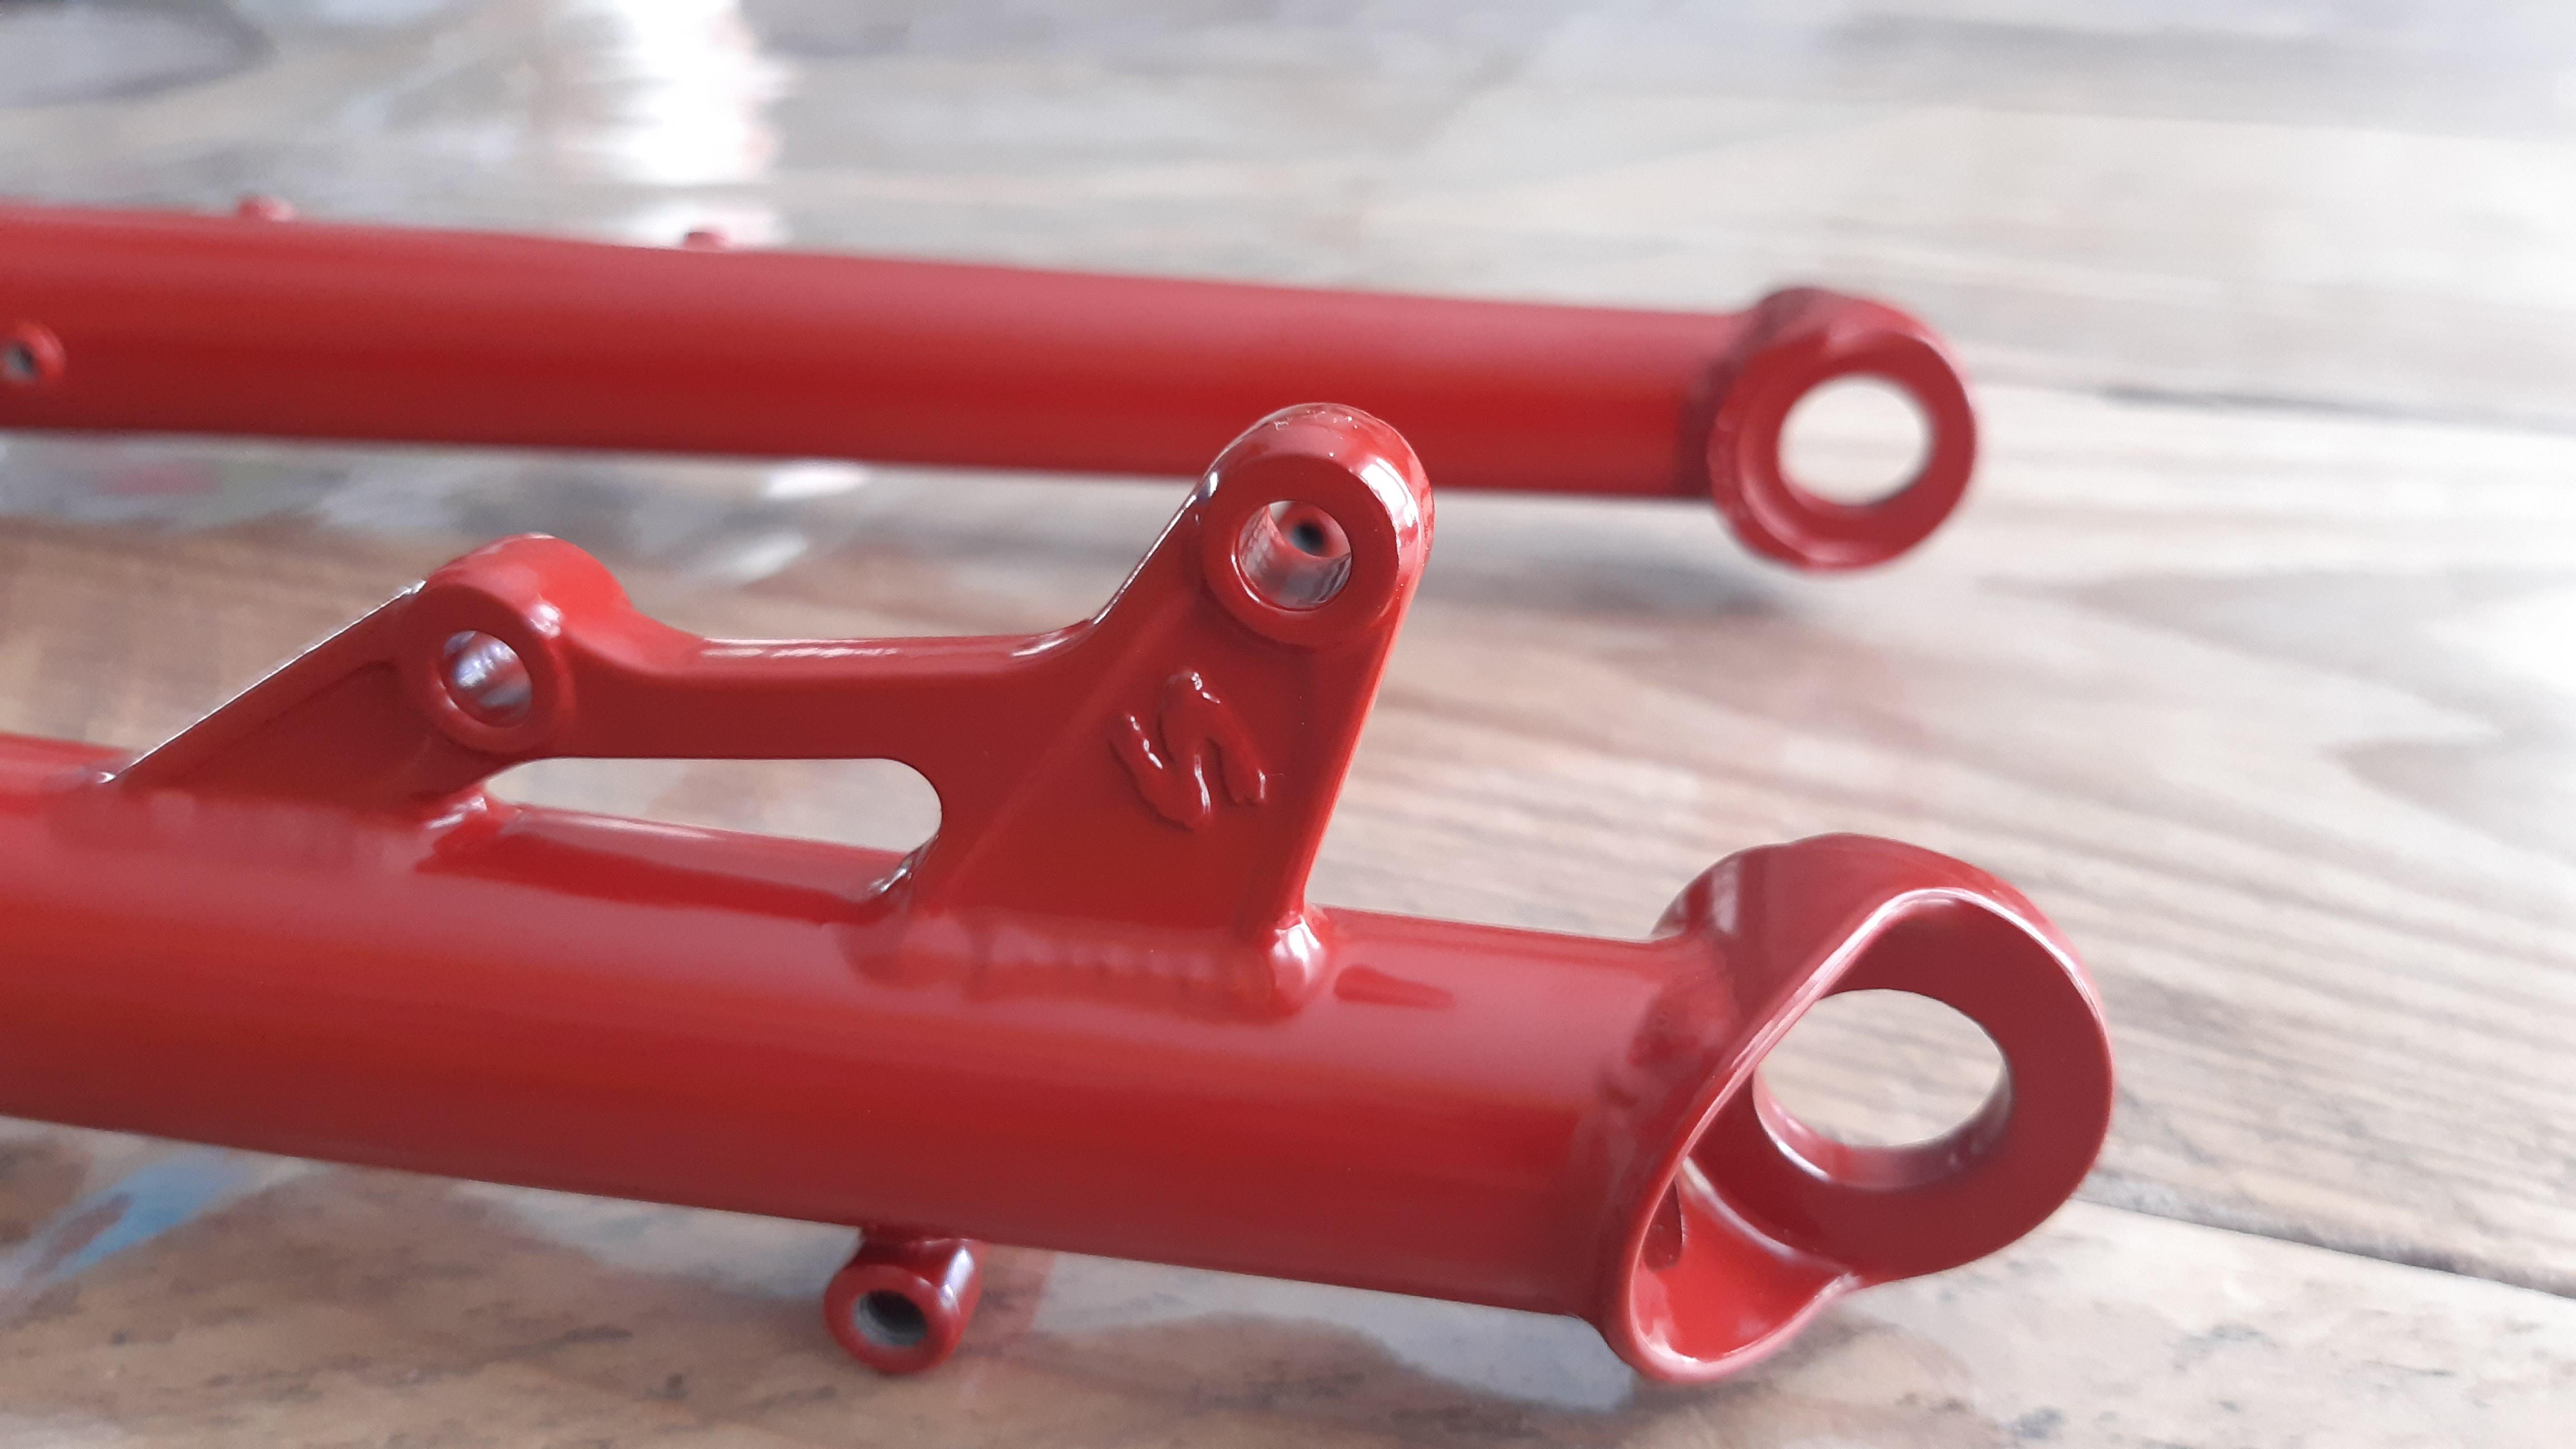
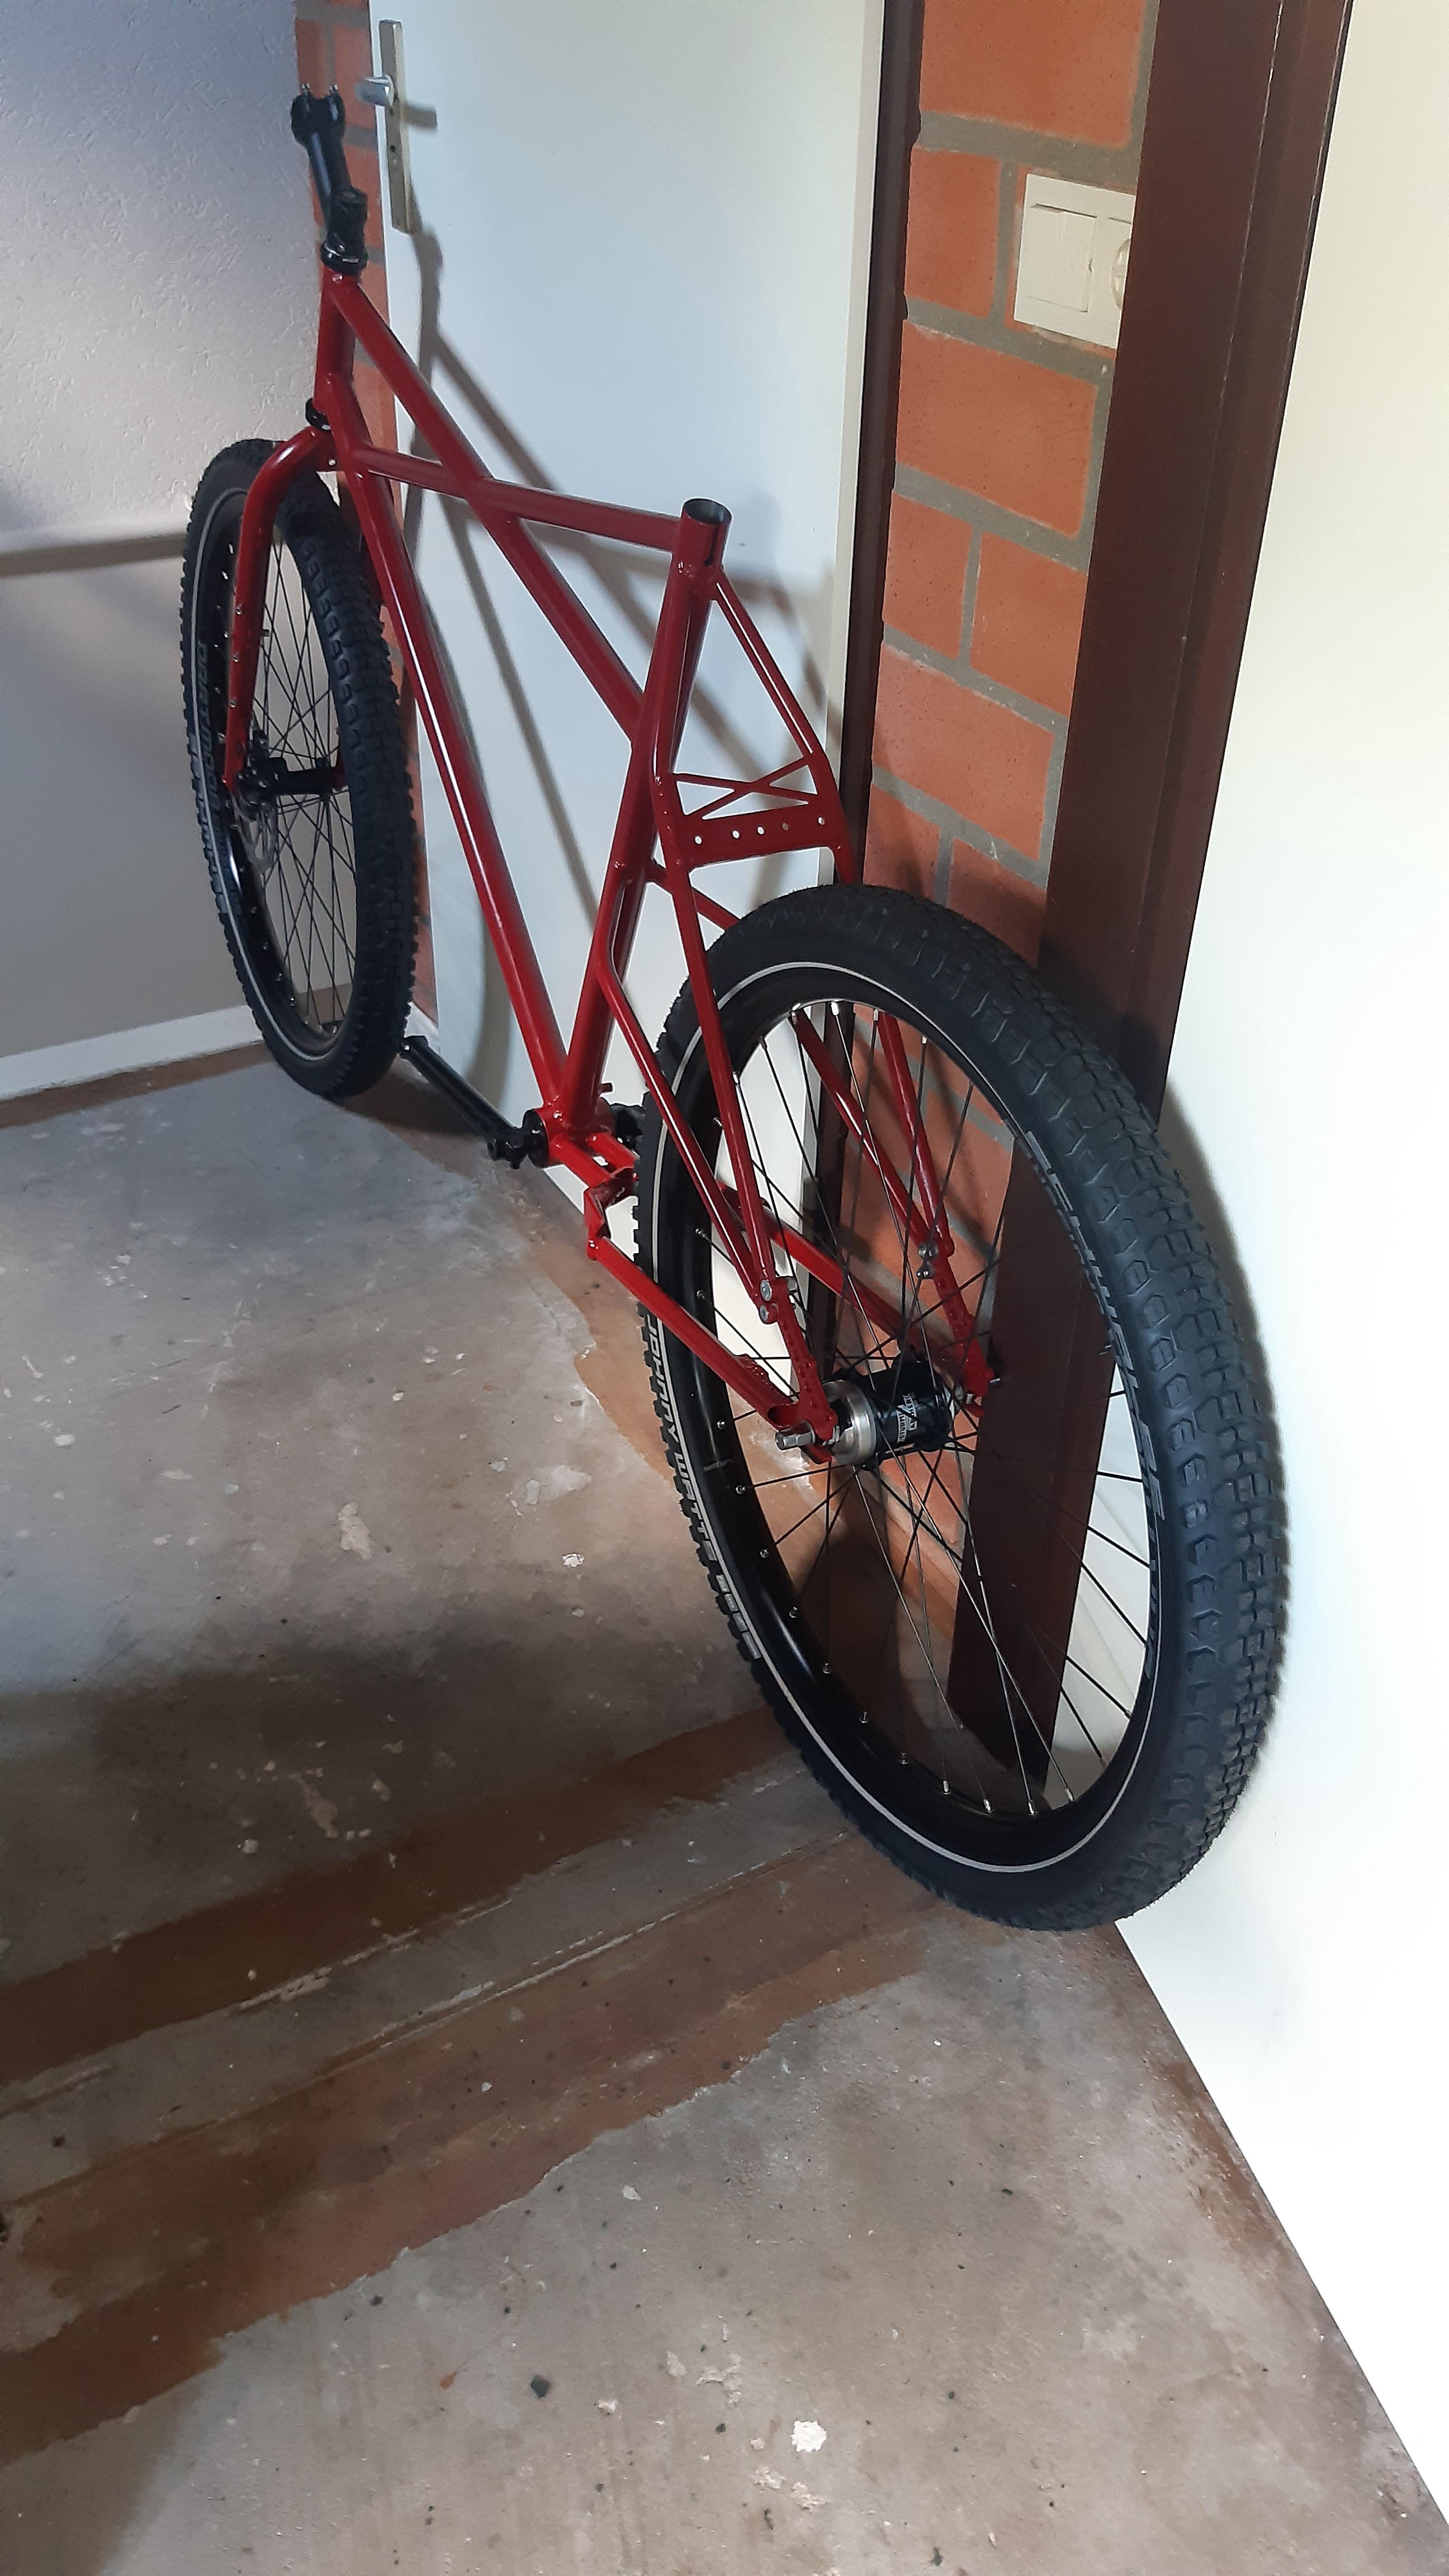
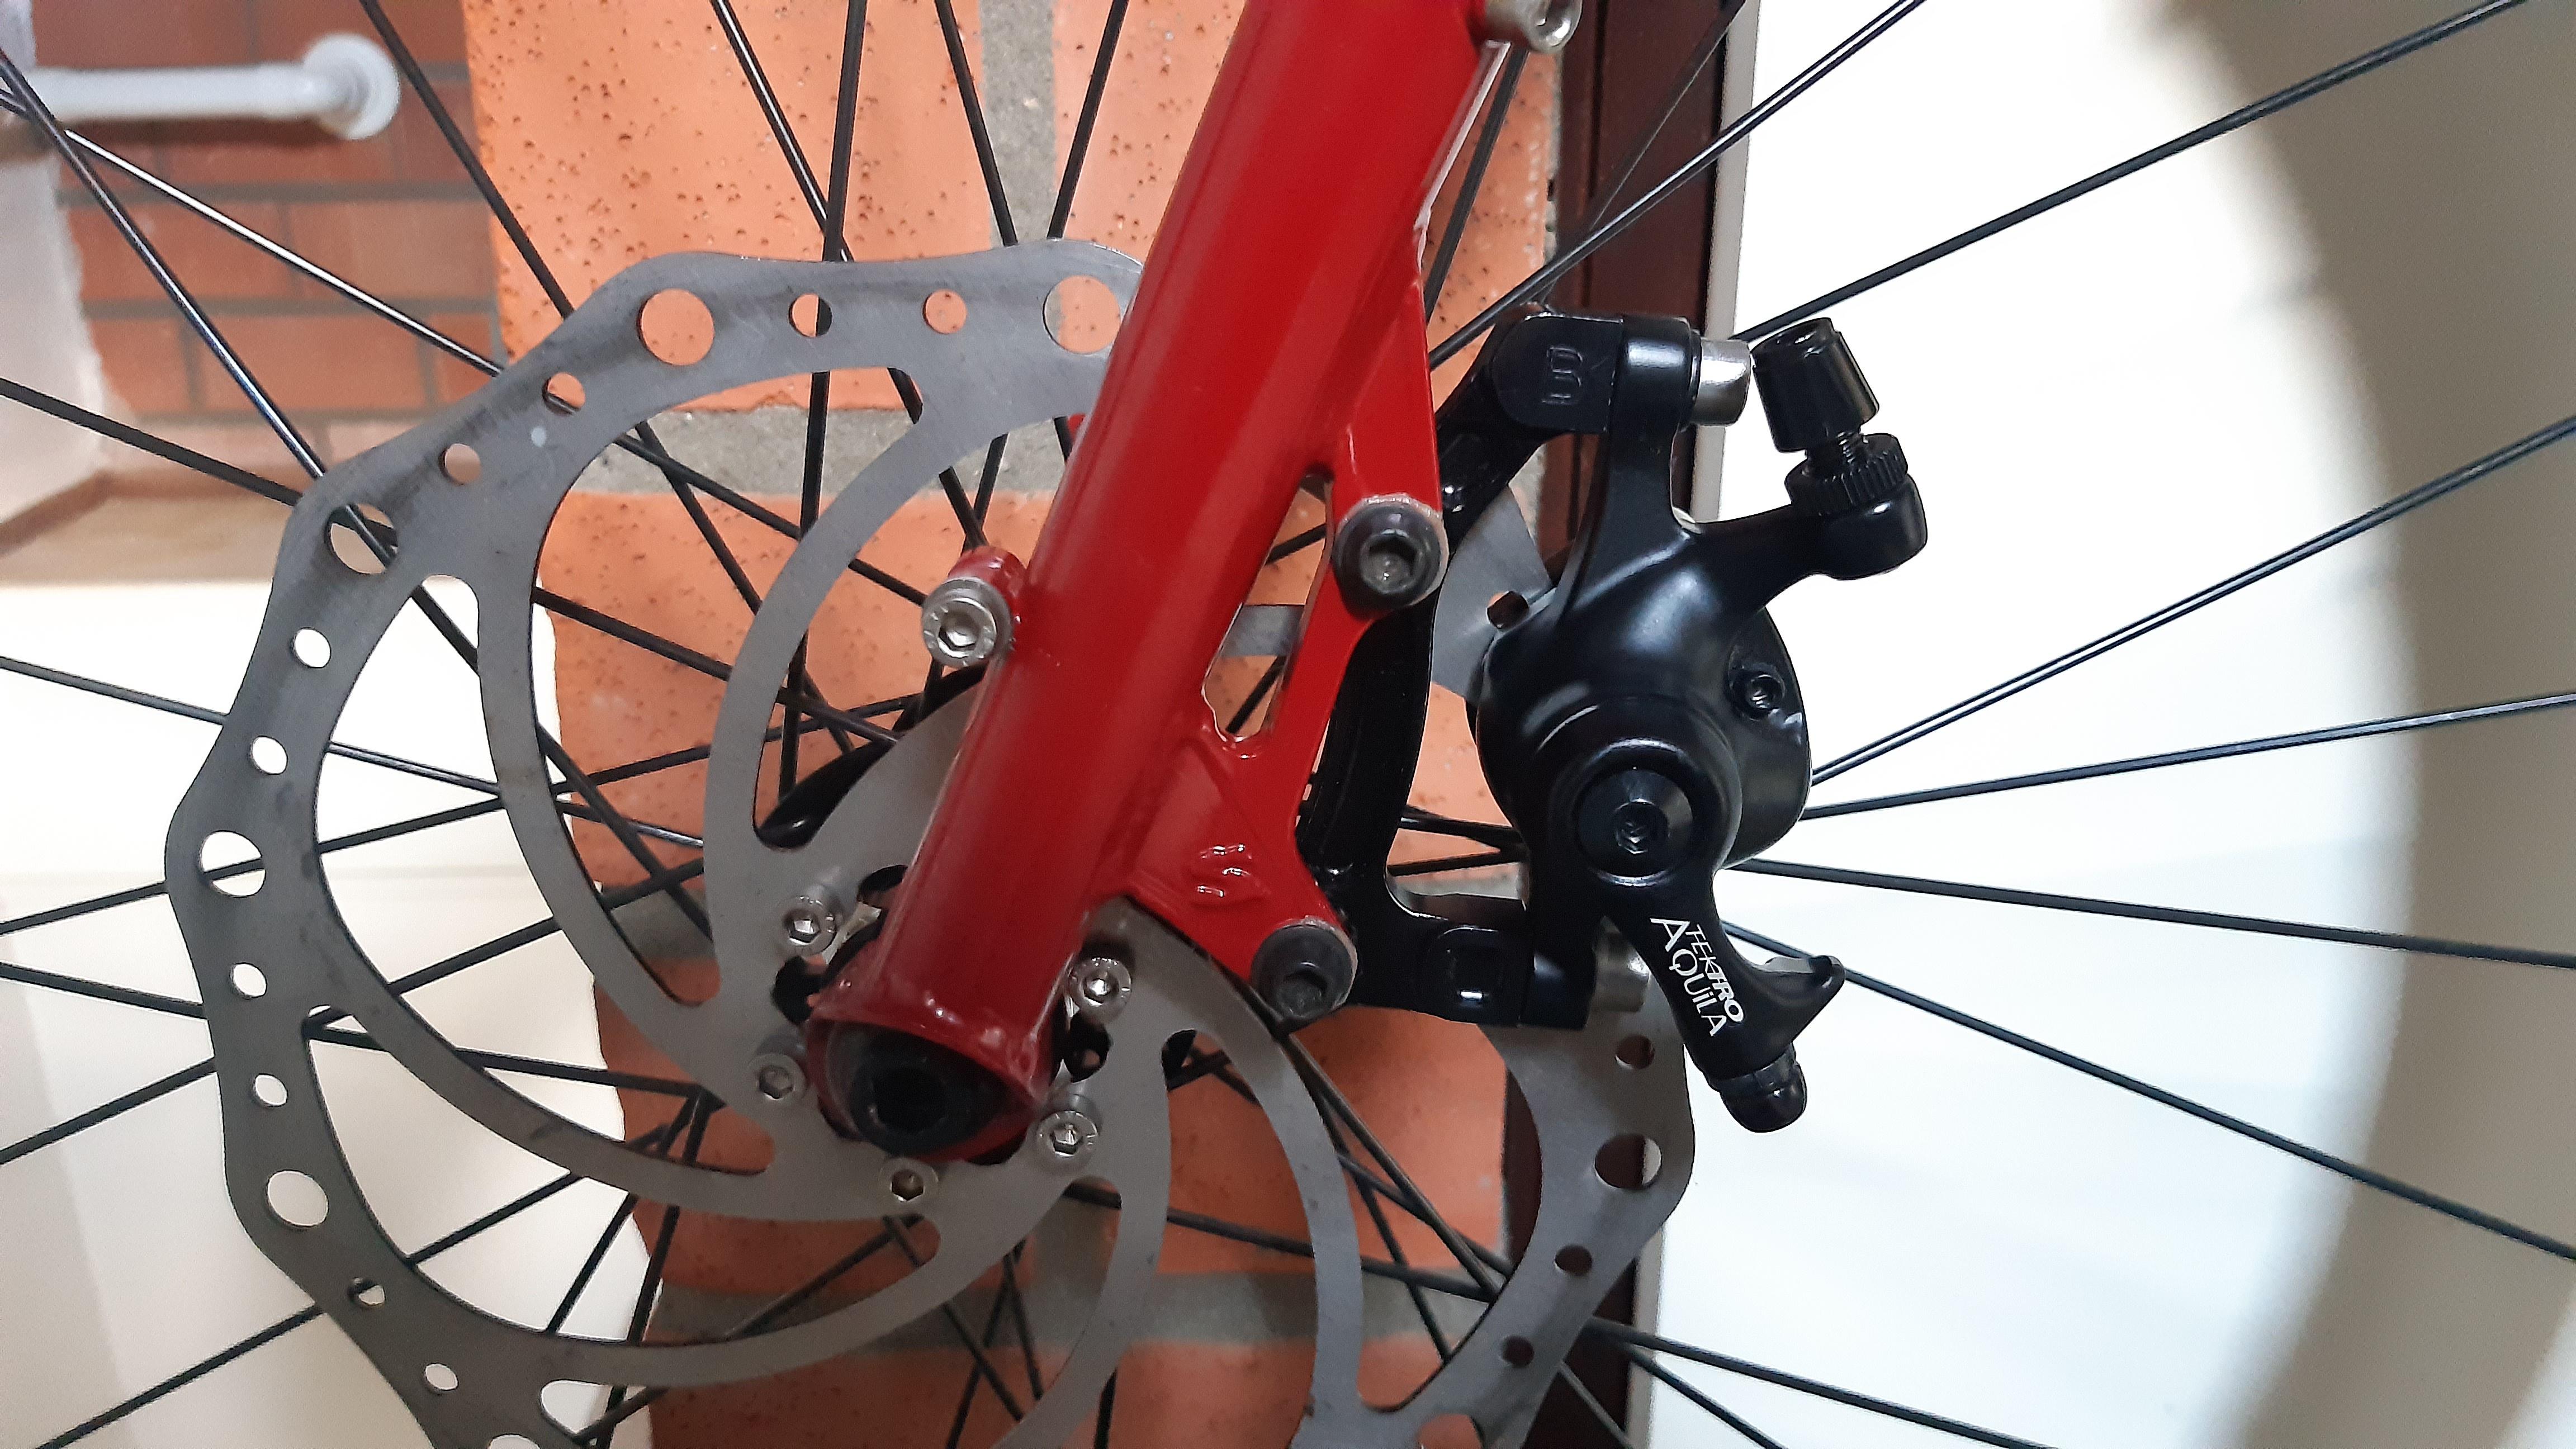
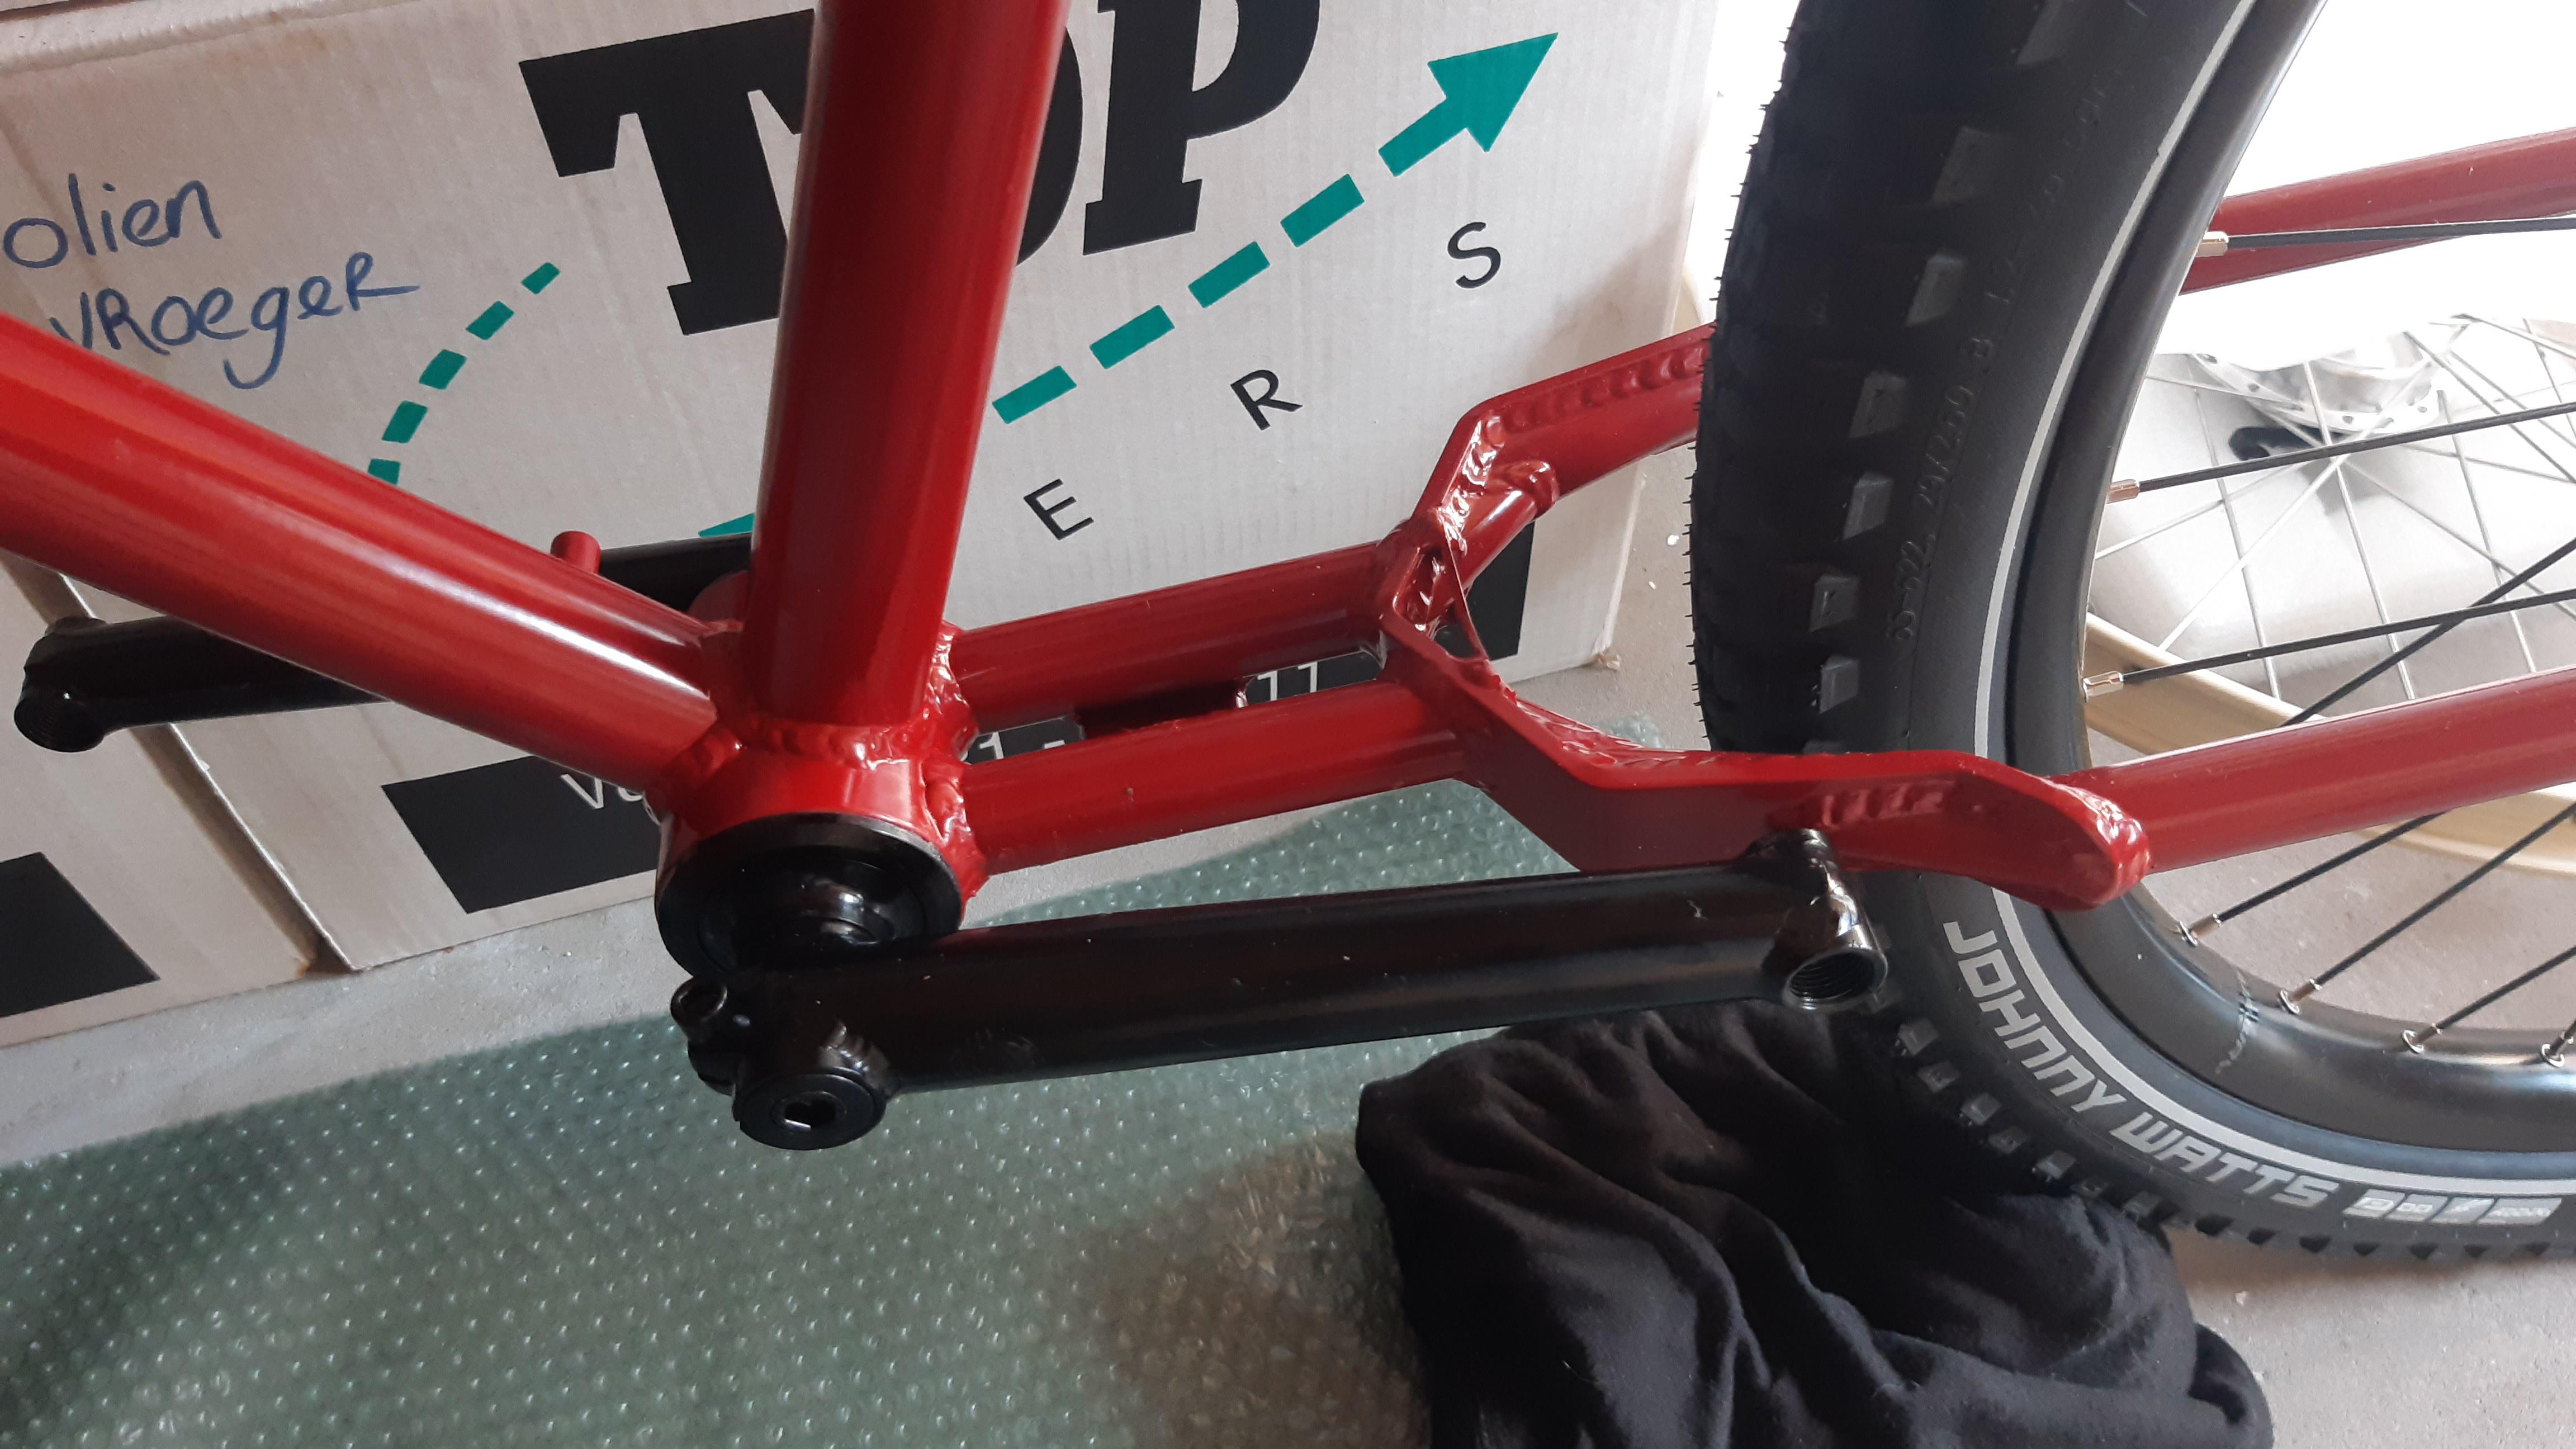
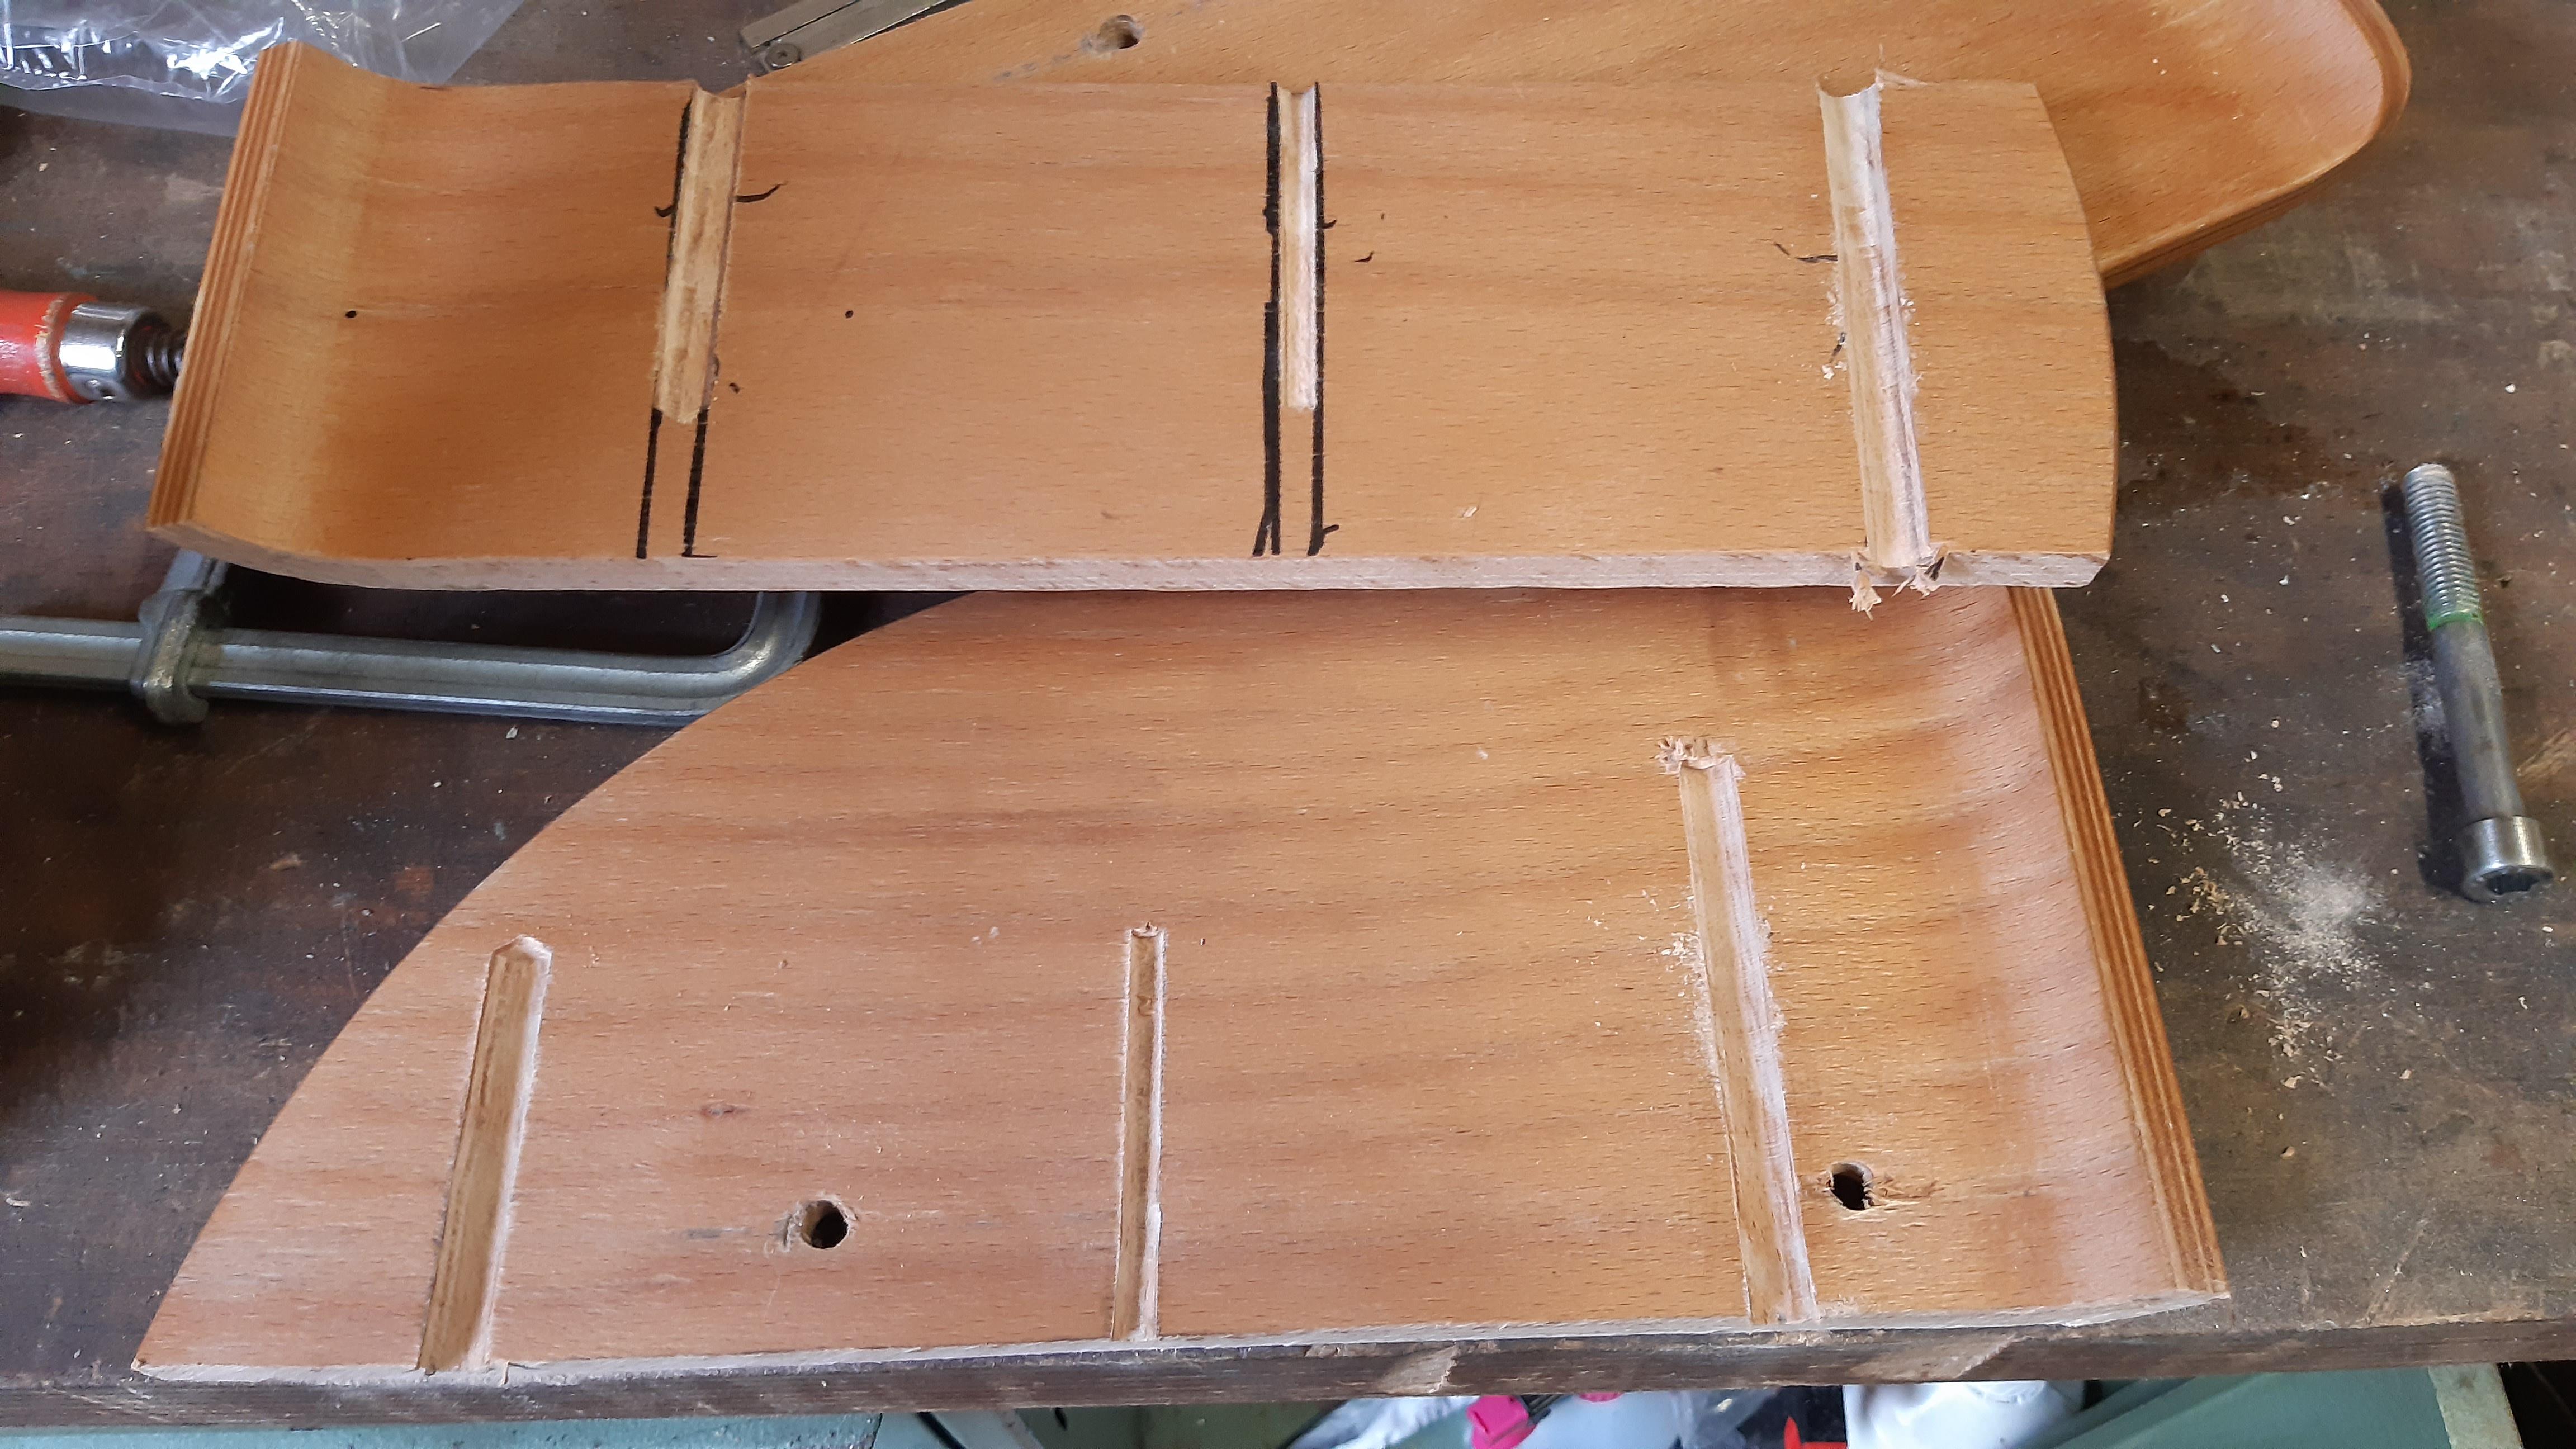
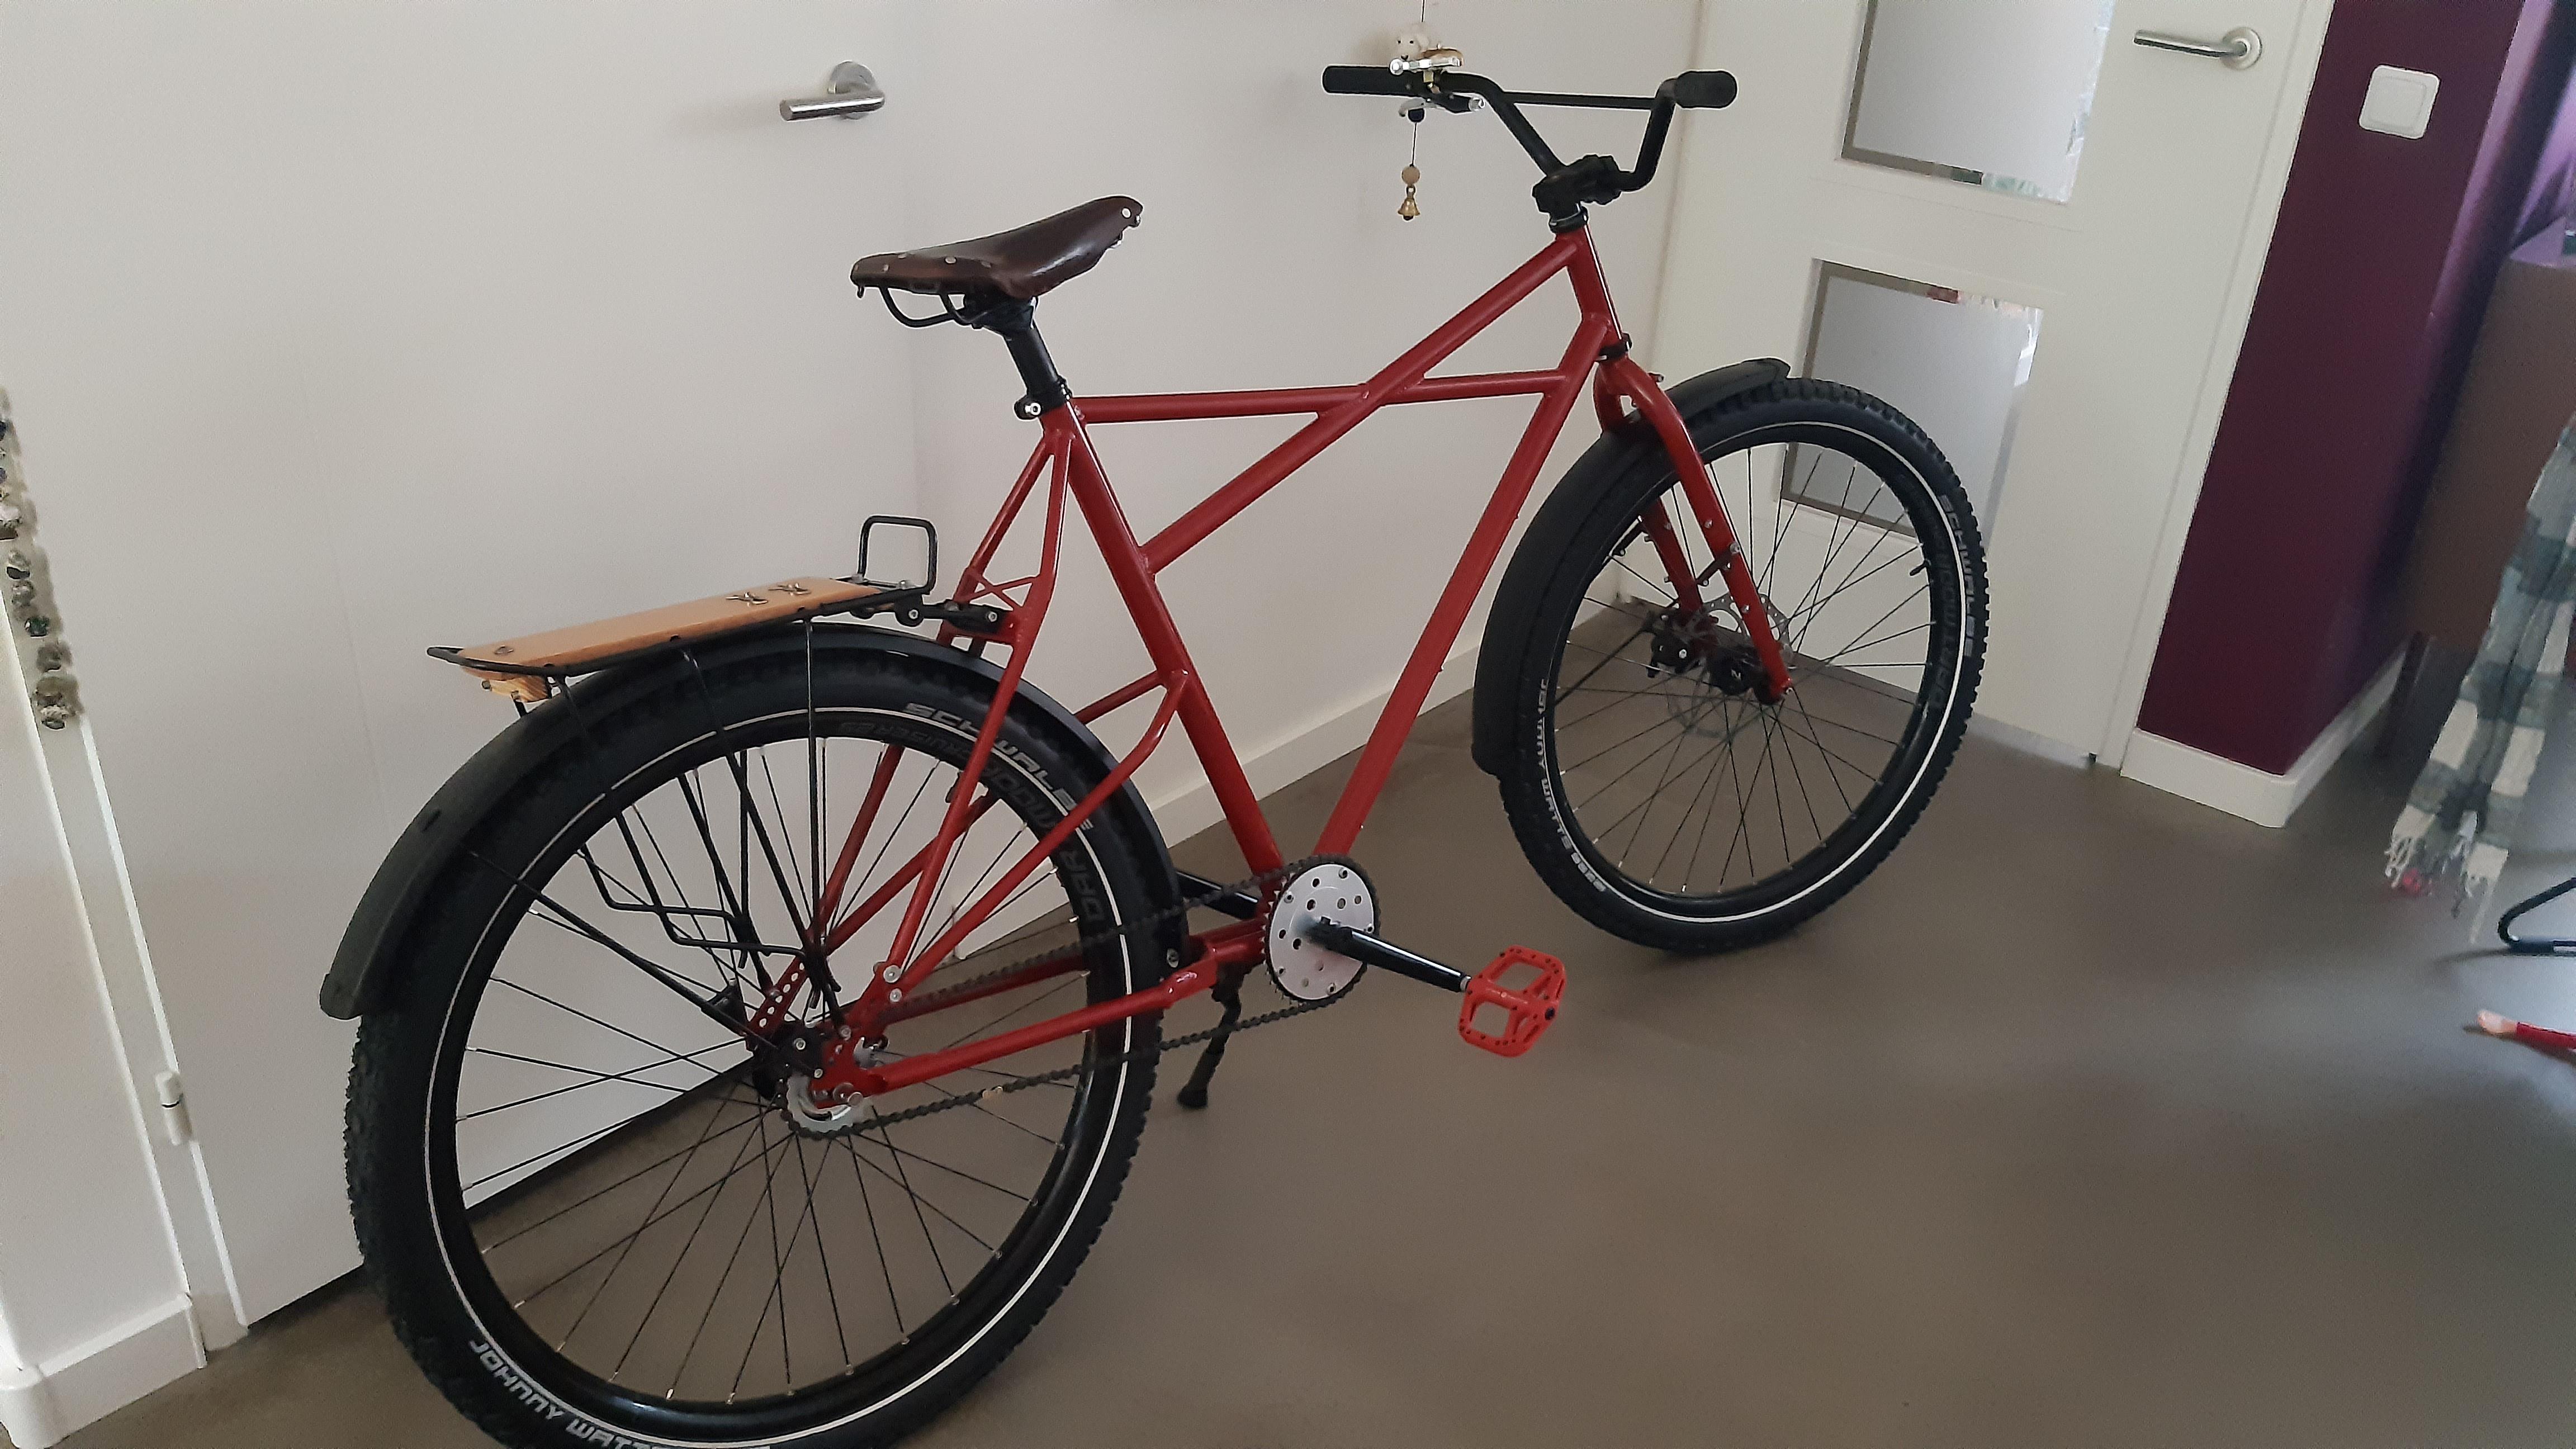
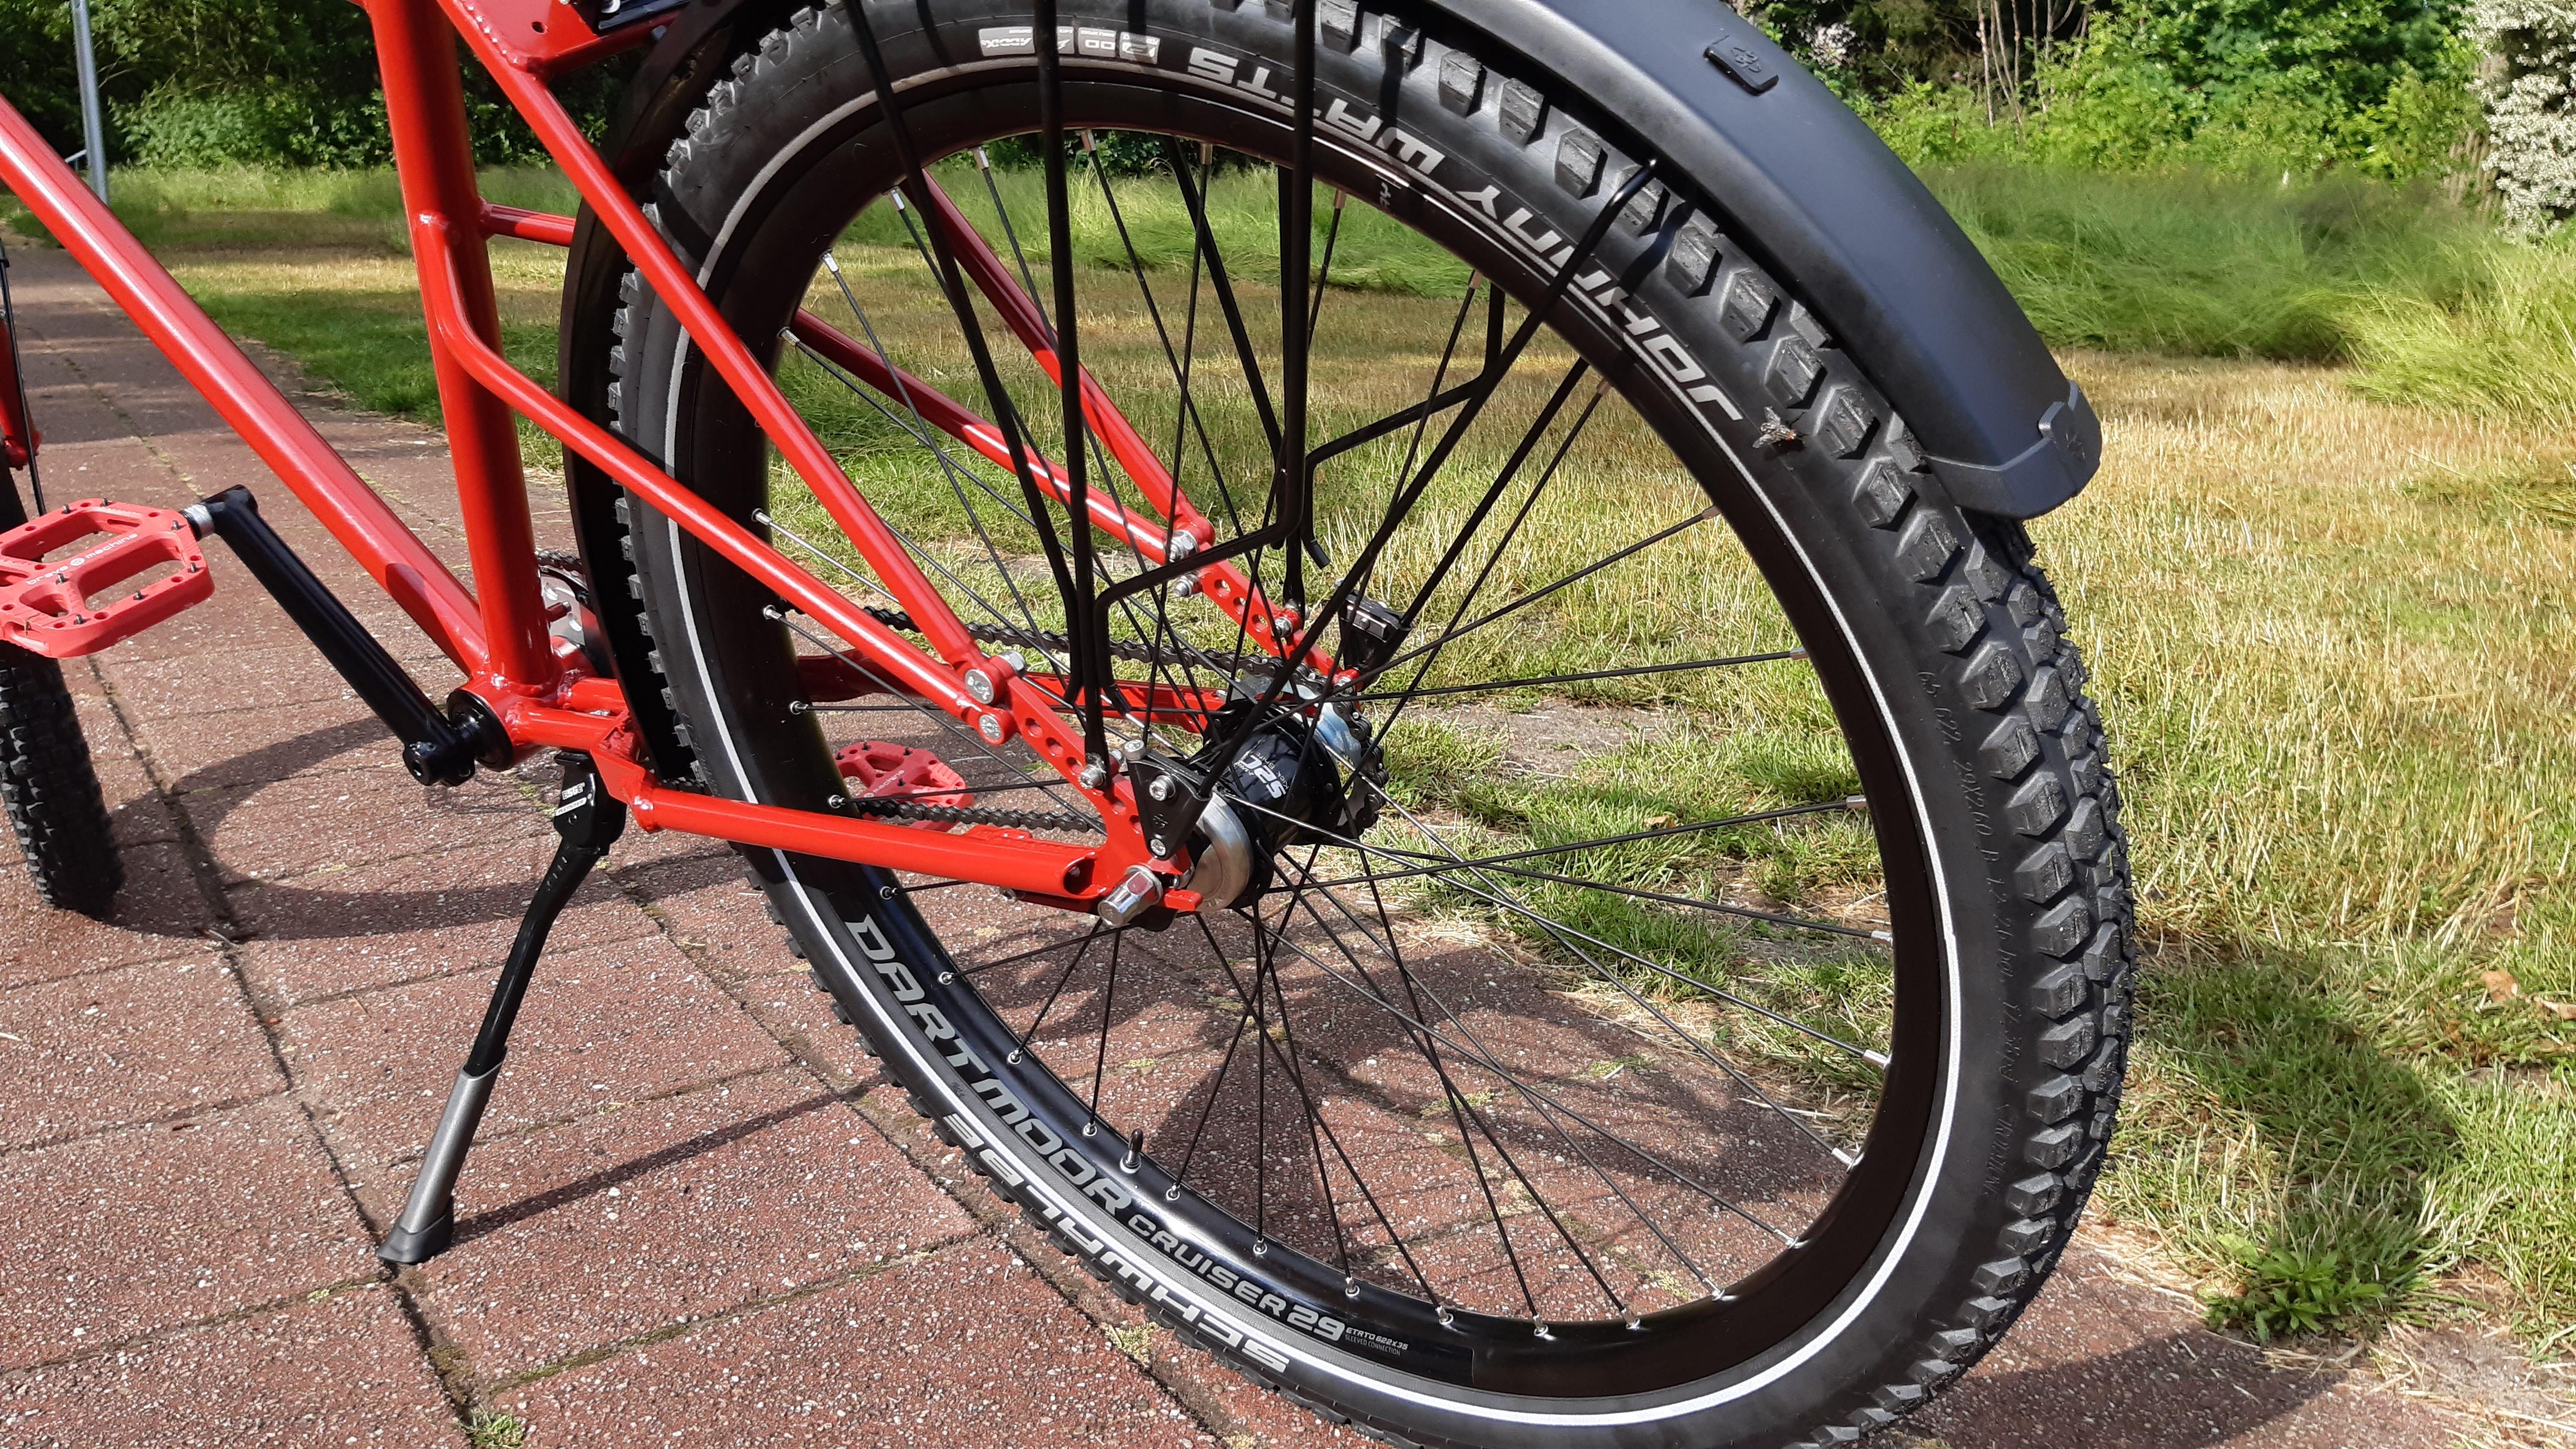
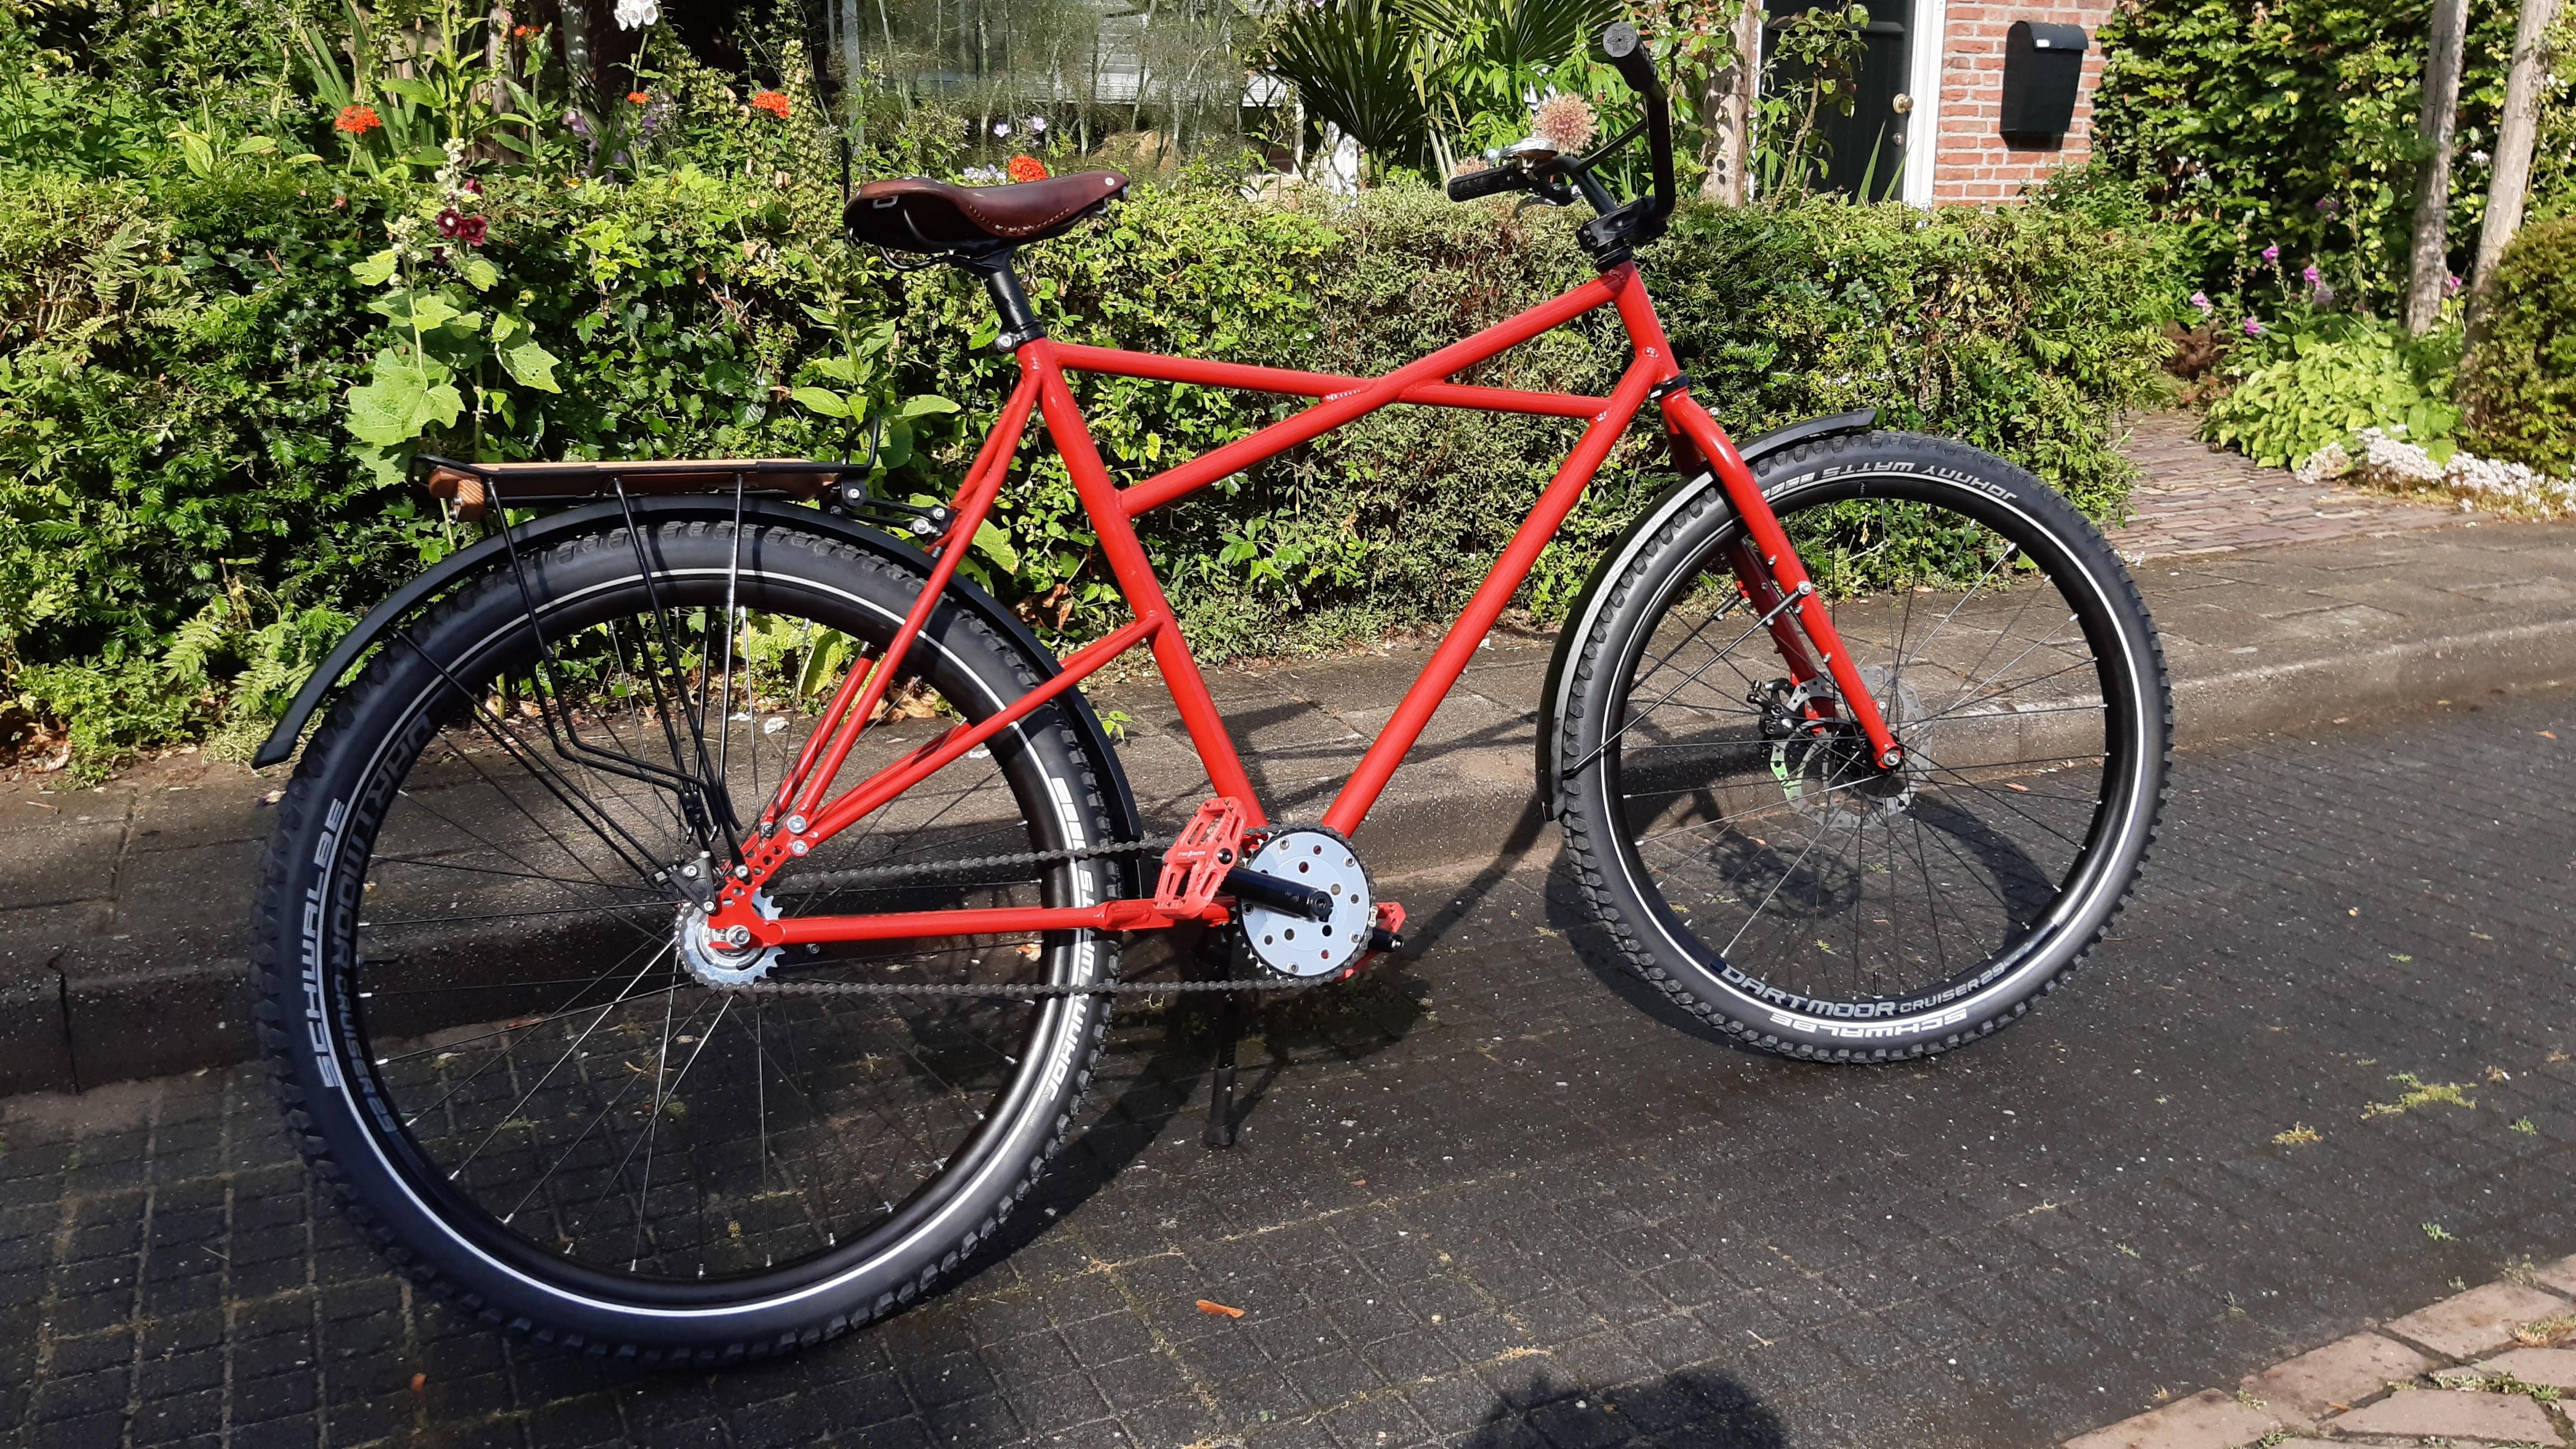
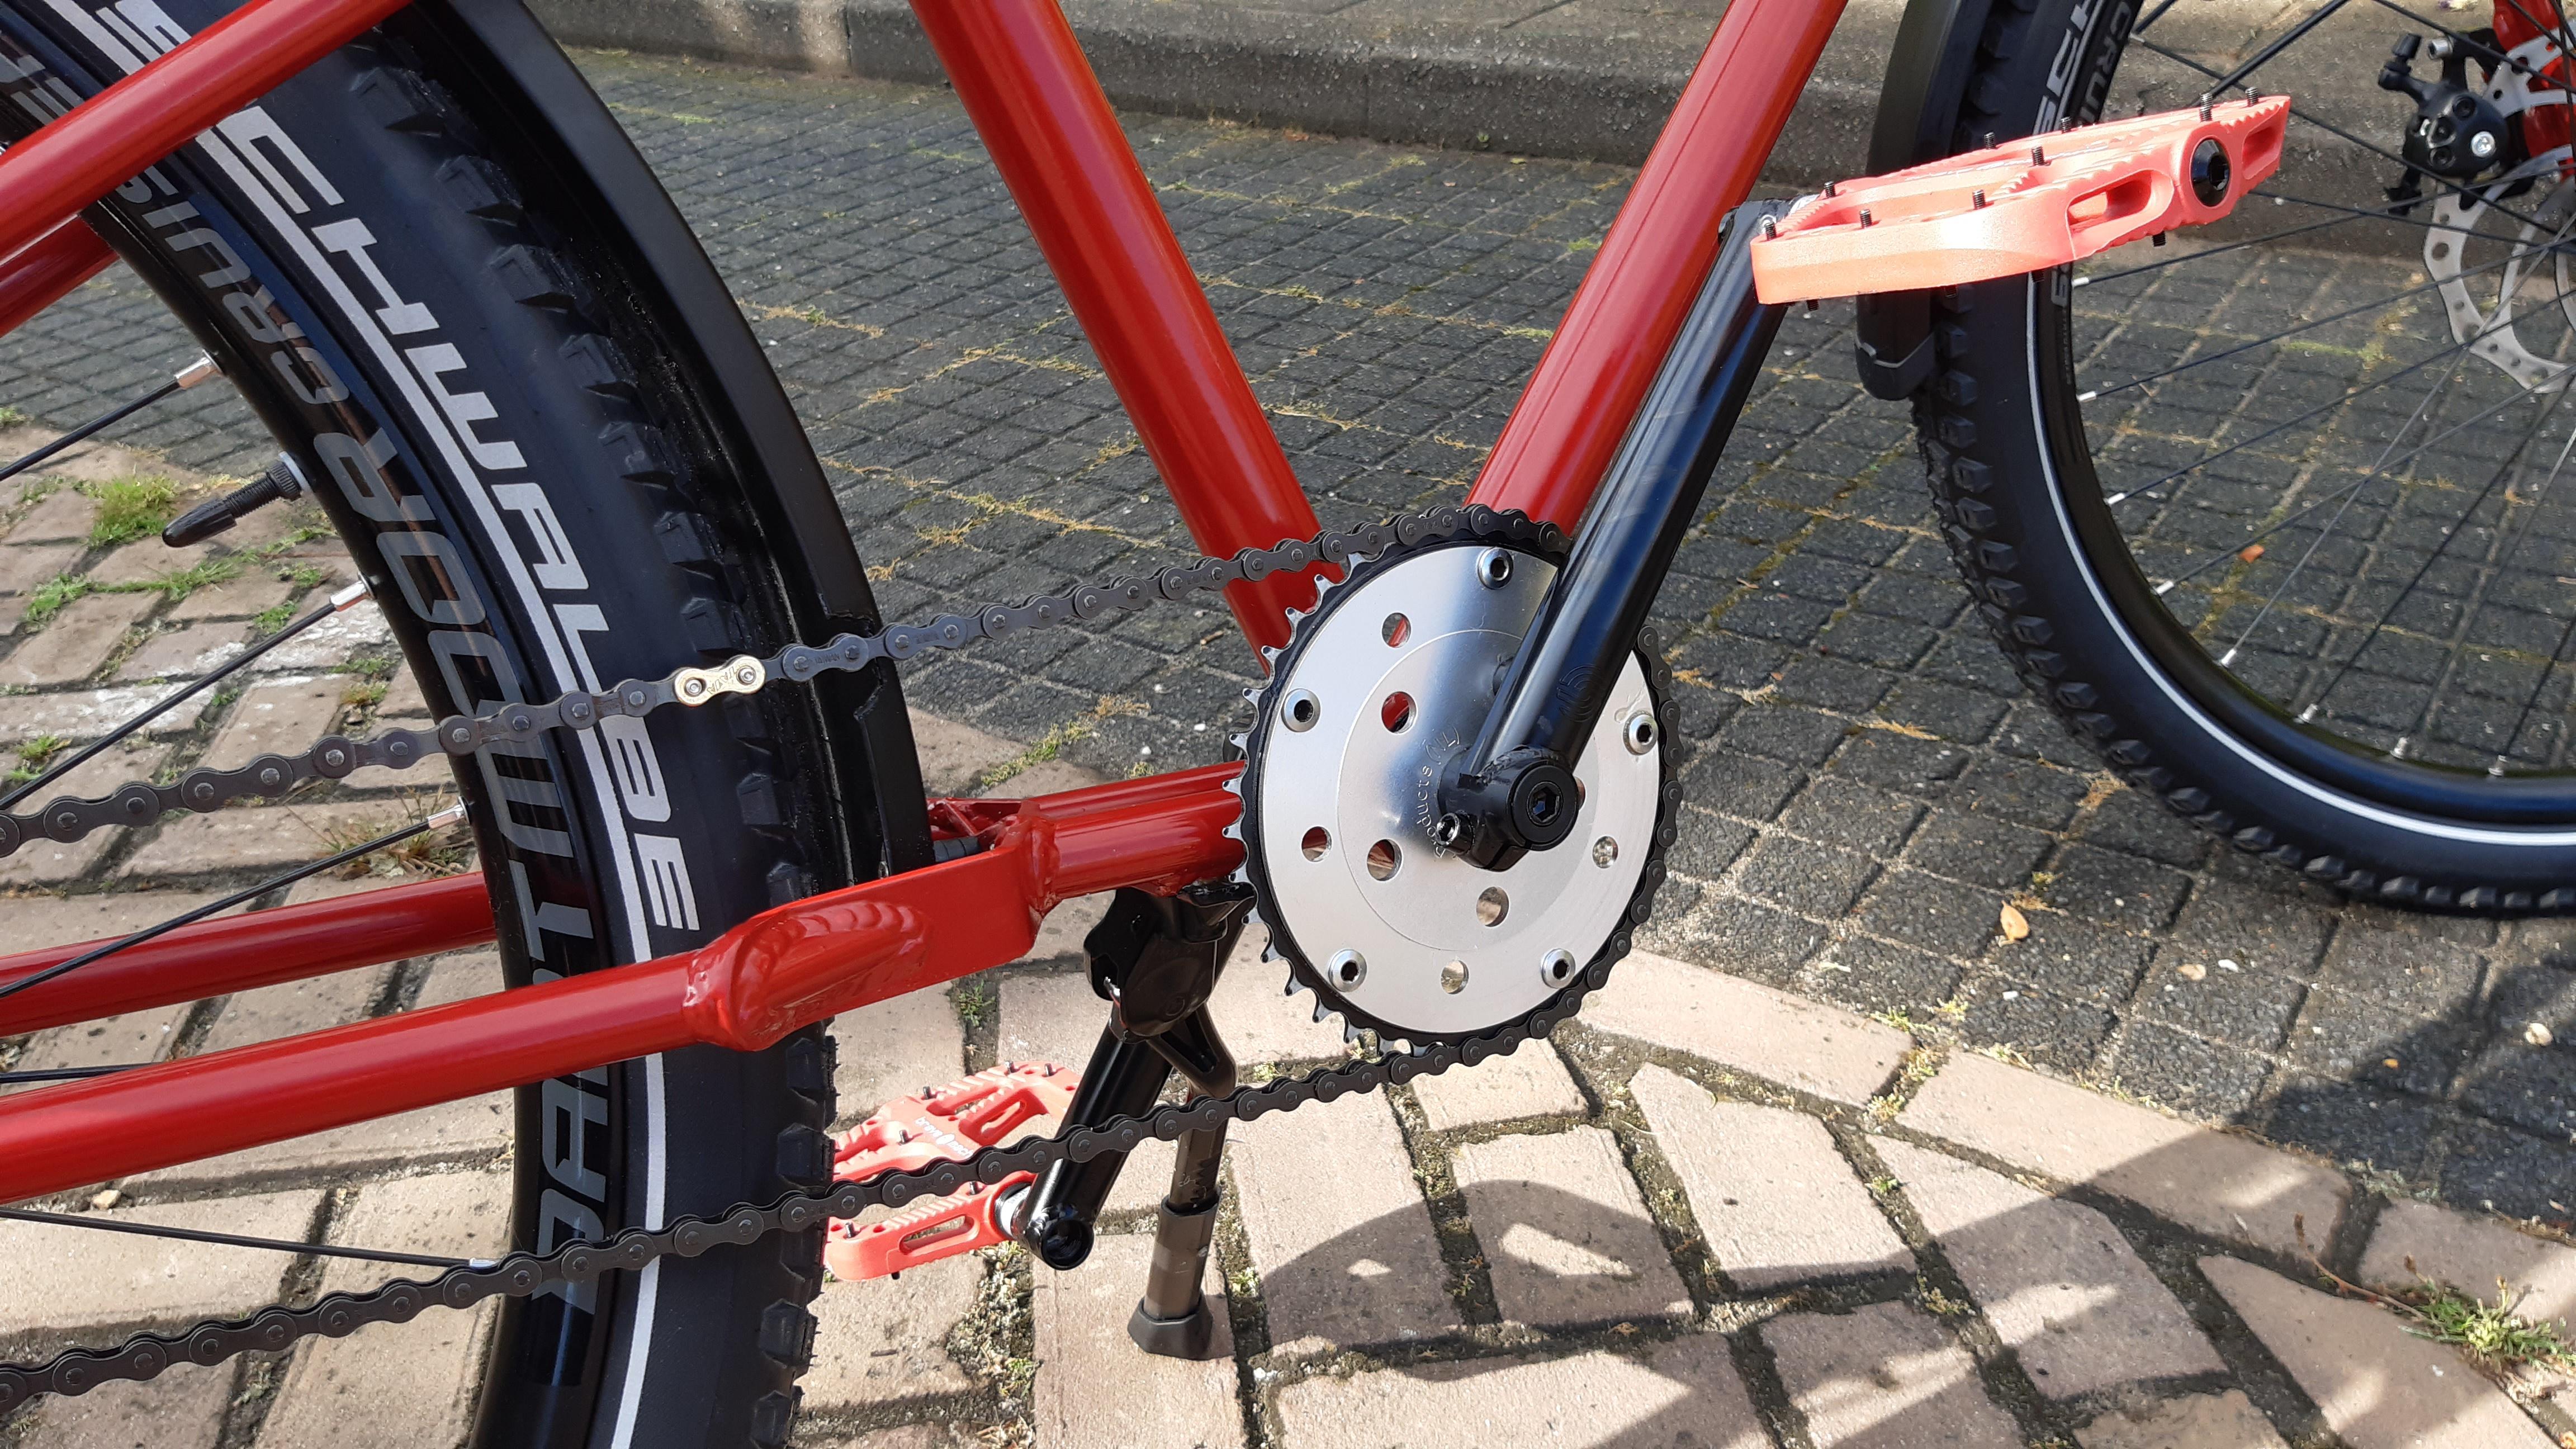
the letters and the CrMo tubes.
 
Frame = Coated!

RAL 3011 Brownred. It was not the colour I first picked, but boy do I like this colour! Its got a ratrod hint in my view.

eePVjfK.jpeg

gfWWLN2.jpeg

cmQfTPS.jpeg

WkMjCwq.jpeg

UgBLamc.jpeg

Qkk5gG8.jpeg

fQVMgrR.jpeg

13Xdwg1.jpeg


Next days I will protect the inside of the frame with:
  • Line seed oil for the deep nooks and crannies.
  • Fluid Film ASR1 spray for the tubes.
  • A bit of roofing sealant (Simson Bostik) for some small gaps, nothing serious.
Then its assembly time!

I can use help with some tips or ideas:

So this has a touring (Surly LHT / Krampus) geometry, but a very long top tube!
I am looking for a sporty seating position, but a short stem.

Do you have tips and/or ideas for handlebars? I know its about personal preference.
I have "cruiser moon bars" to test, but I am worried about the grip angle (and looks secondary). These grips are assembled in the length of the bike if you know what I mean.
I am looking for about a 45 degree angle.
Velo Orange Porteur bars?
 
Bummer, threw this type of bar away a few weeks ago with a worn-out french frame.:(
Will have a look at my handlebar collection for something similar.
 
Thanks guys, appreciate it.

I will first try my moon bars and look for something else then.
When the cranks, wheels and seat is on I can get an idea of my riding position.

Some build pictures:
Pe8aQ1o.jpeg

XYYc4a1.jpeg

Hose with a splitter.
1Lz3A3z.jpeg


IP3SnSD.jpeg

Pressed in the headset and assembled the fork.

Today I see if I have time for the crank assembly.
 
Btw: strange, I can't edit my first post and thread title anymore.
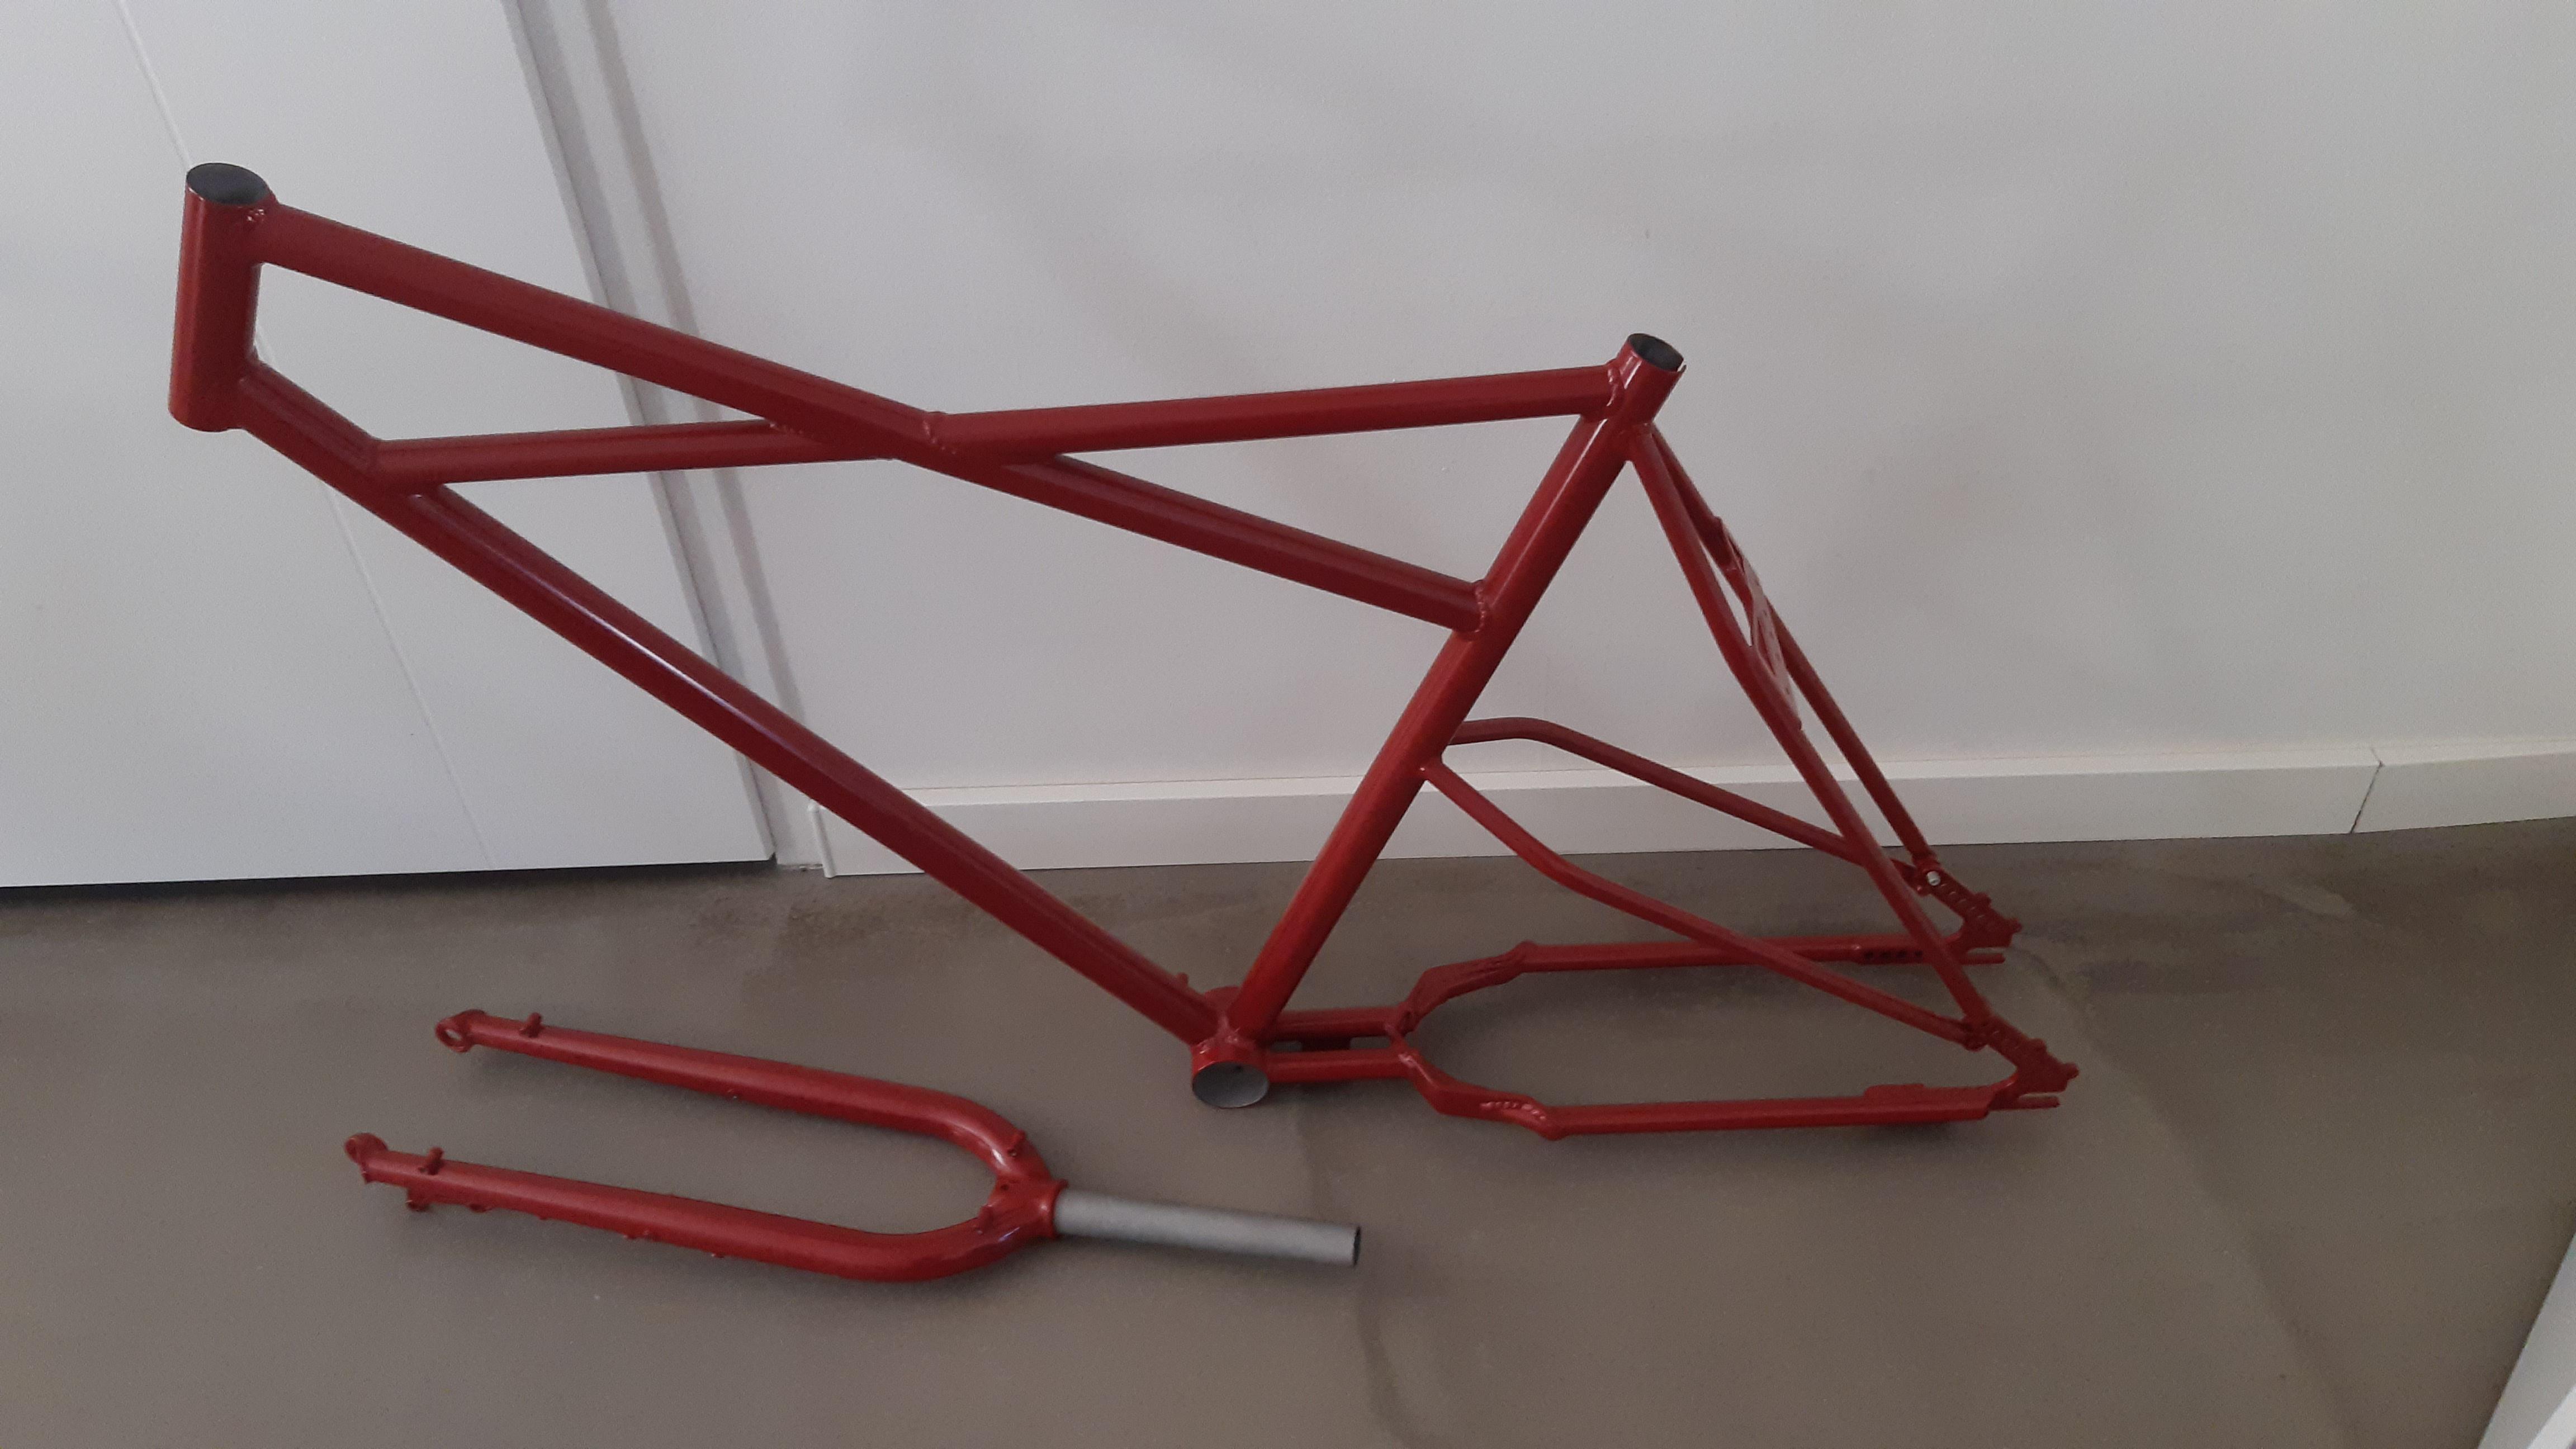
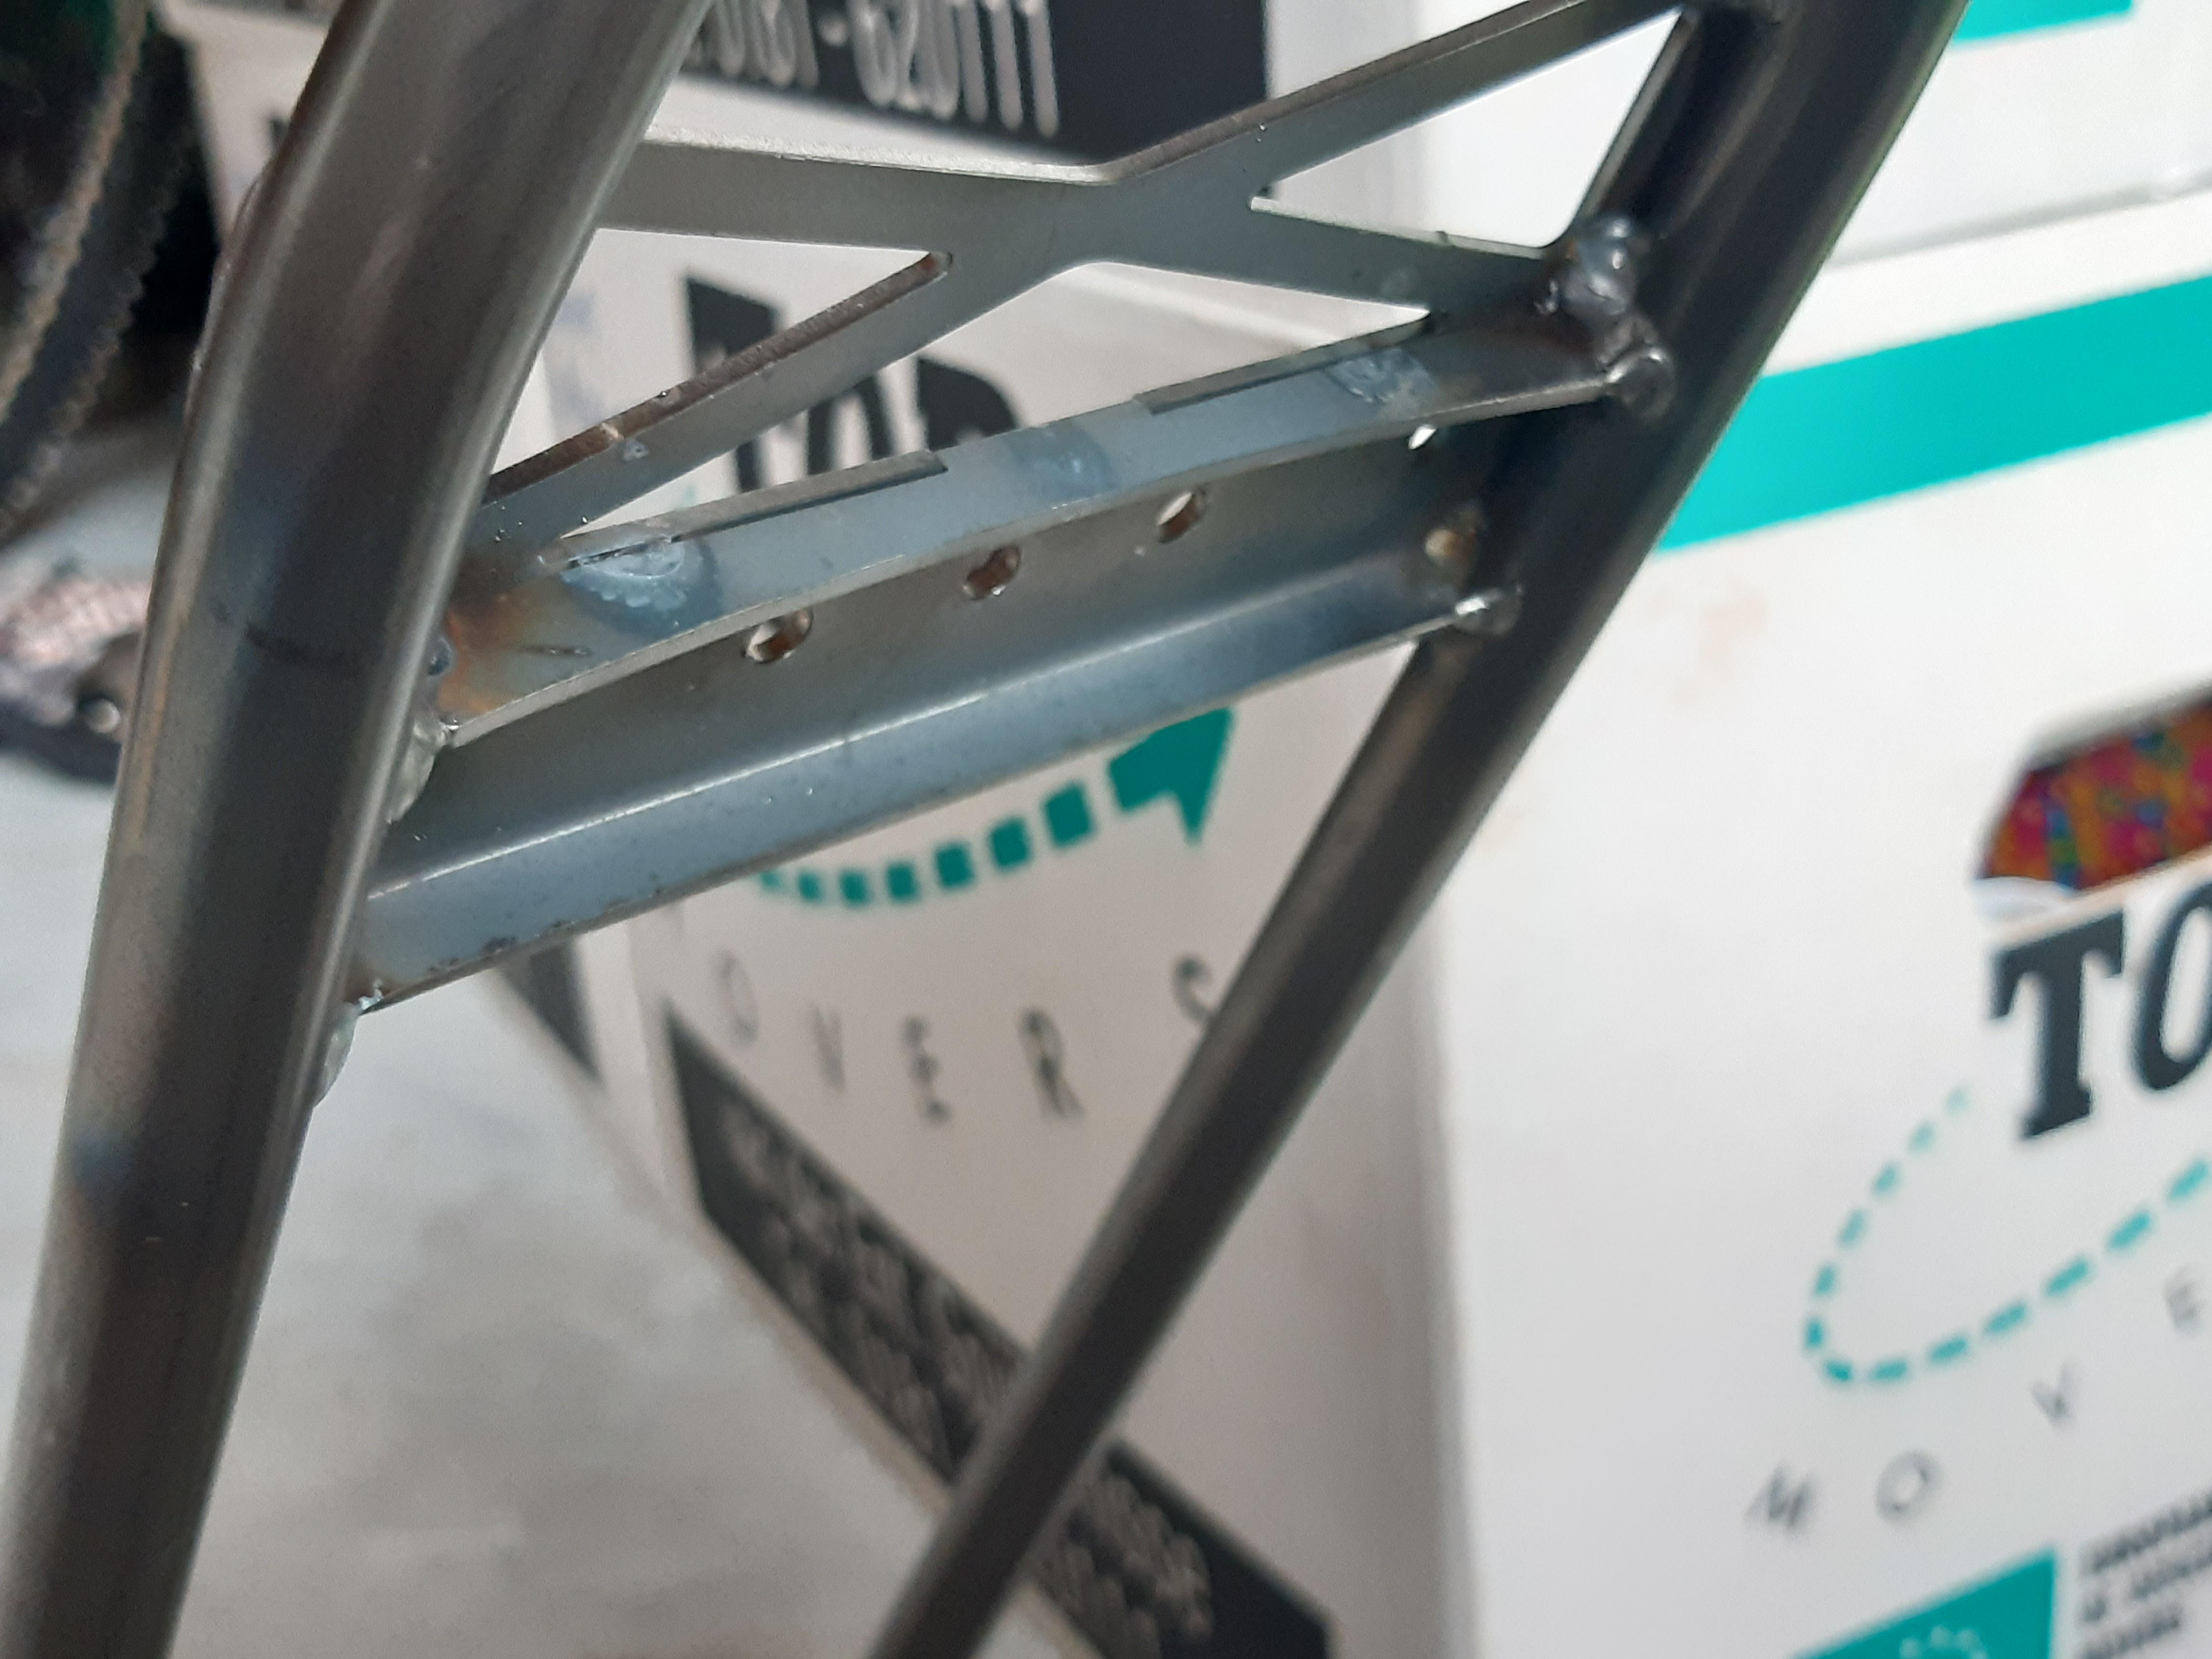
There have been some changes afoot as of late. Deleting/editing permissions have been changed. See Forum Talk thread for info...

Editing & Deleting

If you need anything changed, message Captain Awesome, Angie or myself and we should be able to make it happen. If you use the 'report' button, your request will be visible to all of us.
 
Velo Orange are very good, but supply is pretty short. I've been waiting for a set of their Tourist bars for a while
Just an update on this fiasco. Be careful if you order directly from the company. After processing my payment and confirming the order, a day later received an email saying that they would ship it once I sent them more money, as they weren't aware of the size box the bar they manufacture required. They wanted to more than triple the shipping costs.
 
Thanks for the explanation @RustyGold and @MattiThundrrr maybe I will report/change it later.

Assembly update:
I really like how it turns out so far. Everything fits perfectly. Had to remove a bit of paint for the front "through axle", no prob.

Don't know about the purple Hope seatpost clamp yet......
The stem is temporary!

IONO8mM.jpeg

r0wBsLD.jpeg

J6XN1b1.jpeg

KfUSQ5a.jpeg

G3e4iAu.jpeg

Option for belt drive still available!
QHmsnXS.jpeg

4loKlej.jpeg

BMX crankset (Salt).
 
The purple is a little jarring, clashes with the red. Hub, headset, rims, stem and crank are black, I'd suggest keeping it simple, sticking to one accent color
 
Goodmorning readers, builders etcetera!

Assembly Update:

I assembled the rear rack, fenders (SKS Bluemels 75u) and more.
Not really happy with the huge rear rack. It is a "Steco Power Safety". Quality is fine, but the tubing is 15mm (the standard bike bags are for 10-12mm tubing is my experience). And it stick out too much to the rear, also due to my long chainstay of 550mm. This rack can carry 35kg, a bit more than the racks on your average commuter bike, which can mostly carry 15-20kg.
So I decided to not use this rack.

MIQeA15.jpeg

Picture above: The carrier that I will nog use.

The days after I went to a second-hand store and bought an old 90's mountainbike rack for 70 cents :whew: 
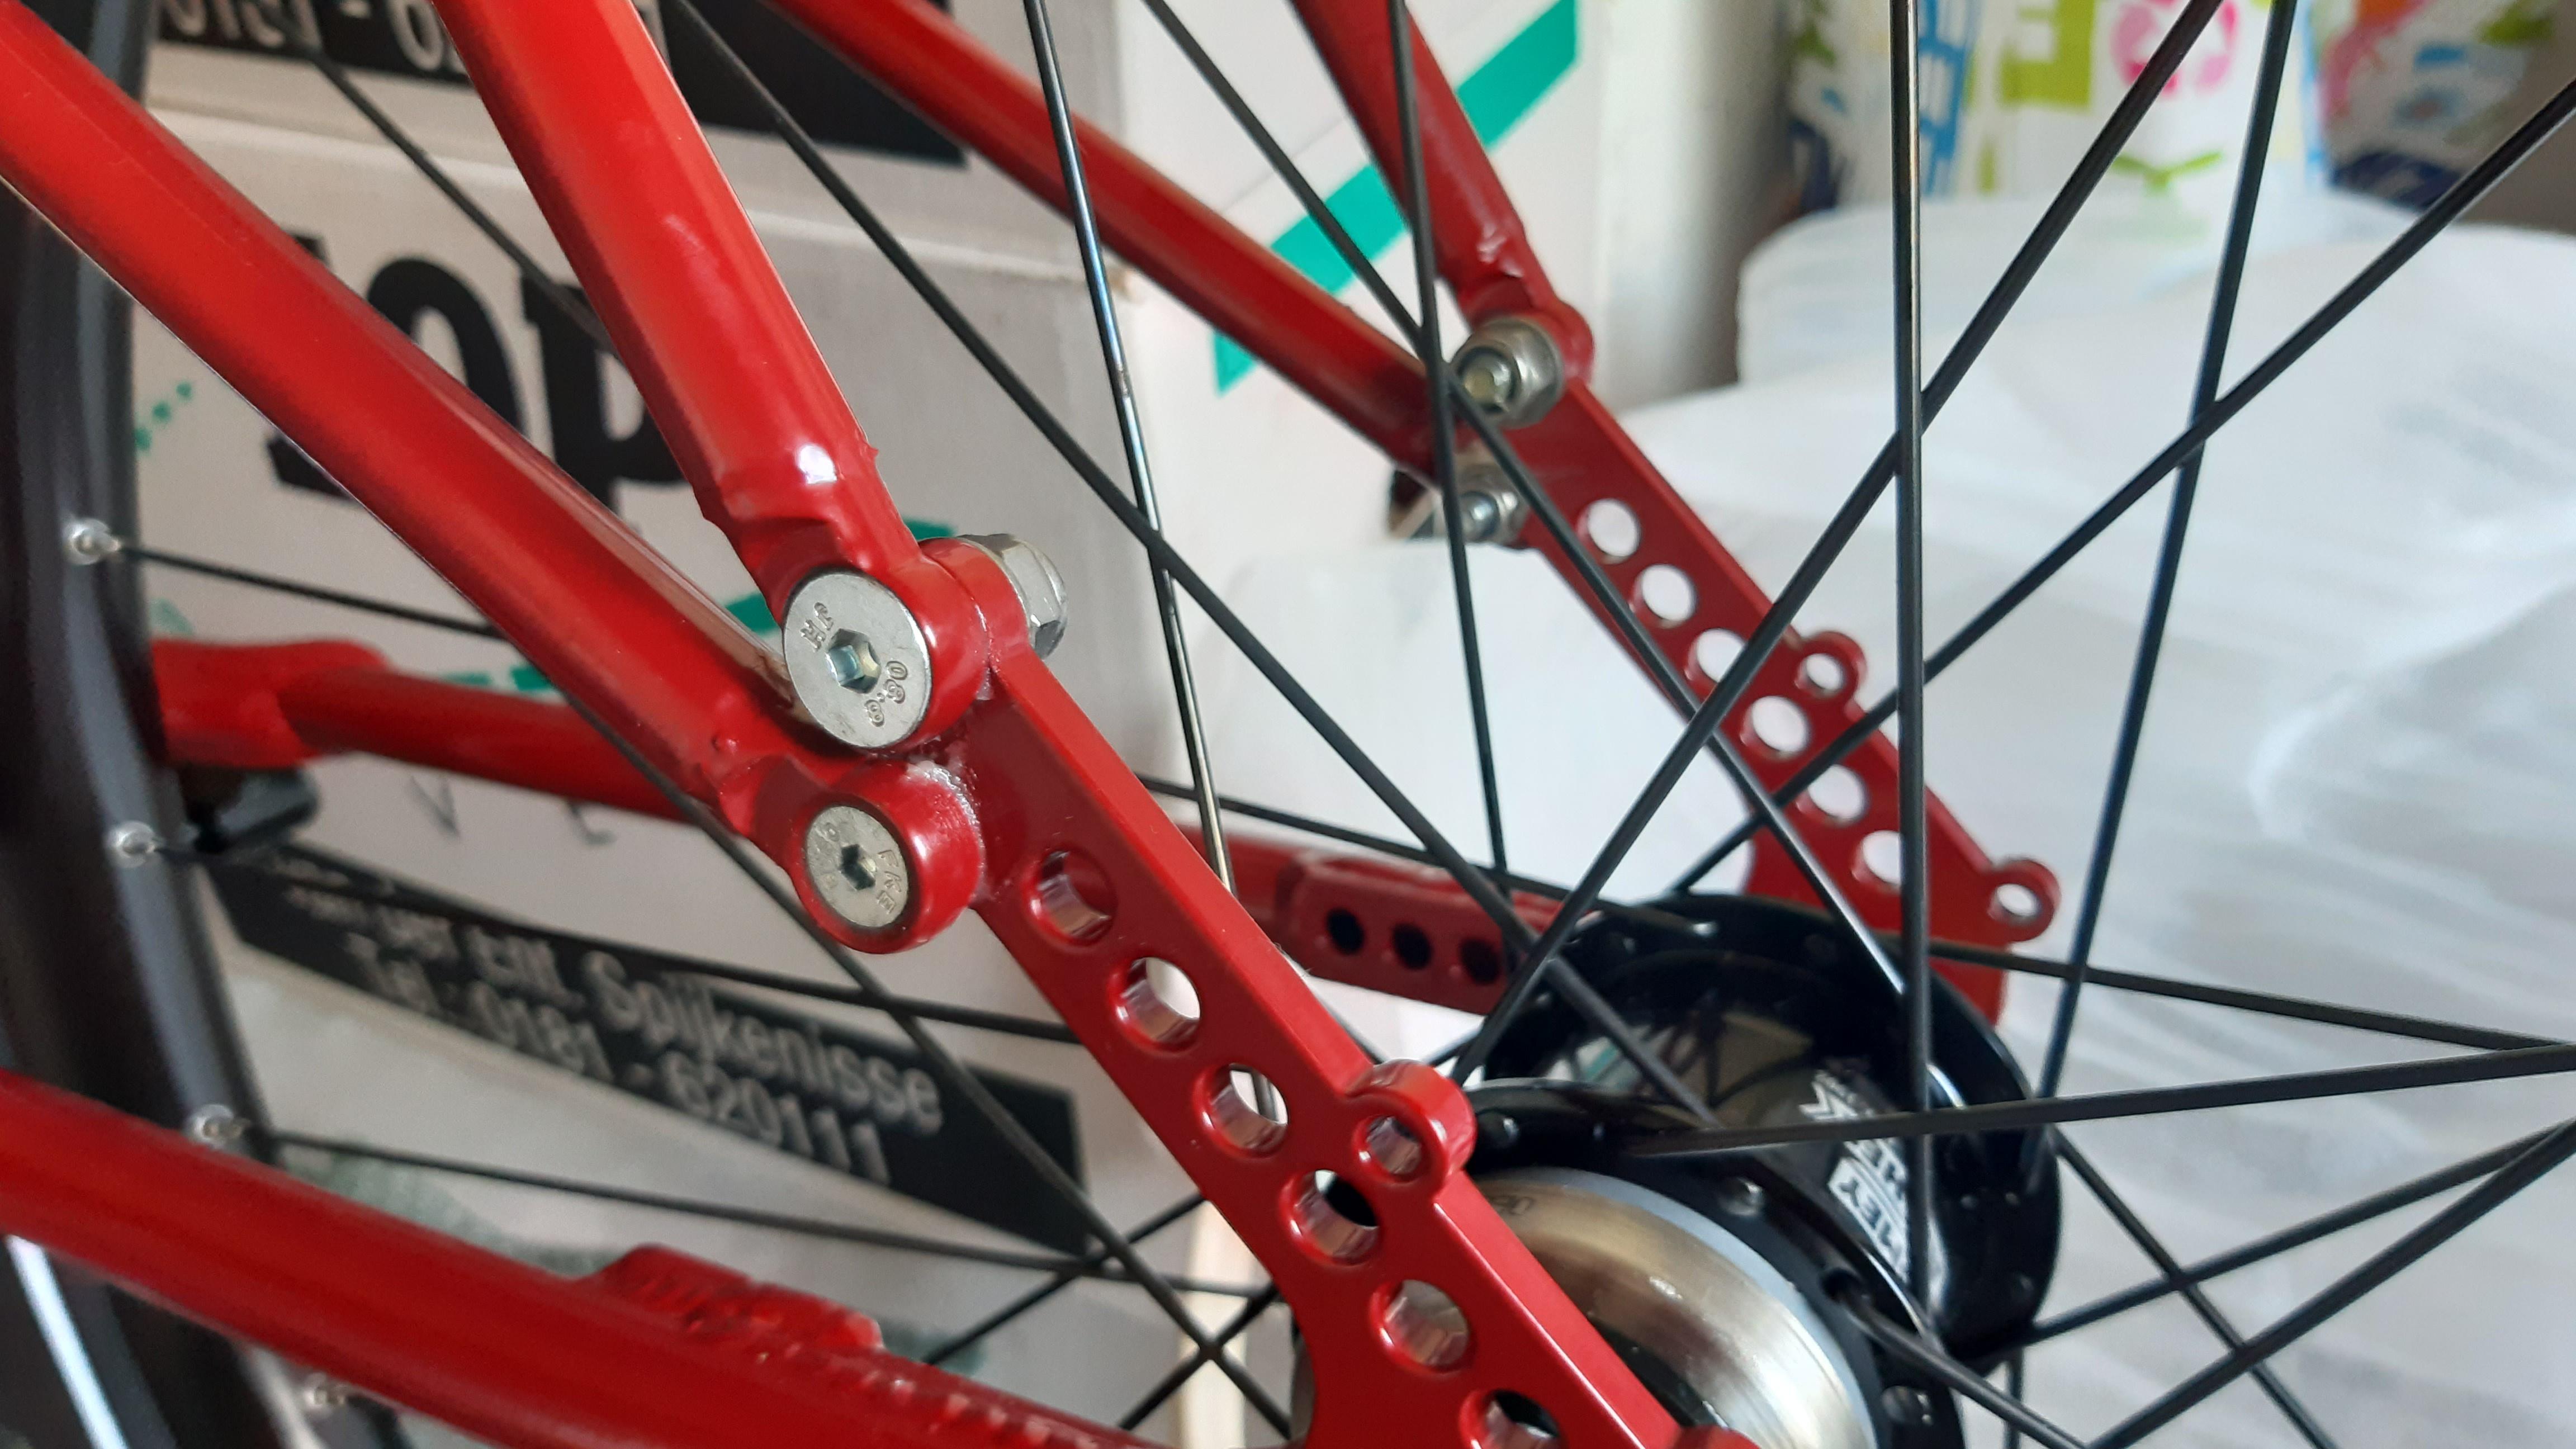
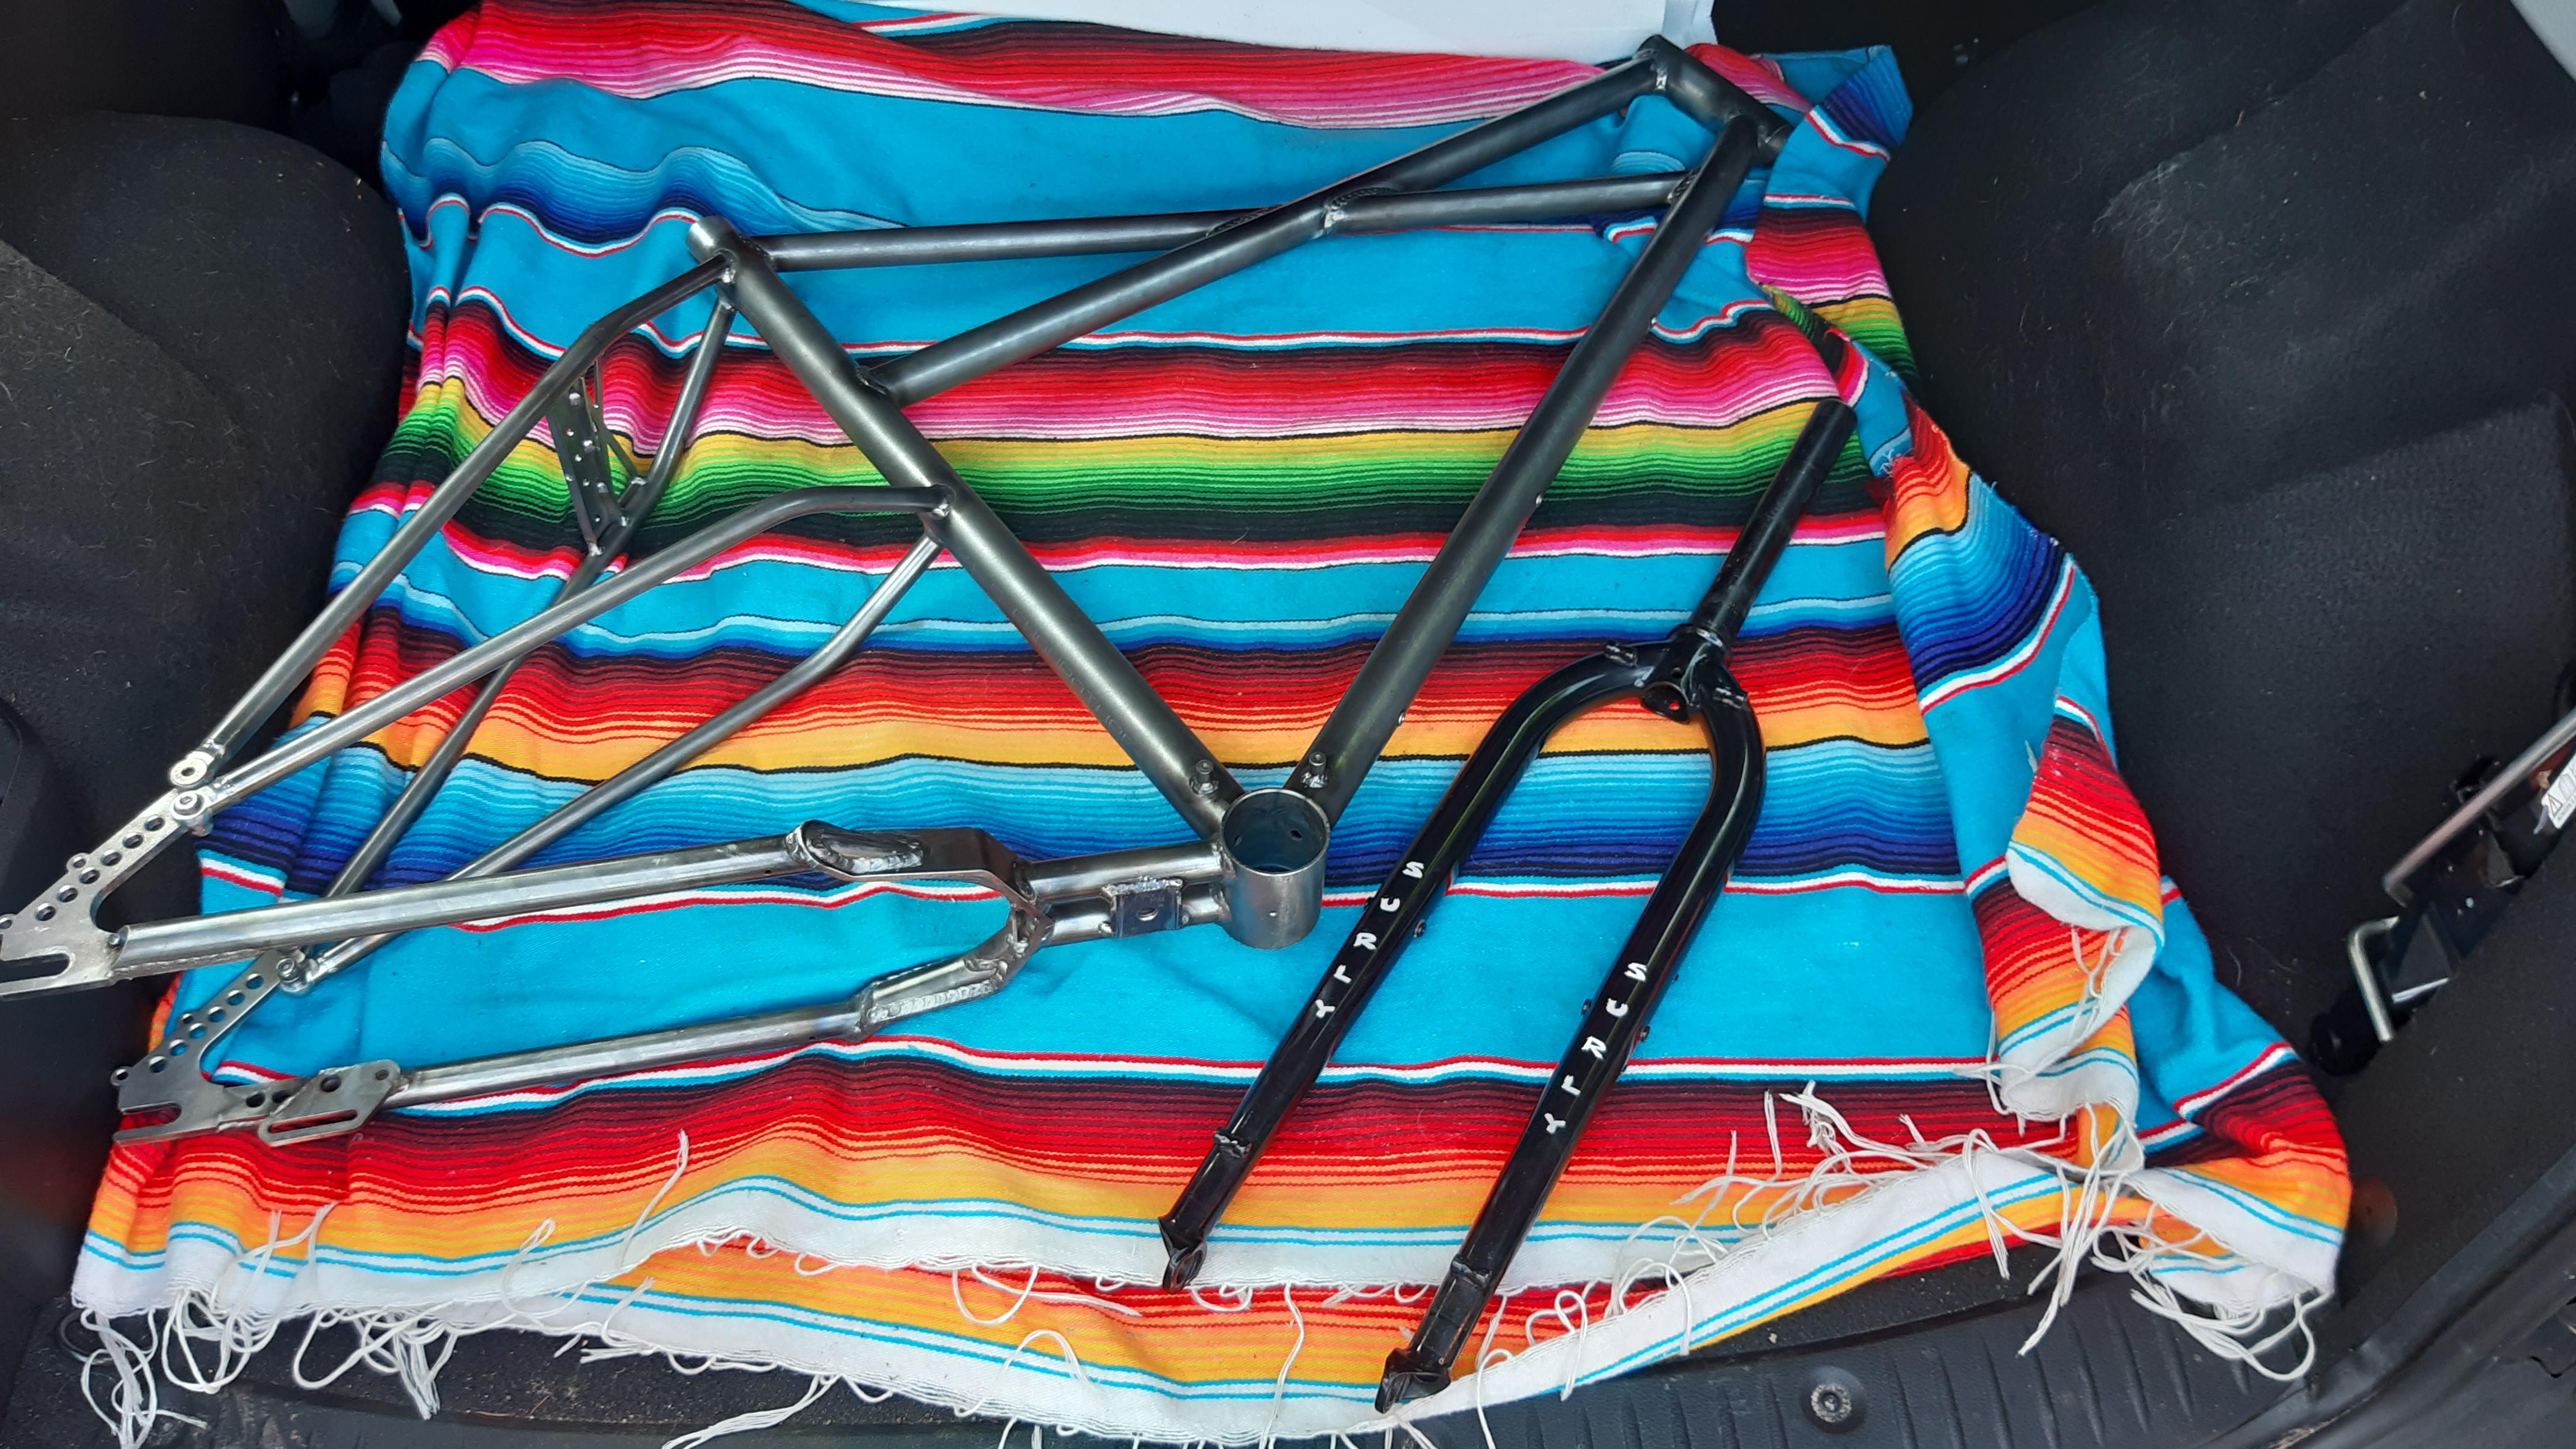
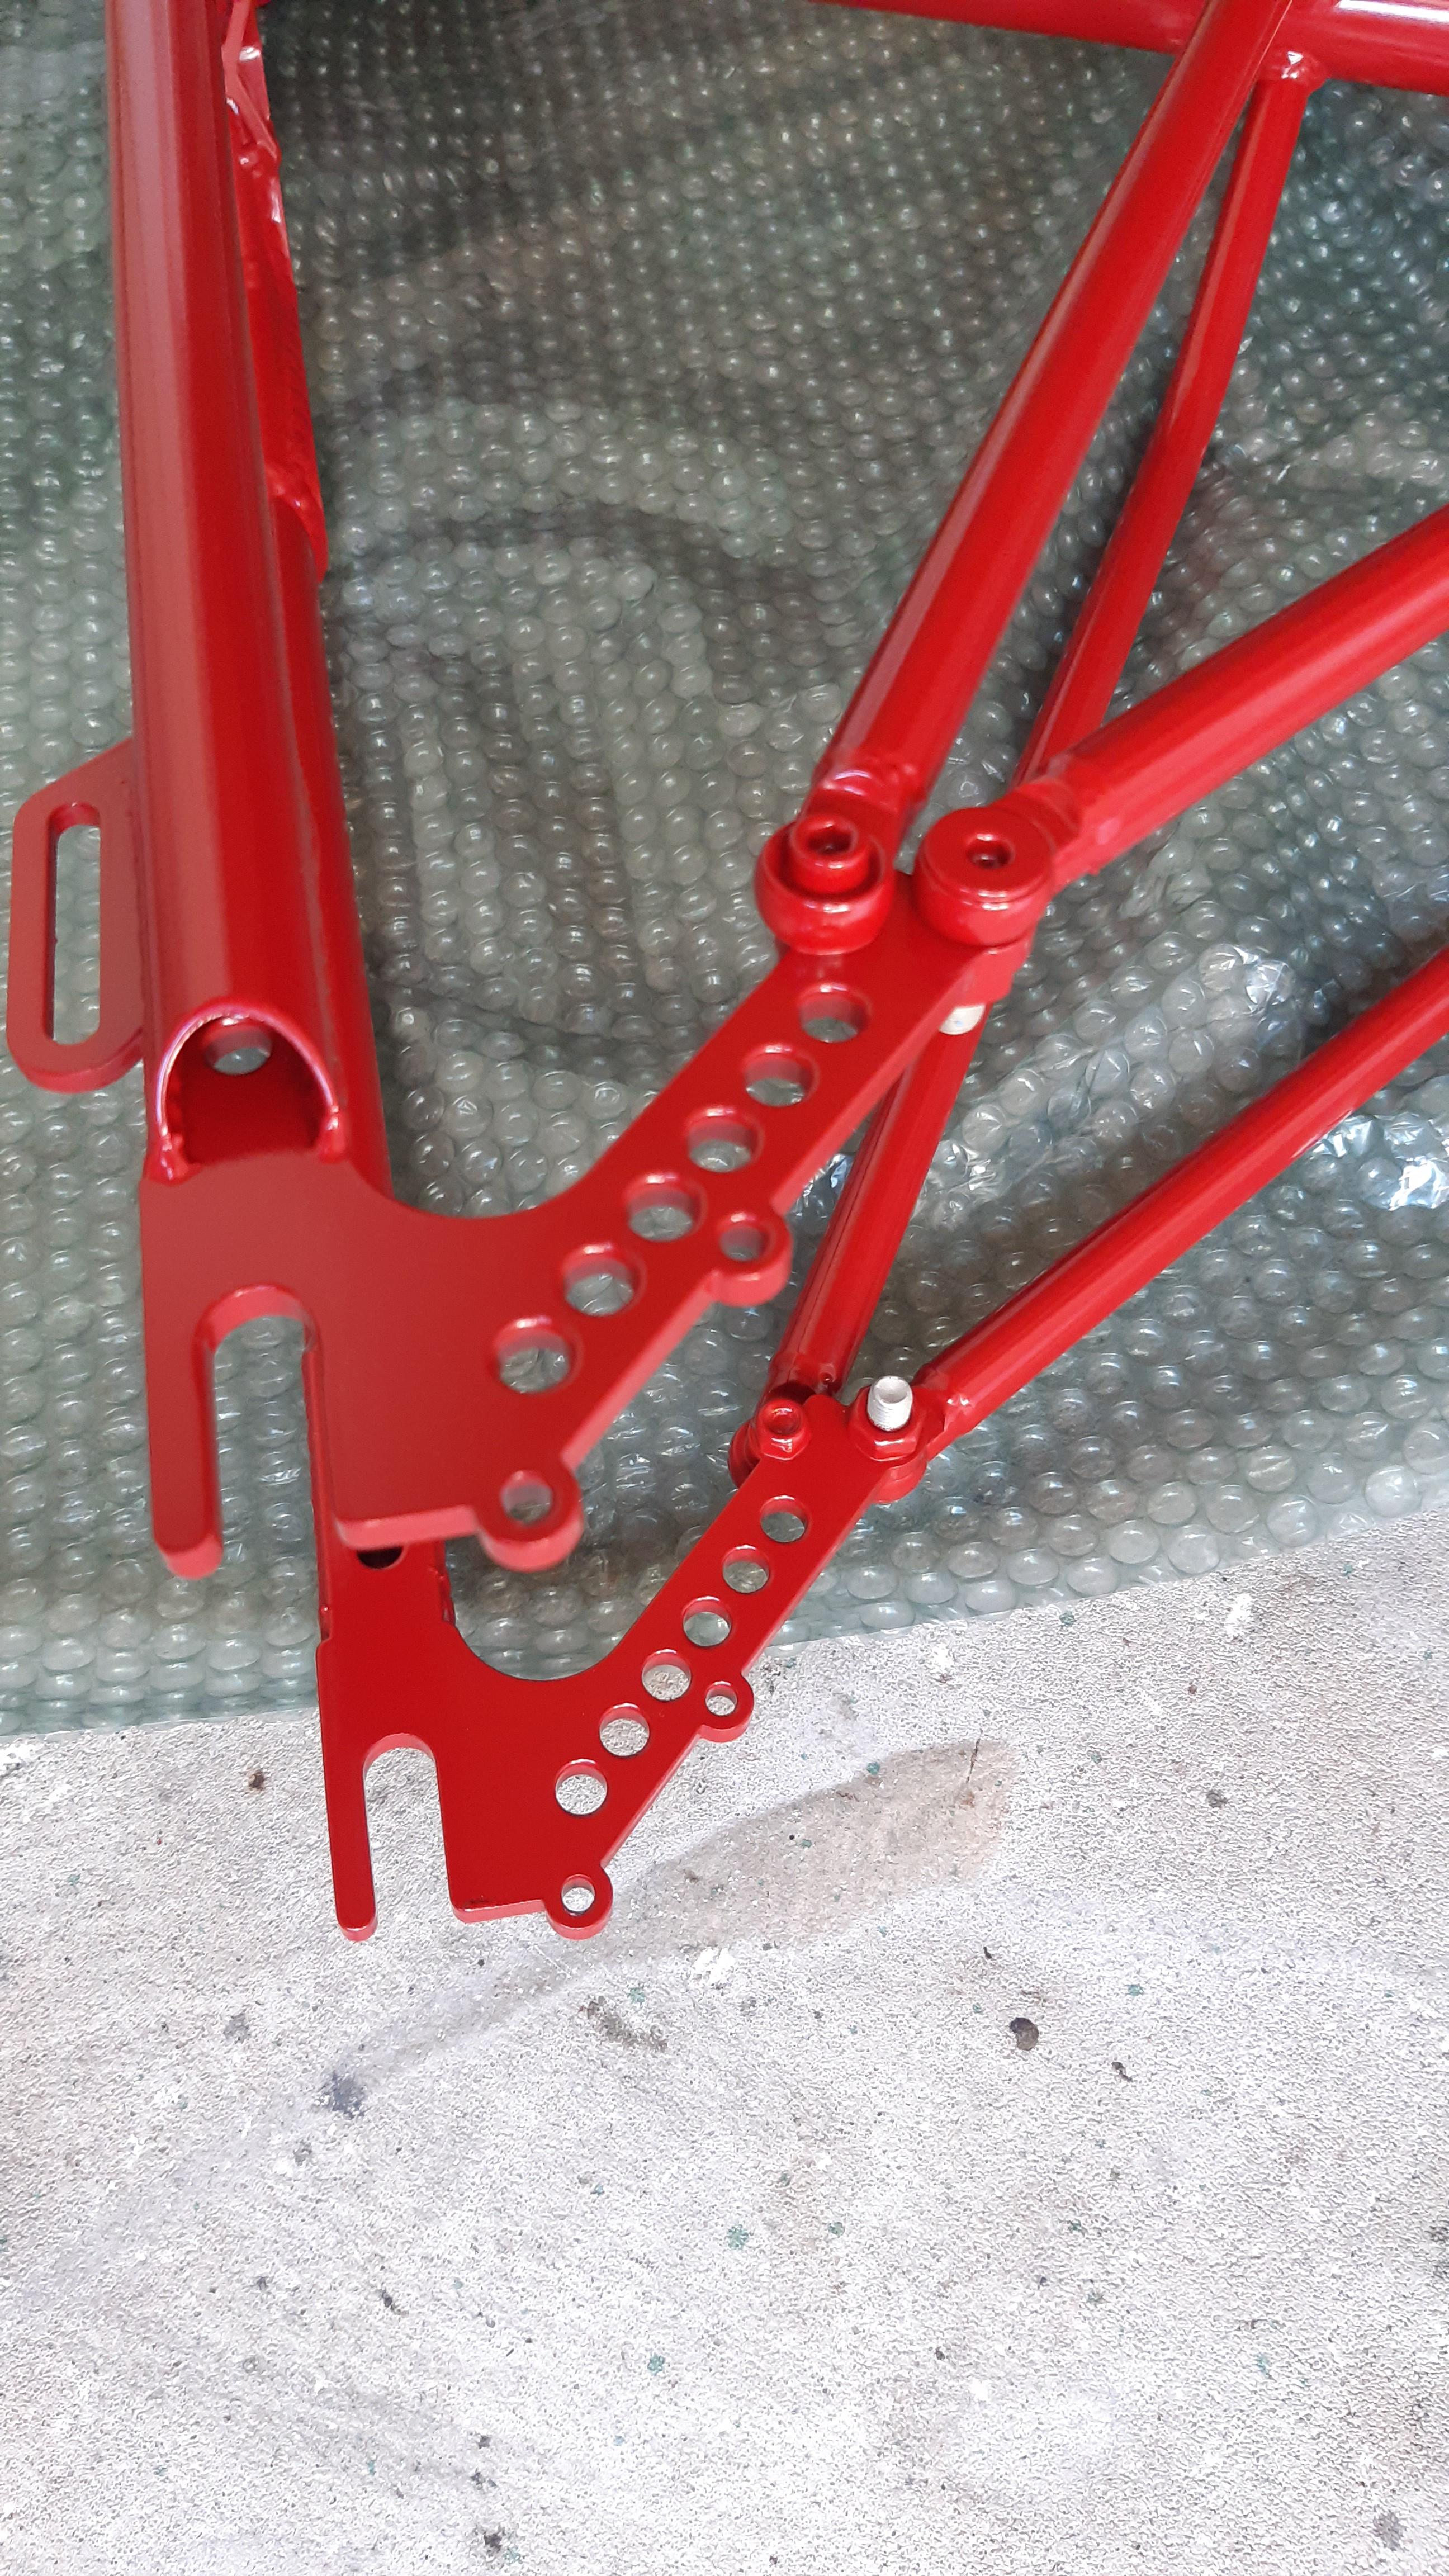
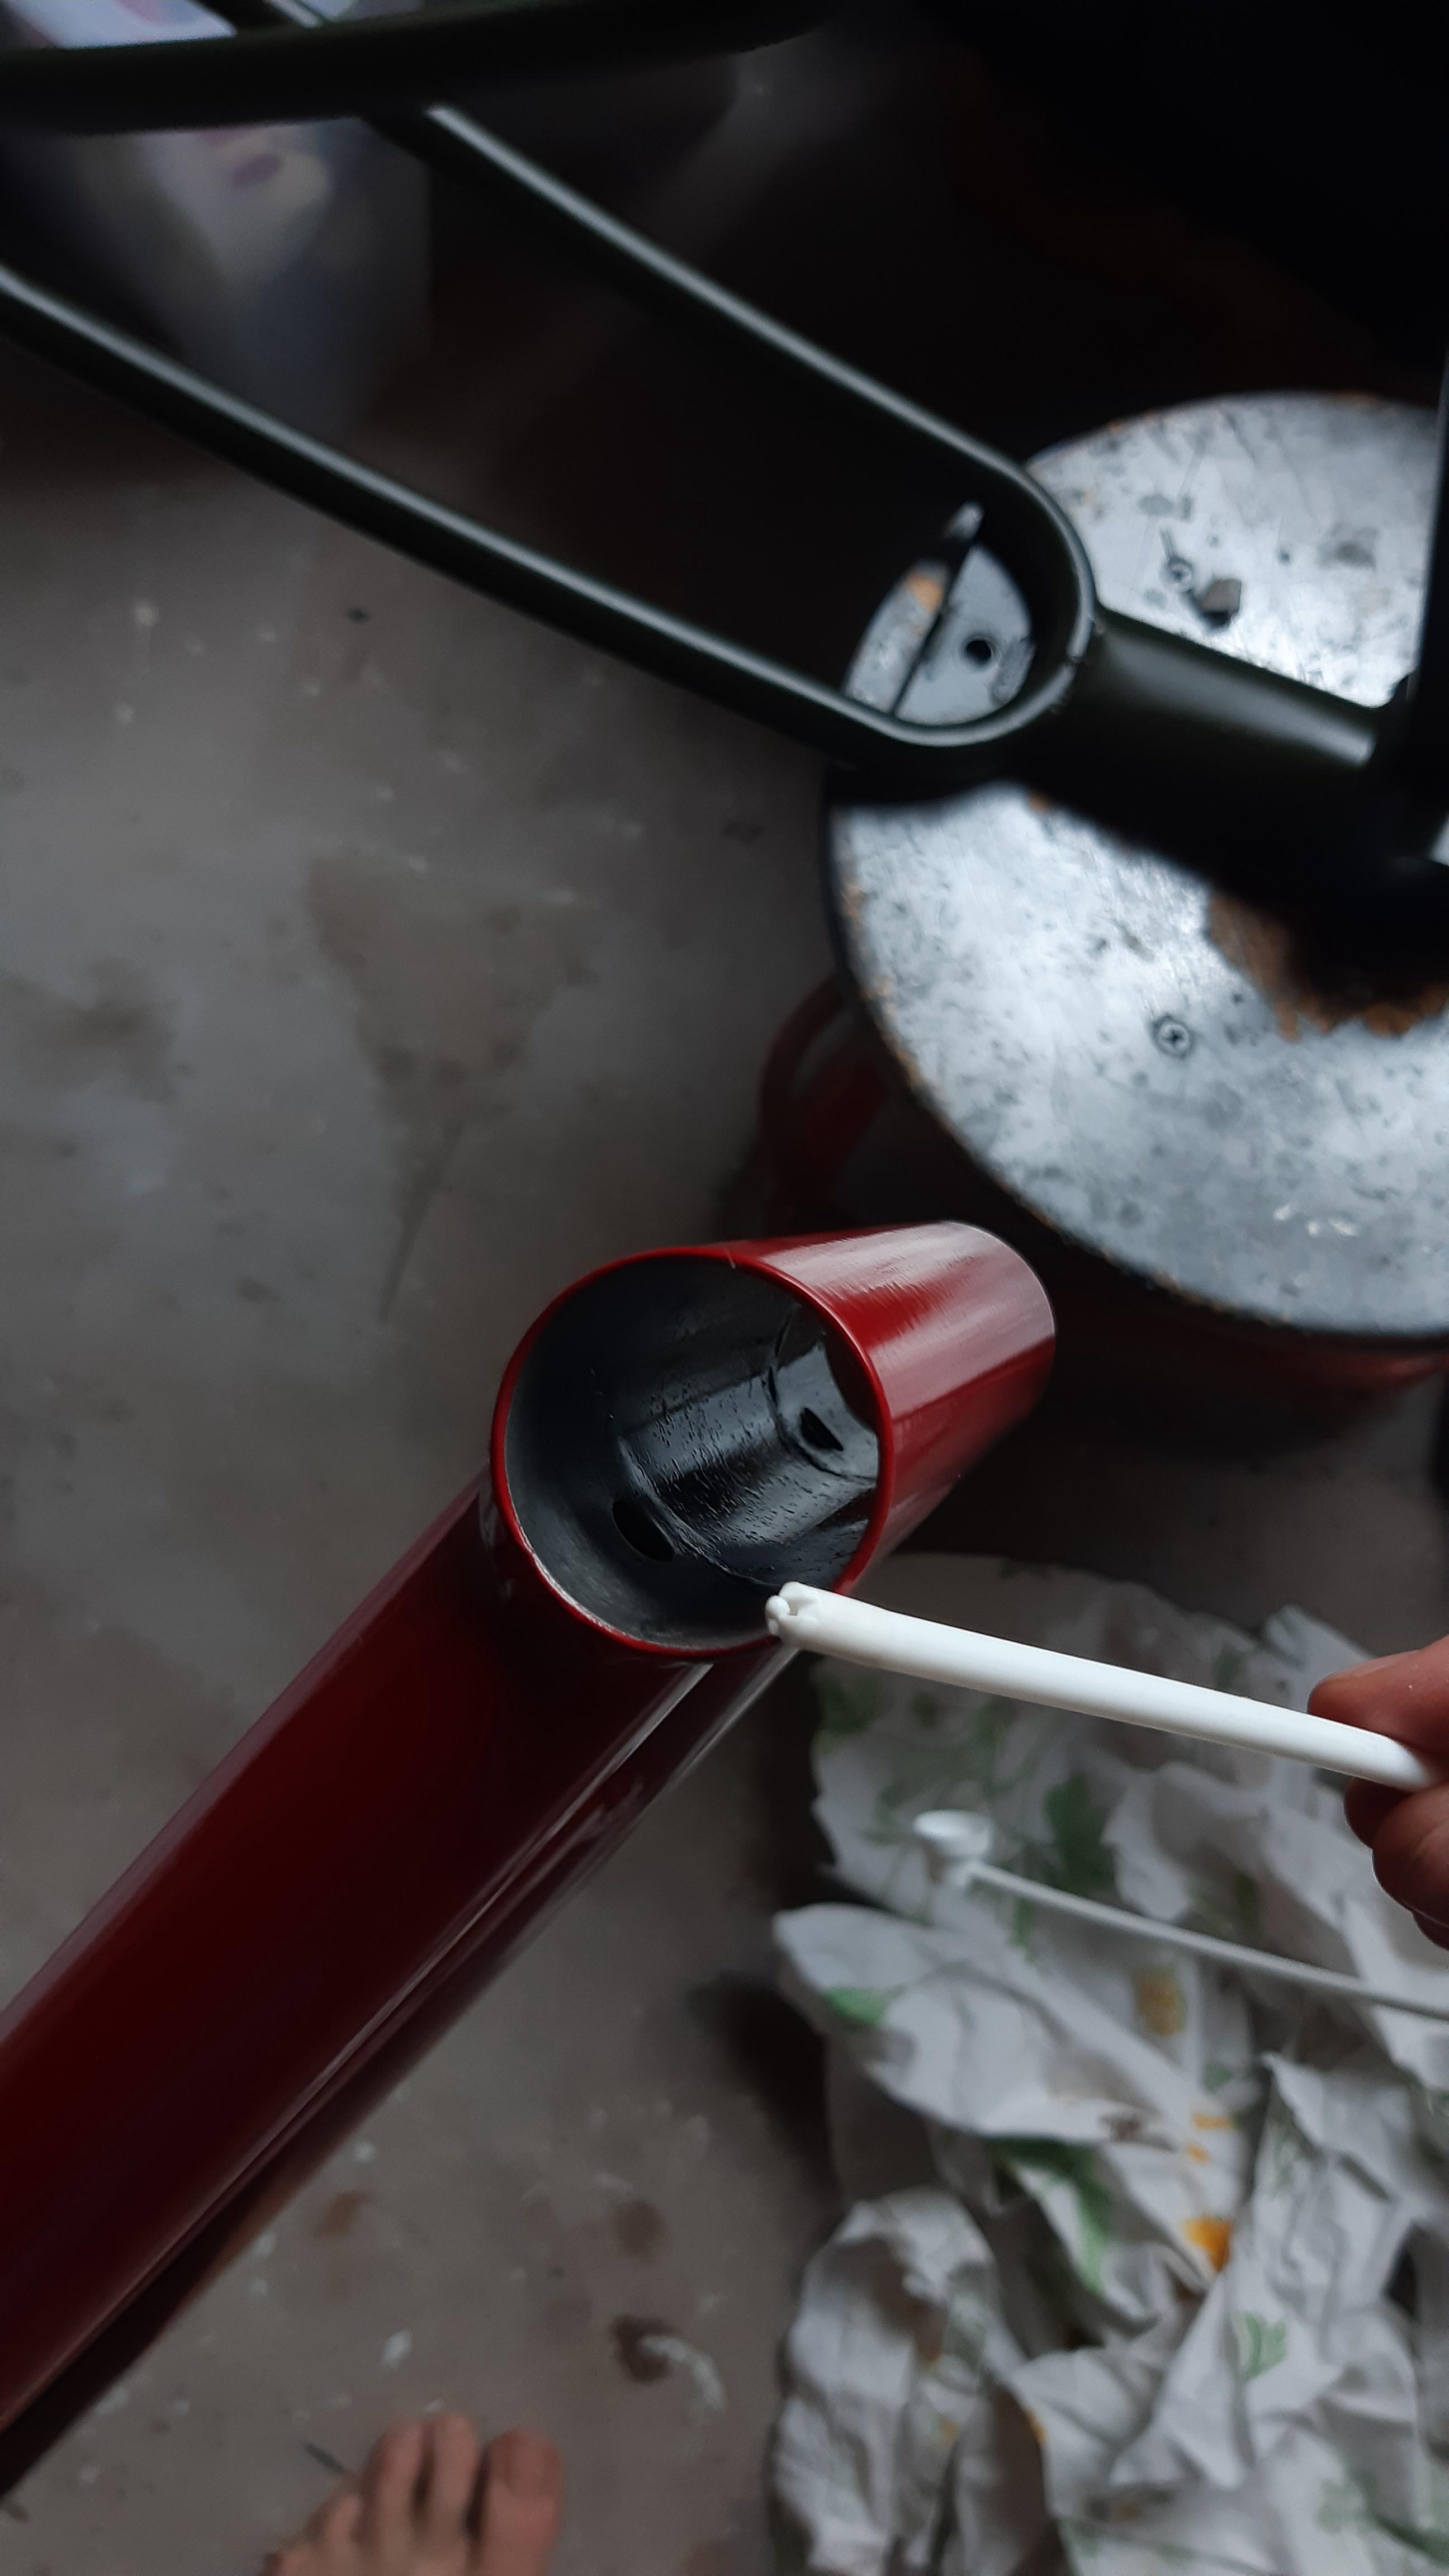
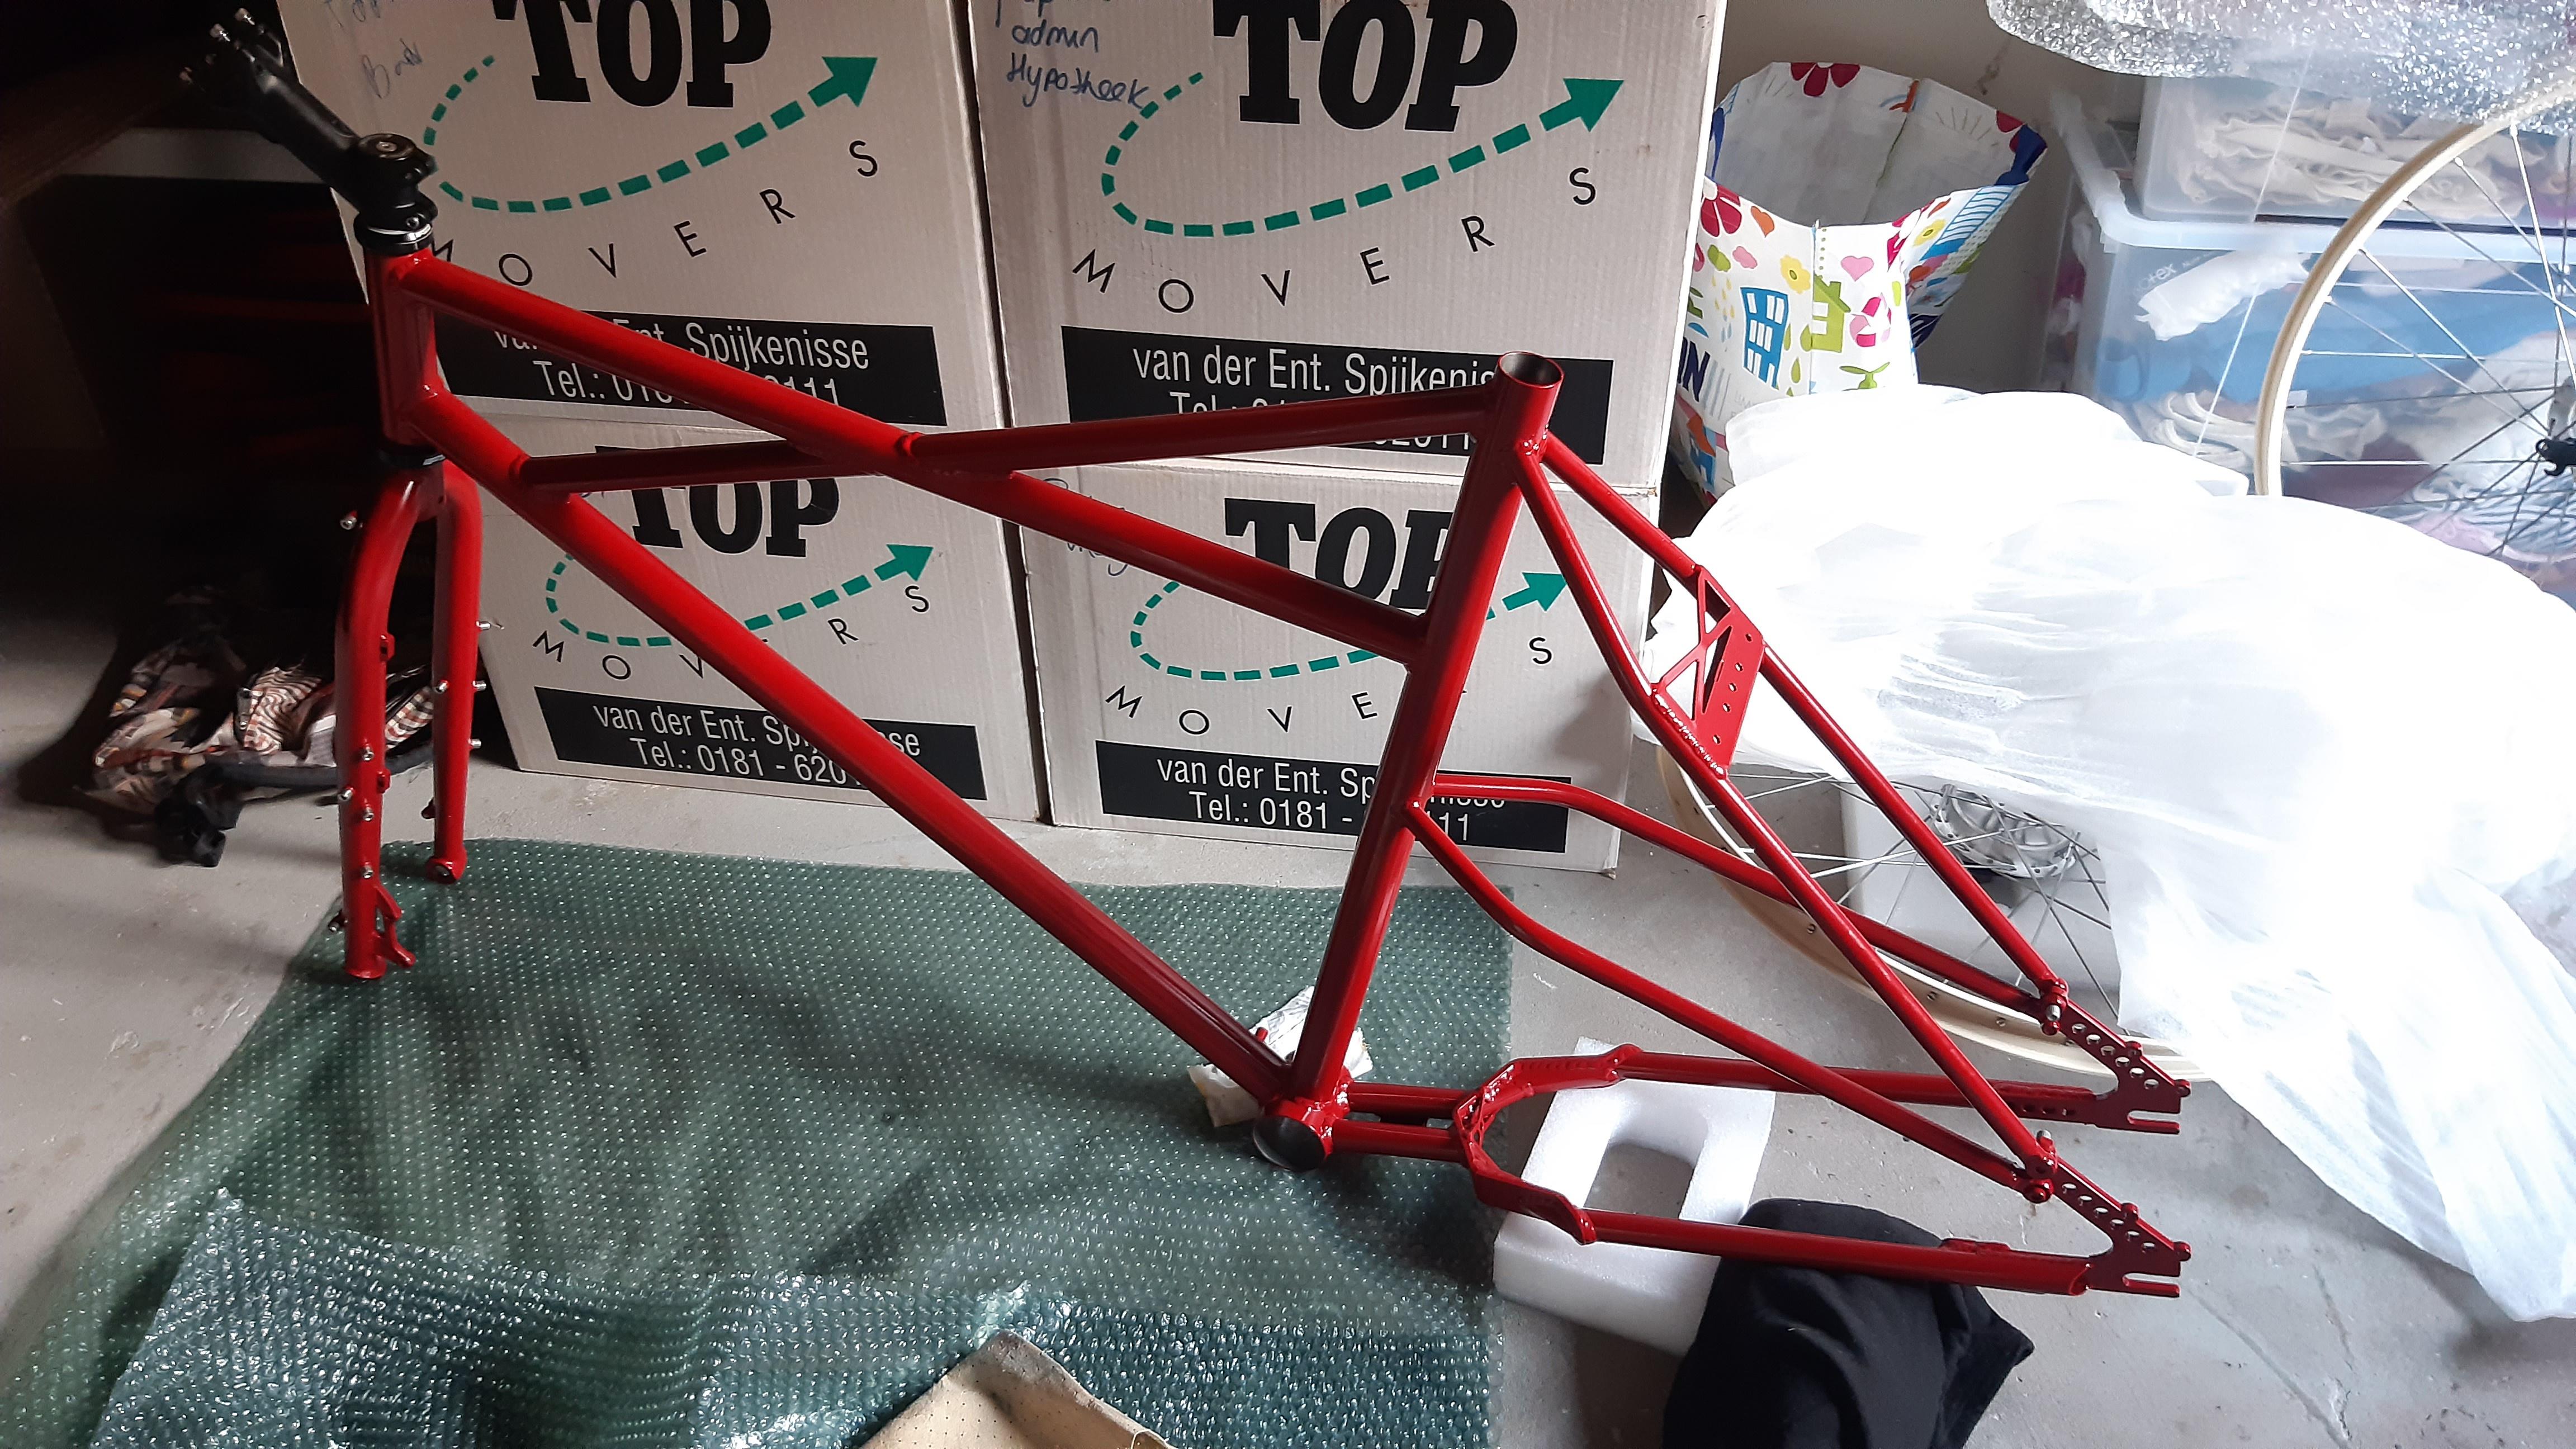
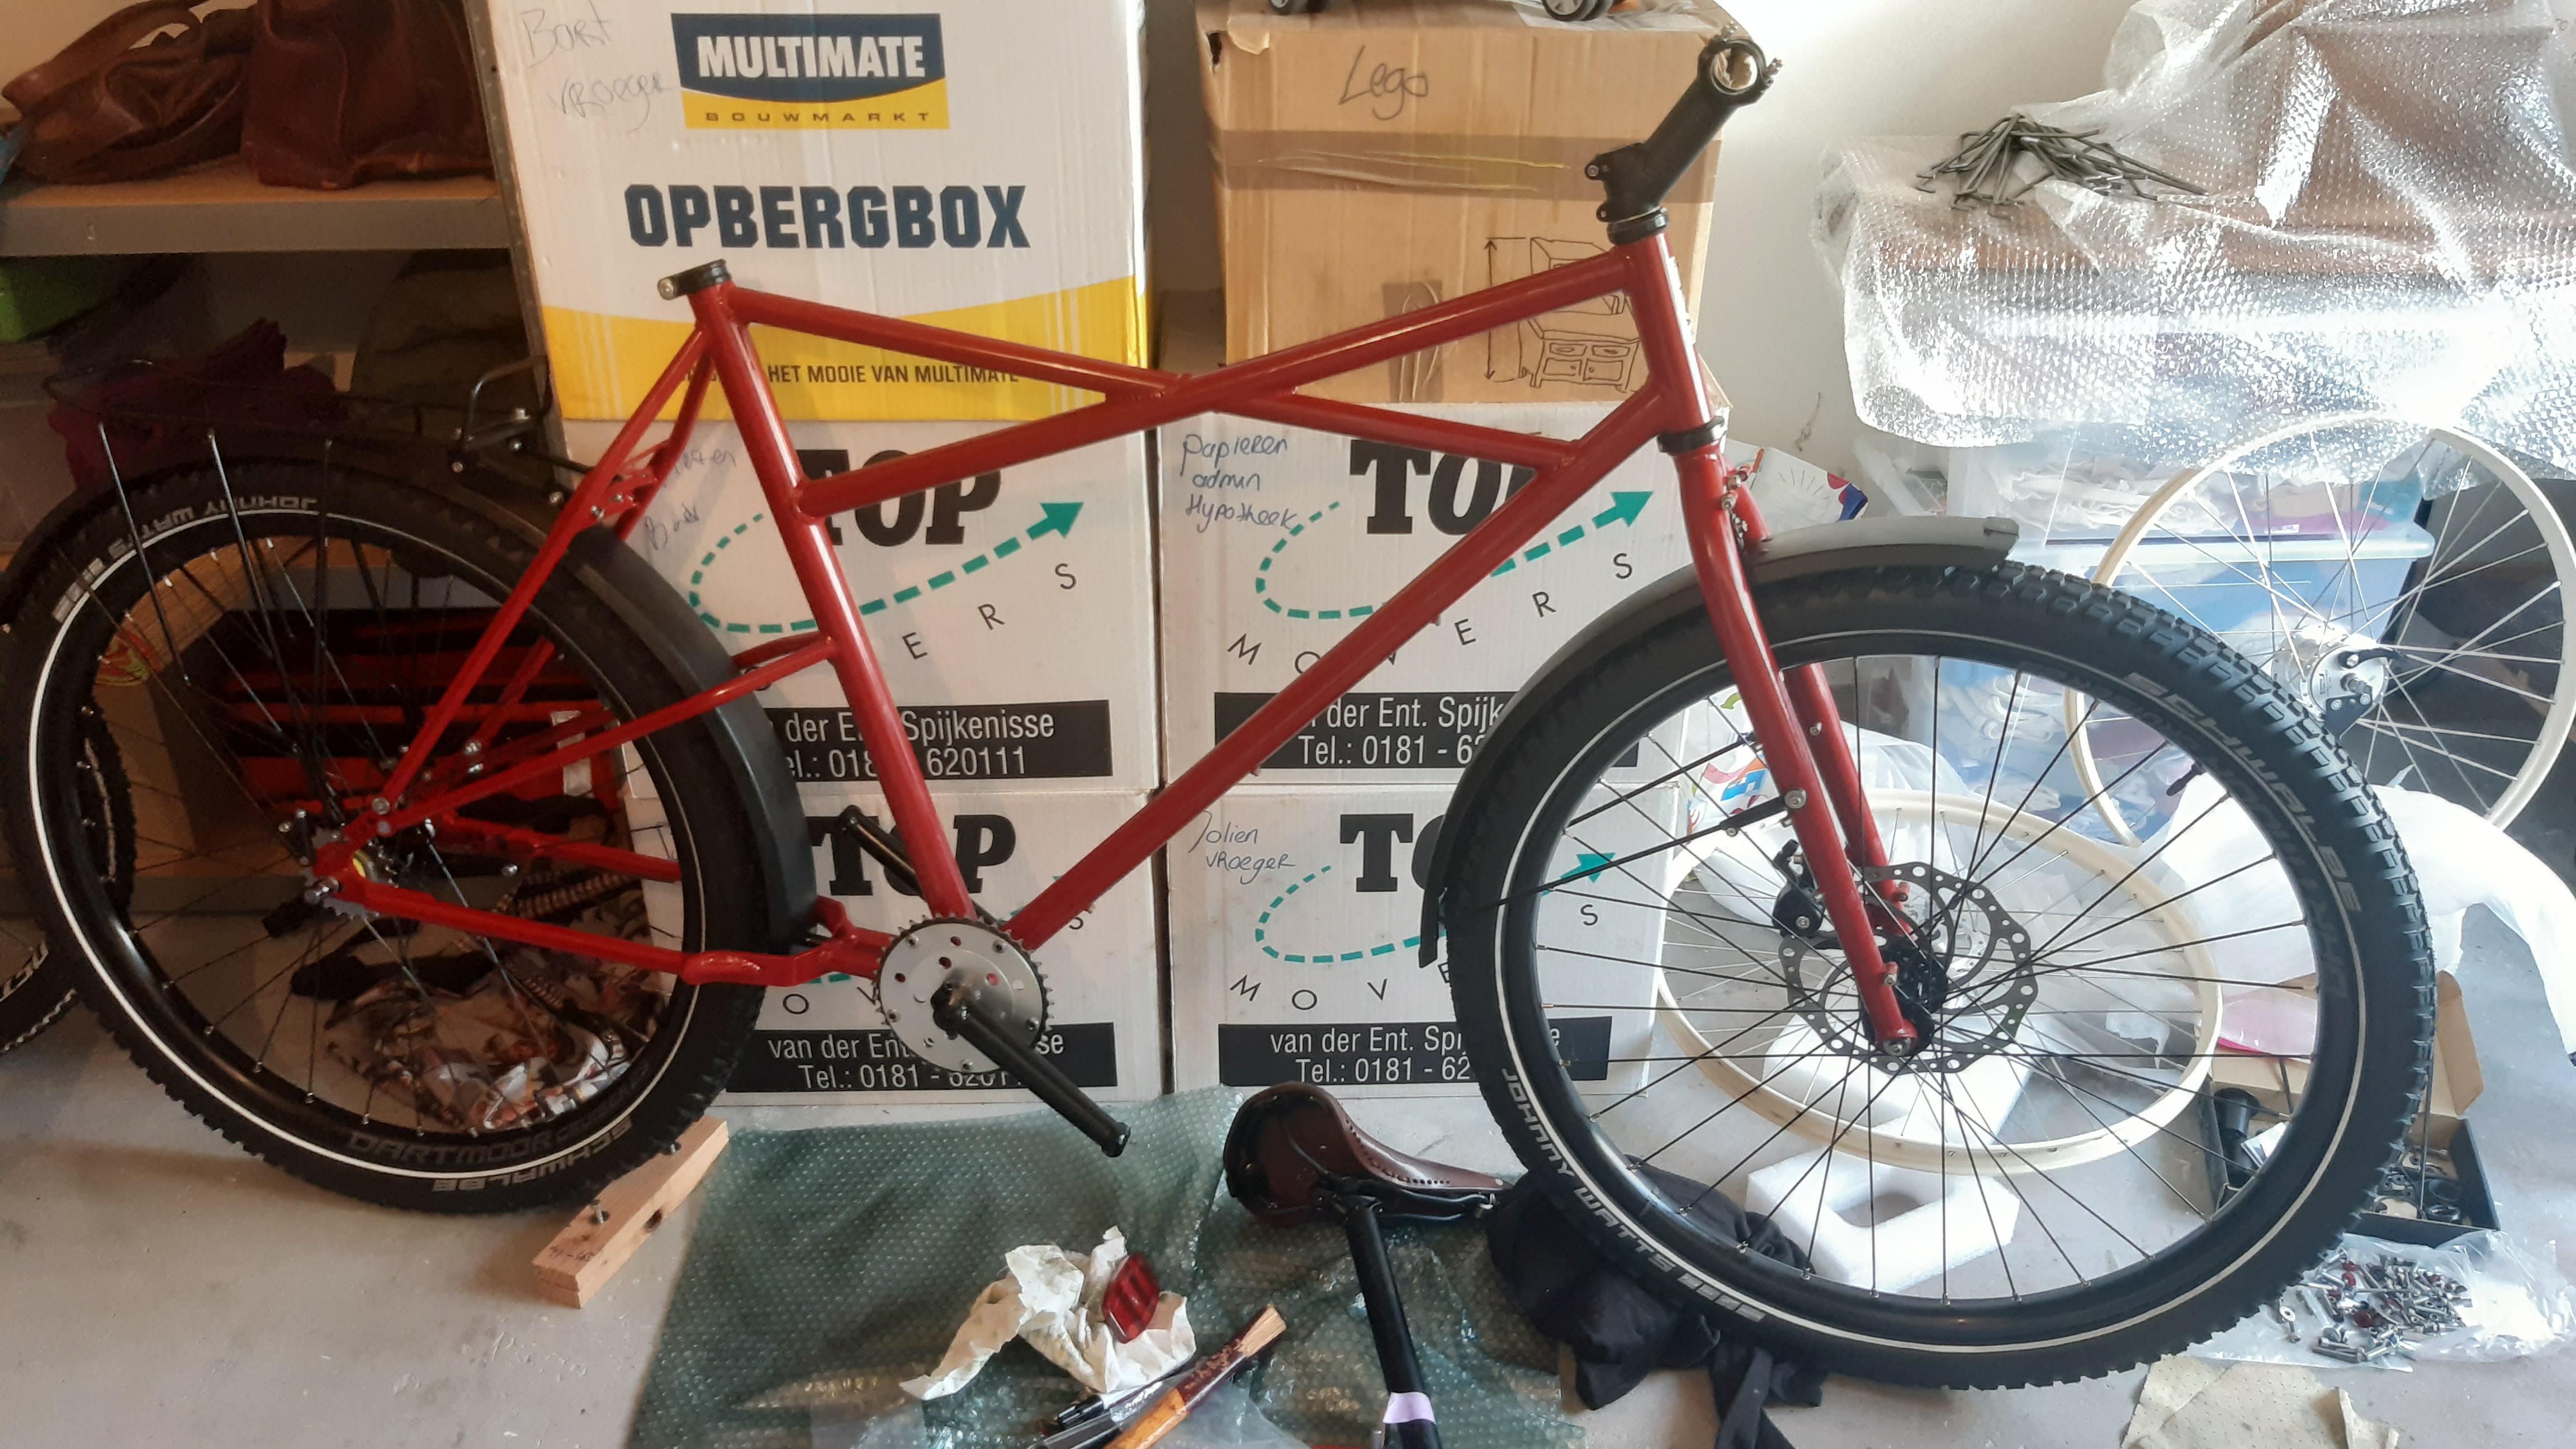
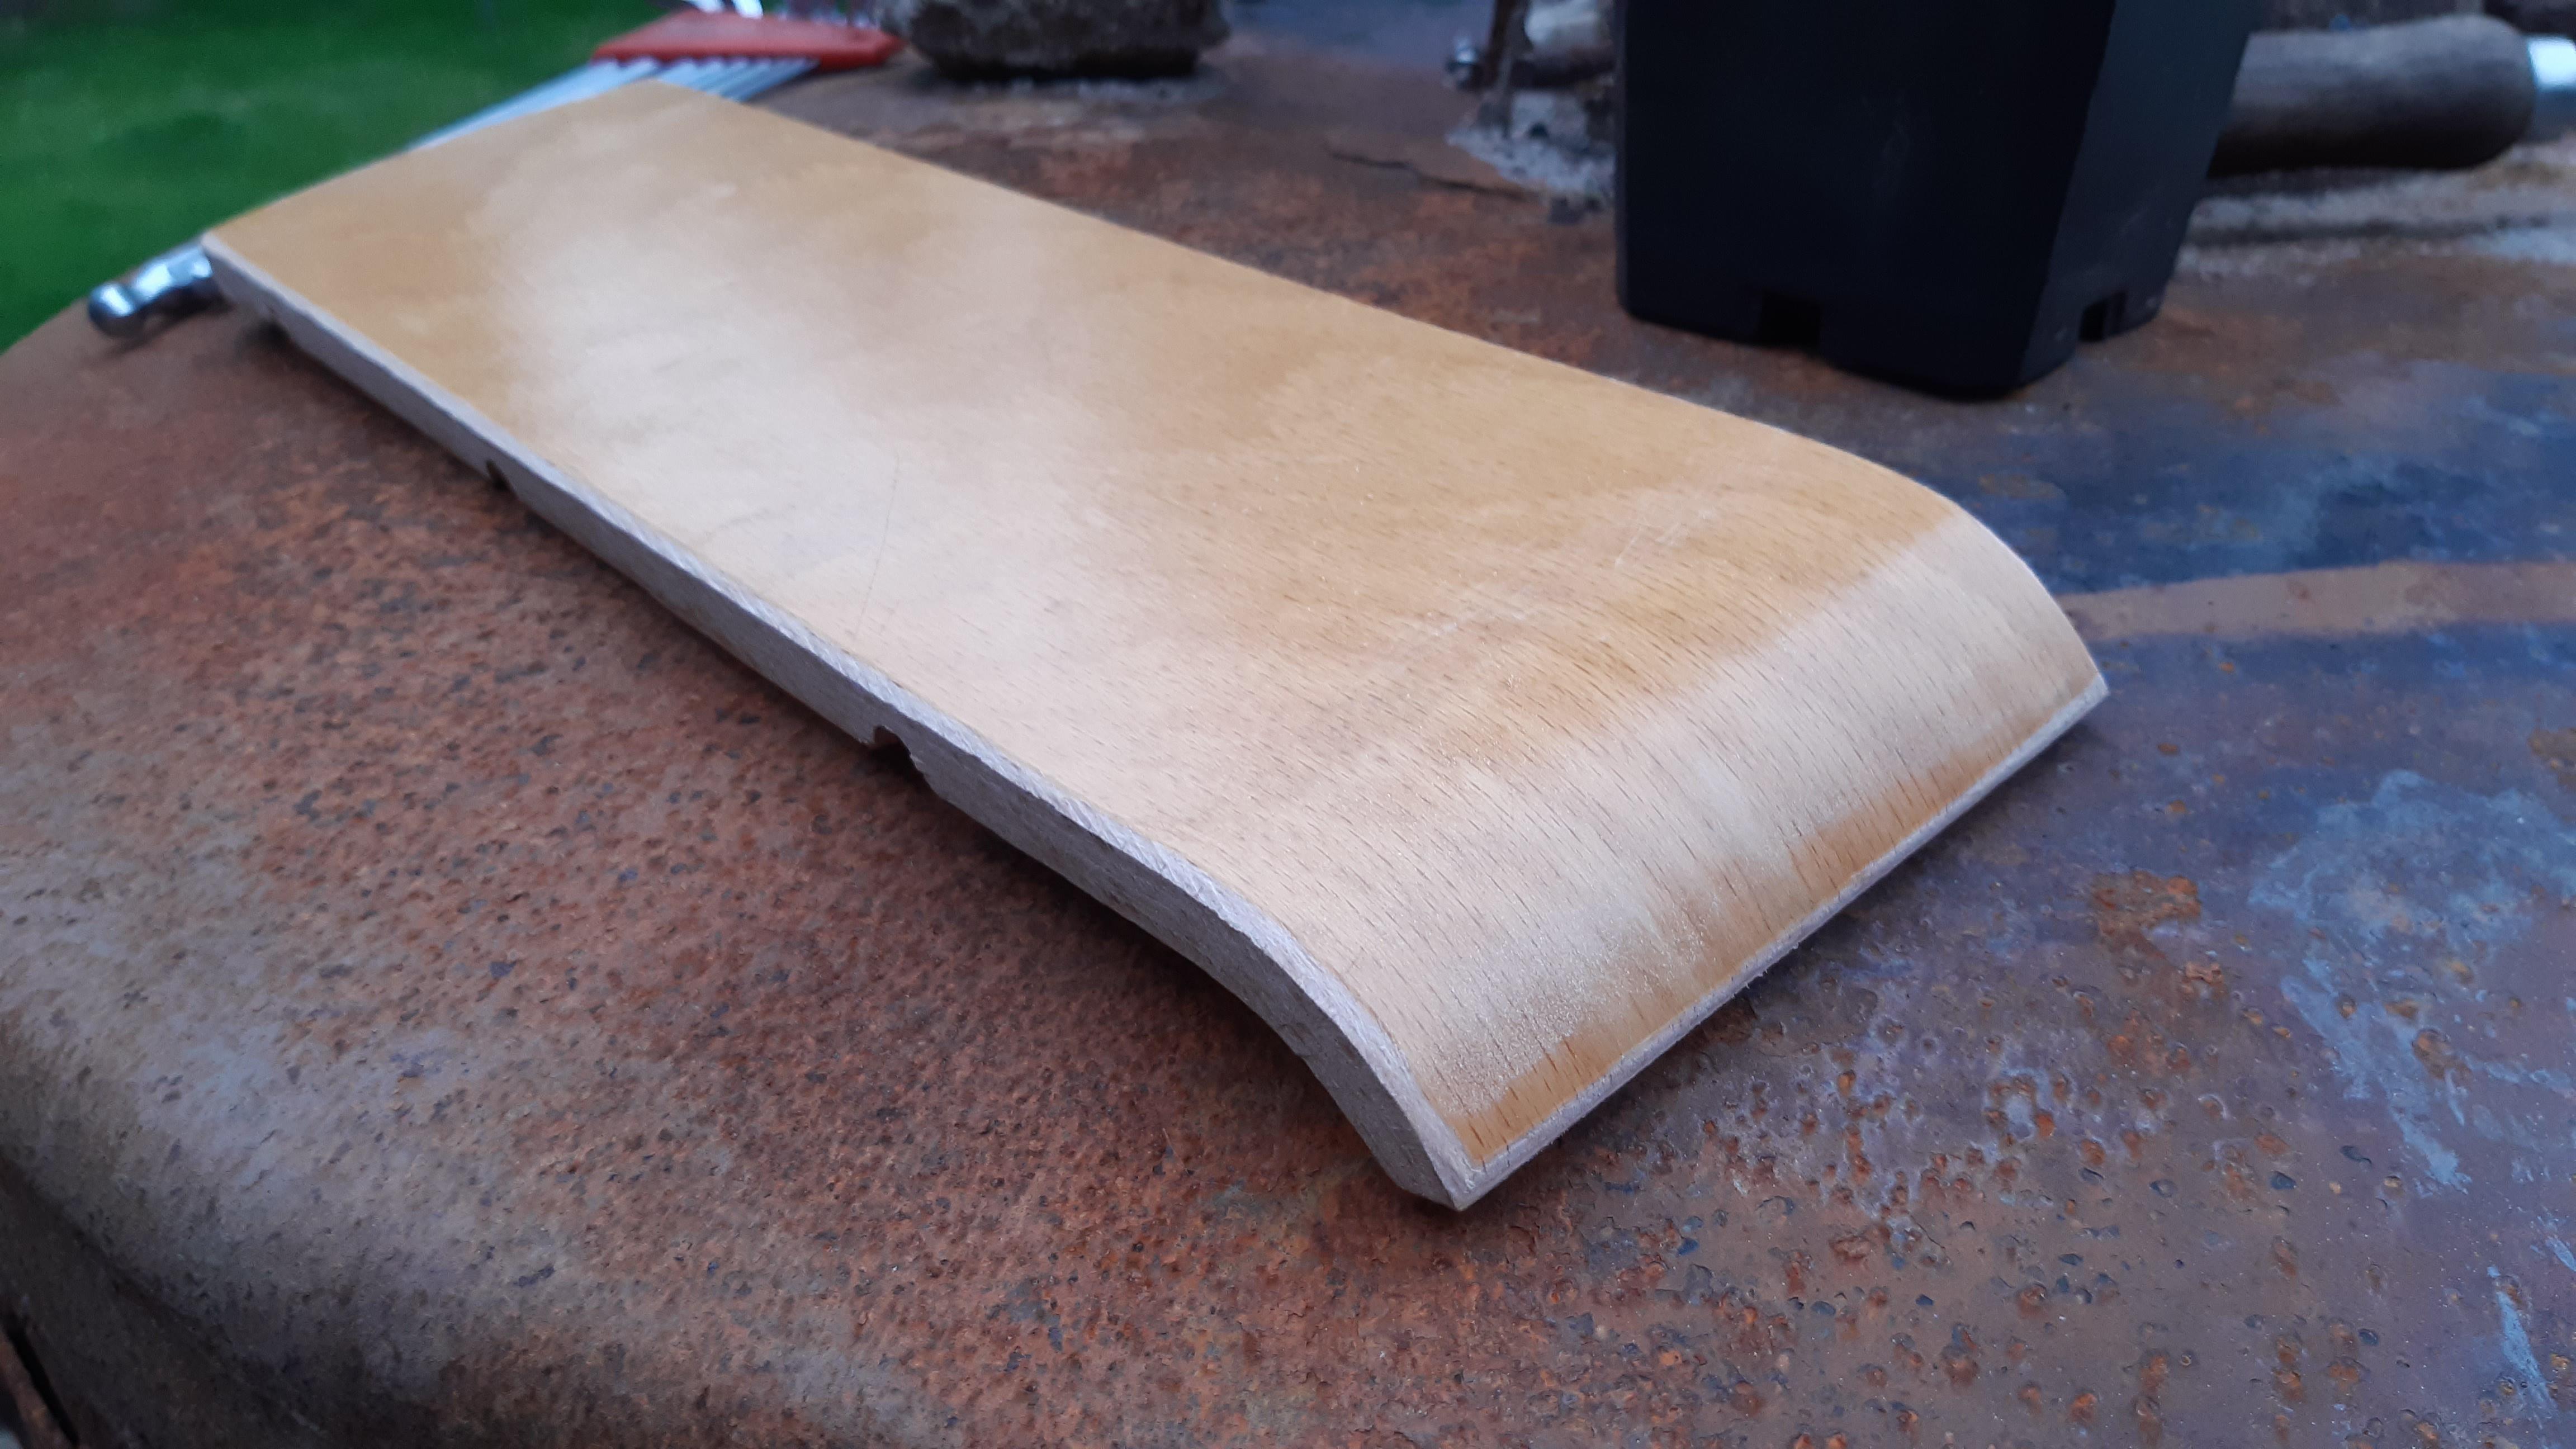
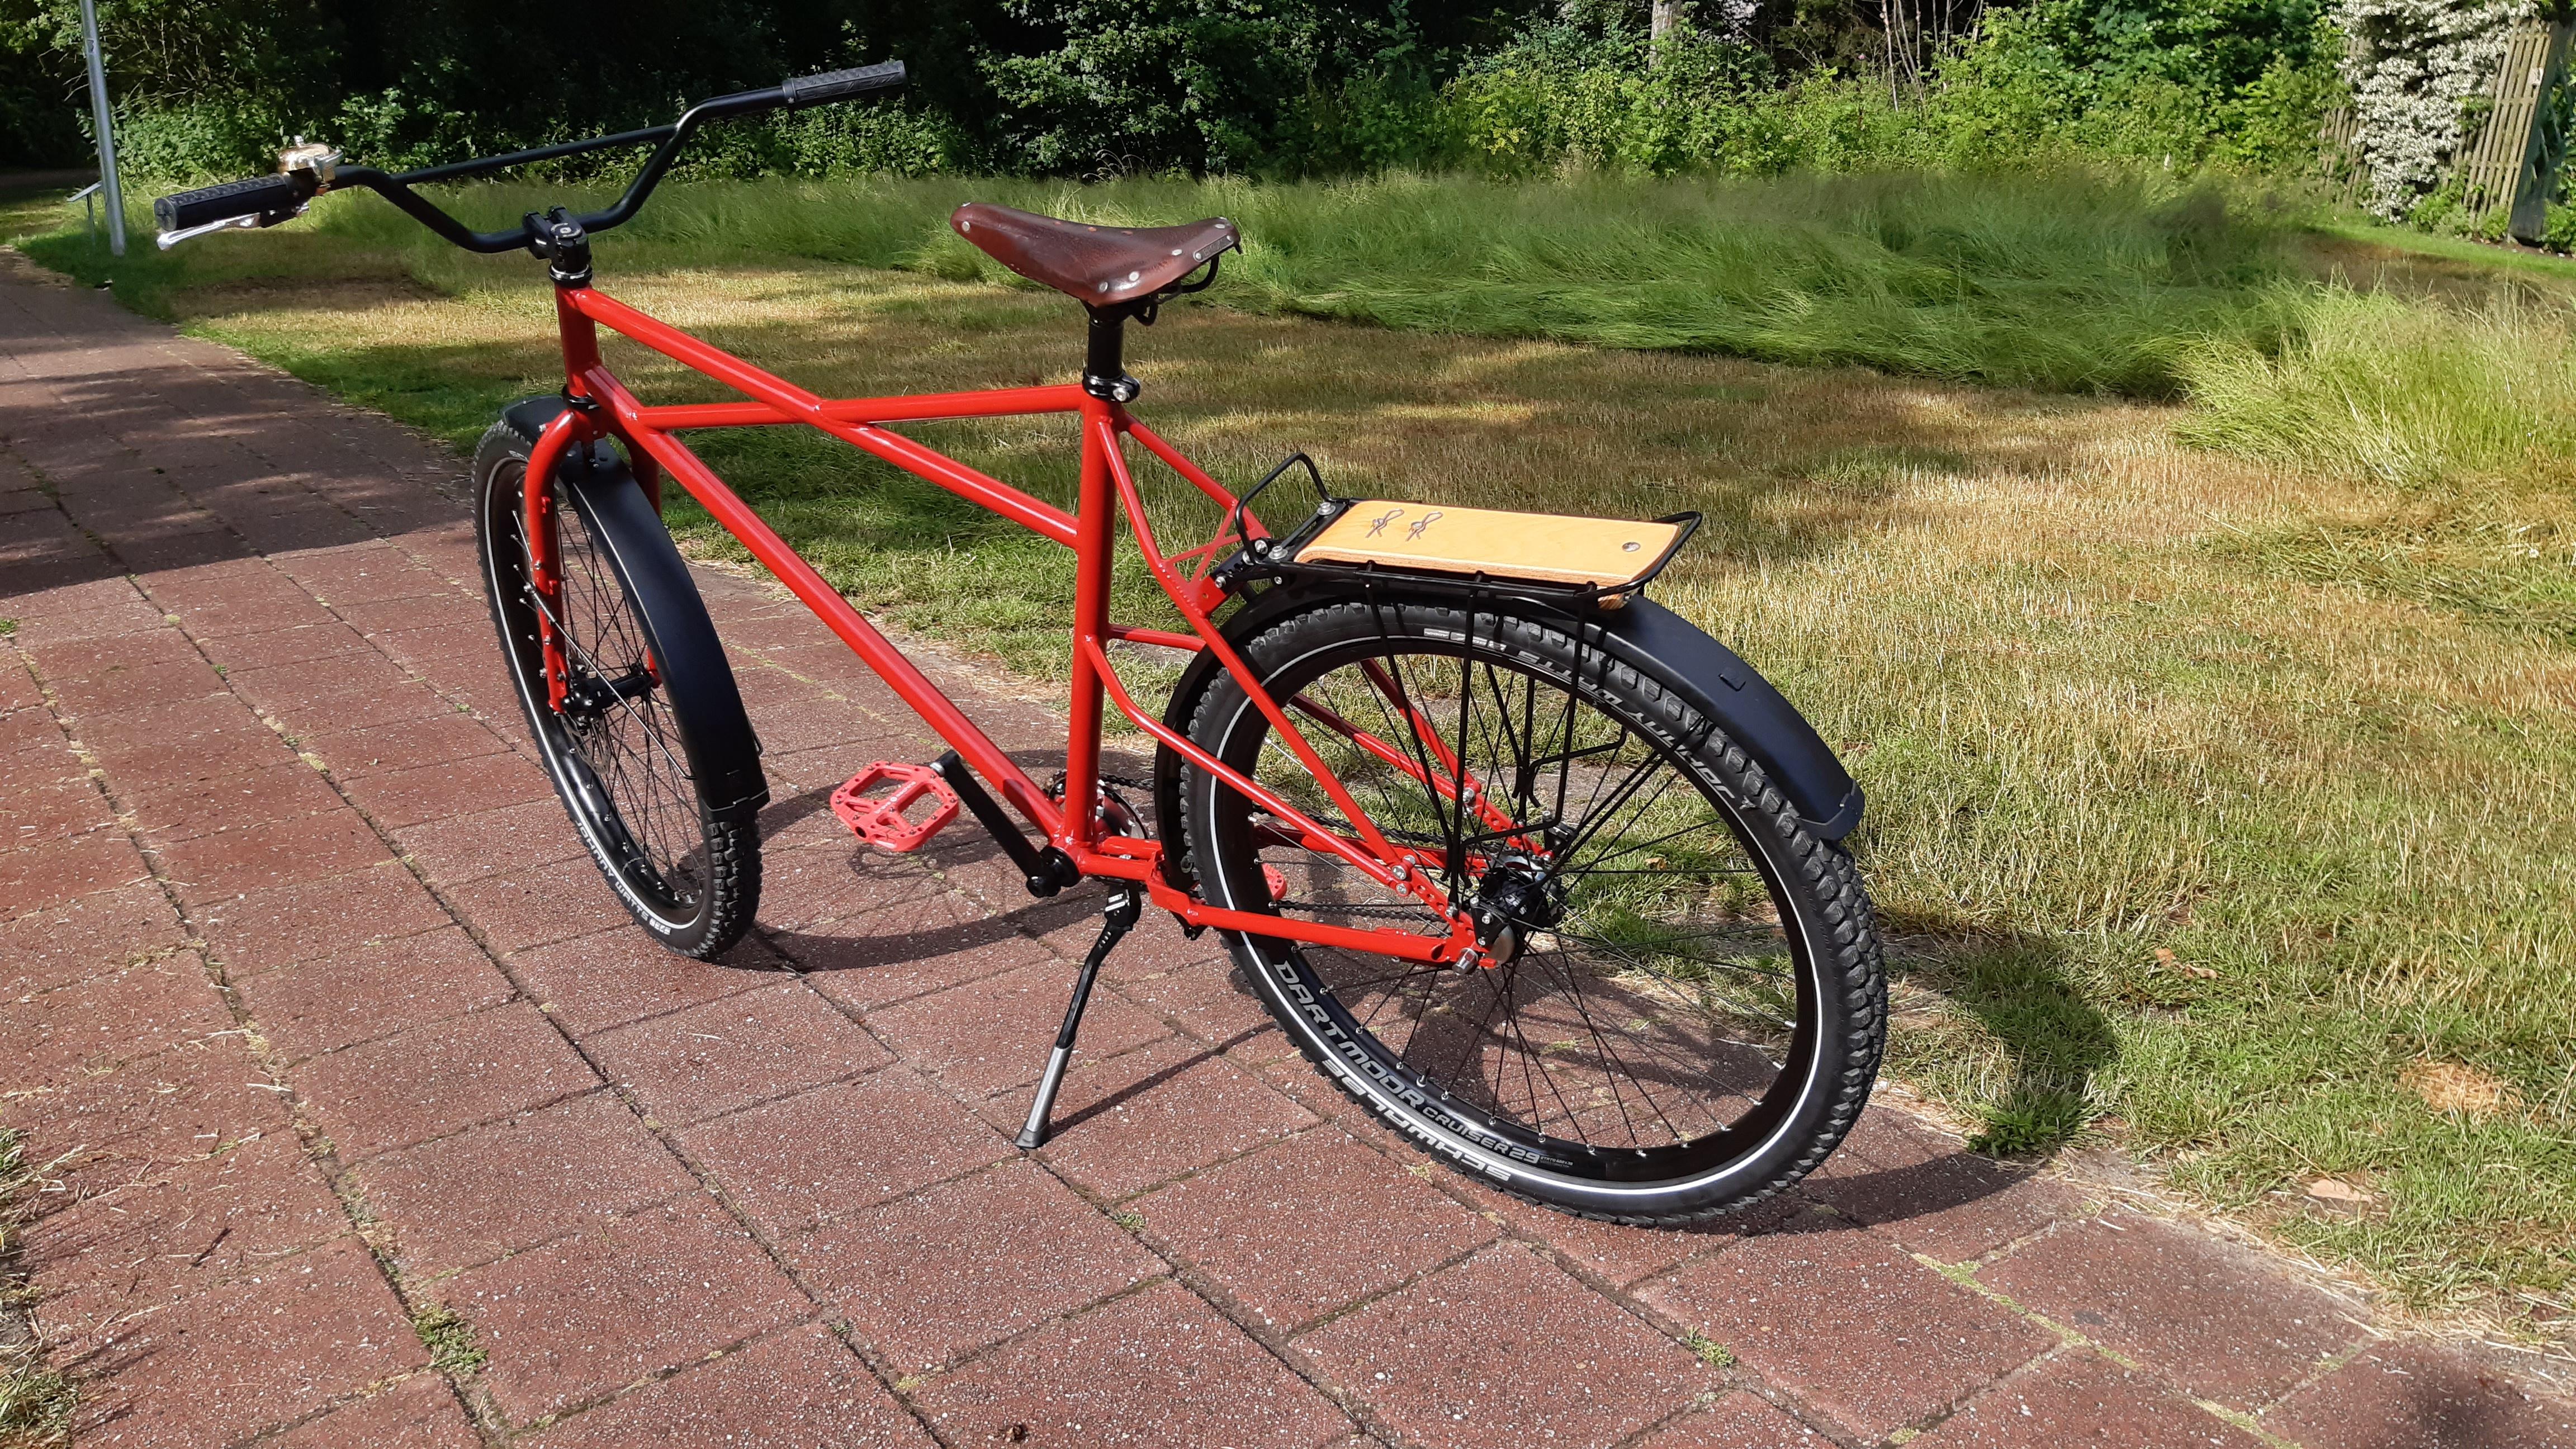
The same day I degreased it and added a layer of paint:
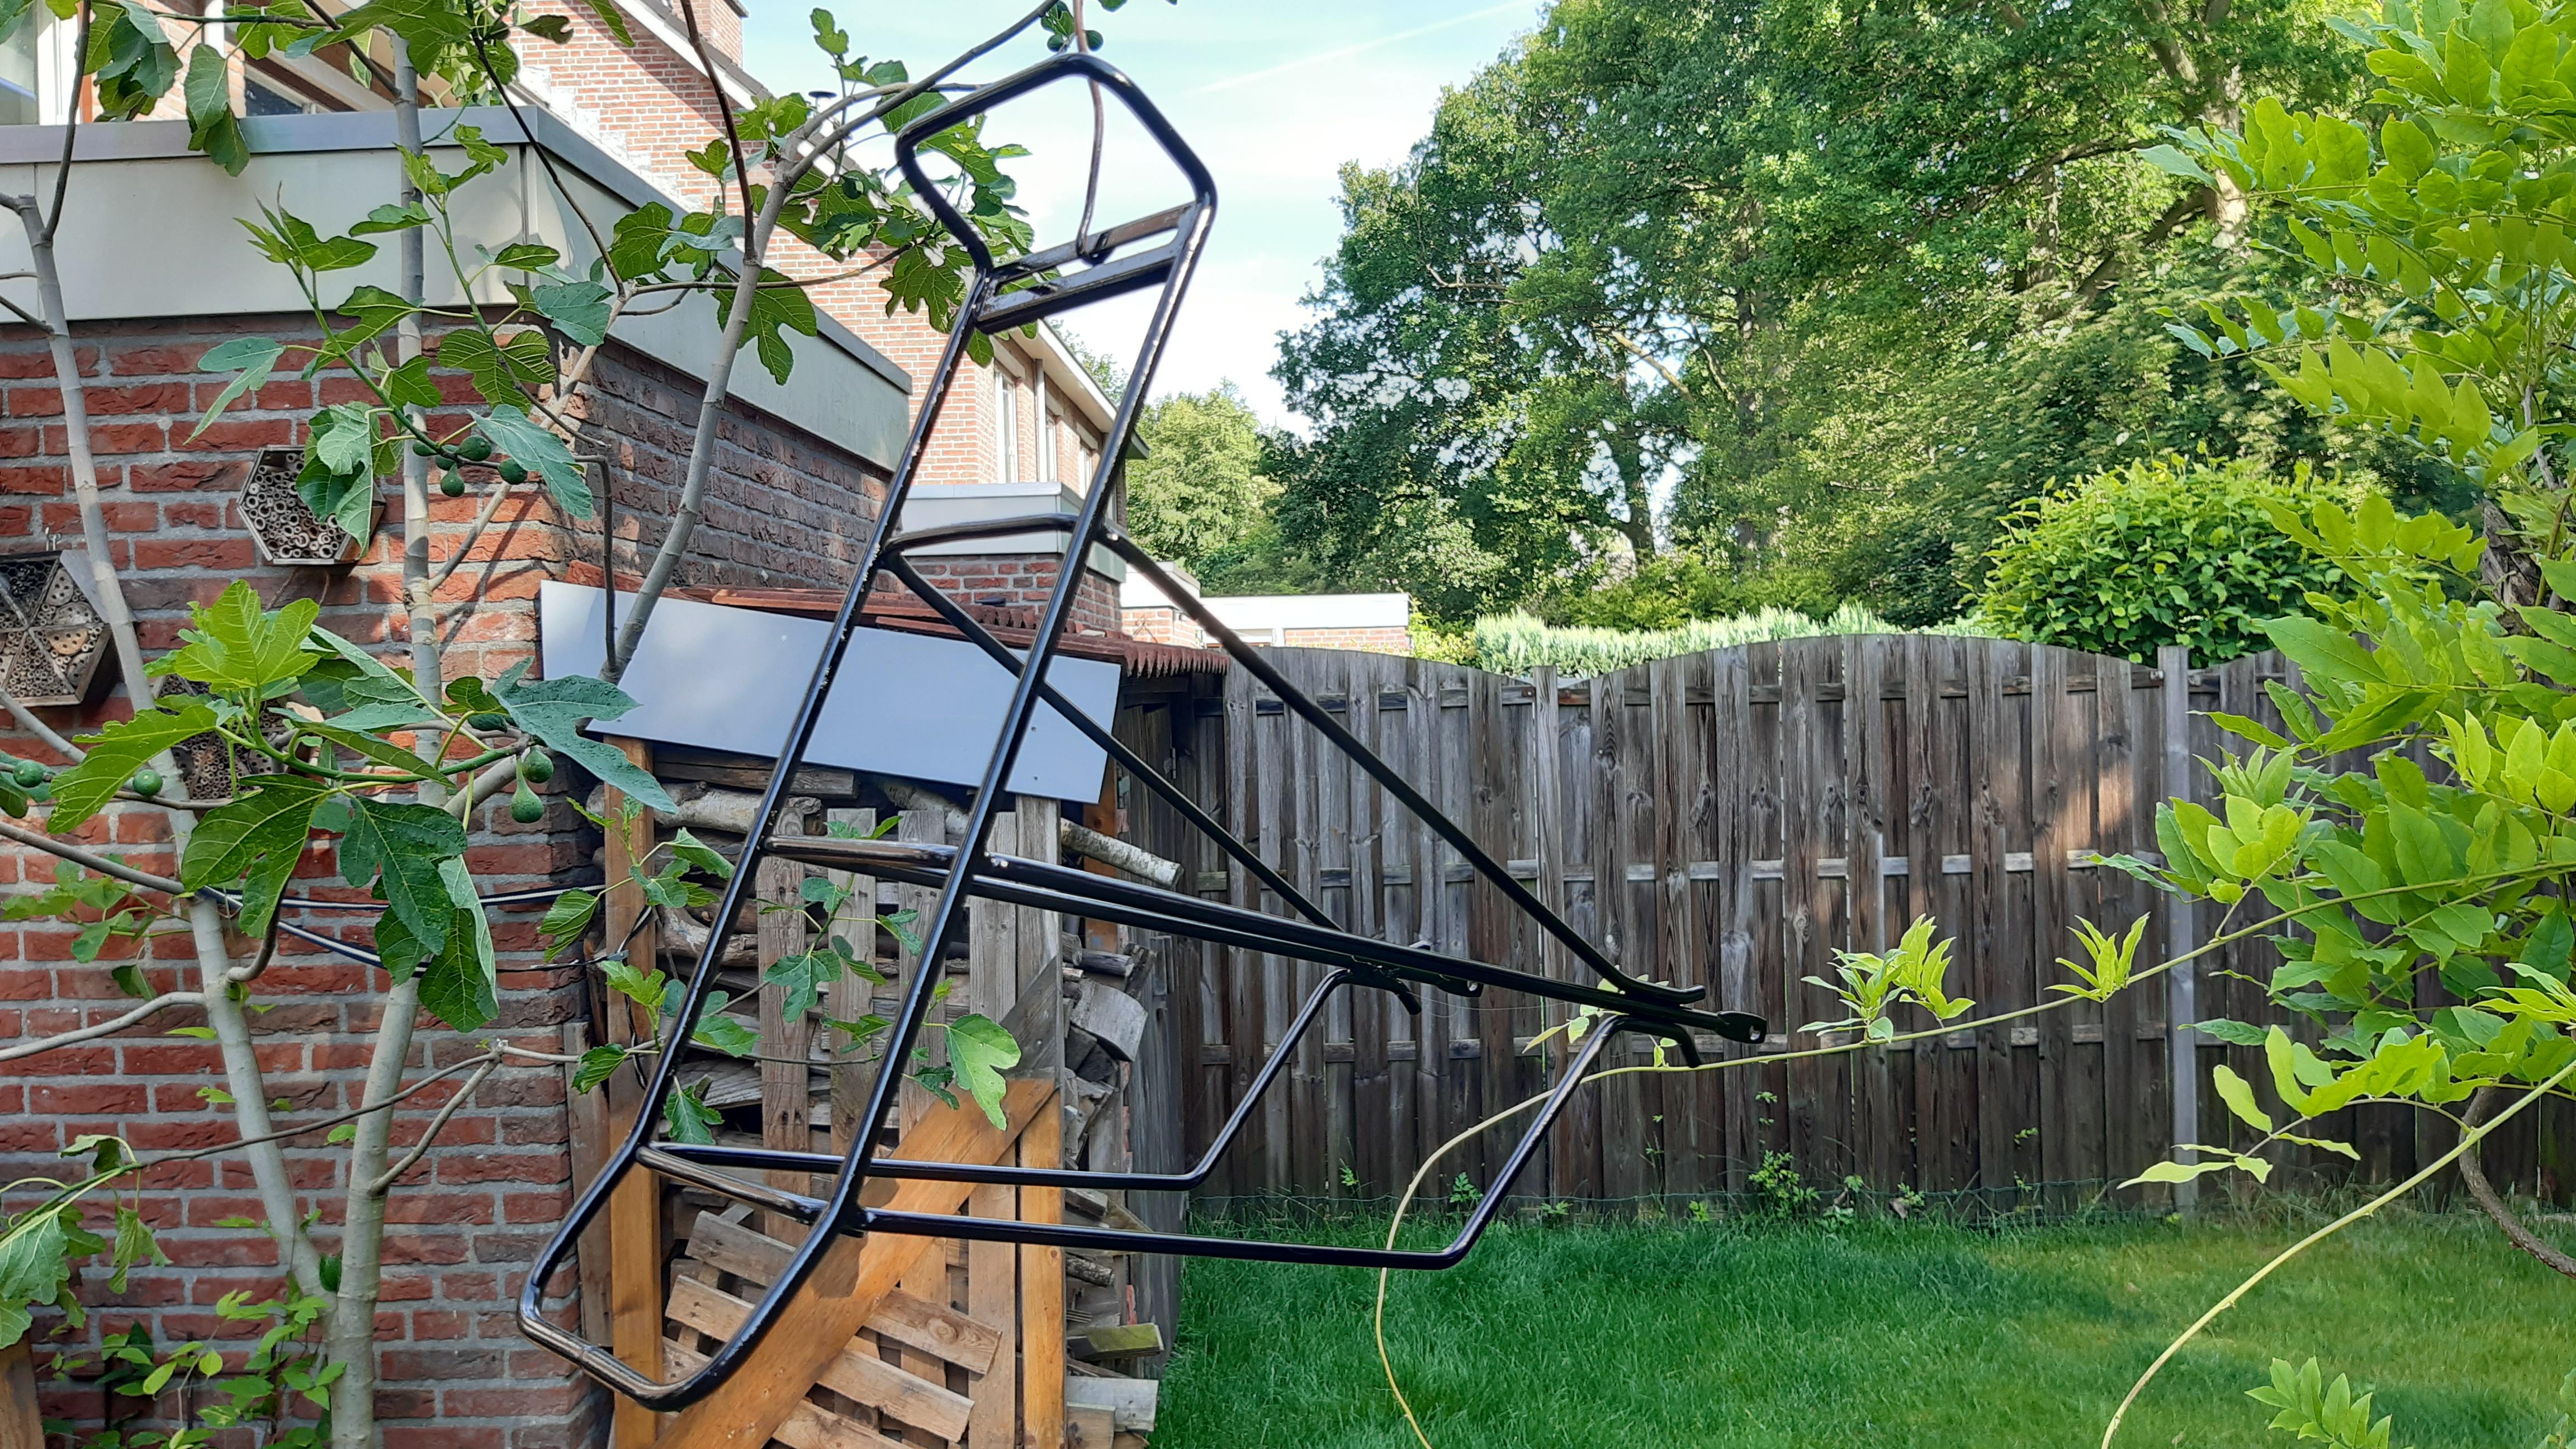
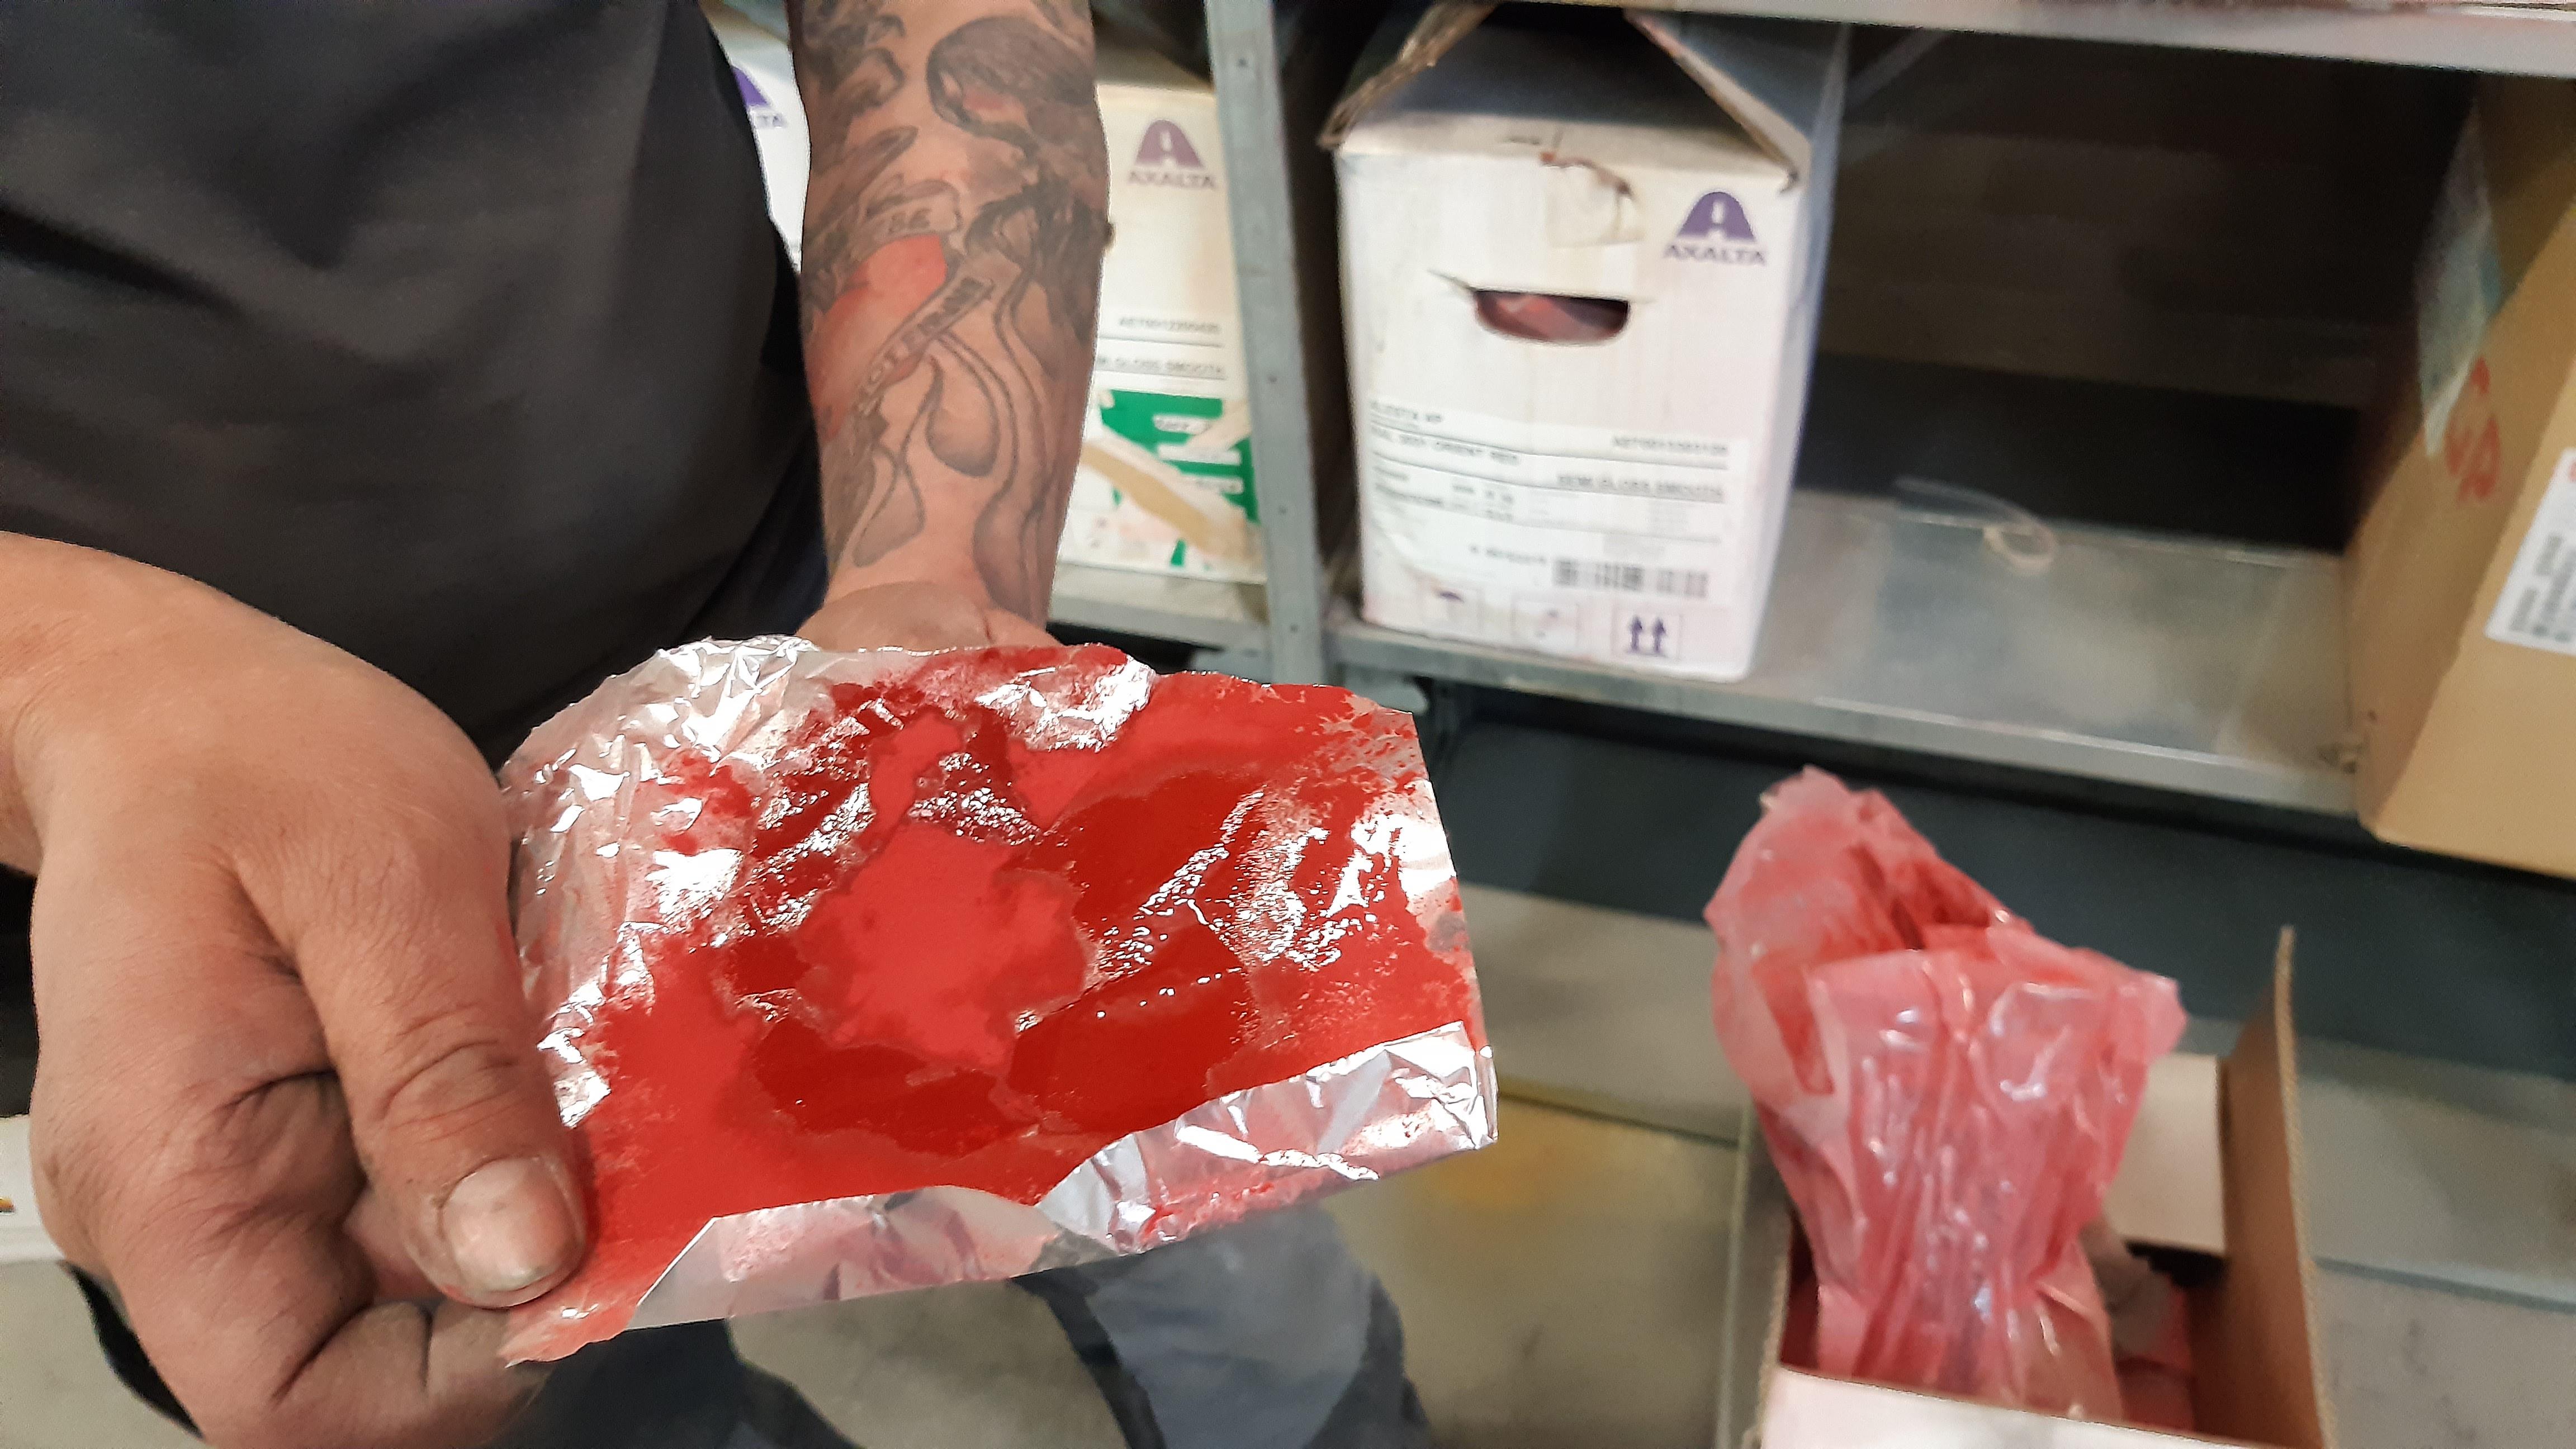
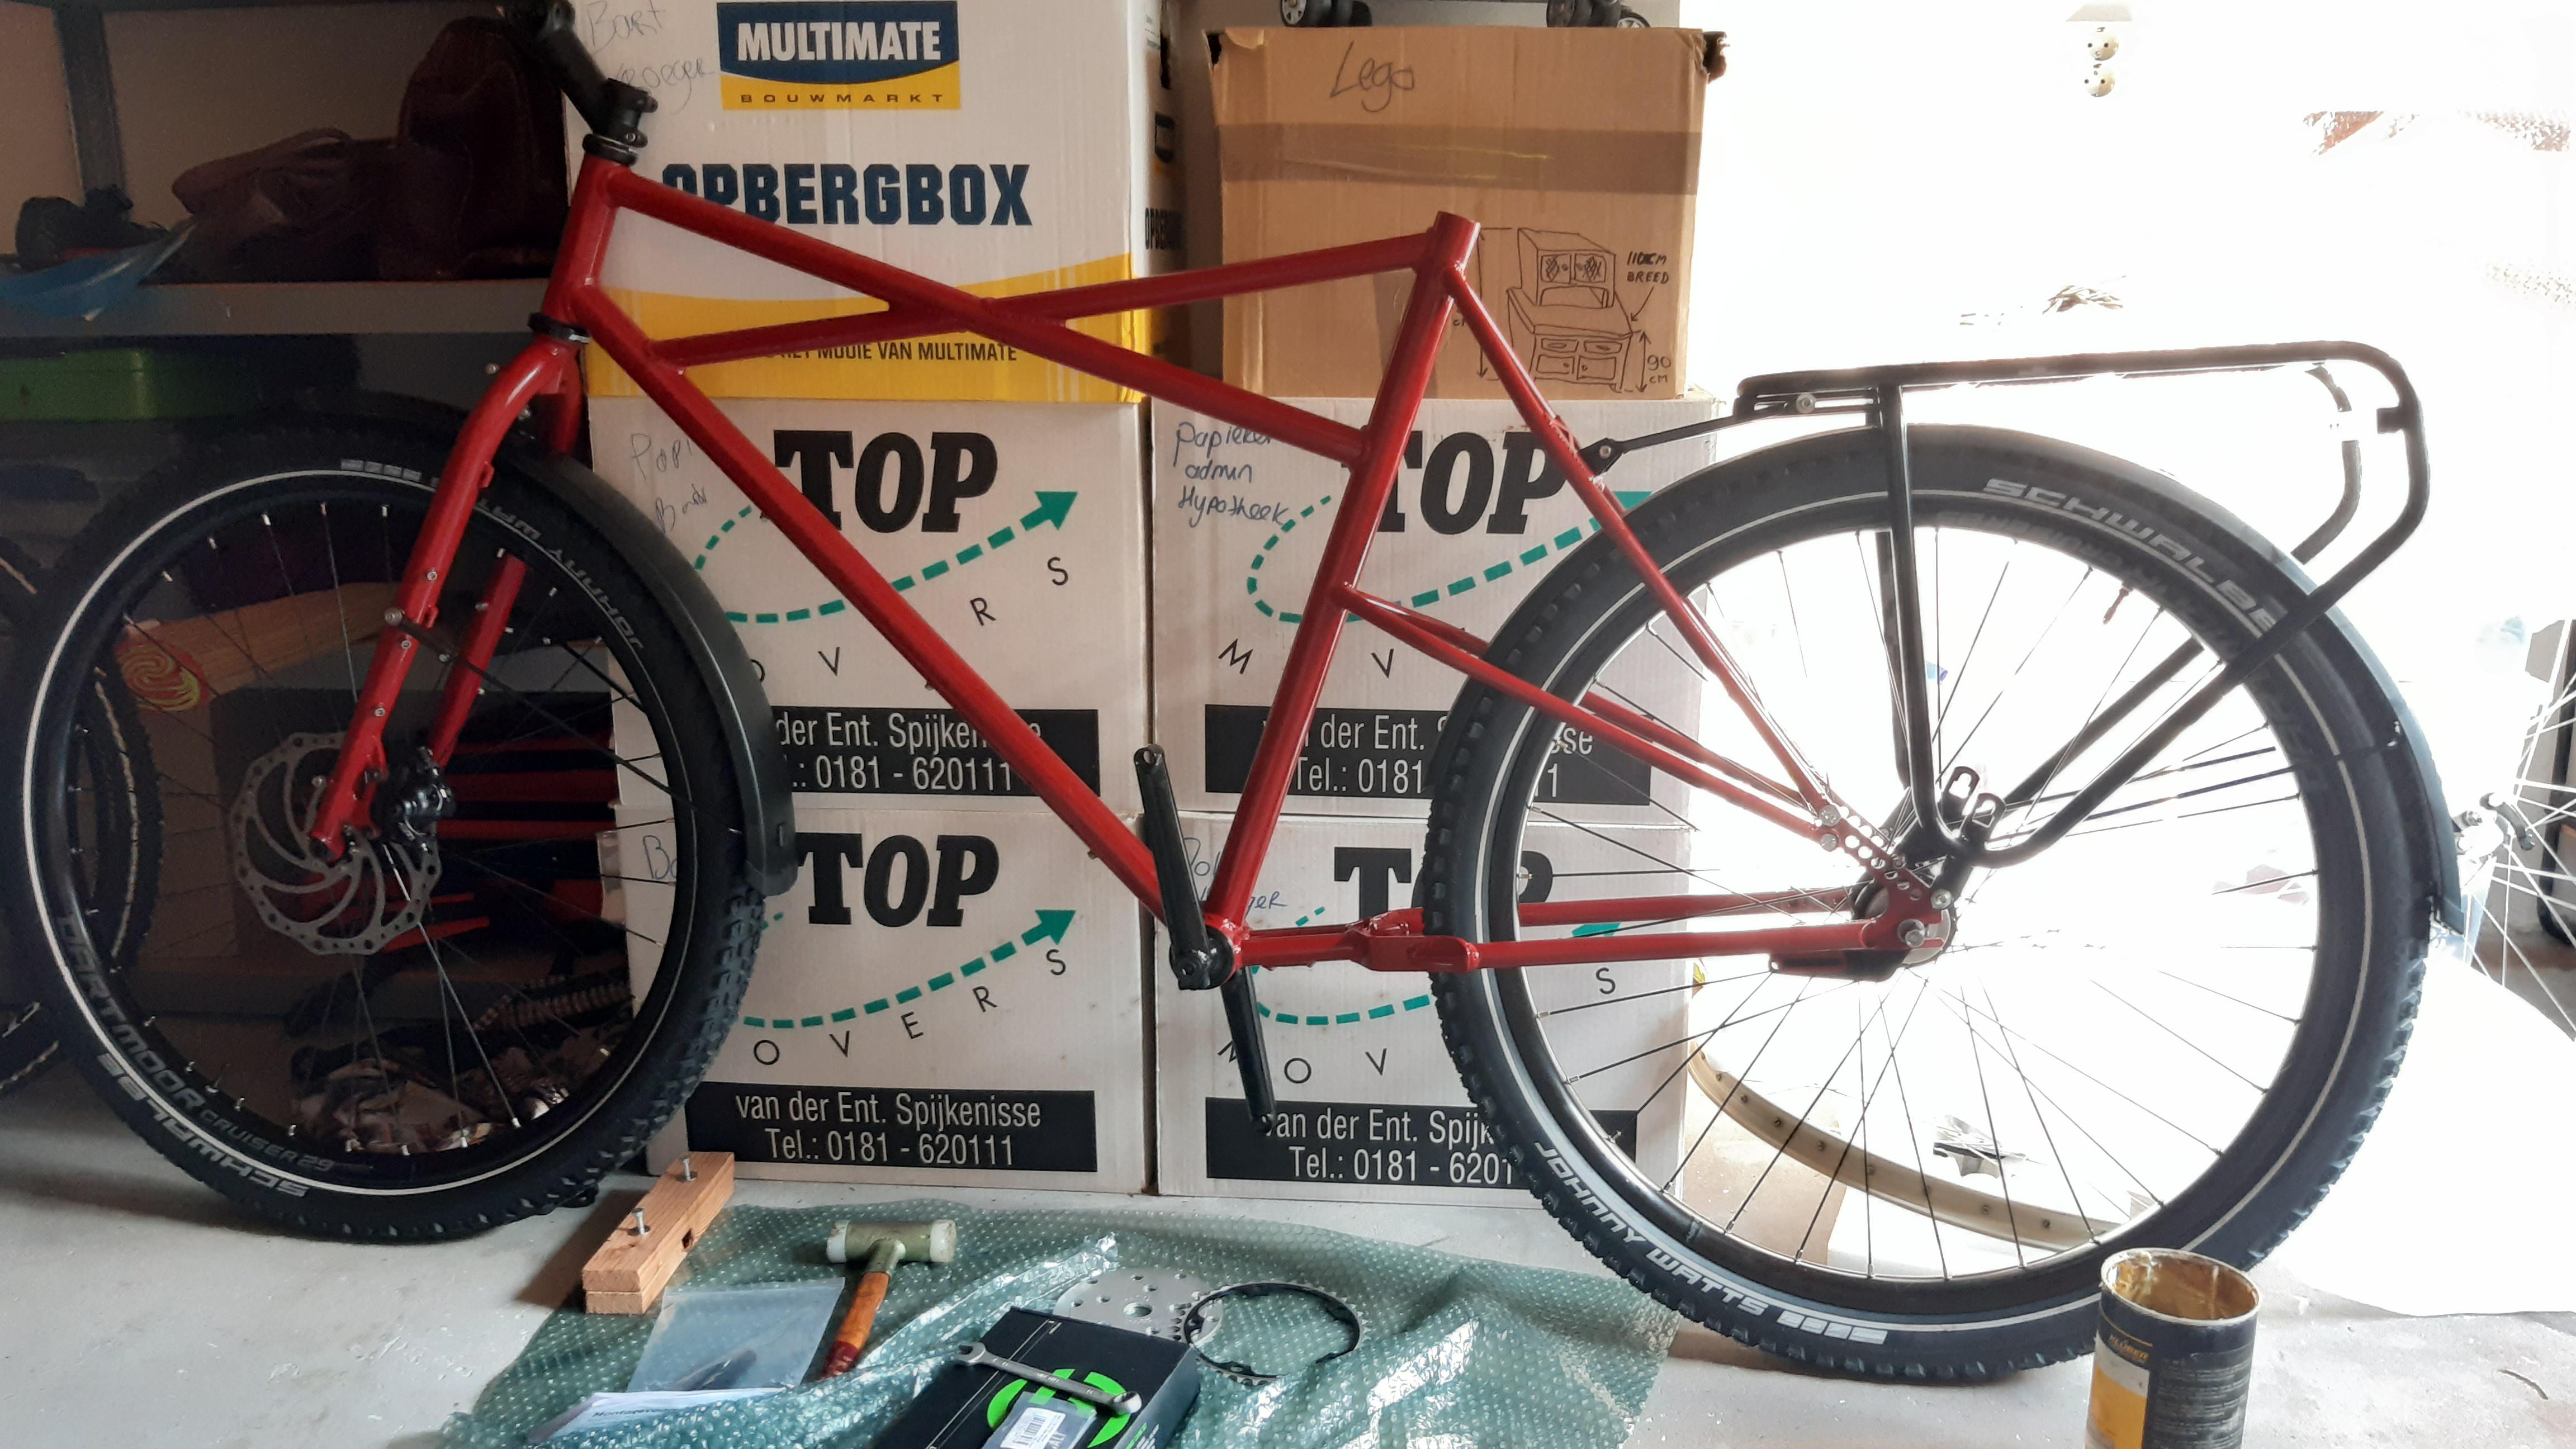
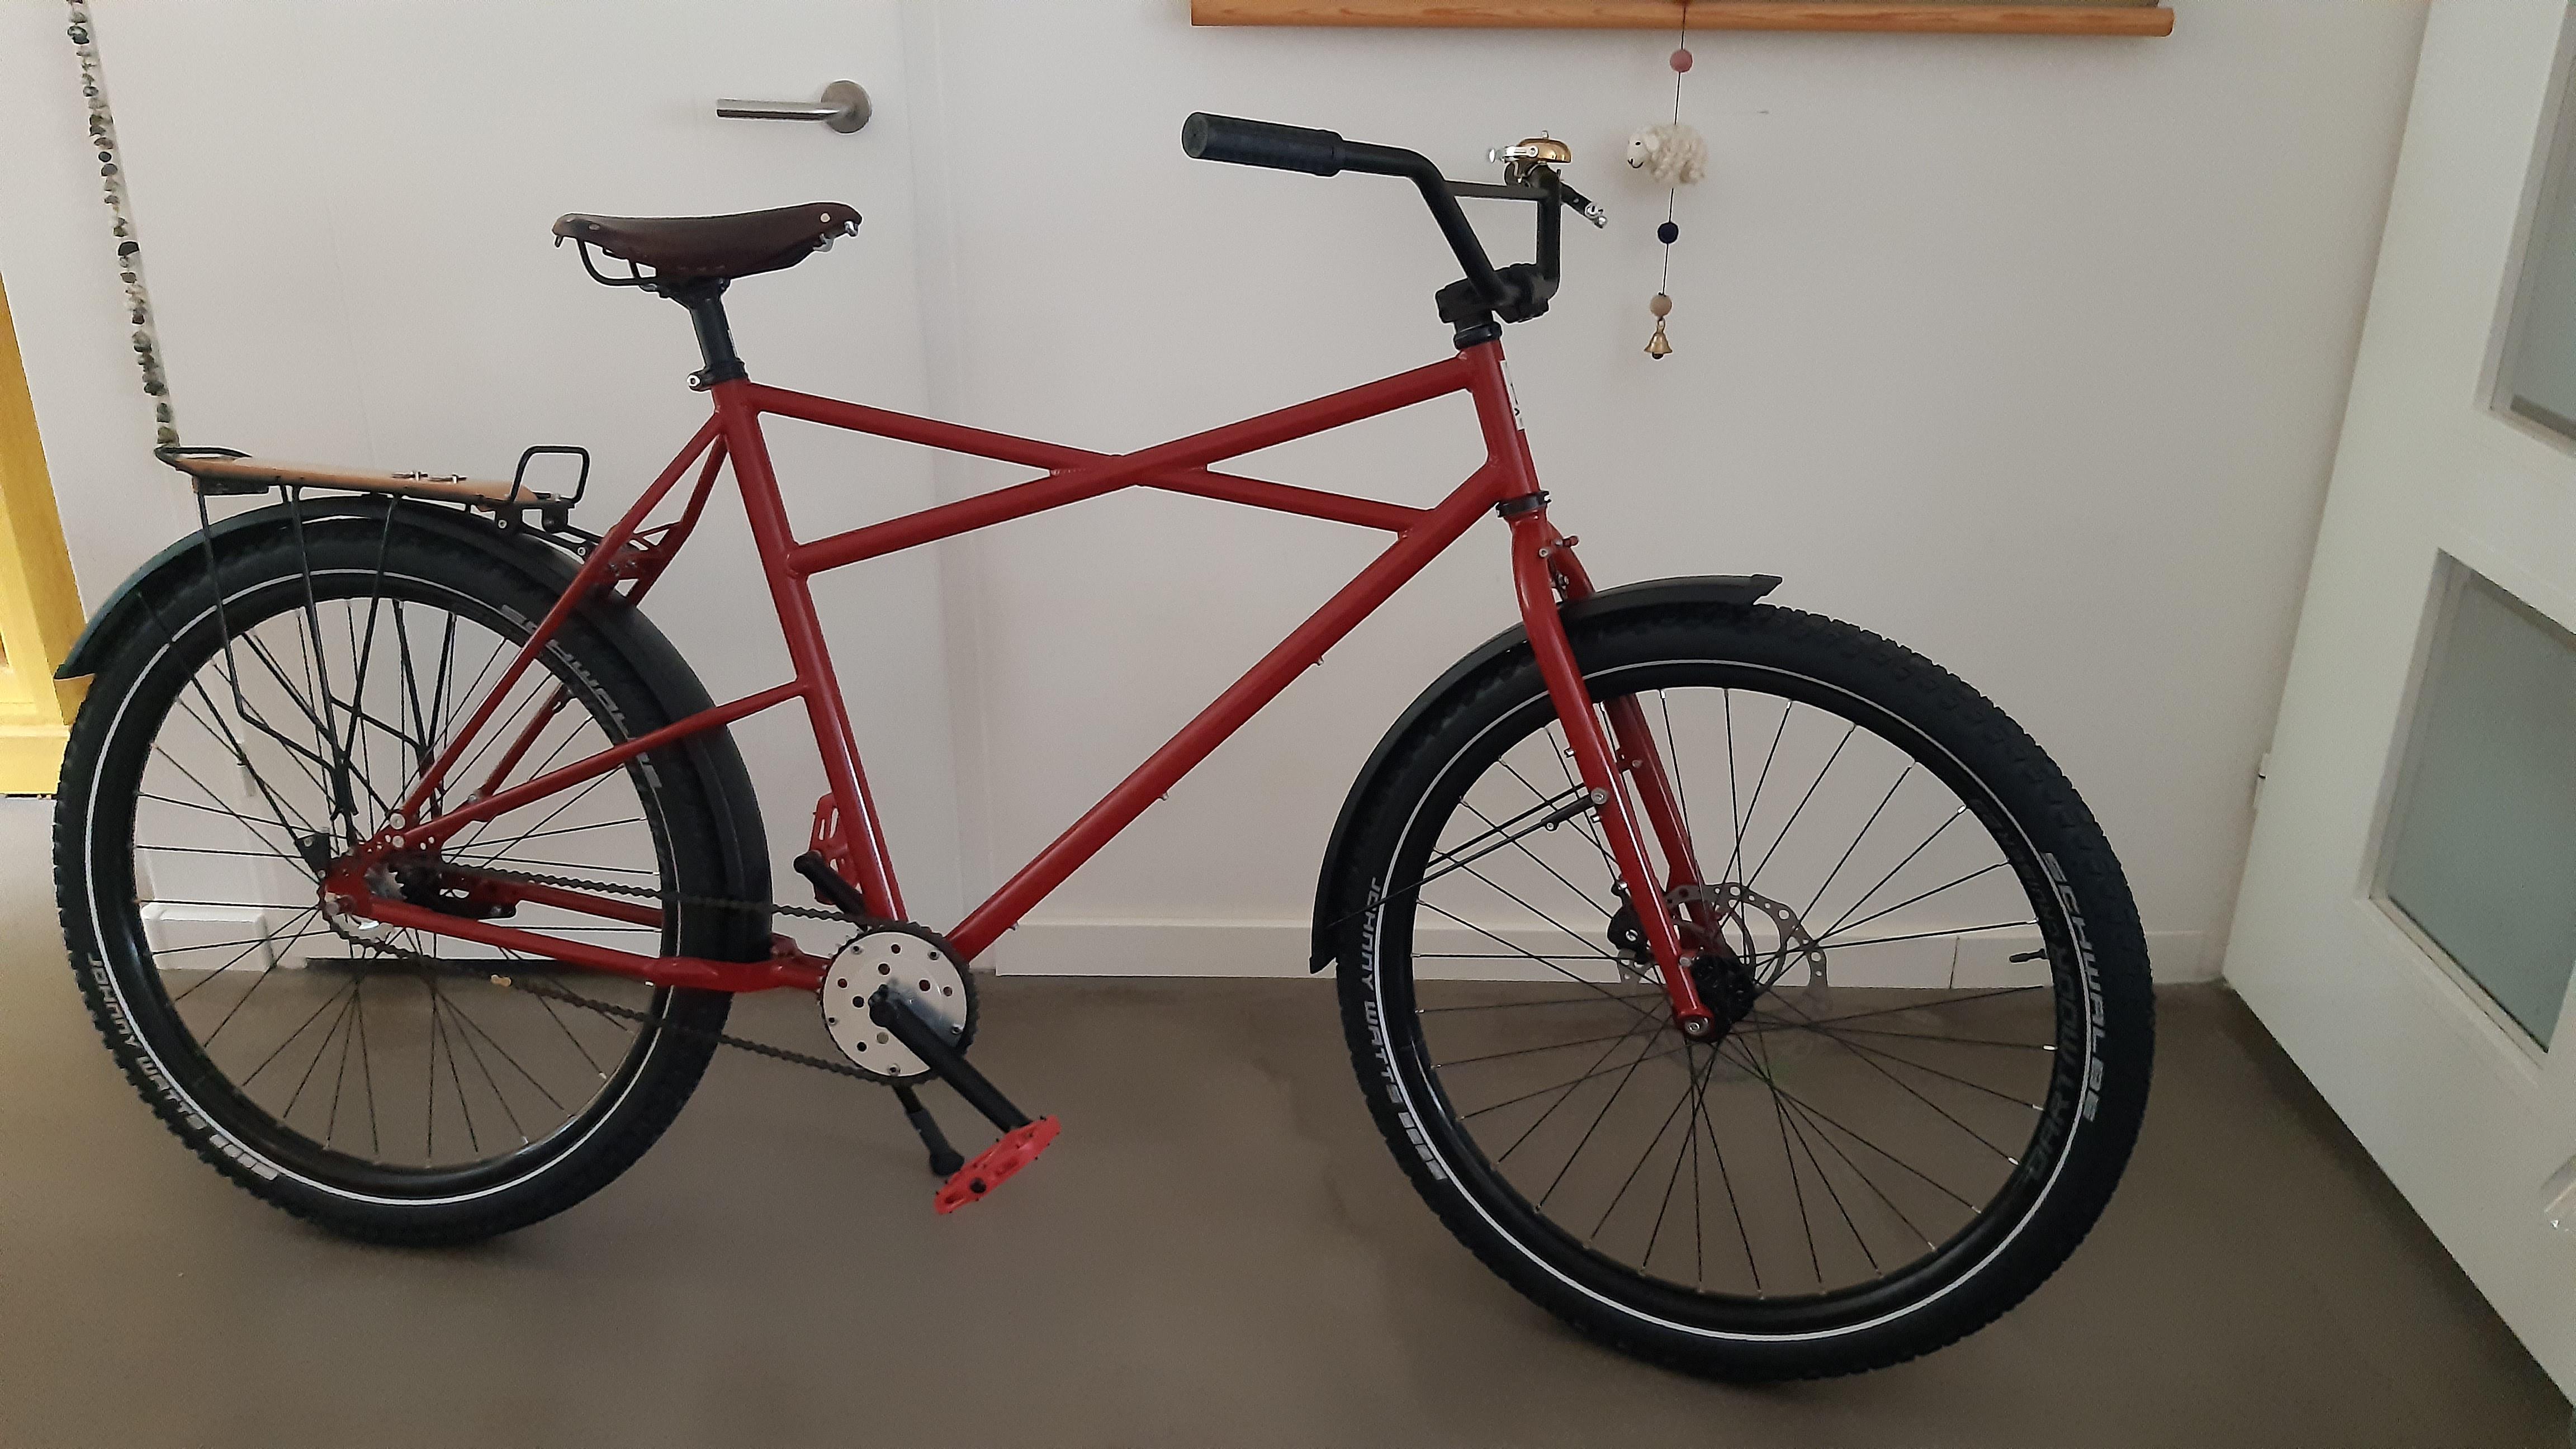
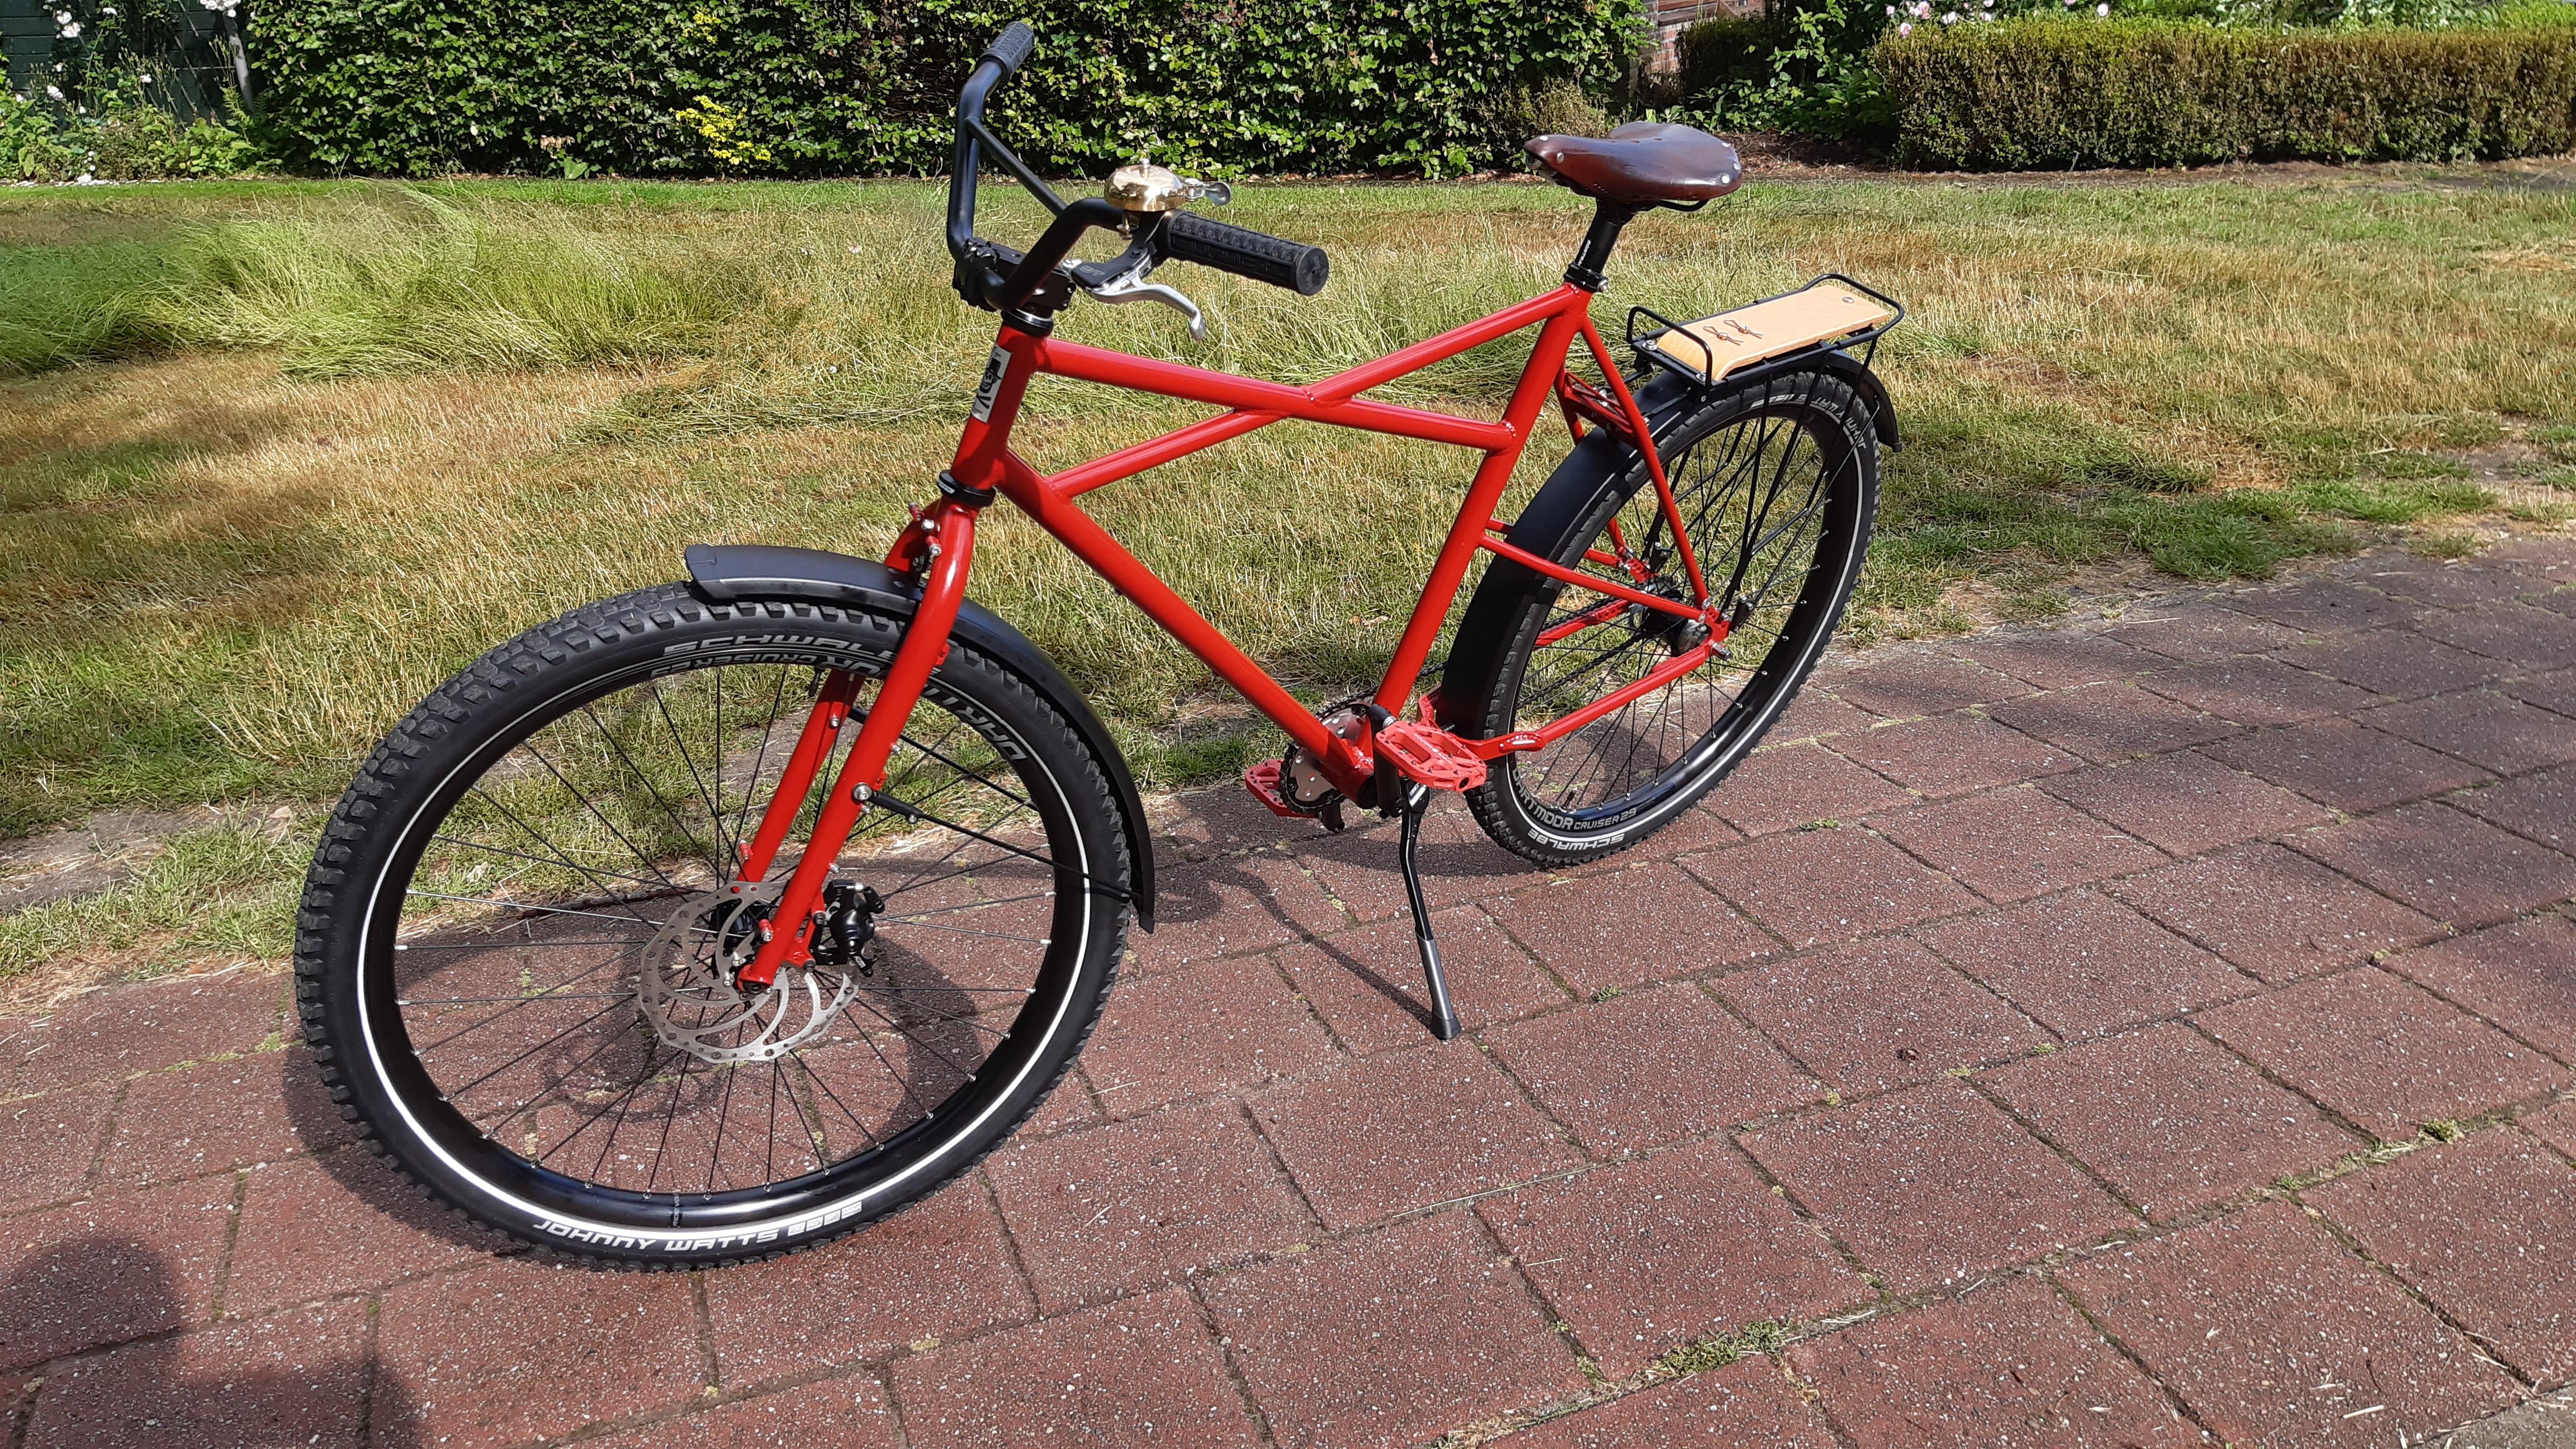
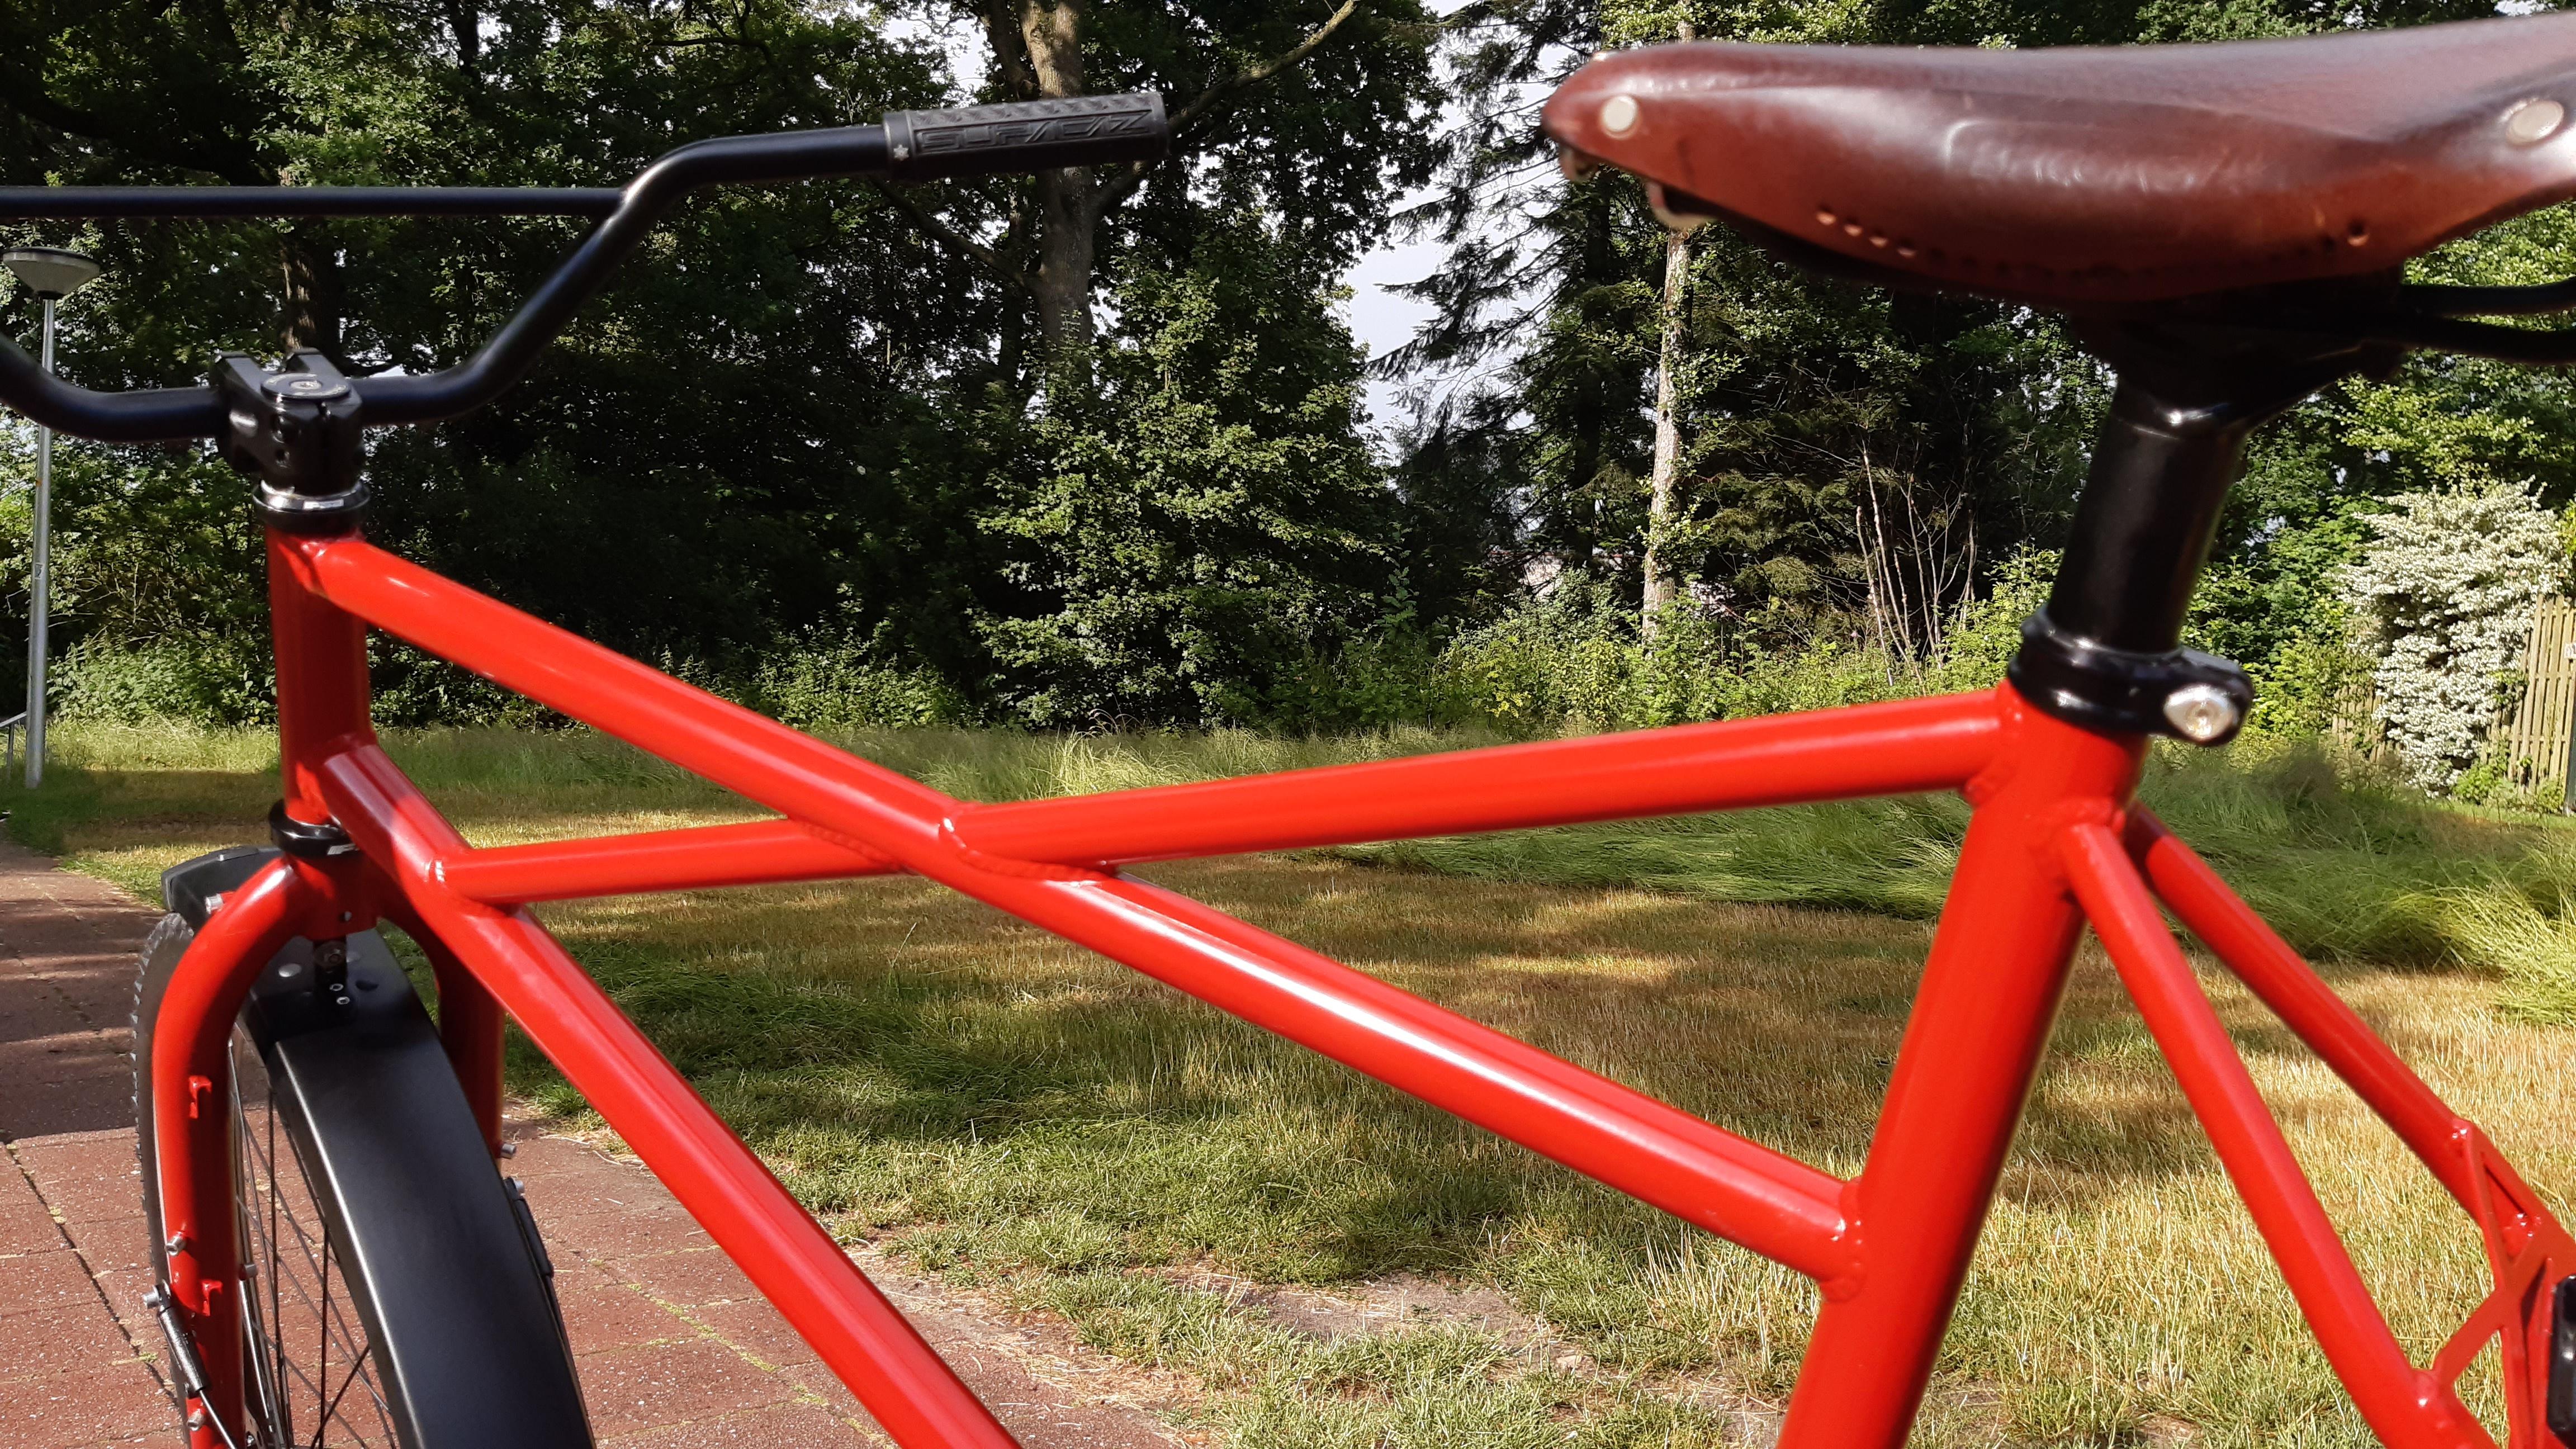
9URpyyg.jpeg


I got some inspiration from this rack: Really like the wood (beech).
G3124-3.jpg

Greaser rack :cool:

So I got started!

Bco8imR.jpeg

Old bum part of a chair.

g7cA1ZX.jpeg

Carrier mounted!
5HQmV1u.jpeg

Carrier mounted!

LFzYhNq.jpeg

First plan to cut the wood from the chair.

EQIQY8e.jpeg

Ideas.

I had more ideas, but I decided on this one.

rZ2r2KP.jpeg

Marking of the rack frame, I wanted it a bit lower and more integrated.

GUk1YT5.jpeg

I do not have a milling machine... so this is the way to go. Use an old piece of wood (same wood) and drill the holes by hand. Clamp it down really good!
I used the previous drill bit to keep it aligned (see the hole left).

vSfqeOQ.jpeg

Drilled through!

hYYv7RP.jpeg

This is how it looks when you separate the piece after drilling.

x4AcjWv.jpeg

Testfit.

Qk2Cvvh.jpeg

How it looks now.

My thoughts/questions right now:
  • Shall I add holes in the rack plate? It looks a bit thick, draws just a little bit too much attention. It is not heavy though.
  • Or mill/shave some lines/edges?
  • Or just make it a bit thinner by removing a couple of millimeters from the top?
  • Shall I laser some text, like the "Greaser" rack above.
Any great ideas?
Does anyone know what type of wood this is? Beech? @OddJob ?

Today the pedals arrive by mail, then I will shorten the seatpost and settle that. I found a "Brooks B7" with a brown colour on a second hand website. So happy, it looks great!
 
Last edited:
The purple is a little jarring, clashes with the red. Hub, headset, rims, stem and crank are black, I'd suggest keeping it simple, sticking to one accent color
Thanks Matti,
I forgot to mention it in my last update, but I sprayed a very light black over it after degreasing. You can still see the "Hope" logo and striping, whilst being black.

Btw, did everything work out for you with Velo Orange?
 
I got my money back a day later. Lost a couple of bucks on the exchange. Still pretty grumpy about it.
But the rack looks great. I think holes would look cool!
 
Update: testride

My handlebar and "Basil Portland" brass bell came in. As soon I had a work break, I assembled it, which means I could go for a testride that evening!
Everything went on smooth. The chain is quite long and due to the narrow chainline, I had to cut a piece from the fender. I did not remove a lot from the fender as a reminder: When I hear the chain ticking against the fender, that means I gotta adjust my tension again.
Its called: Chain audio induced irritation maintenance alarm :crazy2:

Alrighty then...

Testdrive went great! The front disc makes a bit of sound, but thats it.
The bike feels very stable, big. I love the response of the short BMX stem. The short stem also gives that feel like you are hanging above that BIG front tire. For me, it gives a feeling of control and that of a motocross bike in a way...
It is not as heavy as I thought it would be. The gearing feels fine (39t front, 23t rear).
In general, it feels a bit like a uncomplicated sporty SUV with extra big tires.

Soon, I will weigh the bike and post a "final post" with all specs and measurements.

Remaining stuff to do:
  • Front brake cable.
  • Some protection blocks for the frame. If I put my bag on the rack, I want to avoid a dirty bag sanding/scraping the frame, if you know what I mean.
  • Maybe a leather saddlebag with some tools, we'll see.
  • A chain guard perhaps. Tabs are there so.
Pictures! I love how the weird old/modern look came to be!

v0XhjRV.jpeg

8ts9oFr.jpeg

unpQnQo.jpeg

bnGDvIj.jpeg

QYKCD2a.jpeg

C0PG3gf.jpeg

9l0AVdj.jpeg

LP3bBUQ.jpeg

JQZ3Bhz.jpeg

E2Q0FqZ.jpeg

KtzY6MT.jpeg

0FyCt0G.jpeg

QhU7ahr.jpeg

qm4w2pN.jpeg


Thank you for visiting my project!
 
Chain audio induced irritation maintenance alarm
I completely understand what you mean by that... Been there!
The bike looks great, really professional looking results, if you told people it was made by you, they might not believe it! Super nice bike
 

Latest posts

Back
Top