Pre-School Chopper

Rat Rod Bikes Bicycle Forum

Help Support Rat Rod Bikes Bicycle Forum:

This site may earn a commission from merchant affiliate links, including eBay, Amazon, and others.
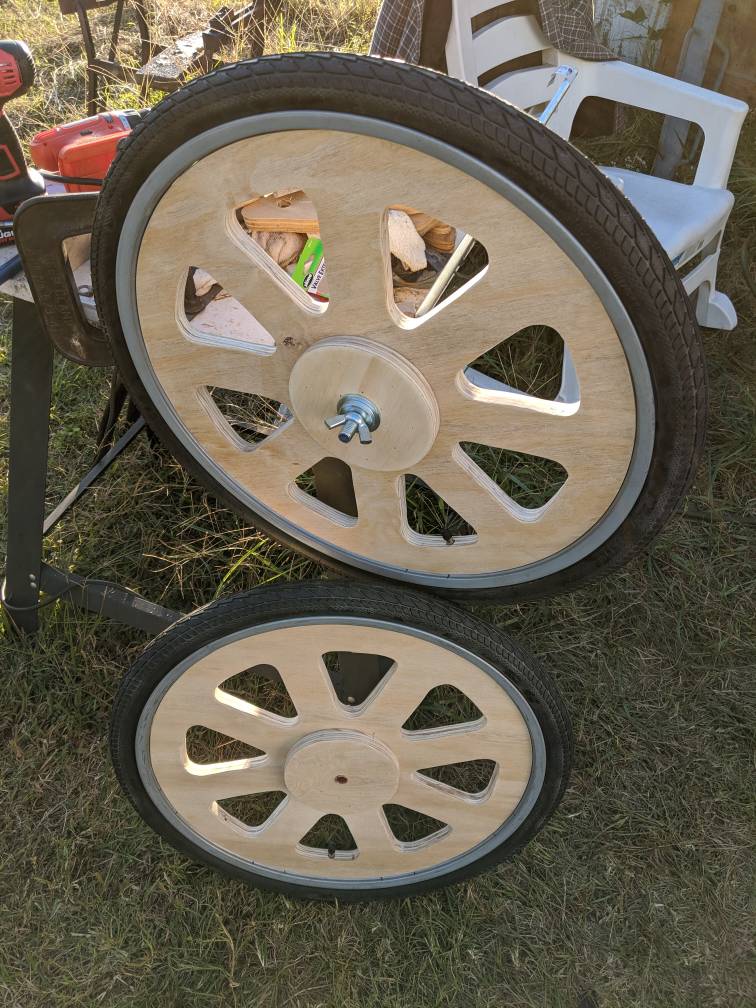
Wheels rolling along. Taking longer than I hoped, but they're getting there. Need to try to true them up some more, screw the rims to the plywood and mount the tires. Copper should work fine for hub bearings as the cart is more for display that transport. All thread cause I am using wing nuts to hold the wheels on (easy take down).

Then I need to build the cart by the first of November! LOL
c77a50c88db904e41bcd0bdd82df8627.jpg
c2ae6179b772fd818531aa5babb7fb4a.jpg


Sent from my Pixel 2 XL using Tapatalk
 
The cart wheels look great at this stage!

I won't lie. I like the cart project best! Part of it is that I've wanted a chariot since I was a little kid and saw Charlton Heston drifting one in the movies. I wonder if a new type of tandem is in order?
 
Haha ^ "Charlton Heston drifting one in the movies" ! :21: That's priceless Rust Buzzard!

Handy, these wooden spoked wheels are awesome! Really great job on this. One question, how deep is the spoke flange that the rim will be drilled to? Have you thought about access to the air valve with a pump head?

An easy solution would be to make a notch in one of your openings so you can get a pump head down close enough to fill the tire. It will likely be unnoticeable once the cart is all put together.

You can barely notice the dip in these bmx mags where the valve comes up. Everyone will be staring at your awesome cart instead!

mags.jpg
 
Haha ^ "Charlton Heston drifting one in the movies" ! :21: That's priceless Rust Buzzard!

Handy, these wooden spoked wheels are awesome! Really great job on this. One question, how deep is the spoke flange that the rim will be drilled to? Have you thought about access to the air valve with a pump head?

An easy solution would be to make a notch in one of your openings so you can get a pump head down close enough to fill the tire. It will likely be unnoticeable once the cart is all put together.

You can barely notice the dip in these bmx mags where the valve comes up. Everyone will be staring at your awesome cart instead!

View attachment 107262
Yep. Woke up in the middle of the night last week with this on my mind. Then after a half hour or so, I thought of this...

https://shop.advanceautoparts.com/p...VDY7ICh1nGw6cEAQYAiABEgLniPD_BwE&gclsrc=aw.ds

Sent from my Pixel 2 XL using Tapatalk
 
Not a horrible solution, but beware of the dreaded "P" word; plastic.

Also, by the time you drill a hole through your width of the 1/2" (?) plywood for this extension, you may not have any left at all.
(plywood, that is)

Personally, I would go with the 'dip' in the flange and have direct contact with your valve and pump head.
 
The plywood is 3/4" but I may just do the dip. That was my first thought. Flange is 2" tall. Also considered cutting out the dip a bit wide and saving the piece to fit back in place to hide the valve all together. Maybe a small screw to keep it in place?

Auto parts store also has chrome plated steel extensions, which were my first choice, but the label said not for use with brass valves. Maybe that only applies to 18 wheelers and monster trucks?

Sent from my Pixel 2 XL using Tapatalk
 
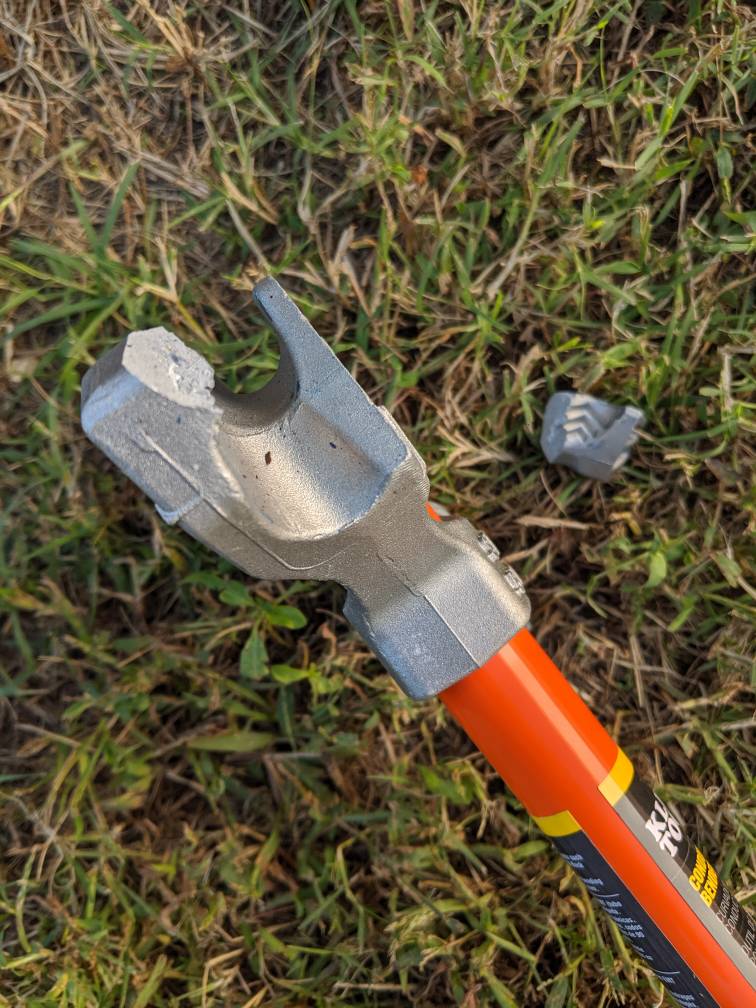
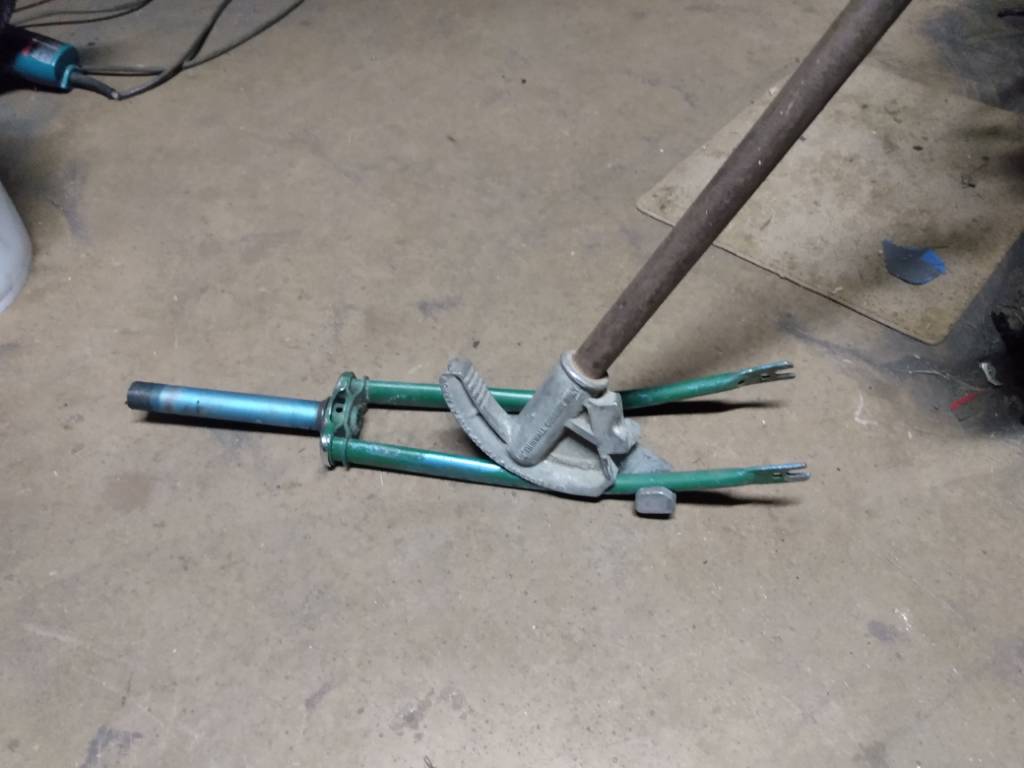
Bought a new conduit bender to day and thought I would try bending the lil chopper forks.
Not gonna happen. The bender broke.
8ae48598169780378affc6d2506b76d1.jpg


Sent from my Pixel 2 XL using Tapatalk
 
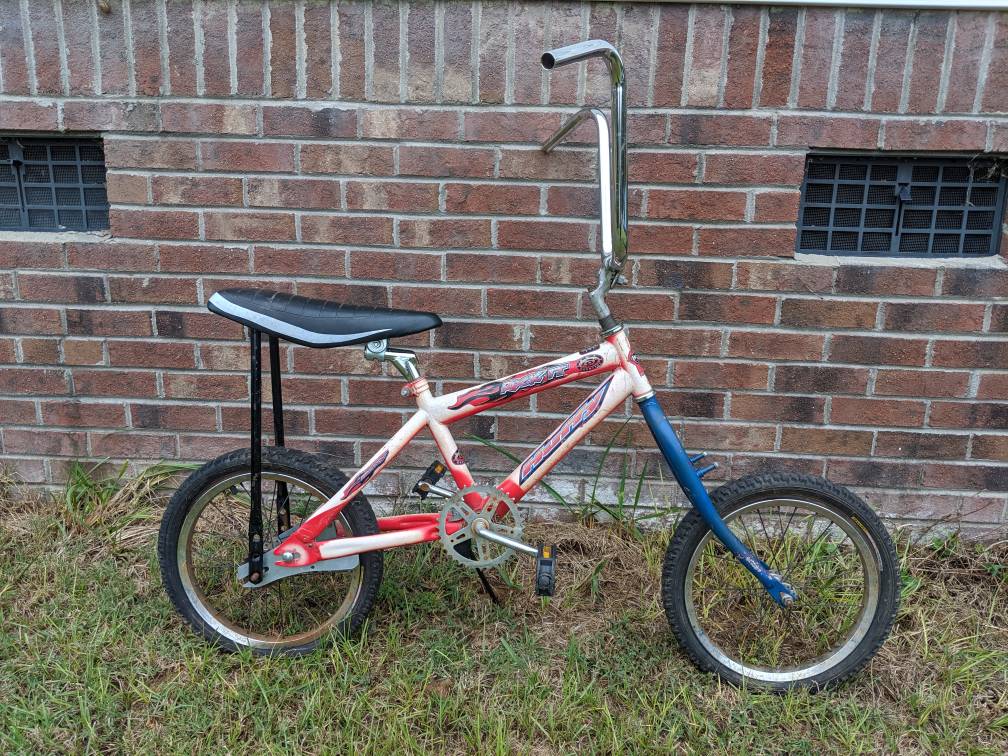
Got the wheels mostly done today (took a vacation day to get some more work done). Just before the sun went down I messed around with the chopper some more. Lay back seat post and old school seat. Got the extensions dialed in better. Started messing with another bike and some parts. Place is starting to look like a Munchkin biker bar! LOL!!!
958821d758e917bb8262c990ad2797af.jpg
3a96aa33b6ec0a5897166133c5042113.jpg


Sent from my Pixel 2 XL using Tapatalk
 
Gratuitous wood wheel photo.

Is there some other place here I can post the cart project, or at least the making of the wheels? Probably need to clean this thread up.
081138e9ee99b9e28897679aac470a4e.jpg


Sent from my Pixel 2 XL using Tapatalk
 
The Builds forum on the Forums home page would work Andy.
 
Okay, so what is the trick to using the conduit bender on the forks? Got a replacement at Home Depot today. Standing on the fork and pulling up on the bender, the fork is lifting off the ground, but not bending.

Sent from my Pixel 2 XL using Tapatalk
 
Rainy afternoon. Stopped by a yard sale advertising old bikes, trikes and wagons. Unfortunately by the time we got there the stuff was pretty picked over. Crusty 26" Flightliner looked pretty complete and a 24" skip tooth boys bike looked pretty decent, but both were spoken for. Everything else was late model Chinese or rusted out yard art.
But I did pick up a cool little nanner seat for the chopper for $5!
8c060a9a06966ef0249e15f59e9d7662.jpg


Sent from my Pixel 2 XL using Tapatalk
 
Stuff your thread with cart builds, salsa recipes and children's biker bar stories. We've got 4 months bro. My threads get a lot of views because they're off topic as much as they are on. Keeps it interesting. I wanna know how it will be painted...

Carl.
 
As far as the bender...
When you pull back on the bender, your stub of "conduit" will bend upwards. So imagine the tip of your fork as the stub. Now you can slide the bender back towards the head tube to move the inside of the bend further up the fork if you want. I usually get the original bend in the fork tucked right in the curve of the bender, so as I pull up on the bender it bends the orig bend even further. Also less likely to kink that way. Practice on a ratty fork first.
ab82aa03106f21961cd2e786a06b1d40.jpg
ed108e1b4e814d9f3c2c42f66edfcc98.jpg
56da6f7a954b452e9e6b2c3080a2c03b.jpg
a963a6b8e5d3f2750a43e381336229ce.jpg
92b37ece623fd1a1d1d6a8ac82a04faa.jpg
f51c90830f94a672cb1374d60a5bcbad.jpg


Carl.
 
Last edited:

Latest posts

Back
Top