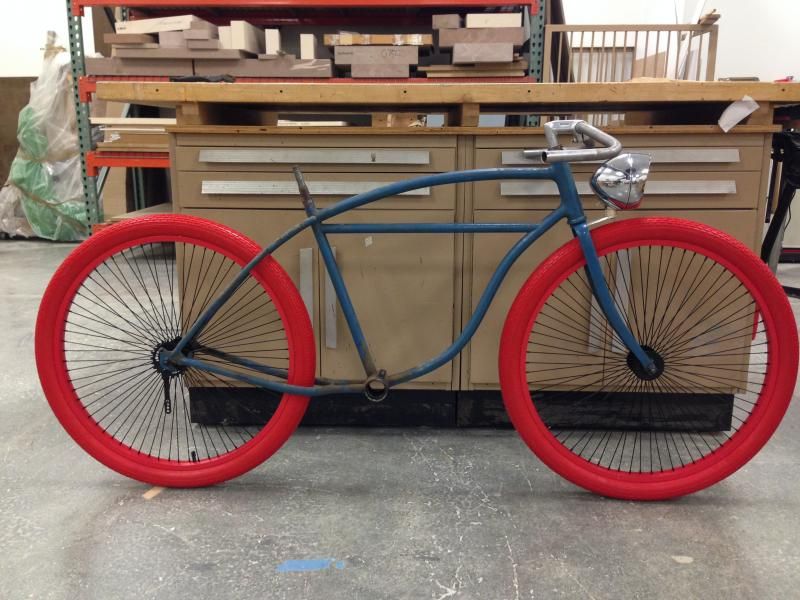
RE-TIRED STRIPPER - Formerly Spit Ply-er DONE (basically)

Rat Rod Bikes Bicycle Forum

Help Support Rat Rod Bikes Bicycle Forum:

This site may earn a commission from merchant affiliate links, including eBay, Amazon, and others.
I so hope u do the tank. It's so opposite of myself so I love ir

Sent from my PG86100 using Tapatalk
 
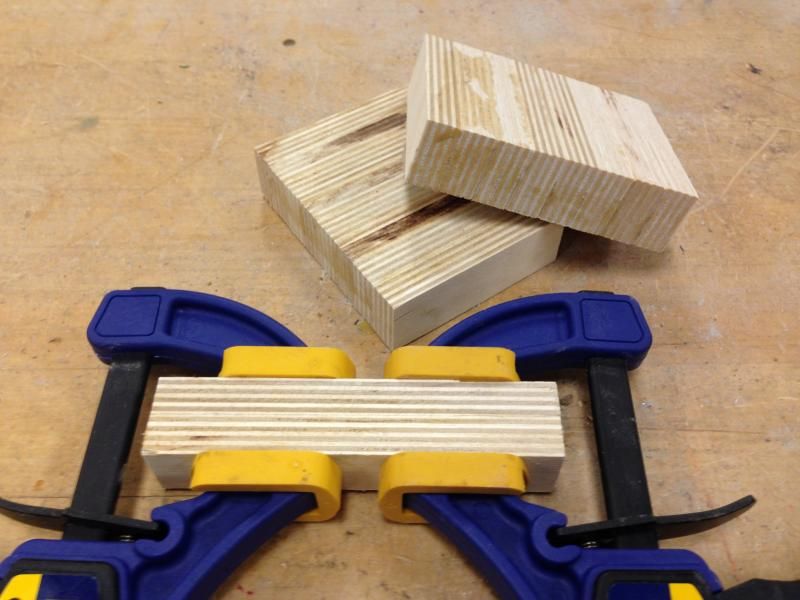
...the last piece is a new addition. It will be subtle, but a nice touch I think. Stay tuned to see where it goes....
IMG_7974.jpg
Wood grips?
 
Looks like maybe wood grips AND wood pedals.
 
Wood grips?
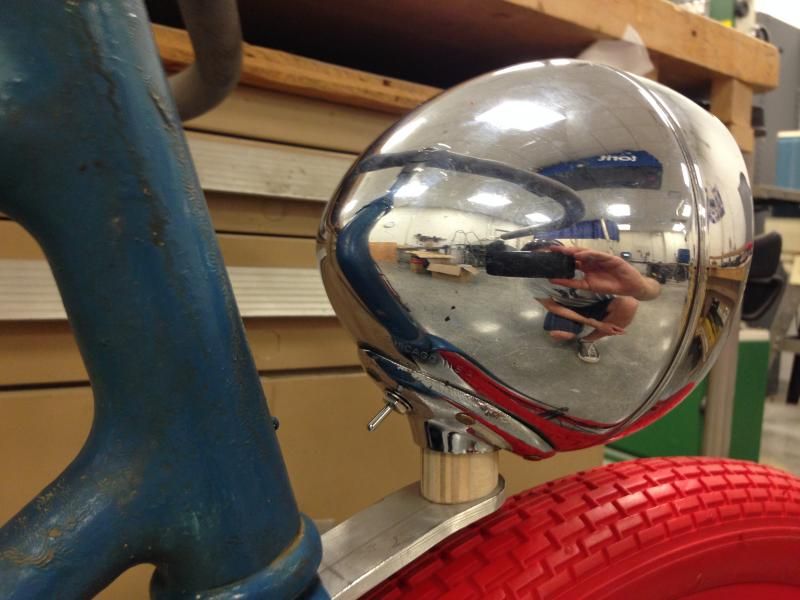
Nope, more subtle... the ply is in the same direction it will be in for the tank and pedals. I needed a spacer that would raise the light a little and point it in the proper angle. I wanted the mounting bracket to stay basically parallel with the tires so I made a cylinder then cut it at an angle to point the headlight forward rather than up. I'll probably polish up the aluminum as much as I can to get it looking closer to the chrome on the headlight.

IMG_7988.jpg


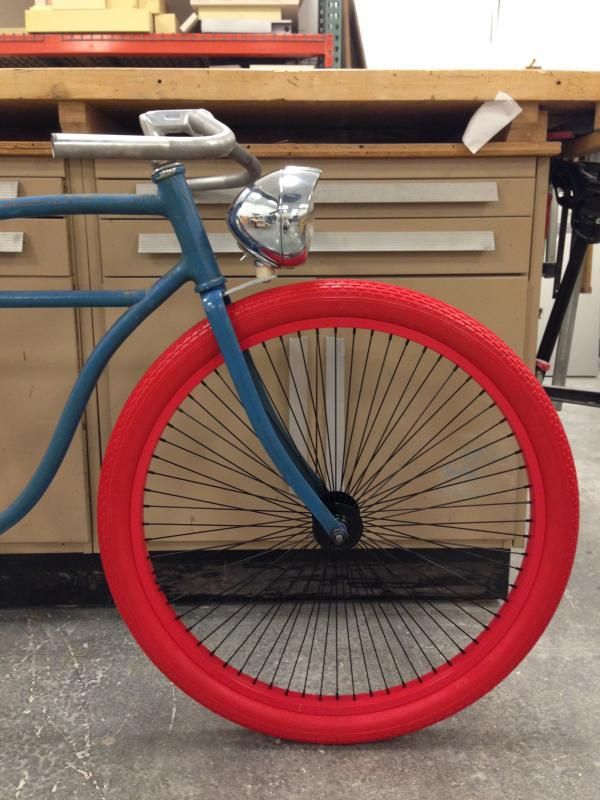
I like the placement of the headlight, but I think I want to drop the handlebars even more.

IMG_7994.jpg

IMG_7992.jpg
 
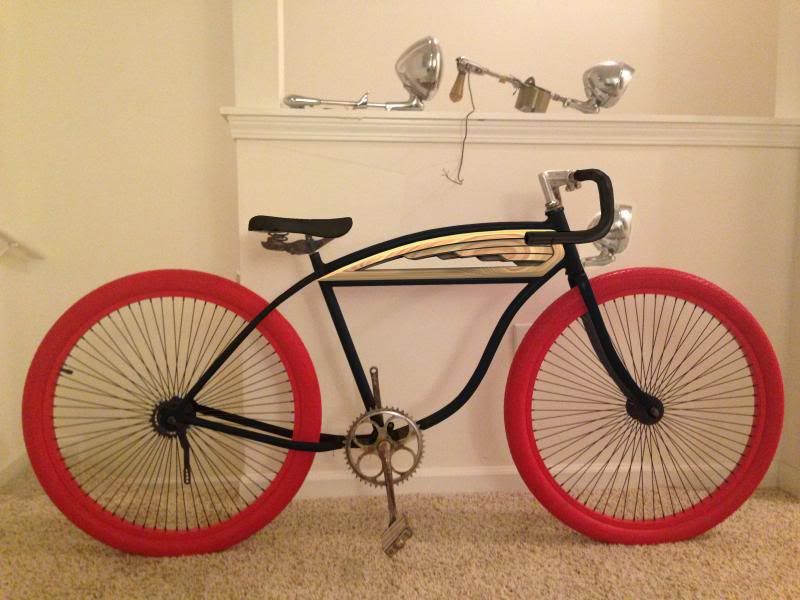
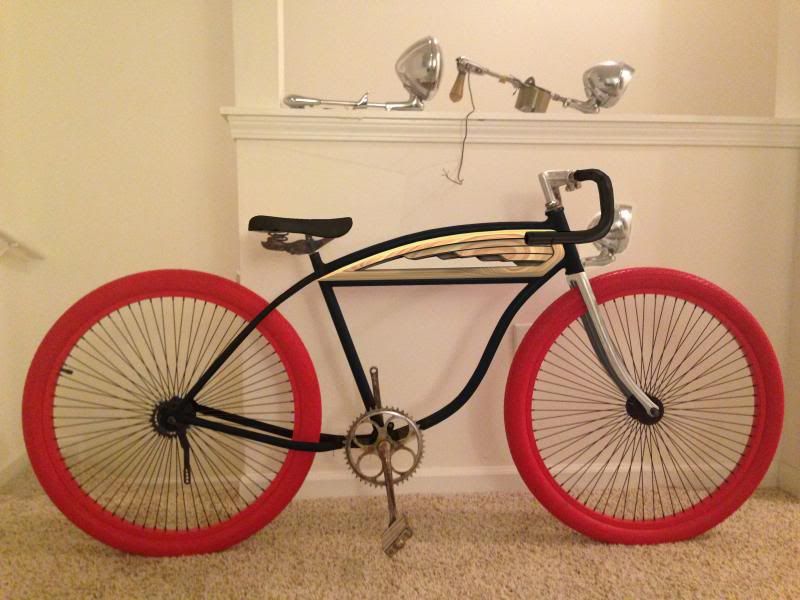
So I'm trying to decide the final look of the bike. I decided on black for sure, most likely gloss. But I think /I'm going to try to go with bare metal on the fork and polish it. Has anyone done this? Does it come anywhere close to polished aluminum? Here are two photoshopped images showing the difference... I think the exposed metal adds a lot of interest. Any advise or opinions?

Blackblack.jpg

OR
Blackblackchromefork.jpg
 
I see what you mean about the silver fork. I think I like that better too.
Is that the finished tank or still the CG tank?
 
This is looking sweet! I've polished metal before...it looks nothing like aluminum when done.
Thanks, I'll probably give it a try and see how it looks. If I would have thought of it sooner maybe I would have tried to pick up a spaceliner fork or something.

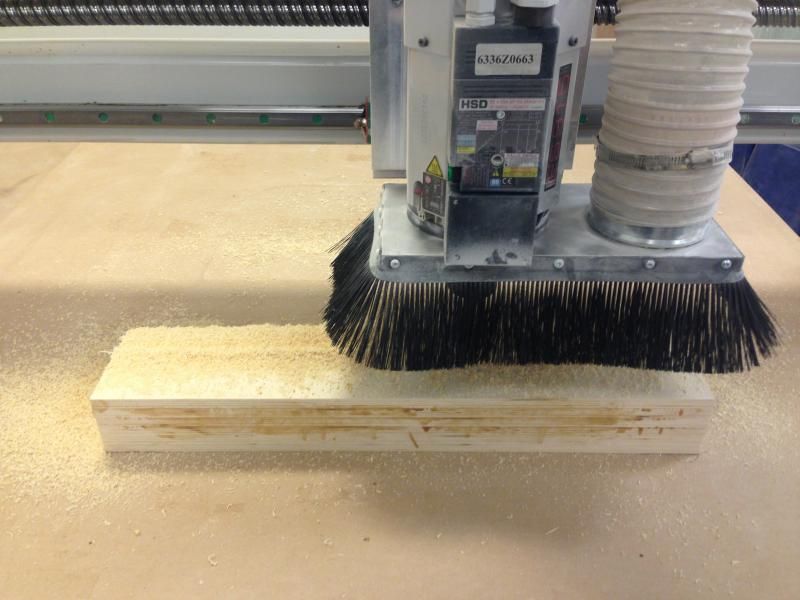
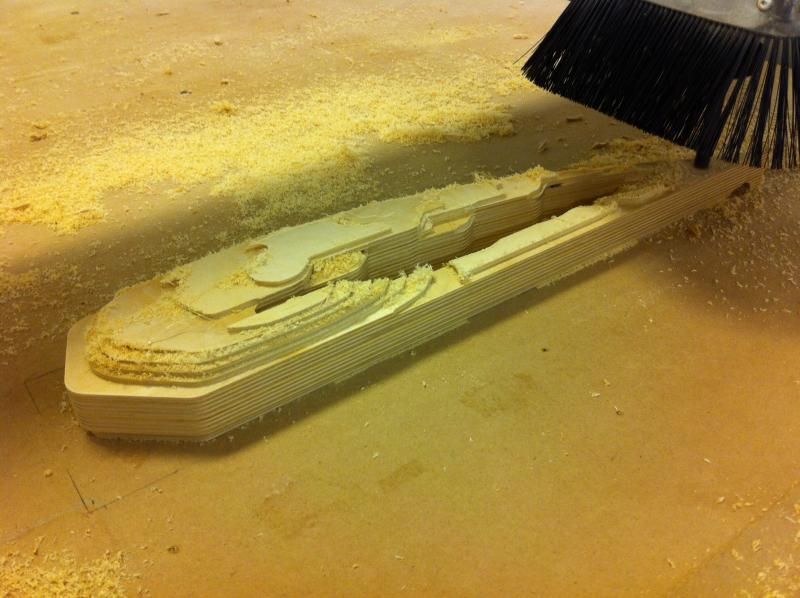
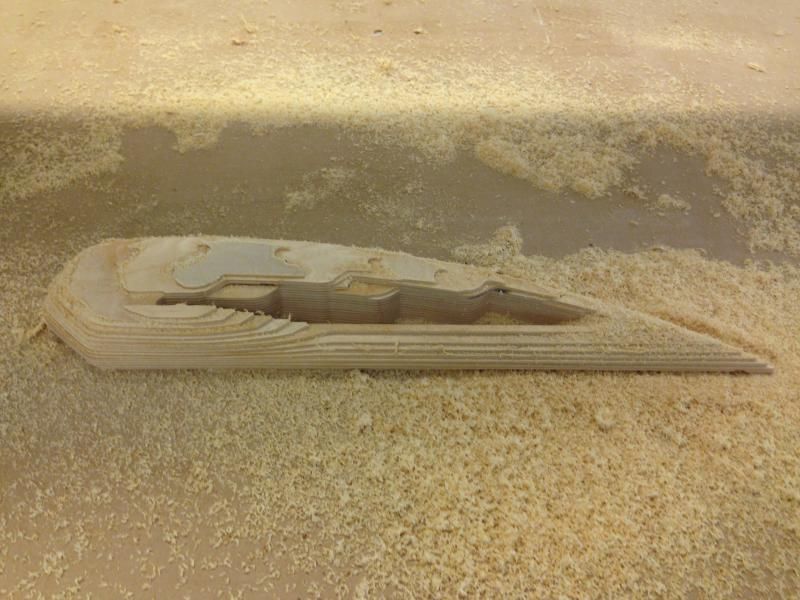
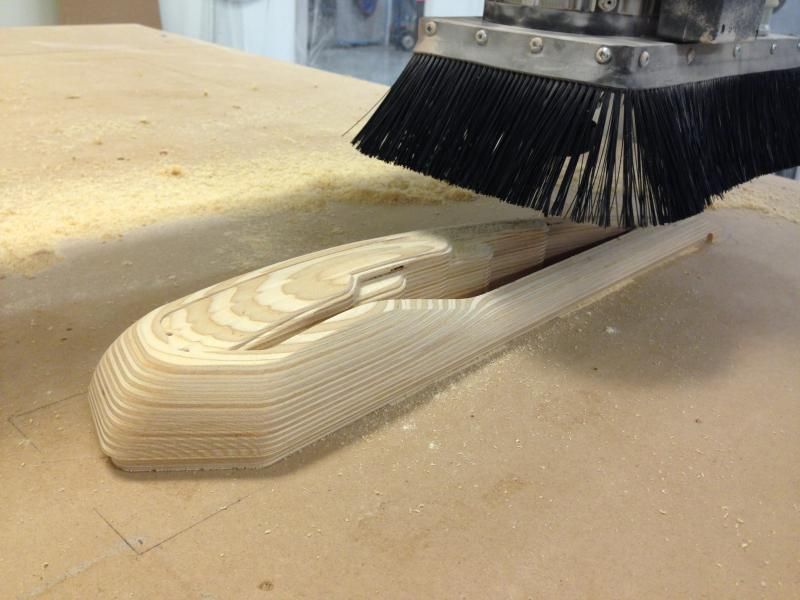
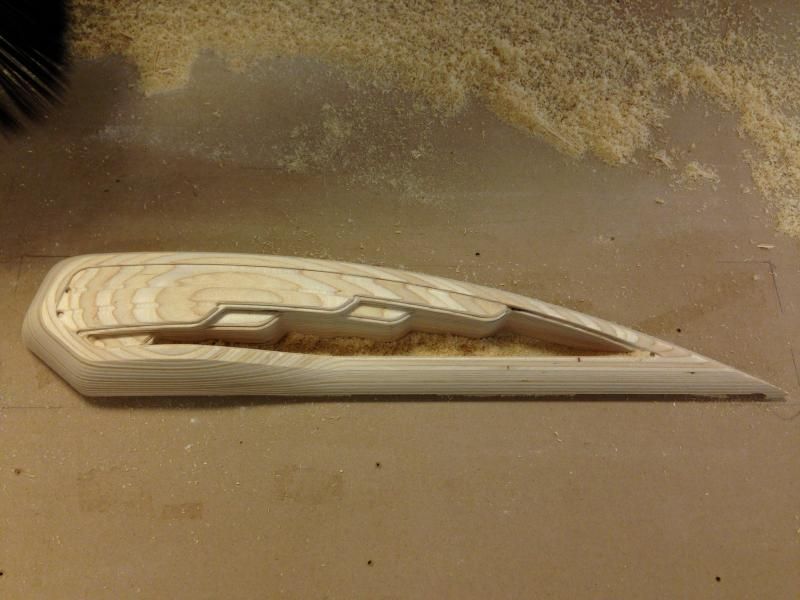
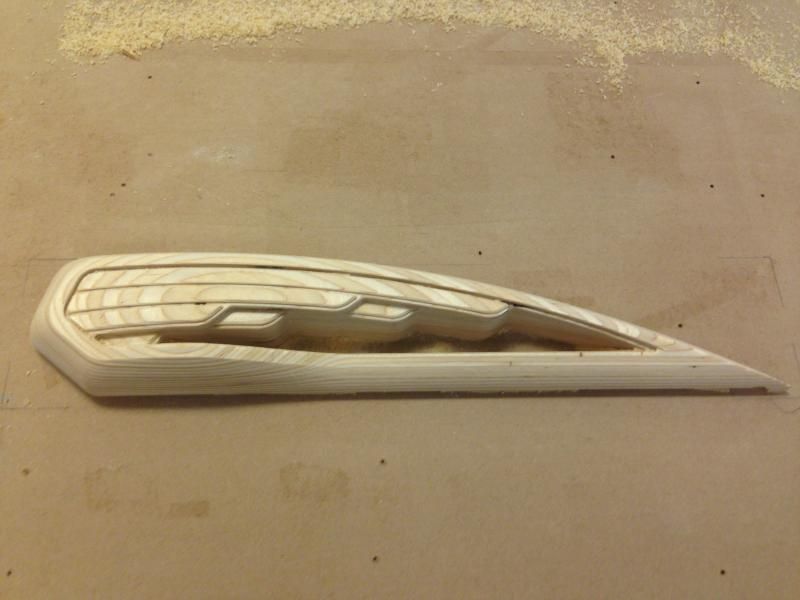
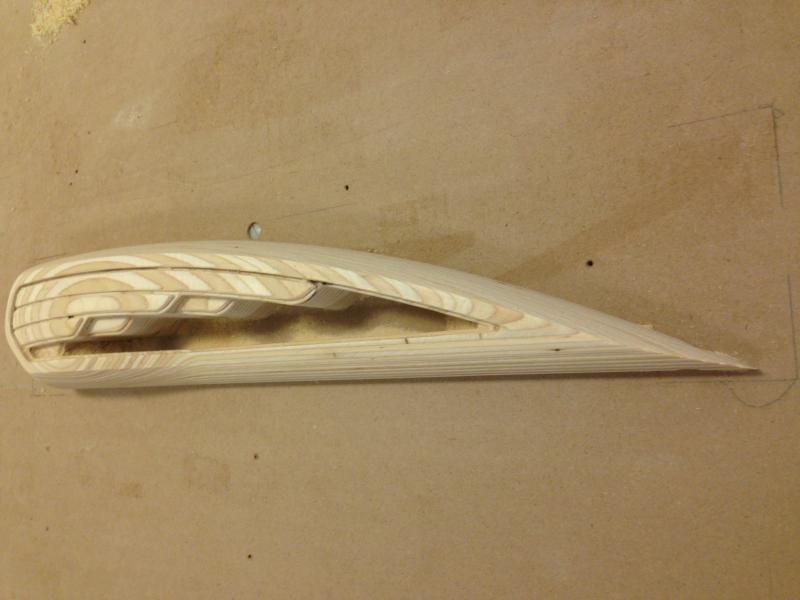
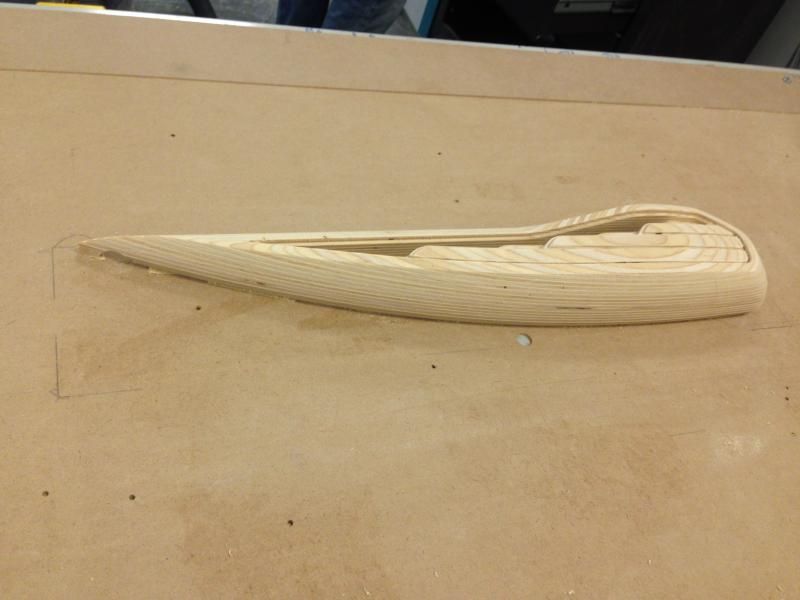
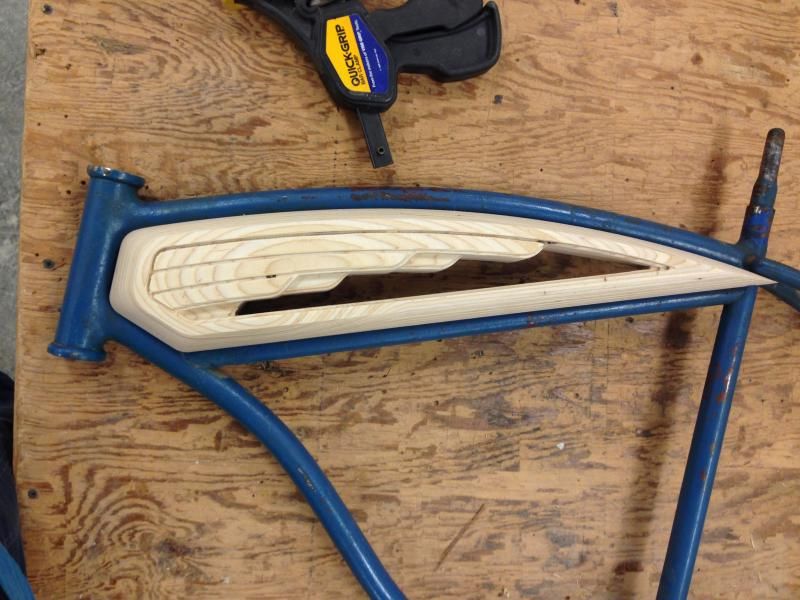
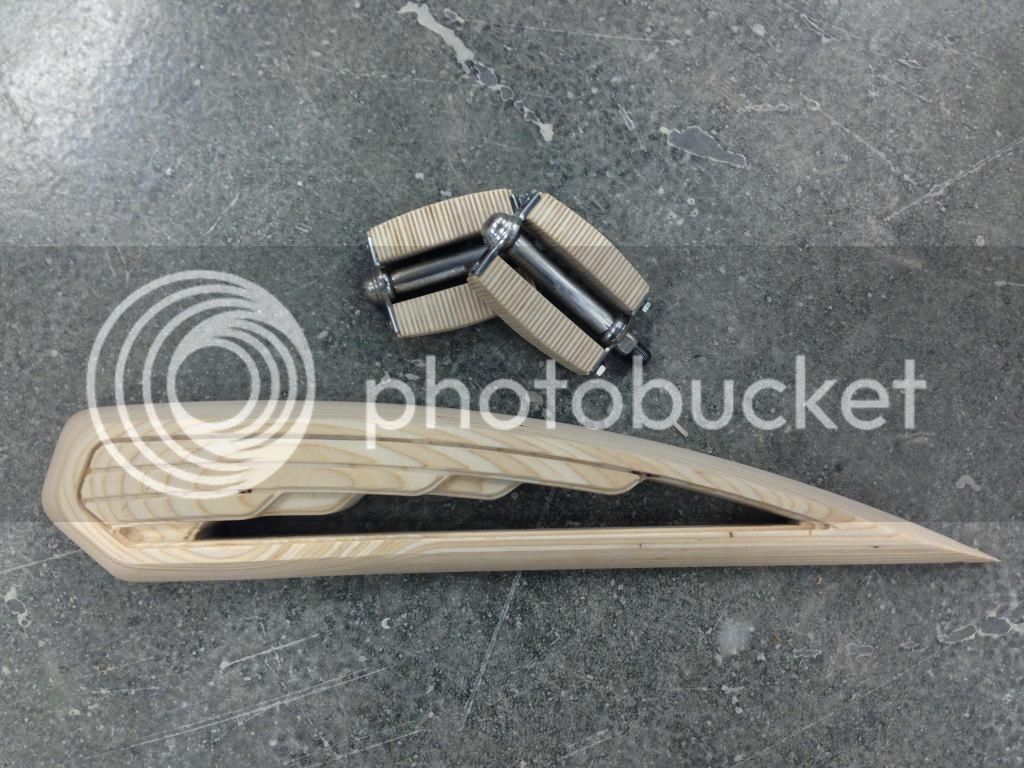
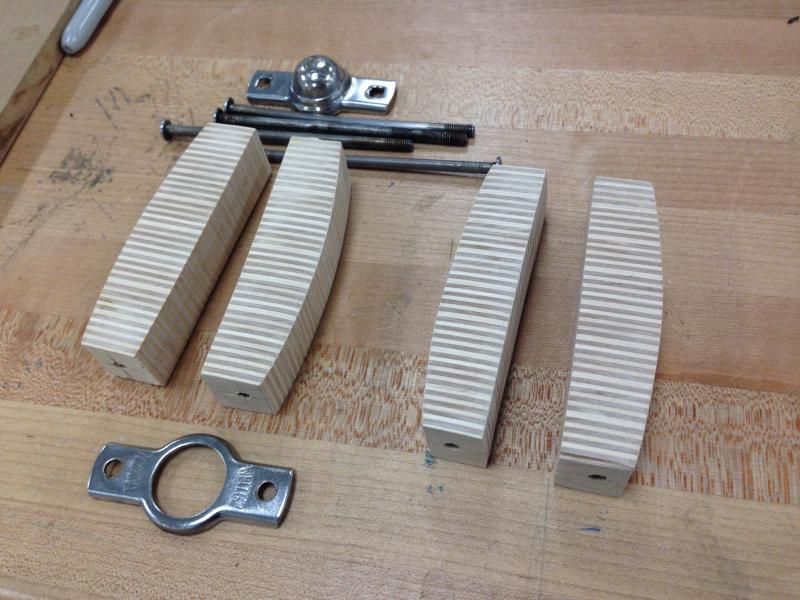
In the meantime, I'm in full out woodshop mode trying to get the pedals done and trying not to get distracted by watching the mill, it can put you in a trance! The tank is coming along great so far thanks to the help of a friend of mine, I owe him big time. Here are some updates on it and the pedals.
IMG_8012.jpg

IMG_8023.jpg

IMG_8020.jpg

IMG_8021.jpg
 
Those pedals are gonna be cool, but it's incredible watching that tank being formed from the plywood!!! WOW!
 
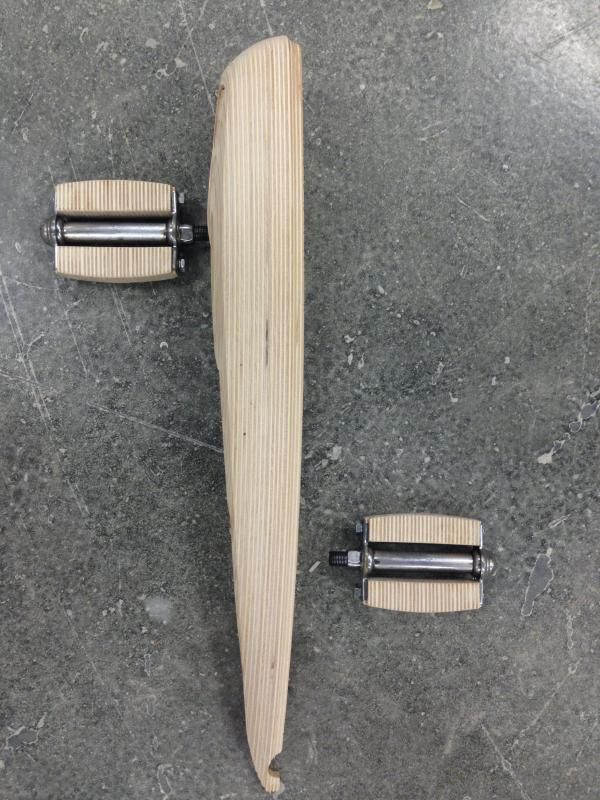
OK, so with the exception of a little sanding and staining the wood I have the pedals and one half of the tank done! Its going to be a marathon finish but I think I'll get it done. I hope!

49f0ba09-a291-4a01-b71f-909363c3080a.jpg


The pedals were made to go in the same direction as the ply on the tank. The small piece on the headlight bracket does the same. From the riding viewpoint all layers go front to back.

IMG_8035.jpg
 
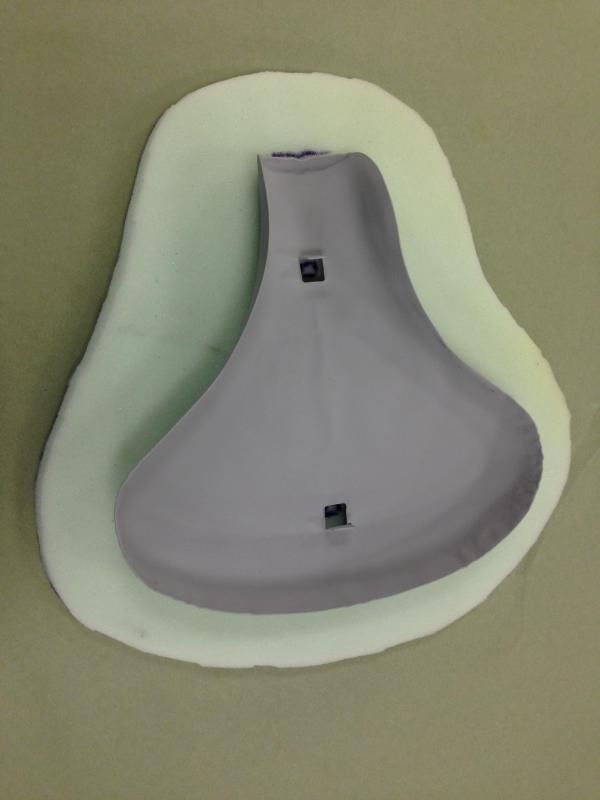
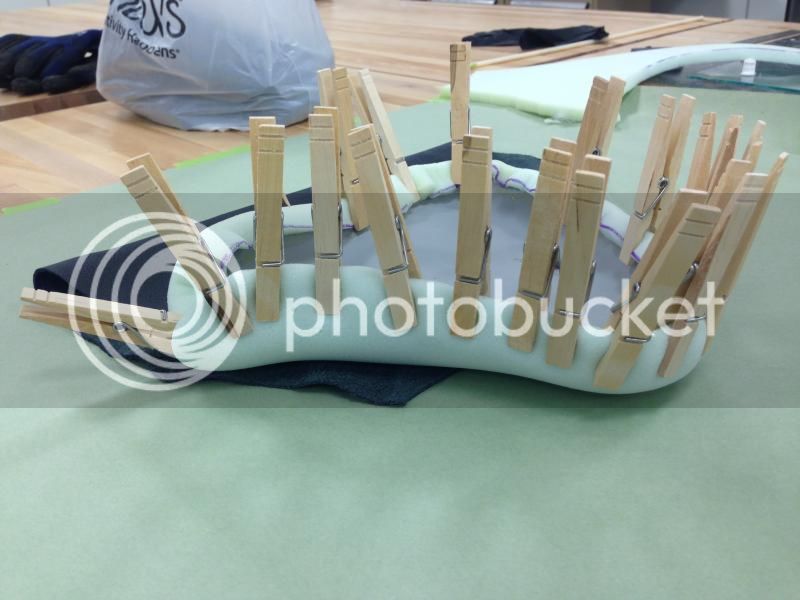
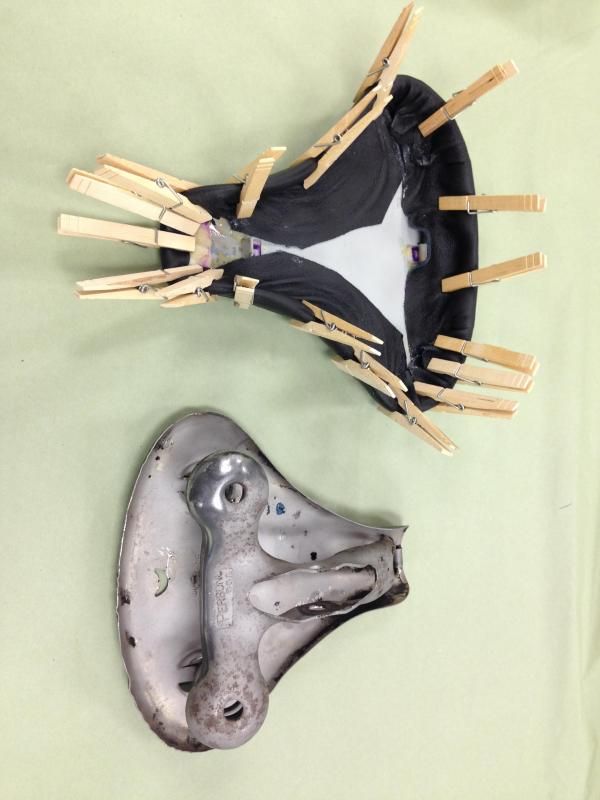
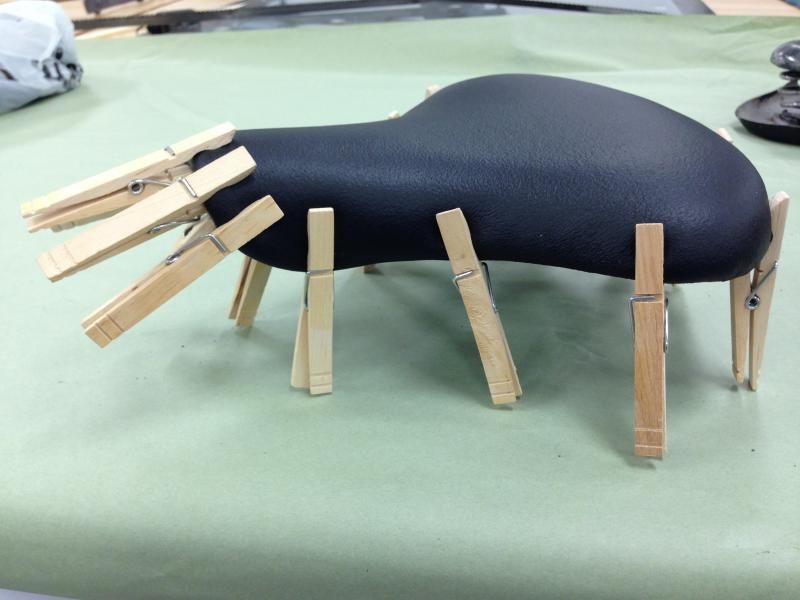
A good friend of mine was able to get some new leather for me to reupholster the old seat that came on the bike when I got it. The seat looks original to the bike but might not be because white was probably rare for a mens bike back then. Either way, I'm really glad I spent the extra time to redo this seat. It fits the bike much better than the seat I cleaned up at the beginning of this build! I still have to finish the bottom half. I would like to polish the bare metal but the complex shape and the way the springs are pressed in make it pretty difficult. I may just respray it black but mask the springs. We'll see... the clock is ticking and I need a complete bike!

Anyway, for my first time stretching leather I'm pretty happy with it as long as it stays like this when the clothes pins are removed....

IMG_8037.jpg

IMG_8039.jpg
IMG_8052.jpg

IMG_8053.jpg


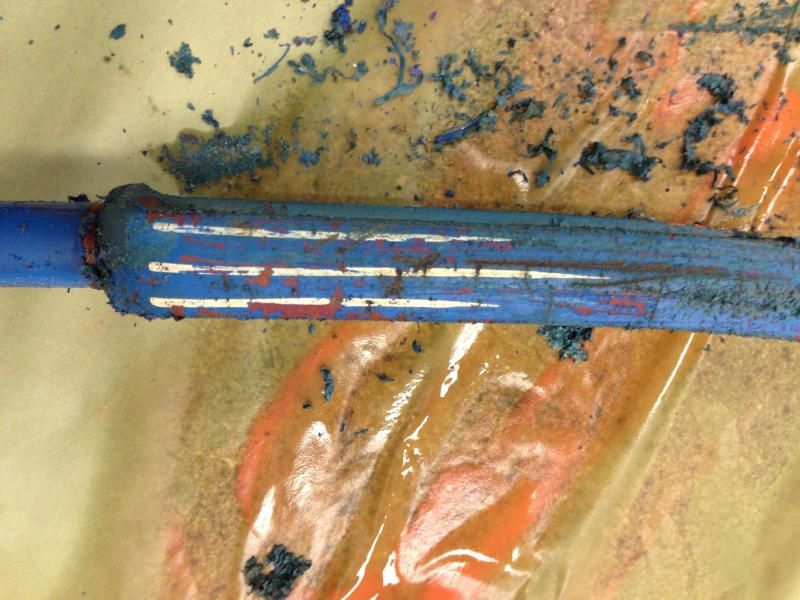
I also started to strip the fork. I kind of felt guilty because the stripper ate the repaint easier than the original paint so the original paint and stripes were unveiled. I hesitated removing them but then decided the just weren't part of the vision of this bike... Sorry patina lovers!

IMG_8051.jpg
 

Latest posts

Back
Top