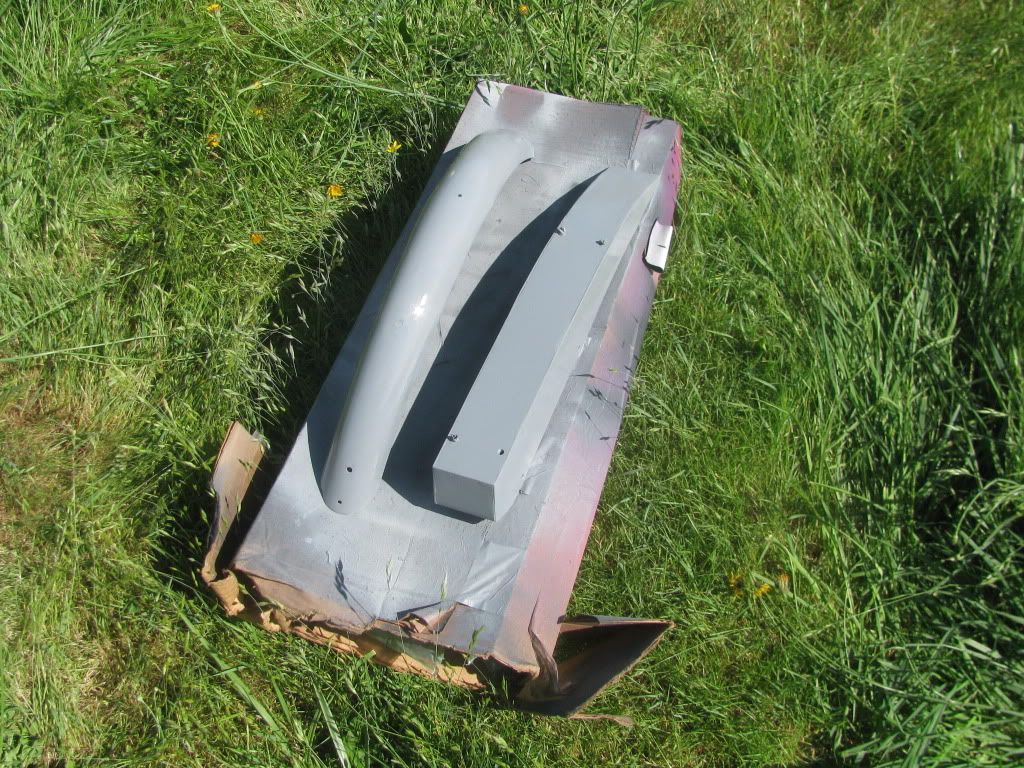
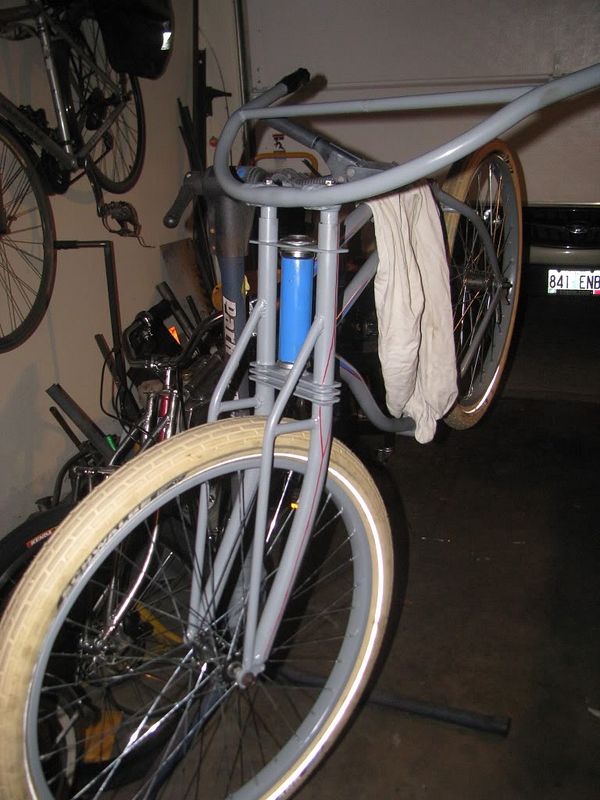
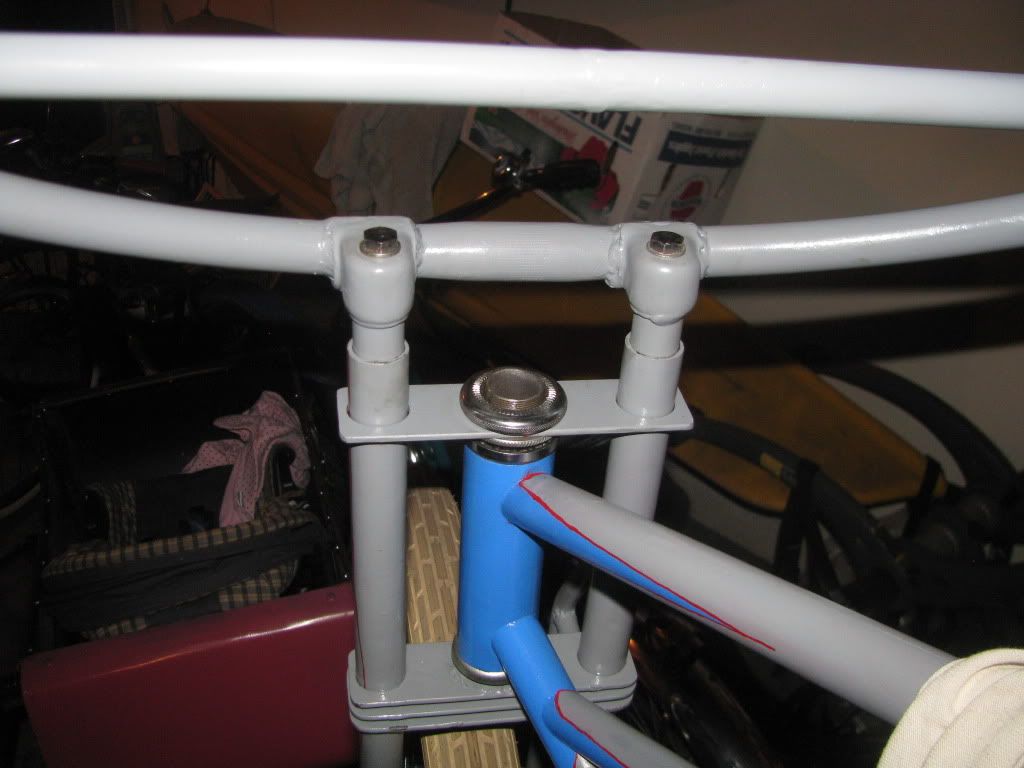
ncherguy said:They are just regular cruiser longhorn/halfmoon style handlbars with a support bar in the middle. A friend gave them too me because the chrome was mostly gone.
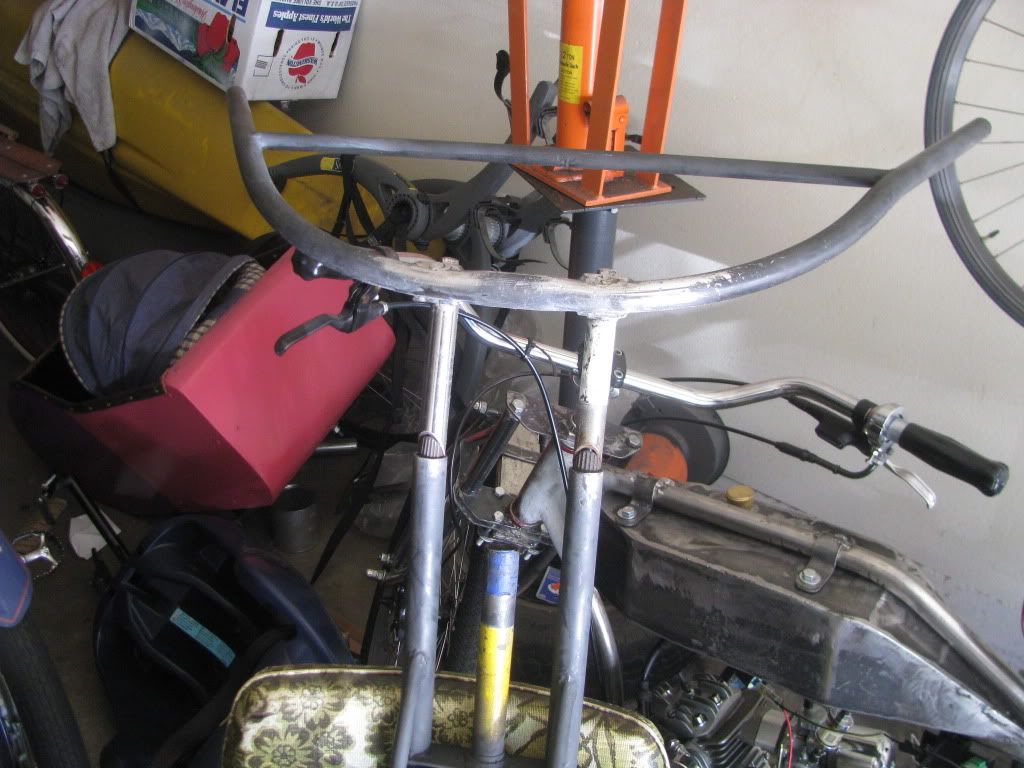
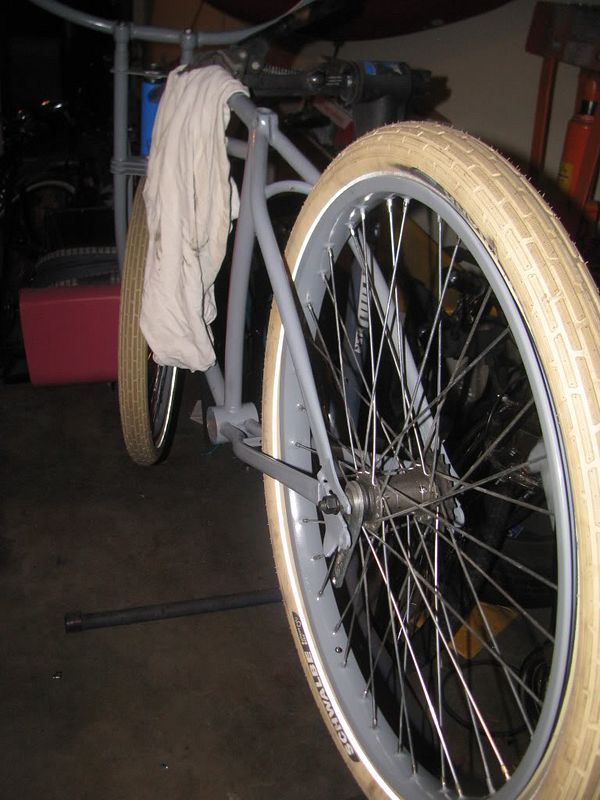
Must just be the angle of the photo.


ncherguy said:They are just regular cruiser longhorn/halfmoon style handlbars with a support bar in the middle. A friend gave them too me because the chrome was mostly gone.
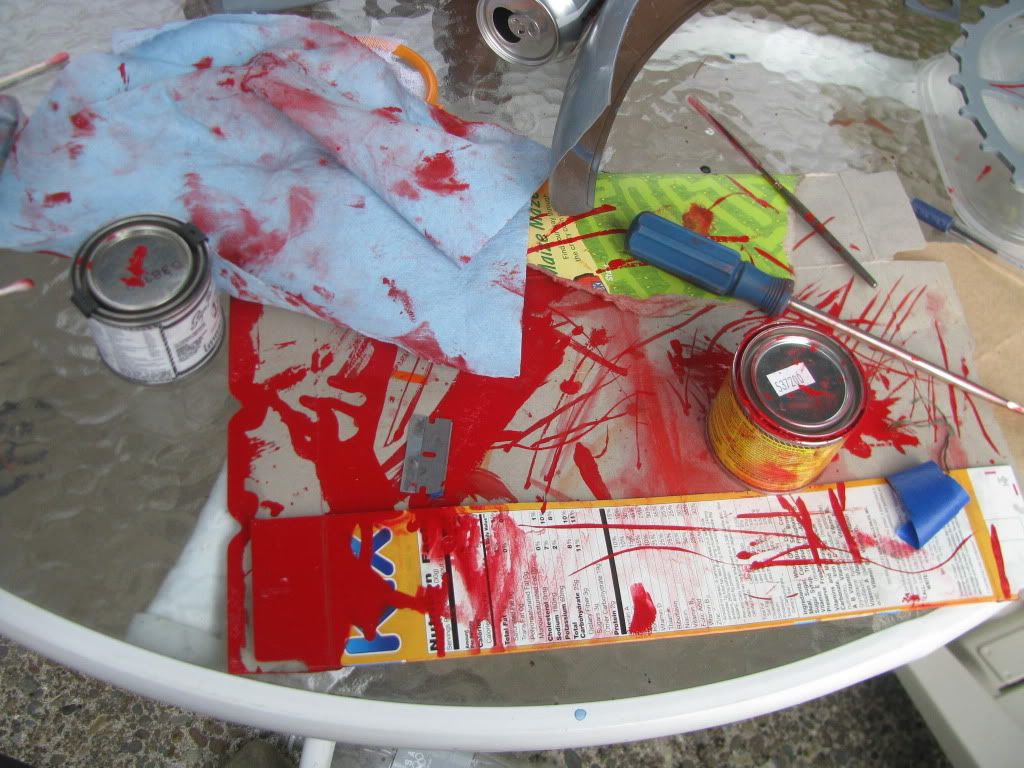
Peatbog said:ncherguy said:My favorite stripper. Shes a little nasty but she does the job.
I use the same stripper.

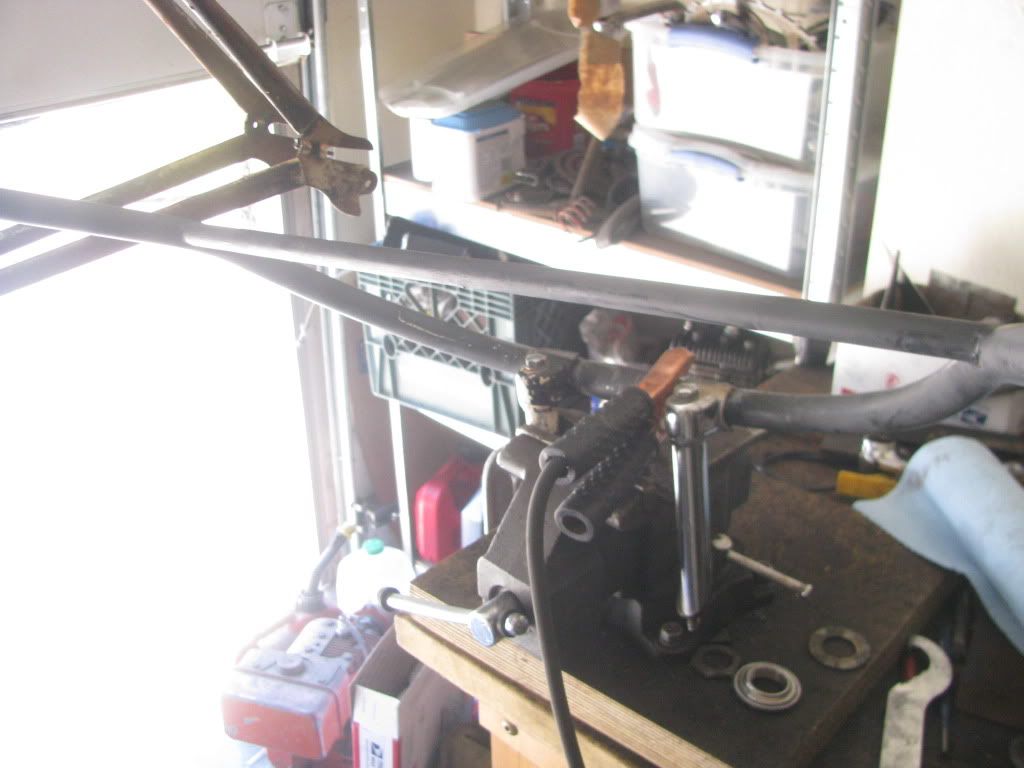


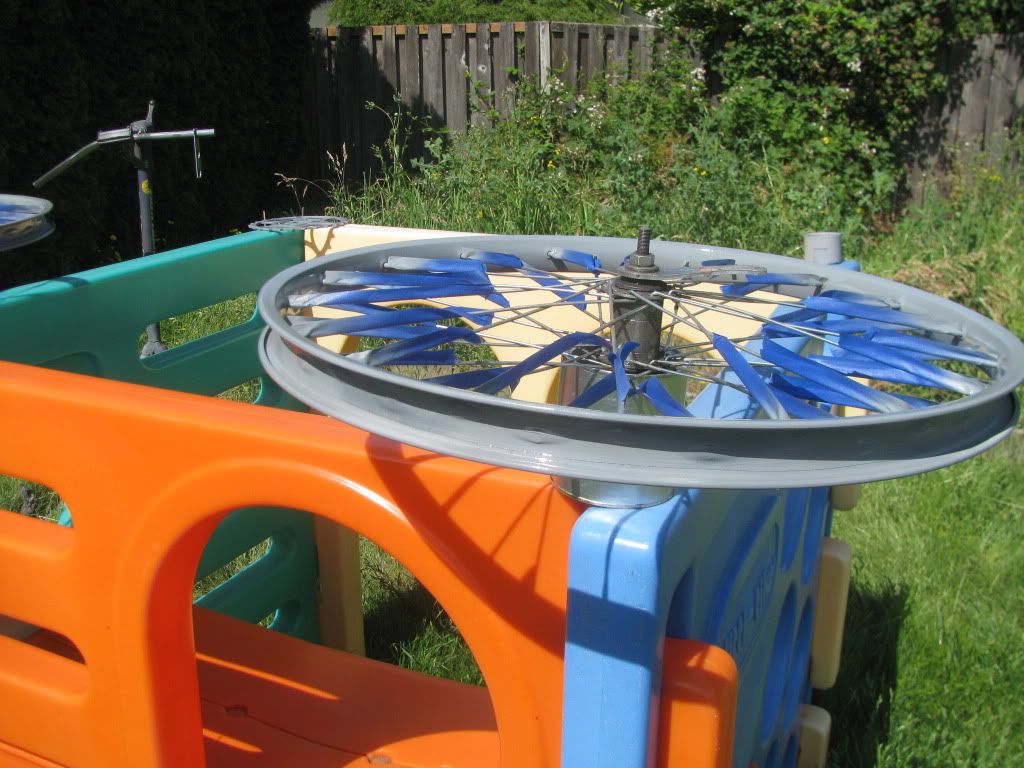
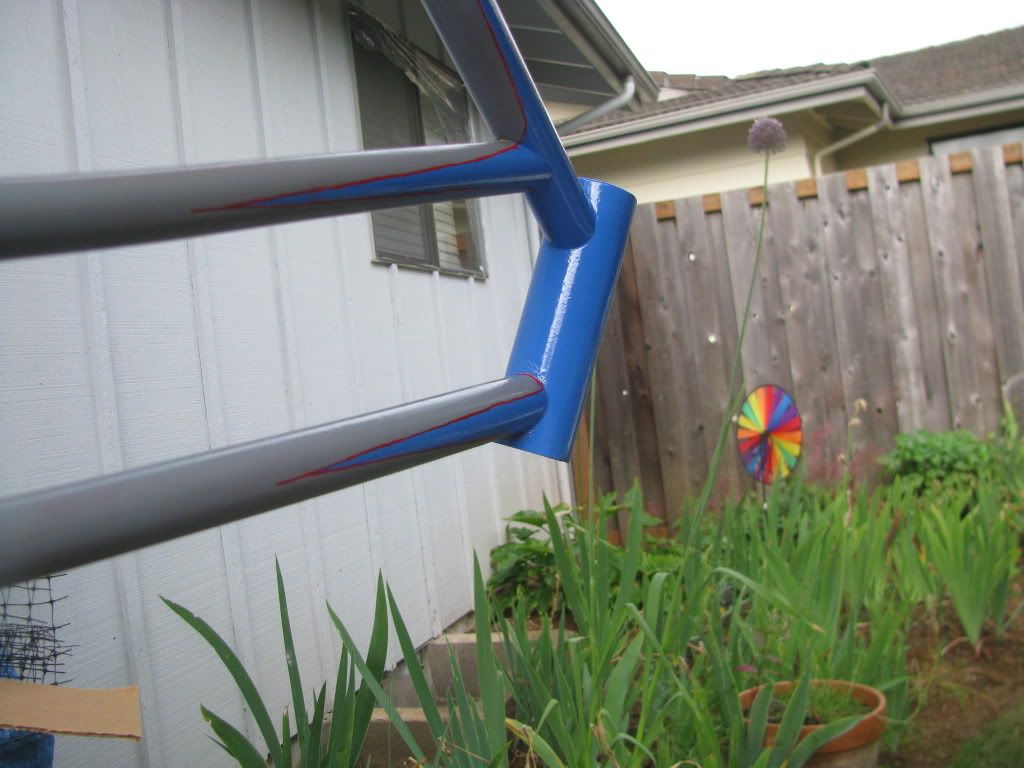
ncherguy said:also shows some good photos of how messy and small my shop is.

kingfish254 said:ncherguy said:also shows some good photos of how messy and small my shop is.
Tank saw mine today. Yours is immaculate.
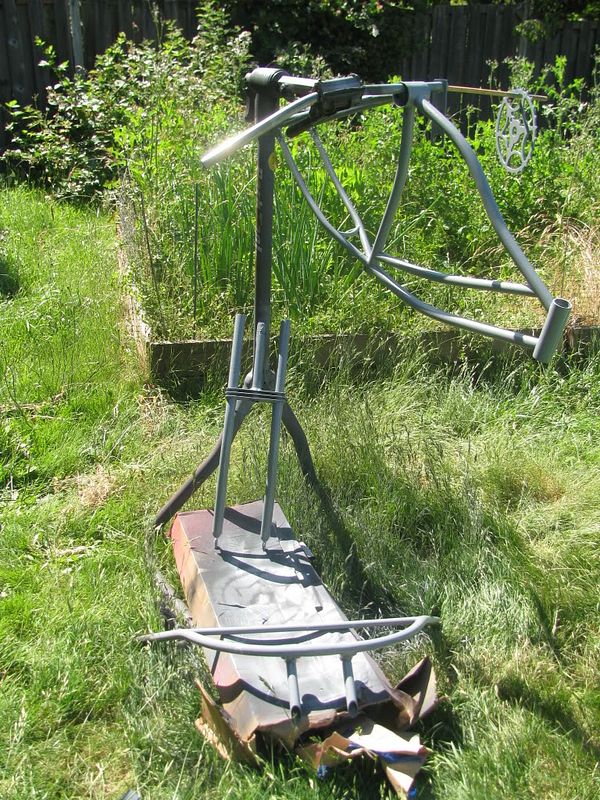
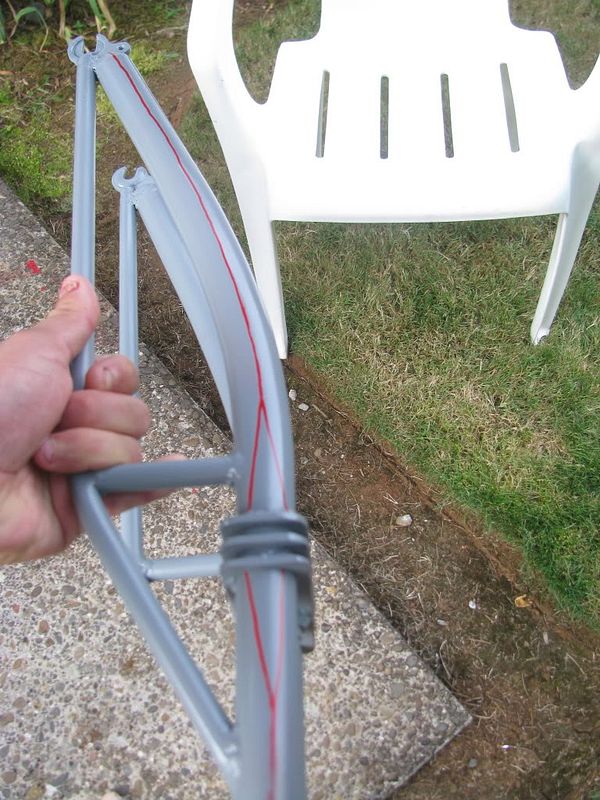
Love the work that you are putting into this. Looking sharp and well engineered.
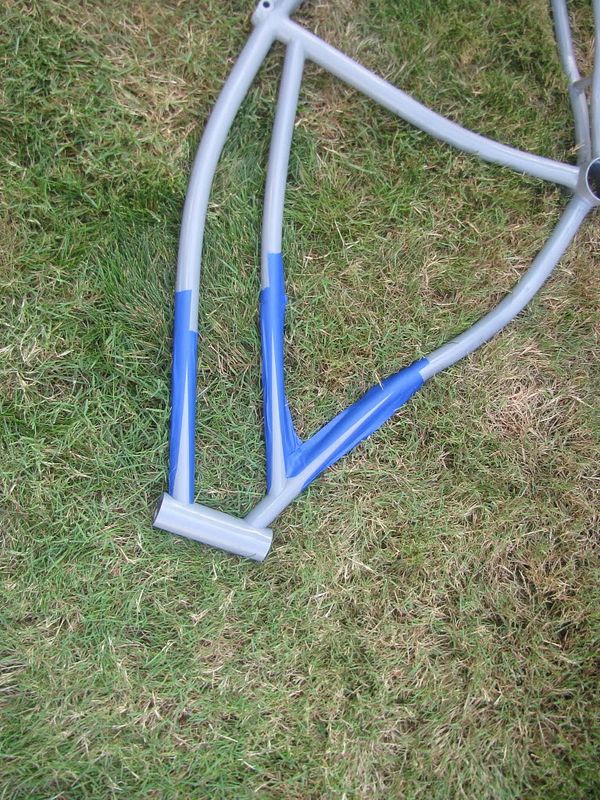
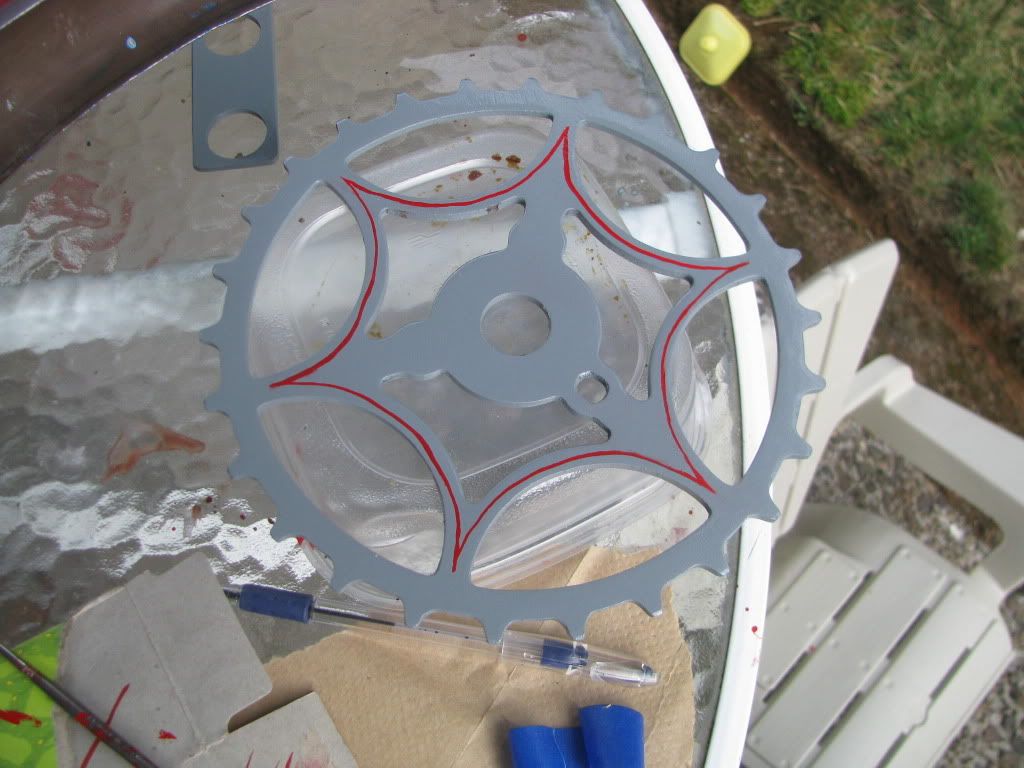
 Nice paint! Excellent job!
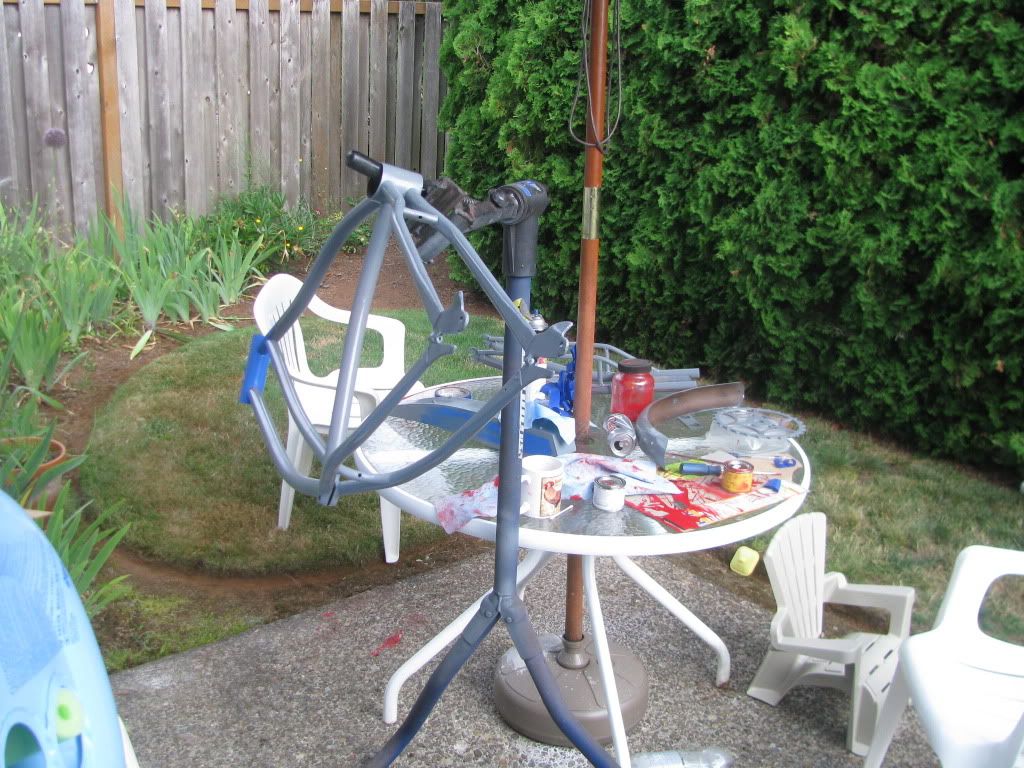
Enter your email address to join: