Thanks! 
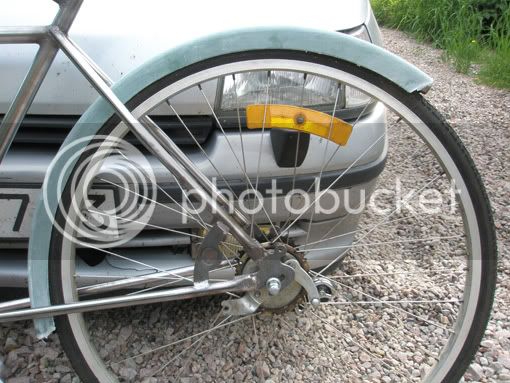
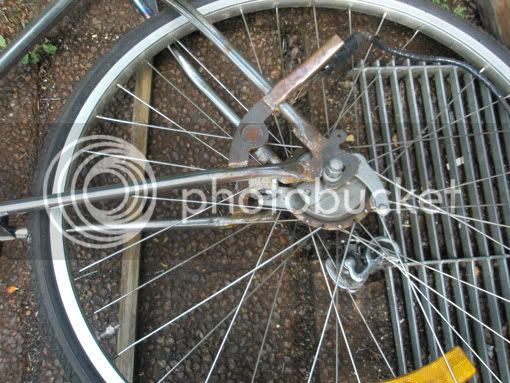
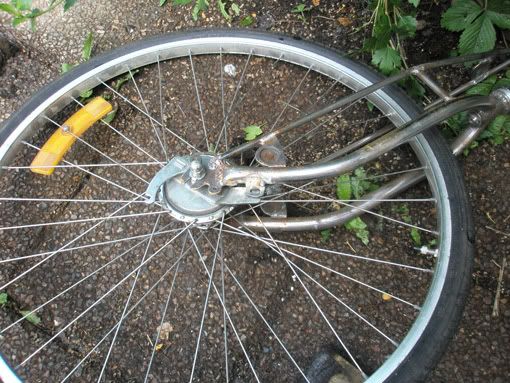
g kustom kuhl: I saw it as a challenge to try and make reflectors a nice part of the bike, instead of something that just looks out of place, like for instance those that are currently still in the wheels on this build. Glad you like what I came up with! And yeah, it's been a lot of work in a short time! I think I'll rest for a while after this one's finished. I won't keep up this pace all the time, then my energy resource would soon run dry.
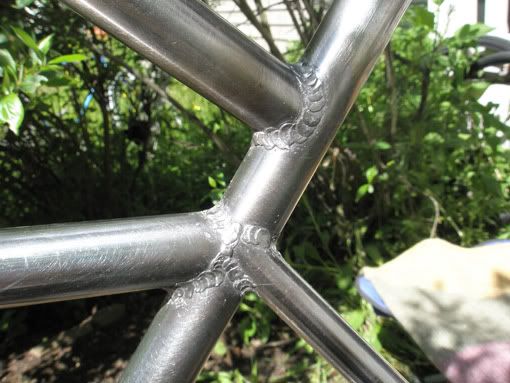
Ed_Straker's_Rat: Cool! Get yourself some welding gear and do it! It's really a lot of fun! I'm still learning too, some welds come out nice and some others not so nice. But it's still fun, to learn and get better at something and get new ideas out of what you learn! Thank you for your kind words!!
Ok Gdcast, are you ready for a fender experiment?? Oh, and everybody else that's interested too of course! :wink:
I got the idea of trying to use something else than fiber glass for making fenders. Some weeks ago my mother was going to throw away an old bed cover, but I stopped her. "I'll try to make fenders from that!" The strange thing was that she didn't seem at all surprised, she just said "ok, sure!" :shock: Anyway, here's the first part of my attempt to make fenders from cotton...

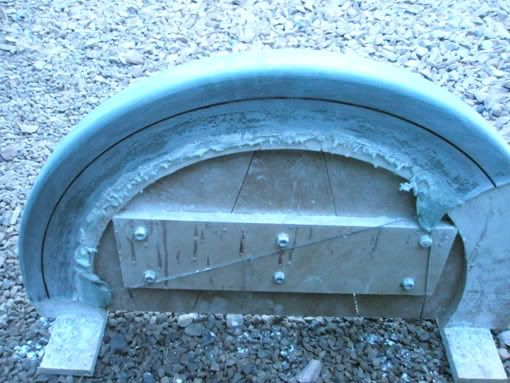
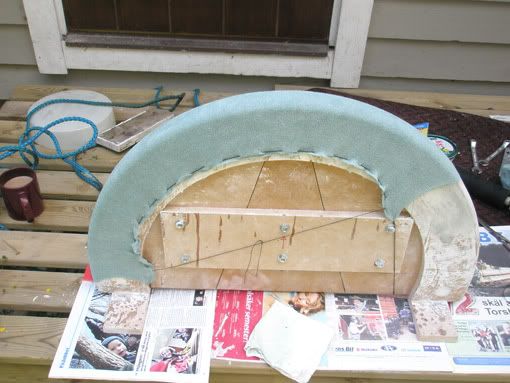
First I prepared the fender mold with car wax. Then I cut a strip from the old stretch fabric bed cover.
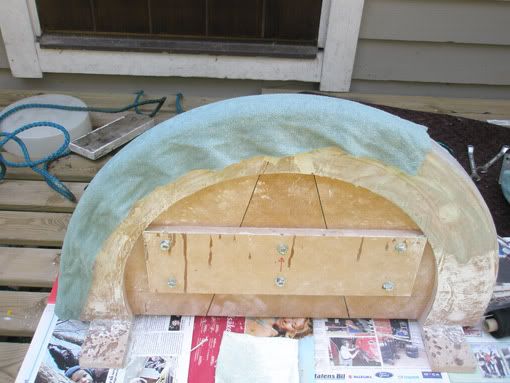
Then secured it at the ends with string, stitched along the edges and tightened the string and tied it. Same on the other side.
Polyester resin applied.
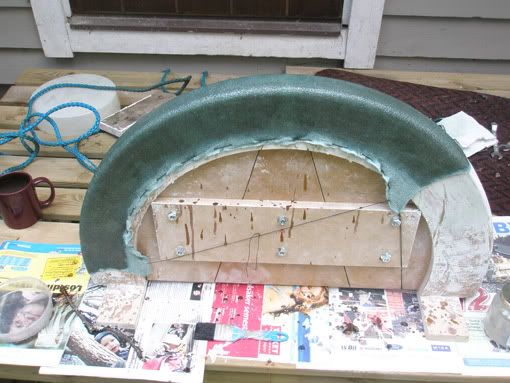
When it had cured I sanded it down a little. Made sure I didn't sand all the way down through the fabric.
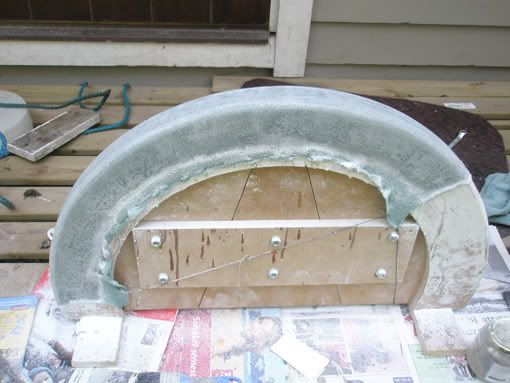
Then I applied another coat of polyester. The fender was already a lot smoother this time!
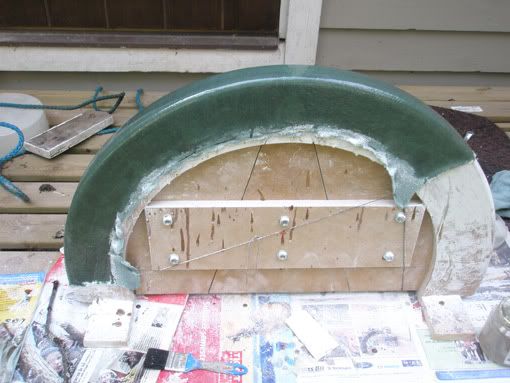
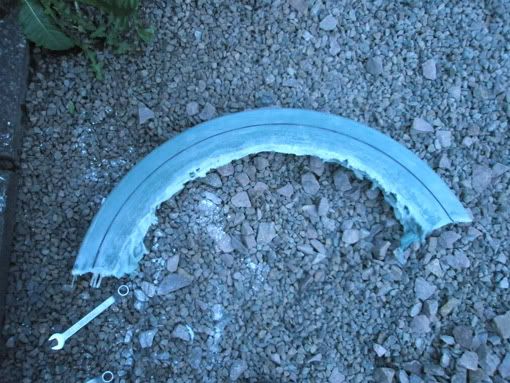
I repeated the process of sanding and applying polyester two more times, then it looked smooth enough to not need any filler whatsoever on it! That's where I'm at with the fendermaking as of now. I'll take it off the mold tomorrow and hope that it's strong enough to work well. If it is, then I don't know what would make me use fiber glass for fenders again because this process took so much less work and no itchy glass dust when sanded either!!!
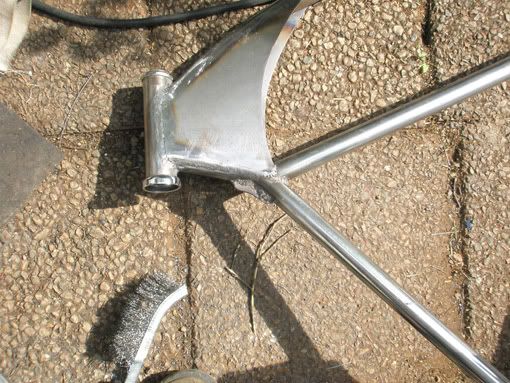
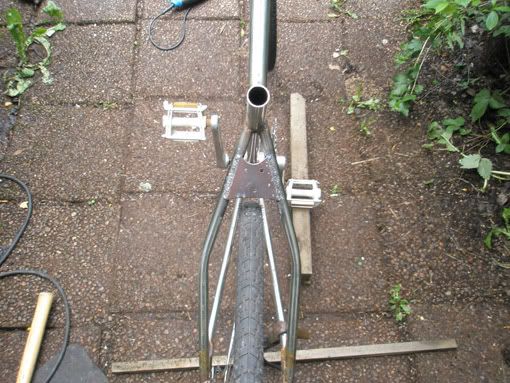
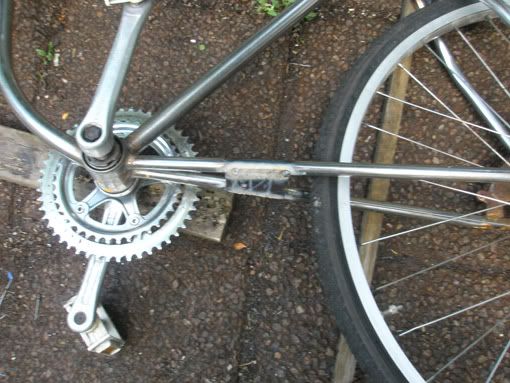
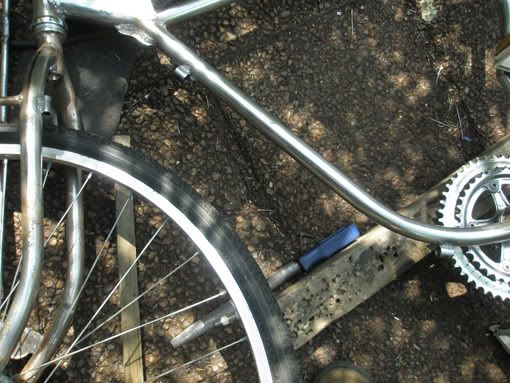
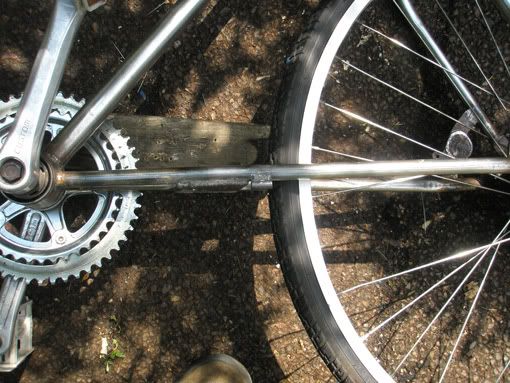
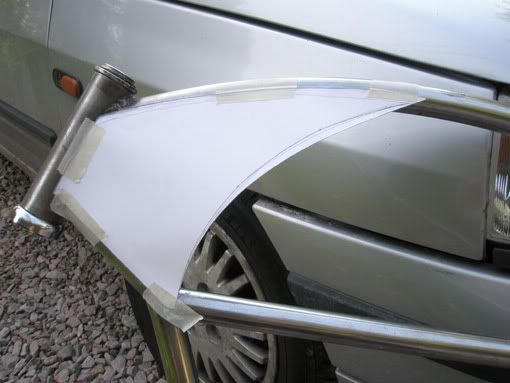
Apart from that I also finished welding the fork trusses and the reflector brackets and I started on the sheetmetal pieces for the frame.
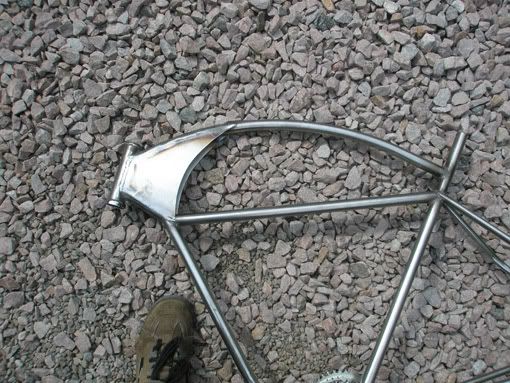
The template. I drew a new curve on it whan I'd taped it on, wanted it to arch a little more.
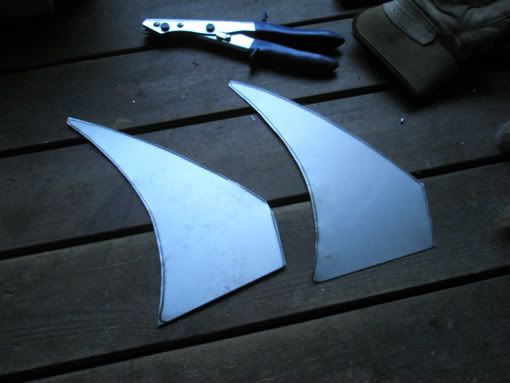
Rough cut.
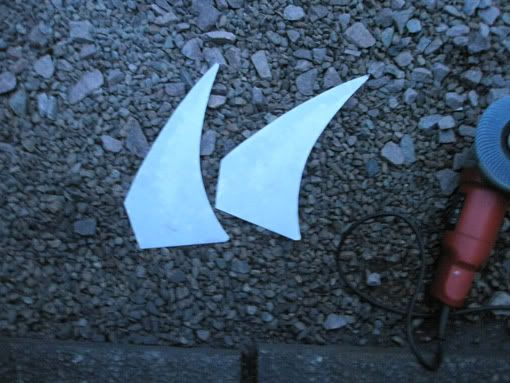
Smoooooth!
Then I felt tired and decided to call it a day.
We'll see what I have time to do on the bike tomorrow...
Good night!
g kustom kuhl: I saw it as a challenge to try and make reflectors a nice part of the bike, instead of something that just looks out of place, like for instance those that are currently still in the wheels on this build. Glad you like what I came up with!
And yeah, it's been a lot of work in a short time! I think I'll rest for a while after this one's finished. I won't keep up this pace all the time, then my energy resource would soon run dry.Ed_Straker's_Rat: Cool!
Get yourself some welding gear and do it! It's really a lot of fun! I'm still learning too, some welds come out nice and some others not so nice. But it's still fun, to learn and get better at something and get new ideas out of what you learn! Thank you for your kind words!!Ok Gdcast, are you ready for a fender experiment??
Oh, and everybody else that's interested too of course! :wink: I got the idea of trying to use something else than fiber glass for making fenders. Some weeks ago my mother was going to throw away an old bed cover, but I stopped her. "I'll try to make fenders from that!" The strange thing was that she didn't seem at all surprised, she just said "ok, sure!" :shock: Anyway, here's the first part of my attempt to make fenders from cotton...
First I prepared the fender mold with car wax. Then I cut a strip from the old stretch fabric bed cover.
Then secured it at the ends with string, stitched along the edges and tightened the string and tied it. Same on the other side.
Polyester resin applied.
When it had cured I sanded it down a little. Made sure I didn't sand all the way down through the fabric.
Then I applied another coat of polyester. The fender was already a lot smoother this time!
I repeated the process of sanding and applying polyester two more times, then it looked smooth enough to not need any filler whatsoever on it! That's where I'm at with the fendermaking as of now. I'll take it off the mold tomorrow and hope that it's strong enough to work well. If it is, then I don't know what would make me use fiber glass for fenders again because this process took so much less work and no itchy glass dust when sanded either!!!
Apart from that I also finished welding the fork trusses and the reflector brackets and I started on the sheetmetal pieces for the frame.
The template. I drew a new curve on it whan I'd taped it on, wanted it to arch a little more.
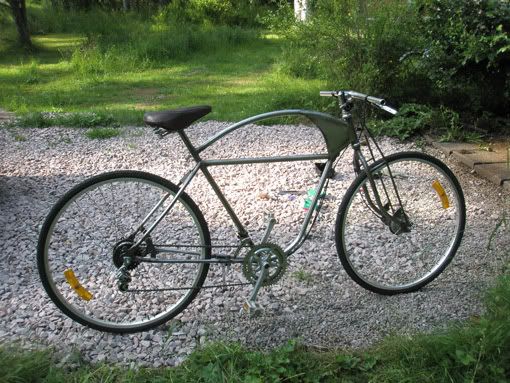
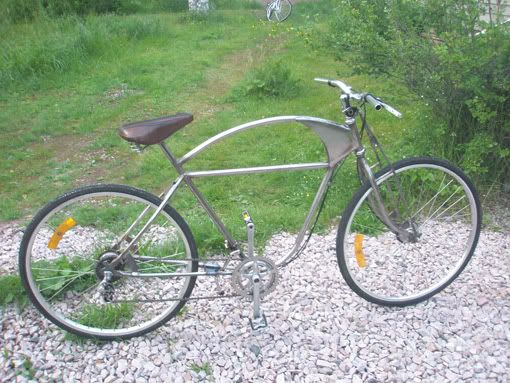
Rough cut.
Smoooooth!
Then I felt tired and decided to call it a day.
We'll see what I have time to do on the bike tomorrow...
Good night!