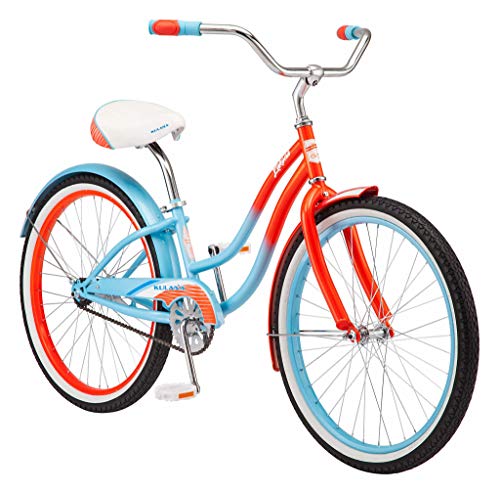
Another entry in the UCB Hub Project- Musselman/Elgin/JC Higgins Finned Hubs. These are one of the simplest hubs I have worked on and I am so far pleased with its performance.
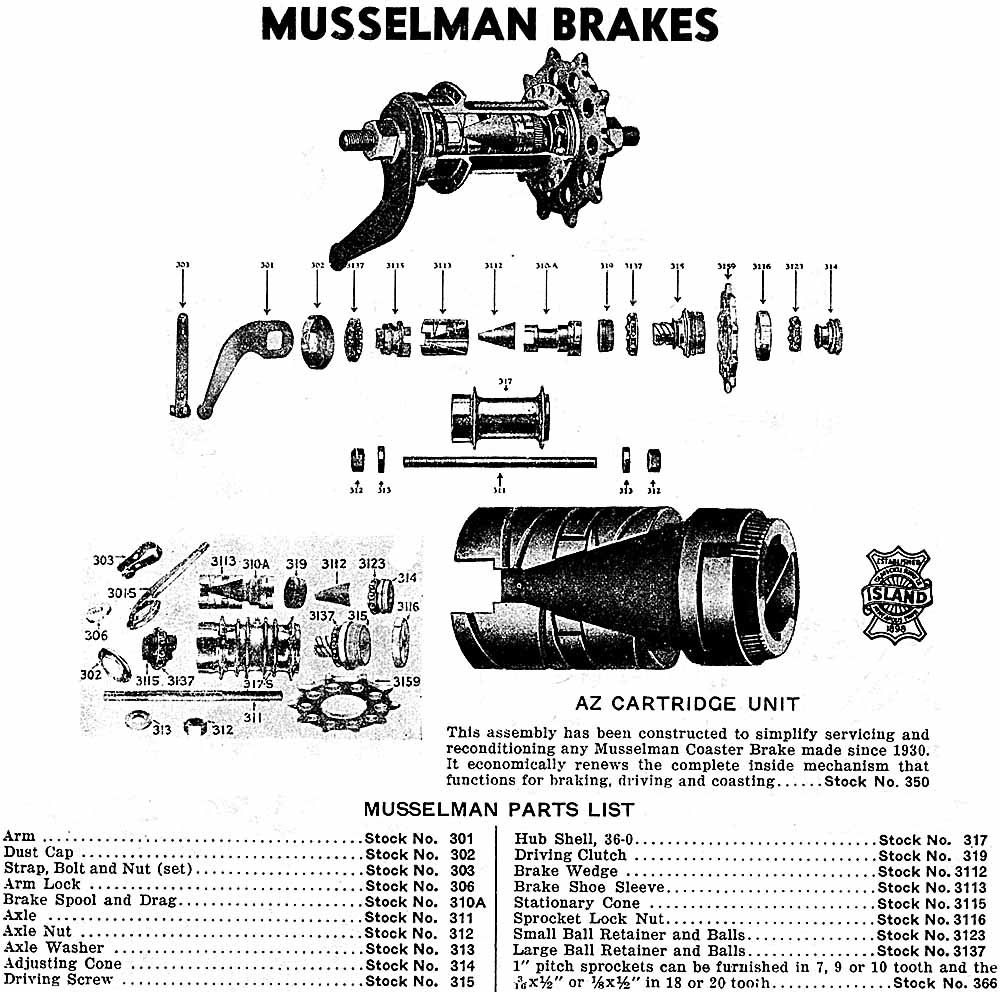
We will begin with the factory drawing to show what we are about to get into.
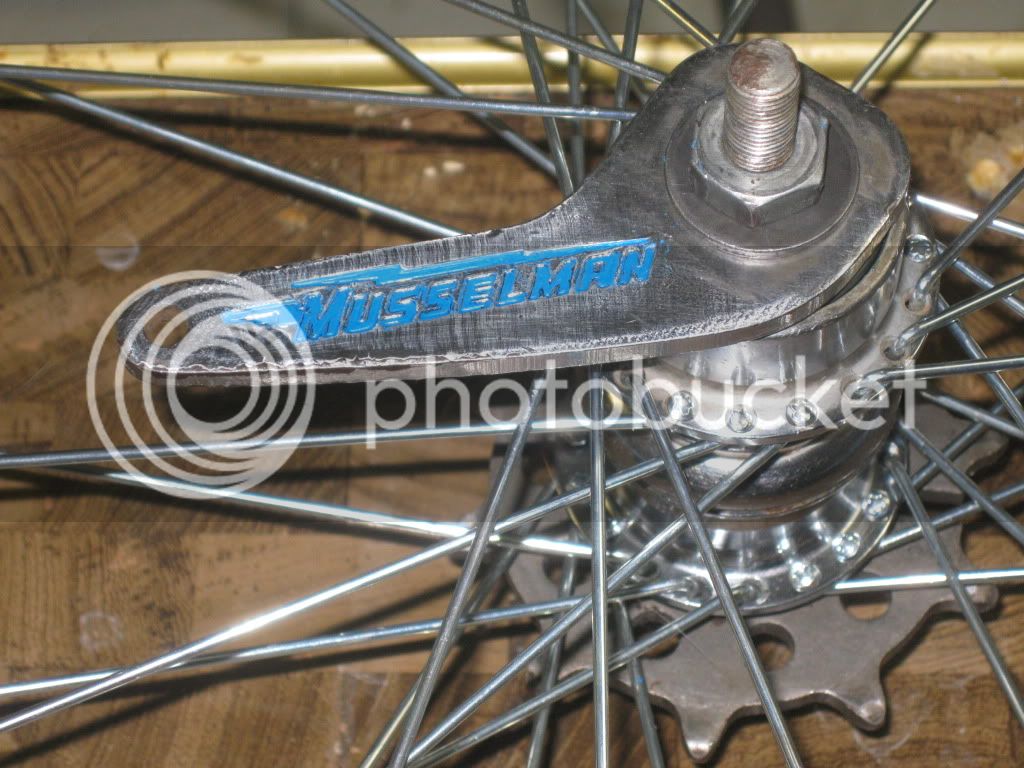
The tear down begins with removing the Adjusting Cone (314)
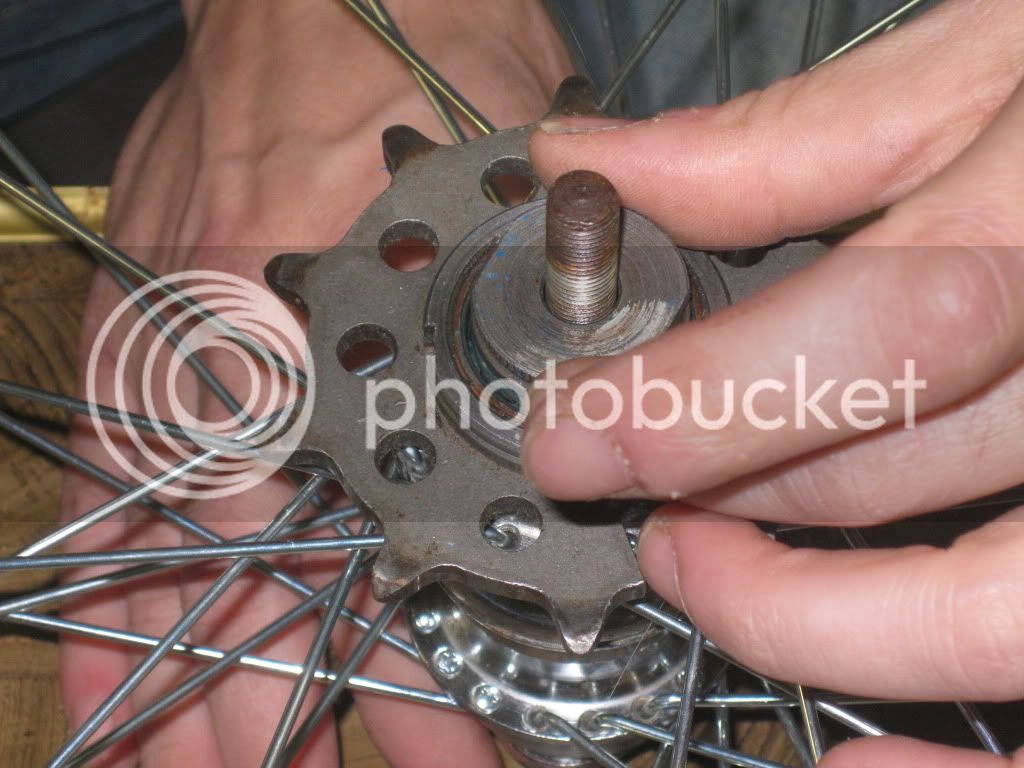
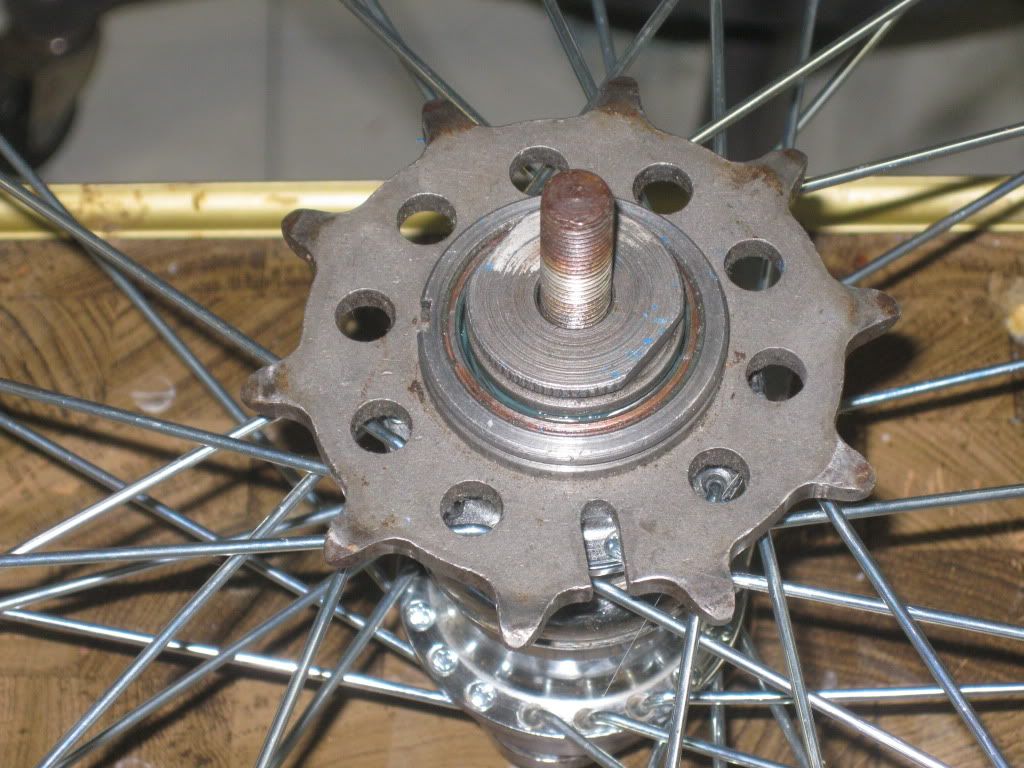
Next remove the Driving Screw (315) with the sprocket and sprocket lock nut attached
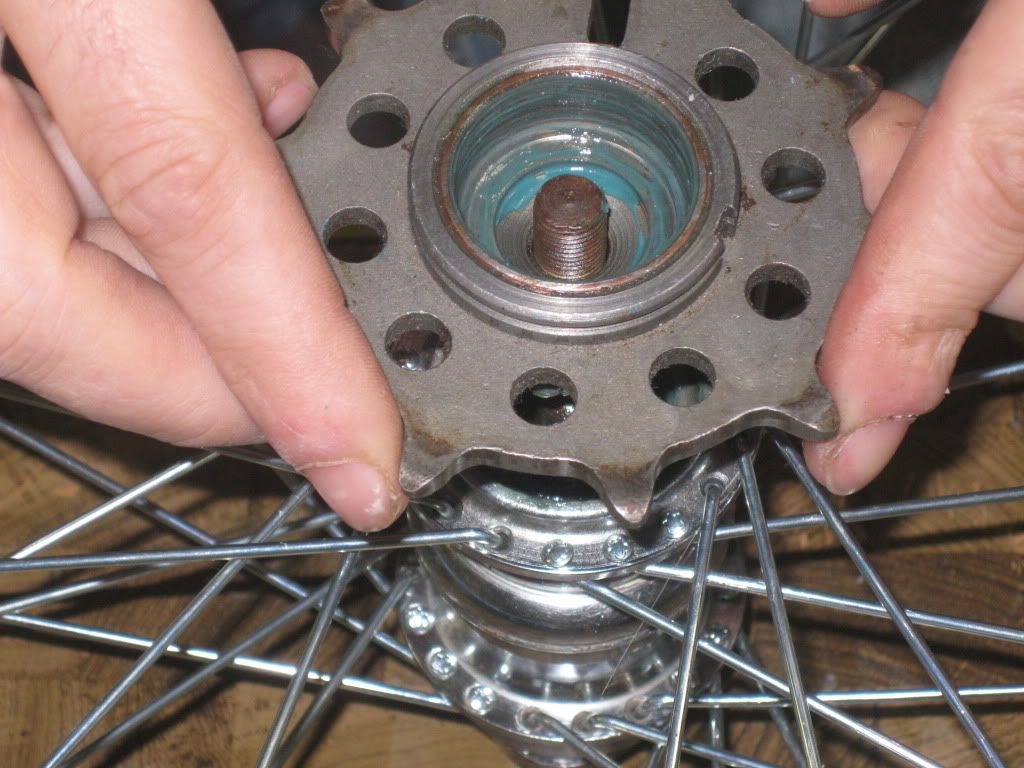
Slide the axle and remaining components out the back side of the hub.
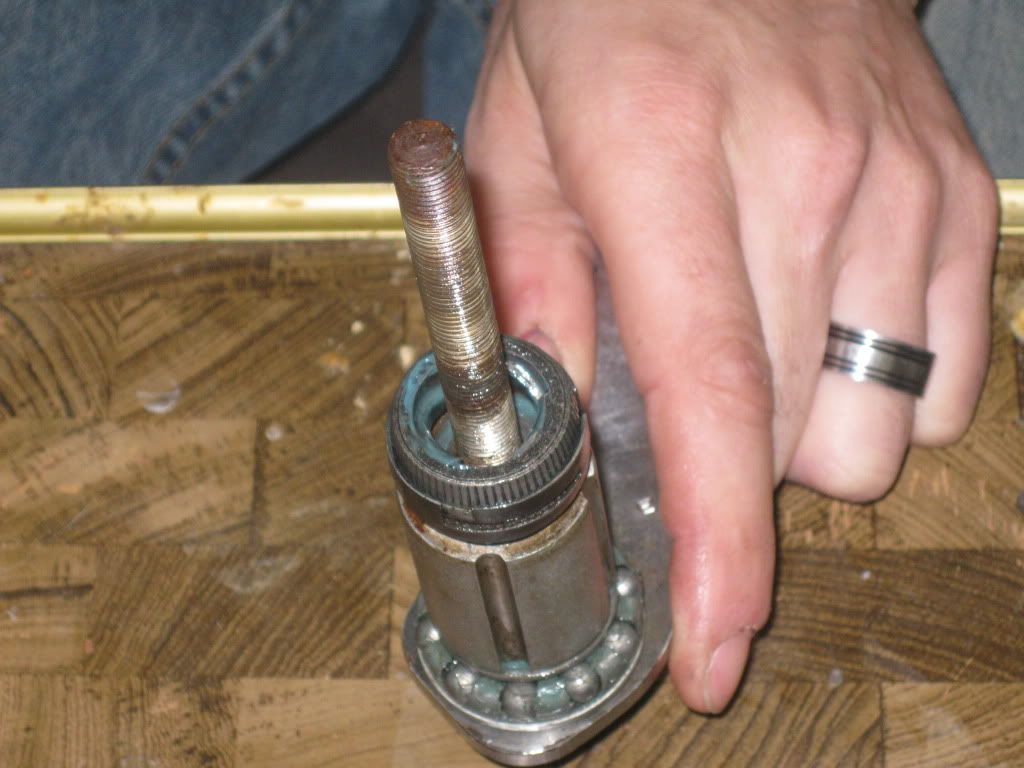
Remove the remaining parts from the axle. The Brake Arm (301), Dust Cap (302), Bearing (3137) and Stationary Cone (3115) can be left on the axle if they are clean, If not remove them as well. Here is what you should have in front of you now.
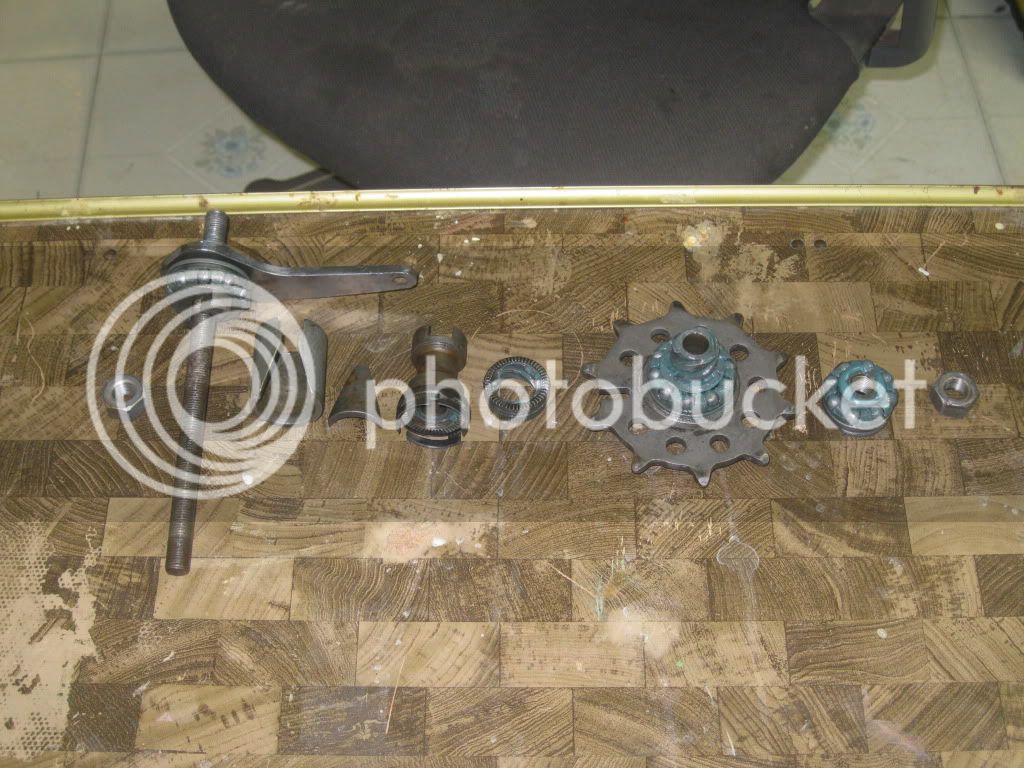
Here is what the hub internals should look like assembled inside the hub.
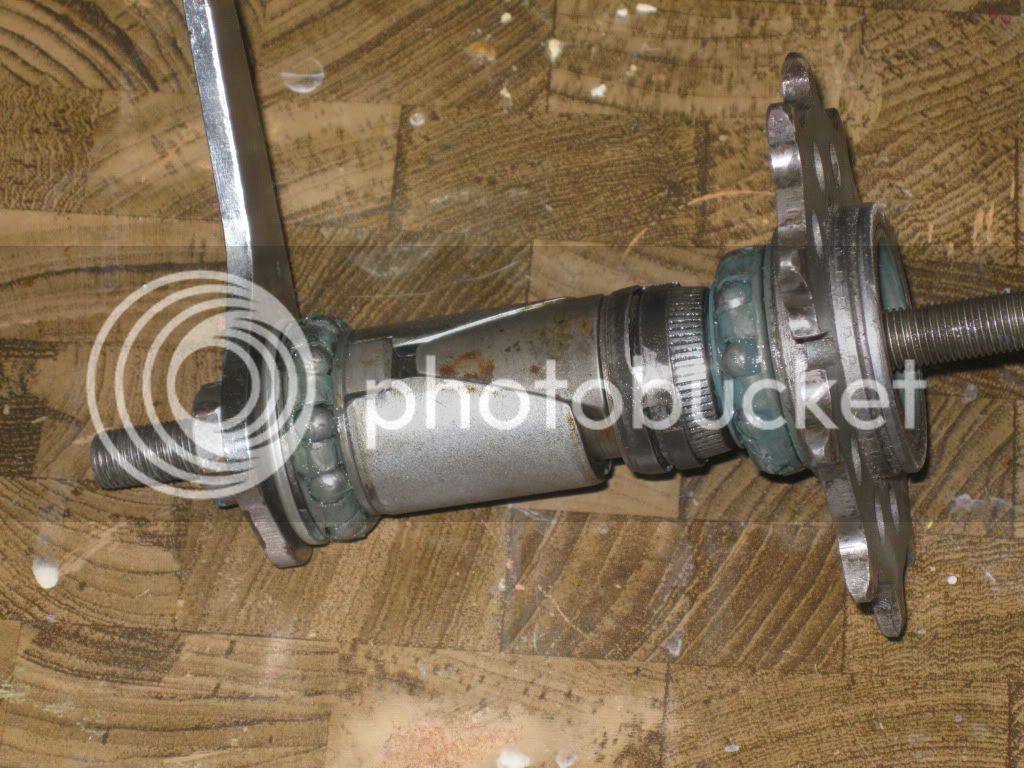
Grease everything well and reassemble in reverse order.
Now mount your wheel and get back to riding.
We will begin with the factory drawing to show what we are about to get into.


The tear down begins with removing the Adjusting Cone (314)

Next remove the Driving Screw (315) with the sprocket and sprocket lock nut attached

Slide the axle and remaining components out the back side of the hub.

Remove the remaining parts from the axle. The Brake Arm (301), Dust Cap (302), Bearing (3137) and Stationary Cone (3115) can be left on the axle if they are clean, If not remove them as well. Here is what you should have in front of you now.

Here is what the hub internals should look like assembled inside the hub.

Grease everything well and reassemble in reverse order.
Now mount your wheel and get back to riding.


