(WBO 2015) CAT Bike (COMPLETED!)

Rat Rod Bikes Bicycle Forum

Help Support Rat Rod Bikes Bicycle Forum:

This site may earn a commission from merchant affiliate links, including eBay, Amazon, and others.
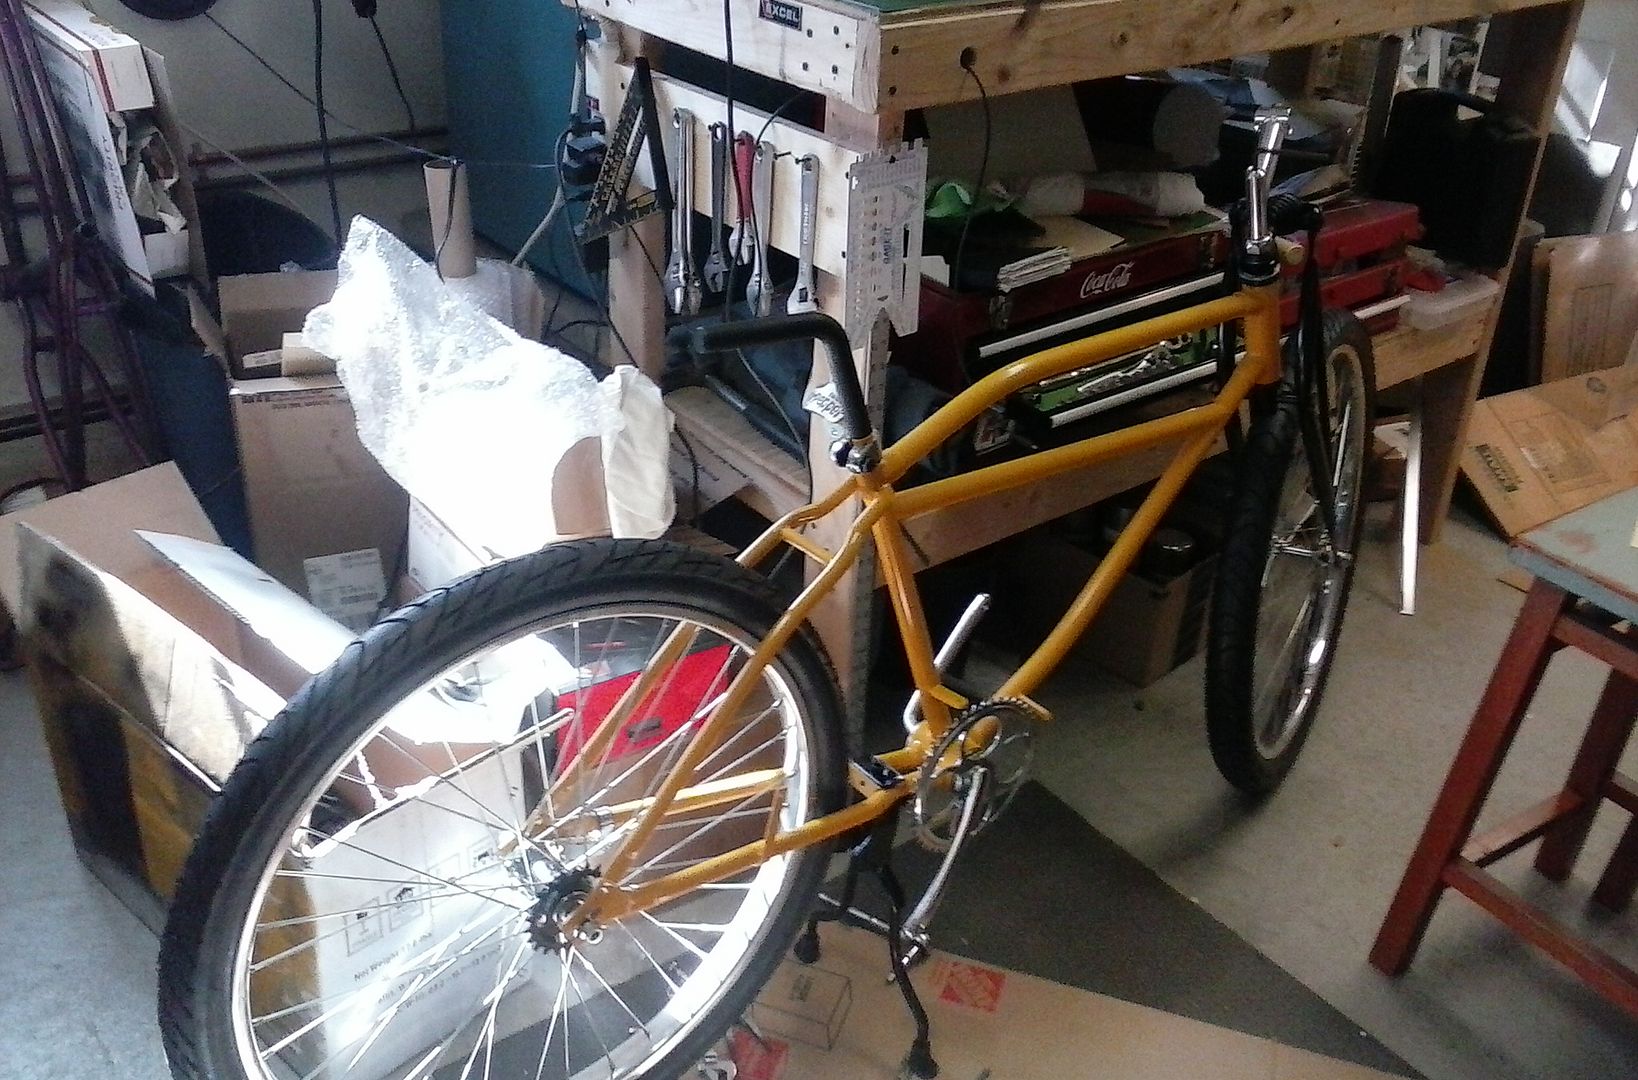
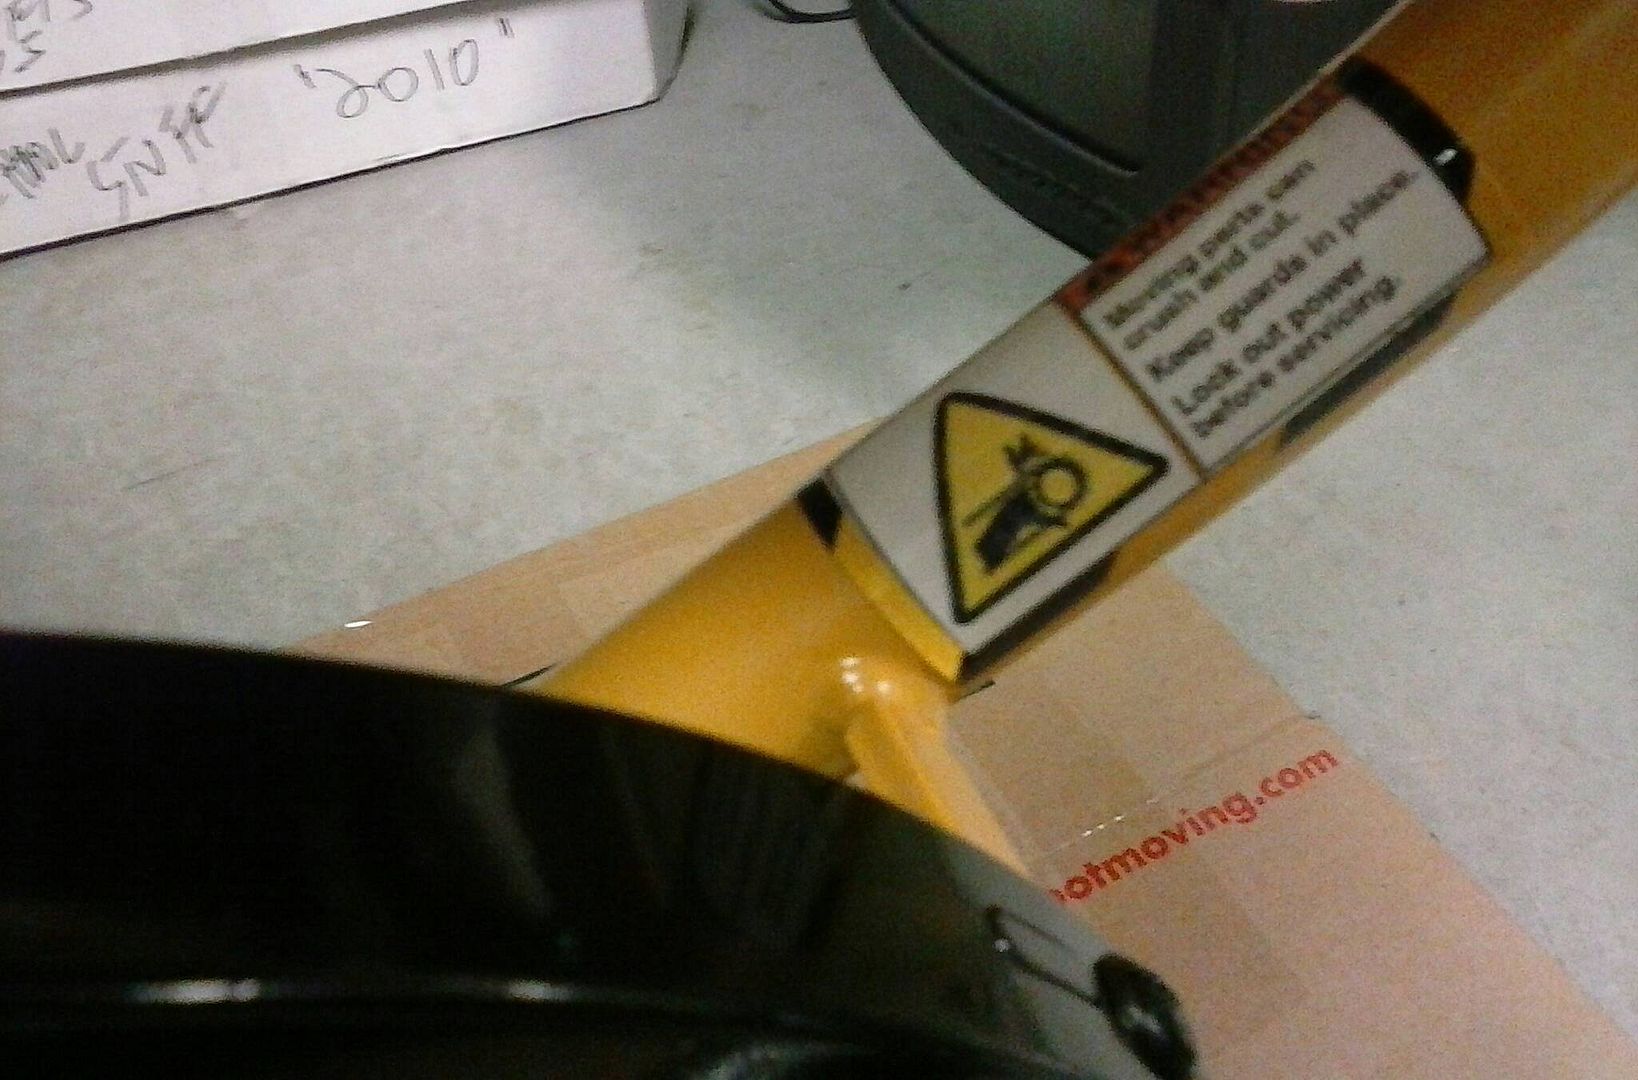
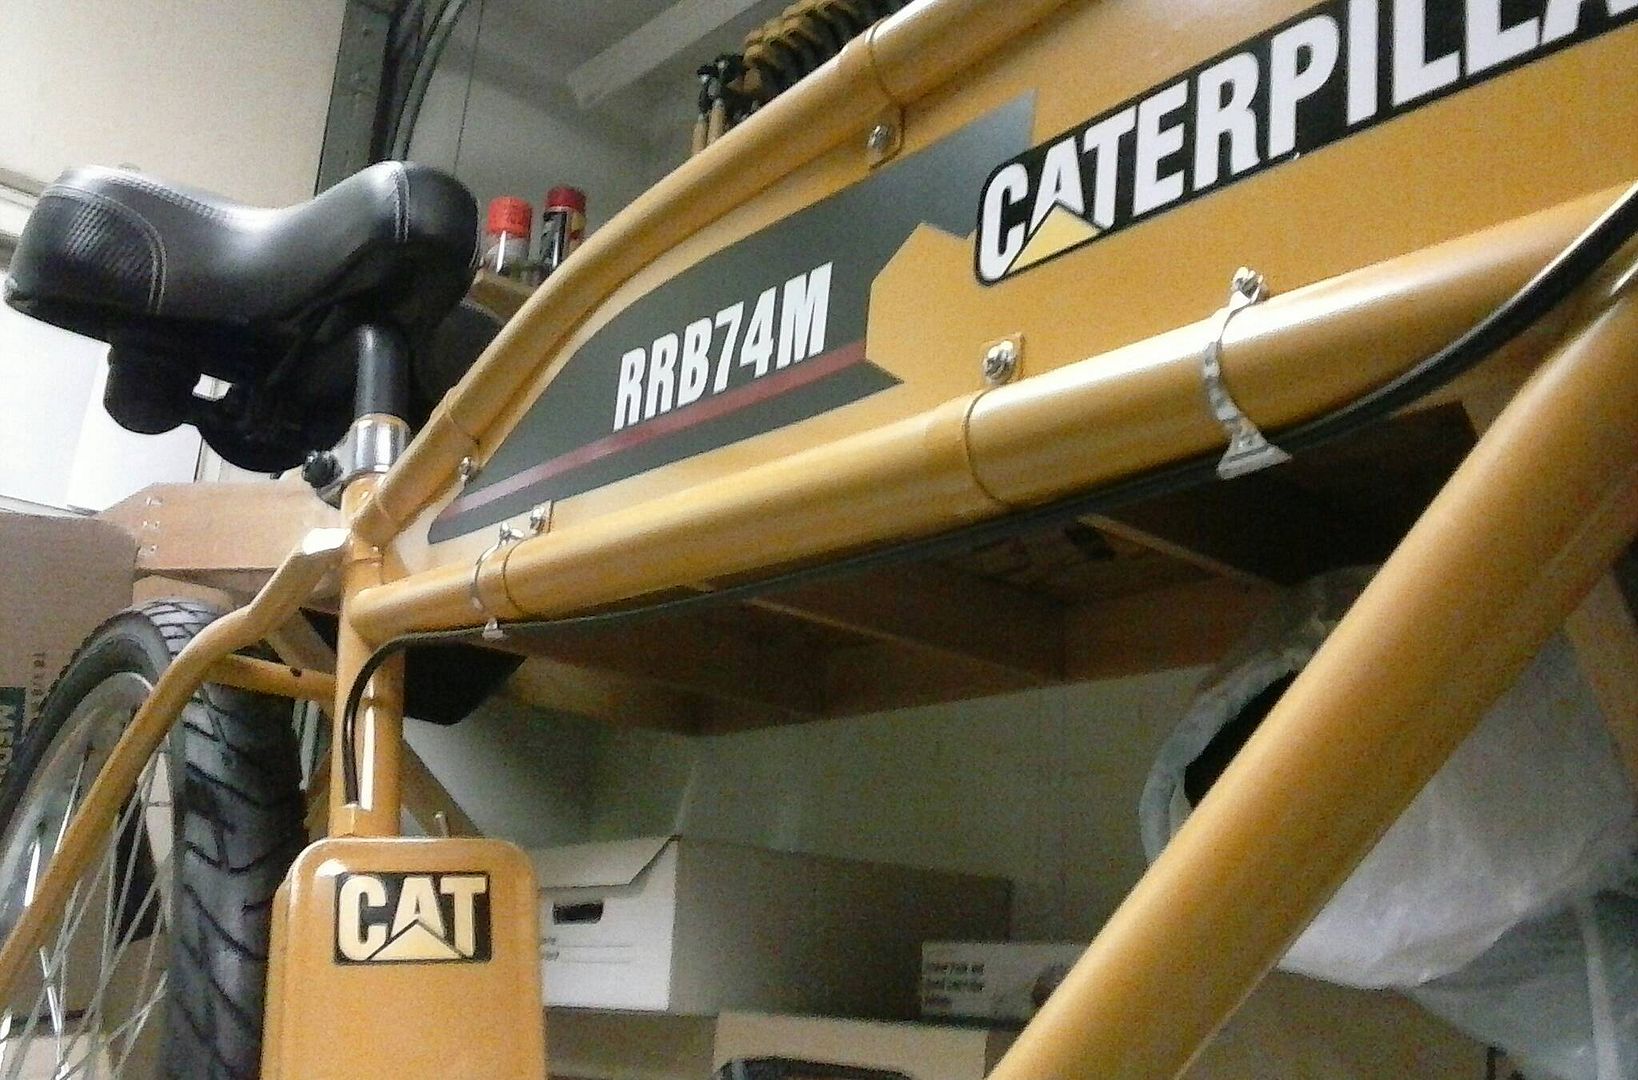
While checking on the frame I spotted a couple of runs. Looks like I'll have to do some touch up on it tomorrow. The paint is still pretty tacky now. I wanted to start putting it together tomorrow but that's gotta wait. 4 DAYS!!!:43:
 
So, I was able to get the runs wet sanded out and smoothed. The bike is painted with enamel paint and is still a bit tacky in some spots. I don't have a drying booth, only a heat lamp. The sanding forced me to sand the top, middle and bottom of the frame bars. I used polishing cloths started with 2000 and progressed up to 12000. Not as shiny as the fresh paint laid on the rest of the bike but once the paint is completely dry I'll be able to wax it to get the shine back. I'm not to concerned about it being perfect, it is mimicking a piece of construction equipment... it'll get used.
 
I started putting the bike together just before lunch. So far no issues.
0329151547.jpg
 
I only have the wire in the lights and it will be done. That will have to be done tomorrow when I get off work. I'm also thinking of changing out the neck. With the laid back seat I may swap this other neck. It will bring the bars up 2 inches and in 2-1/2 inches.
0329152059.jpg
 
Very cool build, I am loving all of the attention to detail and decals. I also really like what you did with the chain guard, I may have to steal that idea someday.
 
Well this part took about 4 hours to work through the lights and wiring. The brake line is only big enough to run one wire through so I ran the positive line through that and ran it up front to a "T" compression fitting. T-spliced it with solder and ran through pieces of brake cable to the light fixtures. The negative side is grounded to the frame inside the battery box by drilling an 1/8" hole through the box and frame and bolt the ground there. Up front from the negative on each light goes out through brake cable and to another "T" compression fitting and is grounded to the left side upper frame rail.
0331150022.jpg

0330152354.jpg

0330152158.jpg

0331150023b.jpg

0330152355.jpg

0330152356.jpg

And they are BRIGHT!
Just a few things left to tidy up and get some pictures. Not done yet...
 
FINISHED! I'll have to get good pictures to post tomorrow morning. I had to take off when I finished it to go in to work. I still have a few more hours at work but I did take a couple of pictures when I went home for dinner.
DSCN0486.jpg

DSCN0487.jpg
 
It's a CAT Cruiser... moves over the earth. :happy:
 

Latest posts

Back
Top