Zasada Rides Again

Rat Rod Bikes Bicycle Forum

Help Support Rat Rod Bikes Bicycle Forum:

This site may earn a commission from merchant affiliate links, including eBay, Amazon, and others.
Things are getting busy, because I have a lot going on at work and it is getting perilously close to the end of the build.

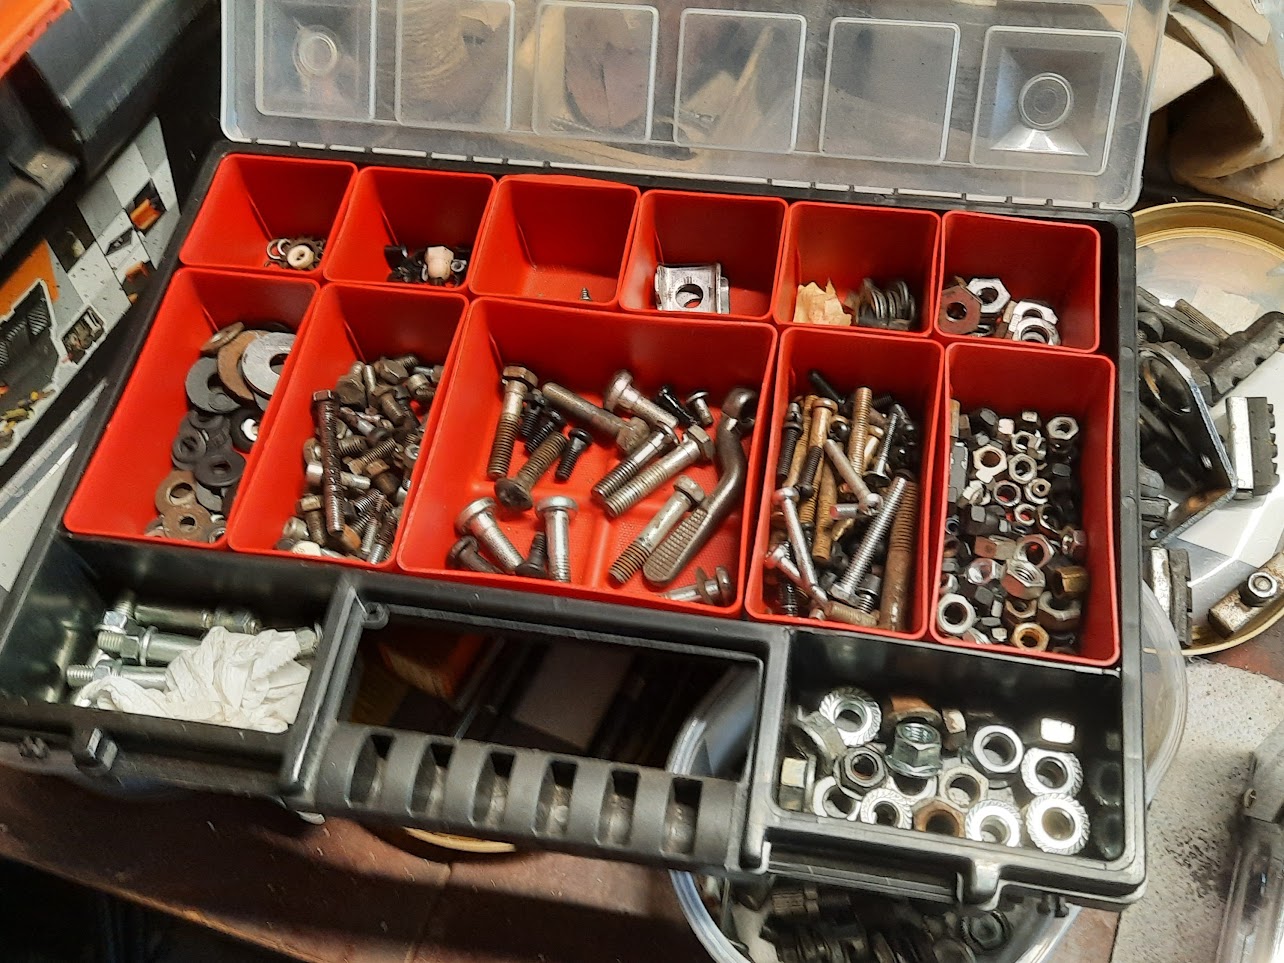
I do have some stocks of good nuts and bolts, but I also like to collect the used ones, which is especially useful when I am looking for something more used or aged. If I strip all my unused bikes down to the bare bones then I can forget where all the parts originally came from. As well as the few bikes I actually ride, the rest are simply bare frames that I store in another barn.
AIL4fc-v9e0c-sgqh2DAfIZ3ulRQpr7vUoU07MliQDu2wNCcCMDAKTmZwcbWbcqpxivn8nu4maV7sK0SrX8ZQ7PqxSPRwvf--a-Kfihm6J7a-xaq_DXYRCqYy1V6l7AsCNjGLmzKp6ggNUpmmSKy61IJM8MY=w1284-h963-s-no


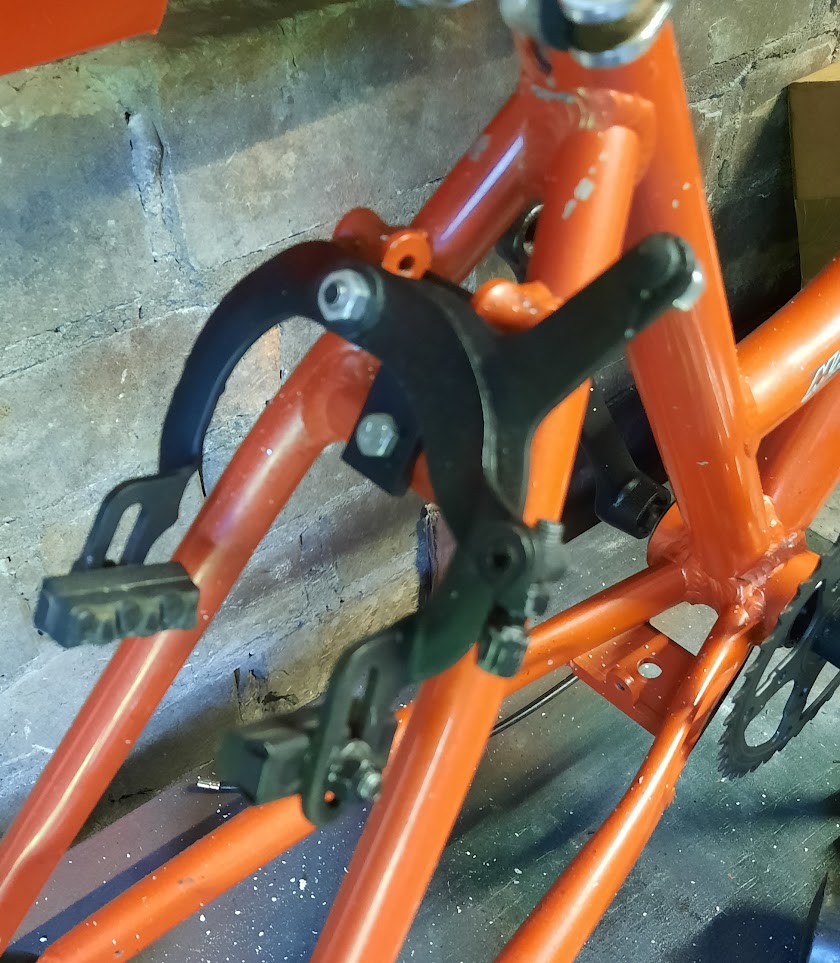
I finally got the parts painted and took this rear brake with reversed cable mounting points off one of my bikes that I am in the middle of altering. Usually the cheaper Romets never had a back brake, but for some reason they produced an odd one that had a 3-speed derailleur and a front sprocket and crank off one of their larger bikes - and fitted this lovely reverse-pull rear brake that I have never seen on any other Romet.
AIL4fc9pVhx54Z3dNRnAiTNeuq7FR_o5GkZpDzMEW9_7cfqvqurbJtmP6rXDP_CUZIP7ND-aHHF3L2WnuPdxloOZPqNW5k2fJRTCHfCOiKcq_QS54oez-lqDs-S_IXQ0QQKR7f558Z_RZVwOdTdIfbXkjXOA=w840-h963-s-no


After a bit of fiddling with the brake cables, which use two outer casings joined together, I now have the brake cabled into the hand grip. I really could do with a roll of brake casing, but in the meantime this will have to do.

AIL4fc95ssUiy_IH7V0JwH6YQQNZFKnmPZsOhuWM6oPNE64m99GGaz5xUWolJ9-XgTIbeQ7_uB6EvMoENrzXWZErQHFjnmm91JlxUJIJJKODD2wgkRfwi1dUis2VLBD4GiiksHwONfPp-Nkwk5LQJ6RAmQmS=w542-h963-s-no


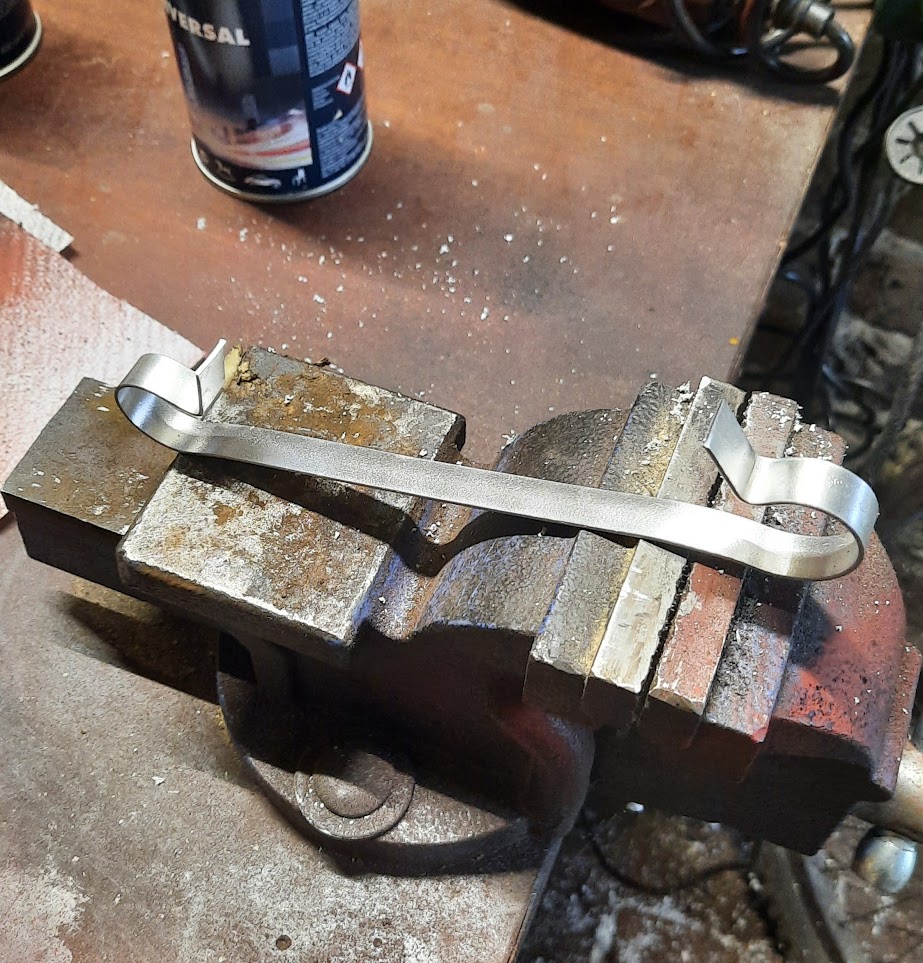
I also need to mount the rear light, and I bought a nice roll or aluminium strip some time ago that I imagine gets used for attaching power cables in buildings or something. I try to minimise the amount of stuff I buy, but this has proved very useful. Now I just need to decide where to fix it on the rear frame - at its own level or using the seat mounting points.
AIL4fc-Pf_6iV-71PofgENJ-MLlEP5_Nm7-CfZEcoOAZ97EiE-BcnEu7onmS2PkcxRVjfHZcsCYTHcarmdx1avSC7ScuYpbsoOLuVwzrgjBjgDPIJIzVEVSdrF7_allpIHbLJe1g48ZaRZVCz1Jdf3WyCUB2=w923-h963-s-no


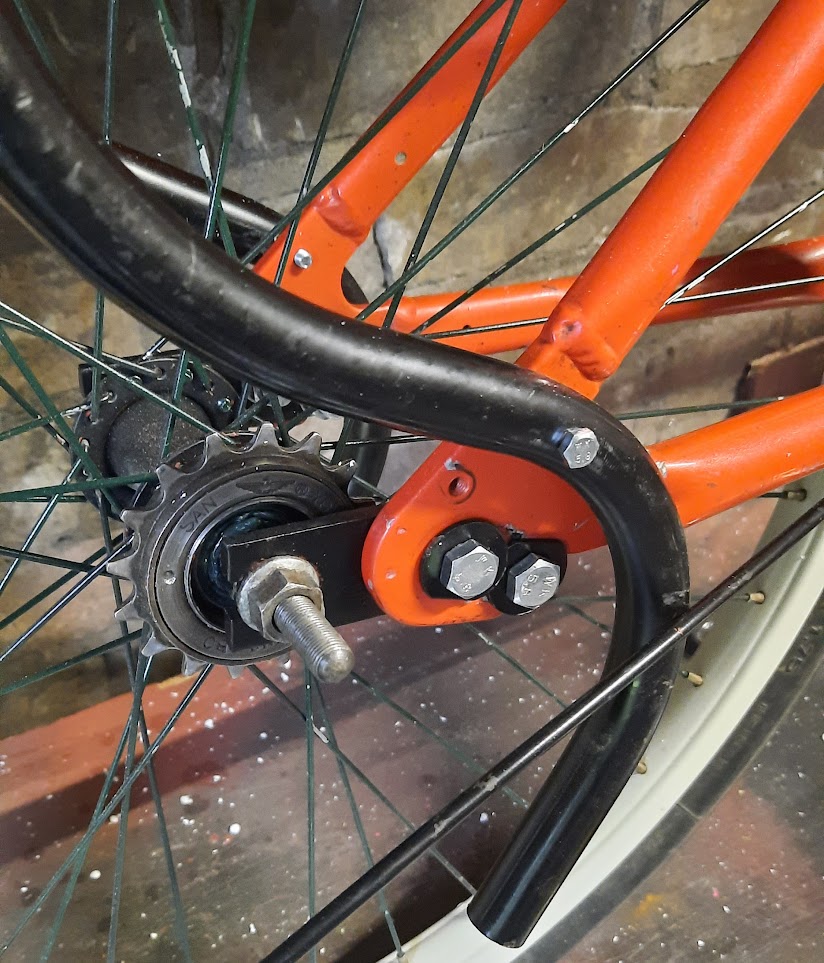
I really could have done with some kind of welding gear to attach the pair of washers together so that one did not ride up over the other while tightening them down. I also reversed the bolts so it looks a bit tidier.
AIL4fc9yWOrcPUiWQBtvGsbD9Mb3J5CIgrZZHL_EeMv1zpJswnCKlJf2QLFA8wI4Xk7EYvakvf3Lrizp53RBYk0YBy69JDetOtjsSVtqihrZVQH4QbiHOYjpziLfJakichcYxyQwm7rXrujxp2eYHnA5K7NU=w824-h963-s-no


Here you can see where I have paired up two shorter outer brake cables, which works very well but would just be a lot tidier with just one-piece outer cable on each.
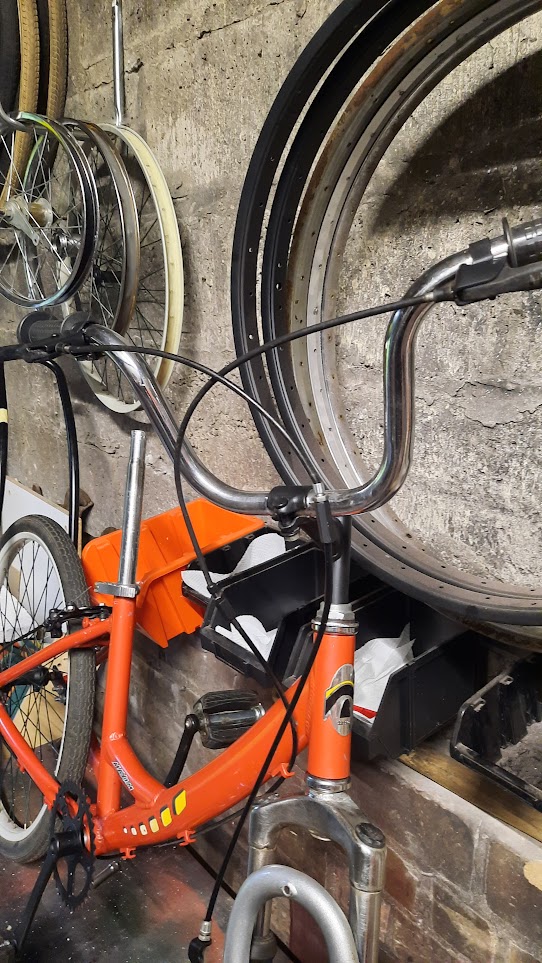
AIL4fc8RX6WiRfYan5TrJRu1H6sz_8oPMgcPrR6OkOcQfW4Ci9eqwyJC_SKLOe7ioKq6jidDivwRChtitN6yIAFP_jvn-znOrcZpZqKeNu4NO42cAMQdoKUUviqYn3ei-IhSoLs7VwCjKyp0m8v4yF5qo2Dw=w542-h963-s-no


That is about it for now, there is just a lot of small finishing up tasks like this that need doing now.
Looking good and getting close to done!💪🏻
 
It has certainly been a busy weekend, and I have got a whole lot of fiddly details done, so it is all getting really close. Of course, starting thursday, I have three weeks vacation, plenty of time to do everything and anything...

The rear brake is now wired in, and the pads sit nicely on the rims that I painted last summer. The two piece outer brake casing seems to work as well as usual, even though I know it would look nicer with just one.

AIL4fc86_hOgrqWZexOPocECfuiB70sqDhP_h1N9PTqXIXazKIOBrs2gAXhI8gPxEOsS-27nw7LI_ti3j2uNU-llWXSHgDdfYJBKpSWkQK135HI8yVlrTBox2579ZksgUahFxLaYX6lOOBCT4Fk9Wp9icwpk=w813-h906-s-no


I spent a while at the table outside to finish sewing everything together on the seat. It was a lovely day, and everything seemed to come together, including the thread sorting services offered by my cat.

Since I fitted some foam seat padding on the back part it was nice to compare how different it looks compared to the actual main part of the seat.

AIL4fc_aq9Zf0S_L0LKsKG0jPnP6LmRhDW8rZ_mE_EBSejCKyJt6WYOH72pLMDwU_EoKfrT54kw88VxyWrjXcfs5otaeBmFiyp2f_1fp1XhCW-4D24-TUa5MXm7HSj9LqoQmZnxFvDYirueSUV7ECzwZRe0A=w652-h906-s-no


Fitting the saddle onto the rear bars was a faff, because who would have known that the right and left sides of a metal framed canvas chair could be so slightly and ever so significantly different. Ultimately, after quite a bit of a struggle, it all came together and I was even able to eventually able to get the rear reflector fitted. I would have liked to do that with a single strap, but sometimes you just have to work with what you have got.

The reflector is actually marked as being made in the 'USSR'.

AIL4fc8rq7K4vWUkSoskt09N92LZ5FyYaeRwXlsJHLzznRJmCTo1VEombUNWhGoAheeFbPq6XK1c8gFjZo4zRETdezYOrk2pwWCOQRroQX9uAC6VH-DKsBPakVUnSuVsMZm9icWk0BRnenvFLussTTXjFaXy=w809-h906-s-no


Here you can see my Mk. 1 long seat from the front, and while there are many things that I would do different next time I am still quite pleased in how it all turned out. I will have to keep an eye open at the furniture that gets thrown away at our place in the city as it would be nice to get some black or brown vinyl to cover my next one.

AIL4fc8IaEmrc_quf0CXnm-FRRt4SCQYoOECdVCkpKlR398MSweIrwMCABjEMluVm-qZNlI9Tn9c7AXSKtcwFtBArvJSdW2KhfVLlk2EFMxXz2QLAvPW2TDqZVuWUEWCofxmPwLlZe0Ws3eU2ZOQofuo2JLg=w710-h906-s-no


I wish that I had something to polish out the old zig-zag removal marks on the aluminium seat stem though.
 
Things are coming together a bit quicker, now that I have got the saddle finished.

I finished making the little bracket to mount the rear light, and decided to get my pop rivets out. I cannot say that my pop rivet gun is my most favourite tool, it seems a lot harder to operate than the one I had decades ago. Initially I planned on mounting the rear light higher, but the seat got too much in the way so the light is now further away from the reflector than I planned.

It would also have been nicer to paint the light on the inside of the clear plastic, but it was well bonded onto the backing and would have at least have cracked while I was trying to get it off.

AIL4fc-4r_nAJINXbERJPrtNmO_tDrfbUY8idNZZLRixBOJq5Tr2CiNt-ihpgLdsAIGTbWer-PAPg9O8e3xF4bbtua1edoilbRCe1cbCg-ttqLHXANq888oc7OiOcmJ-Q-oB59hEFiArAzVpXUqFb7Pevh4N=w657-h906-s-no


I had forgotten all about the rear mudguard, which meant that I had to remove the brake mounting bar to get it on. I like the result, it reminds me off the short mudguards I fitted to my old Carlton Continental bike back in about 1978 after the original Bluemels plastic ones cracked and fell apart.

AIL4fc_AUusUEjSzcPaVoEeGkV8lQj8CCLPKbKZnSpL-qNiM9DorJapN6b24BlzBThYuoQGG3vnEJUgZi8XzzItJi_jTFPHponTZuKmuAWfTCXn2zJivSAhWXRx9UAUoeTs23q3LycytTamNeBAz1IgcSewY=w725-h906-s-no


Finally it was time to fit the chain. I did not want to do that earlier as it always makes removing and refitting the rear wheel a more time consuming job. I was worried that the chain was going to be either tight or floppy with the wheel mounted fully in its new mounts, but once I removed the excess links from the chain it was a perfect fit.

AIL4fc8OwB-BTvZMGsXLIhpNJzT1vVGKzDchC2k0O5TmCYefMTBrxK9zyEAWQa70EhD0mWrapwM8oyjgL-eWu28vT_3um-AJjO4r2_gluejkip7elKGGJEMu5GVykWJWxm_MhNNOlz2TbKiJxblxfOz_Agg_=w721-h906-s-no


At the front end I still had to the front light. I actually bought it for my big Romet Turing that I ride when we are in the big city, but why do I need a light now it is summer time? I sifted through my stock of brackets, but there was nothing that would fit without a fair amount of cutting, bending and drilling - until I realised that with all that extra metal down below the wheel was further forward than usual. What a relief, I had a couple of extended front lamp mounting brackets, and my lamp was soon in position.

When I say 'soon', I mean in less than half an hour, as nothing really just fits once you have started to modify your bike :)

AIL4fc_O3HghzL9HZ7cgvU4T63NqfPi0whGyrskEEJMGkANt0w9P6-AXcOO2odbFDYKwyQVrCBKlN9li7PwlyVKj-ZuH6e7hoRXMNM1HE63HVMm_1ccRXOAkONEraUNeAhpzfdZZ4lB7XORgjjD0iqYXcfLz=w725-h906-s-no


I thought that everything was now done, other than a clean, polish and some checking that all the fittings had been tightened properly, pumping the tires up and so forth. But, apart from all that, it was finished.

Except that it did not have a side stand yet.
 
Well, I had a good ride up and down the solitary, almost straight village road, and it feels like a good bike to ride. This is the first time that I have ever been able to ride this frame properly, as originally I was too close to the steering and the cranks. I was a bit worried whether the overall gear ratio would be fine, and it was for the largely flat hilltop village in which we live.
 
1D2EB366-C0D8-48AA-94AE-F0CCC54D03B6.jpeg

Do you want these? They aren’t rare in my garage

Dribble, dribble....drool, drool...... yes


I tried to send you a gift, but it was returned. Maybe I got your address wrong? Unfortunately it looks like it made it all the way to Poland and was returned.

Your bike looks great without them! I’m looking forward to seeing your final pics of the whole bike!!

IMG_3061.jpeg
 

Latest posts

Back
Top