Re: I dunno, she just flipped out! Fork? Maybe.
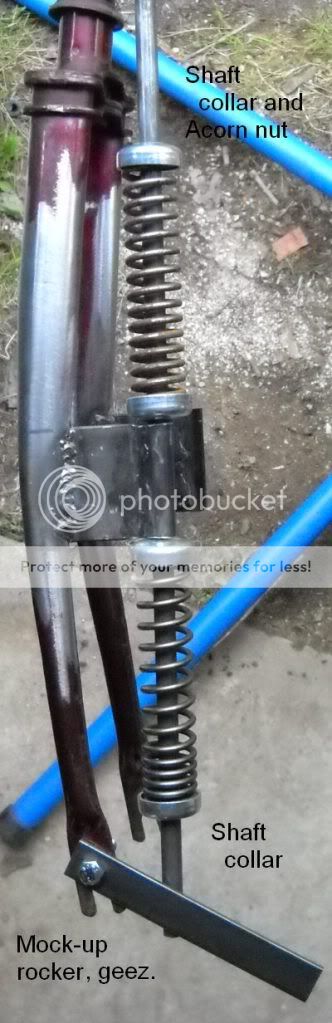
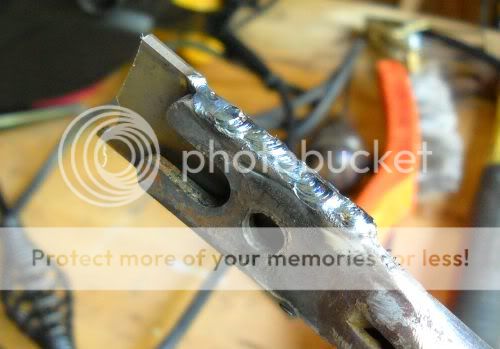
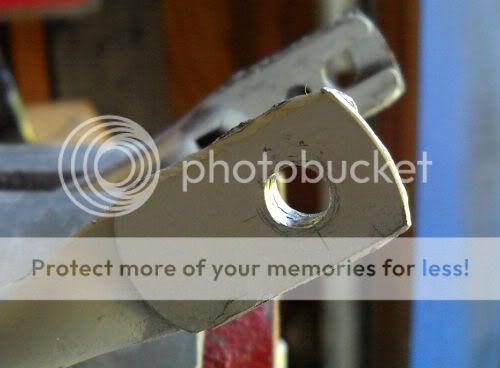
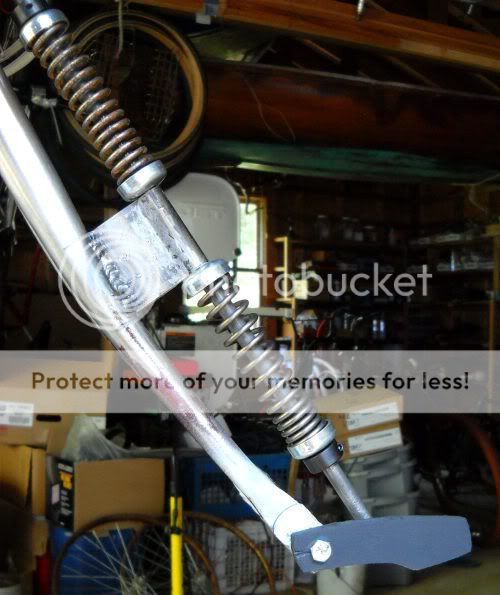
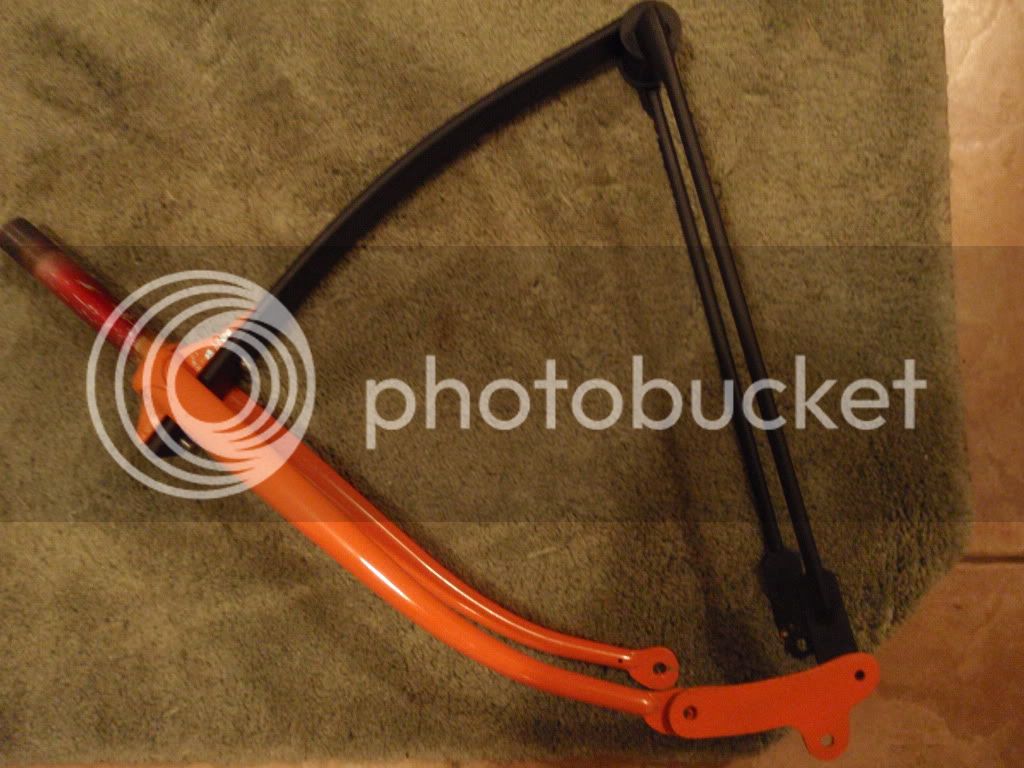
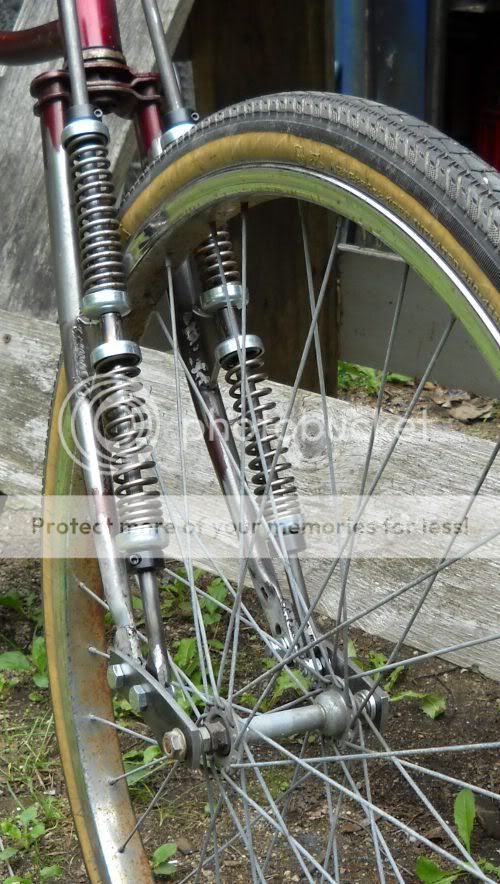
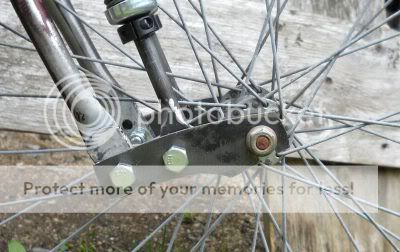
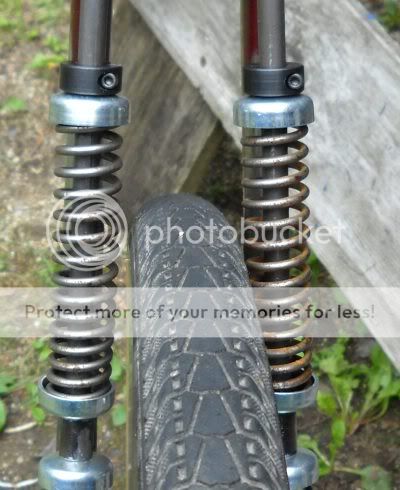
This is Pappa E from the Chopaderos Bicycle. He made these forks.
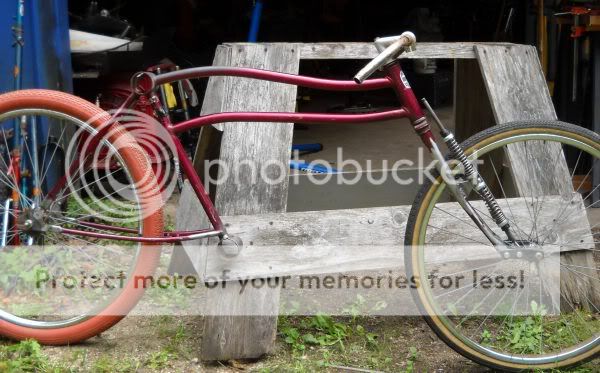
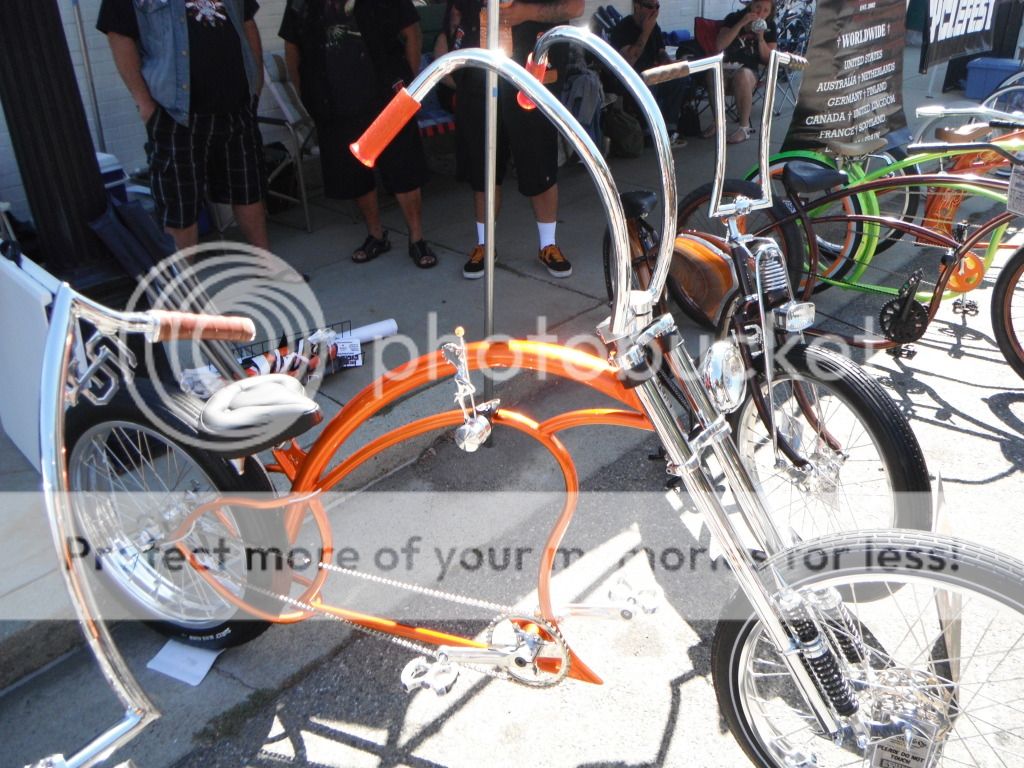
Almost everything on this bicycle is hand made, one off. :lol:
This day he took first place for best Custom at The Behind Bars, Shiny Side Up Bicycle show last month.
This is Pappa E from the Chopaderos Bicycle. He made these forks.
Almost everything on this bicycle is hand made, one off. :lol:
This day he took first place for best Custom at The Behind Bars, Shiny Side Up Bicycle show last month.