Oh so it was the stuff with the little brush deal kids ate? I remember that too but everybody had the elmers. Never had much of an appetite for glue.
You are using an out of date browser. It may not display this or other websites correctly.
You should upgrade or use an alternative browser.
You should upgrade or use an alternative browser.
(MBBO#04 Class 2) PEDRO. (PEDRO GOT A NEW OWNER!)
- Thread starter LukeTheJoker
- Start date


Help Support Rat Rod Bikes Bicycle Forum:
This site may earn a commission from merchant affiliate
links, including eBay, Amazon, and others.
The Renaissance Man
__CERTIFIED DIVER__ (Open Water & Open Dumpster)
Staff member
Moderator
Pro Member
Luke as a child.

Pedro's looking good! Curious to see the wheels.
Pedro's looking good! Curious to see the wheels.
Luke as a child.
Pedro's looking good! Curious to see the wheels.


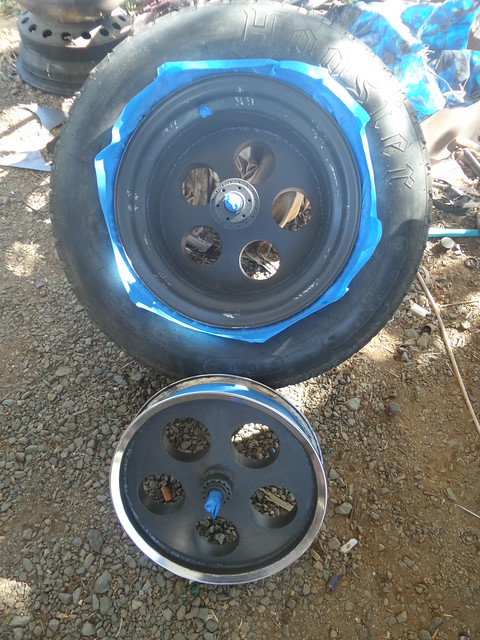
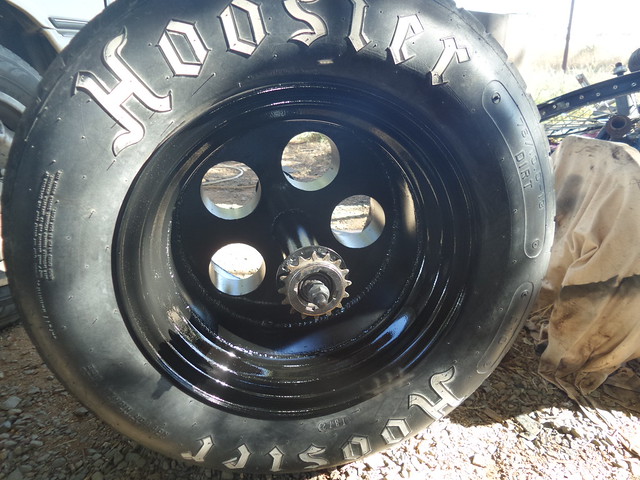
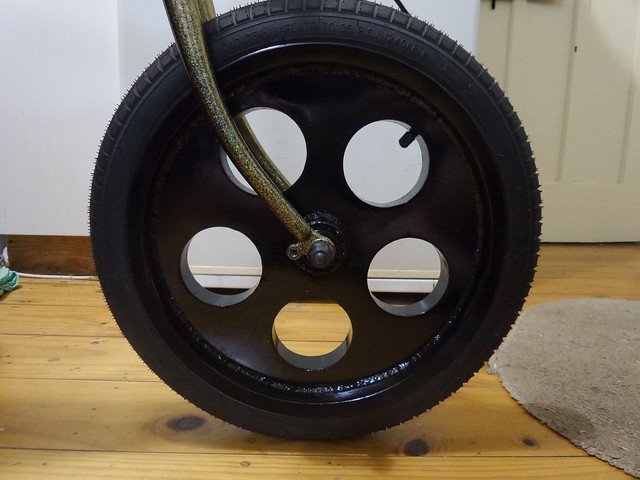
I painted the wheels up in Magnesium gray and it just didn't work with the frame paint, so they will be getting resprayed black soon, just trying to decide if I want chrome trims on them, the front is no worries because I can mask the chrome edge, but the rear does not fit standard chrome trim rings for some reason, it has too small a lip before the centre rise, I would have to trim the back of the trim rings by 8mm and bolt them to the wheel with 5 perimeter bolts. It might look a bit like a bead lock I suppose, but I would have to take the wheel in to get the tire stripped off so I can weld the nuts on. Have to make a decision soon...
Should have more progress soon, painted up the bars and headlight black yesterday, so can start fitting them up soon!
Luke.
Just finished reassembling the headlight and fitting it to the fork.
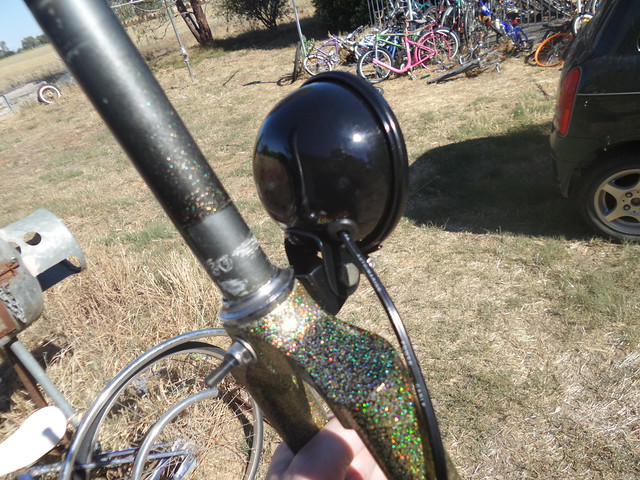
The black looks really good with the flake!
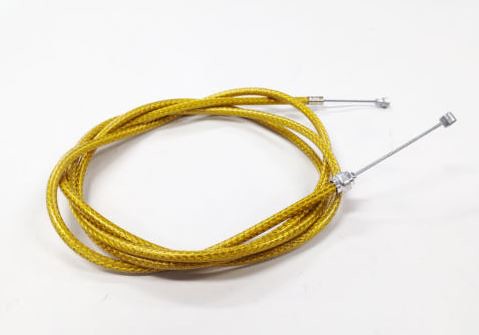
I think I will just paint the wheels entirely black now after seeing that, thinking the chrome may be too much, pretty sure I will run a plain black brake cable too instead of that braided gold one I ordered, there is enough going on with this bike already without throwing more at it!
Luke.
The black looks really good with the flake!
I think I will just paint the wheels entirely black now after seeing that, thinking the chrome may be too much, pretty sure I will run a plain black brake cable too instead of that braided gold one I ordered, there is enough going on with this bike already without throwing more at it!
Luke.
I was thinking chrome lips on the wheels until I saw that pic too. Black looks killer with the flake. That's a great pic of the flake too!
I was thinking chrome lips on the wheels until I saw that pic too. Black looks killer with the flake. That's a great pic of the flake too!
Ditto

Thread catch up from the last two days:
Bye bye Magnesium Gray:
Hello gloss black:
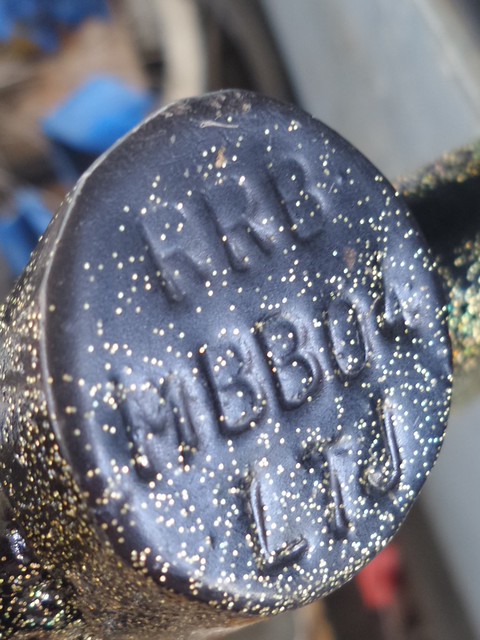
Surprisingly the stamping under the bottom bracket is still readable after all that paint, I deliberately avoided it with the flake in the hopes that it would:
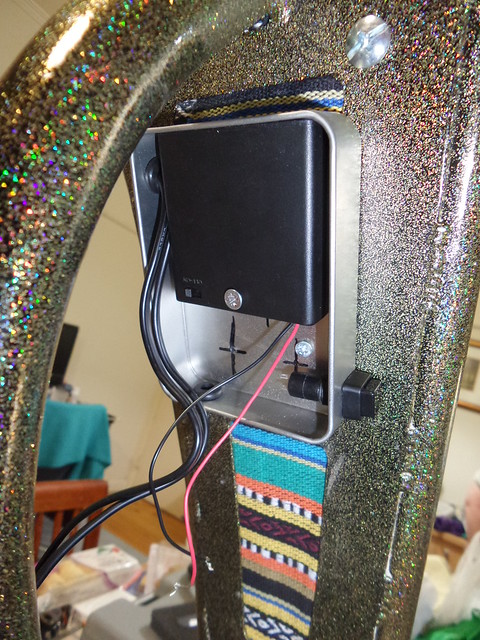
Started on the battery box and wiring:
Started re-assembly:
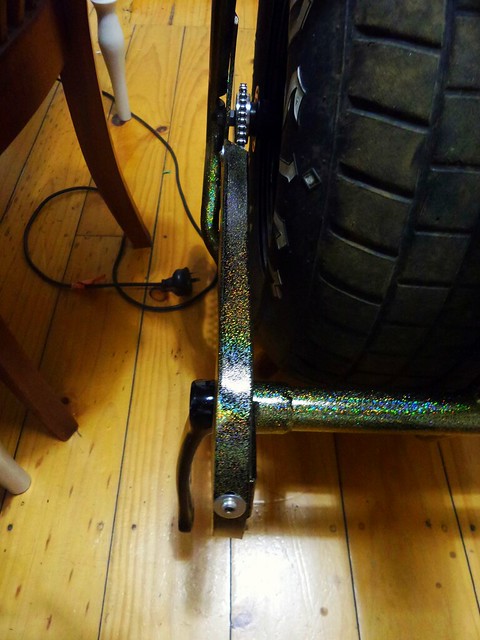
It was at this point I realised that the chrome on the stem, the polished aluminium on the cranks and brake lever really clashed with everything else, so they are now stripped off and have been painted black too, going to switch from a chrome chain to a plain one, I will wait until everything is back together before deciding if the chrome tail light surrounds need blacking out too.
This paint is awesome, but it really is a pain to match with!
Luke.
Bye bye Magnesium Gray:
Hello gloss black:
Surprisingly the stamping under the bottom bracket is still readable after all that paint, I deliberately avoided it with the flake in the hopes that it would:
Started on the battery box and wiring:
Started re-assembly:
It was at this point I realised that the chrome on the stem, the polished aluminium on the cranks and brake lever really clashed with everything else, so they are now stripped off and have been painted black too, going to switch from a chrome chain to a plain one, I will wait until everything is back together before deciding if the chrome tail light surrounds need blacking out too.
This paint is awesome, but it really is a pain to match with!
Luke.
Man this is really looking unbelievable. I was thinking the tail light surrounds look great chrome but I went back and looked and I think the black would be better. The black def works with the flake. Just an awesome build!...
Thanks Chad! It seems wrong to be etching and painting over good chrome, but I think that is the answer for this build.Man this is really looking unbelievable. I was thinking the tail light surrounds look great chrome but I went back and looked and I think the black would be better. The black def works with the flake. Just an awesome build!...
Luke.
More slow progress:
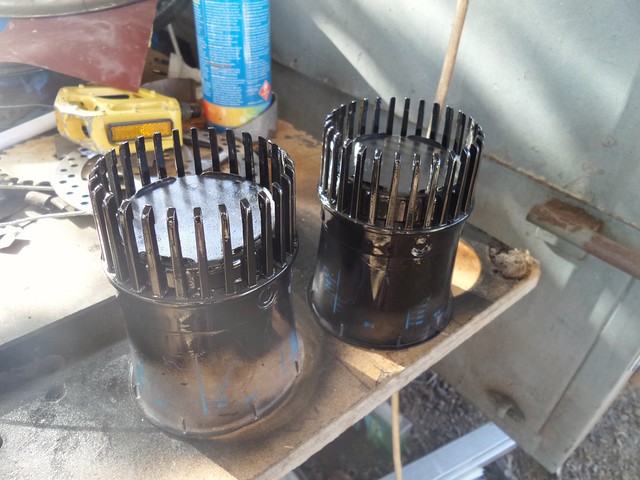
The point of no return, painted the tail light housings:

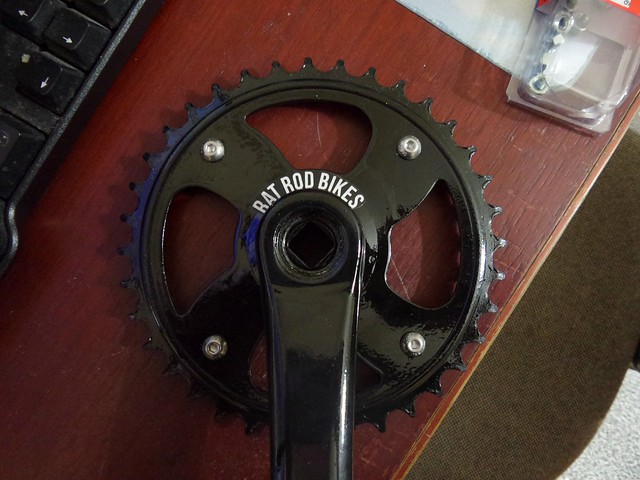
Drivetrain going back together, started with the cranks, I hope @roadwarrior does not mind that I cut up one of the stickers he sent me, but it seemed so perfect for this spot! I added some stainless 5mm cap head bolts to break up the black a bit too:
Drivetrain reassembled and done!
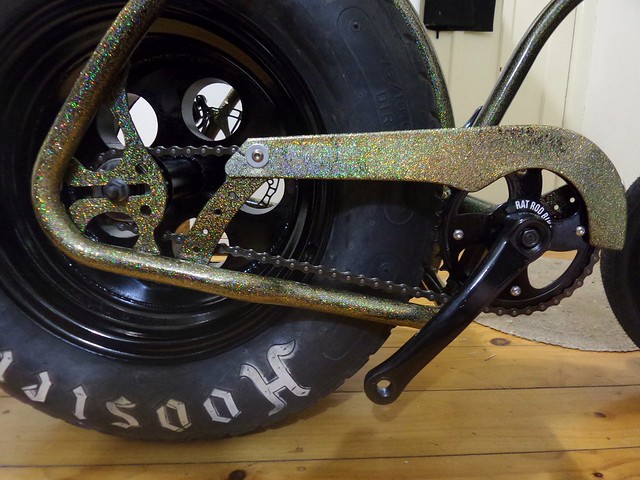
It is so very hard to get a photo that shows the real colours and flash of the paint, but I had to try and get this shot that shows the colours changing along the top of the chainguard:
Not sure how I am going to get my final pics, might just have to do the best I can and rely on the video to show the paint...
I am going slow with the reassembly as the black paint I am using takes a day or two to dry and I have hit some snags along the way that meant switching some parts and so having to repaint... For instance the pedals I wanted to use and had painted up ready turned out to have bent axles!
Luke.
The point of no return, painted the tail light housings:
Drivetrain going back together, started with the cranks, I hope @roadwarrior does not mind that I cut up one of the stickers he sent me, but it seemed so perfect for this spot! I added some stainless 5mm cap head bolts to break up the black a bit too:
Drivetrain reassembled and done!
It is so very hard to get a photo that shows the real colours and flash of the paint, but I had to try and get this shot that shows the colours changing along the top of the chainguard:
Not sure how I am going to get my final pics, might just have to do the best I can and rely on the video to show the paint...
I am going slow with the reassembly as the black paint I am using takes a day or two to dry and I have hit some snags along the way that meant switching some parts and so having to repaint... For instance the pedals I wanted to use and had painted up ready turned out to have bent axles!
Luke.
That last pic captures the sparkle really welll. Wondering about maybe some kind of black graphics for the chain guard?...
This black out will really highlight the frame! Really gives the bike a tough look (what I can see of it anyway ) and should be a good back drop for the seat too. I know what you mean about the "in person" affect, my Shelby Woody looks way more vintage in person, the frame patina, the weathered oak stain on the wood, the crinkles in the 80's white walls.....what the camera brings out is nothing like being there!
) and should be a good back drop for the seat too. I know what you mean about the "in person" affect, my Shelby Woody looks way more vintage in person, the frame patina, the weathered oak stain on the wood, the crinkles in the 80's white walls.....what the camera brings out is nothing like being there!Agree with Chad and OJ, The black looks great with the Flake. Accents it, and looks really kewl. That crank set and sprocket looks great on there. The rrb add on is perfect. Looking awesome.
Building... riding...
Building... riding...
This black out will really highlight the frame! Really gives the bike a tough look (what I can see of it anyway
Agree with Chad and OJ, The black looks great with the Flake. Accents it, and looks really kewl. That crank set and sprocket looks great on there. The rrb add on is perfect. Looking awesome.
Building... riding...
Thanks Guys, the black is giving it a tough look! That wood floor is probably 40 years old Falstaff, not bad considering it is soft wood!Looks really good with the black accents, and just for the record- my wife likes the wood flooring in that last pic.
I was thinking the same thing, I had planned to put an RRB sticker on there, but decided to "sign" it instead:That last pic captures the sparkle really welll. Wondering about maybe some kind of black graphics for the chain guard?...
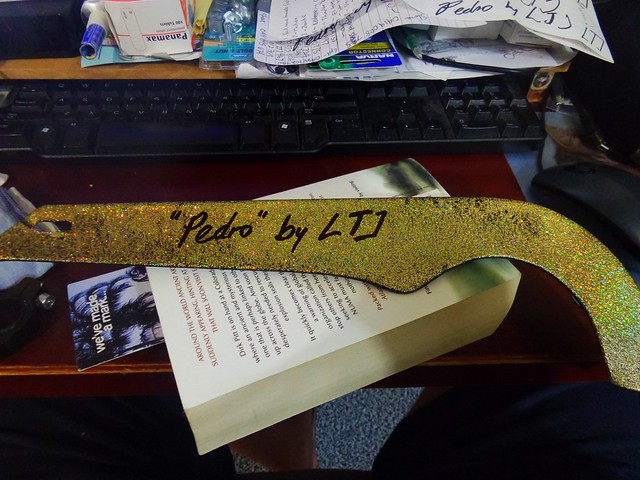
Not as good as I hoped, but it will do...
Luke.
Black was the right choice! , puts the accent on the unique frame and paint and gives it some attitudeThanks Guys, the black is giving it a tough look! That wood floor is probably 40 years old Falstaff, not bad considering it is soft wood!
I was thinking the same thing, I had planned to put an RRB sticker on there, but decided to "sign" it instead:
Not as good as I hoped, but it will do...
Luke.
you should really sign you real name on there , true rolling art

Bean MIA from here for a while. Decided to have a look around the site this morning, and this build is the first thing I see . Freakin' awesome. Classic LTJ.
. Freakin' awesome. Classic LTJ.It just keeps getting better. I like the signature adds some cool character
Black was the right choice! , puts the accent on the unique frame and paint and gives it some attitude
you should really sign you real name on there , true rolling art
A great master piece deserves your name spelled out--adds to the character of the bike you created.
I cleaned the signature off with some thinners, going to think on it a bit more before I decide what to do.It just keeps getting better. I like the signature adds some cool character
Thanks Bean! Welcome back!Bean MIA from here for a while. Decided to have a look around the site this morning, and this build is the first thing I see
Luke.