Thank you so much guys!!  This site has been such a great source of inspiration for me, and I'm glad if I what I do can give a little back to you all!
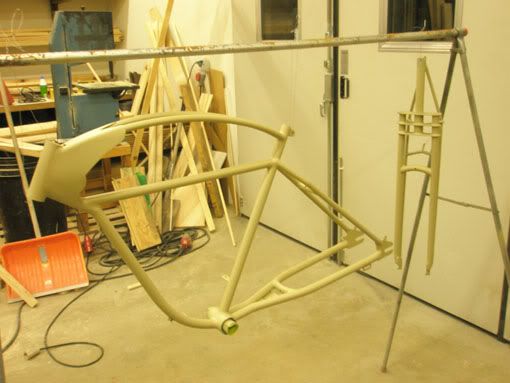
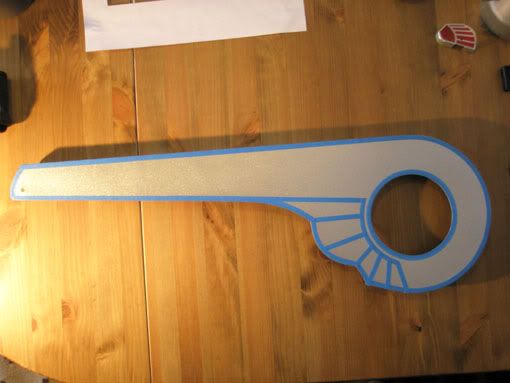
I'm hurrying!! :lol: paint pics for Dman!!
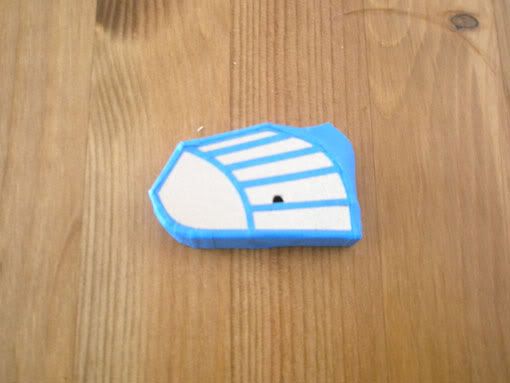
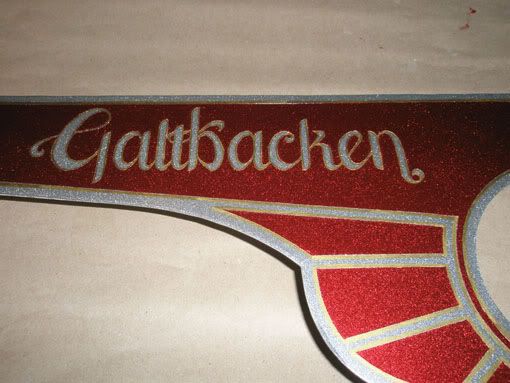
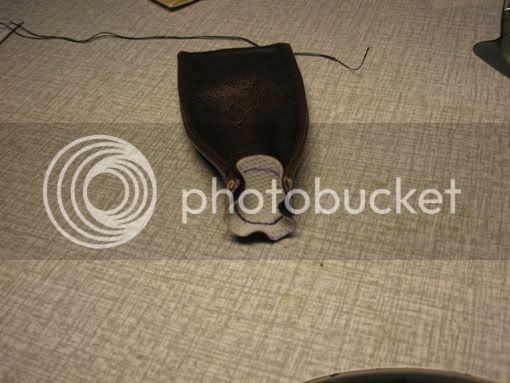
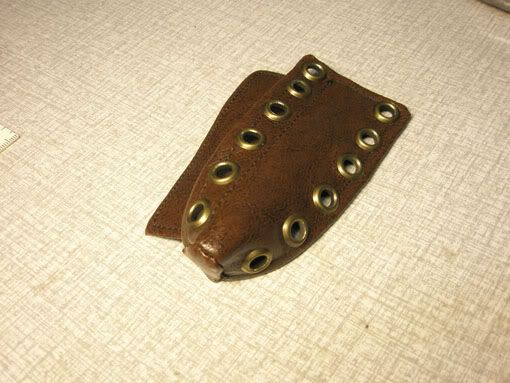
Without flash...

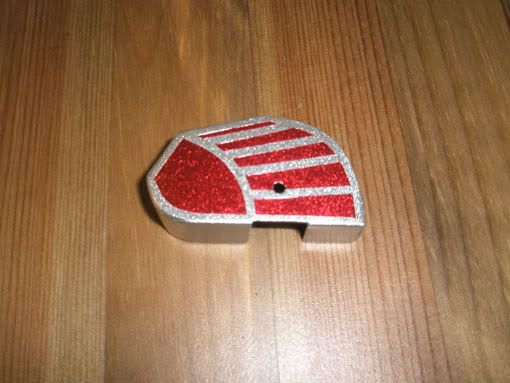
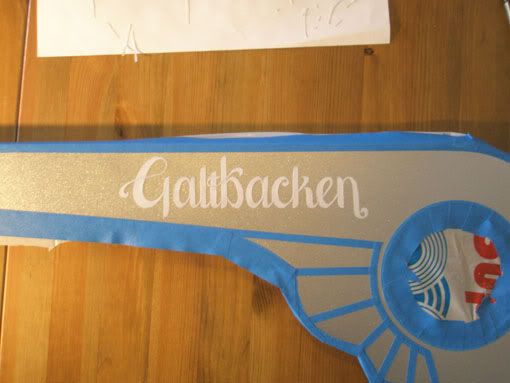
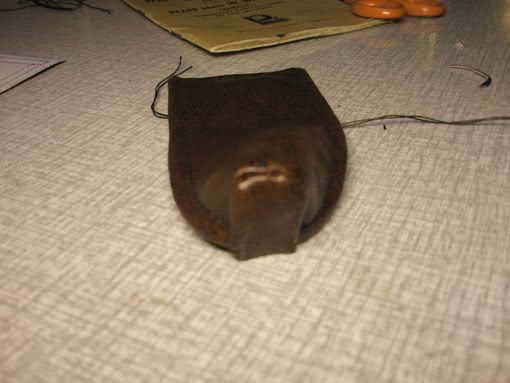
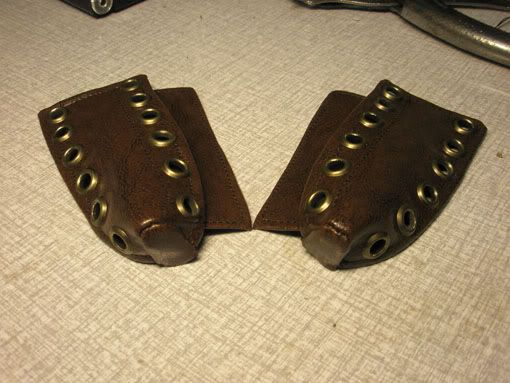
...and with flash.
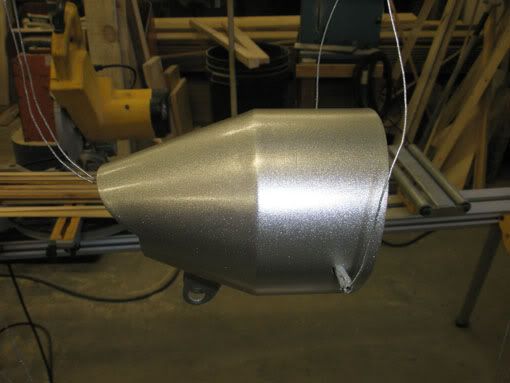
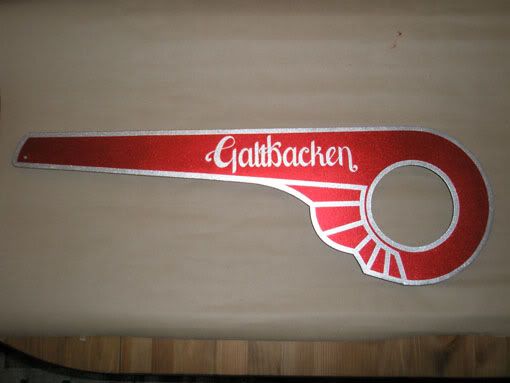
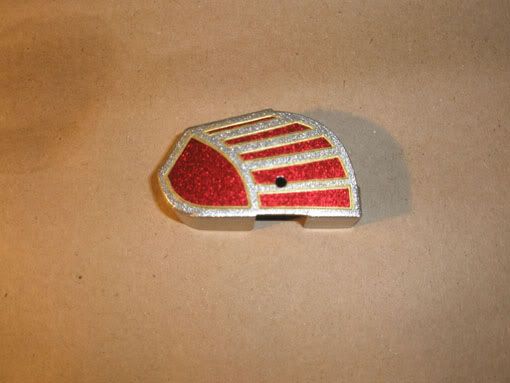
My plan is to paint parts of the bike with translucent red paint, the kind you use for backlights. It might work...
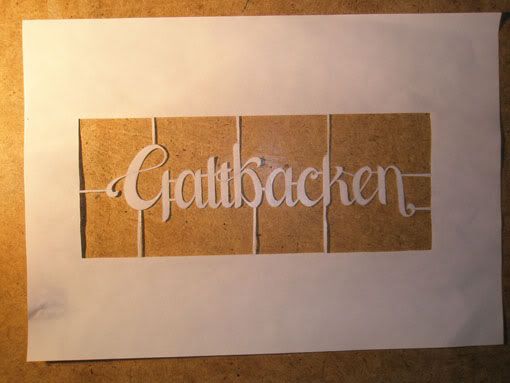
In case you wonder what "Galtbacken" means, I'll try to explain. The place where my house is, used to be part of a big farm in the old days and I guess that they kept the pigs there because "galt" is the swedish word for boar and "backe" means hill....so texasbigjon, if you're a caveman what am I?! :lol:
I'll keep on hurrying and see to it that you're updated on my doings! :wink:
This site has been such a great source of inspiration for me, and I'm glad if I what I do can give a little back to you all!I'm hurrying!! :lol: paint pics for Dman!!
Without flash...
...and with flash.
My plan is to paint parts of the bike with translucent red paint, the kind you use for backlights. It might work...
In case you wonder what "Galtbacken" means, I'll try to explain. The place where my house is, used to be part of a big farm in the old days and I guess that they kept the pigs there because "galt" is the swedish word for boar and "backe" means hill....so texasbigjon, if you're a caveman what am I?! :lol:
I'll keep on hurrying and see to it that you're updated on my doings! :wink: