


Hi Ratrodbikers!
I recognize my natural cycles like the seasons. They come and pass, just like this subject.
Alright, a while ago I made a design for a Coasterbrake hub with a disc brake. I really enjoyed designing it. Unfortunately I did not fabricate the hub due to time, cost etcetera.
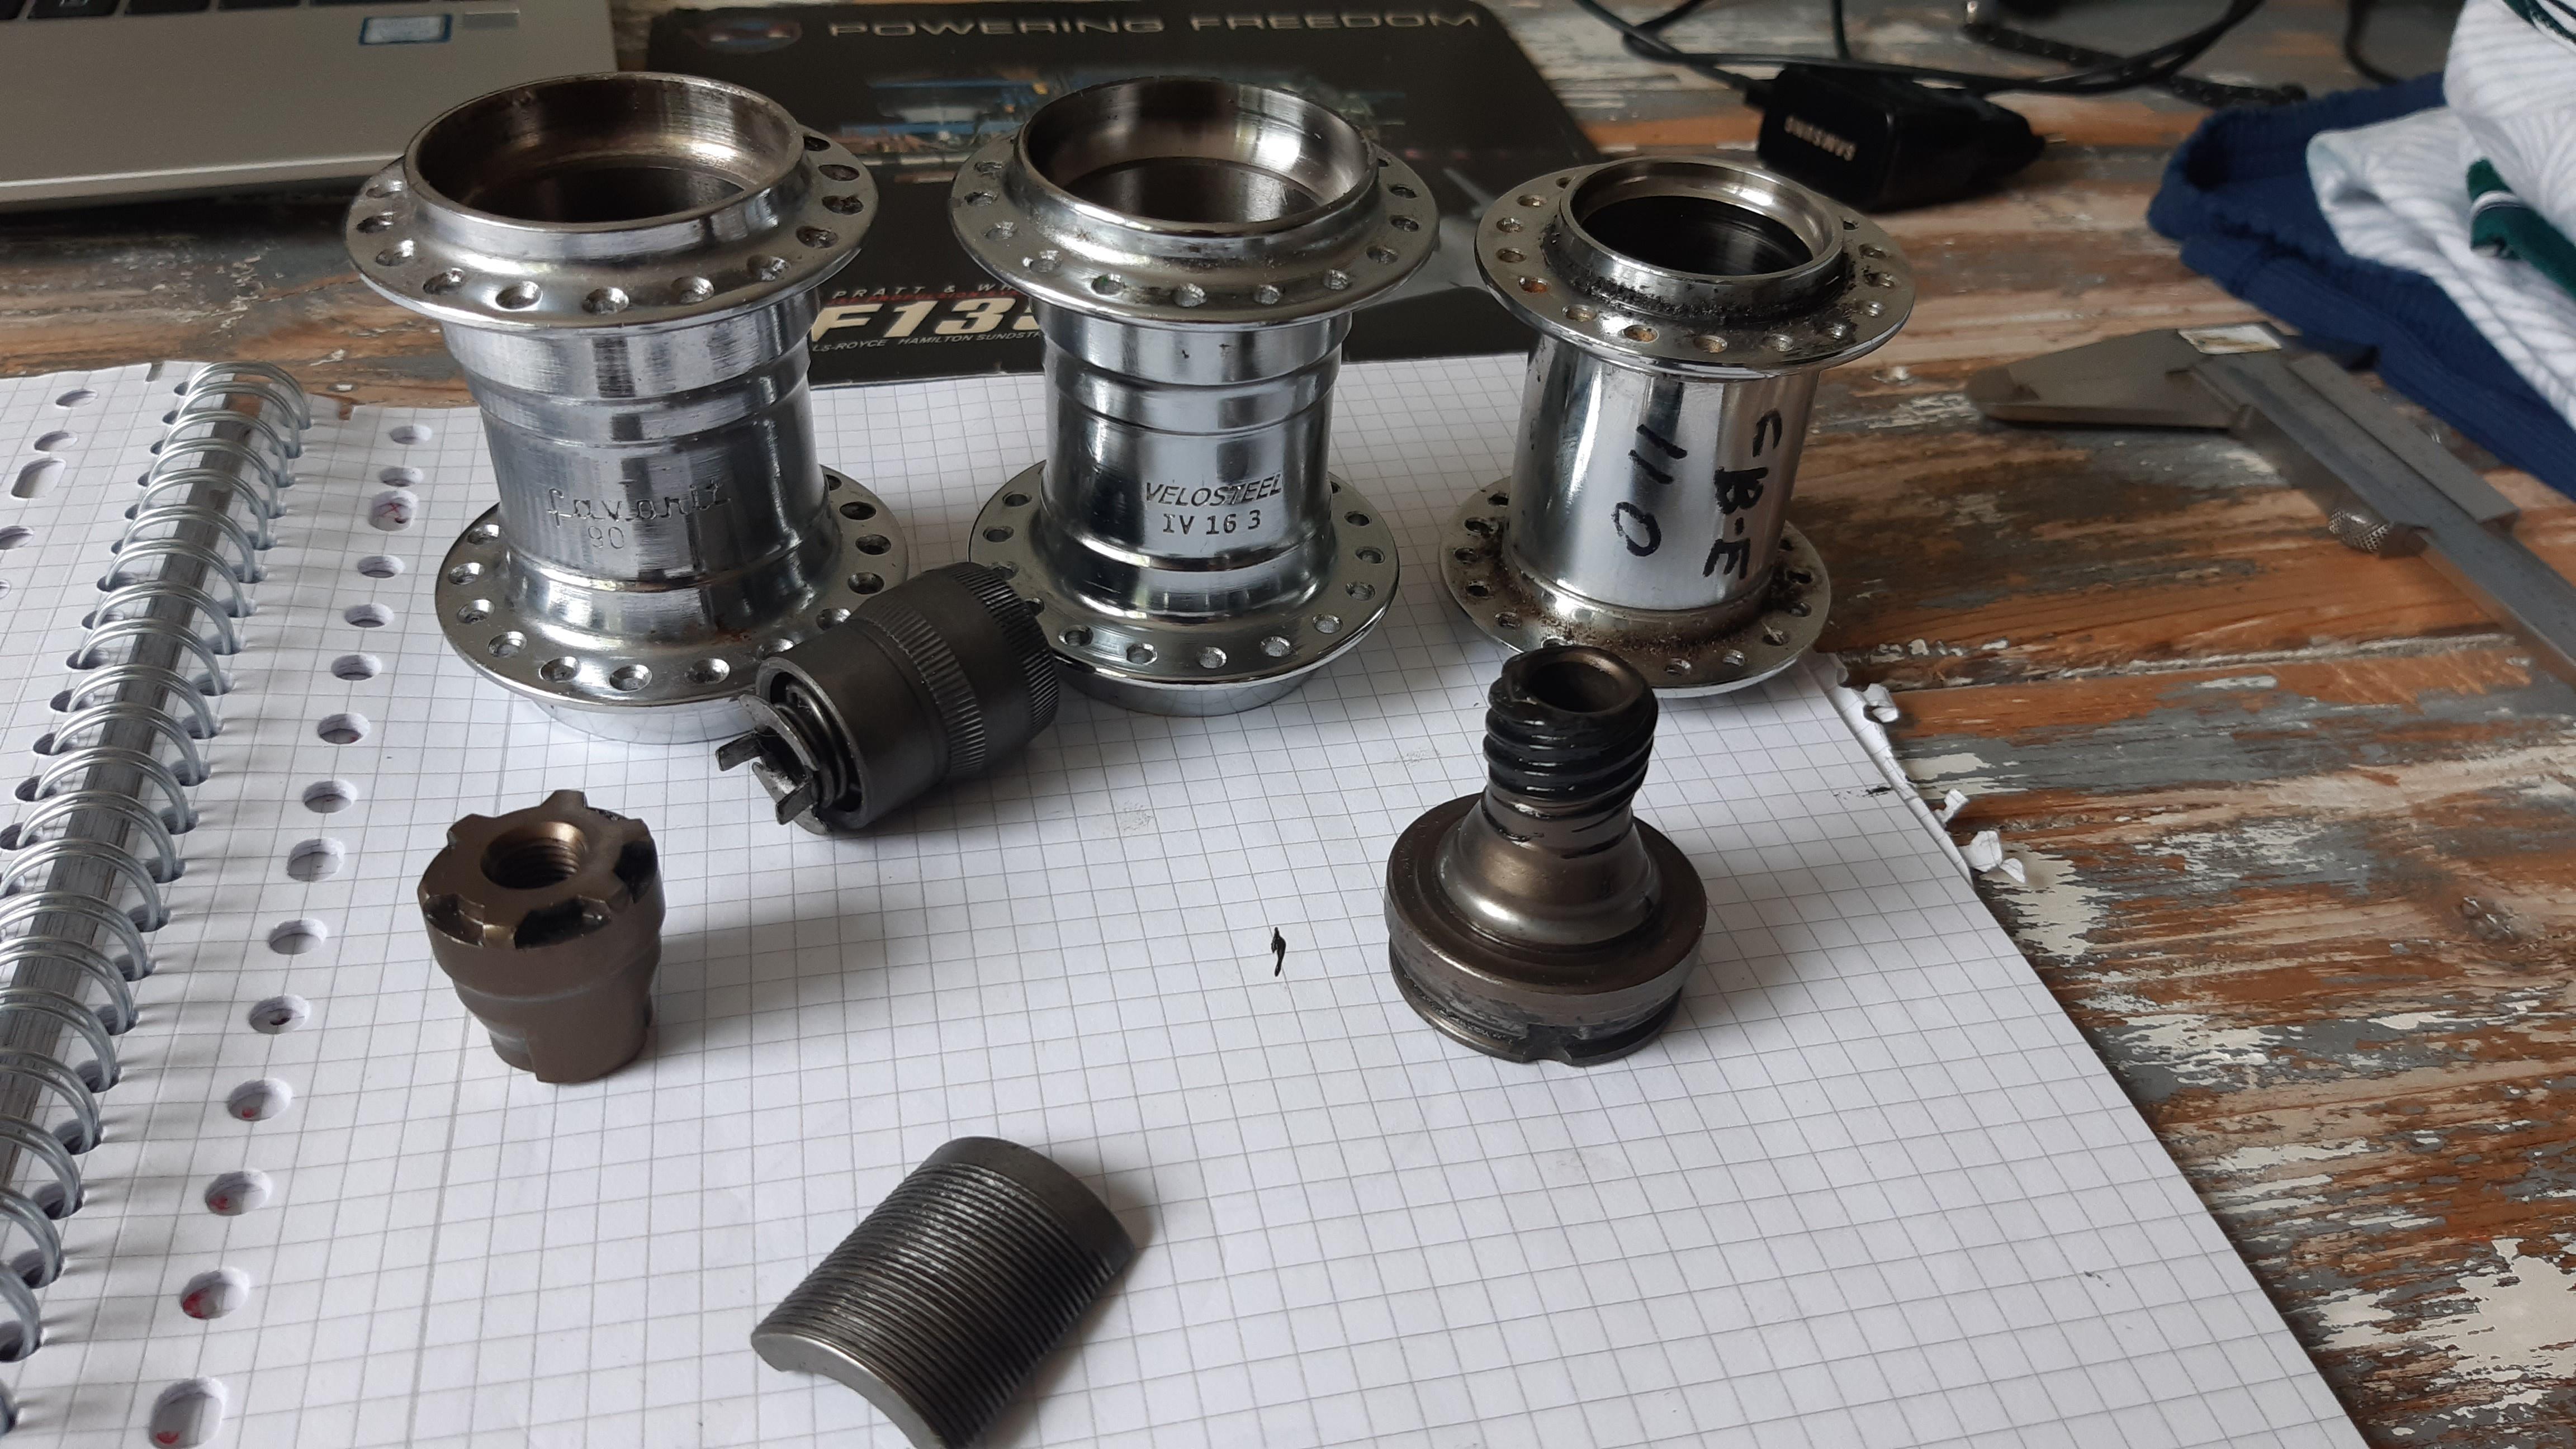
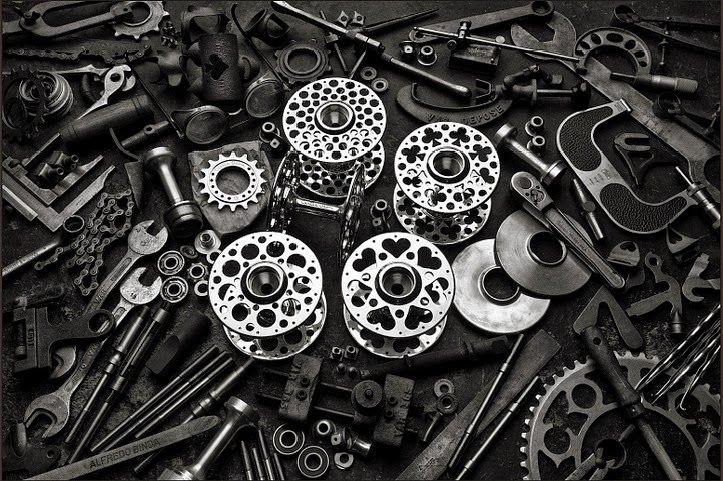
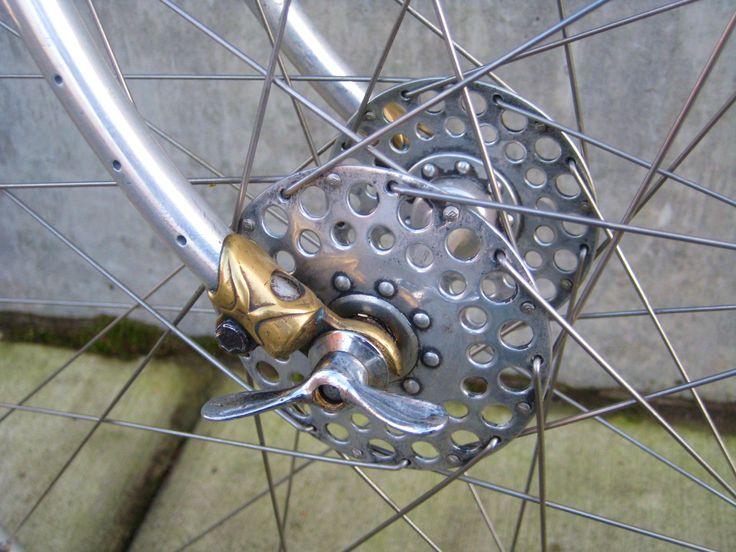
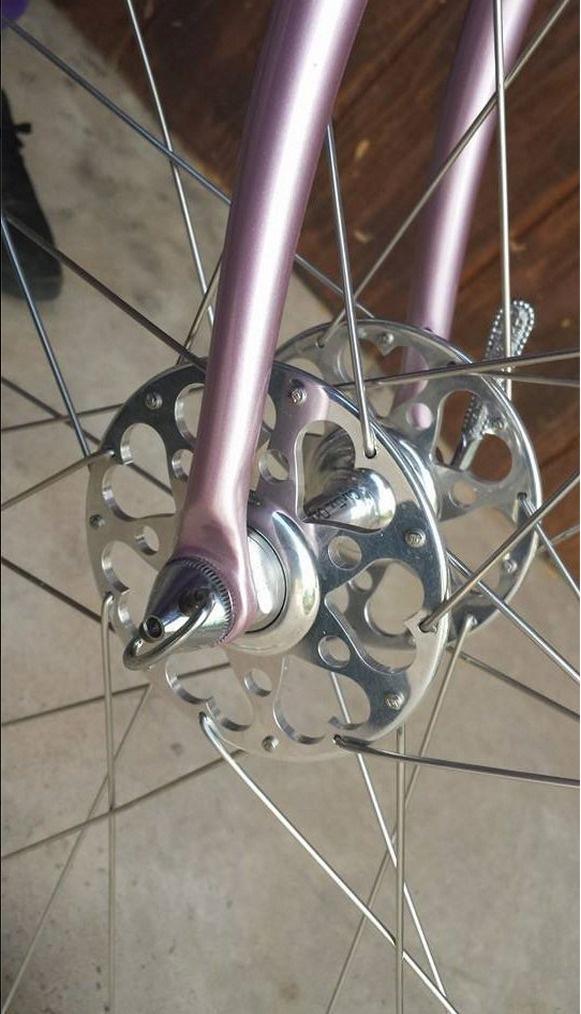
In the months after that, I picked up quite some parts that people tend to throw away: Shimano CB-E110, Velosteel and Favorit (basically the same) shells, drivers and more parts.
I decided to combine these two types of hubs:
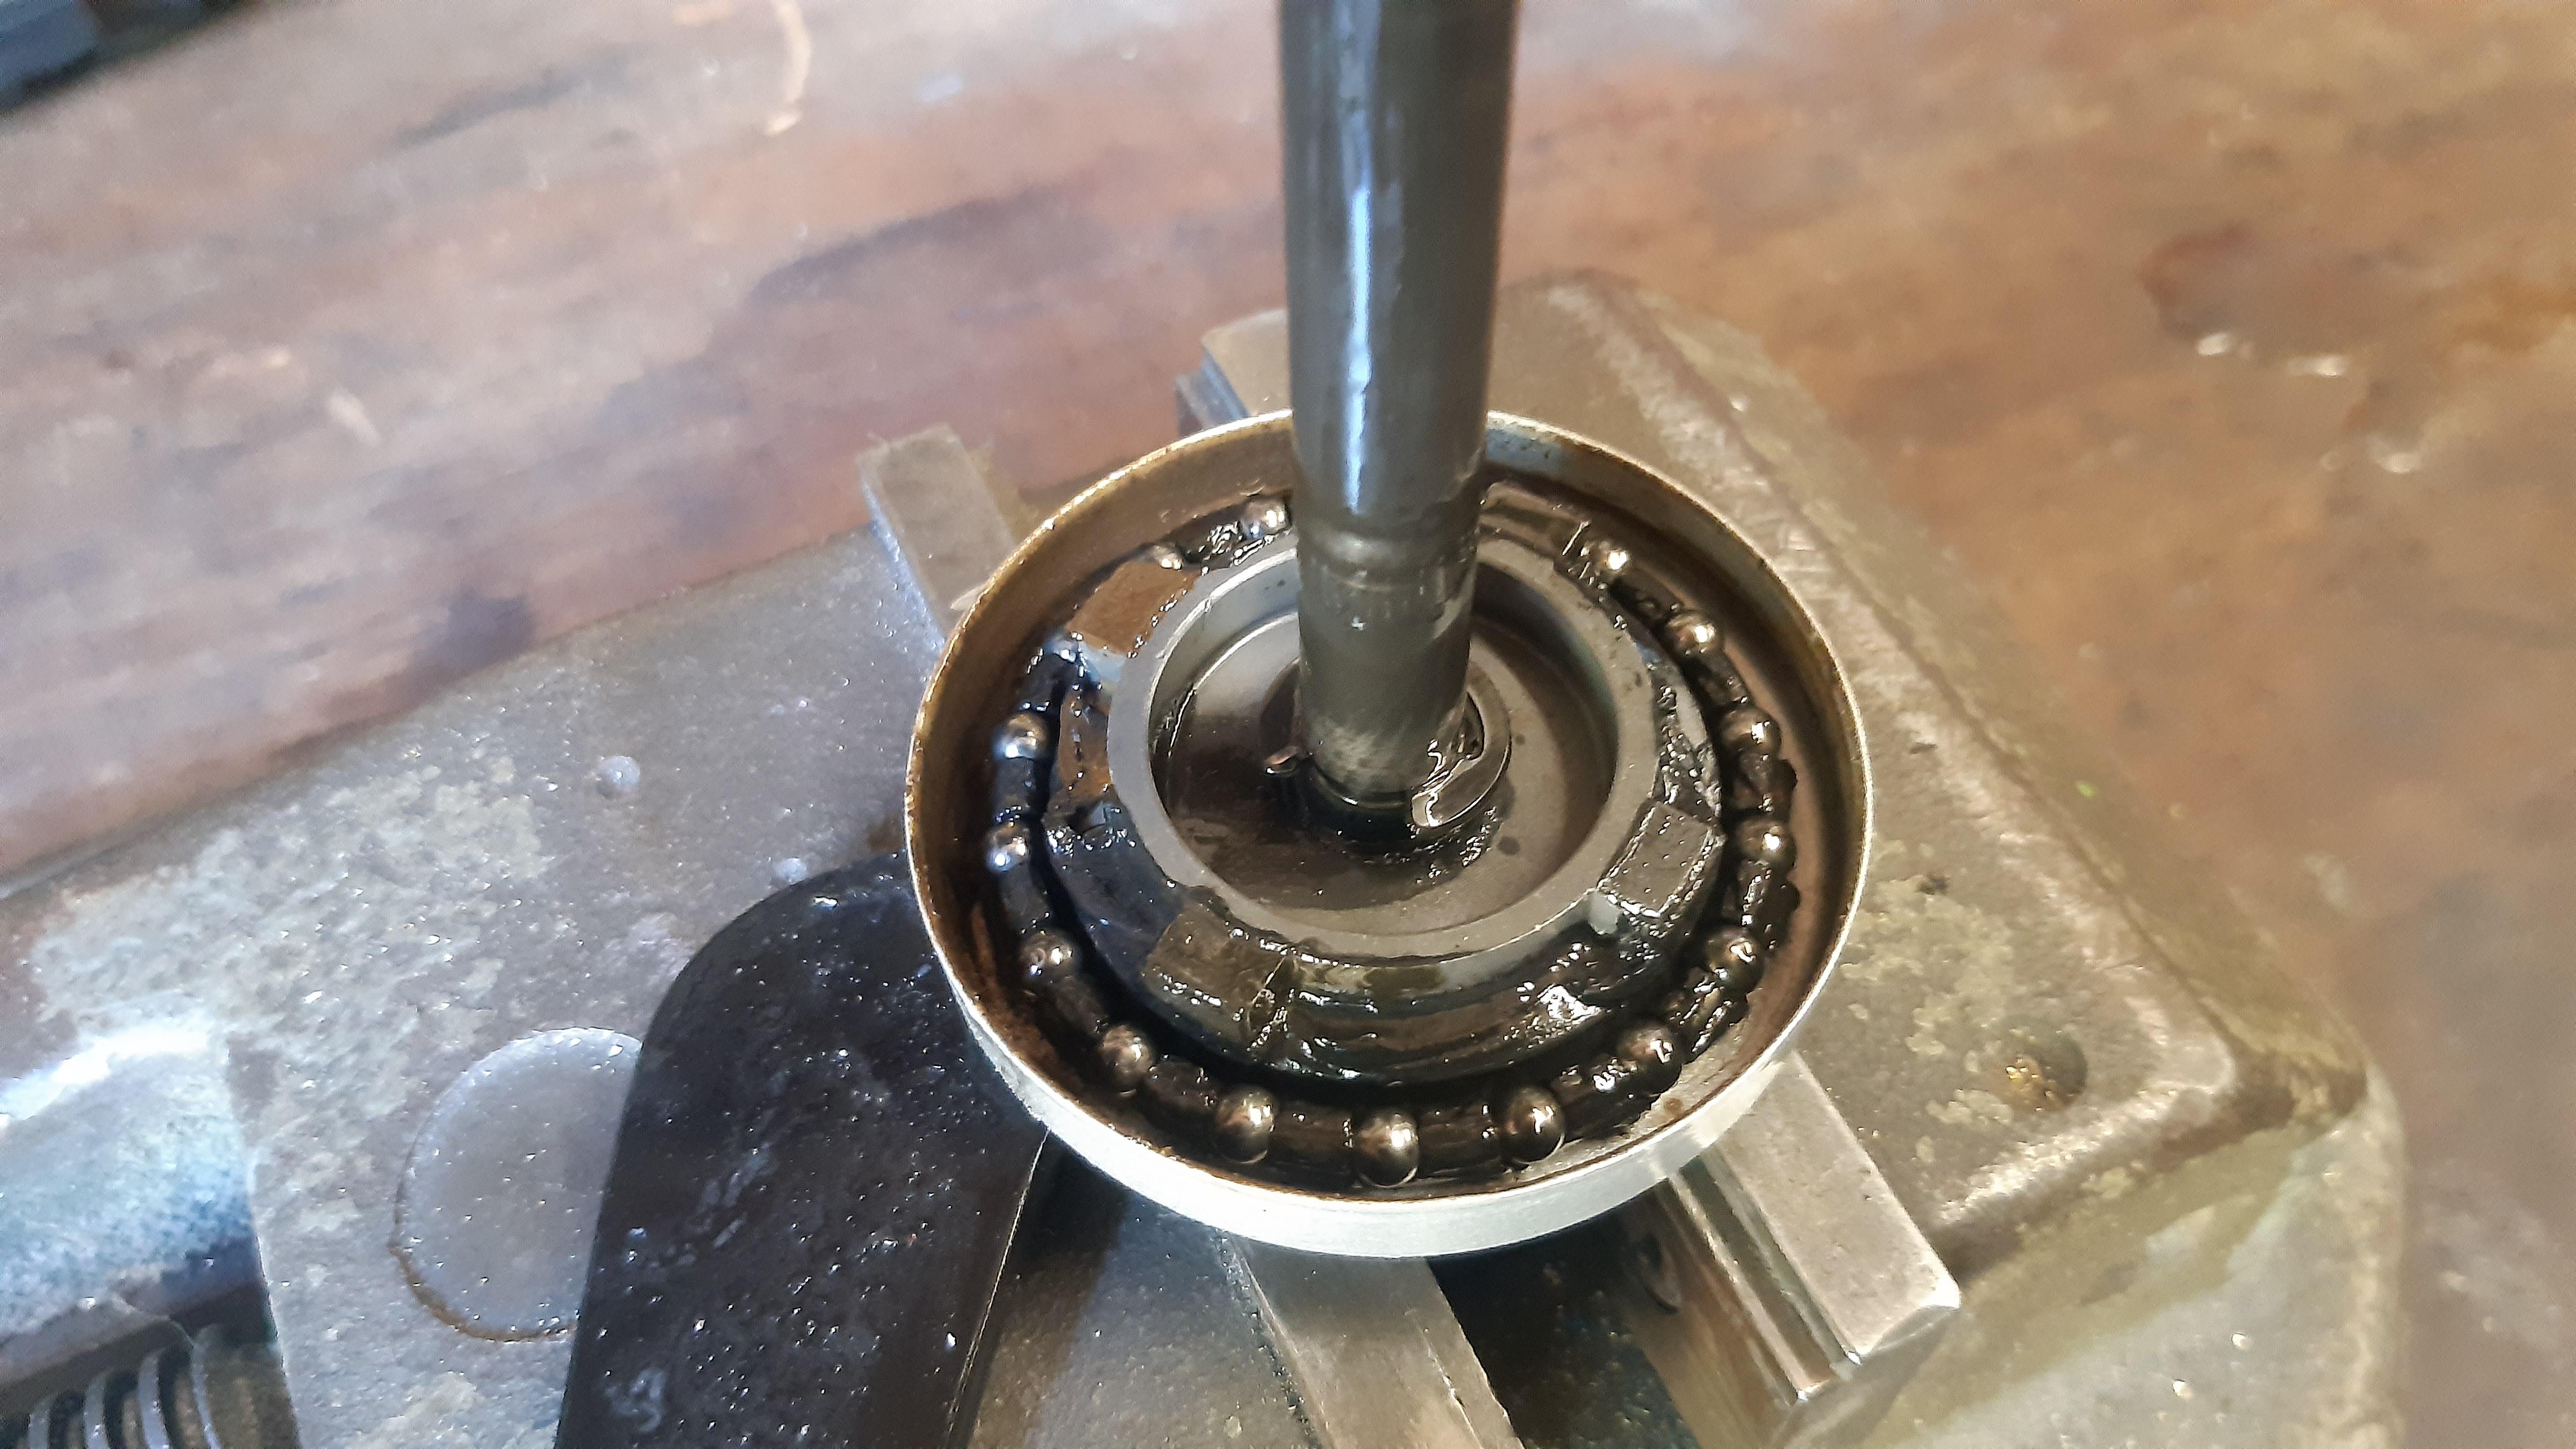
Oh yeah, industrial sealed bearings
I remember industrial sealed bearing lasting a very long time on bicycles.
I found the following bearings to use with above mentioned parts:
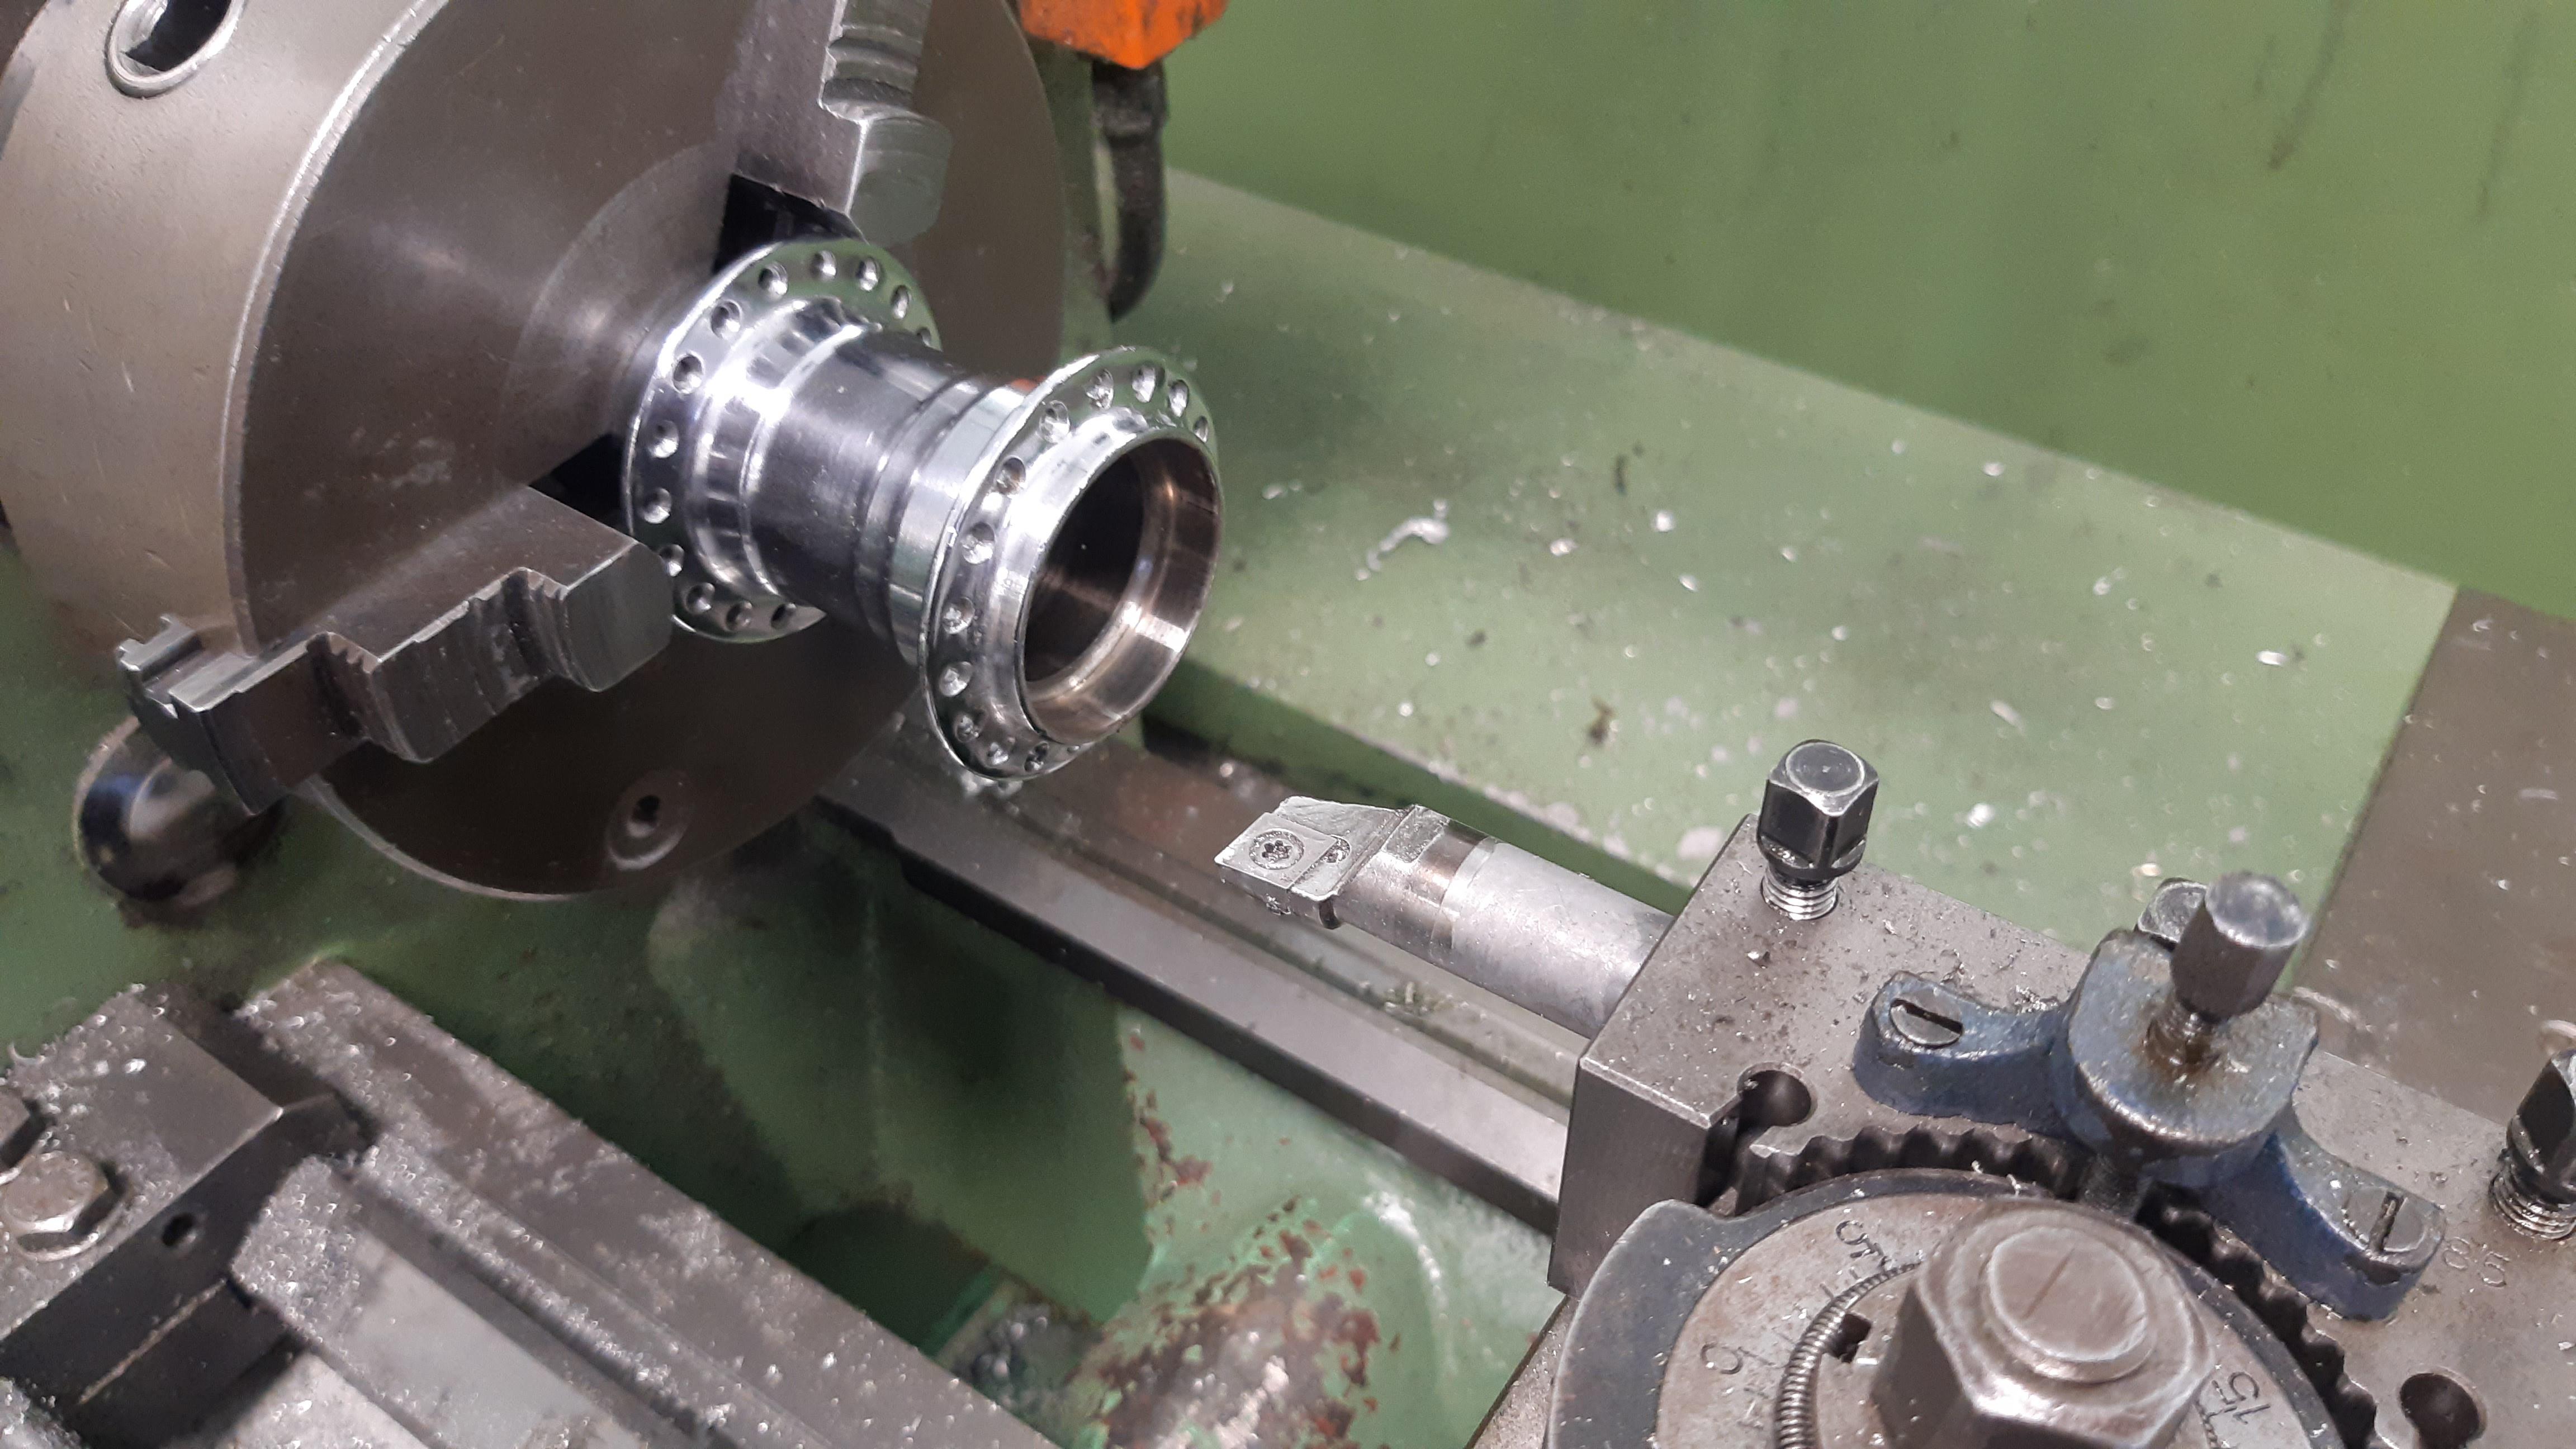
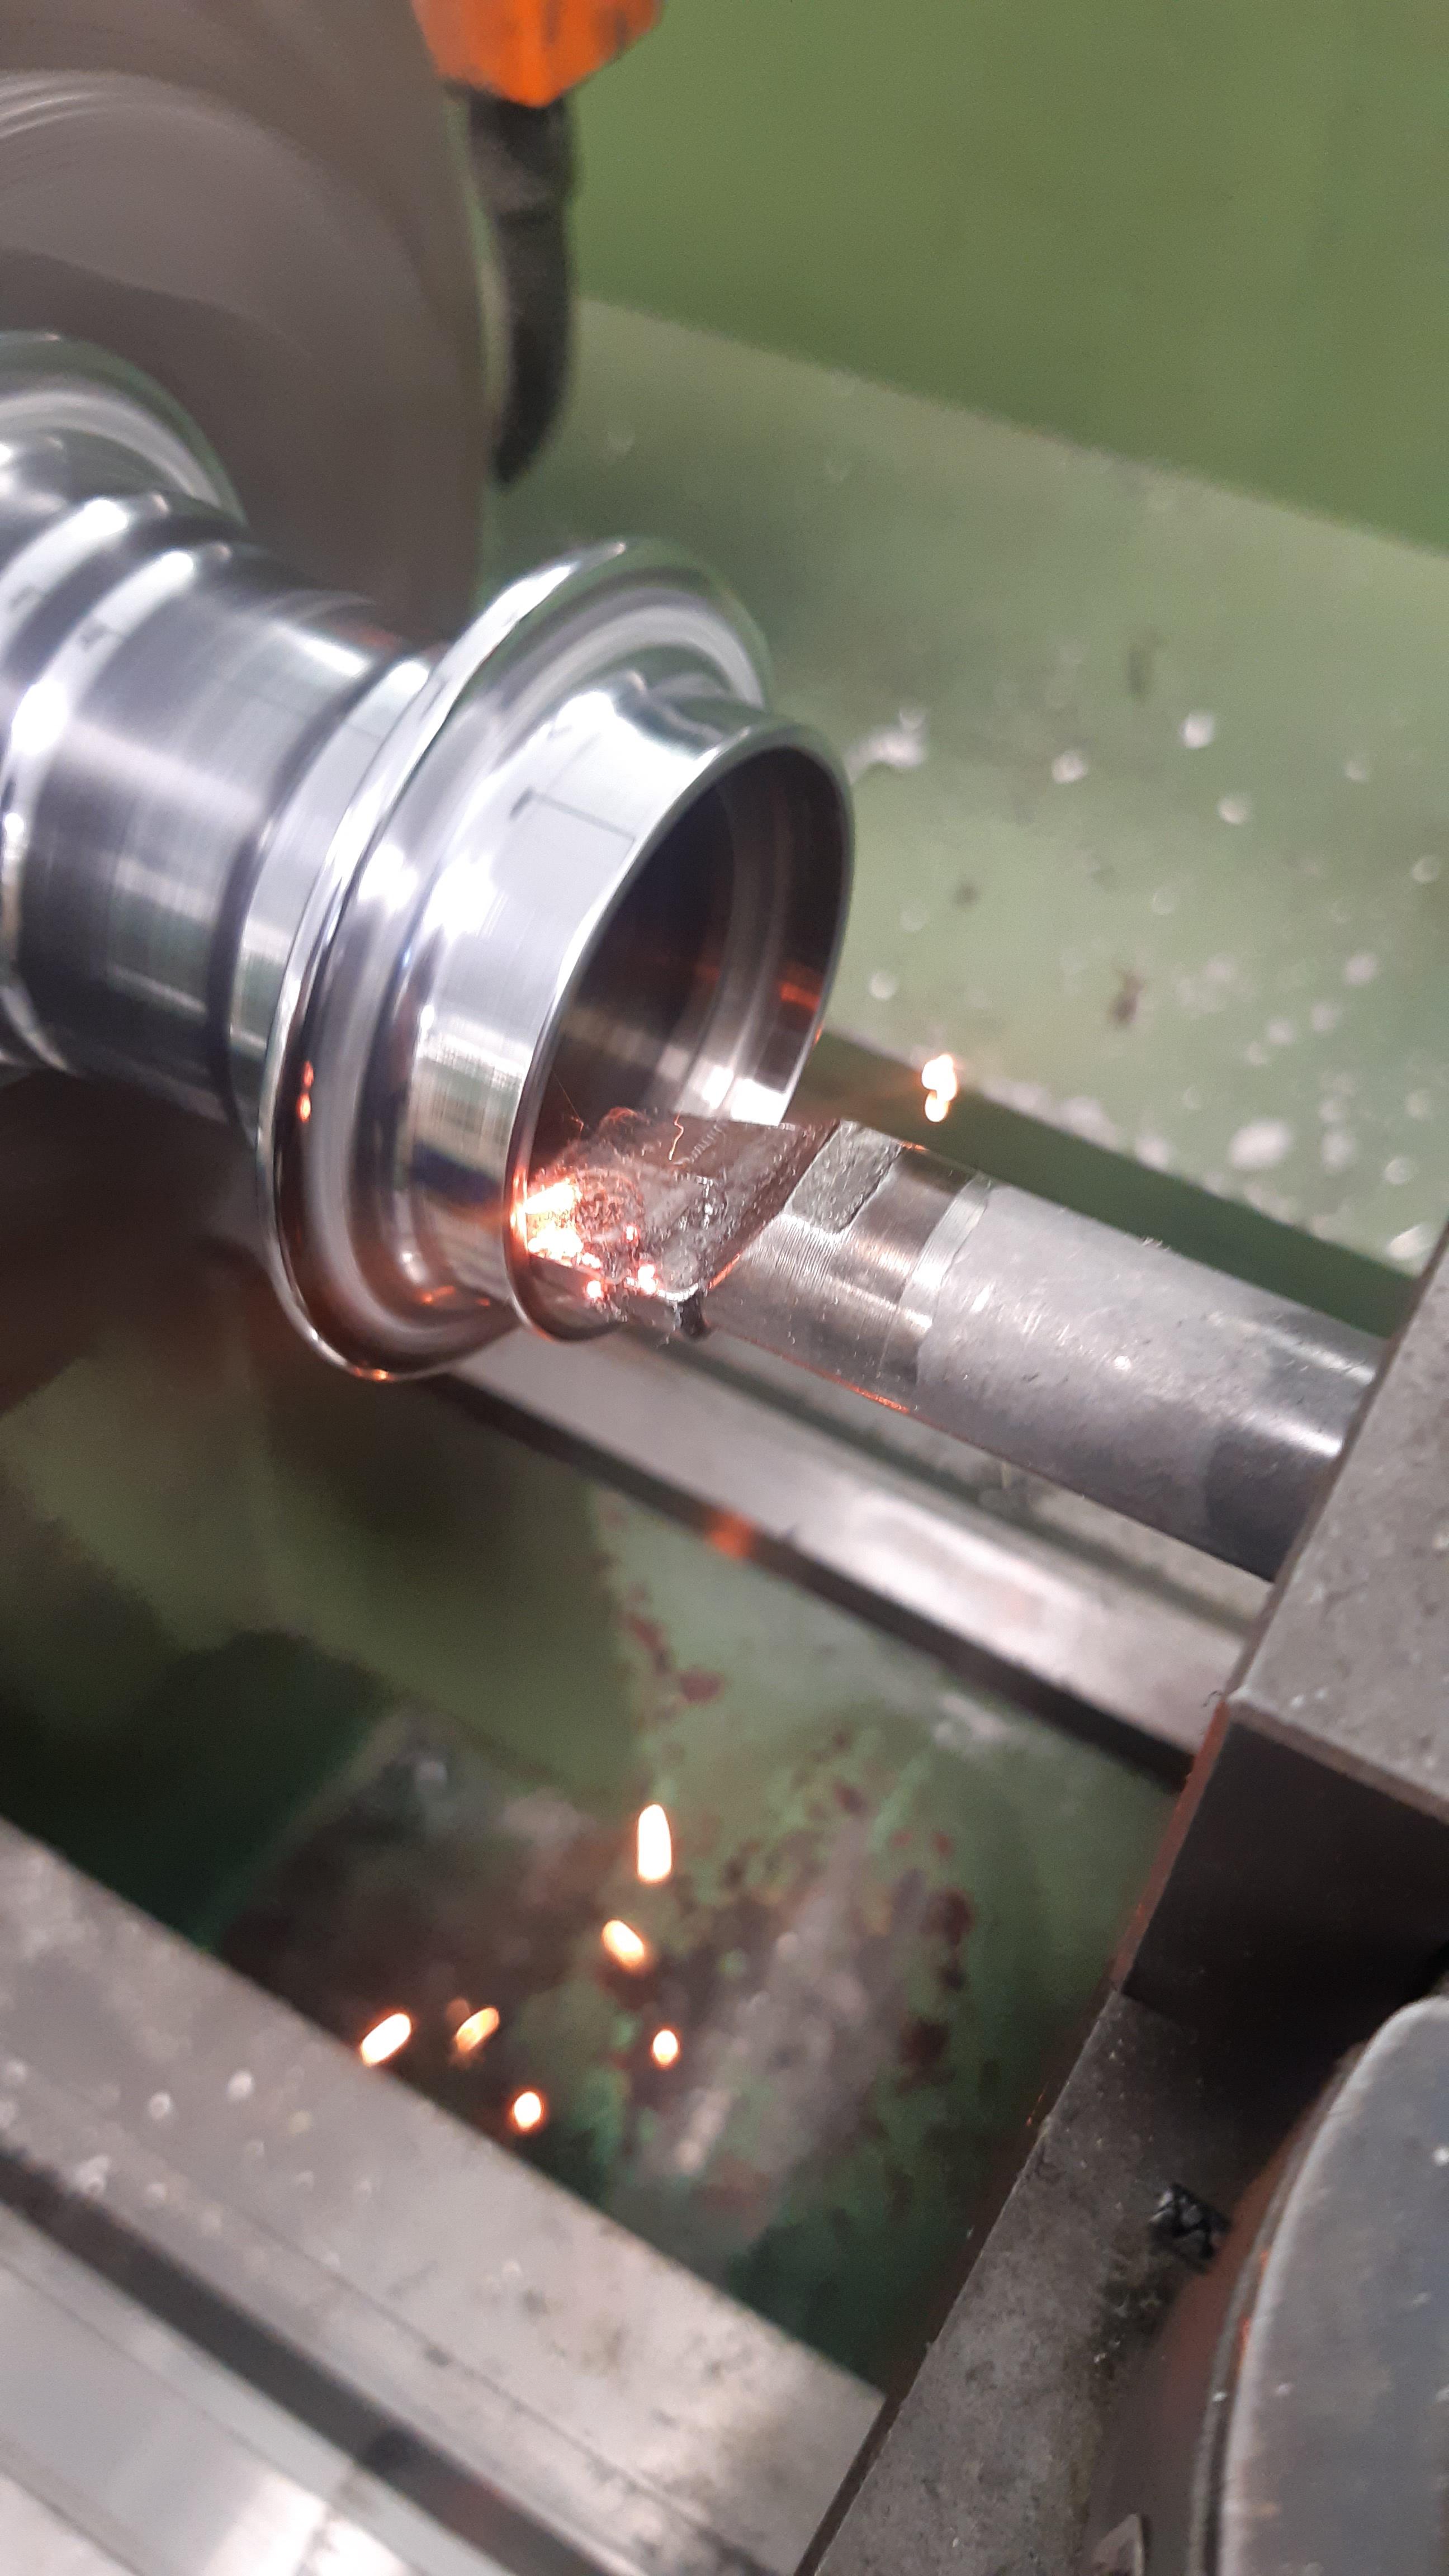
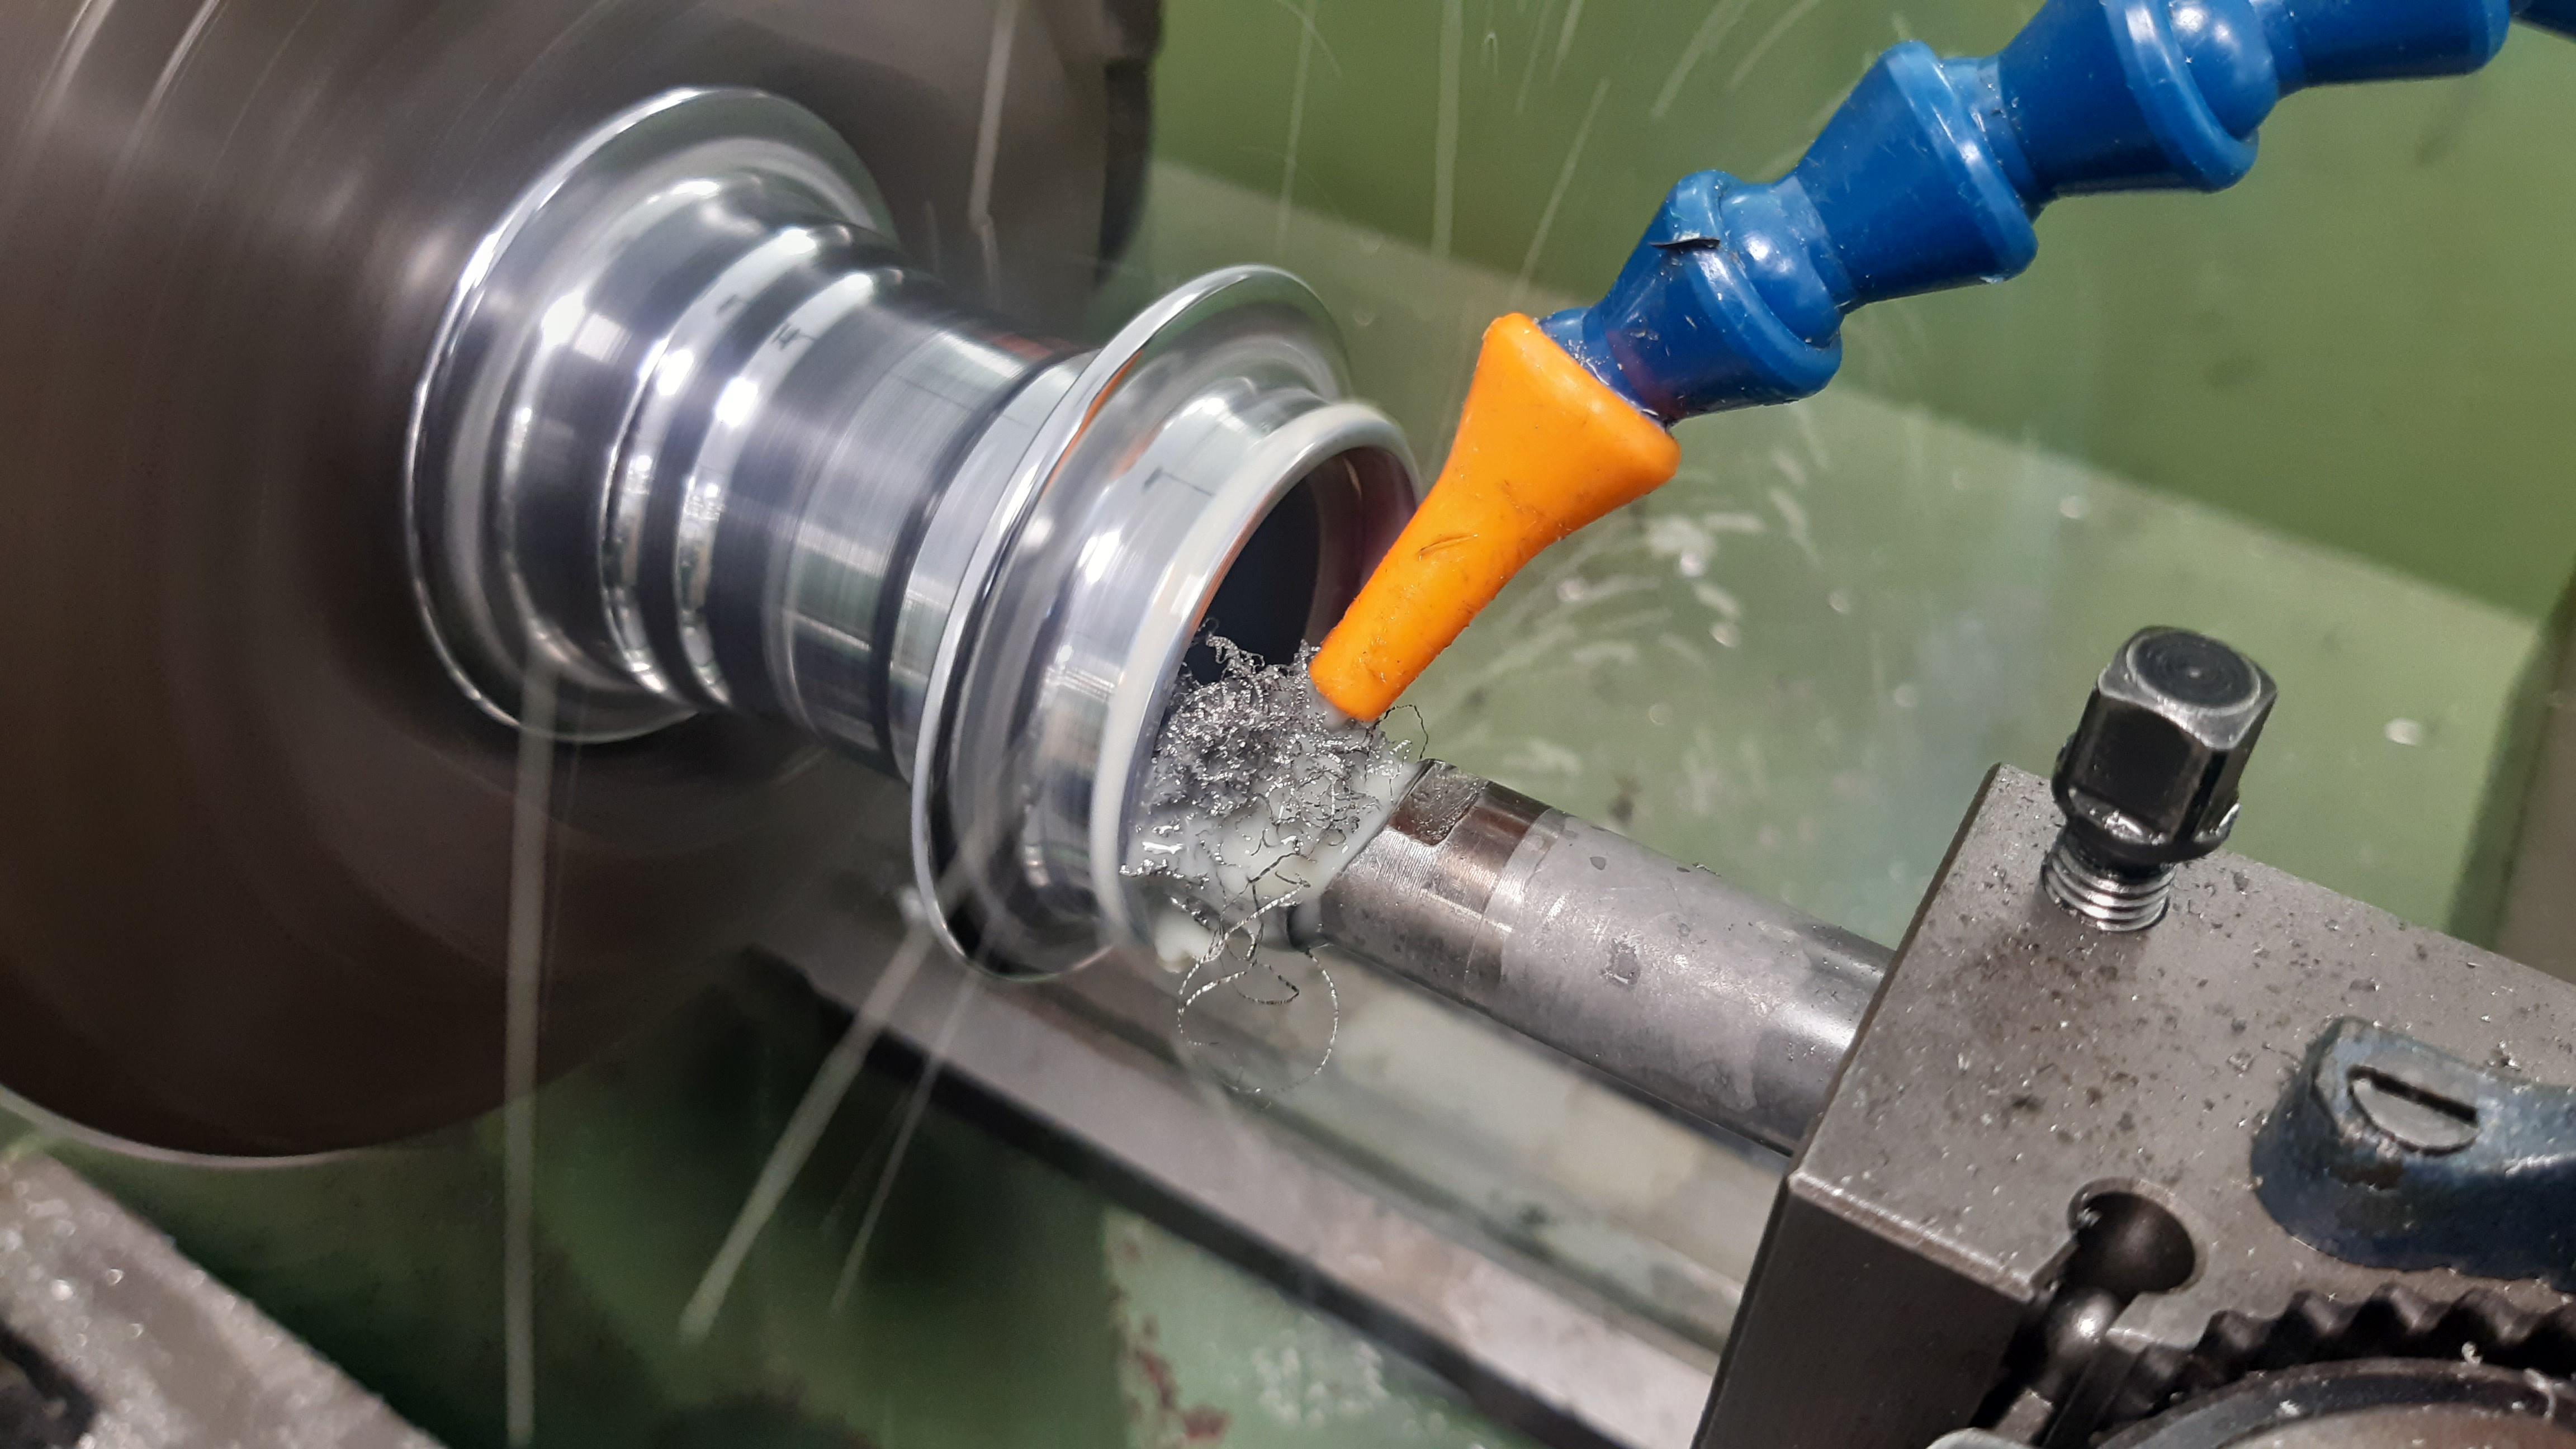
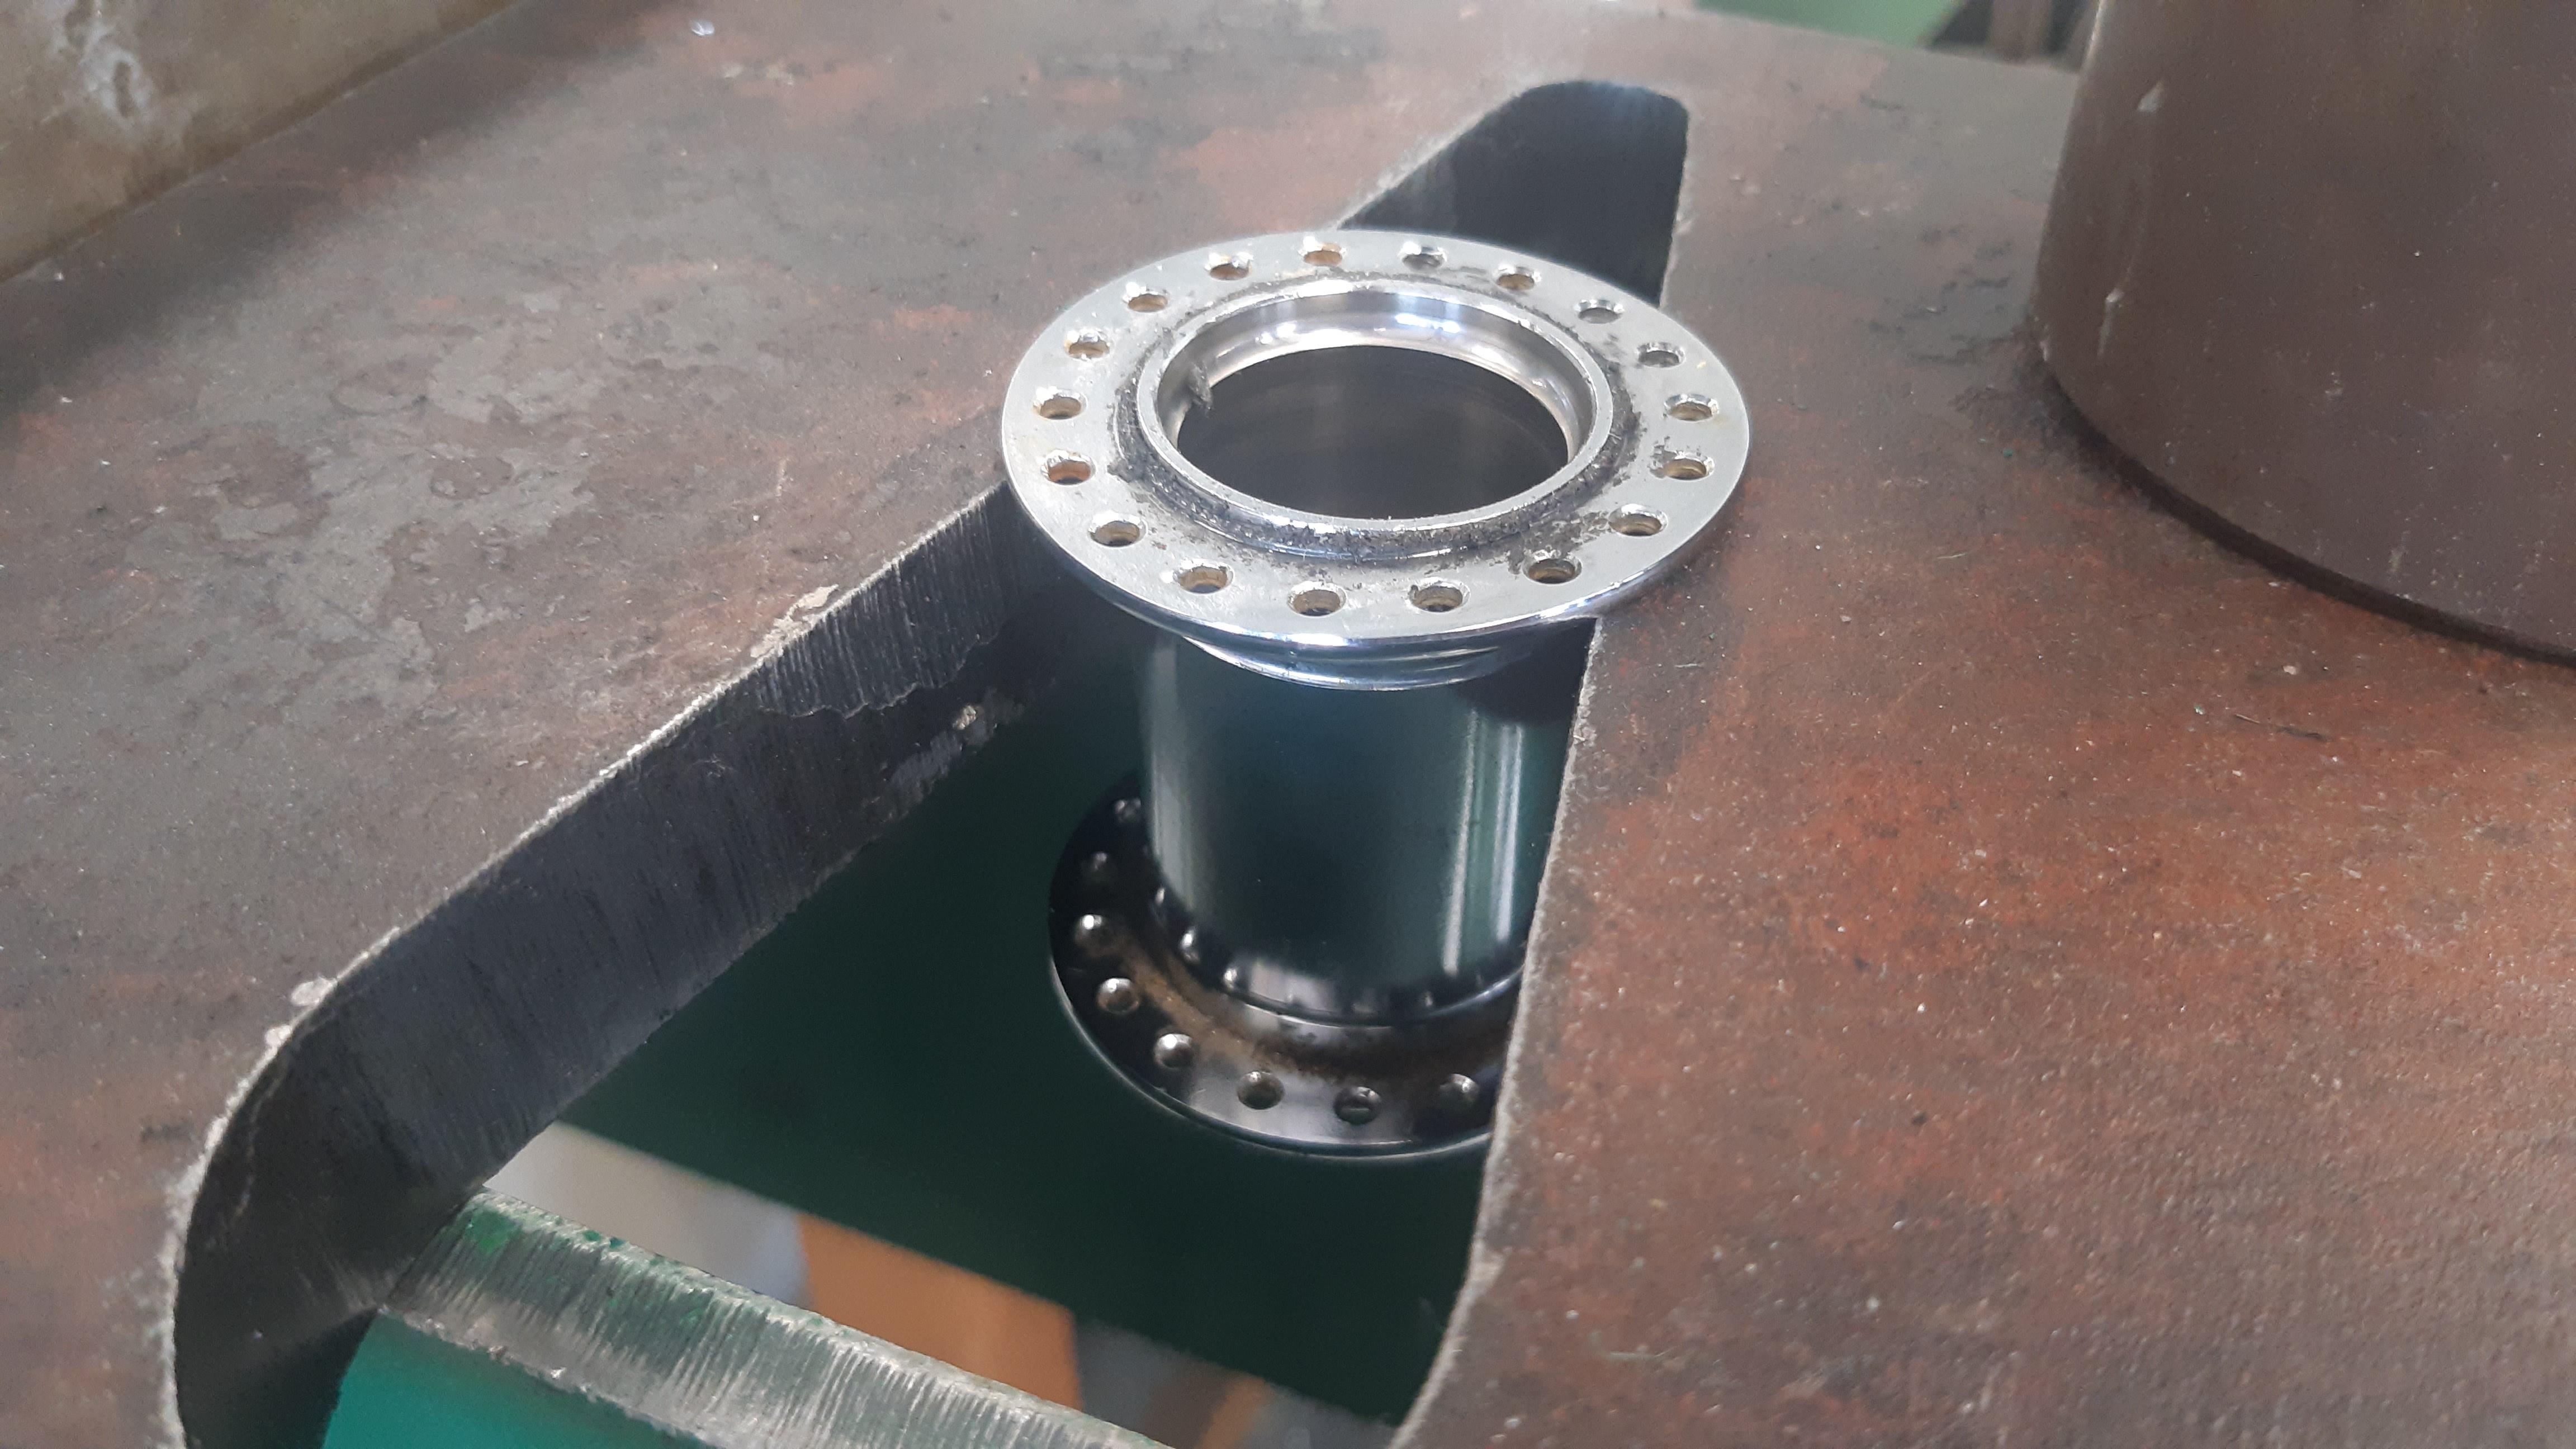
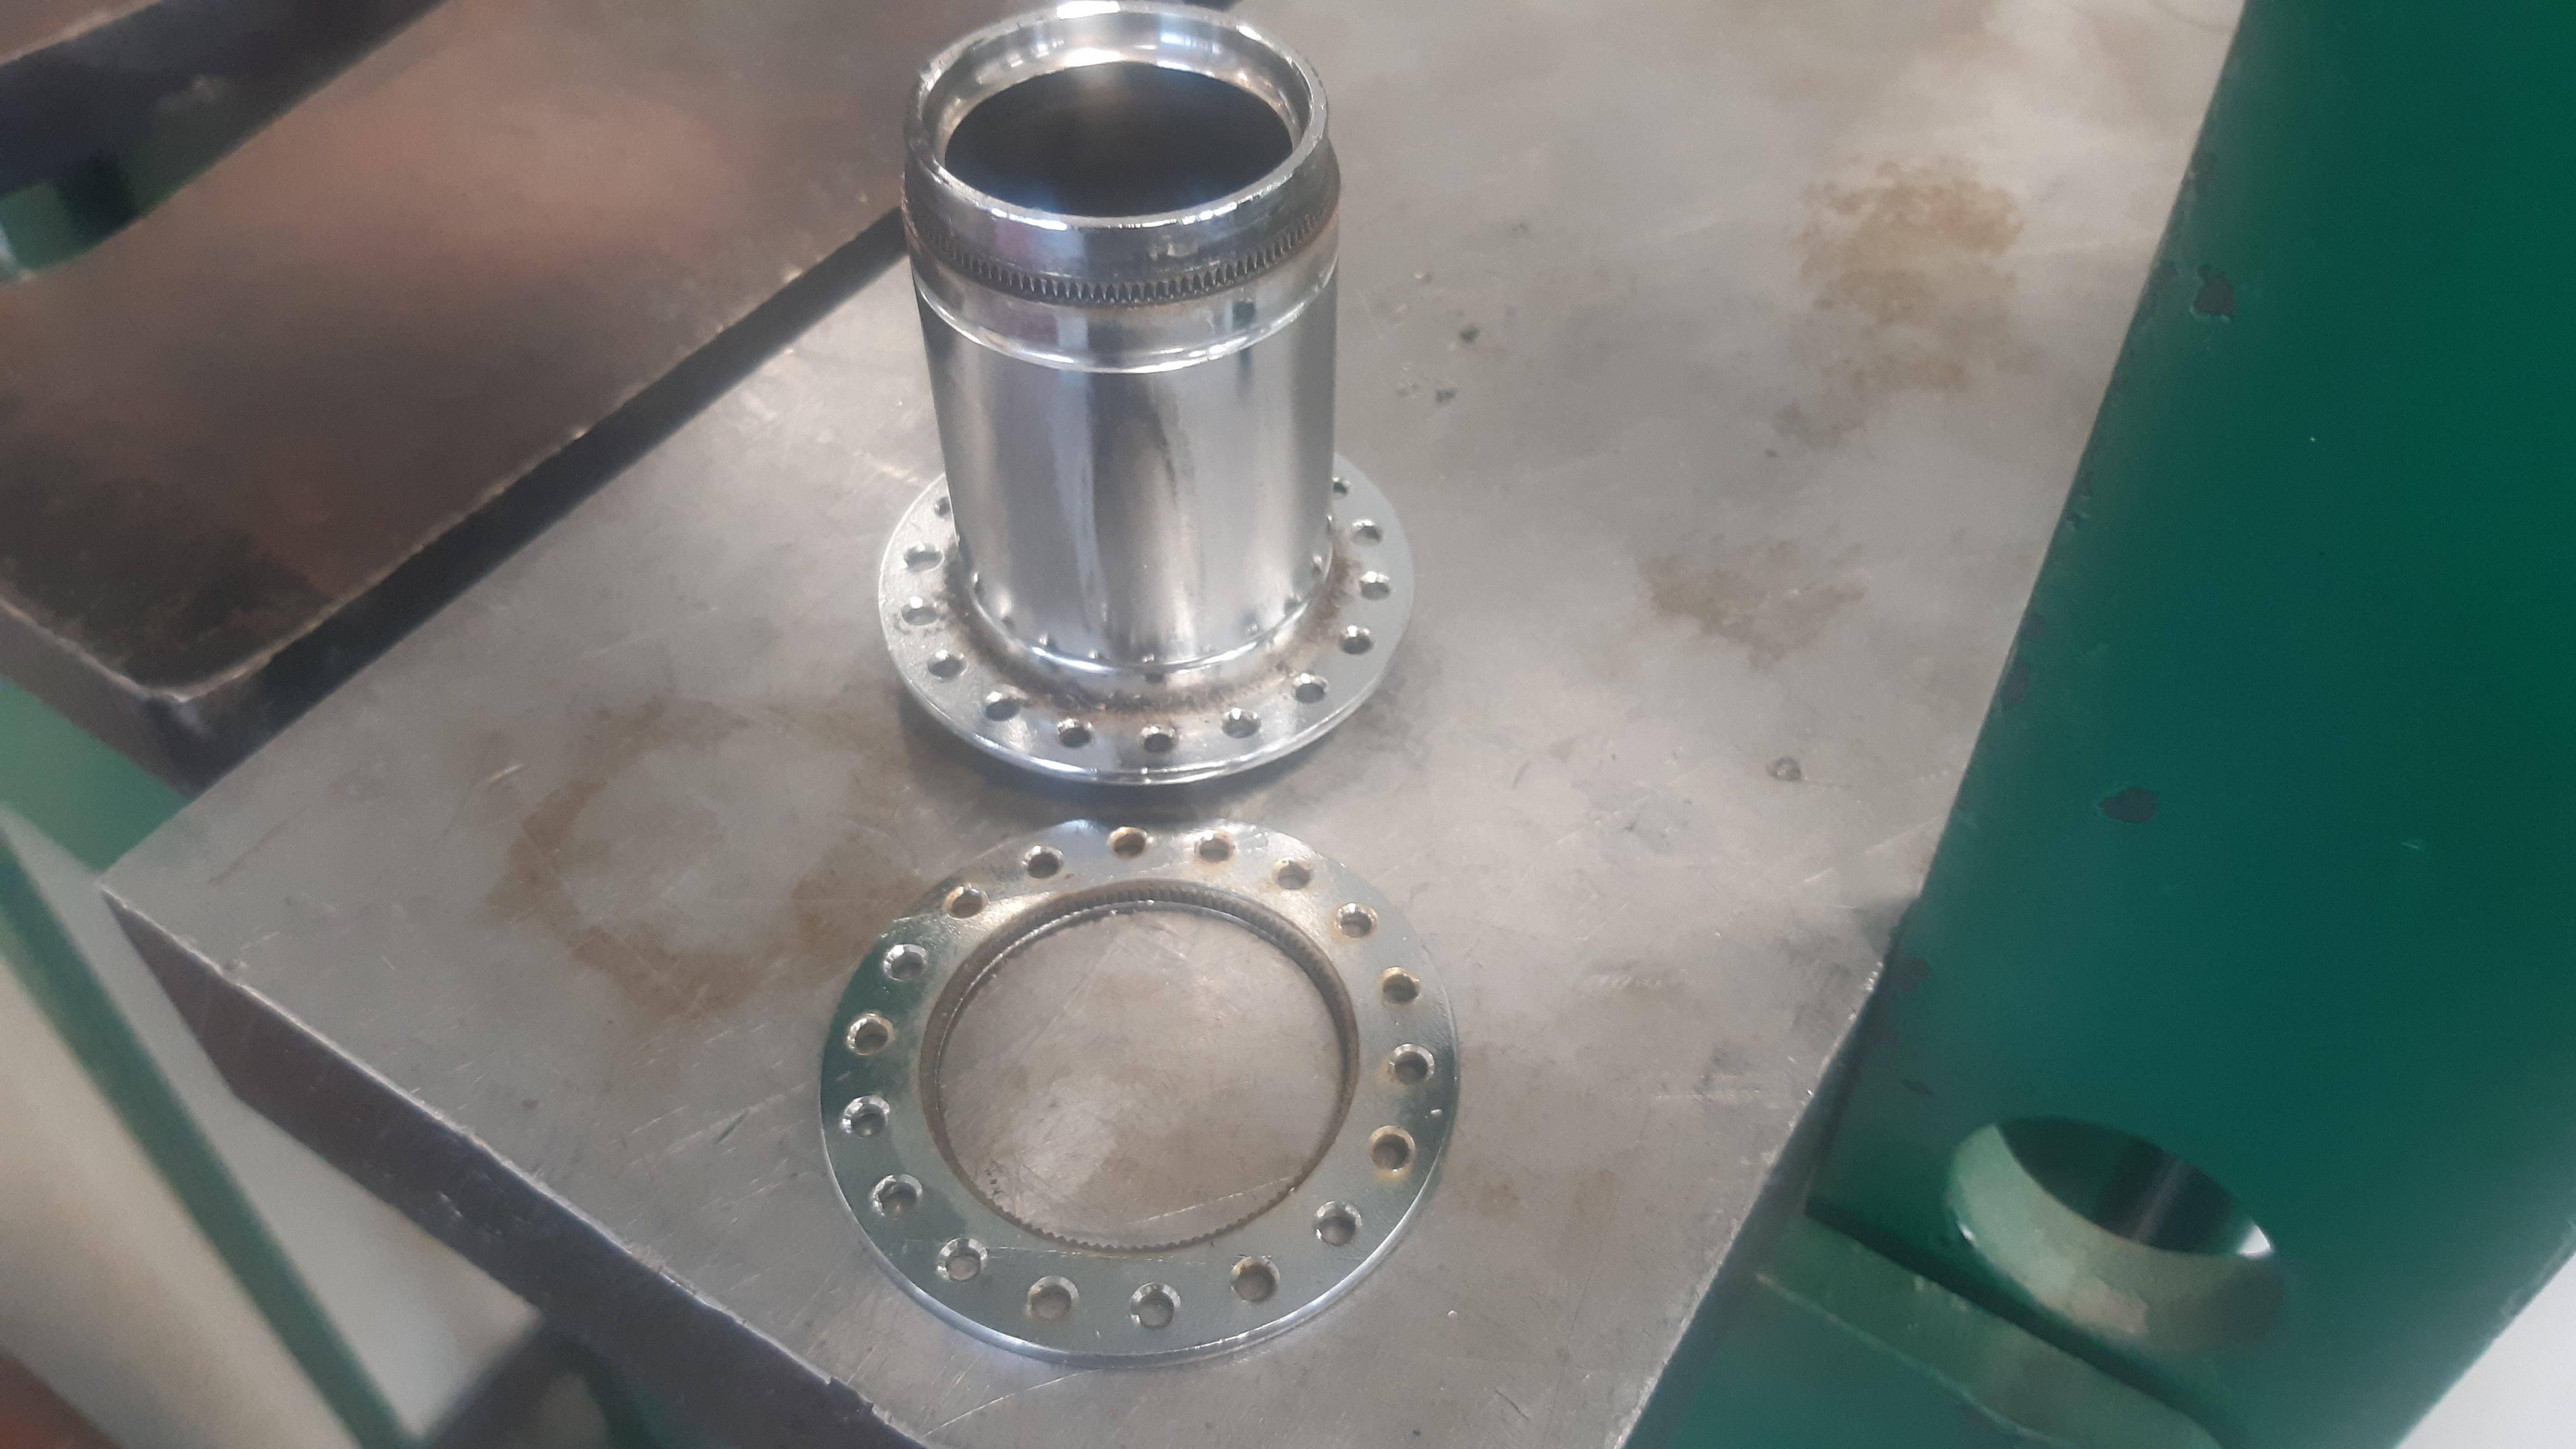
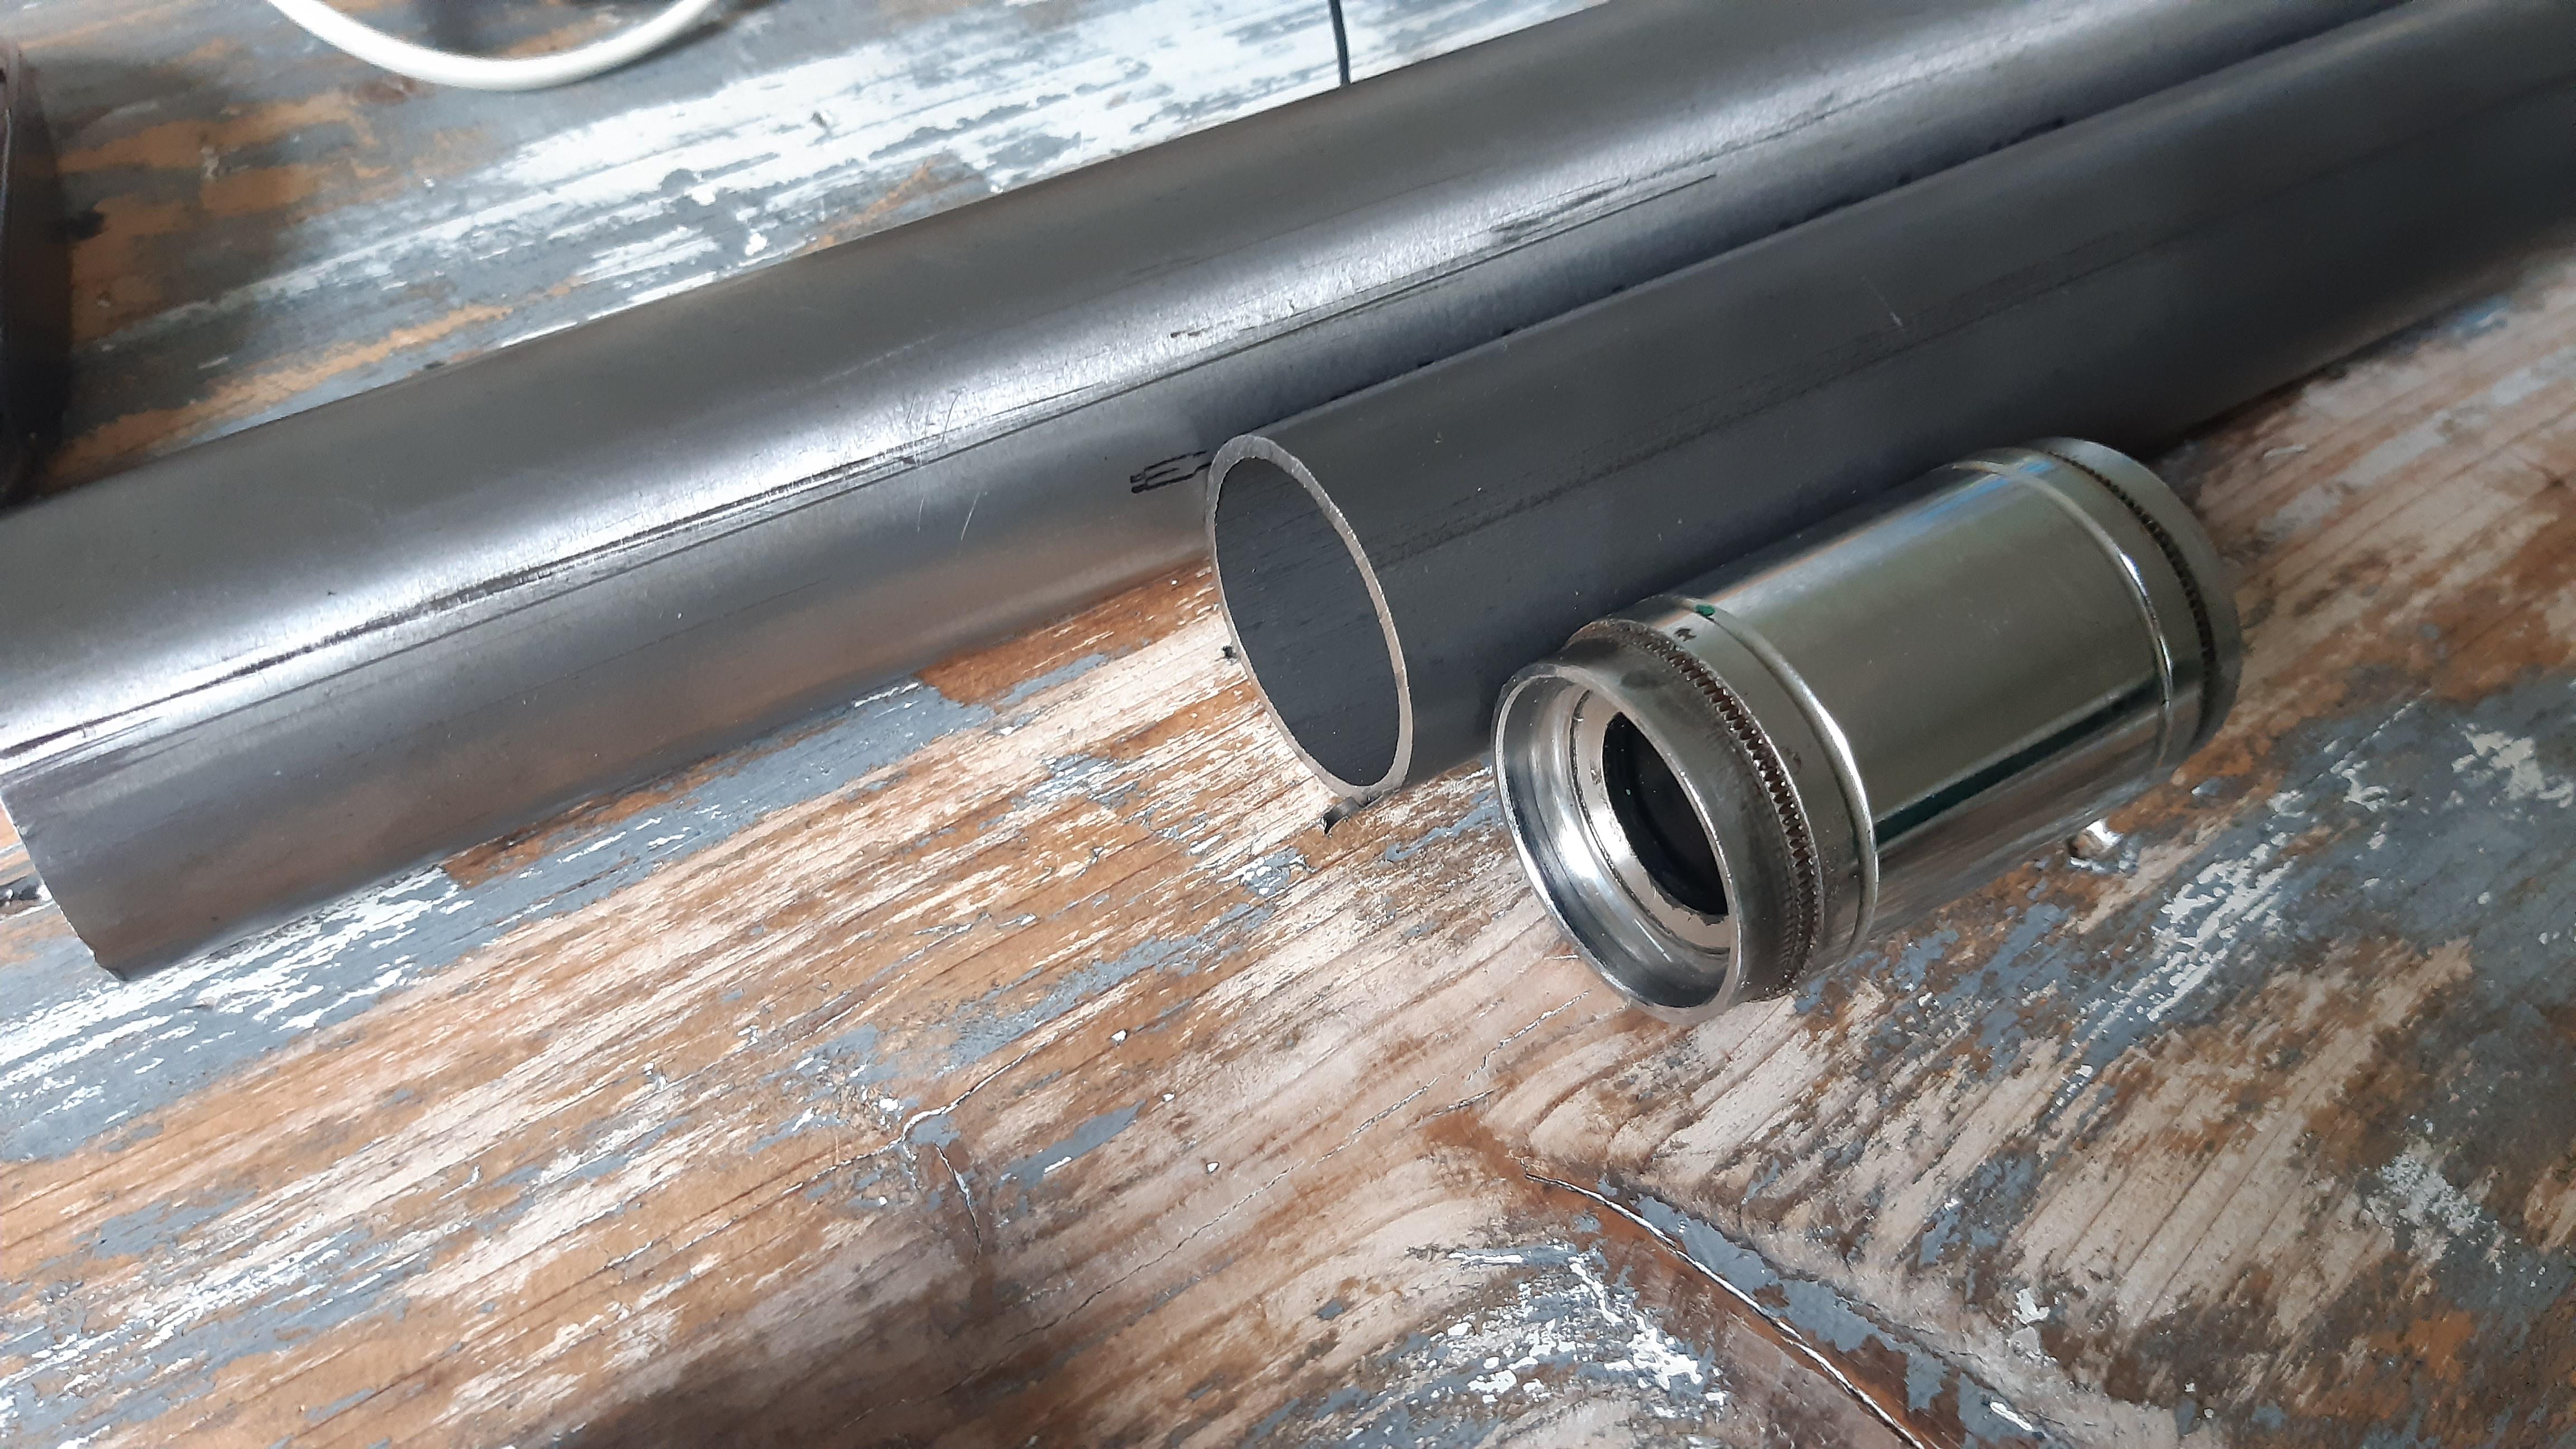
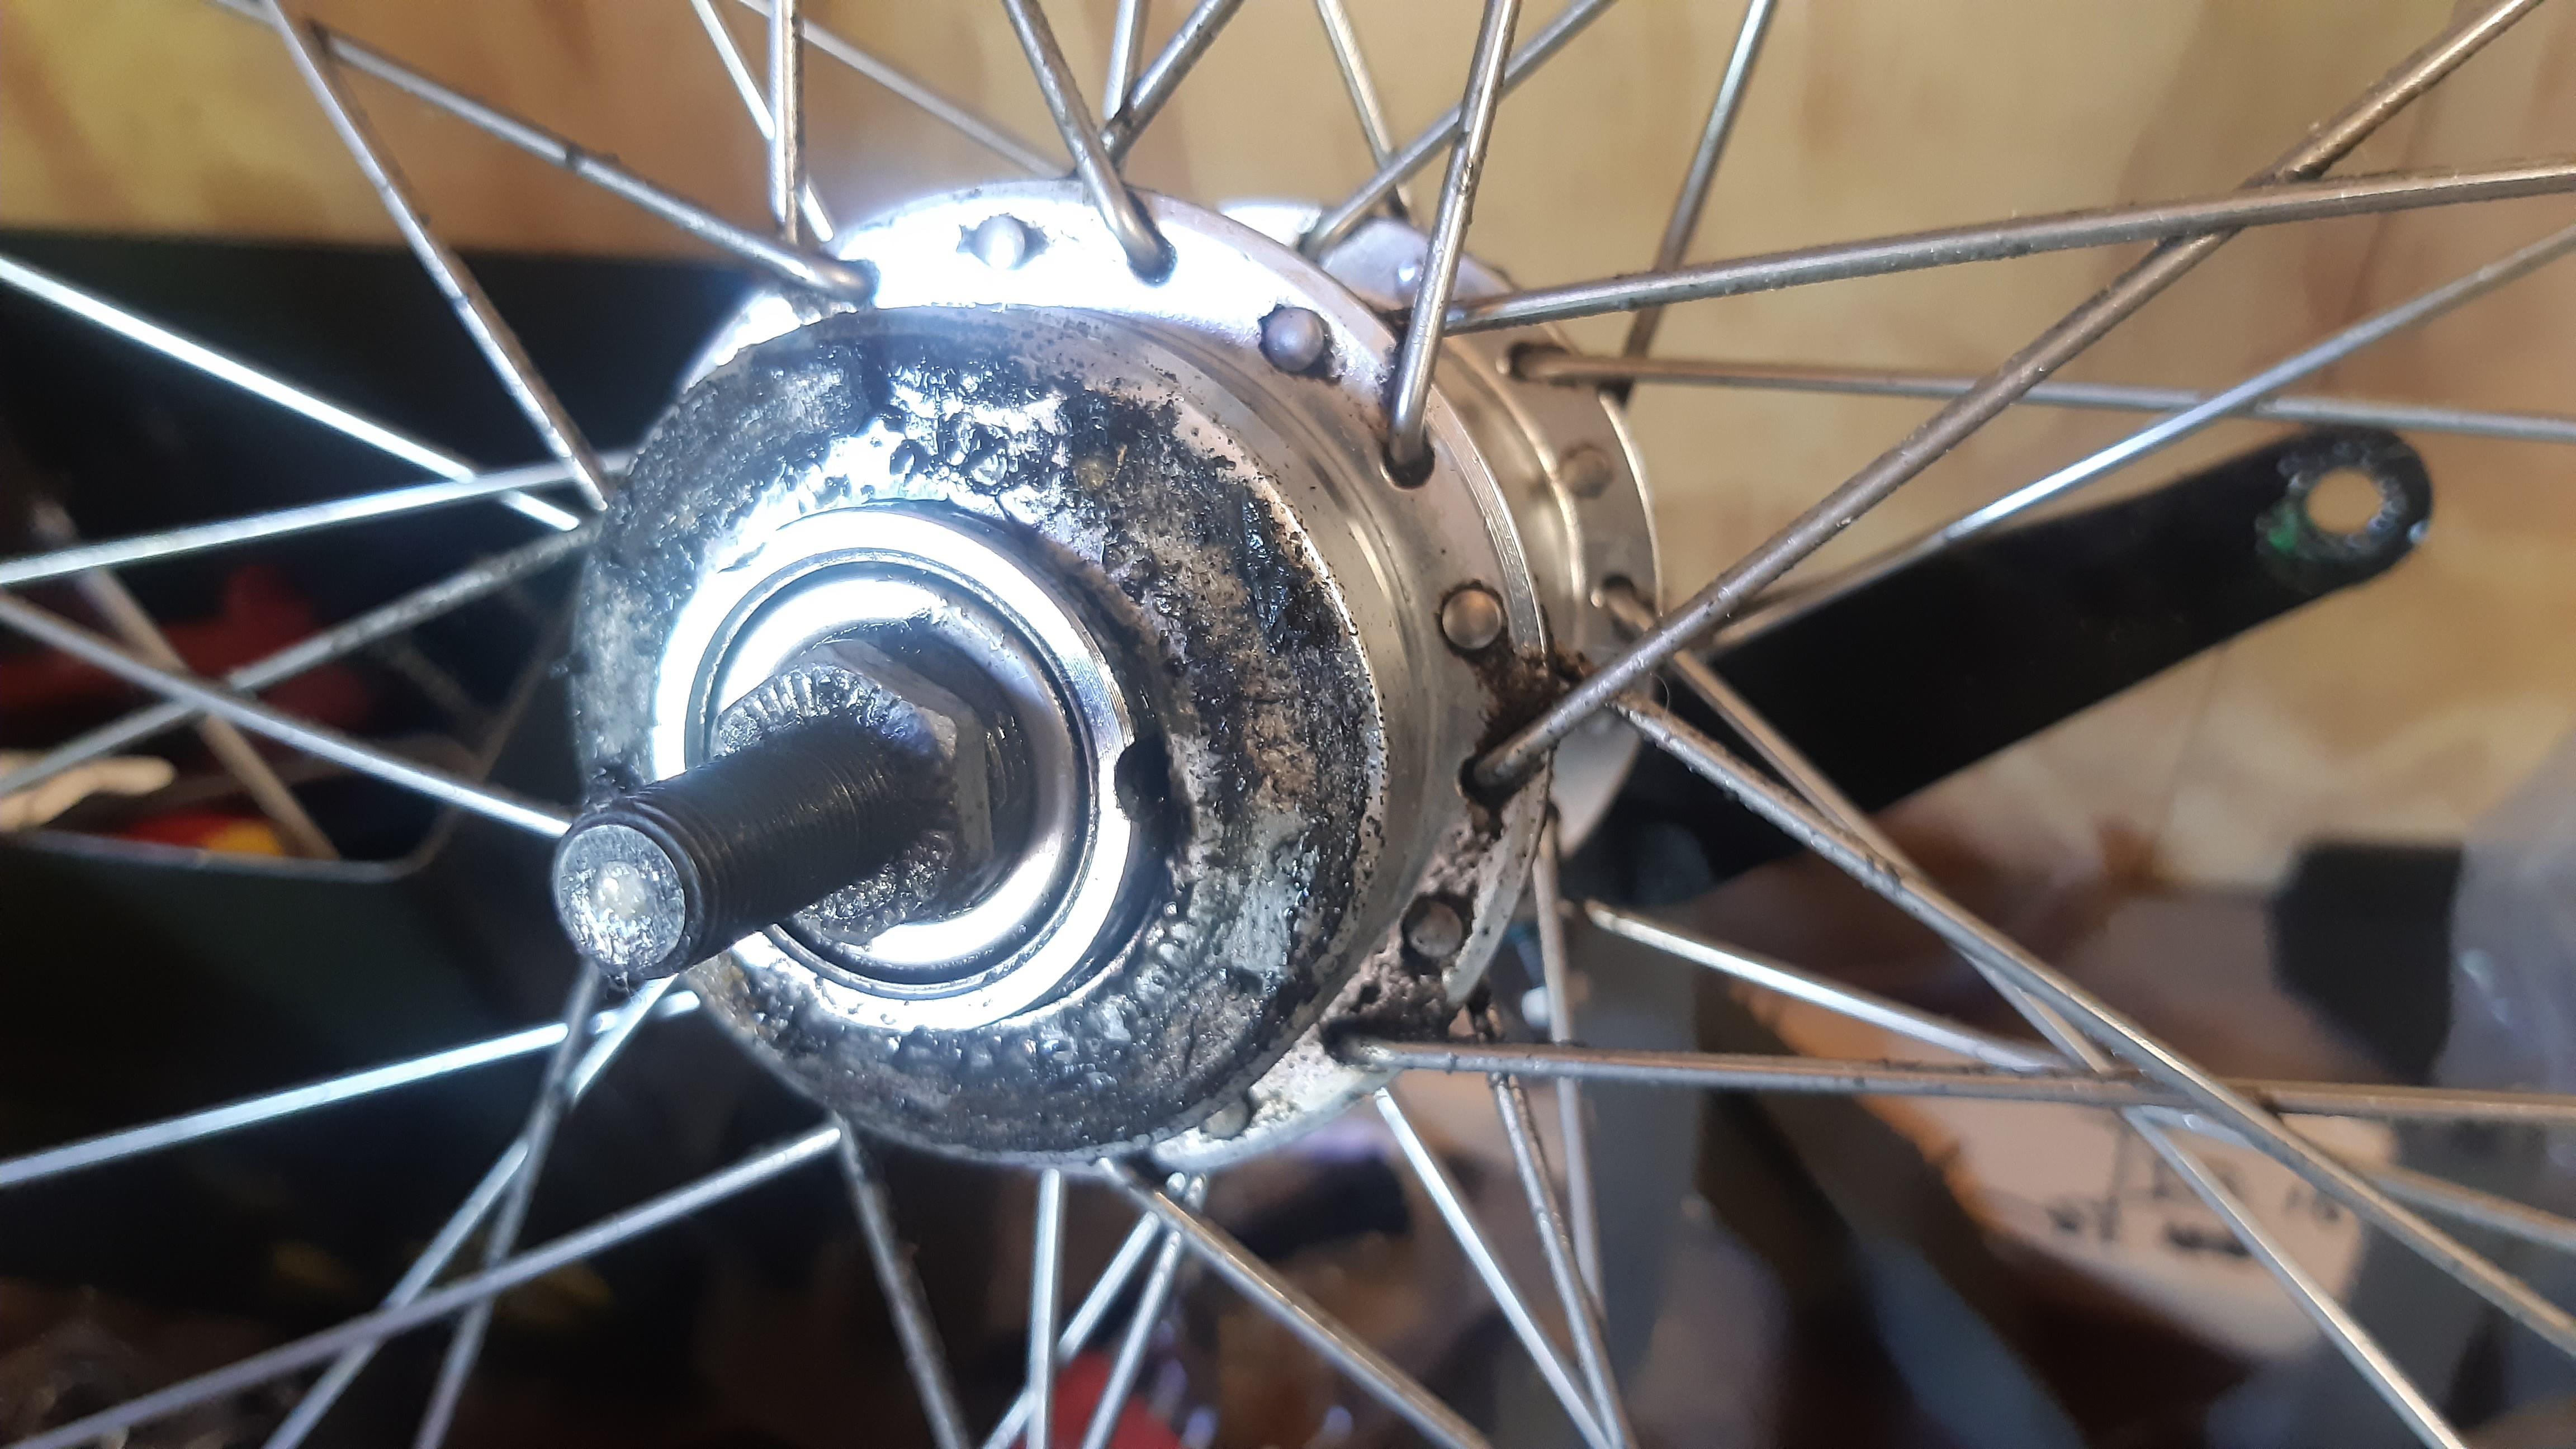
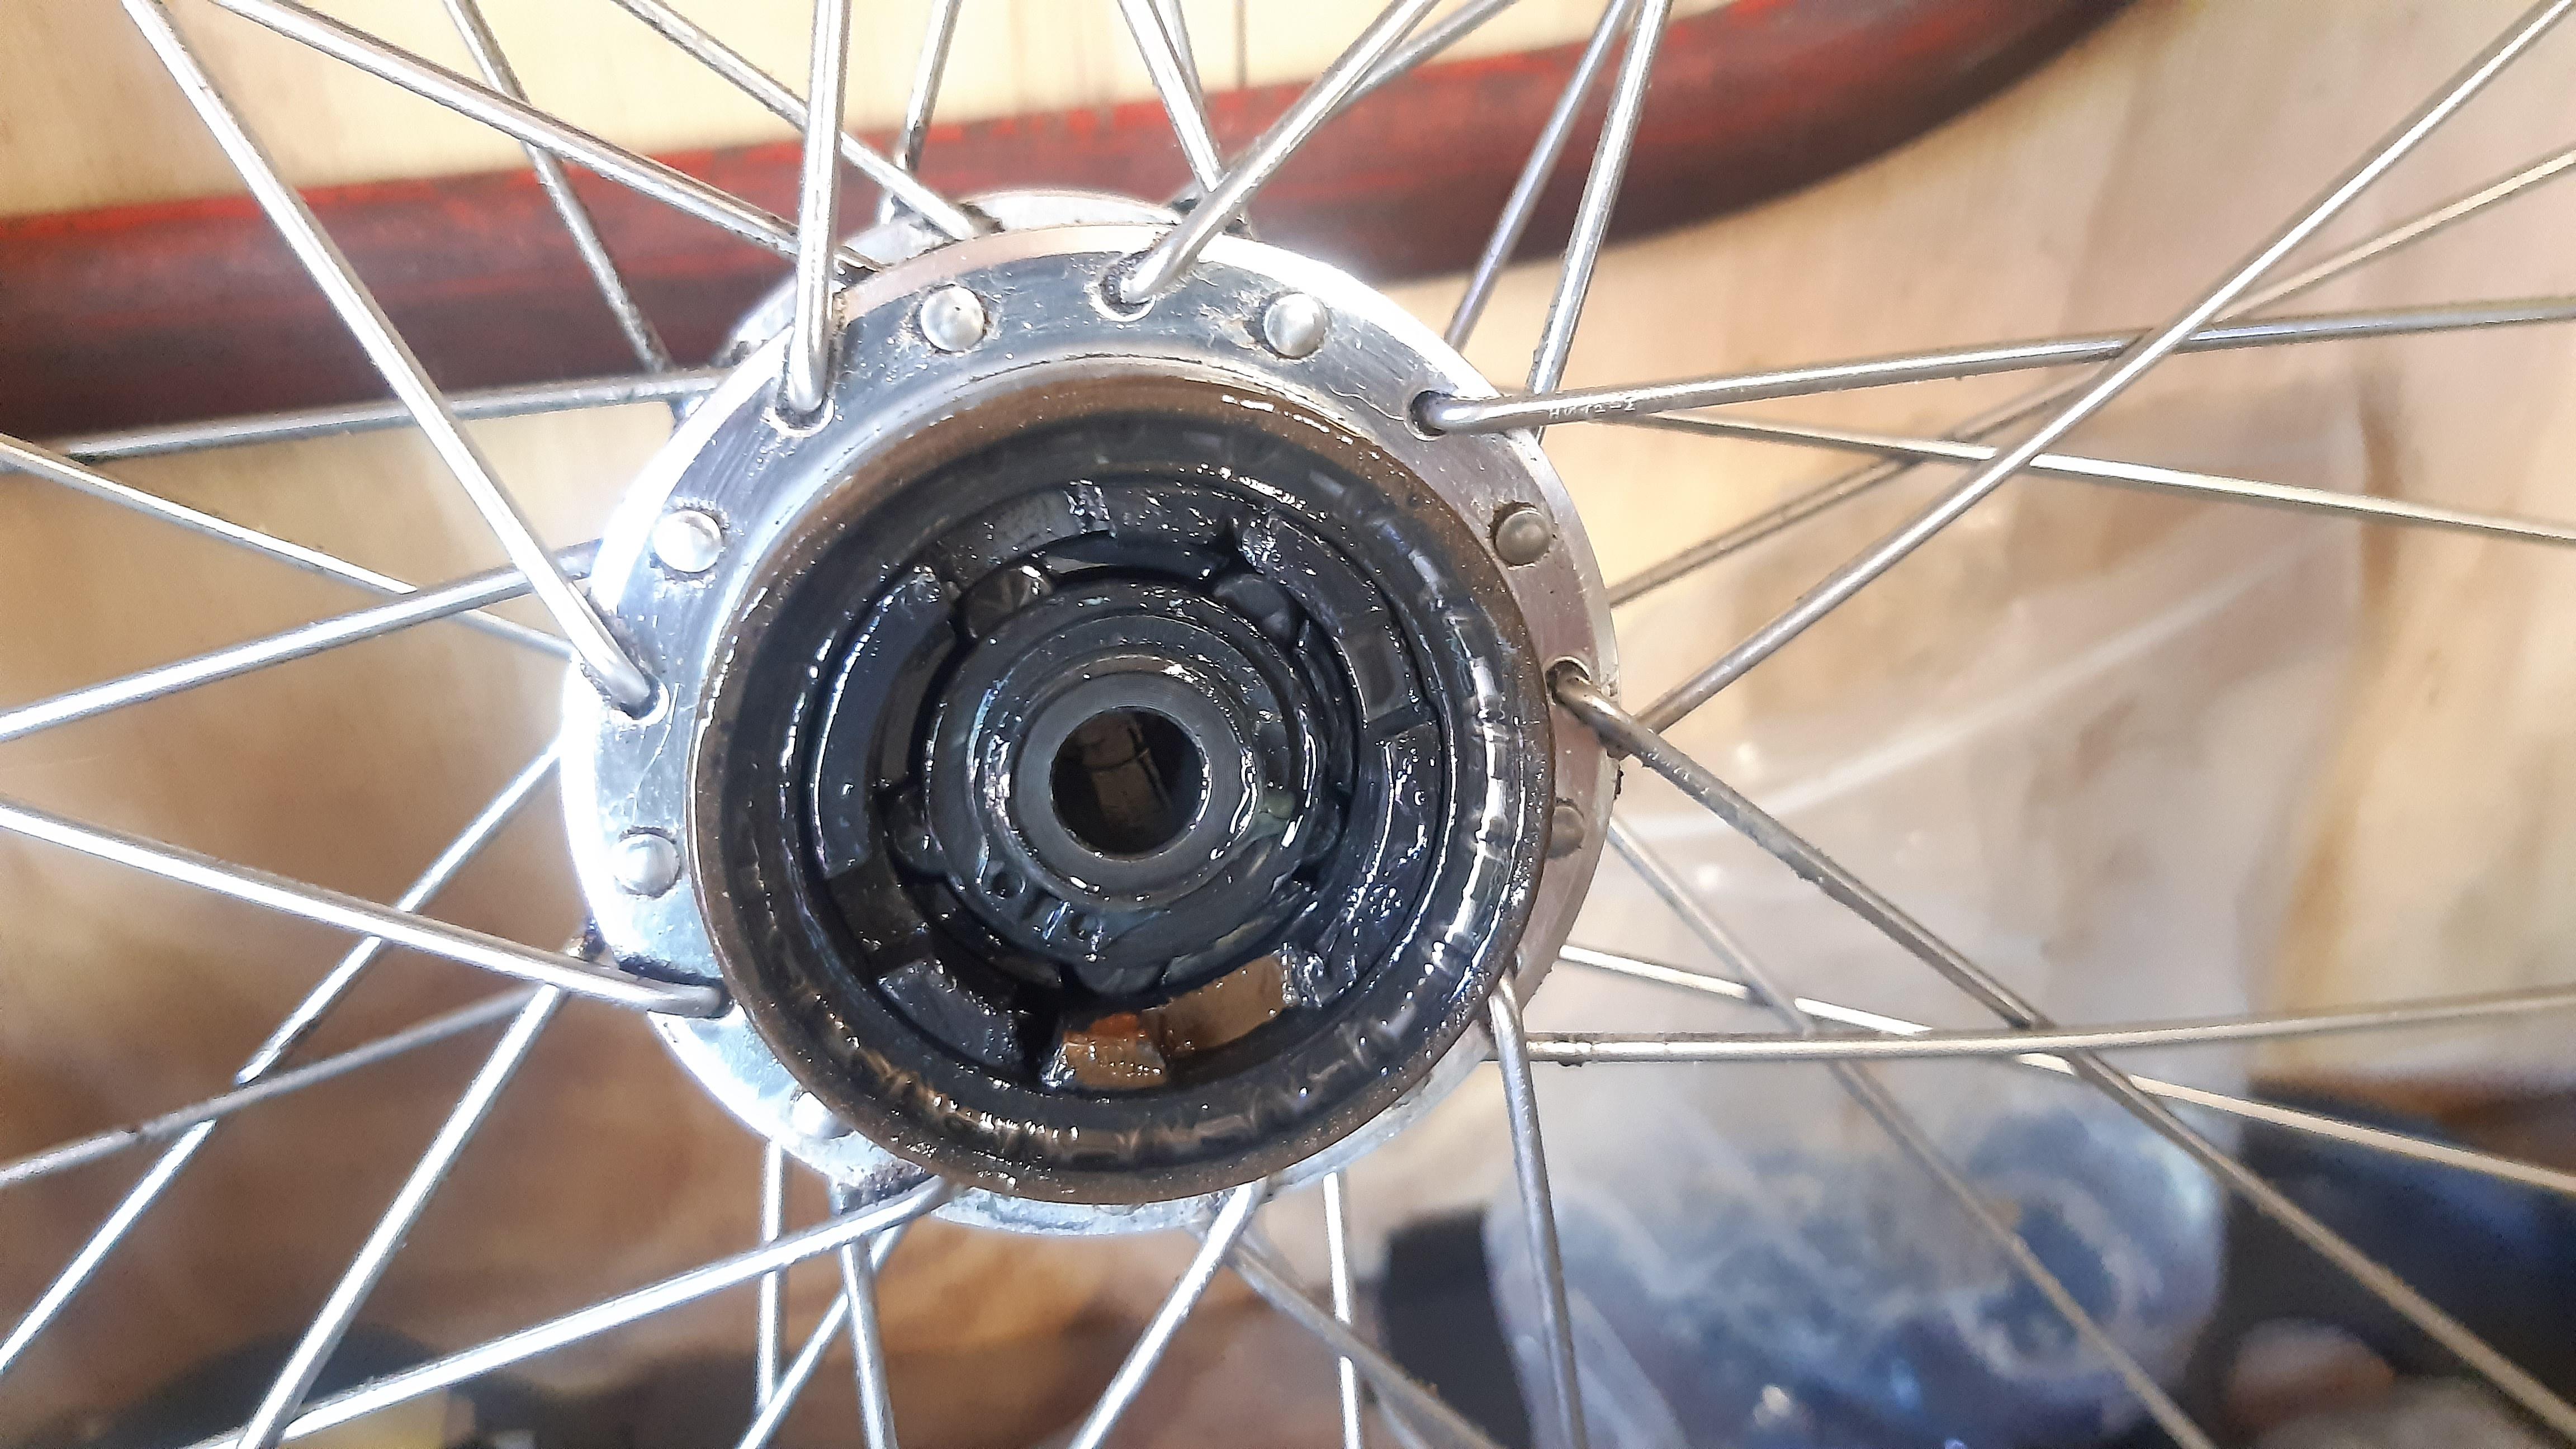
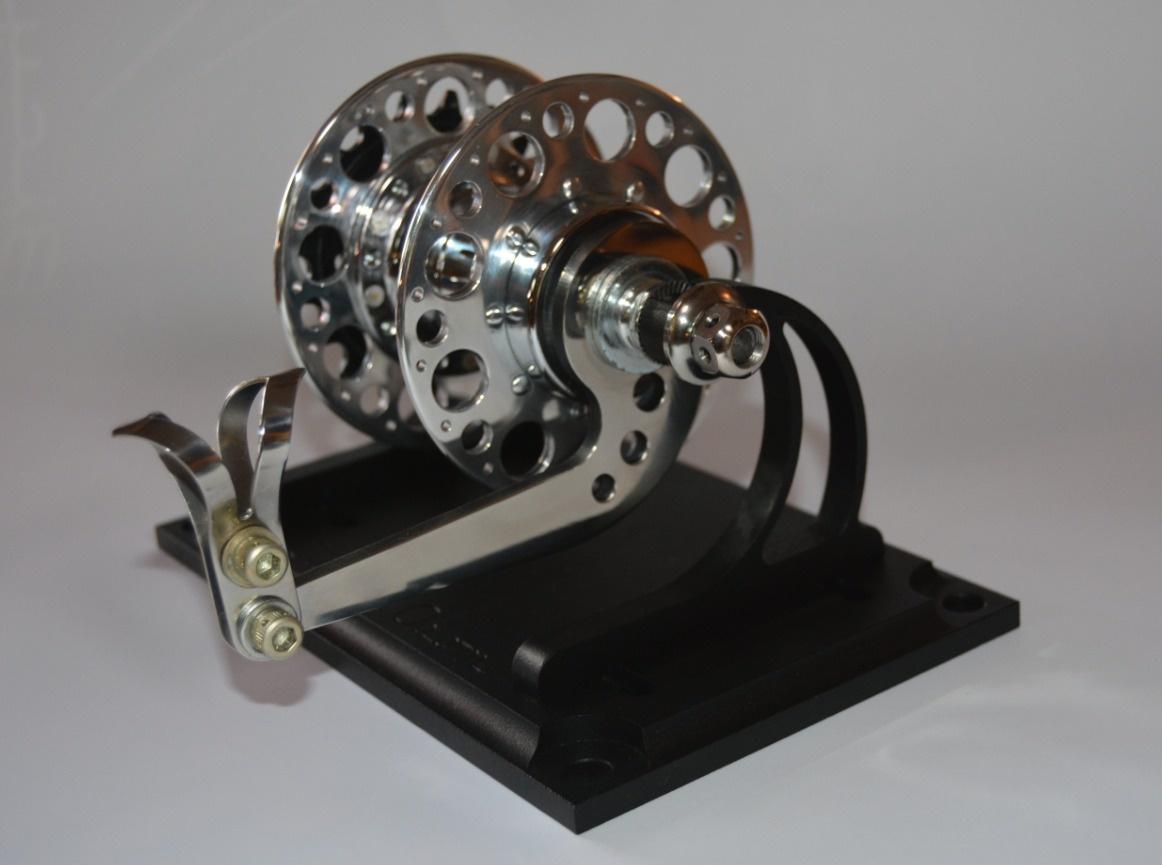
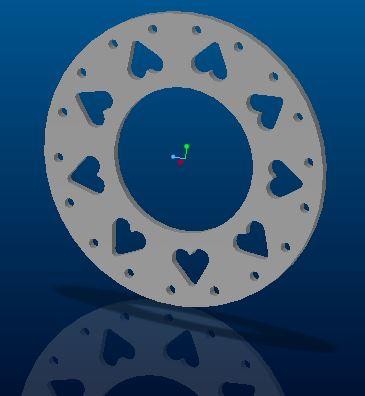
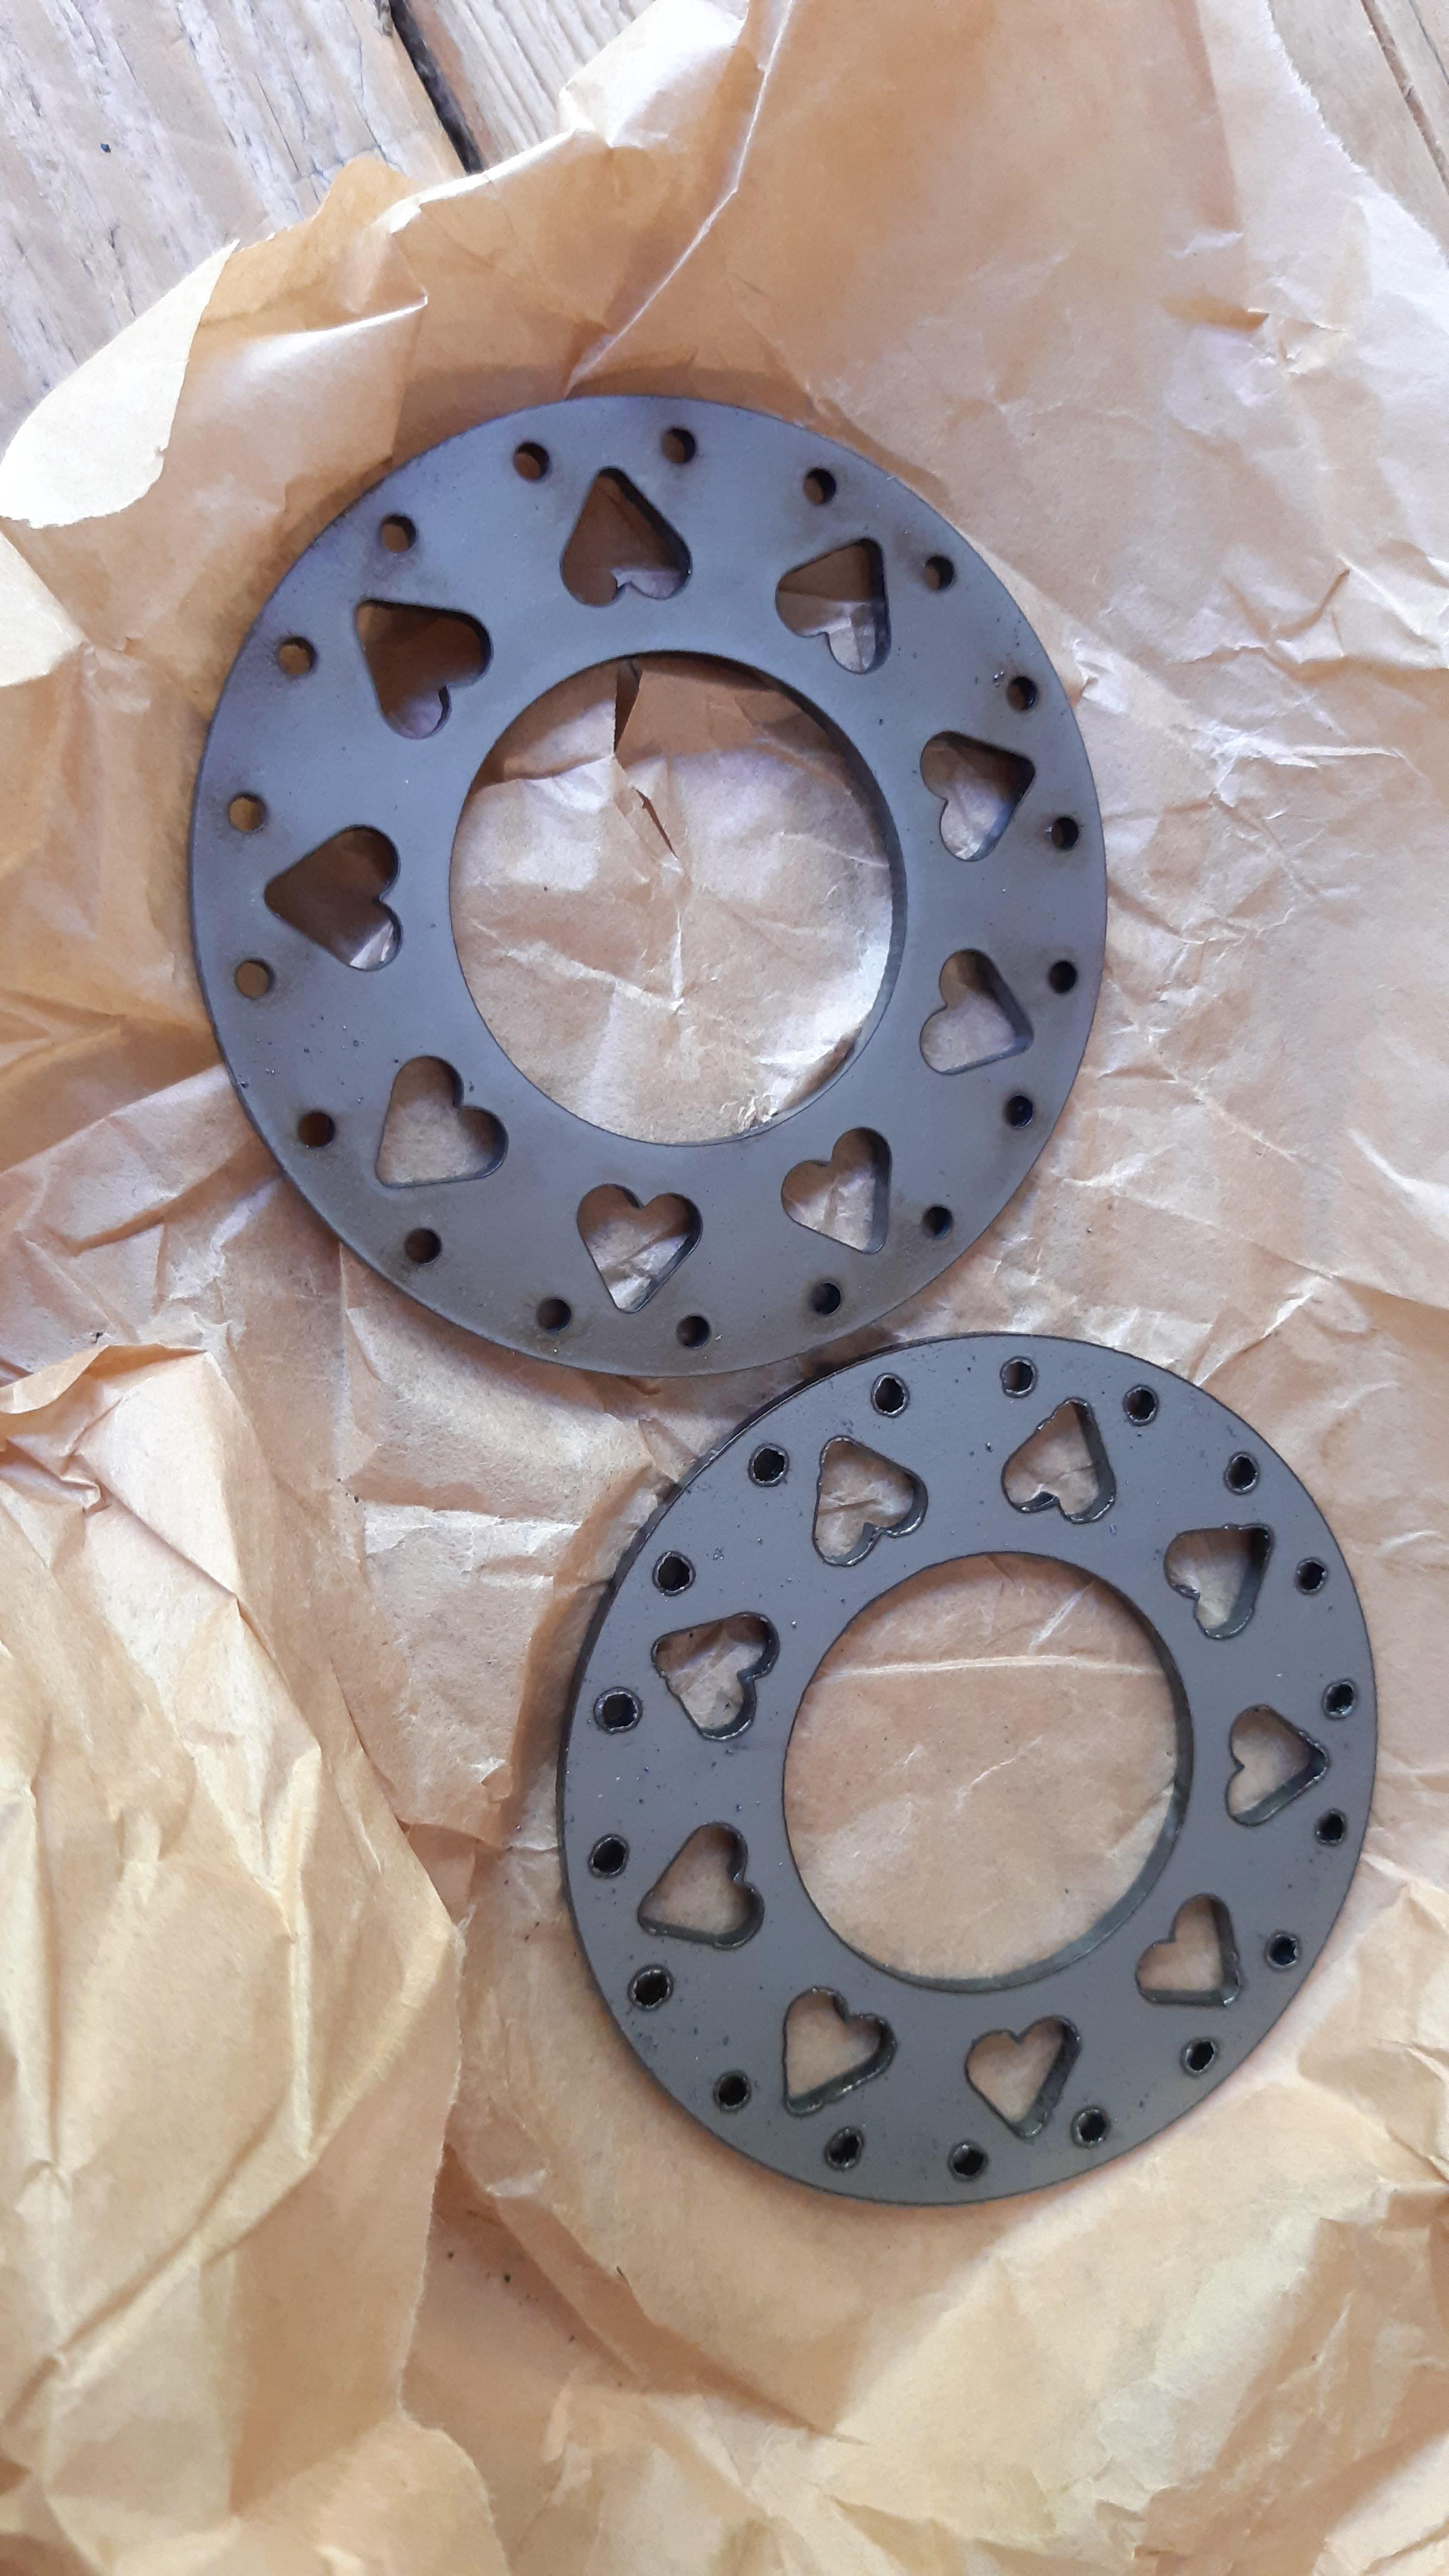
Pictures! Work in progress.
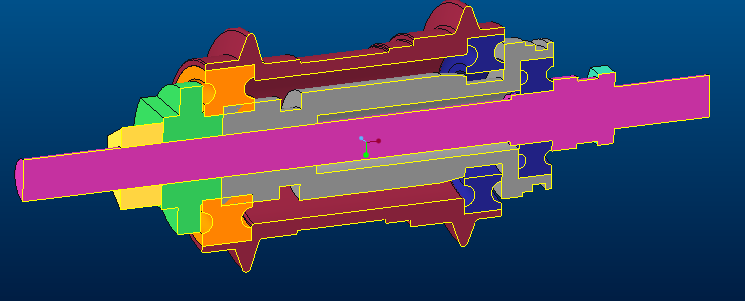
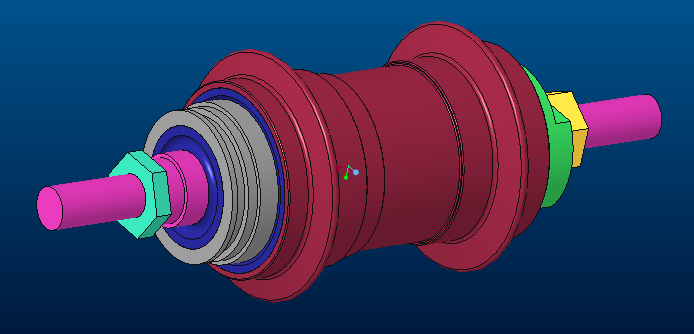
Still parts to be modeled and double-checked in above 3D CAD model.
My goals; to have fun, try a build a almost indestructable hub and share it for the people interested.
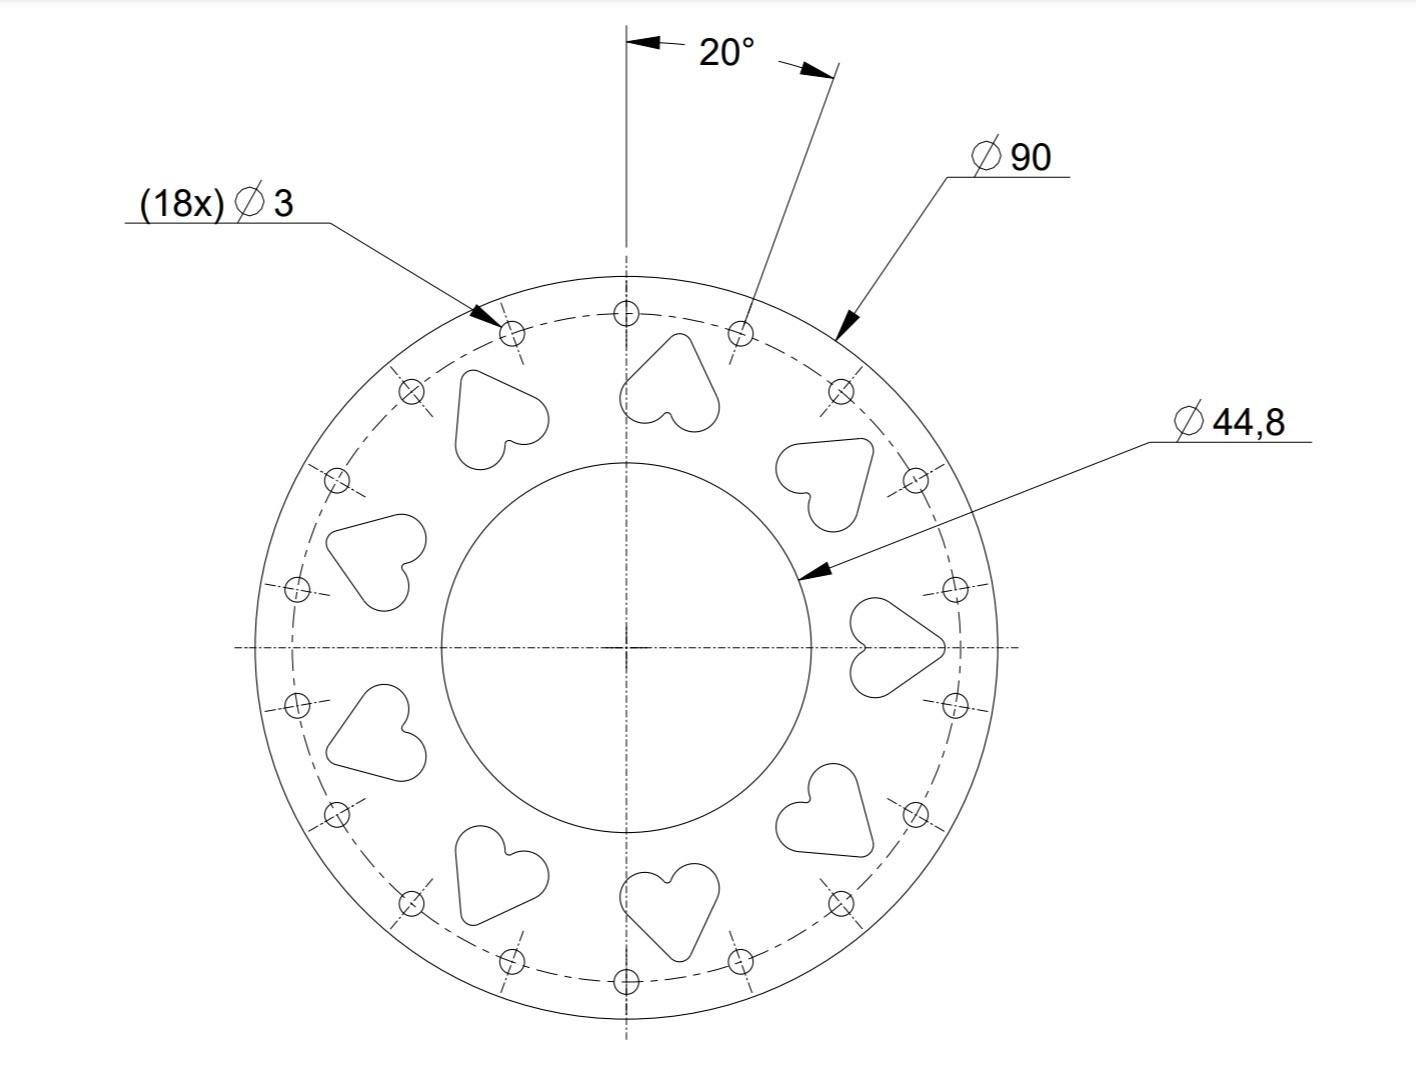
If interested, I can share all measurements, drawings, tolerances and steps so you can build this as wel
I love these junk projects.
Question:
Is it wise to powdercoat a hub? I am afraid for: 1: Spokes won't fit through the holes. 2: The coating will break under the pressure, like when you tighten a bolt on paint, the paint will eventually break.
I recognize my natural cycles like the seasons. They come and pass, just like this subject.
Alright, a while ago I made a design for a Coasterbrake hub with a disc brake. I really enjoyed designing it. Unfortunately I did not fabricate the hub due to time, cost etcetera.
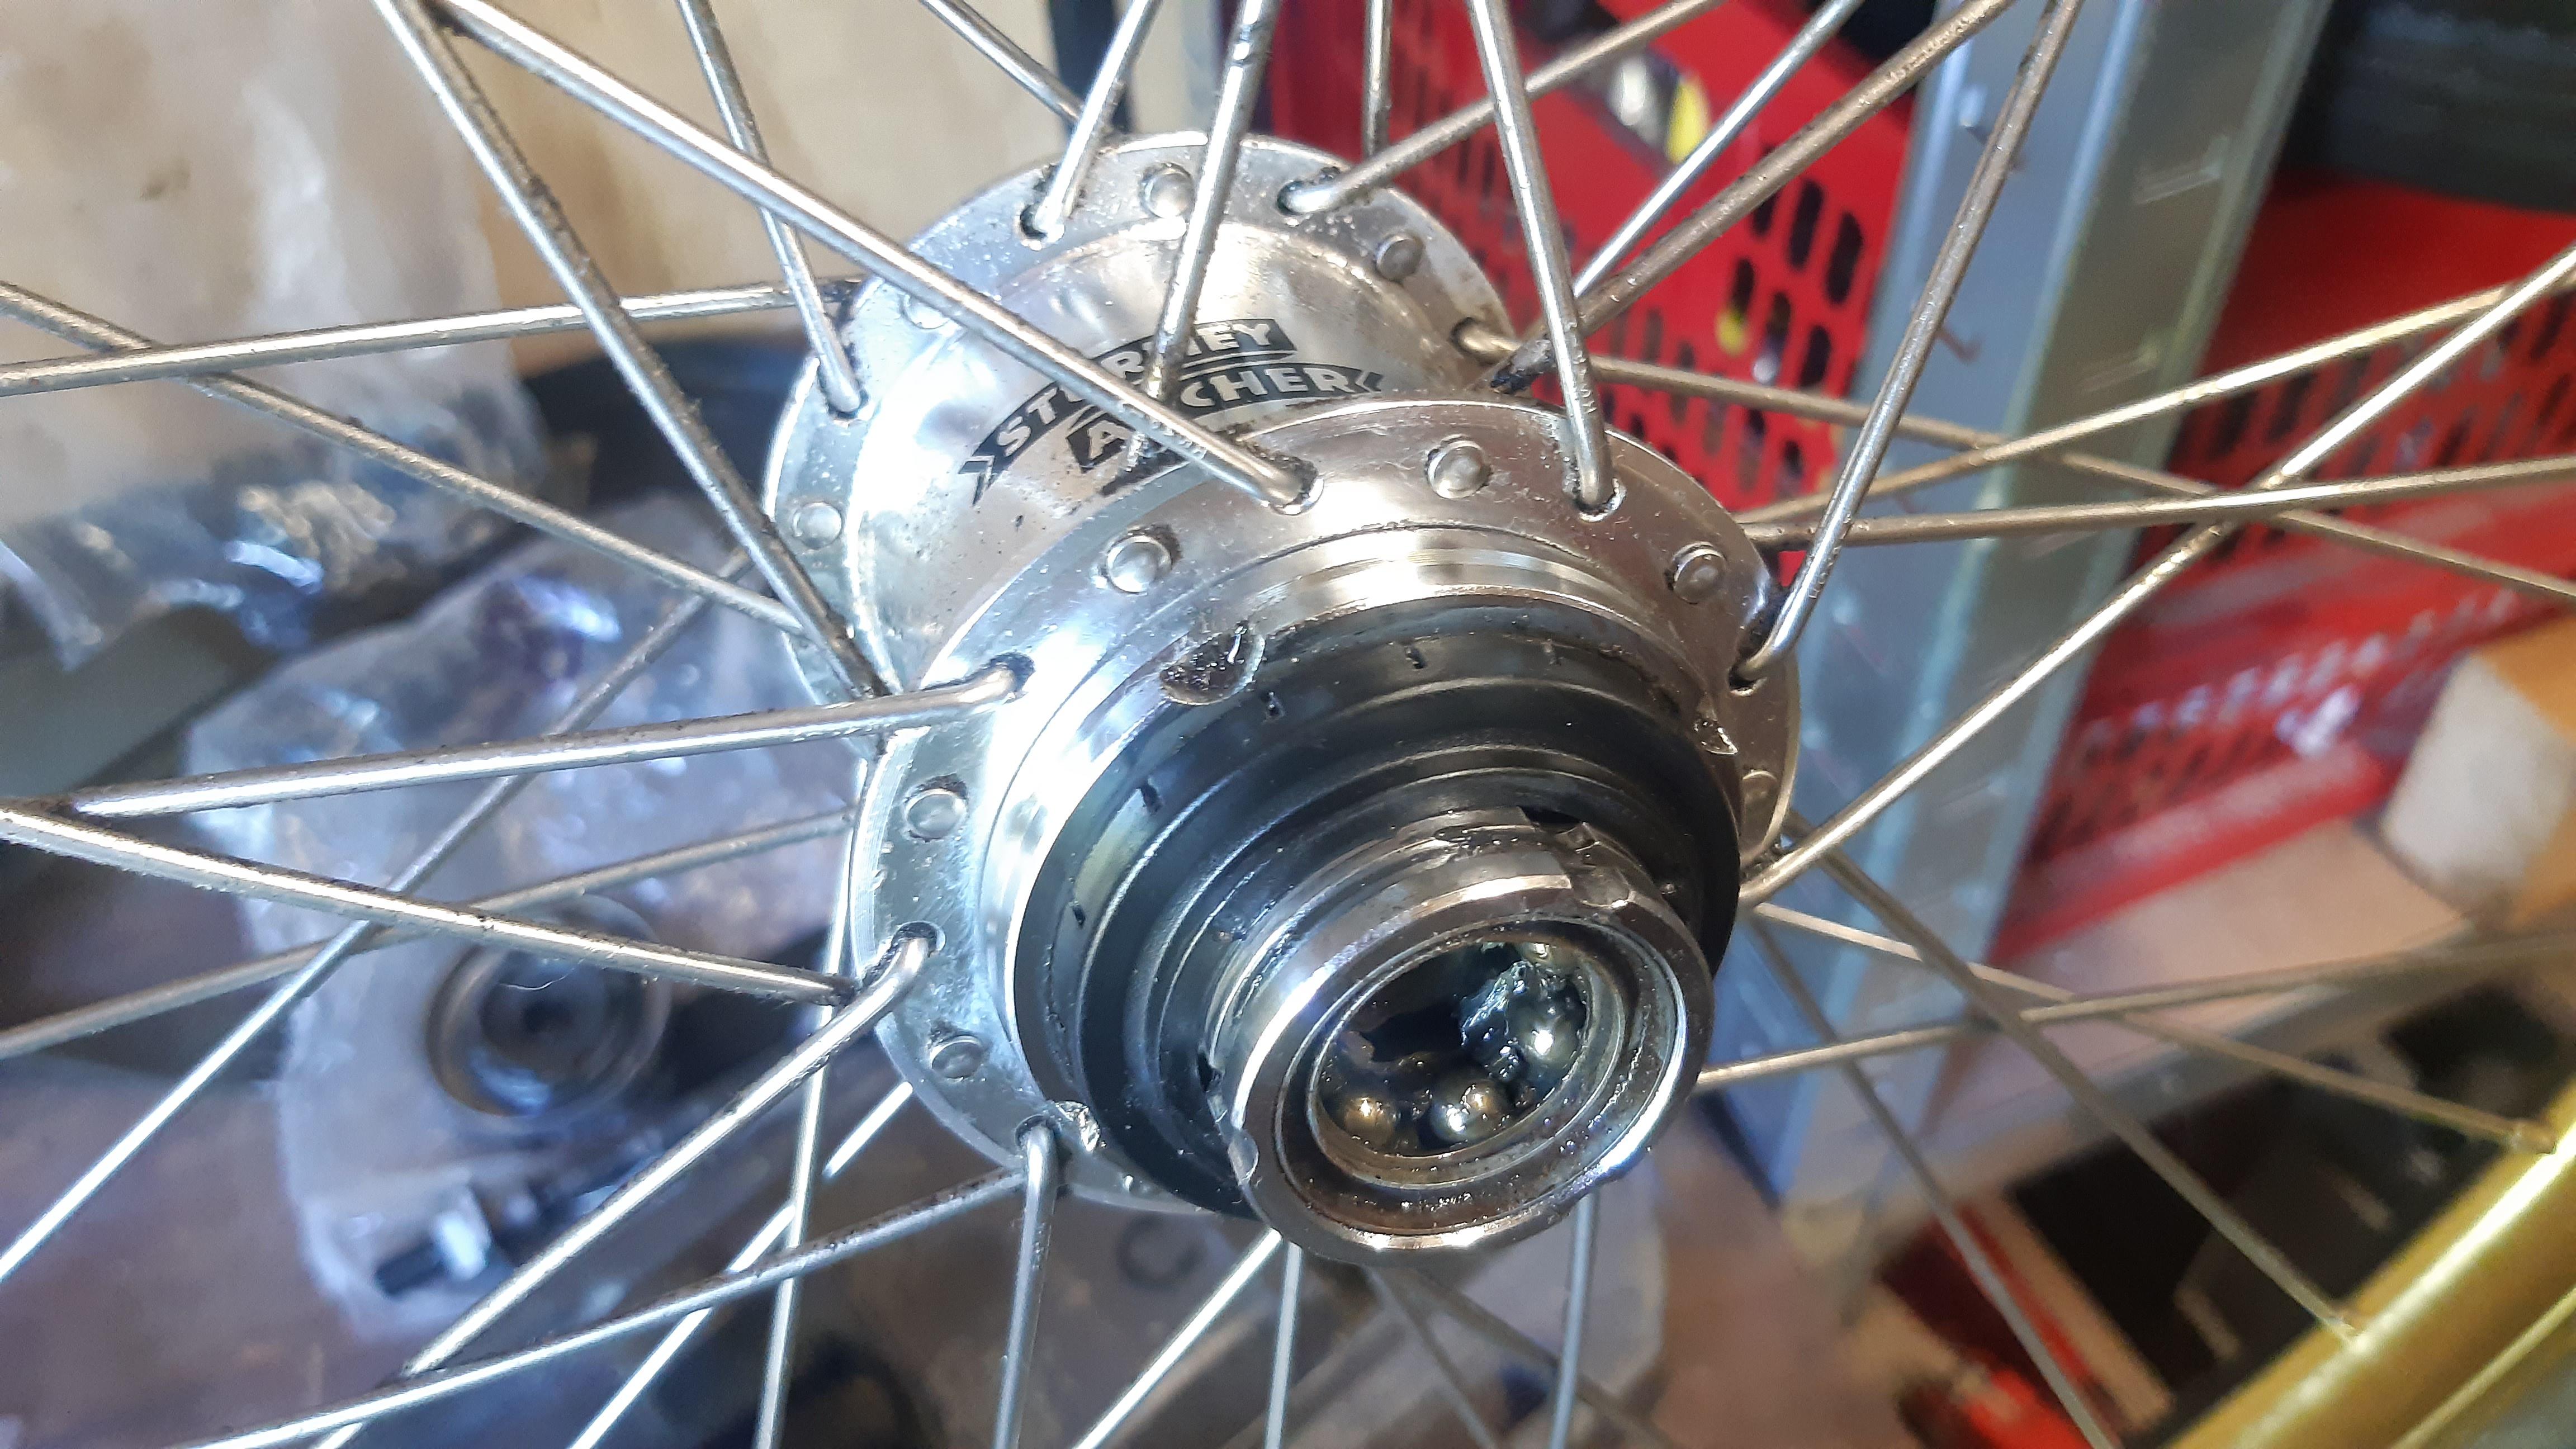
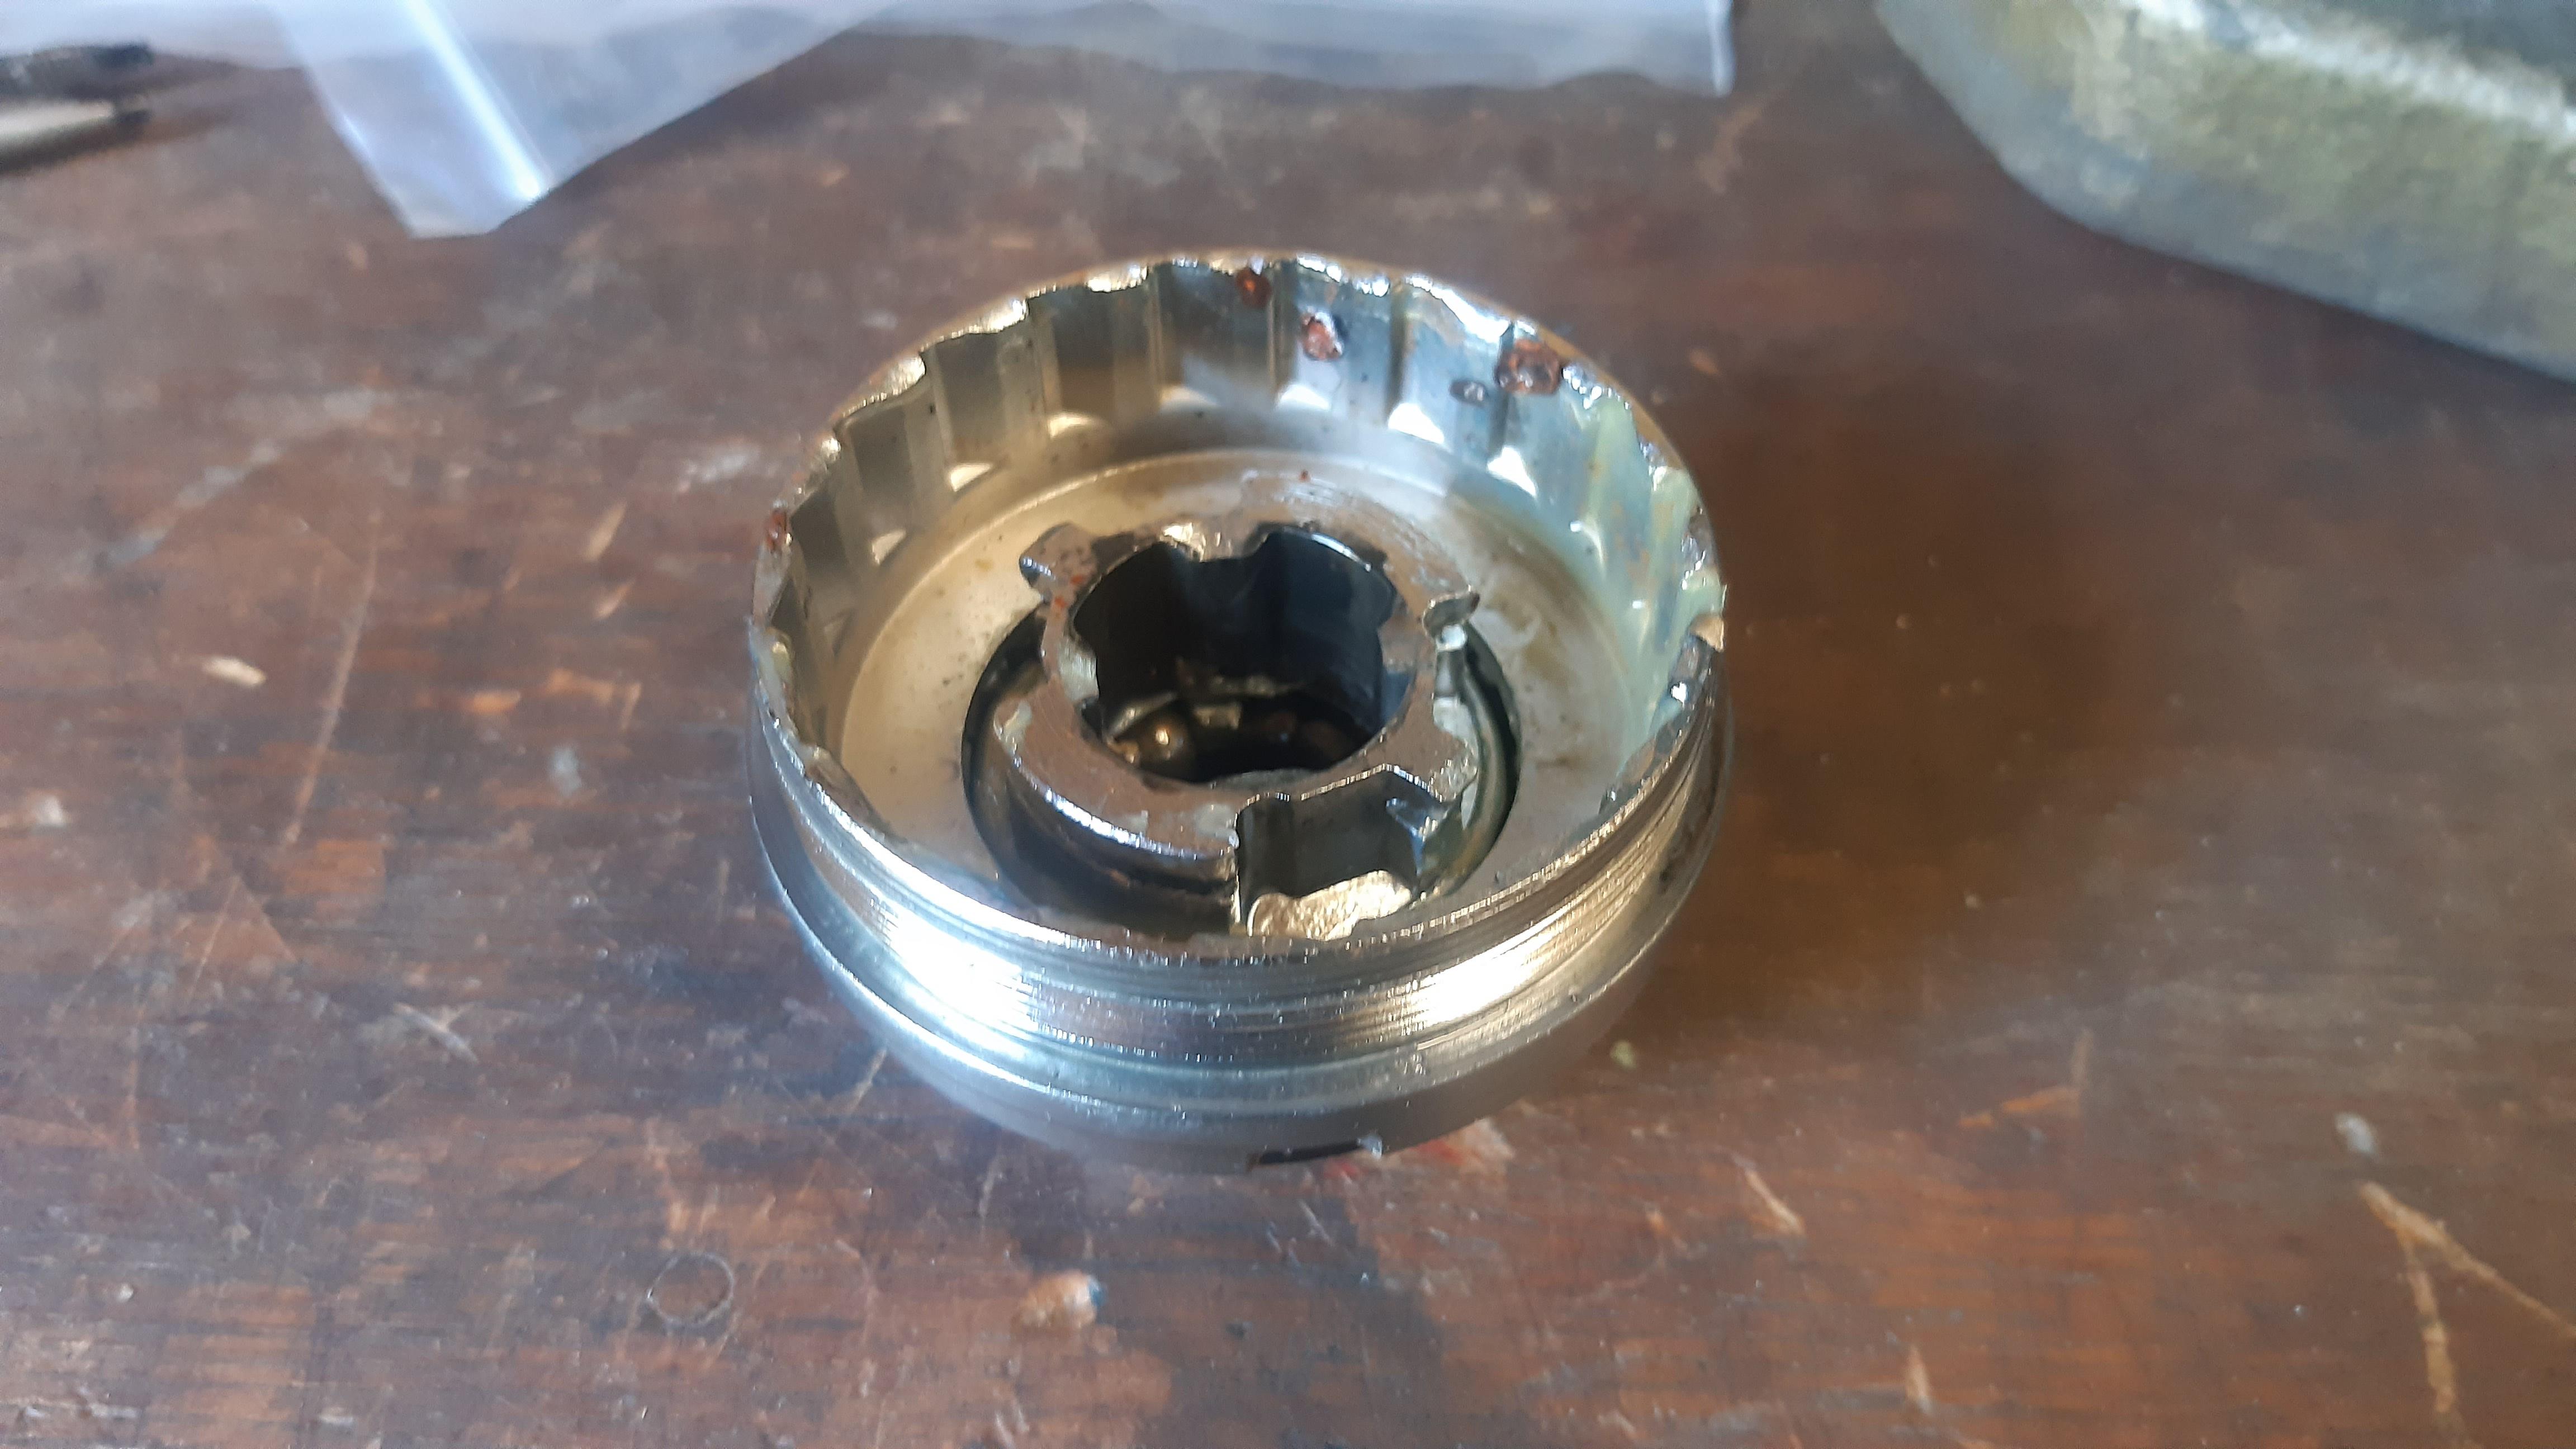
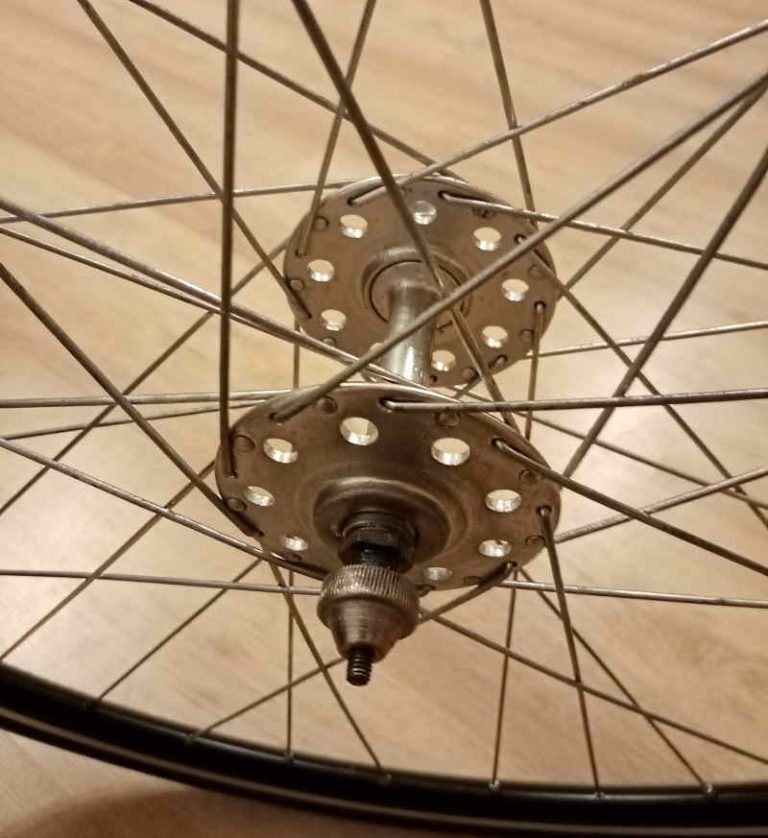
In the months after that, I picked up quite some parts that people tend to throw away: Shimano CB-E110, Velosteel and Favorit (basically the same) shells, drivers and more parts.
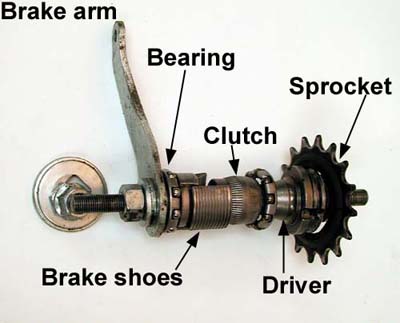
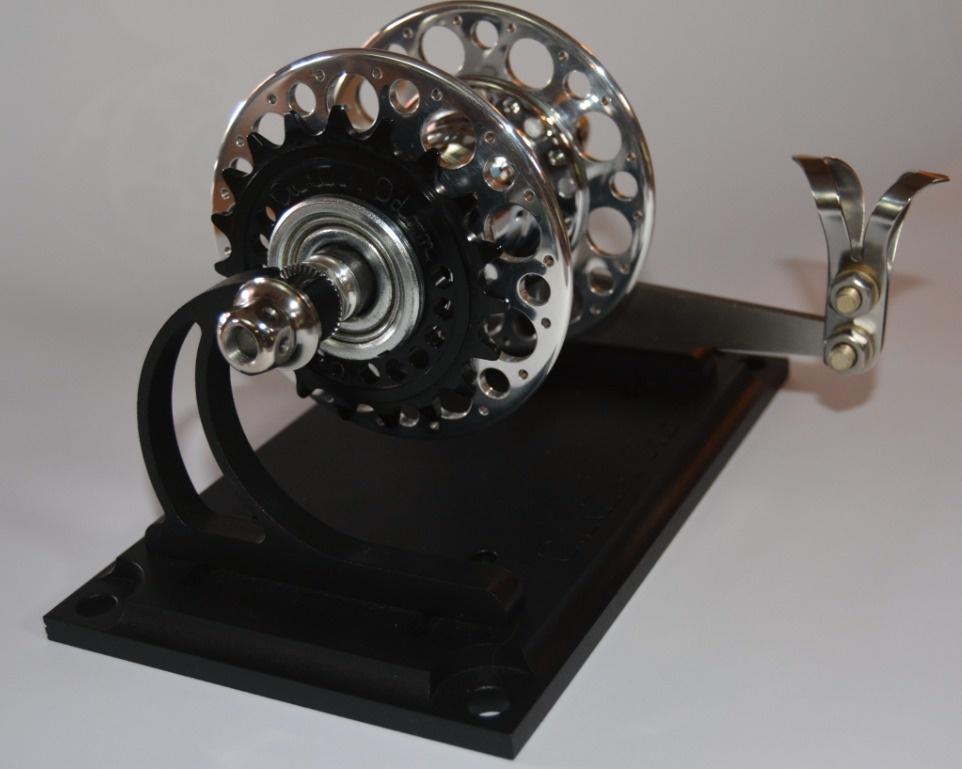
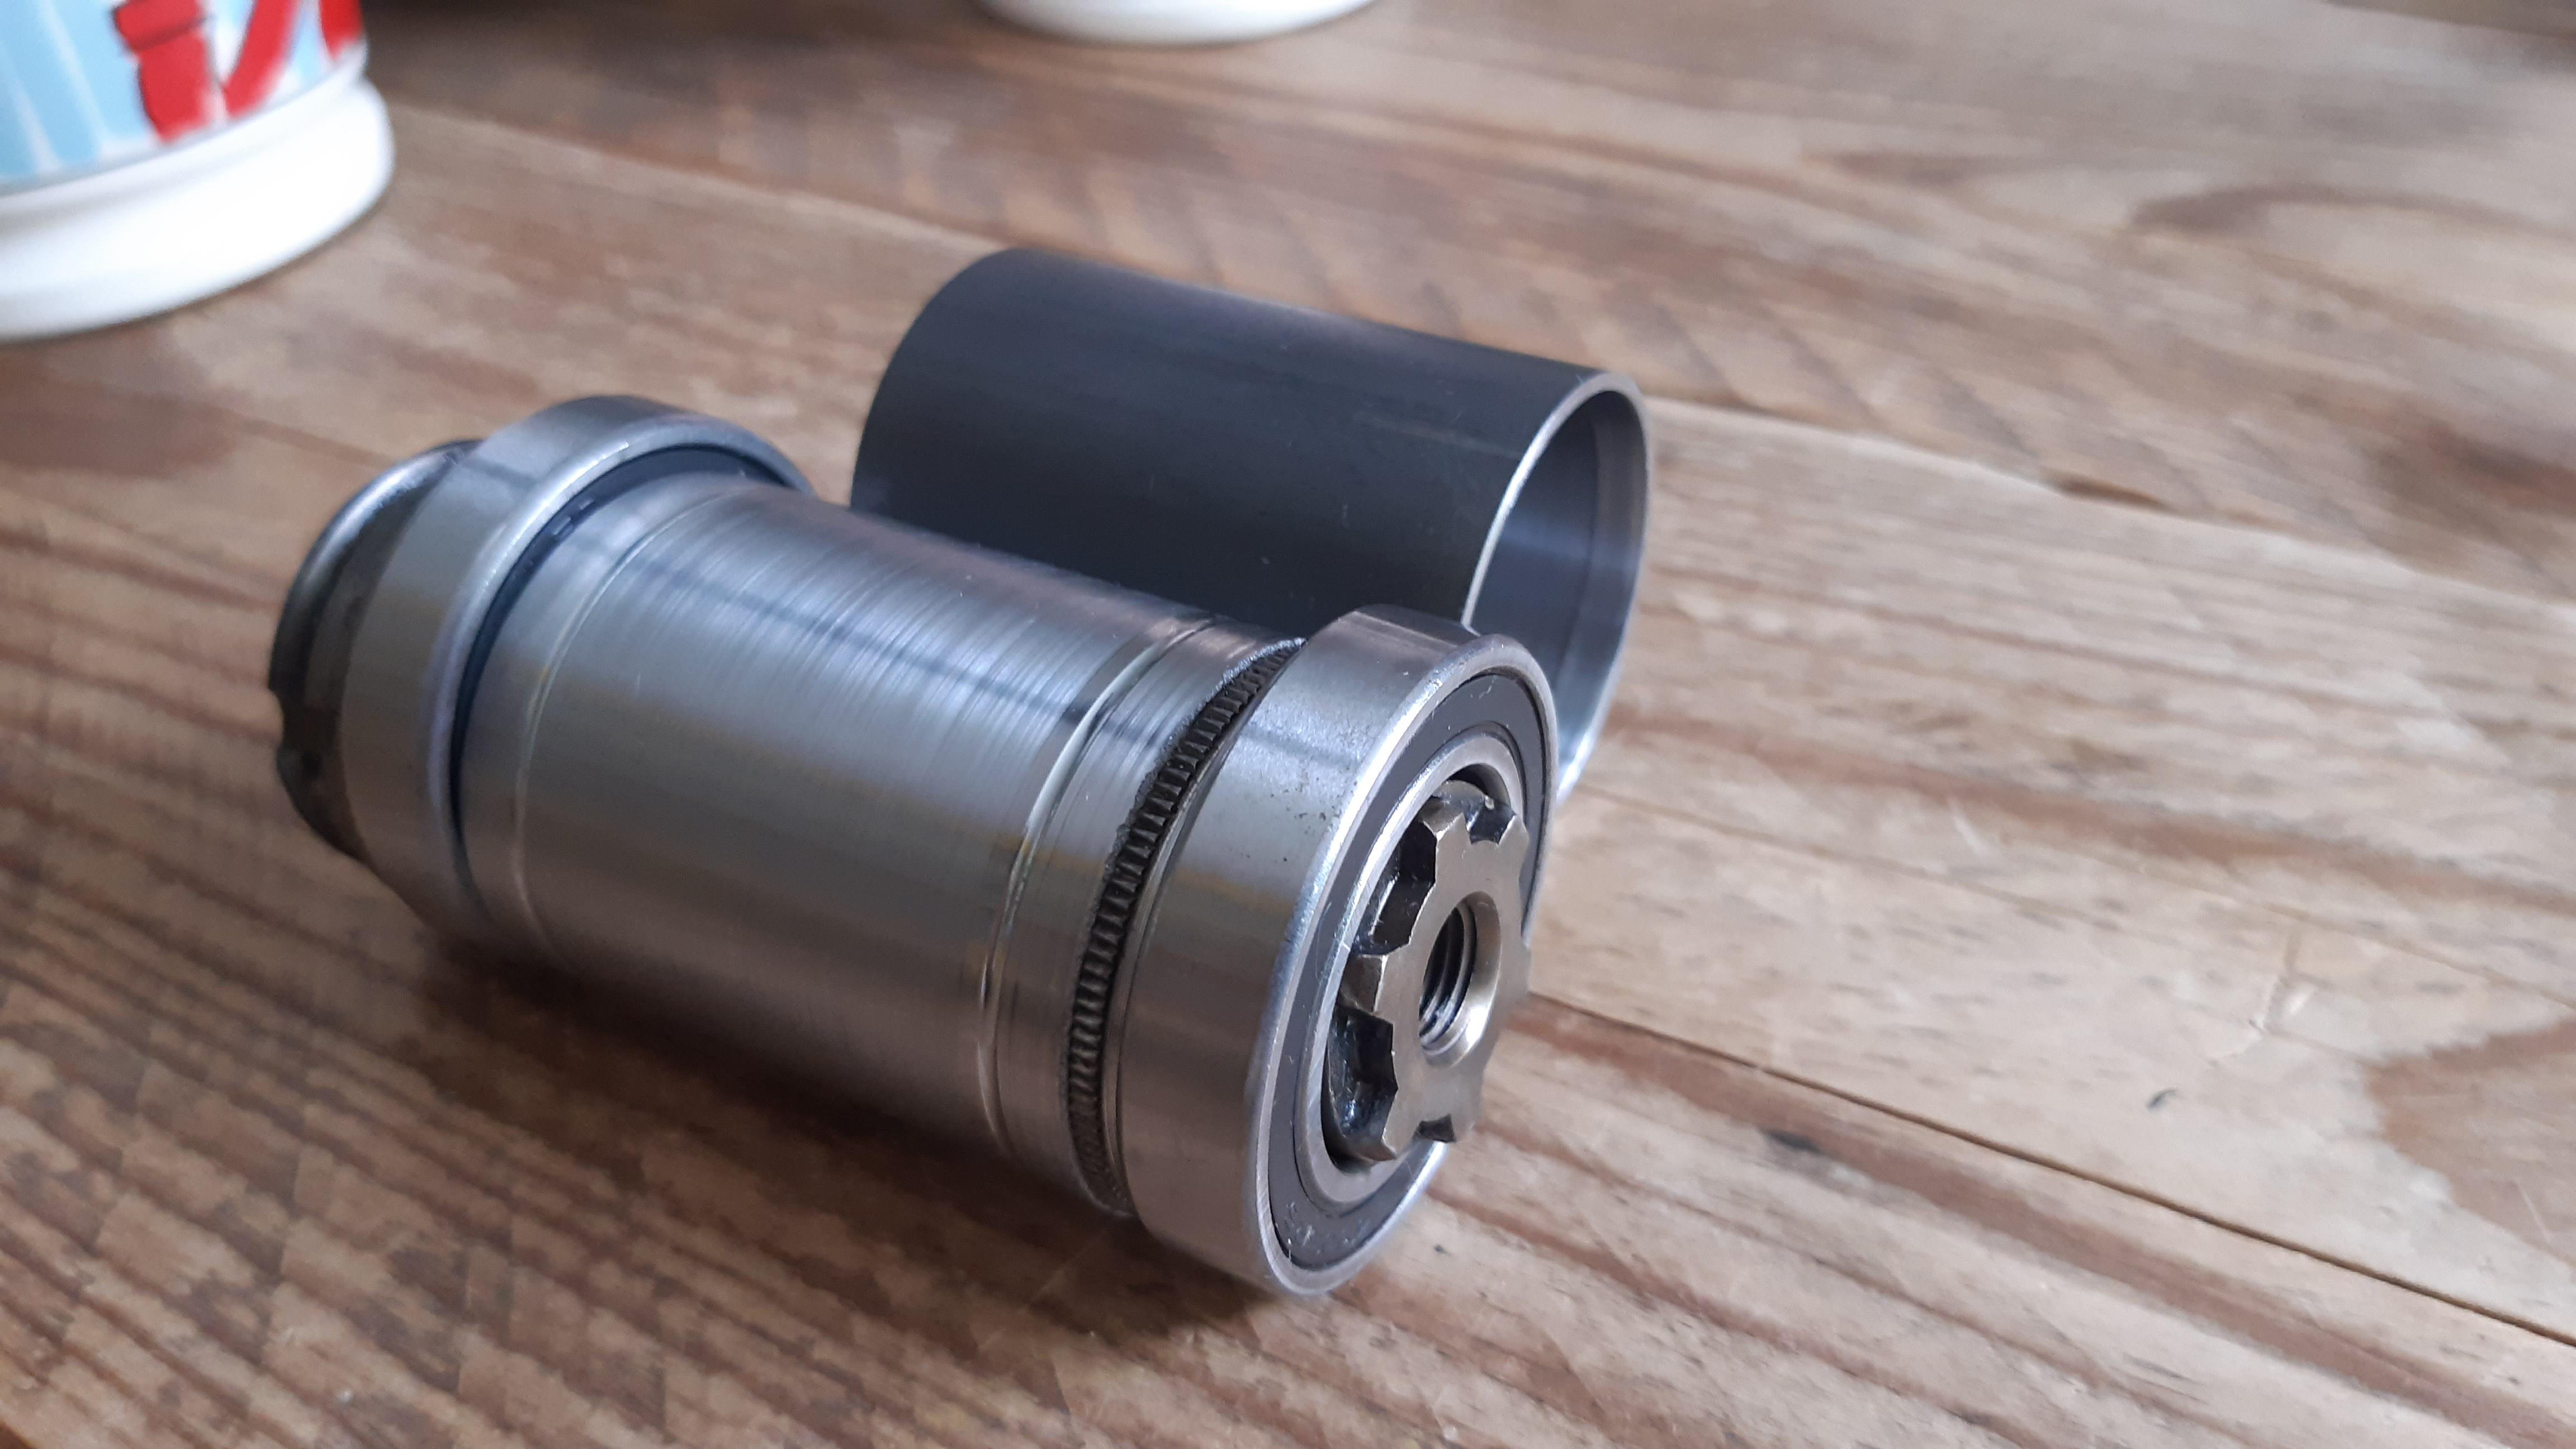
I decided to combine these two types of hubs:
- Shimano CB-E110 Guts
- Favorit/Velosteel shell
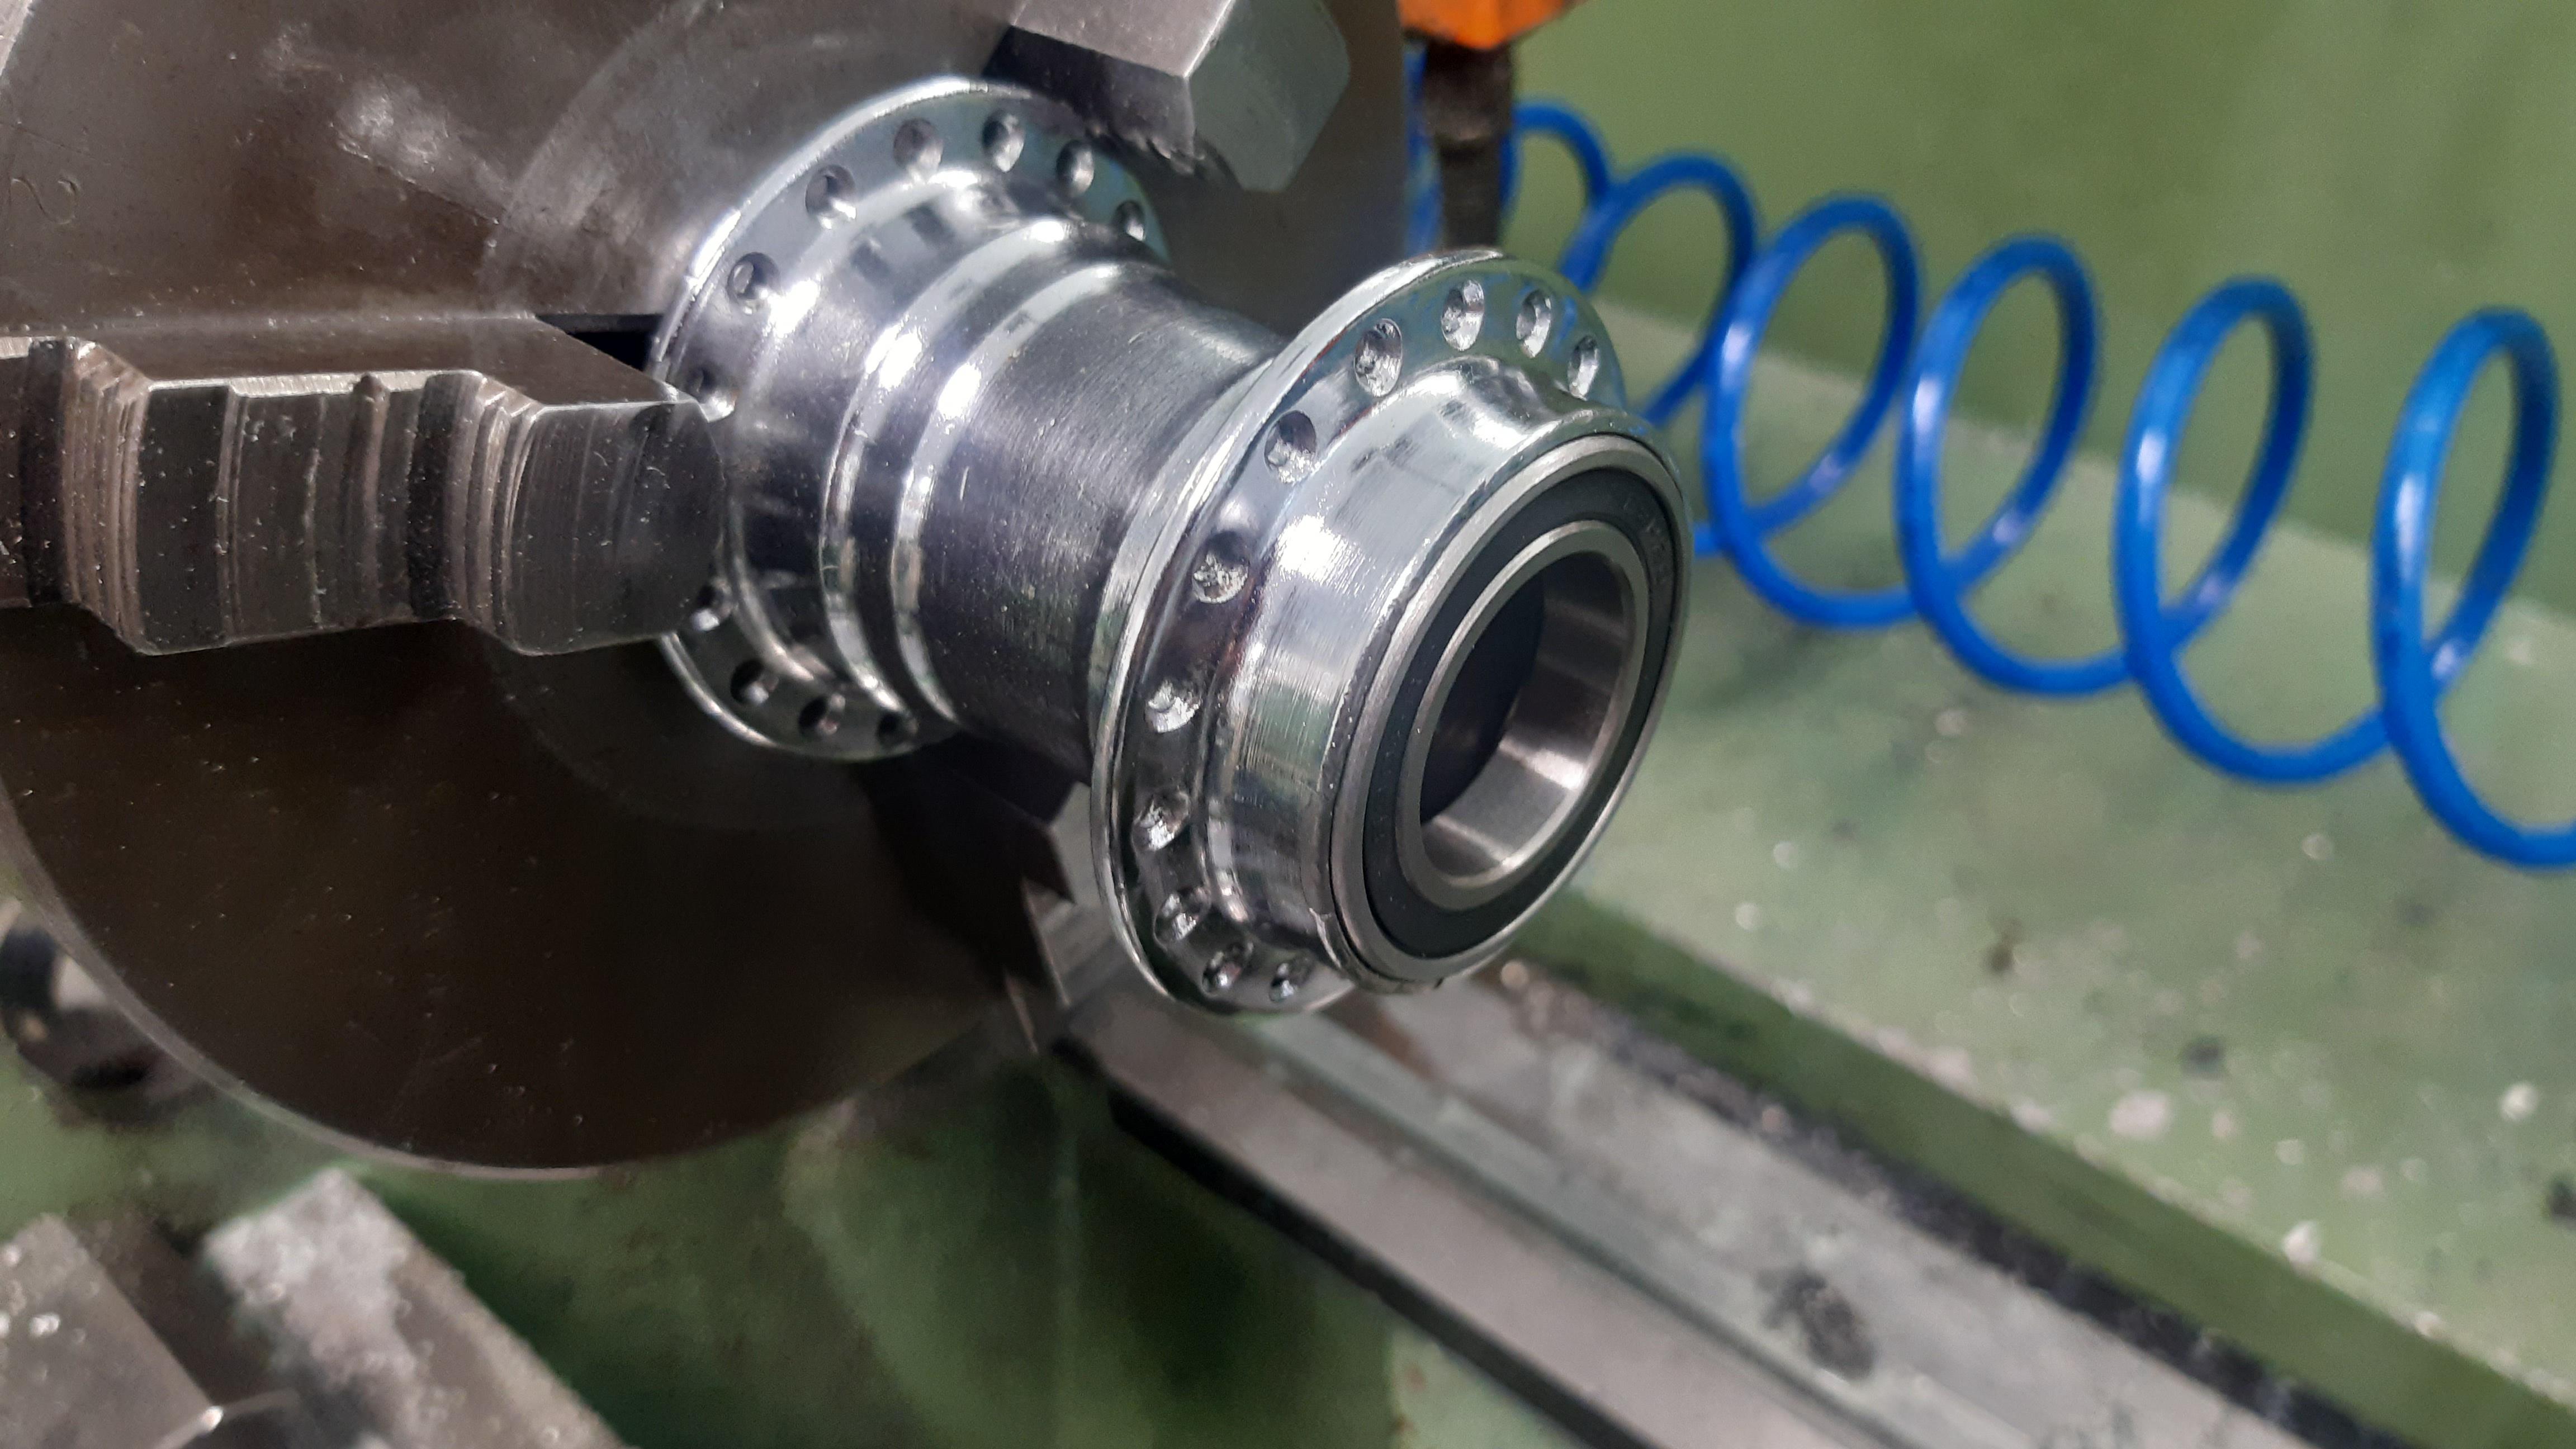
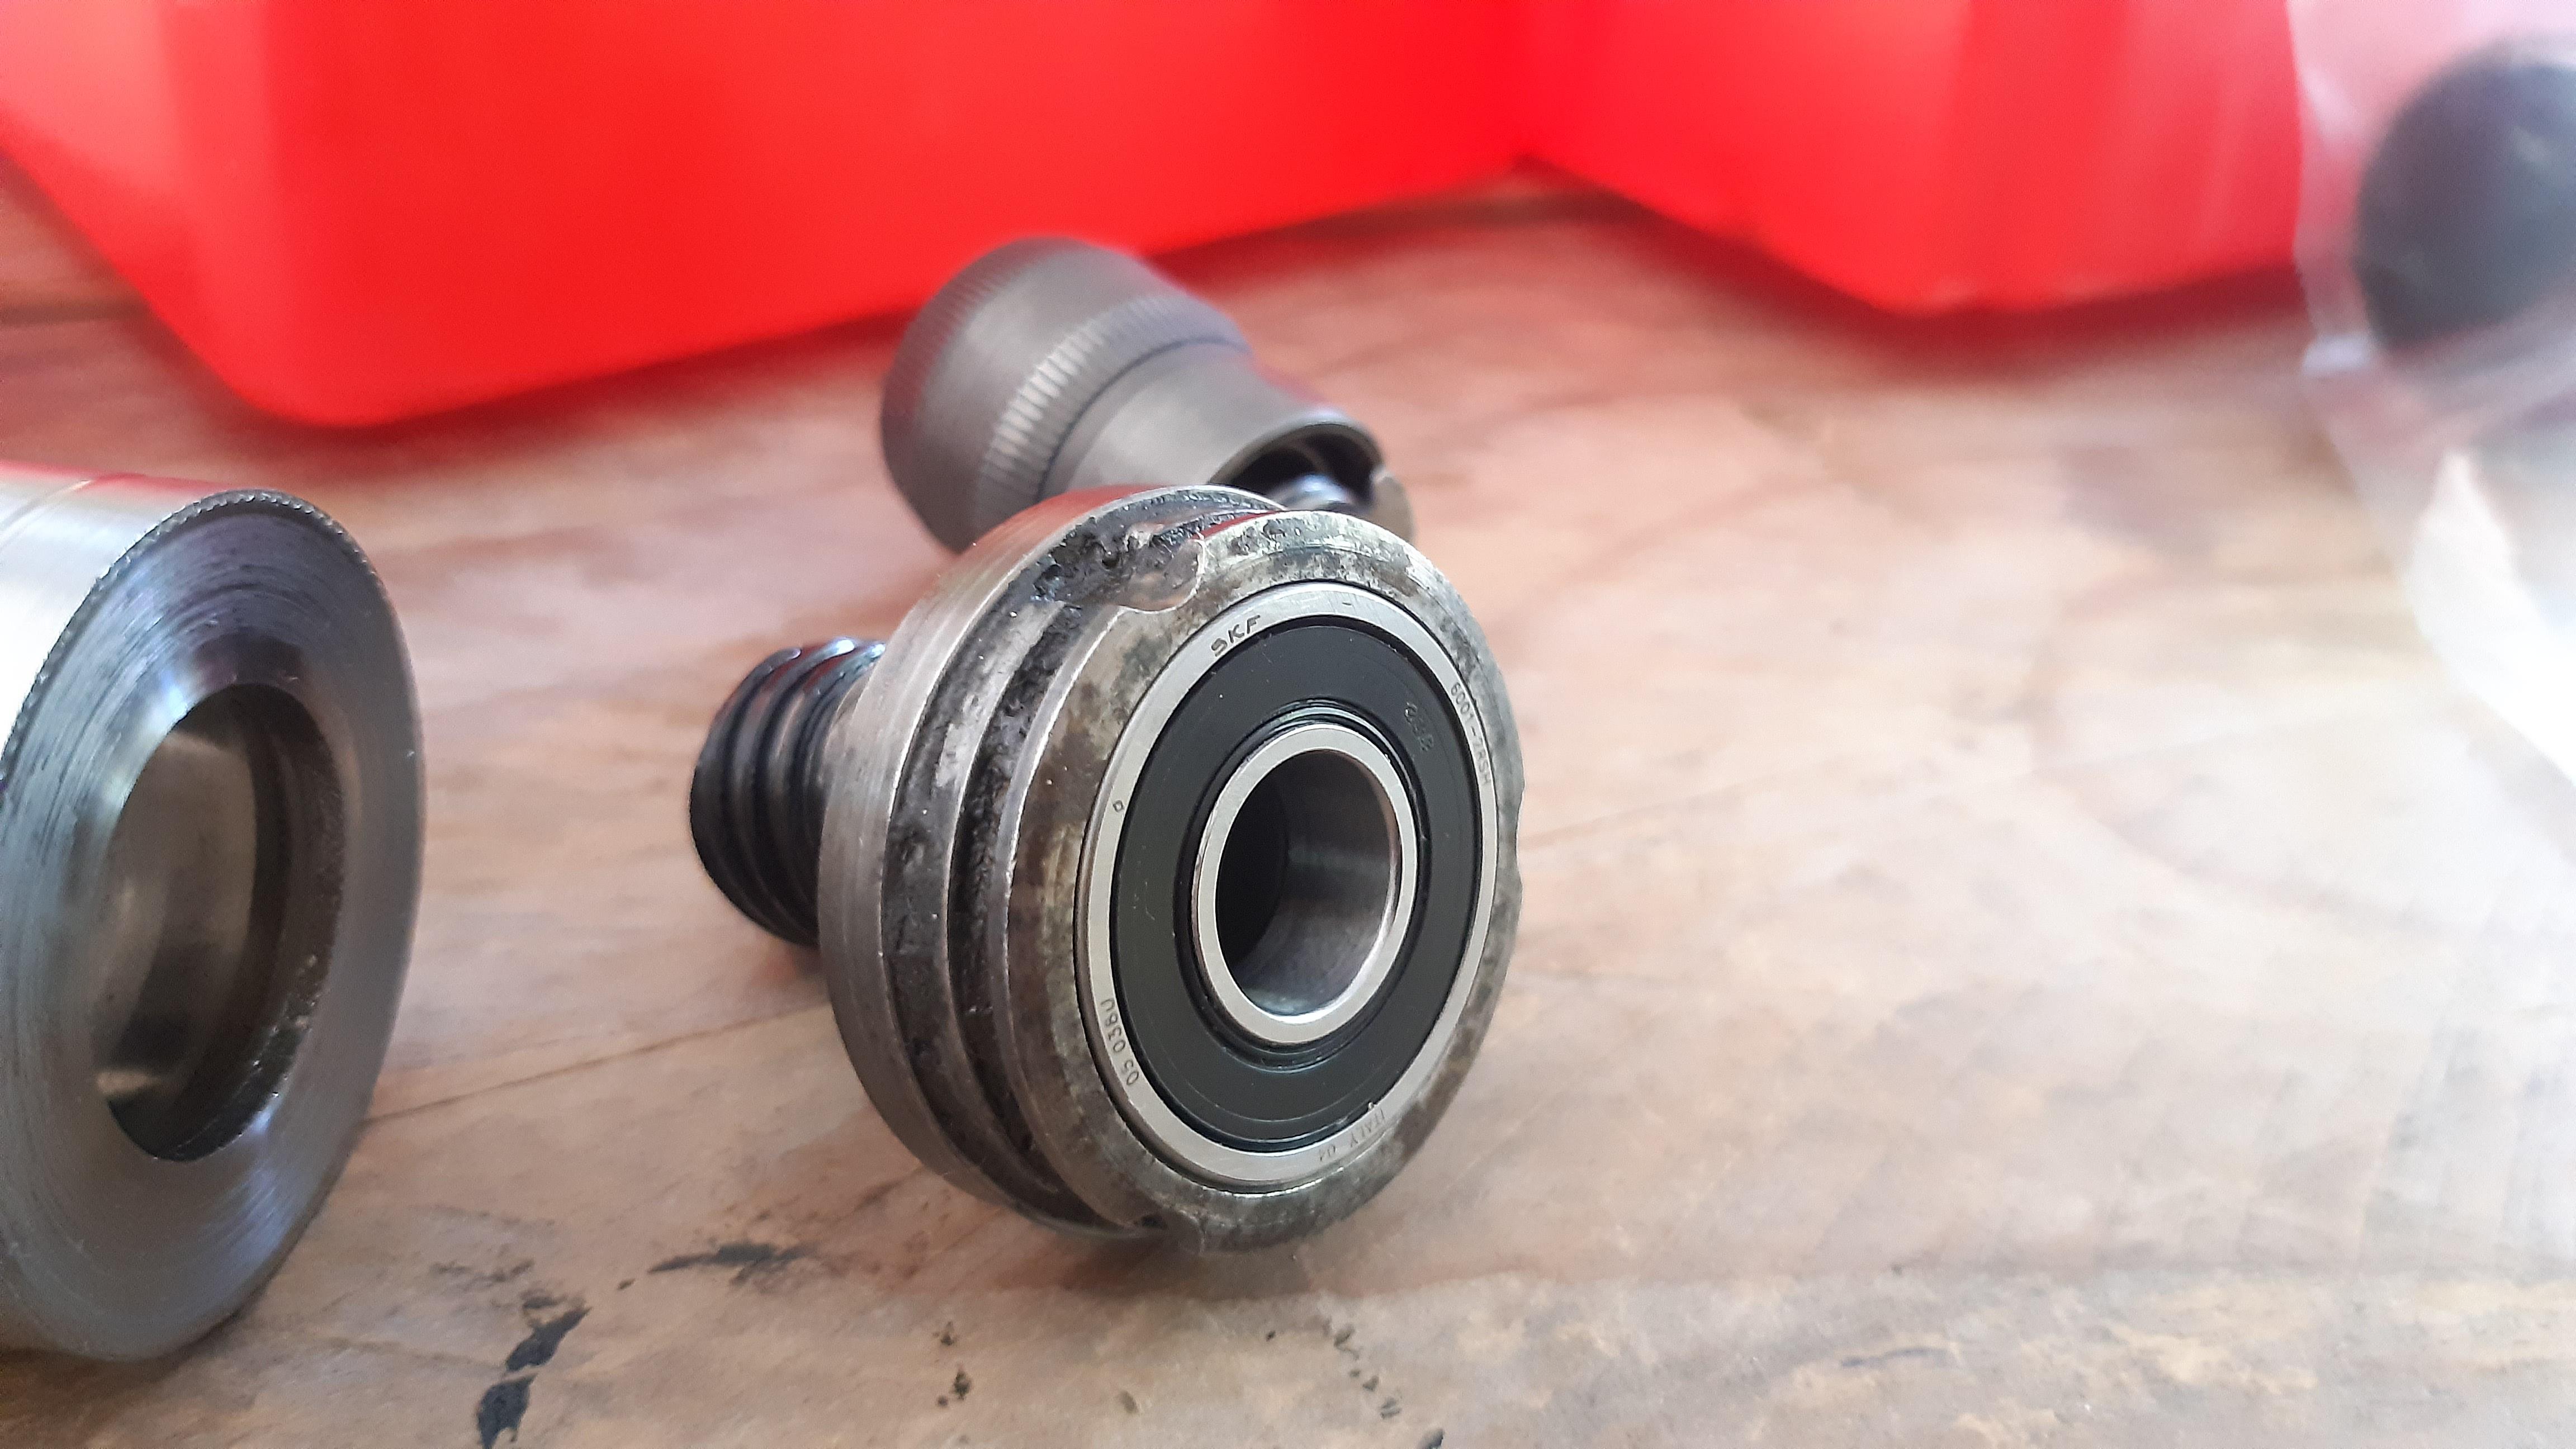
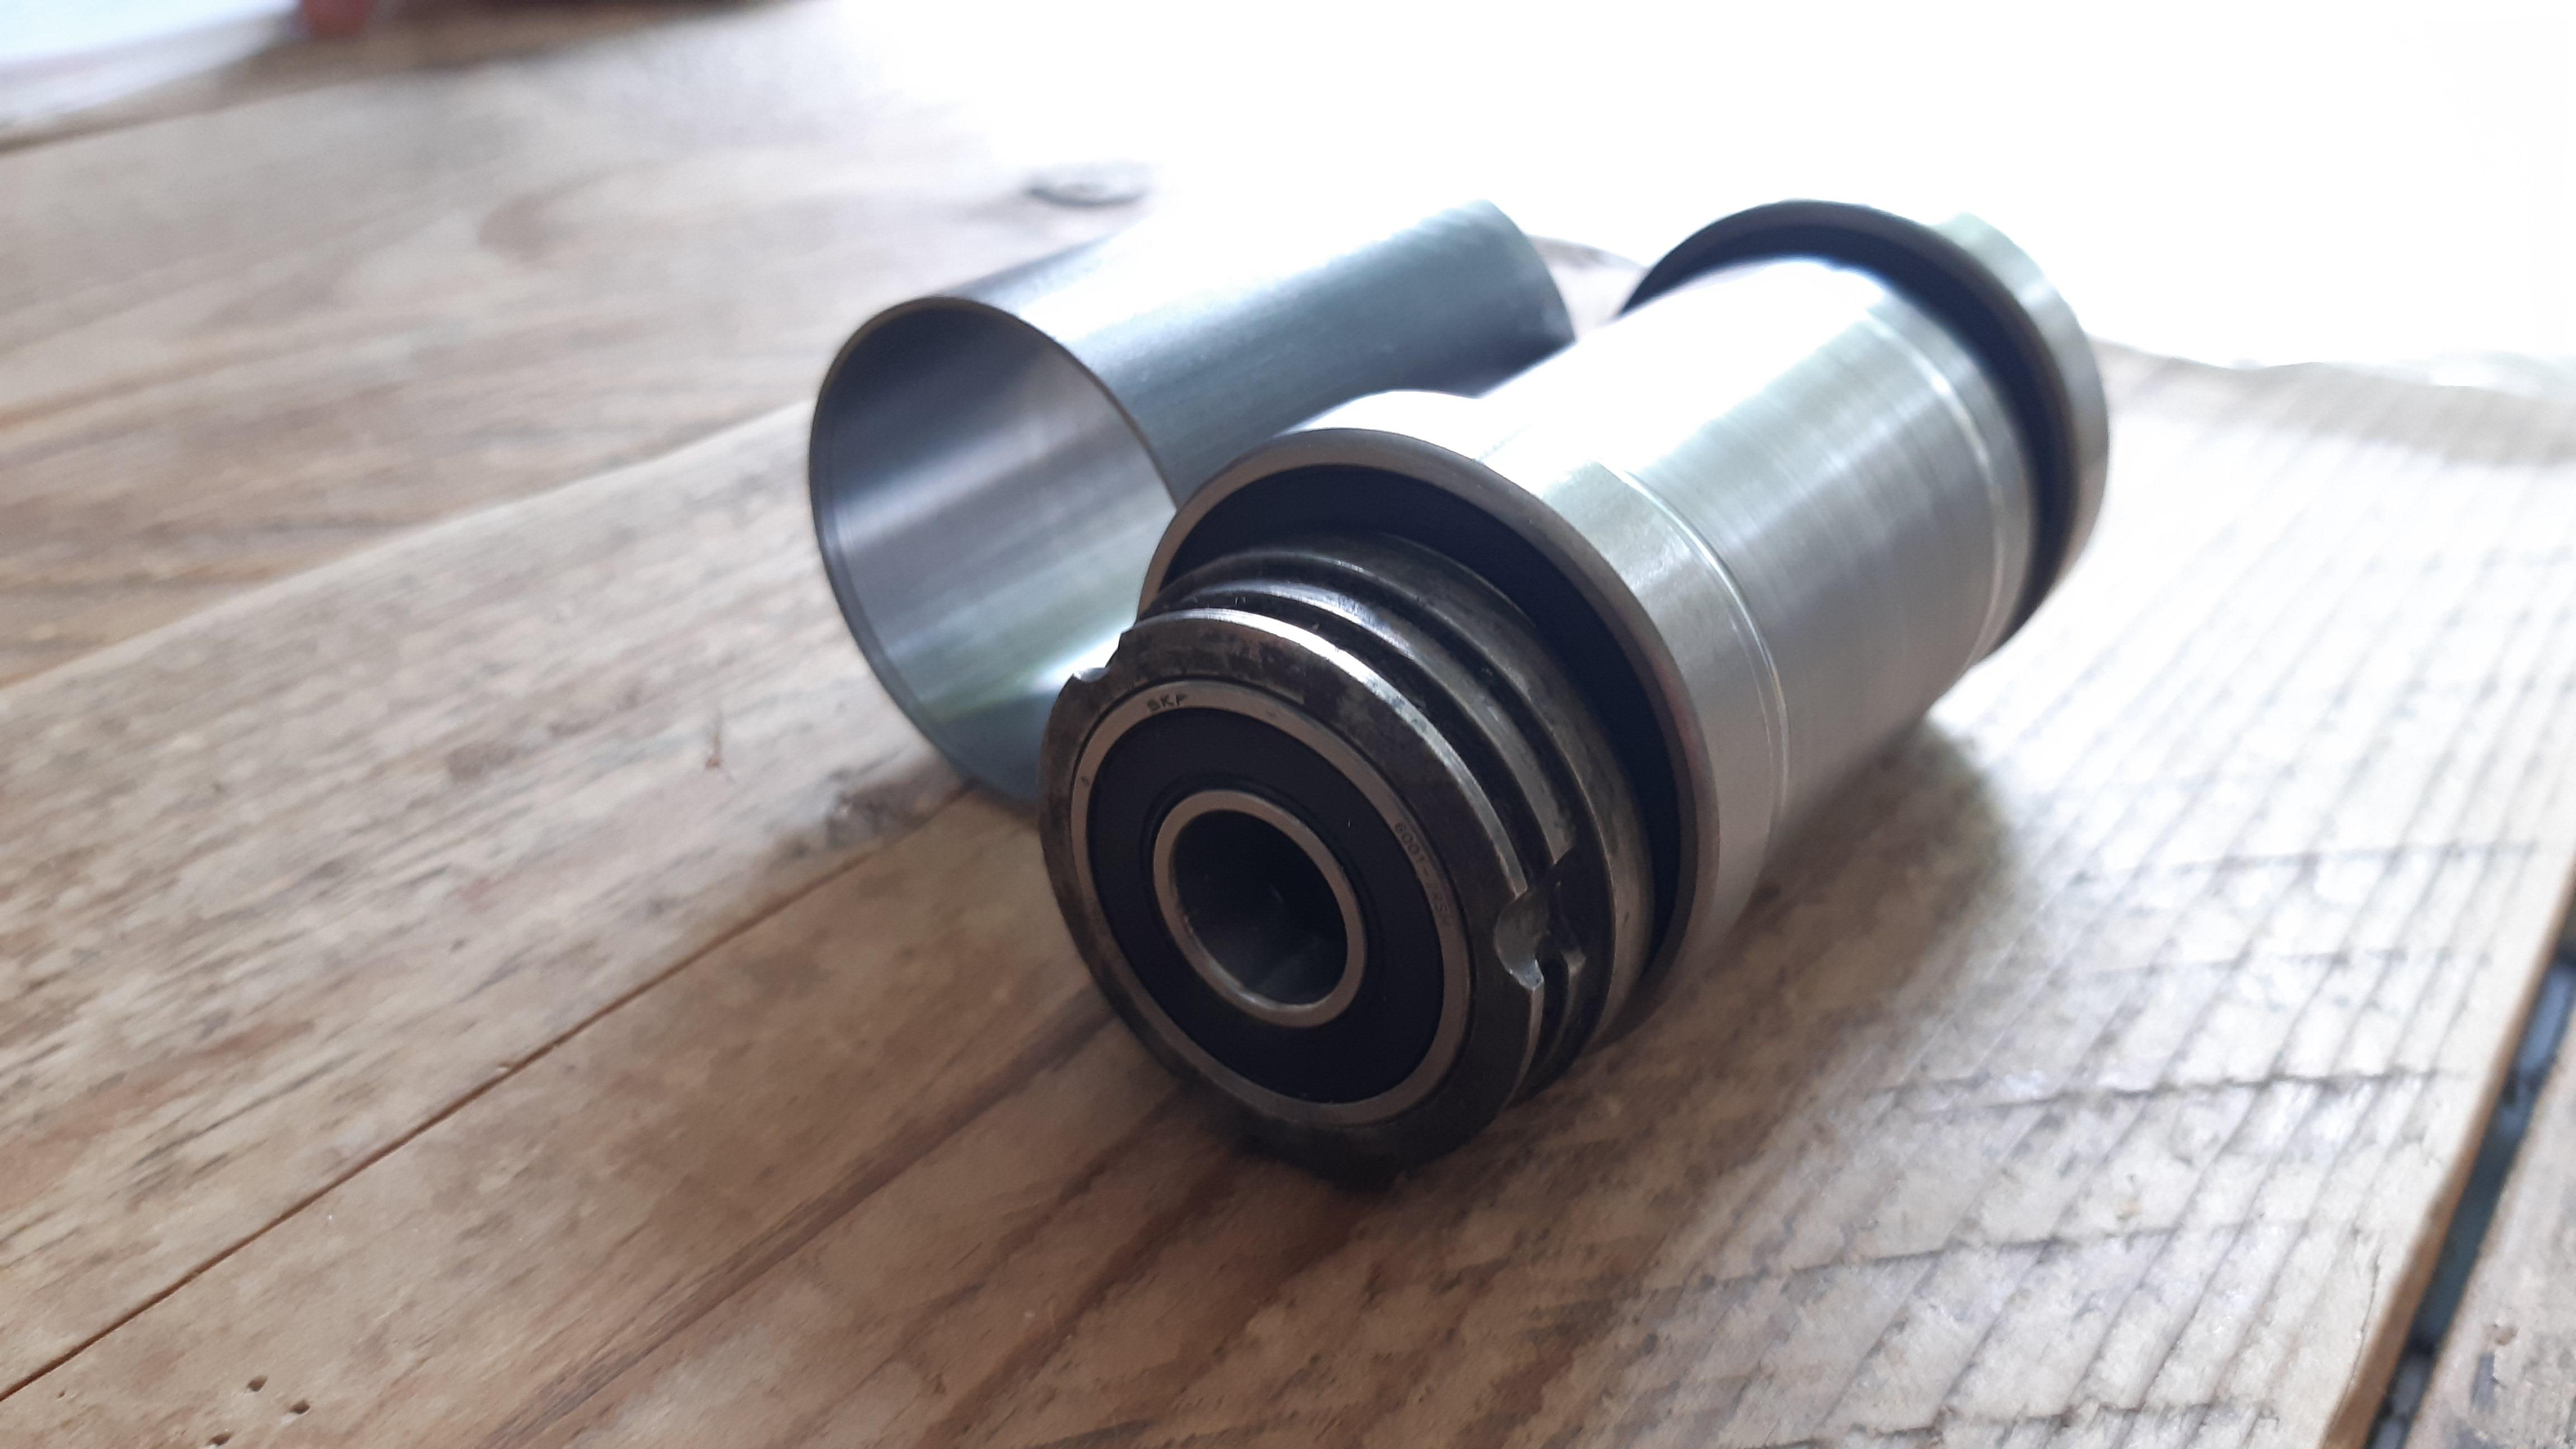
Oh yeah, industrial sealed bearings
I remember industrial sealed bearing lasting a very long time on bicycles.
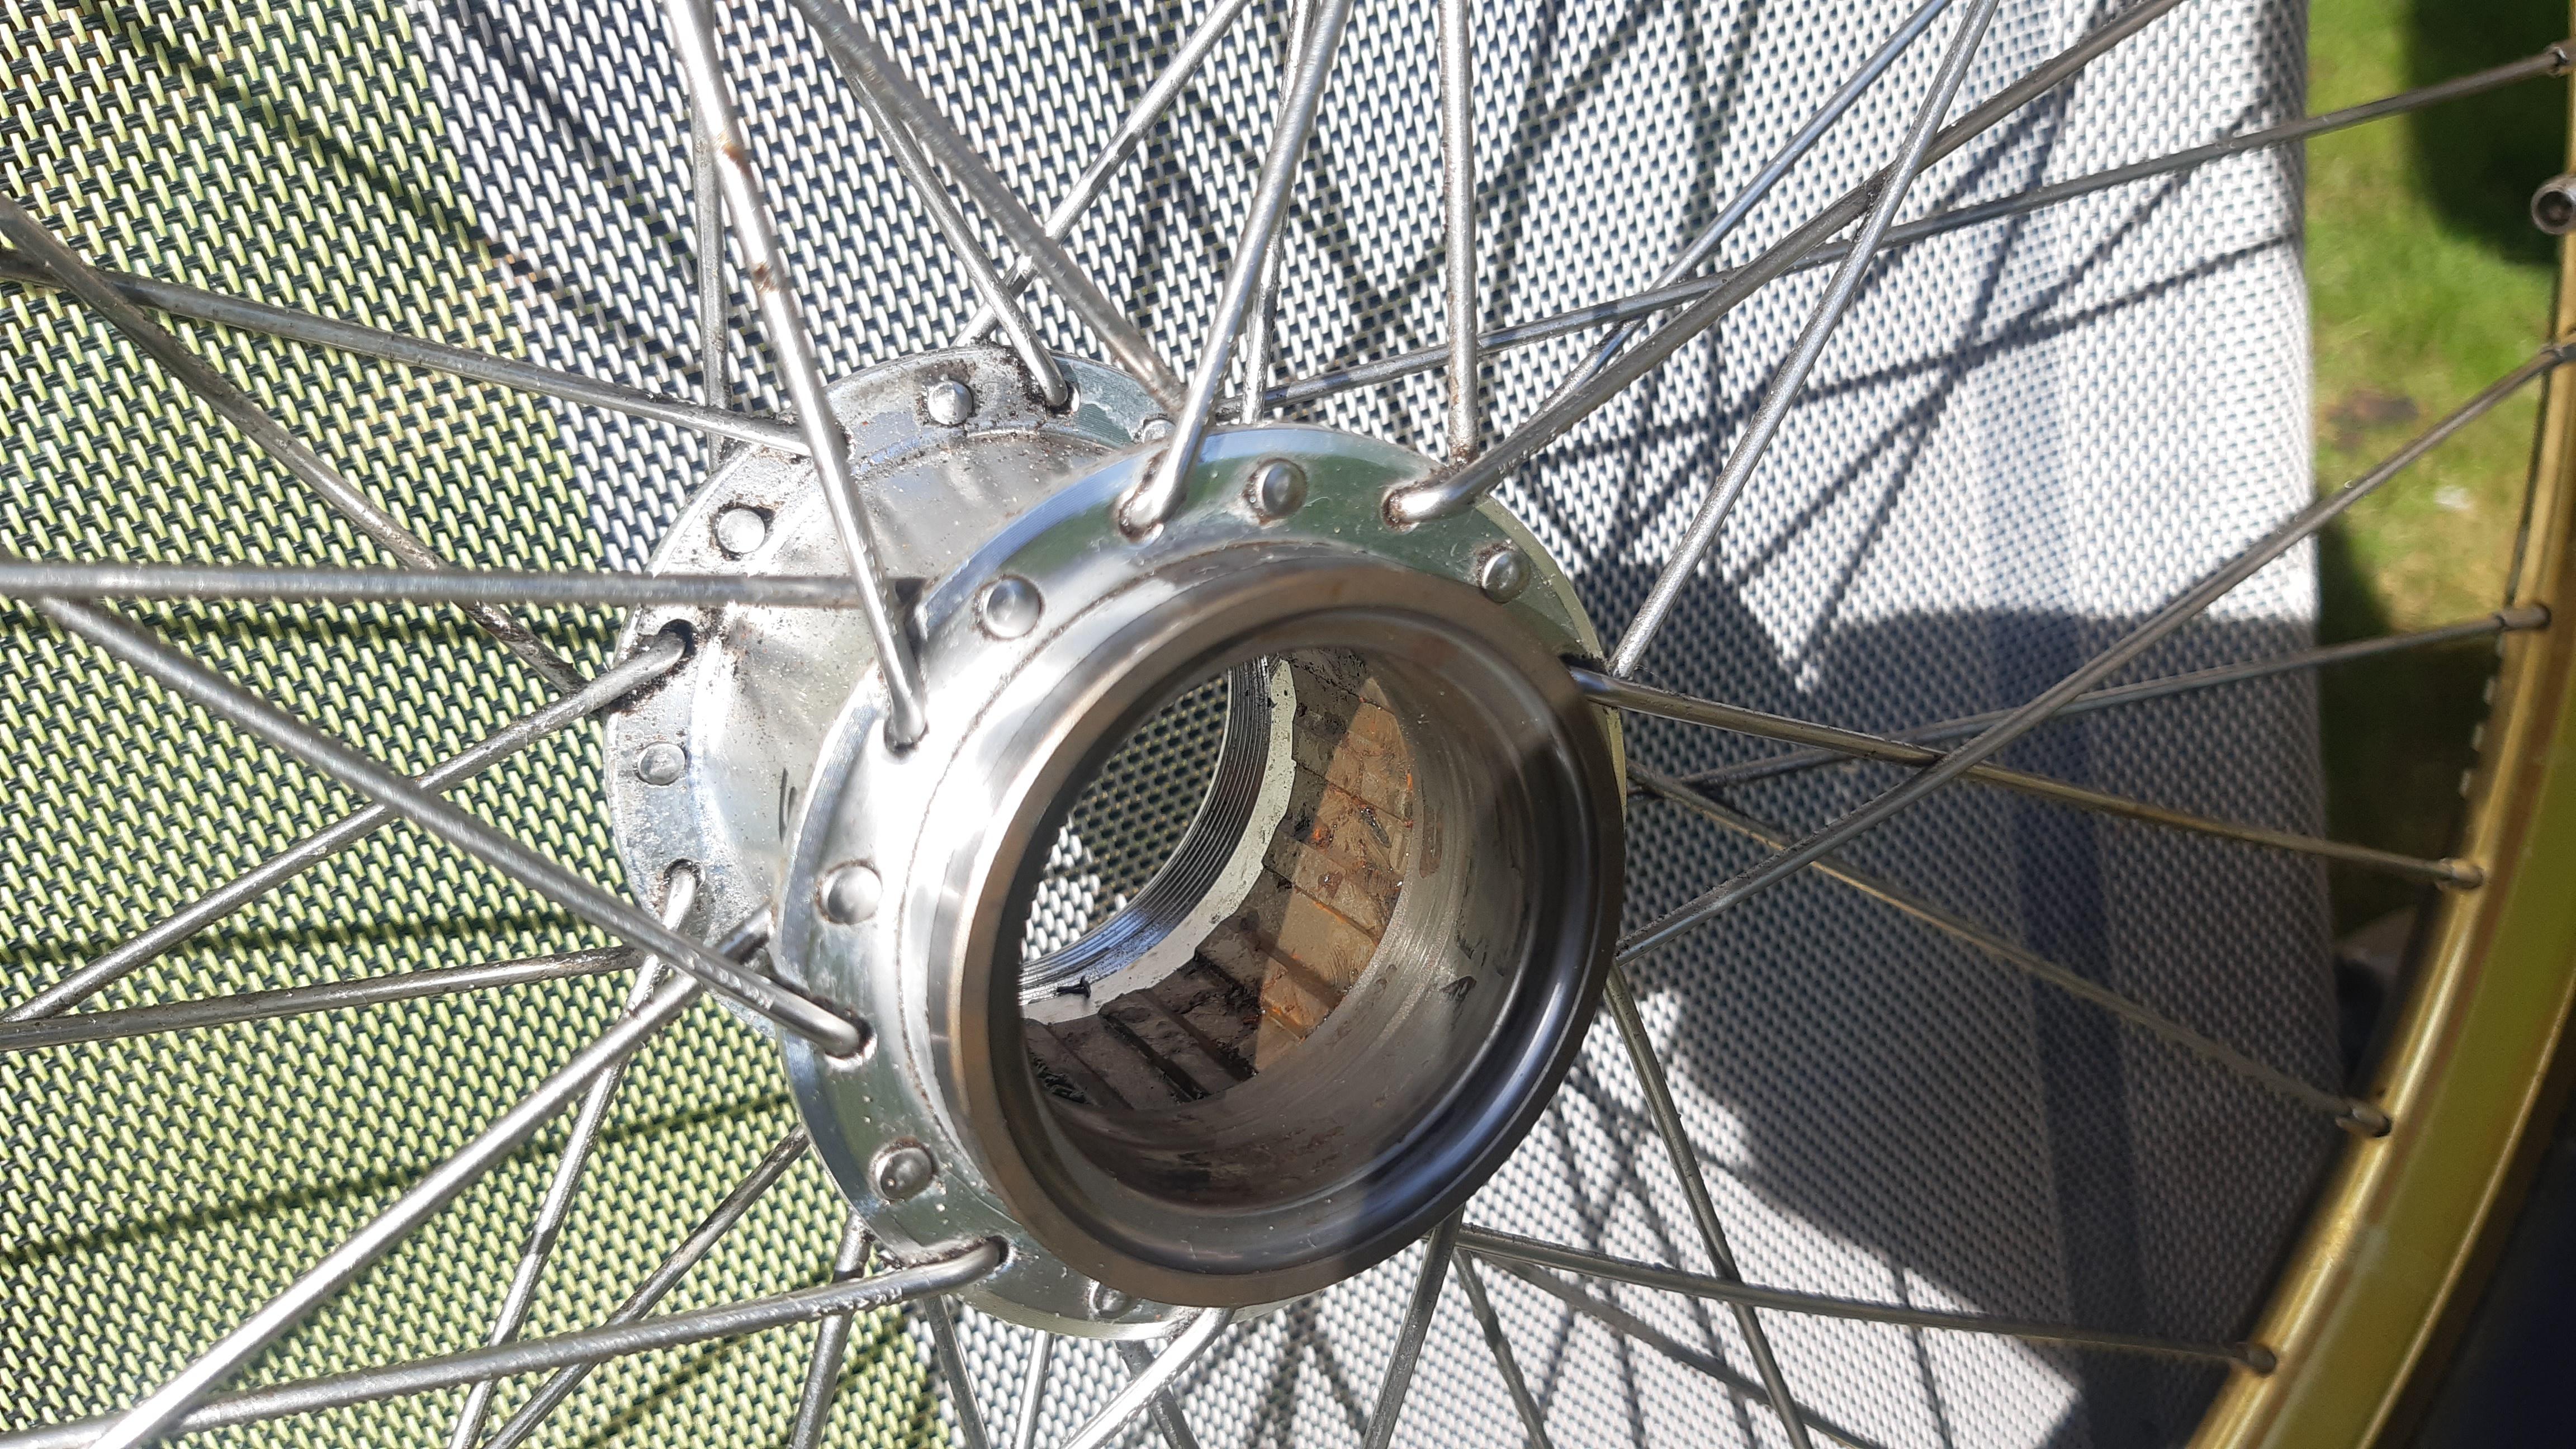
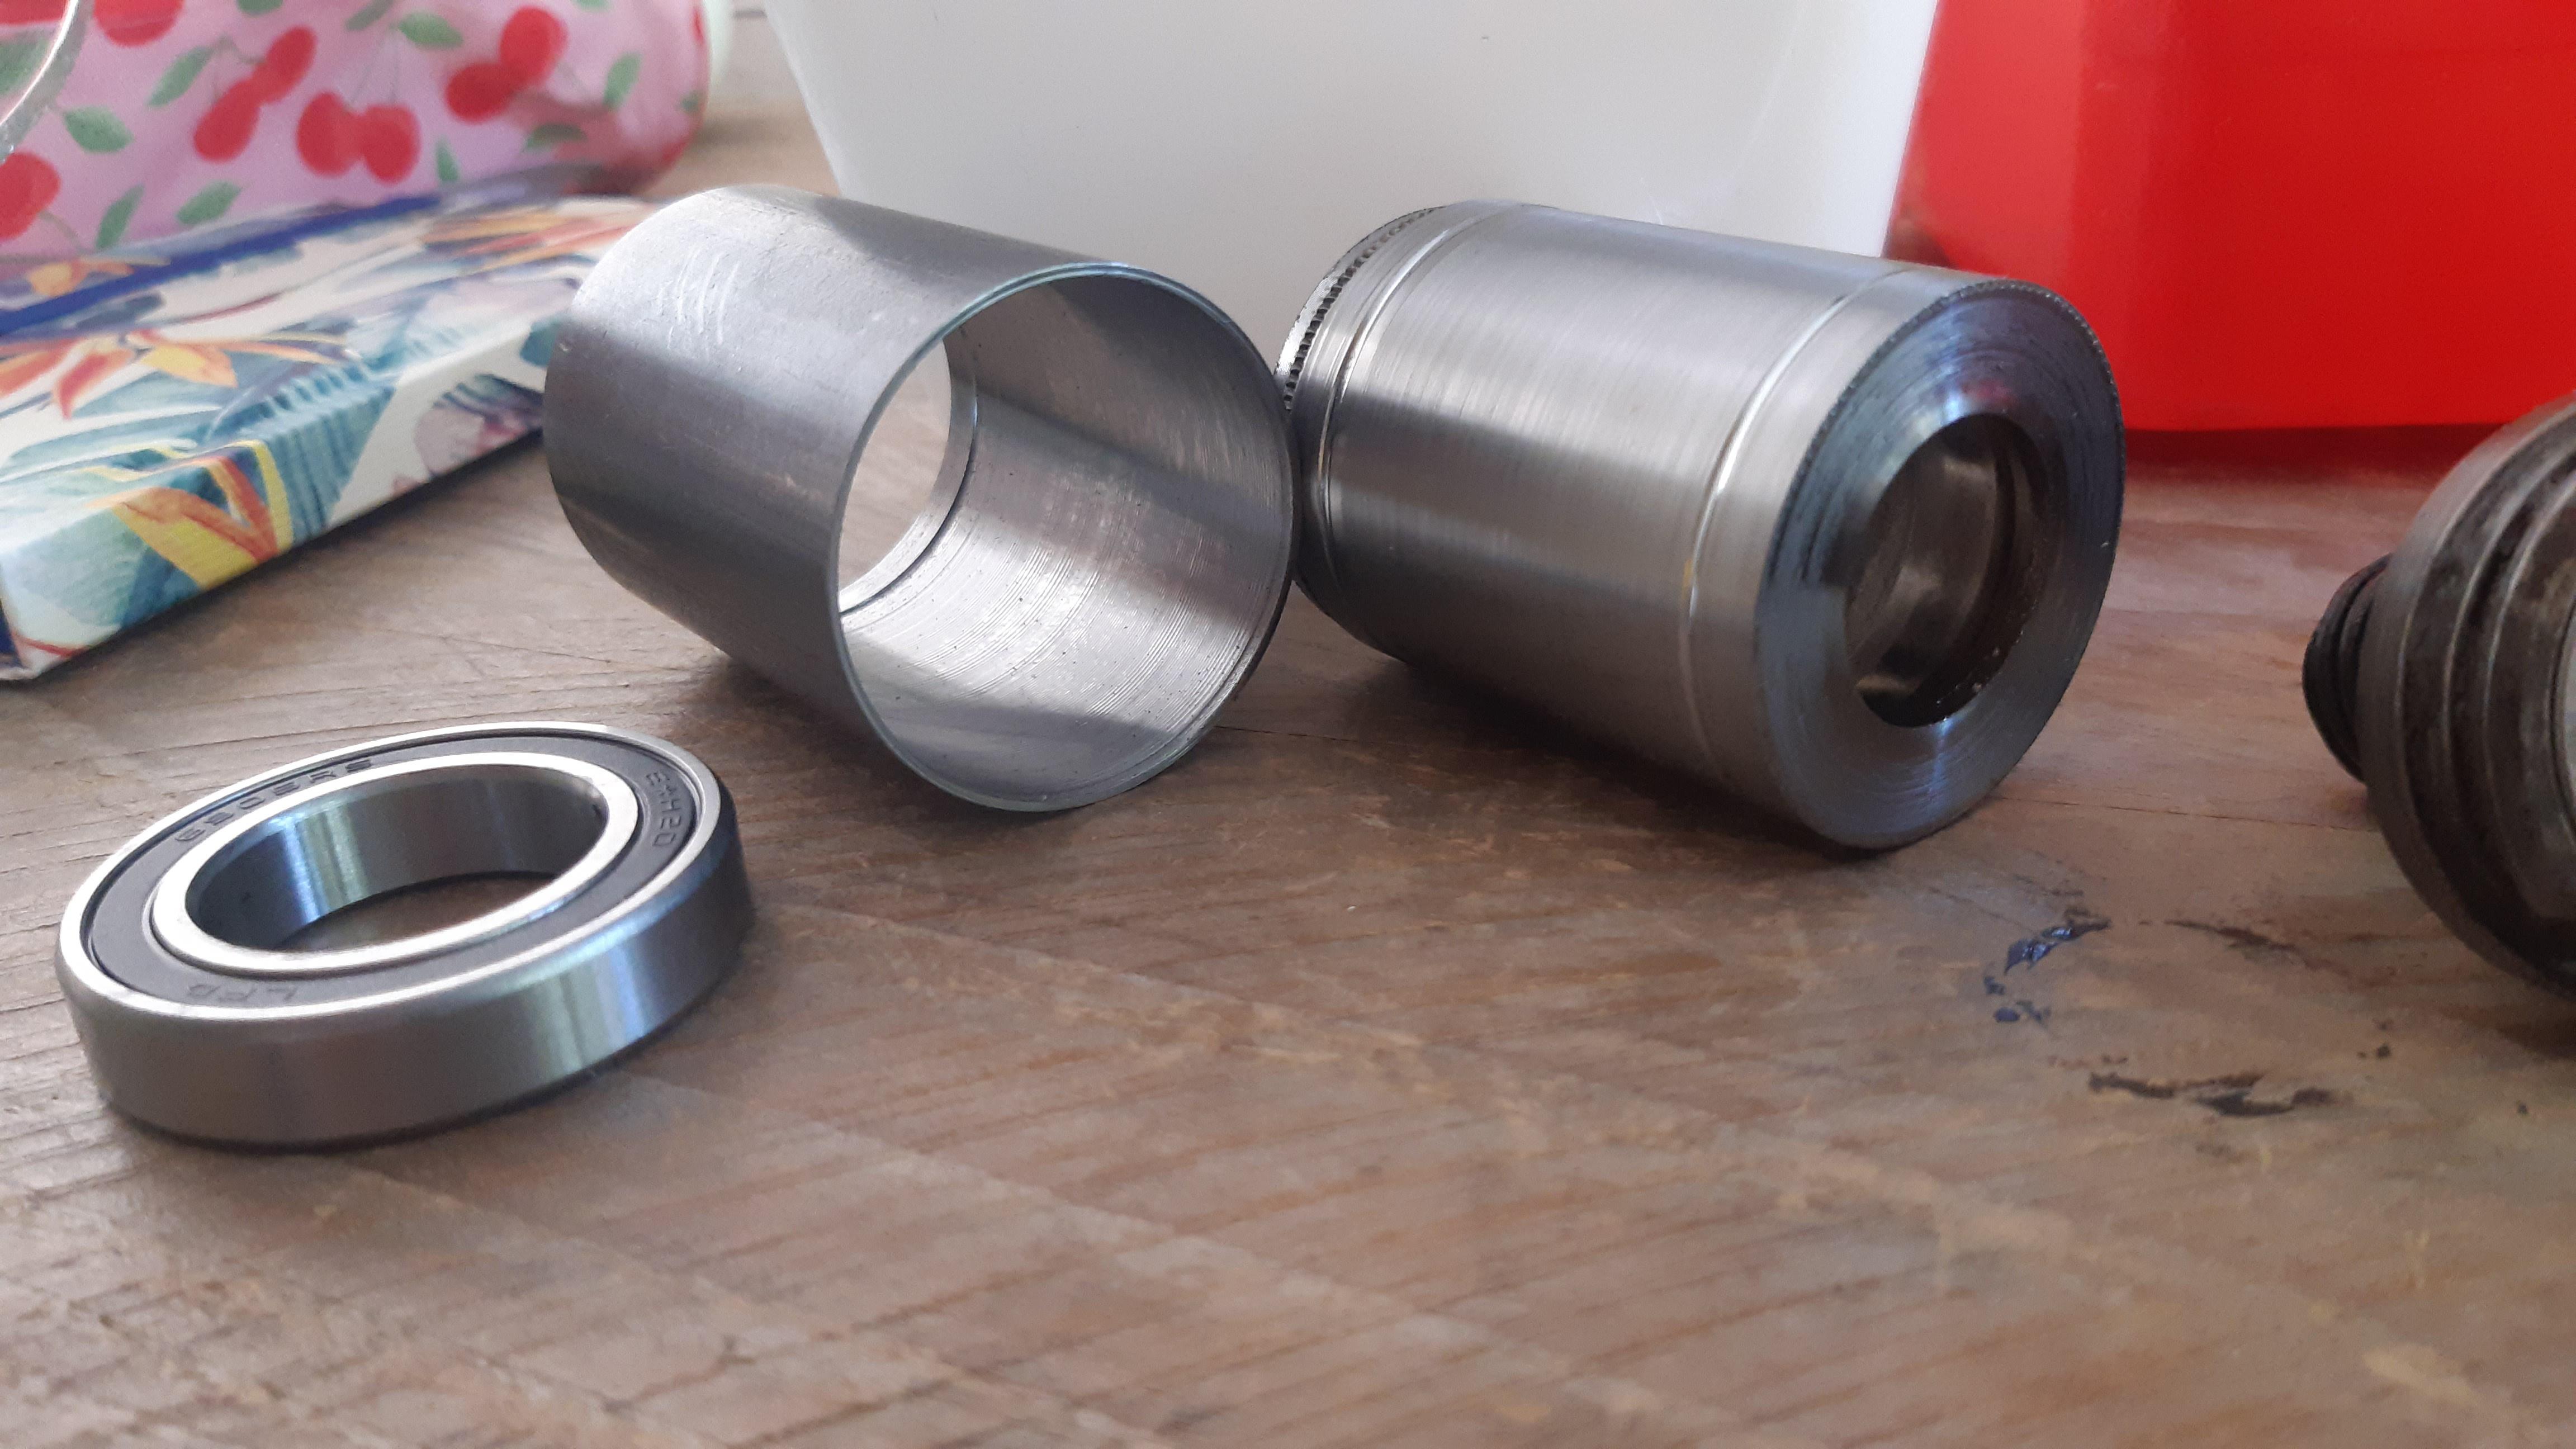
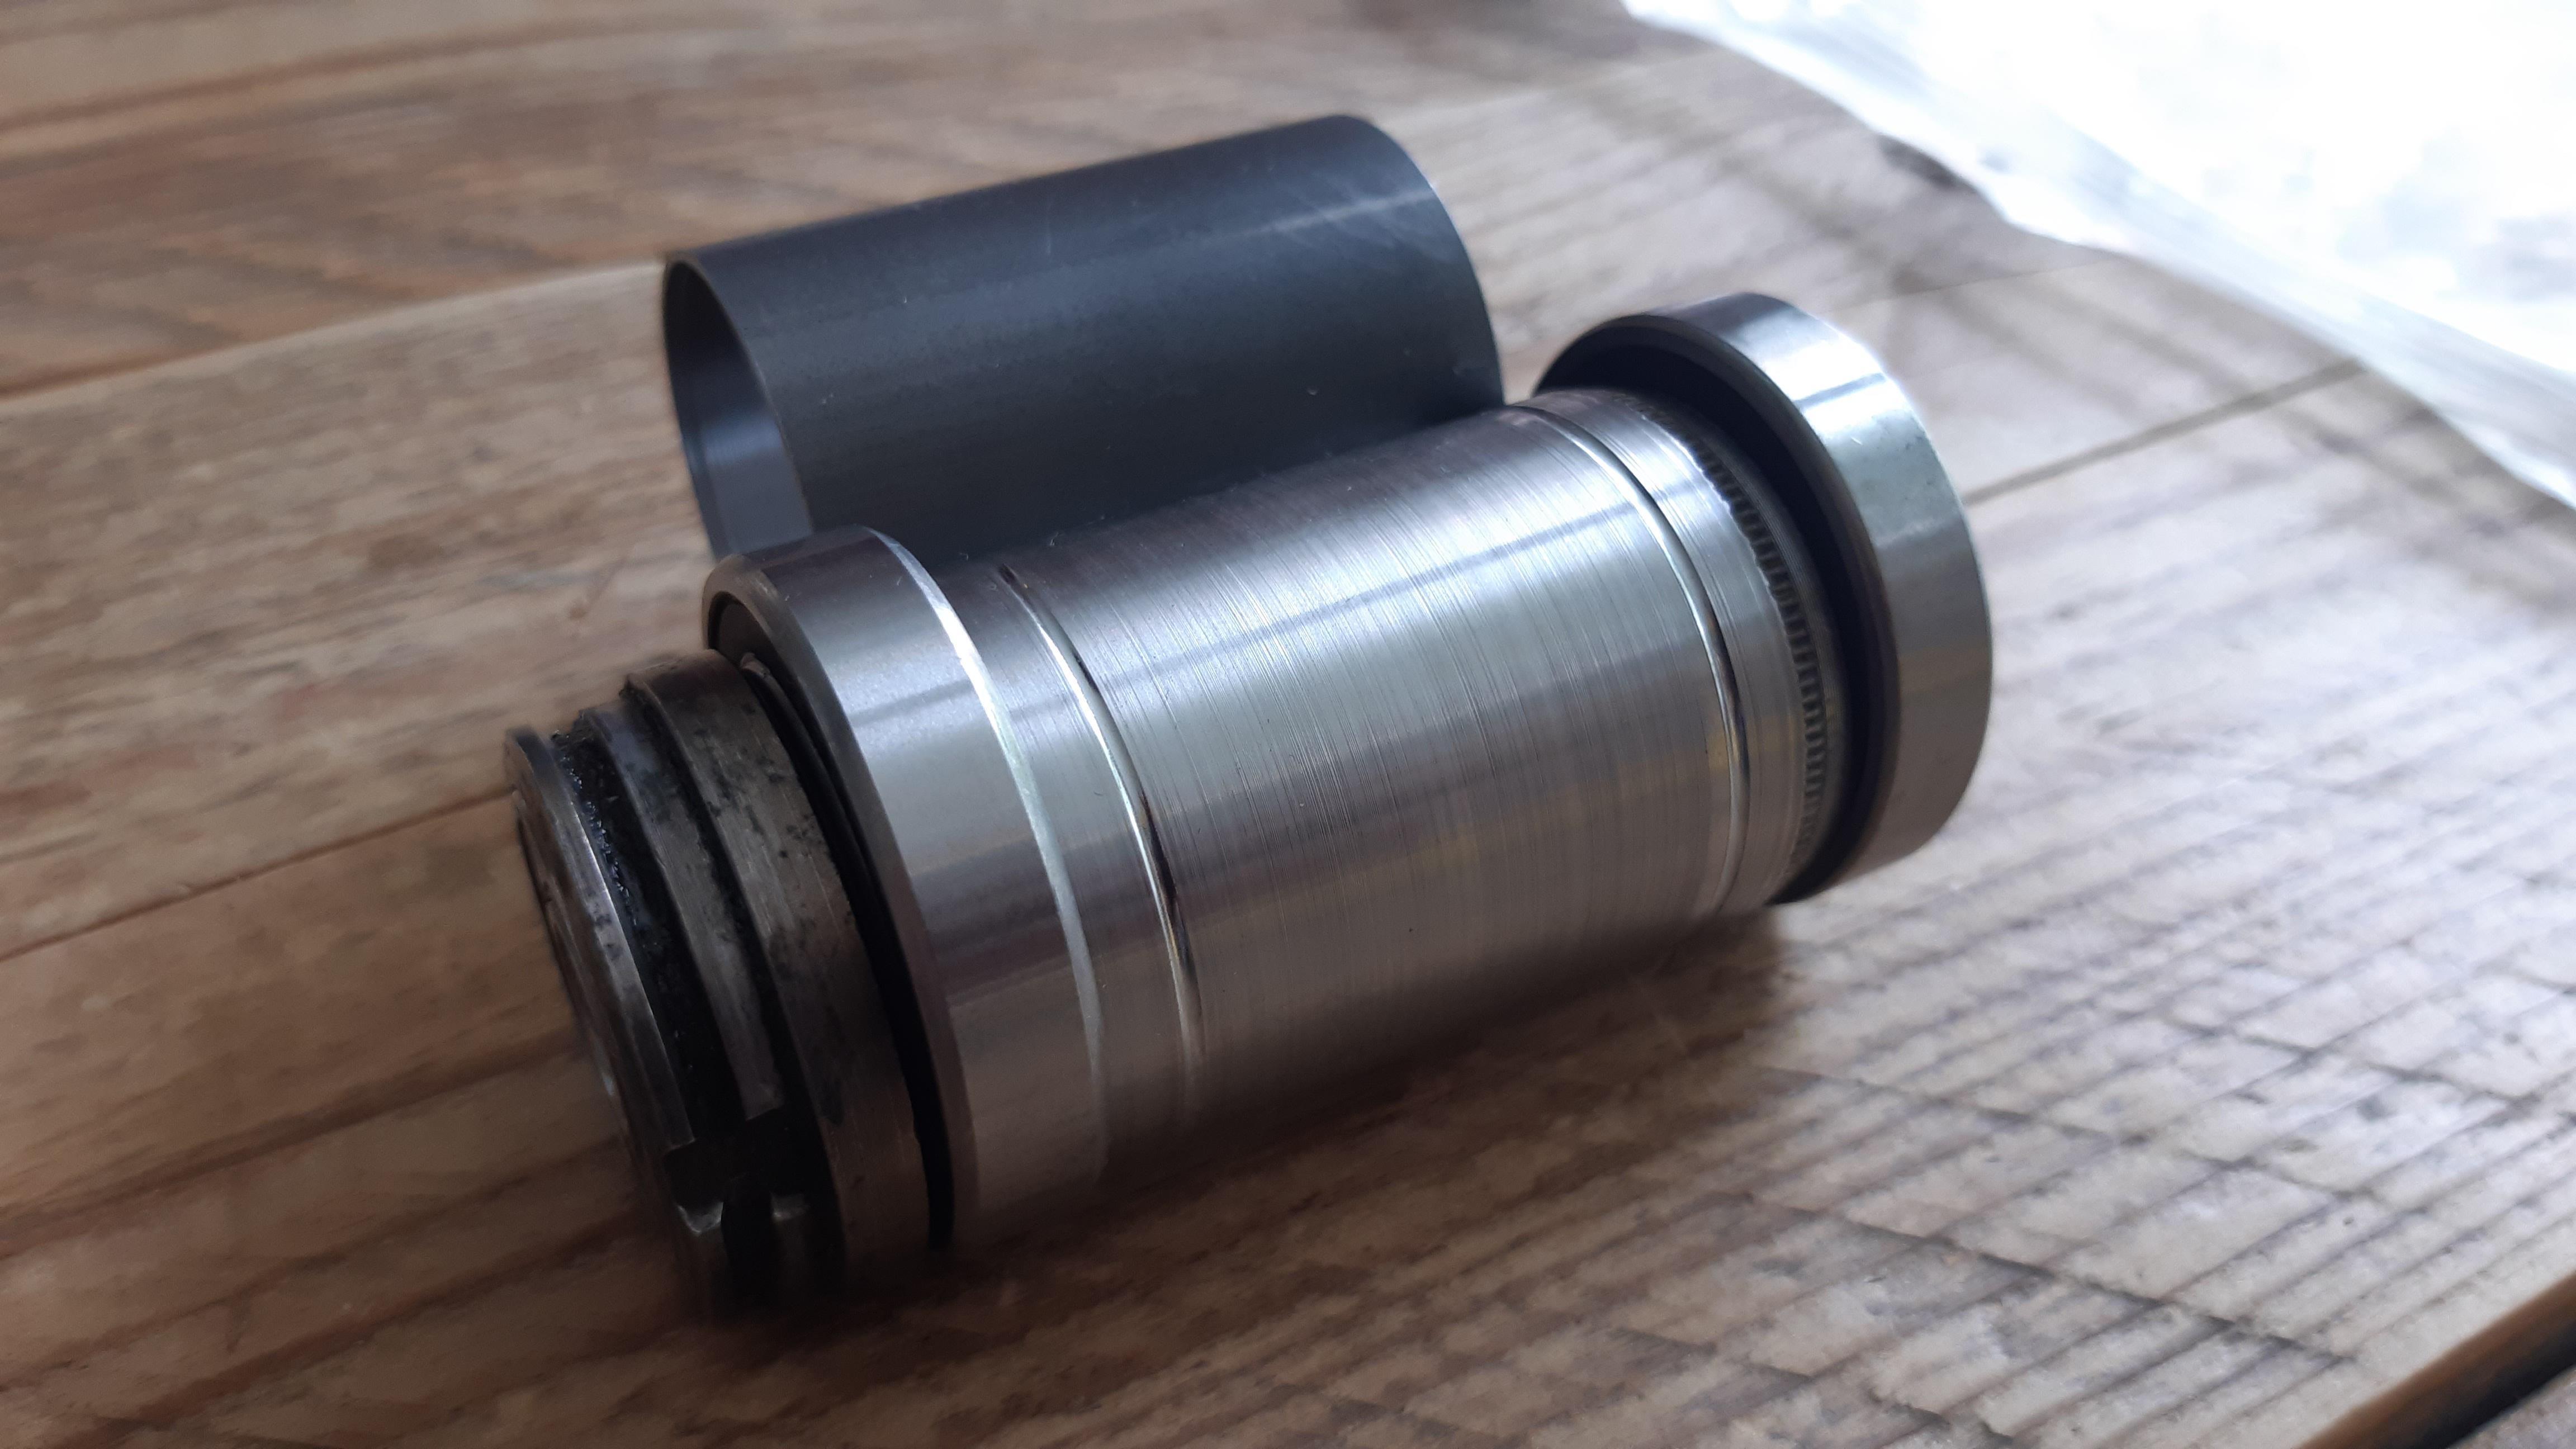
I found the following bearings to use with above mentioned parts:
- Drive side bearing, between the driver and the shell: KOYO 6905 2RS (42mm - 25mm - 9mm).
- Drive side bearing, between the driver and the M10x1 shaft: SKF 6001 2RS (28mm - 12mm - 8mm).
- Brake side bearing: 6004 2RS (42mm - 20mm - 12mm).
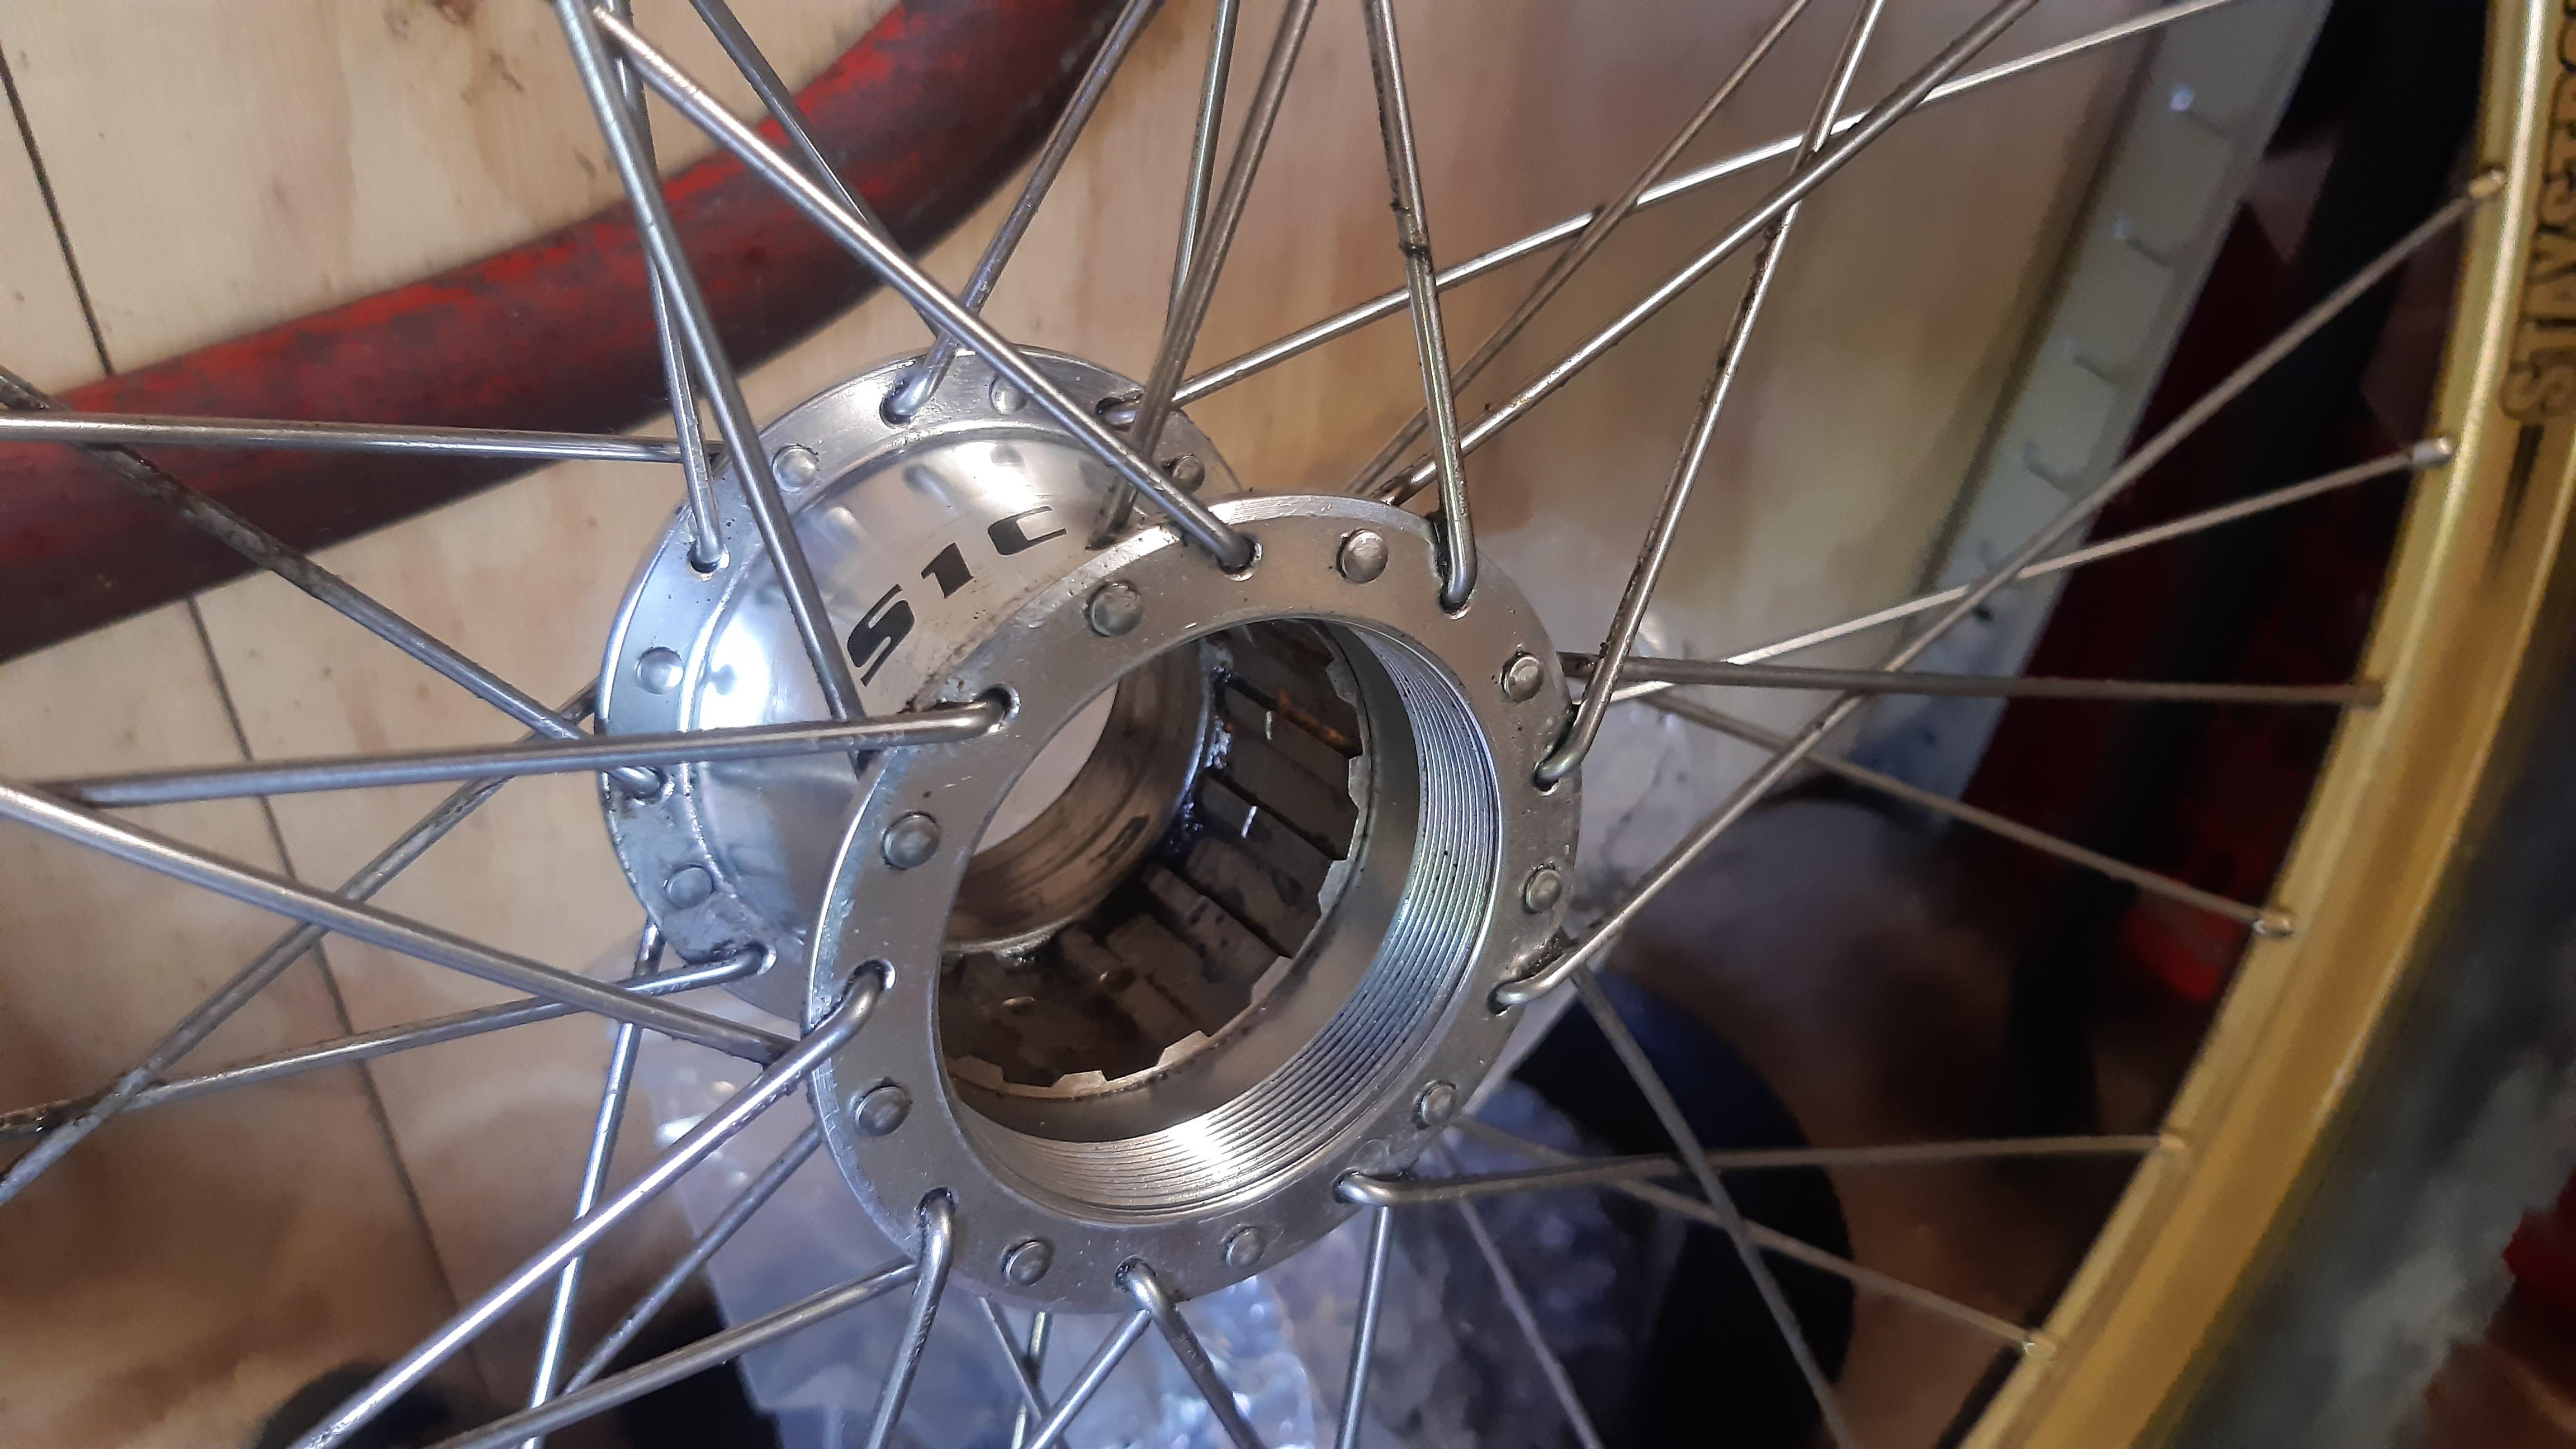
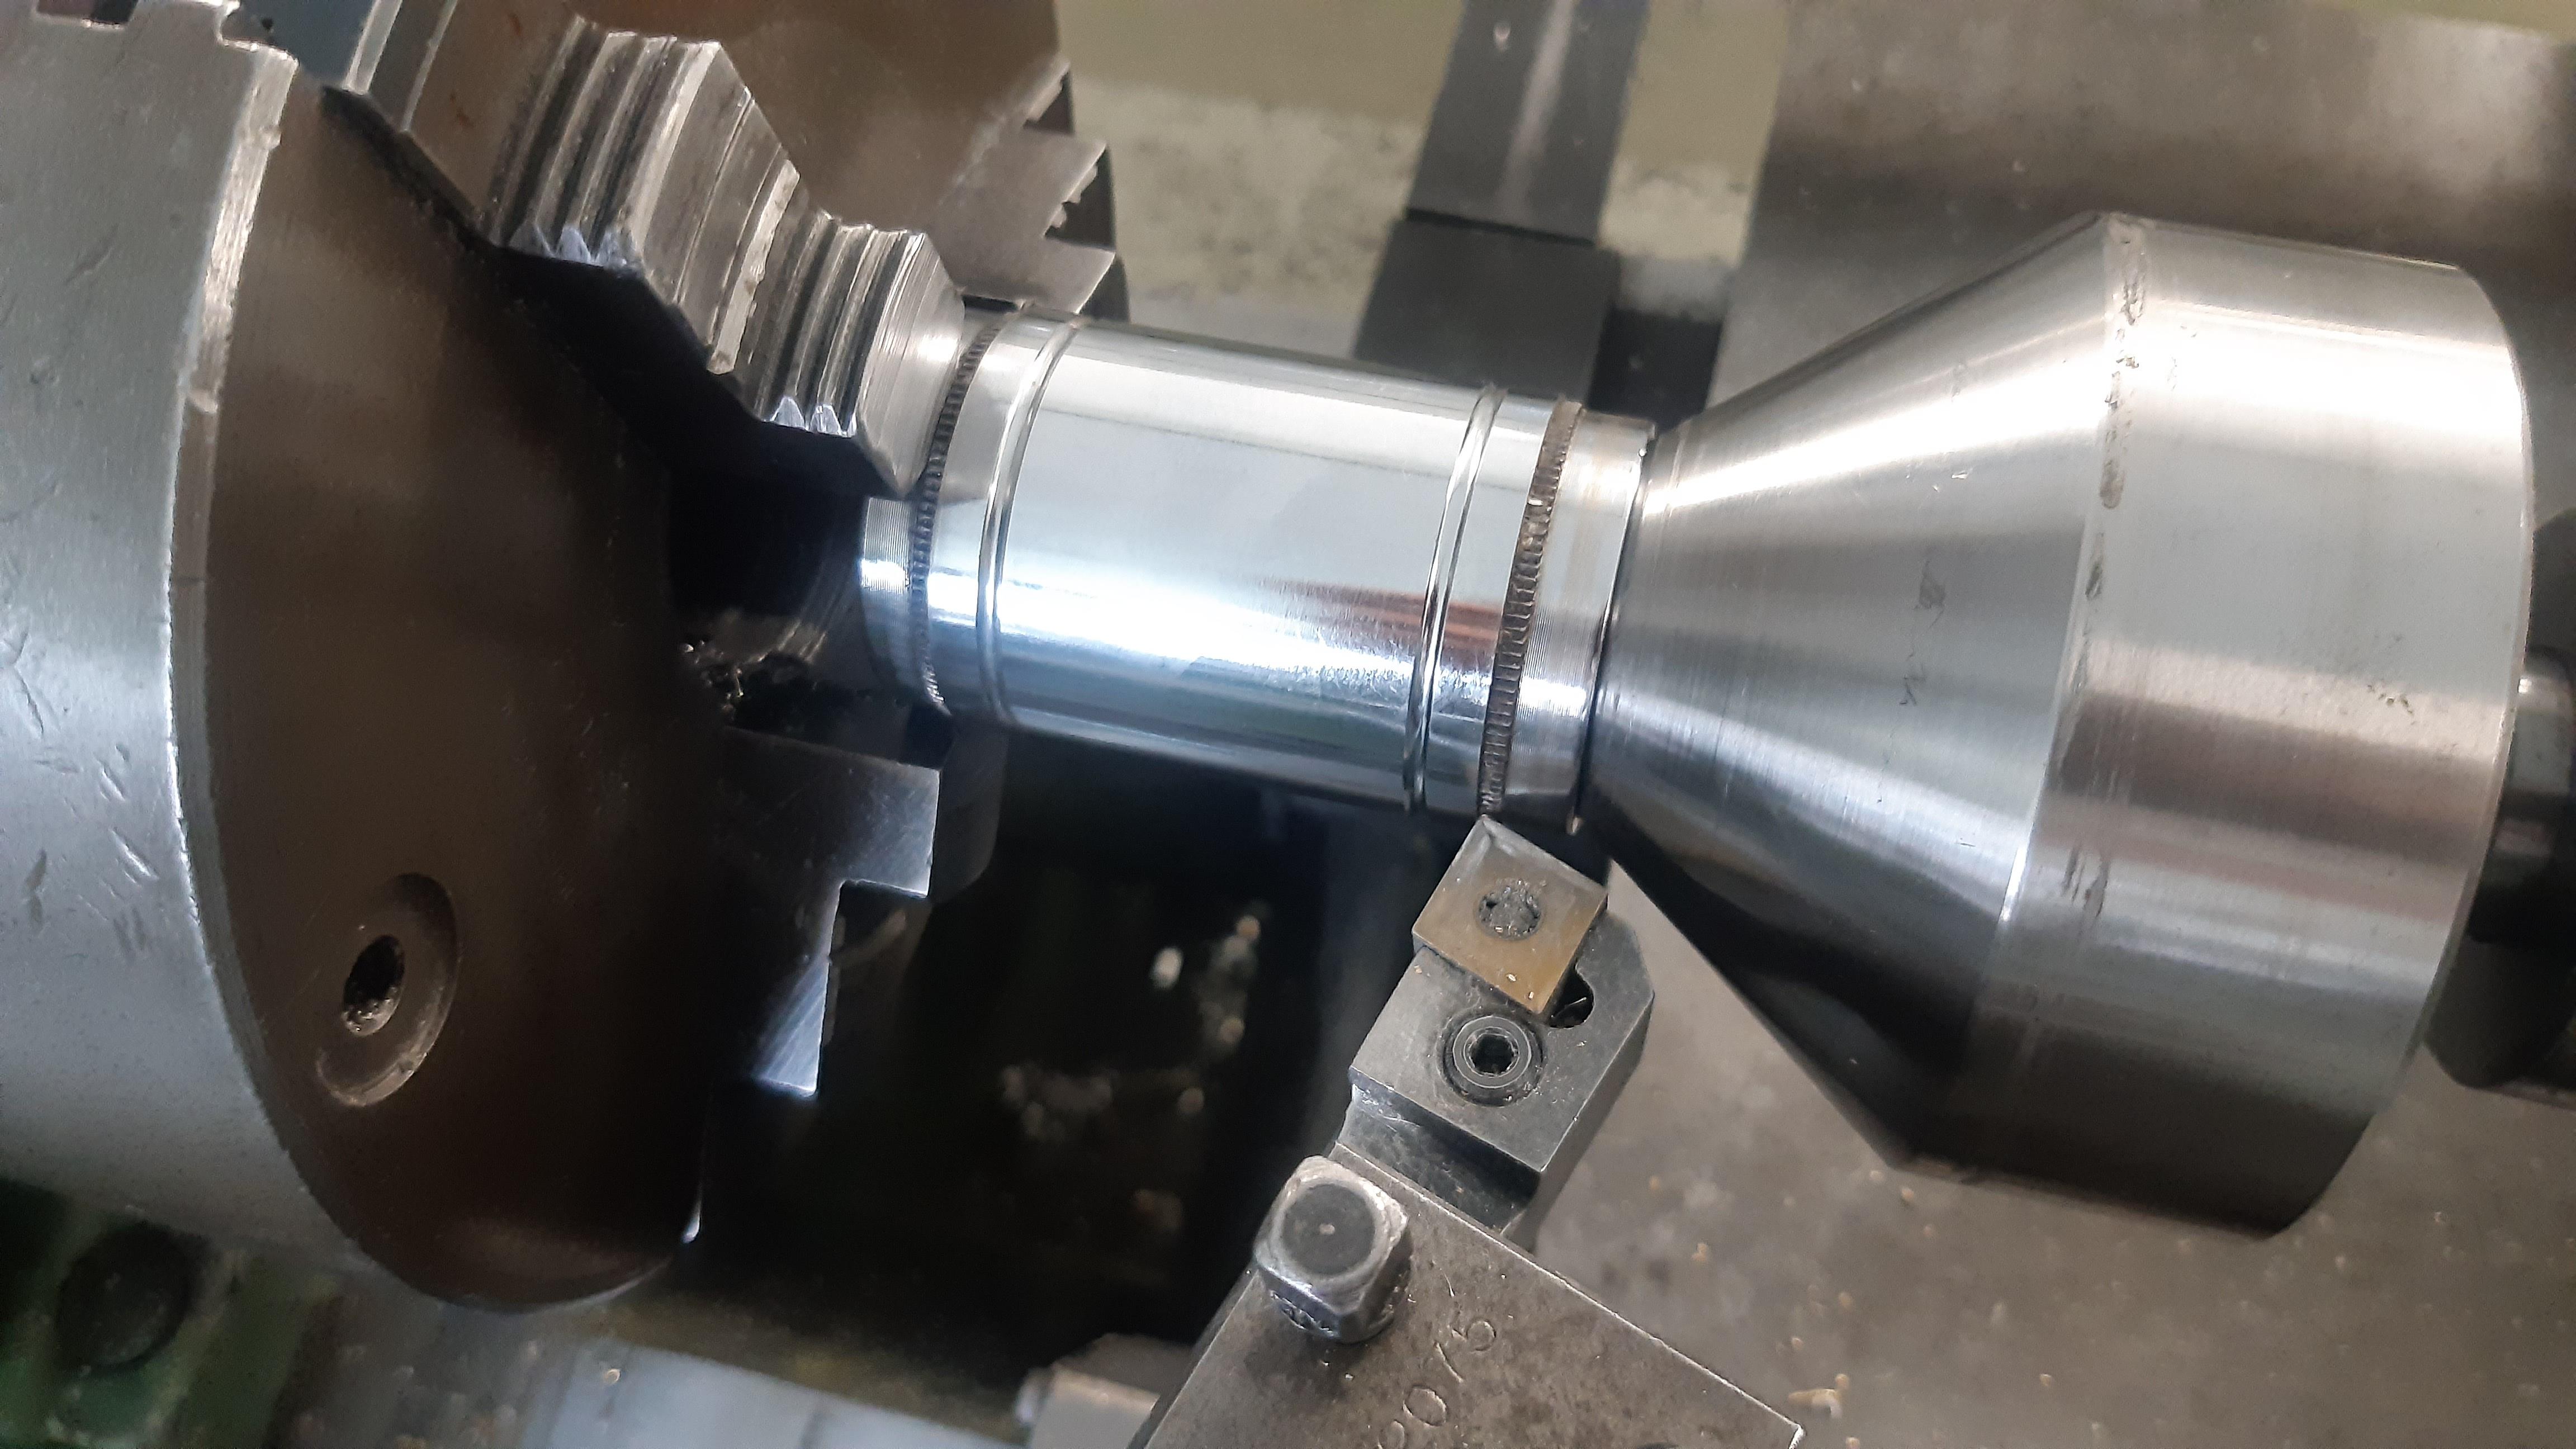
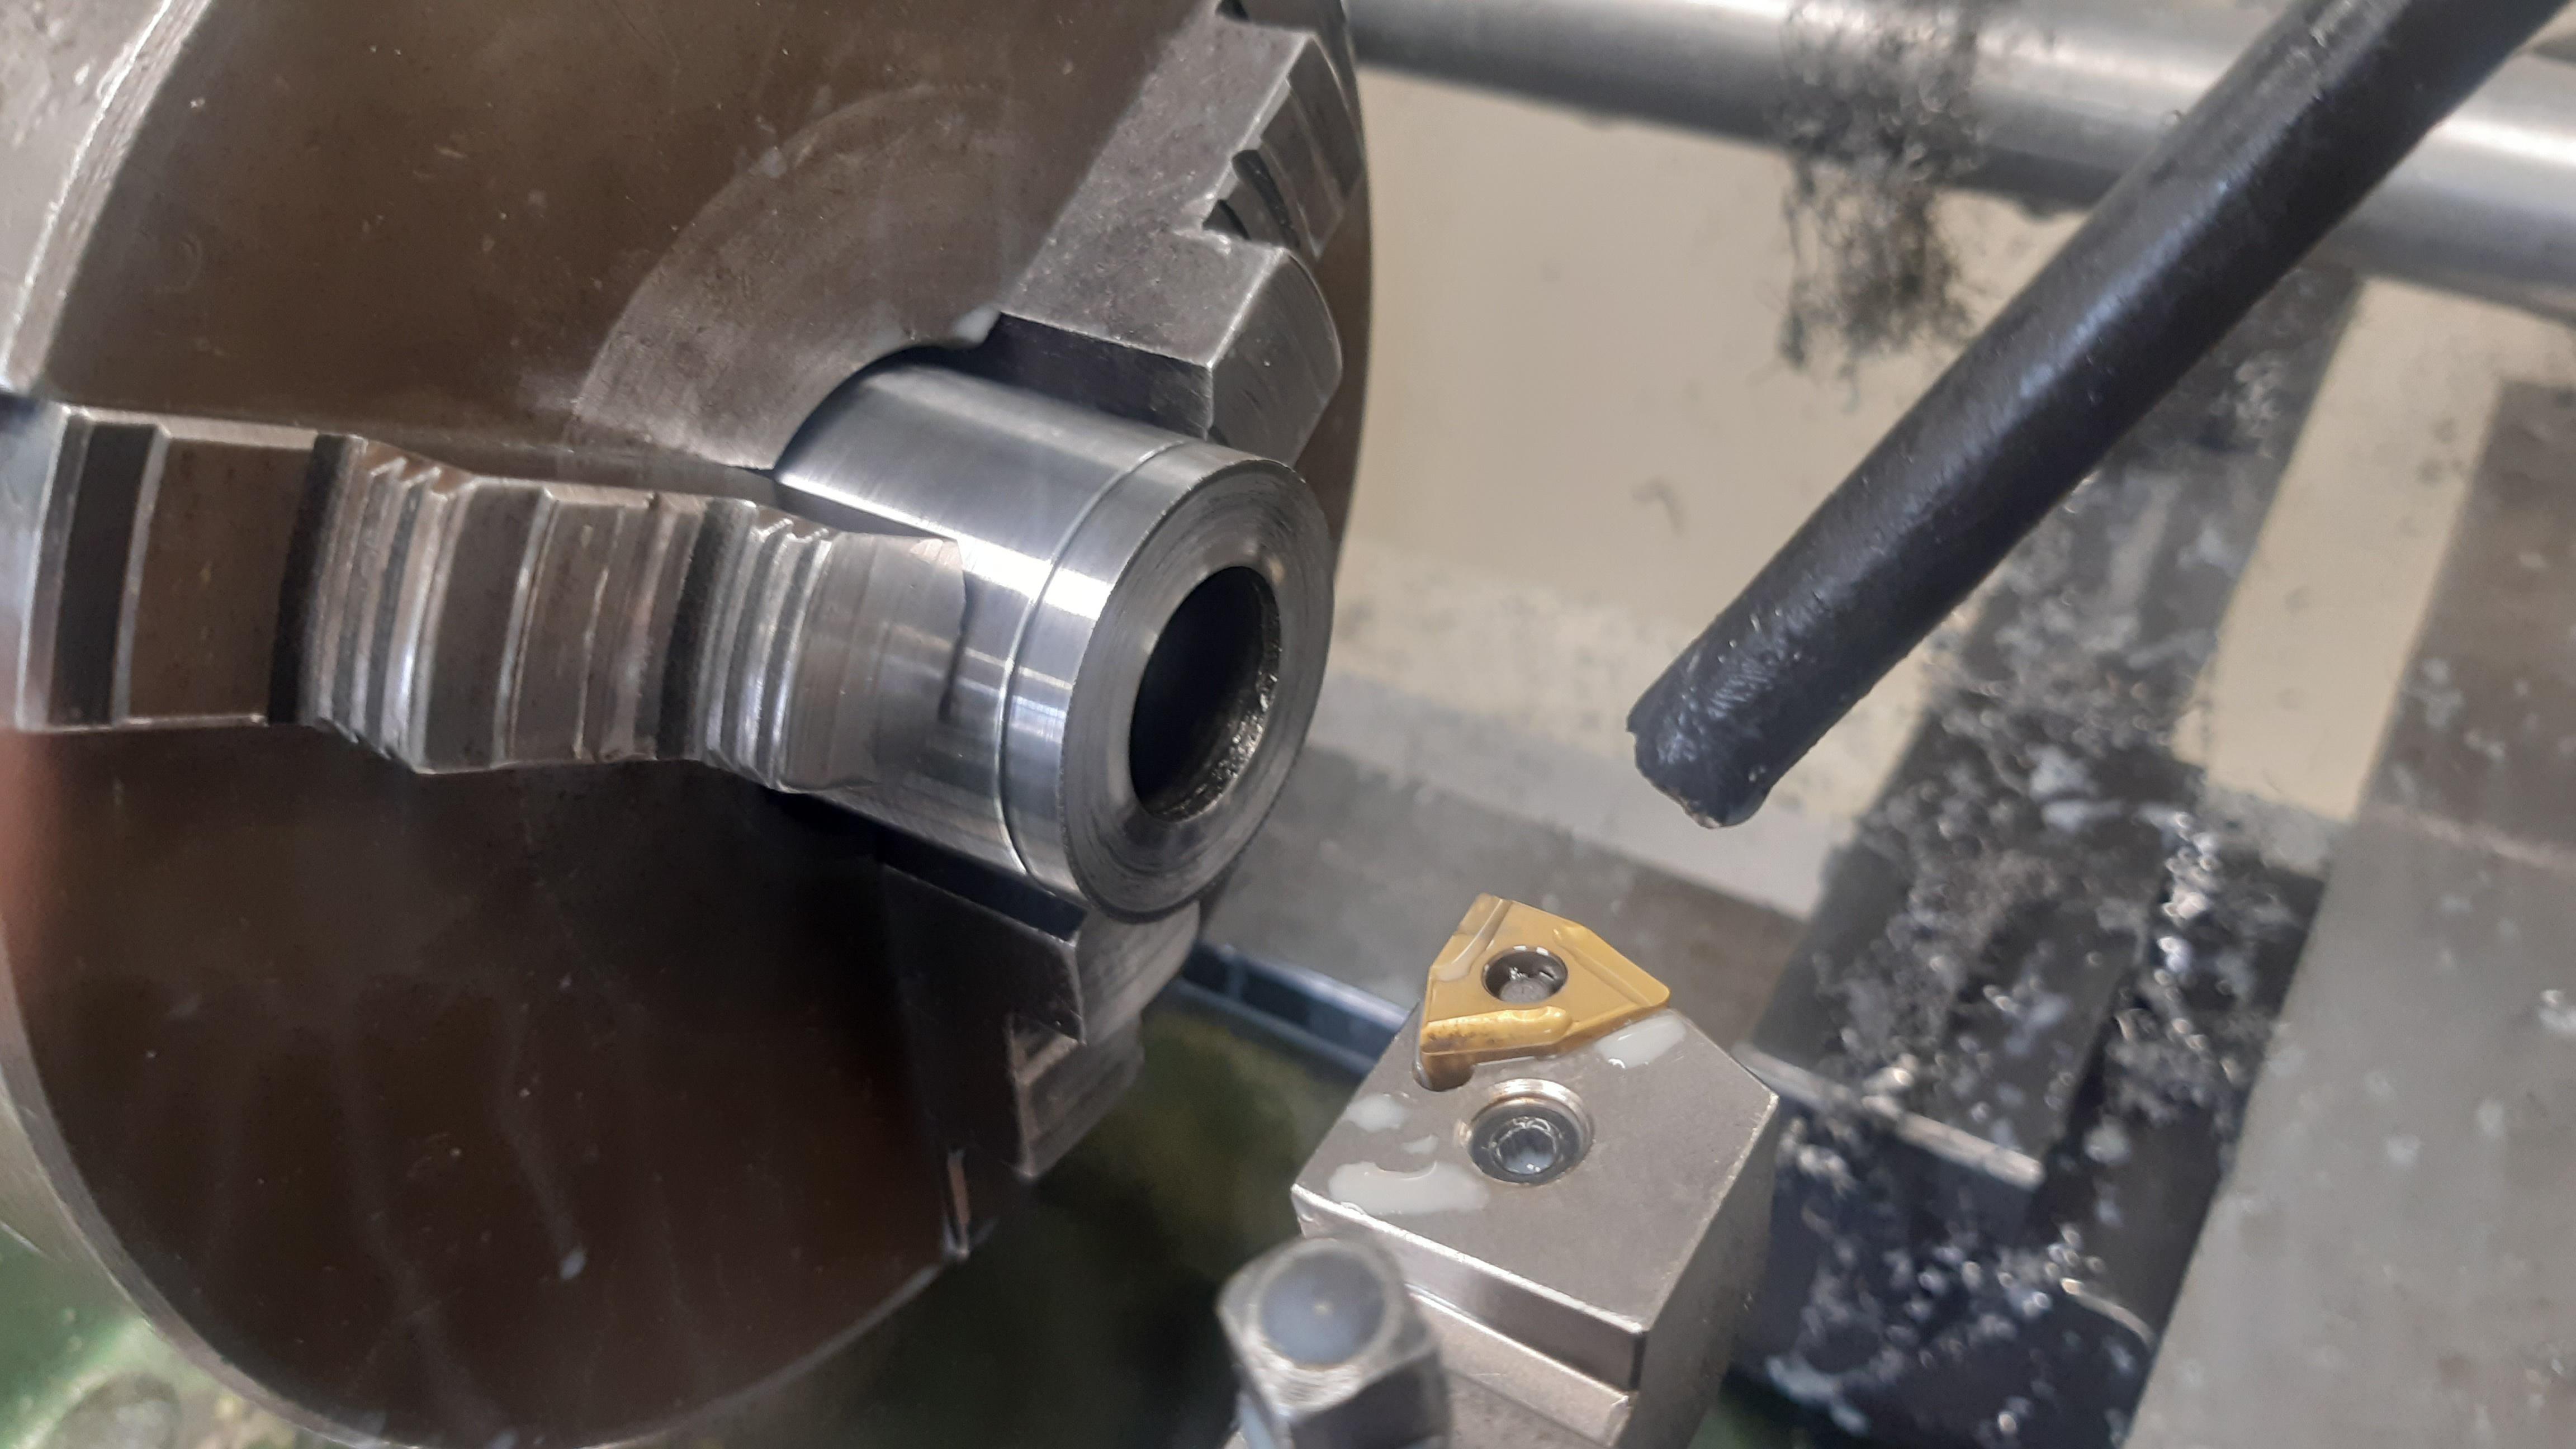
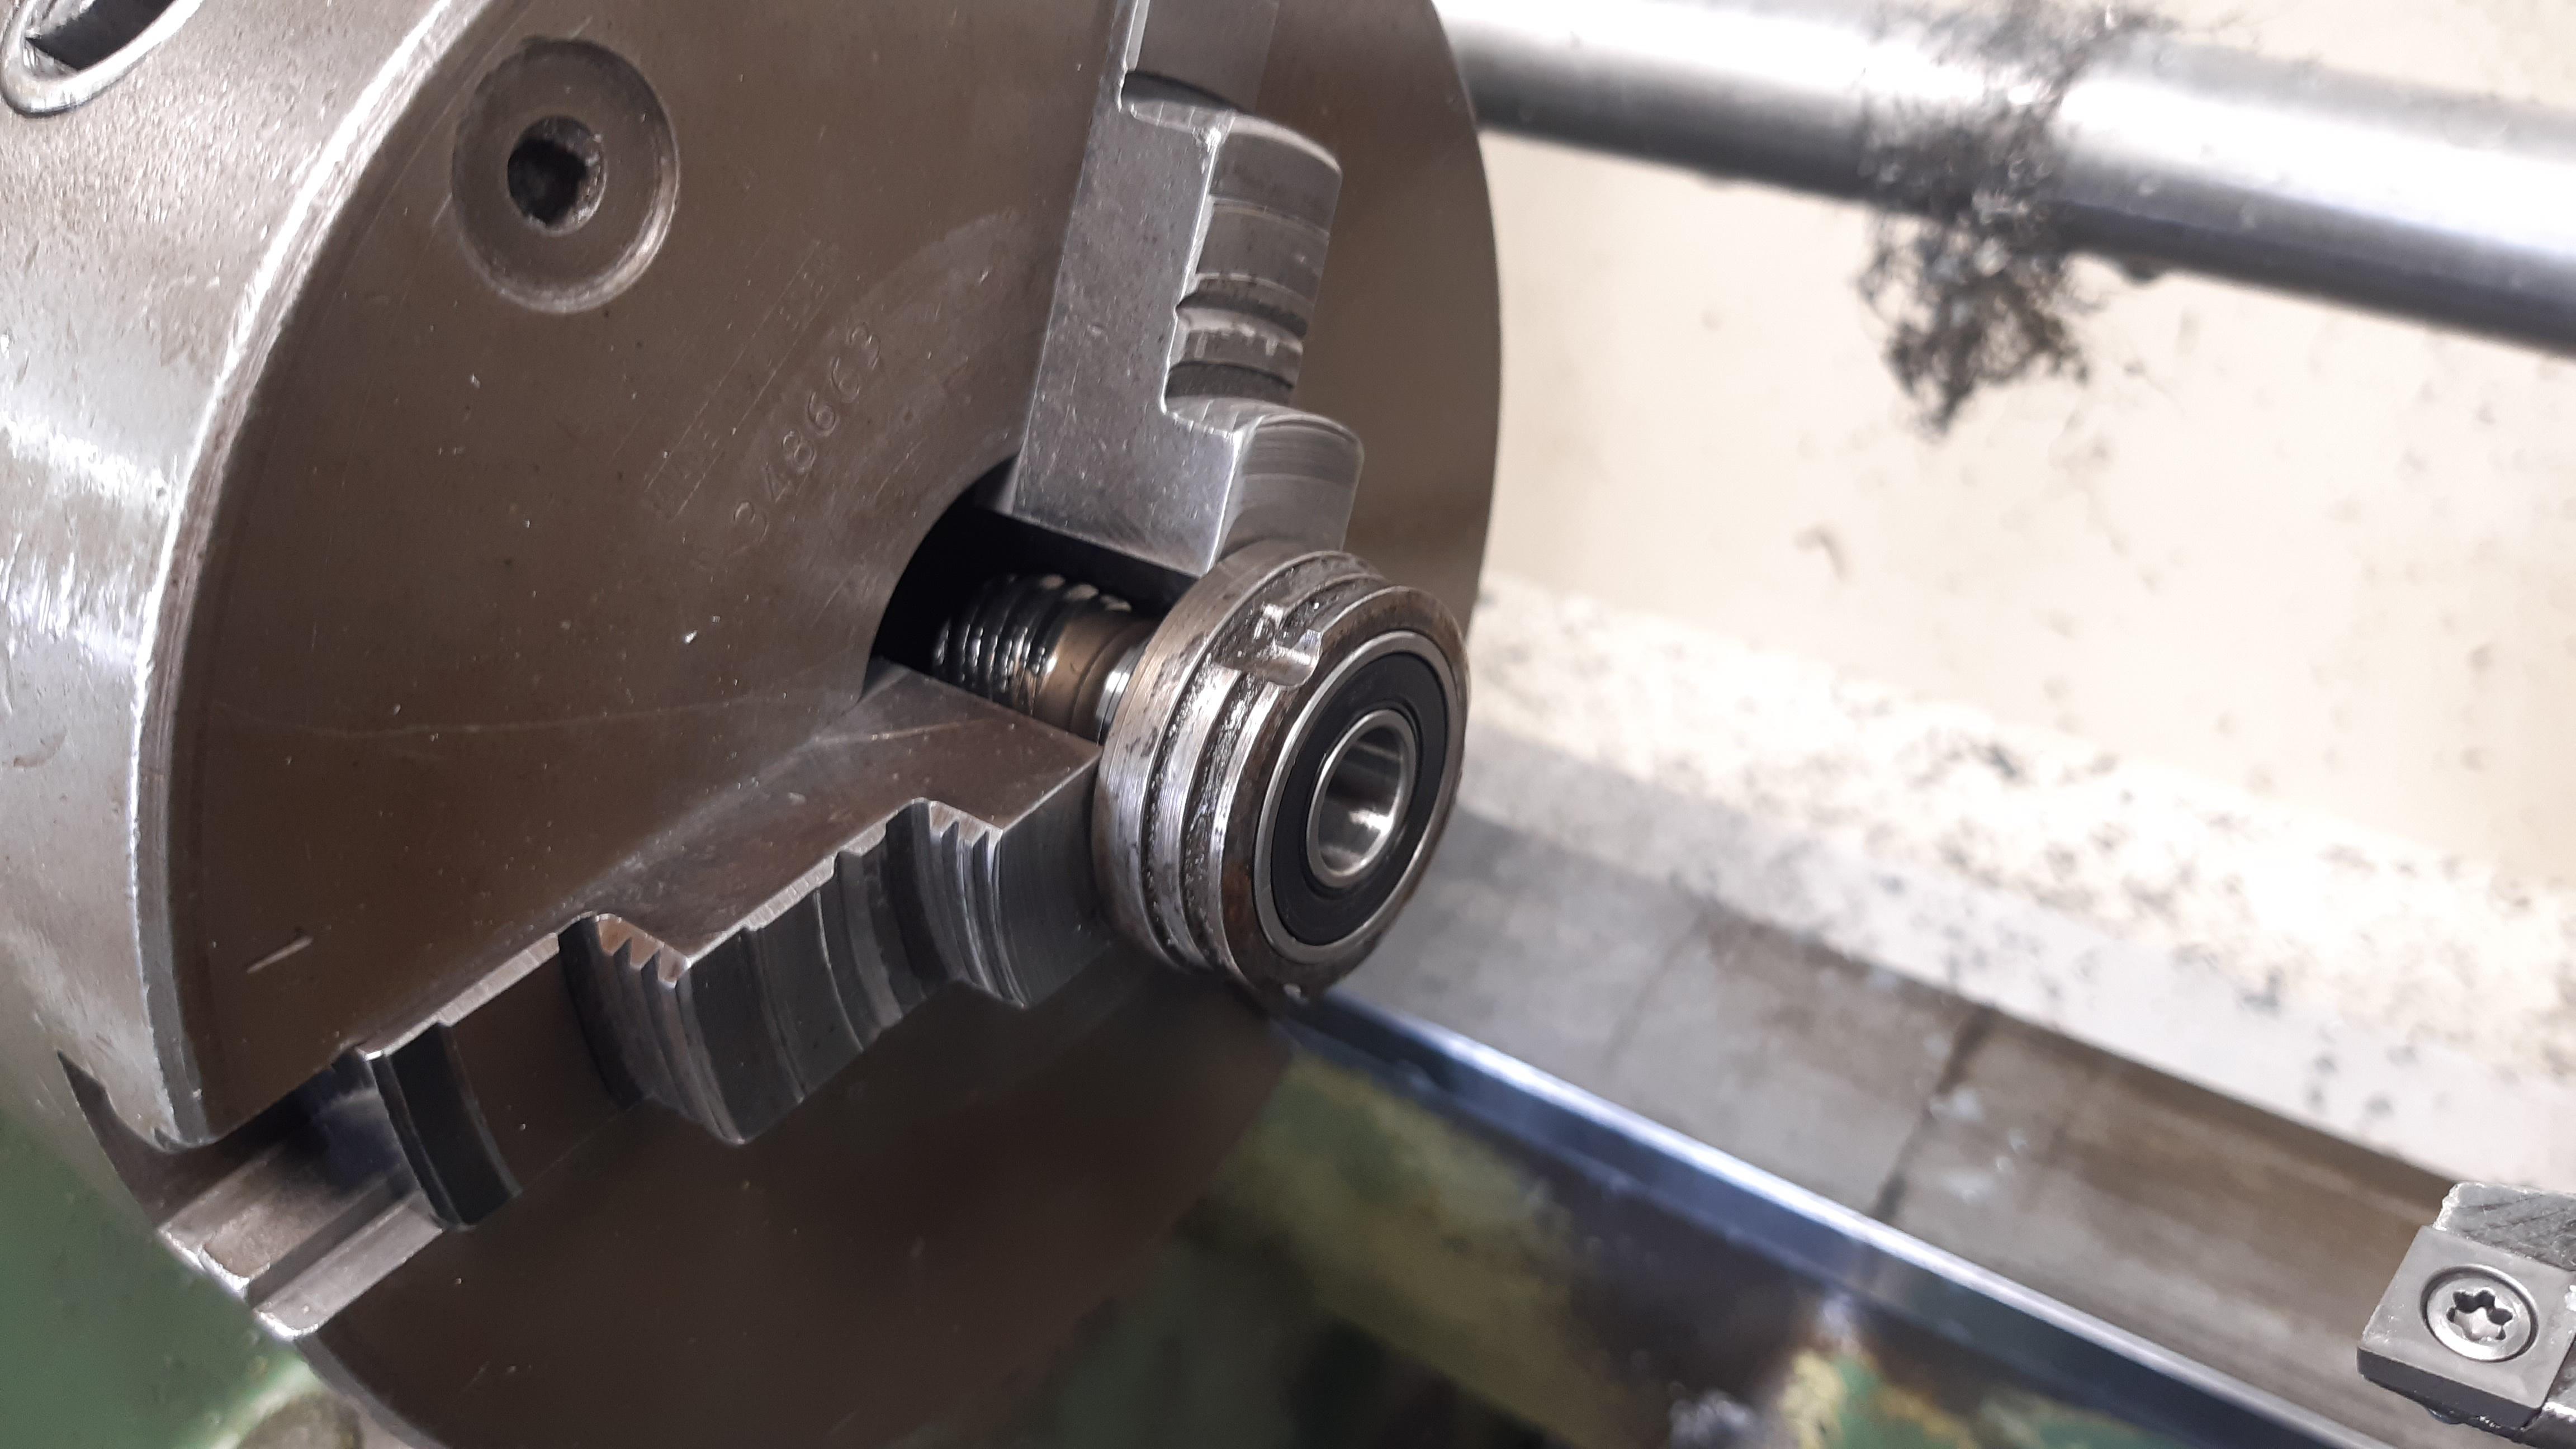
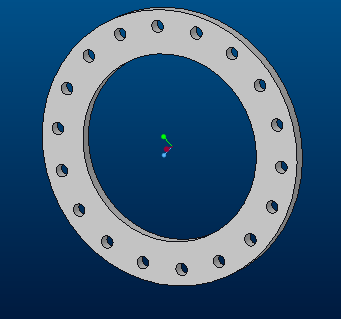
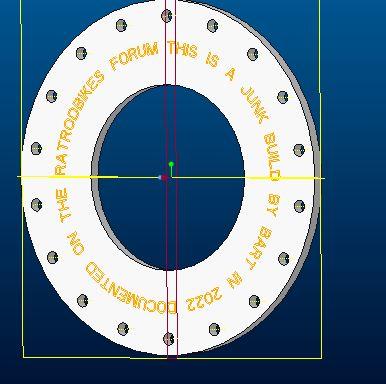
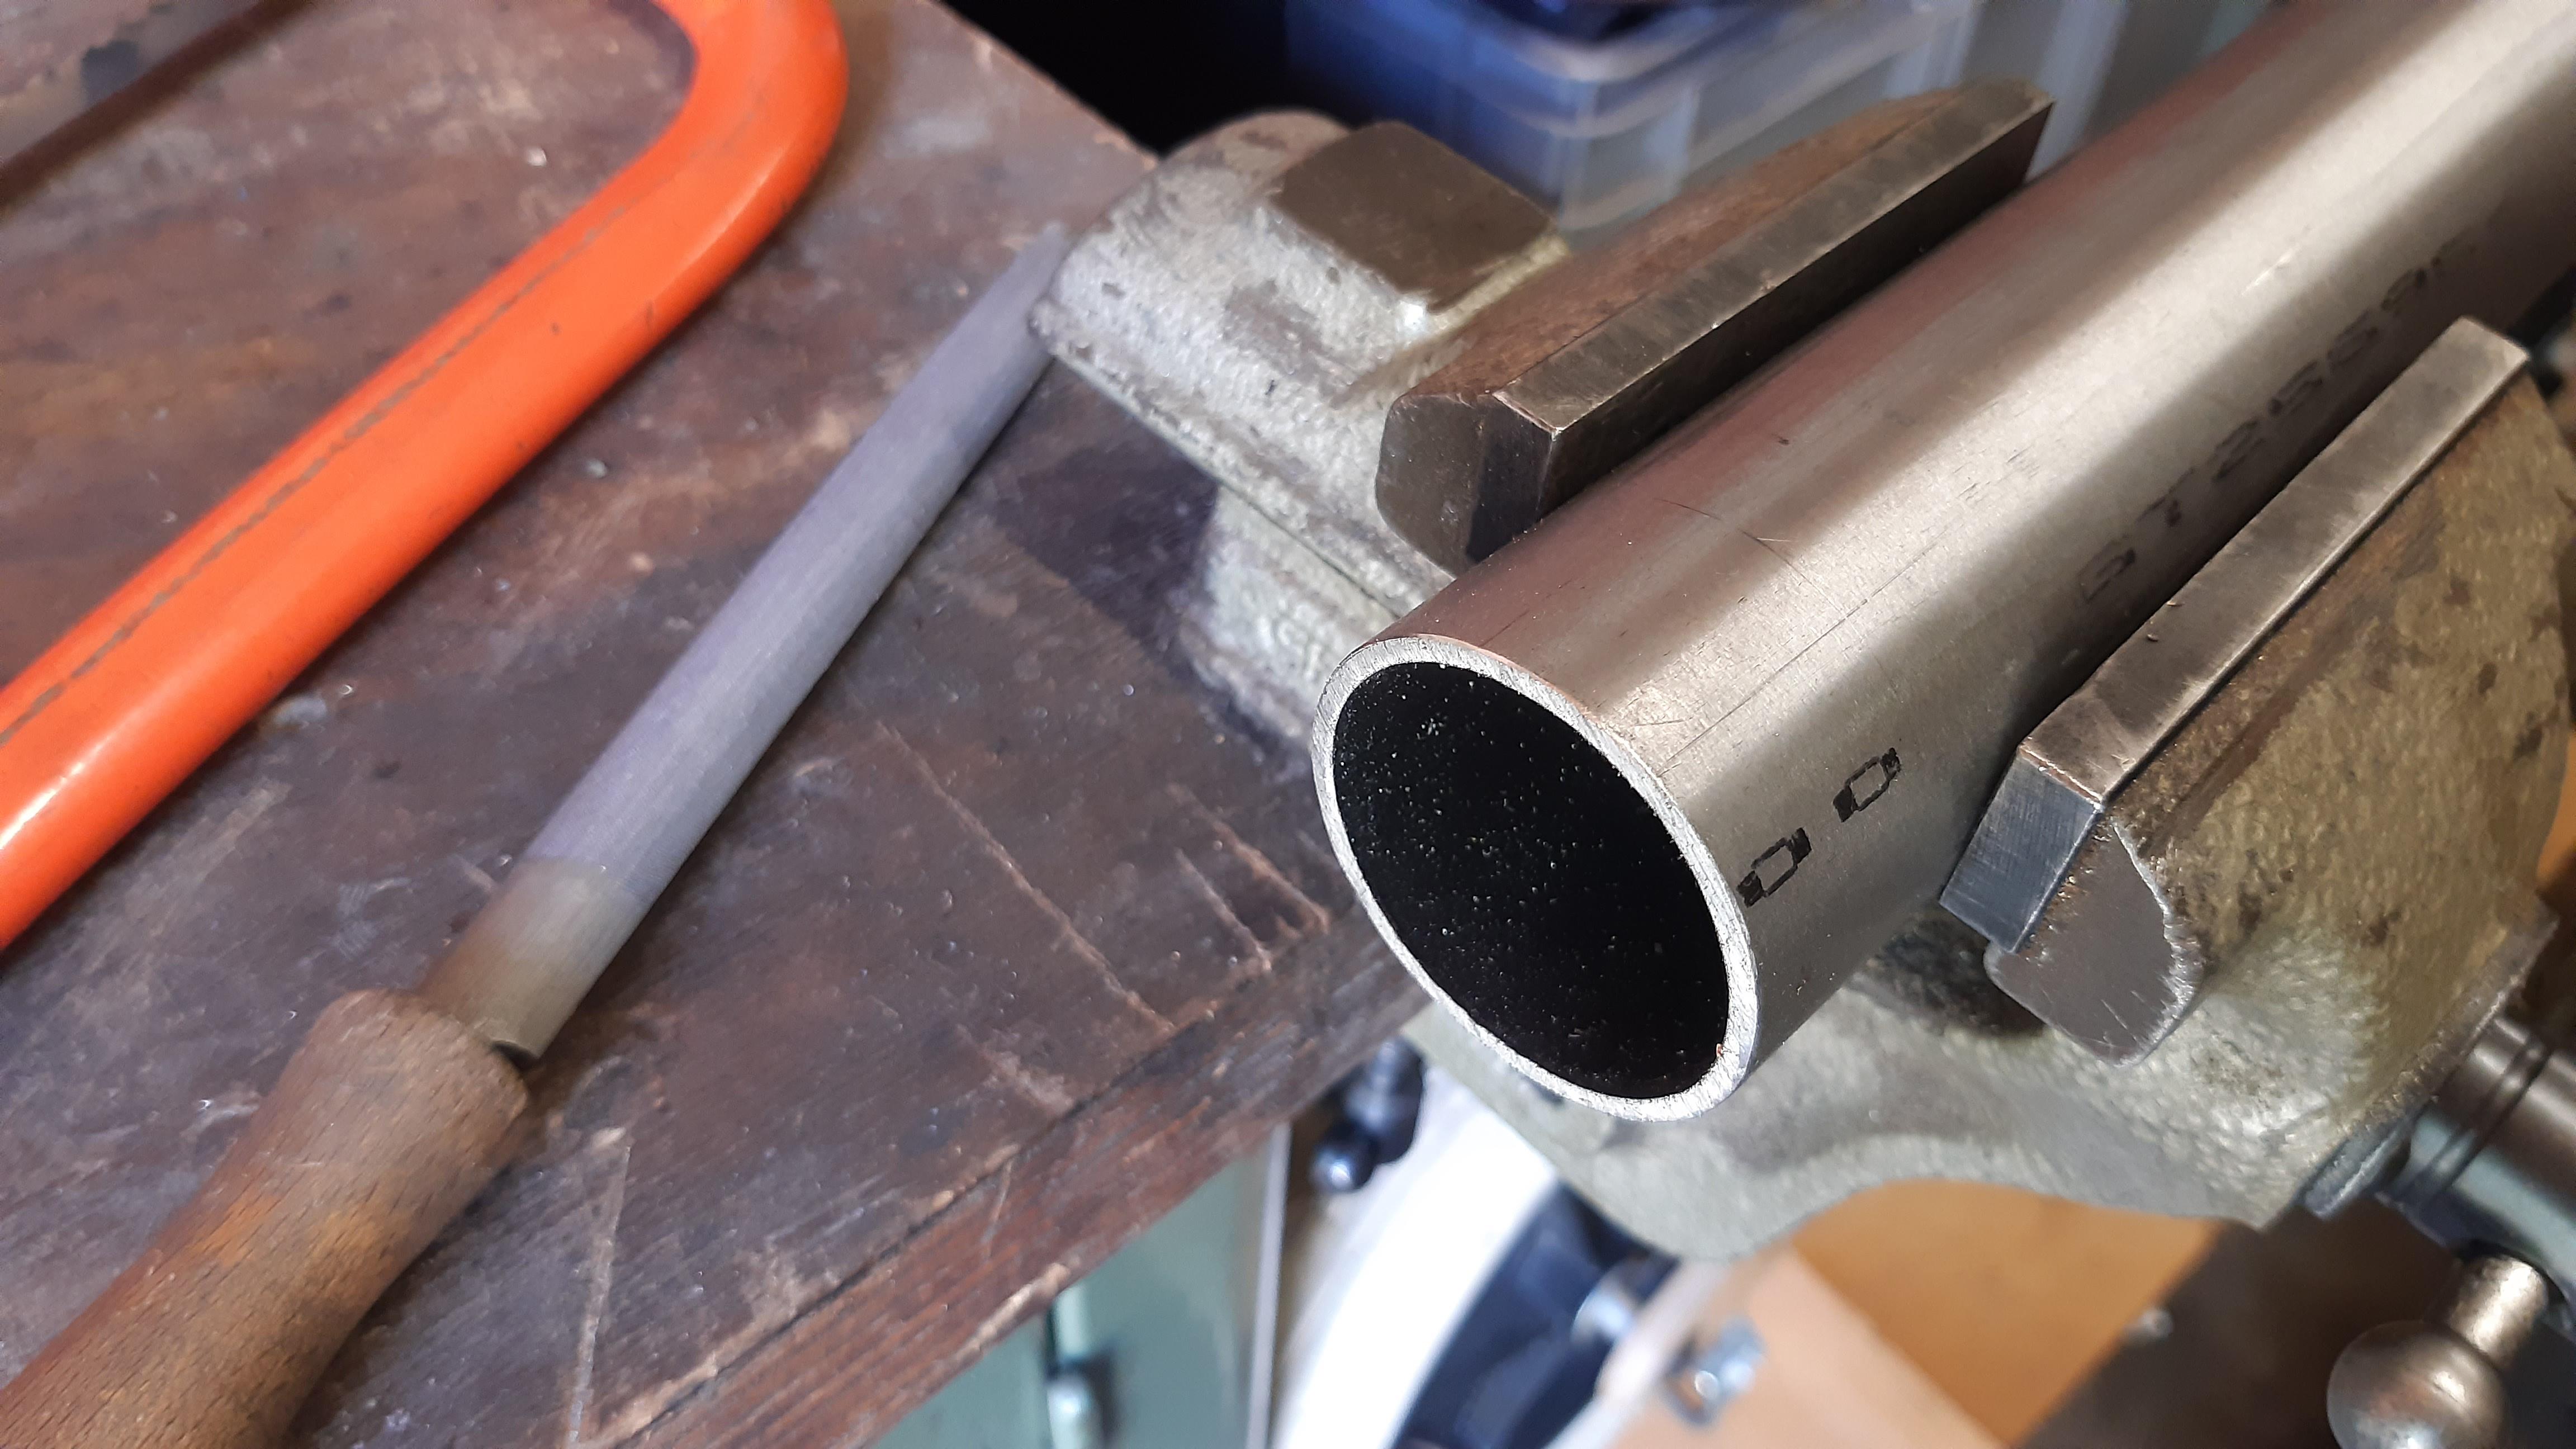
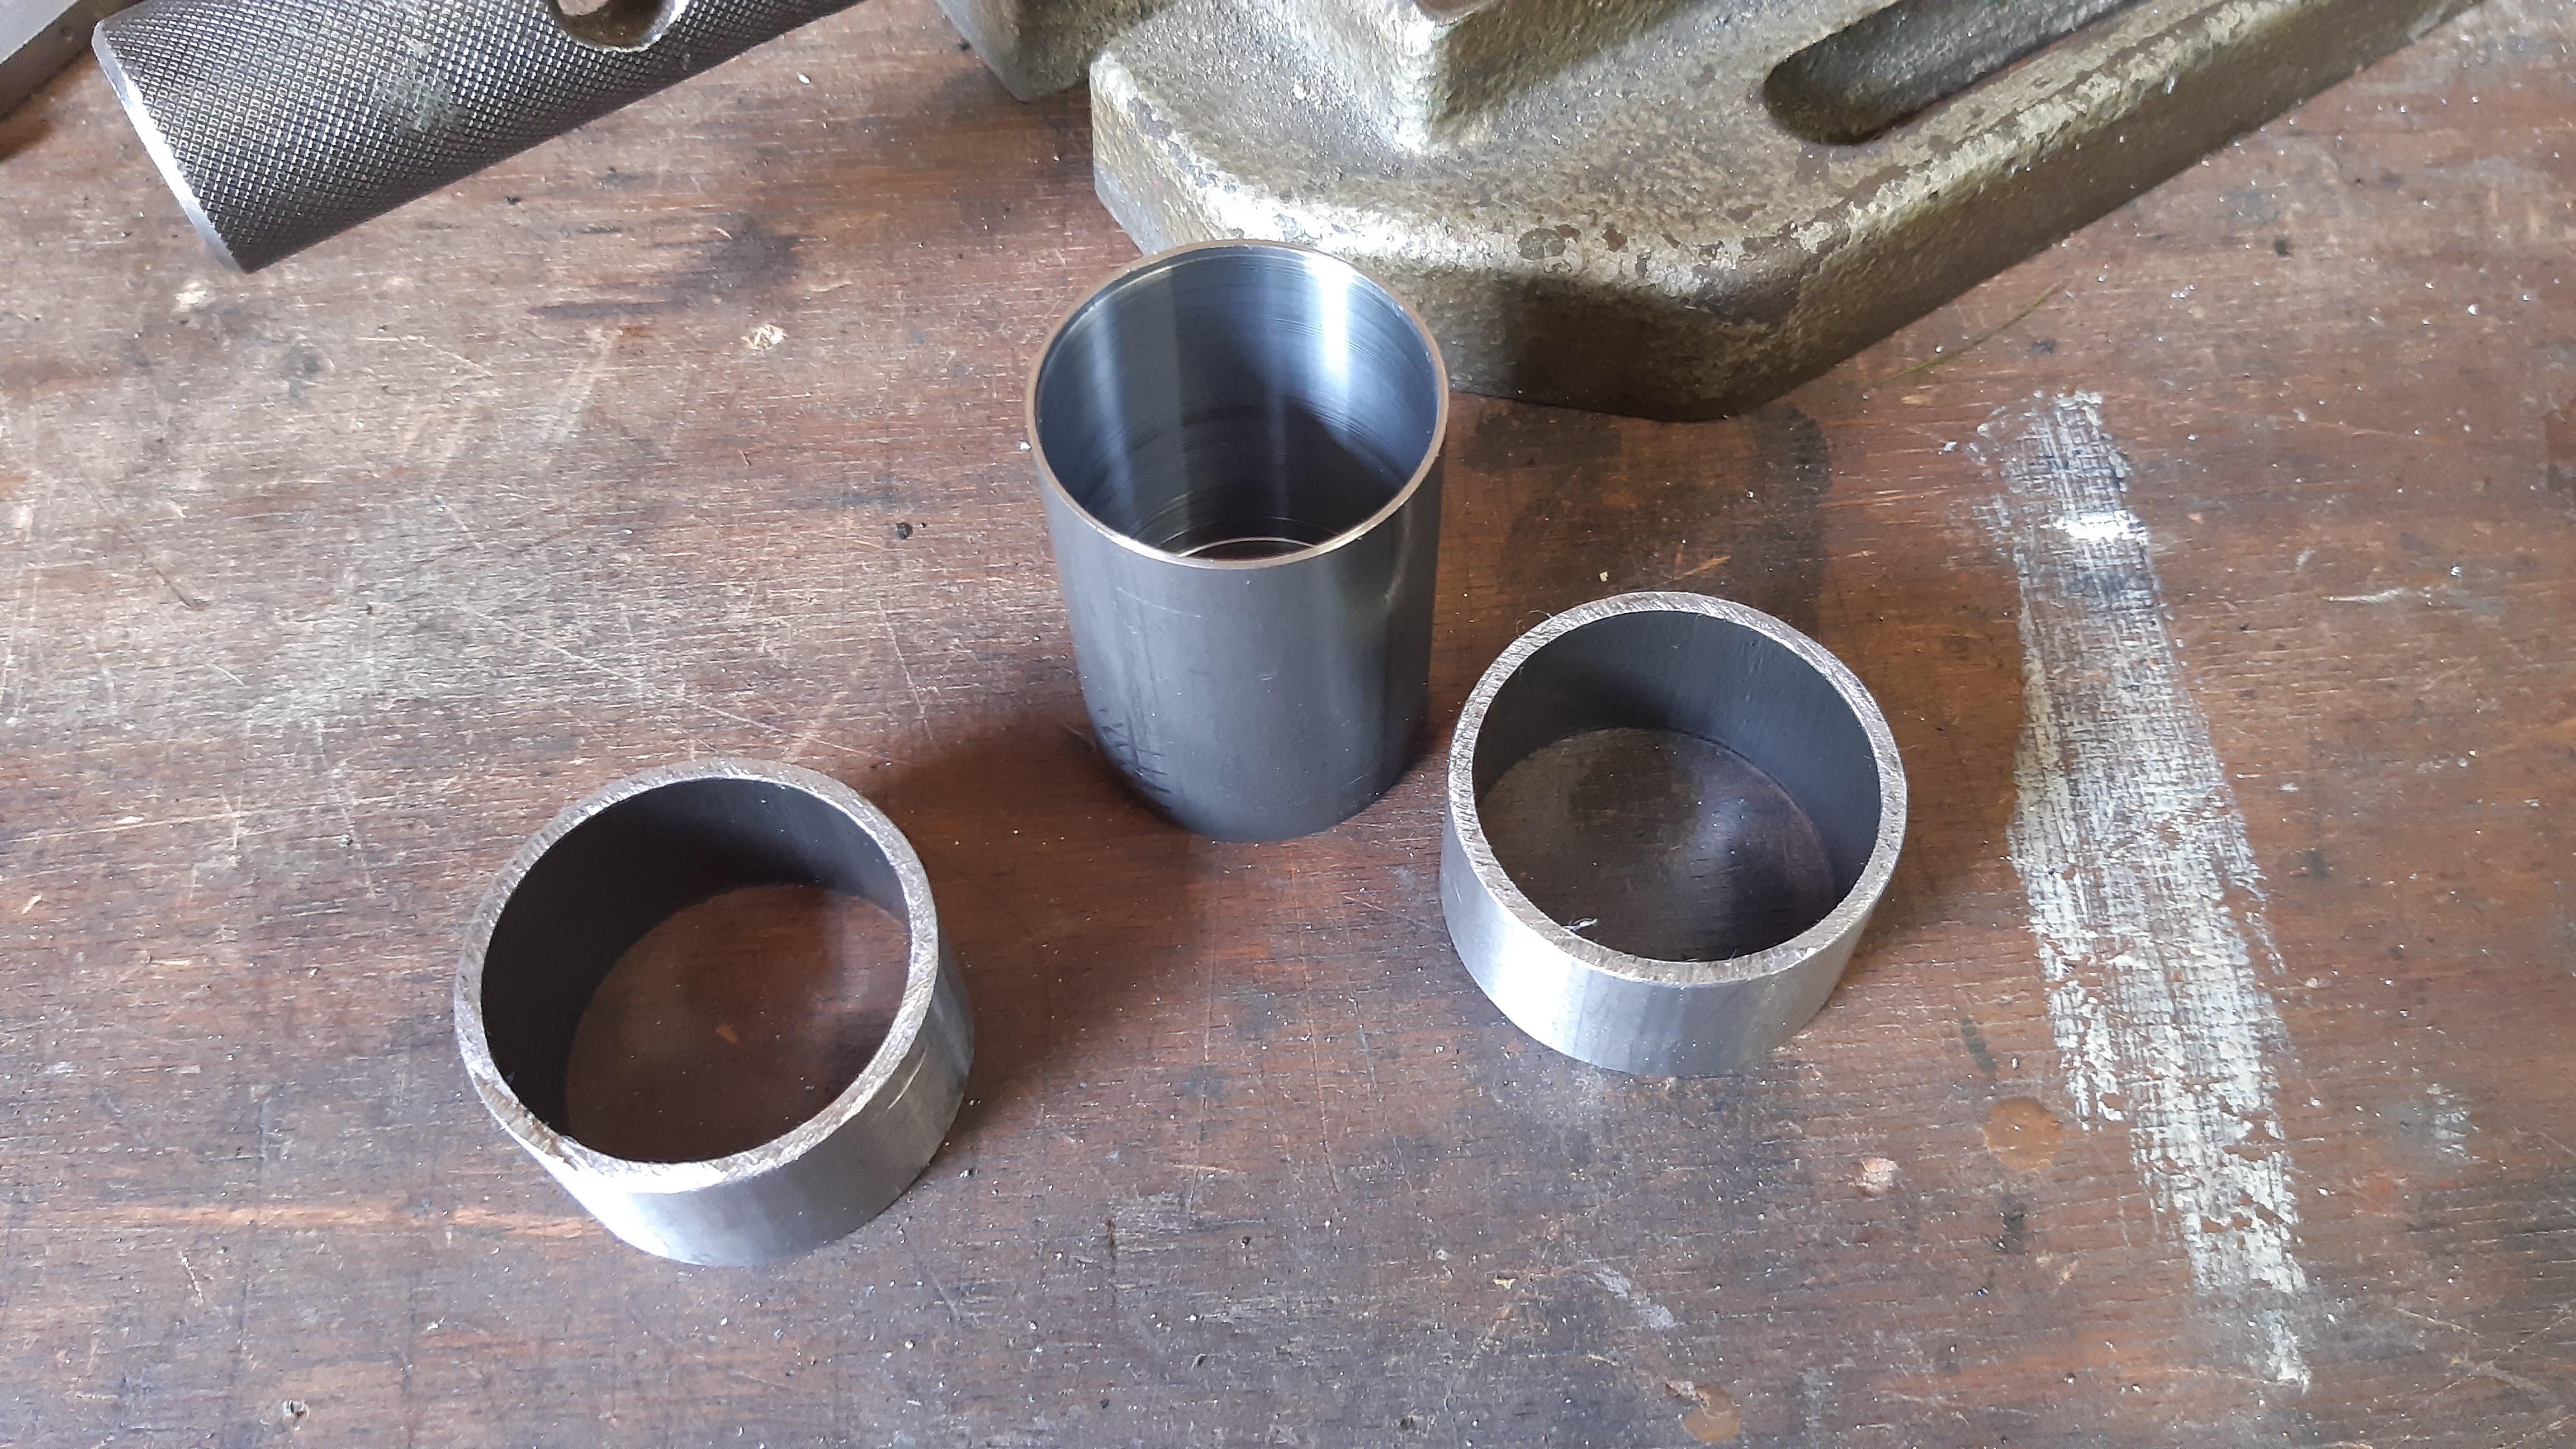
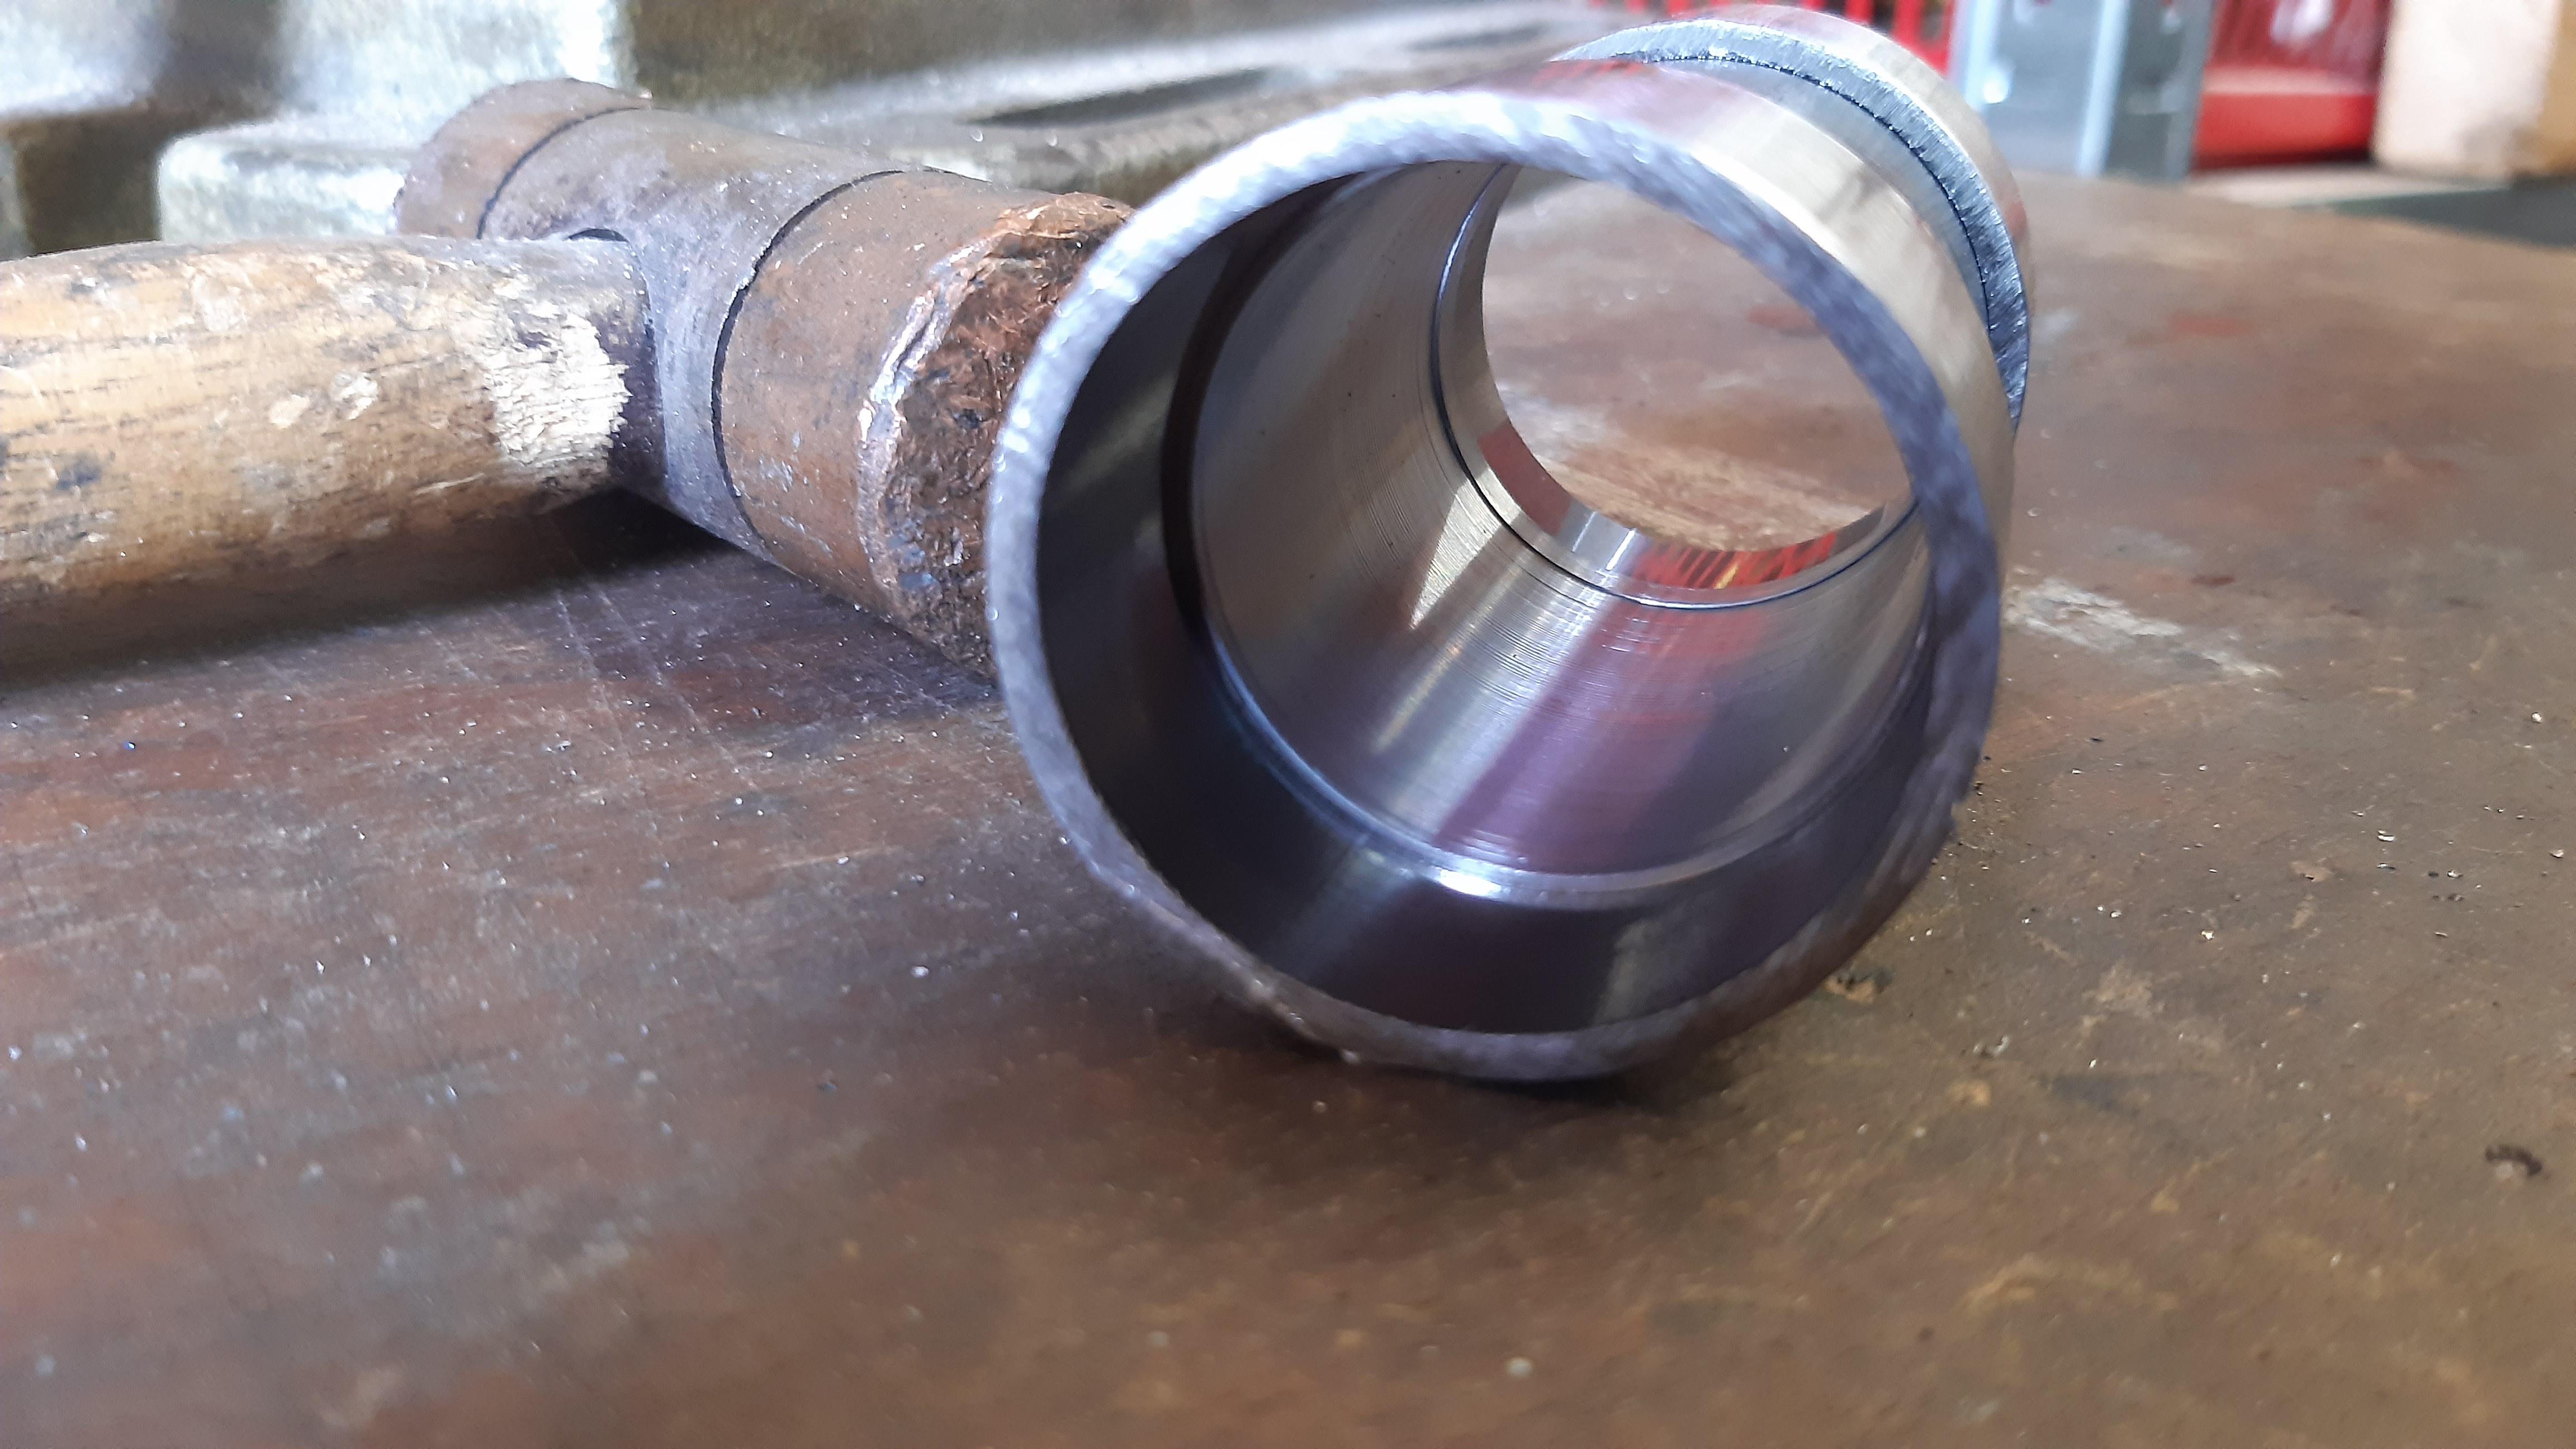
Pictures! Work in progress.
Still parts to be modeled and double-checked in above 3D CAD model.
My goals; to have fun, try a build a almost indestructable hub and share it for the people interested.
If interested, I can share all measurements, drawings, tolerances and steps so you can build this as wel
I love these junk projects.
Question:
Is it wise to powdercoat a hub? I am afraid for: 1: Spokes won't fit through the holes. 2: The coating will break under the pressure, like when you tighten a bolt on paint, the paint will eventually break.
Last edited:


")