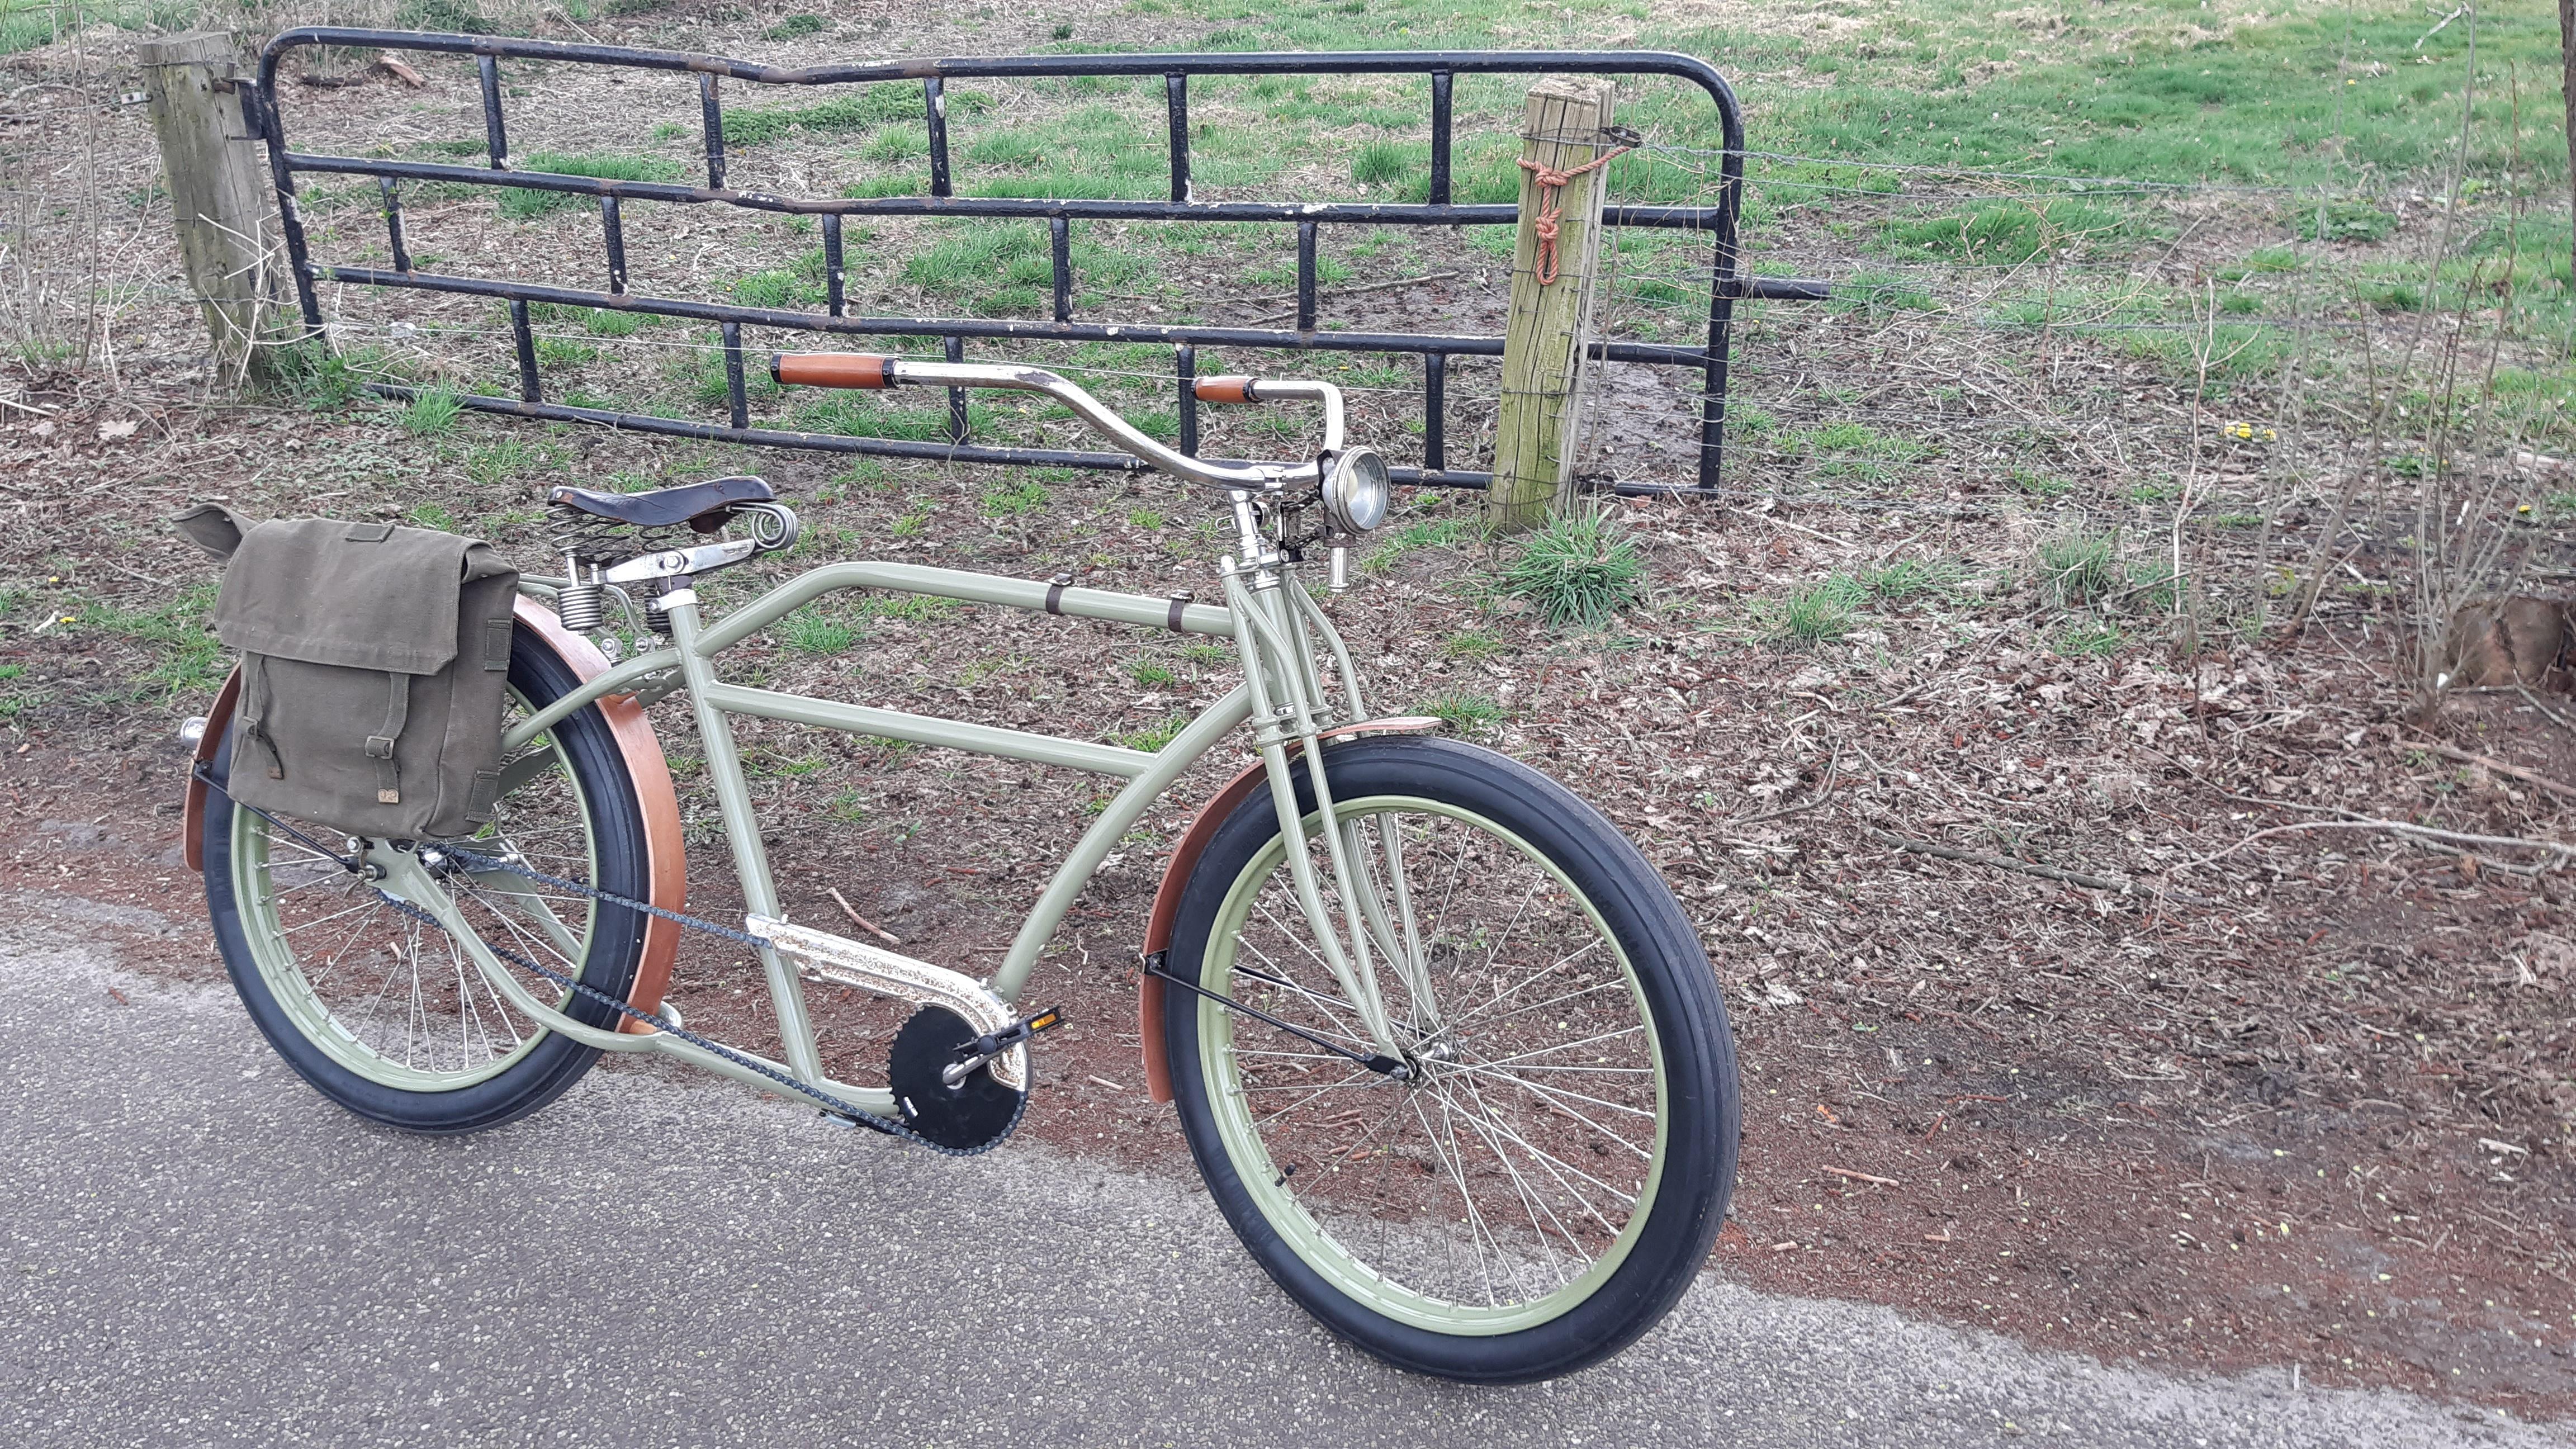
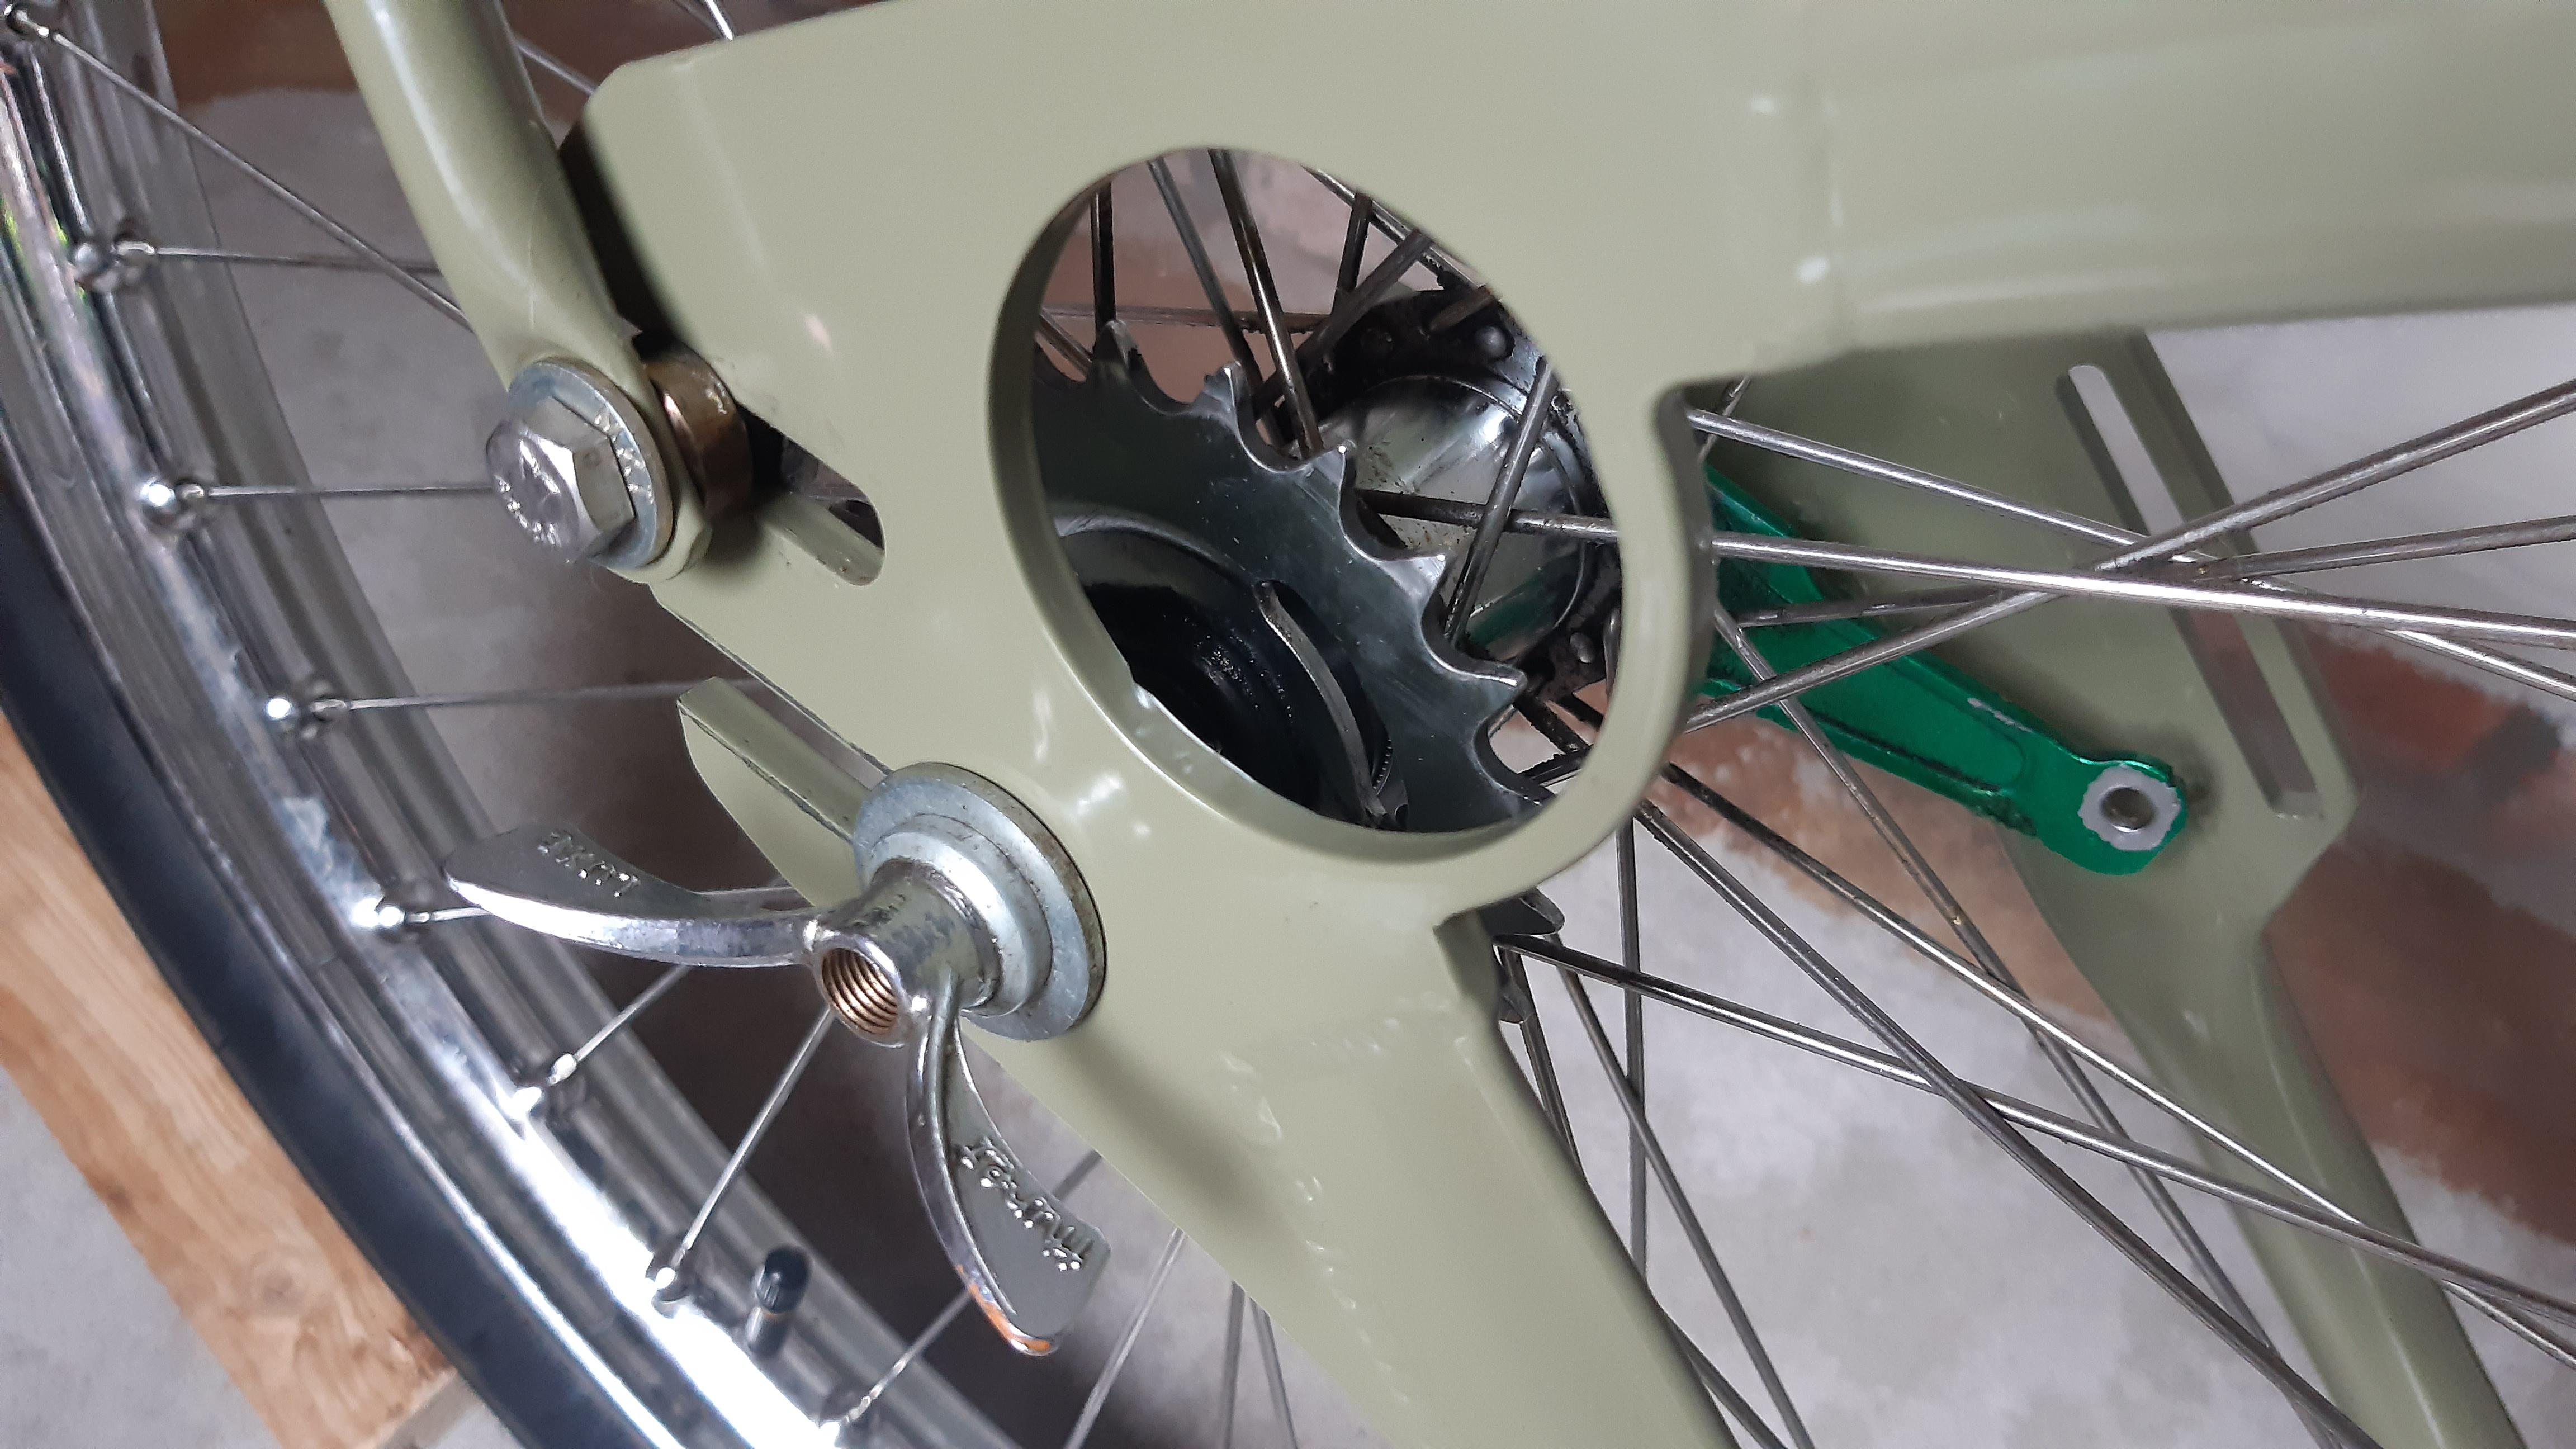
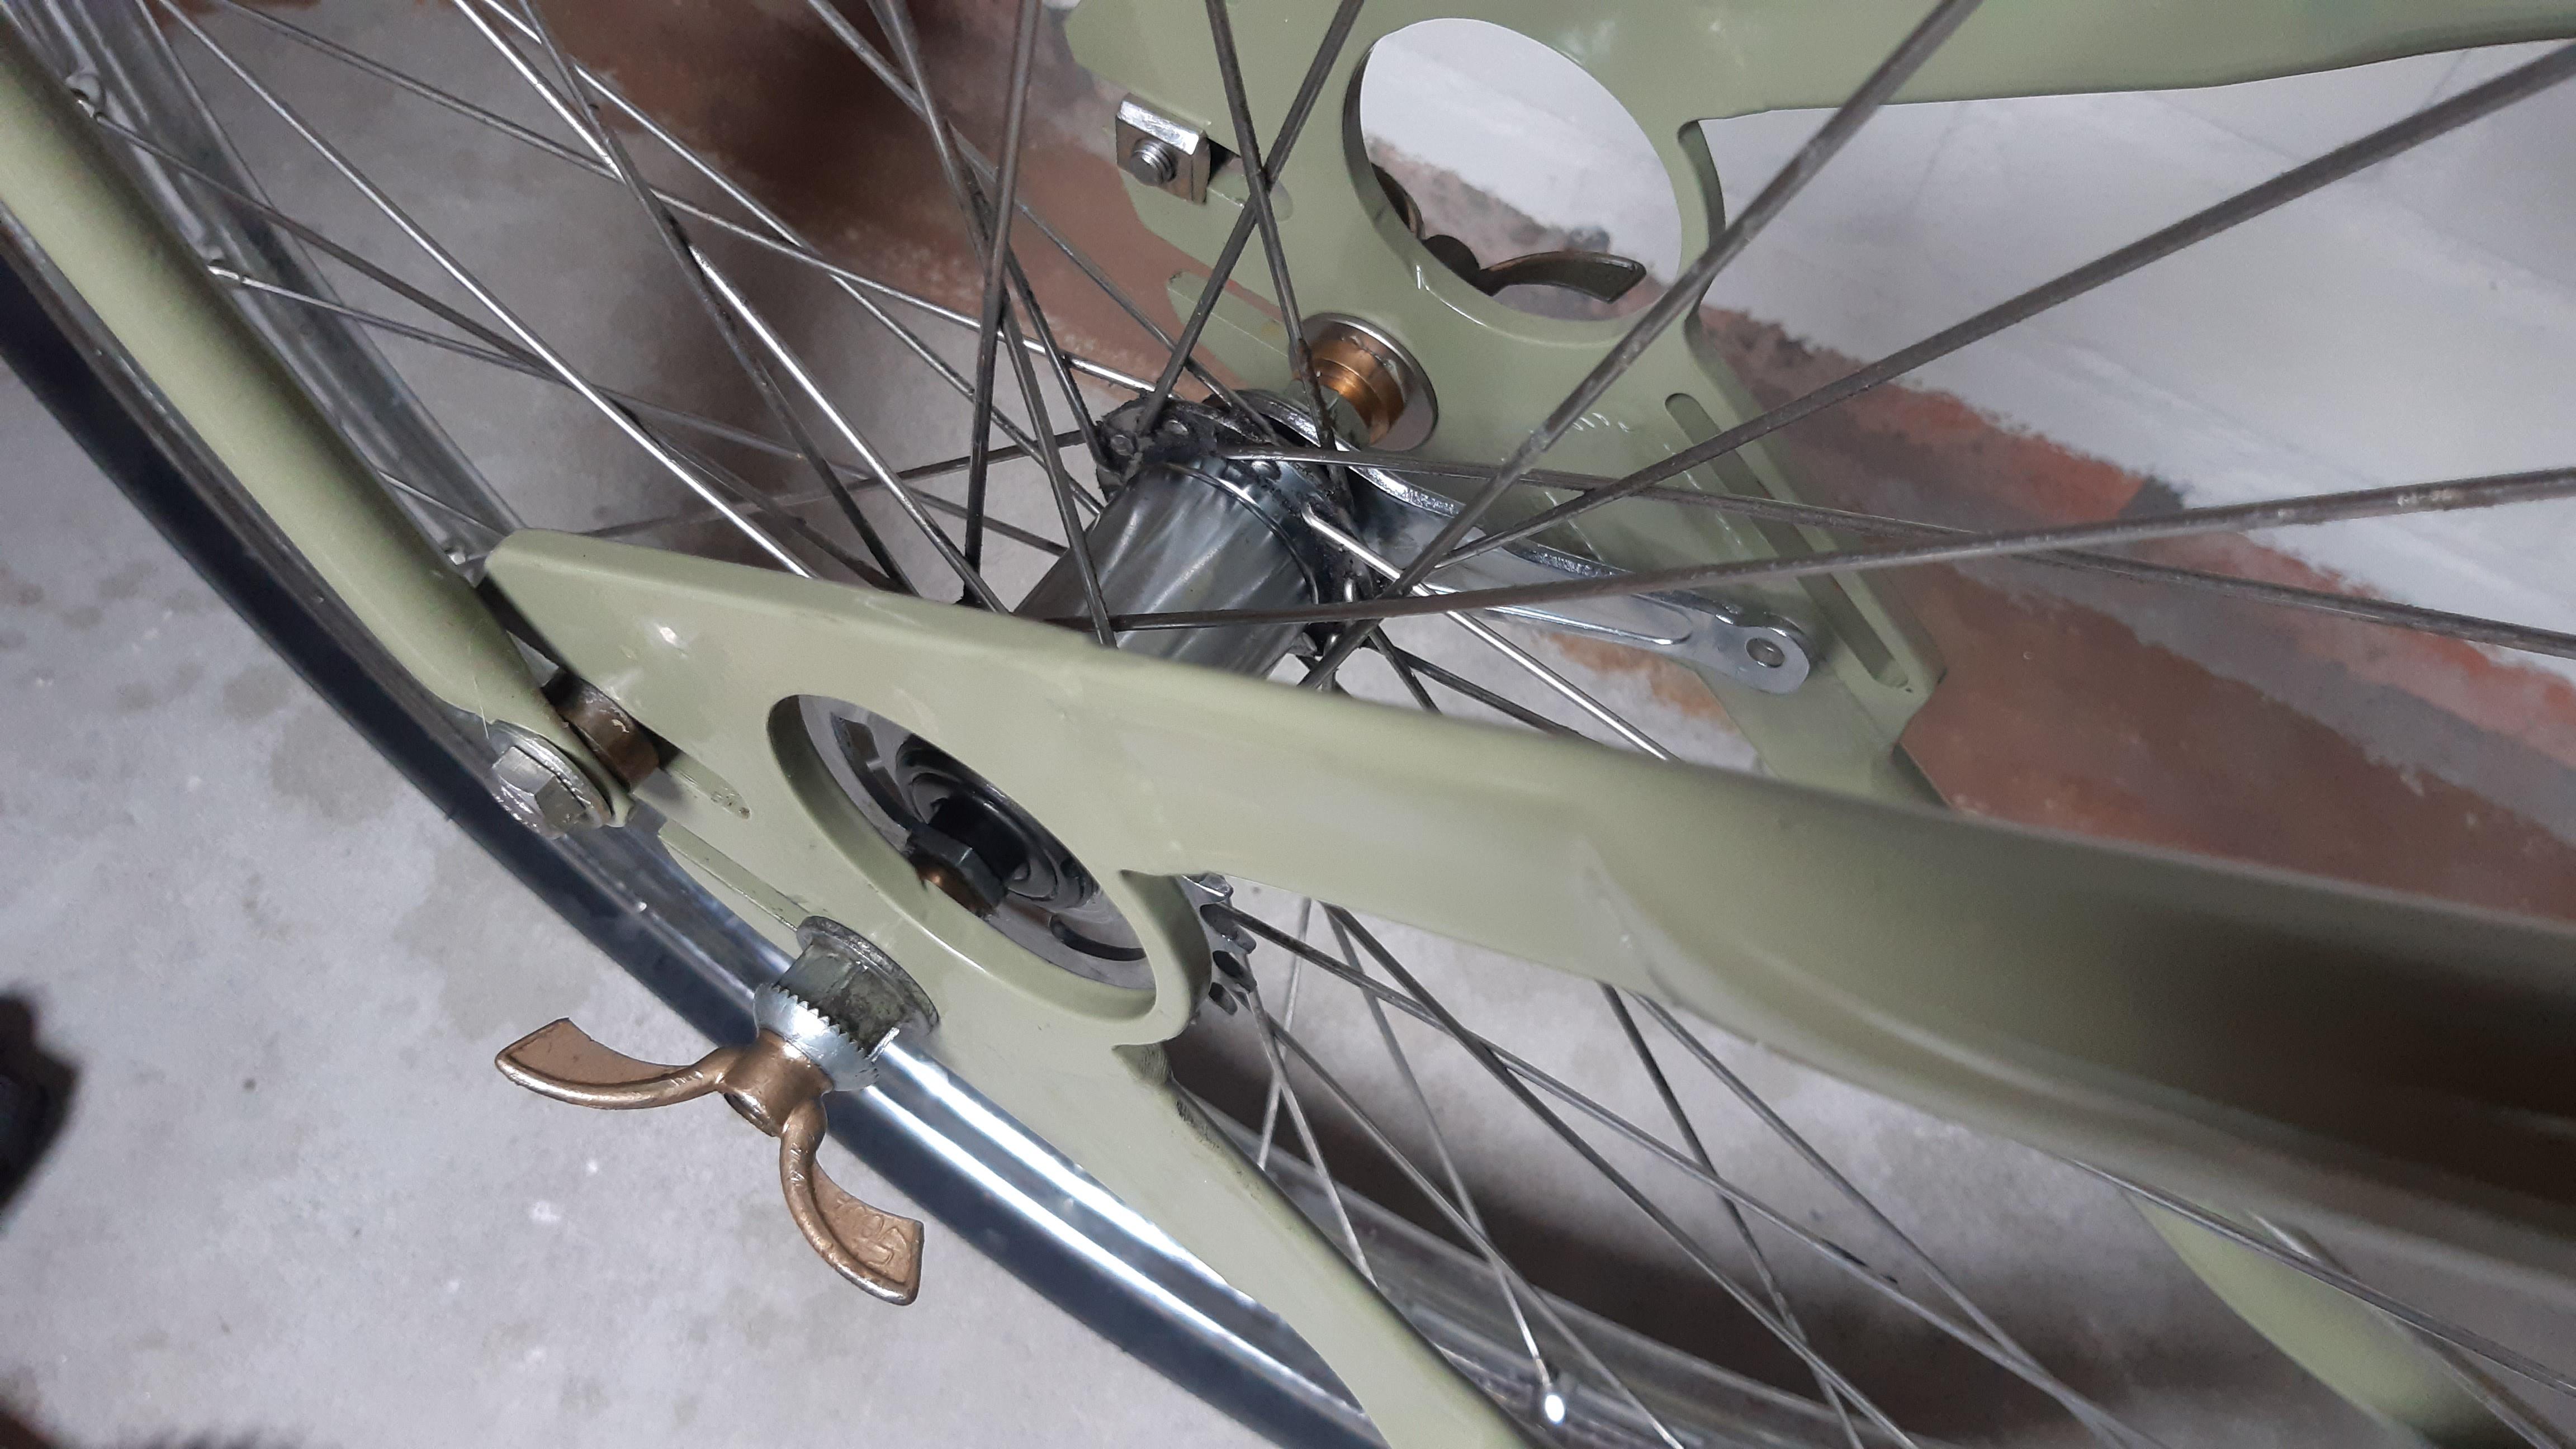
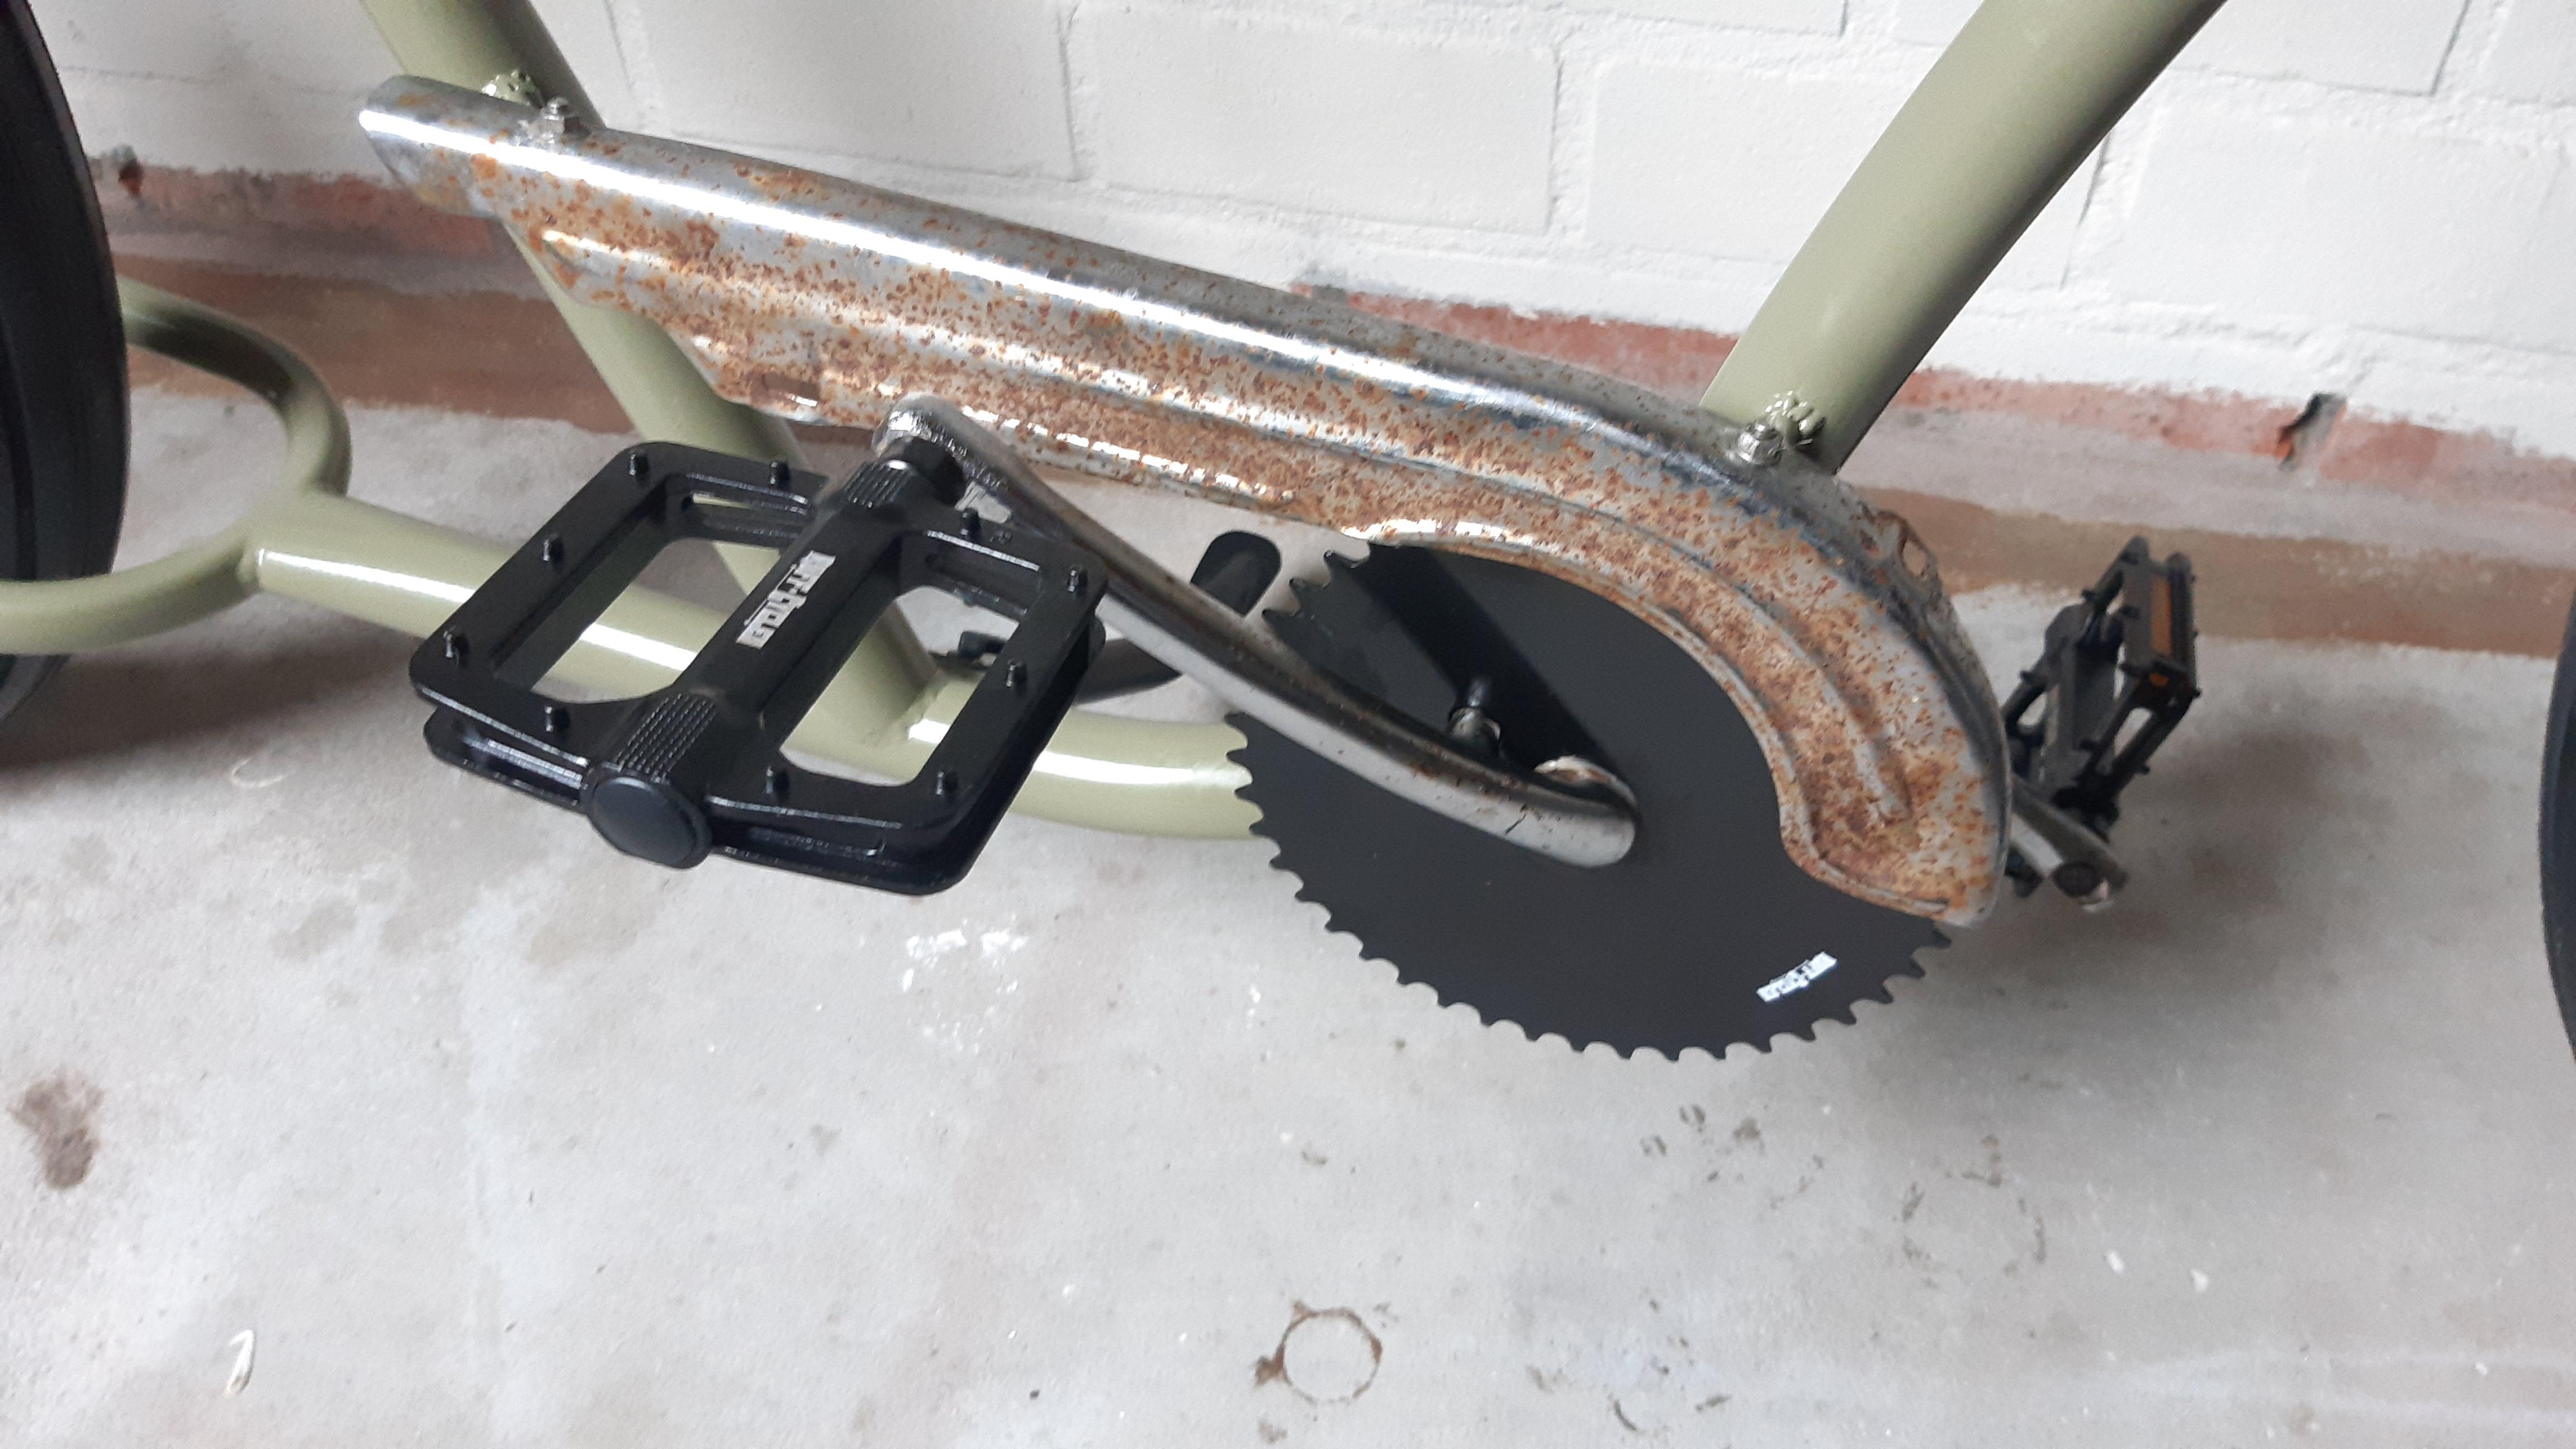
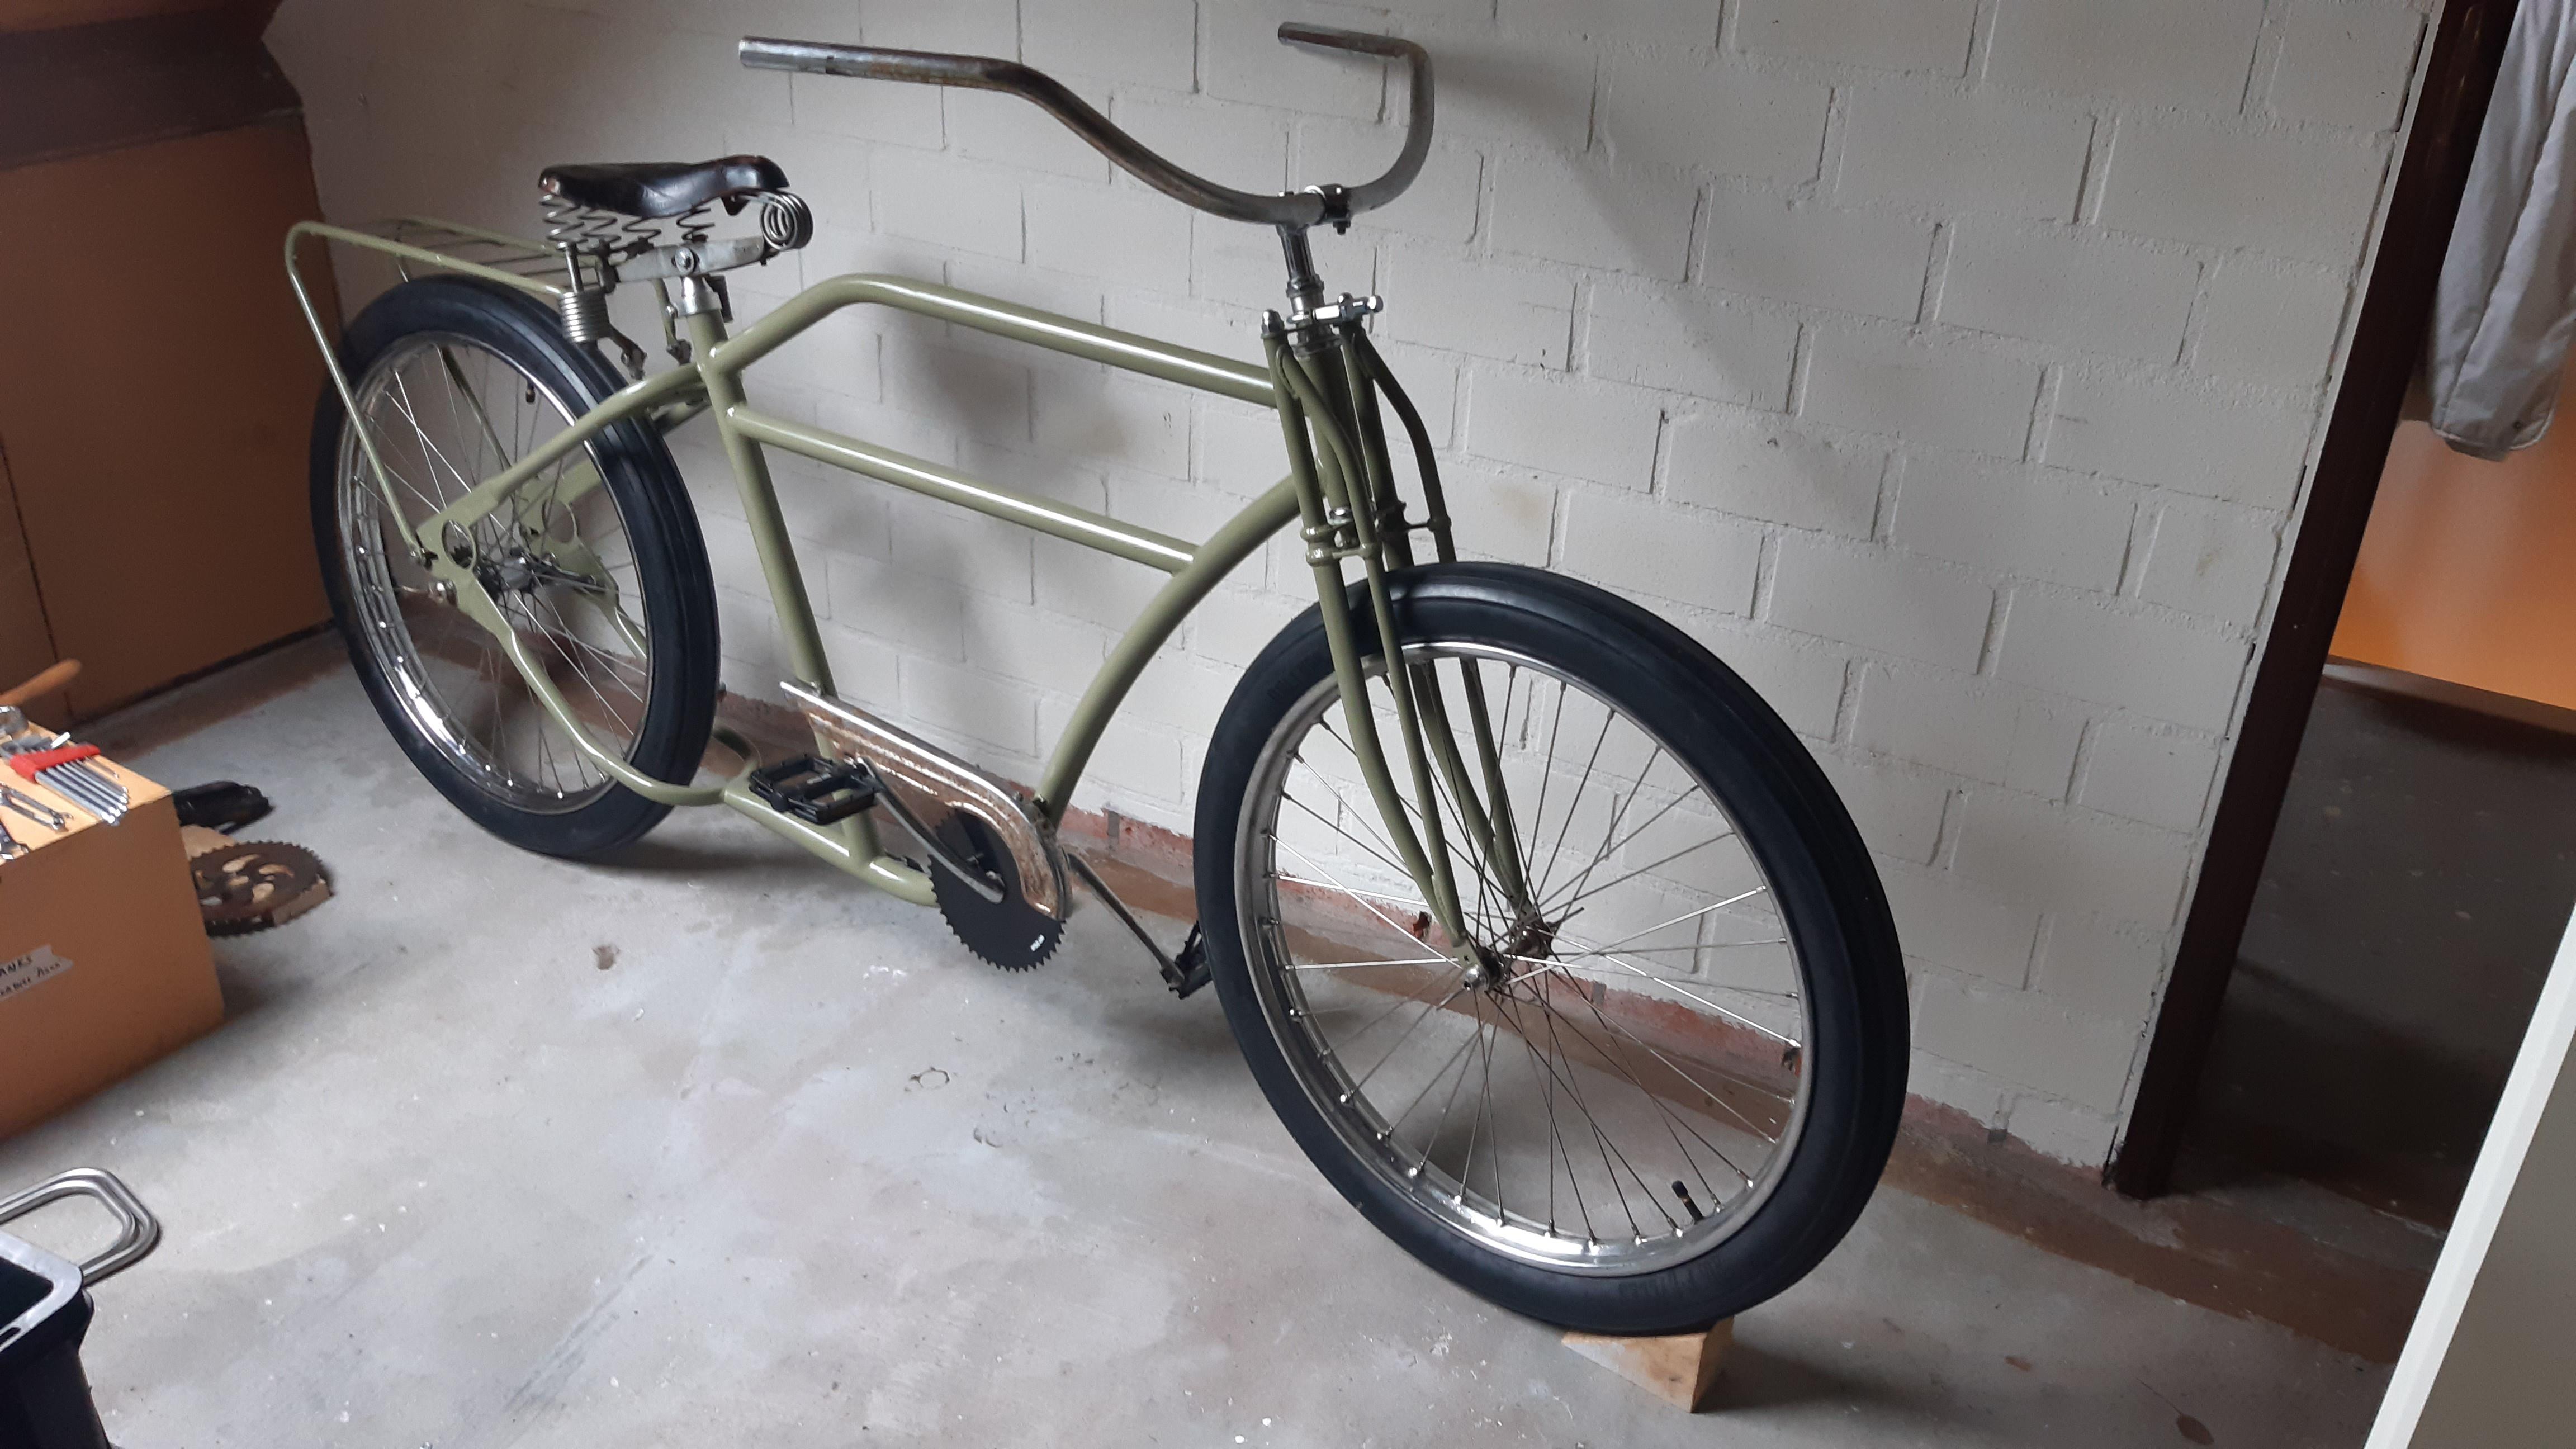
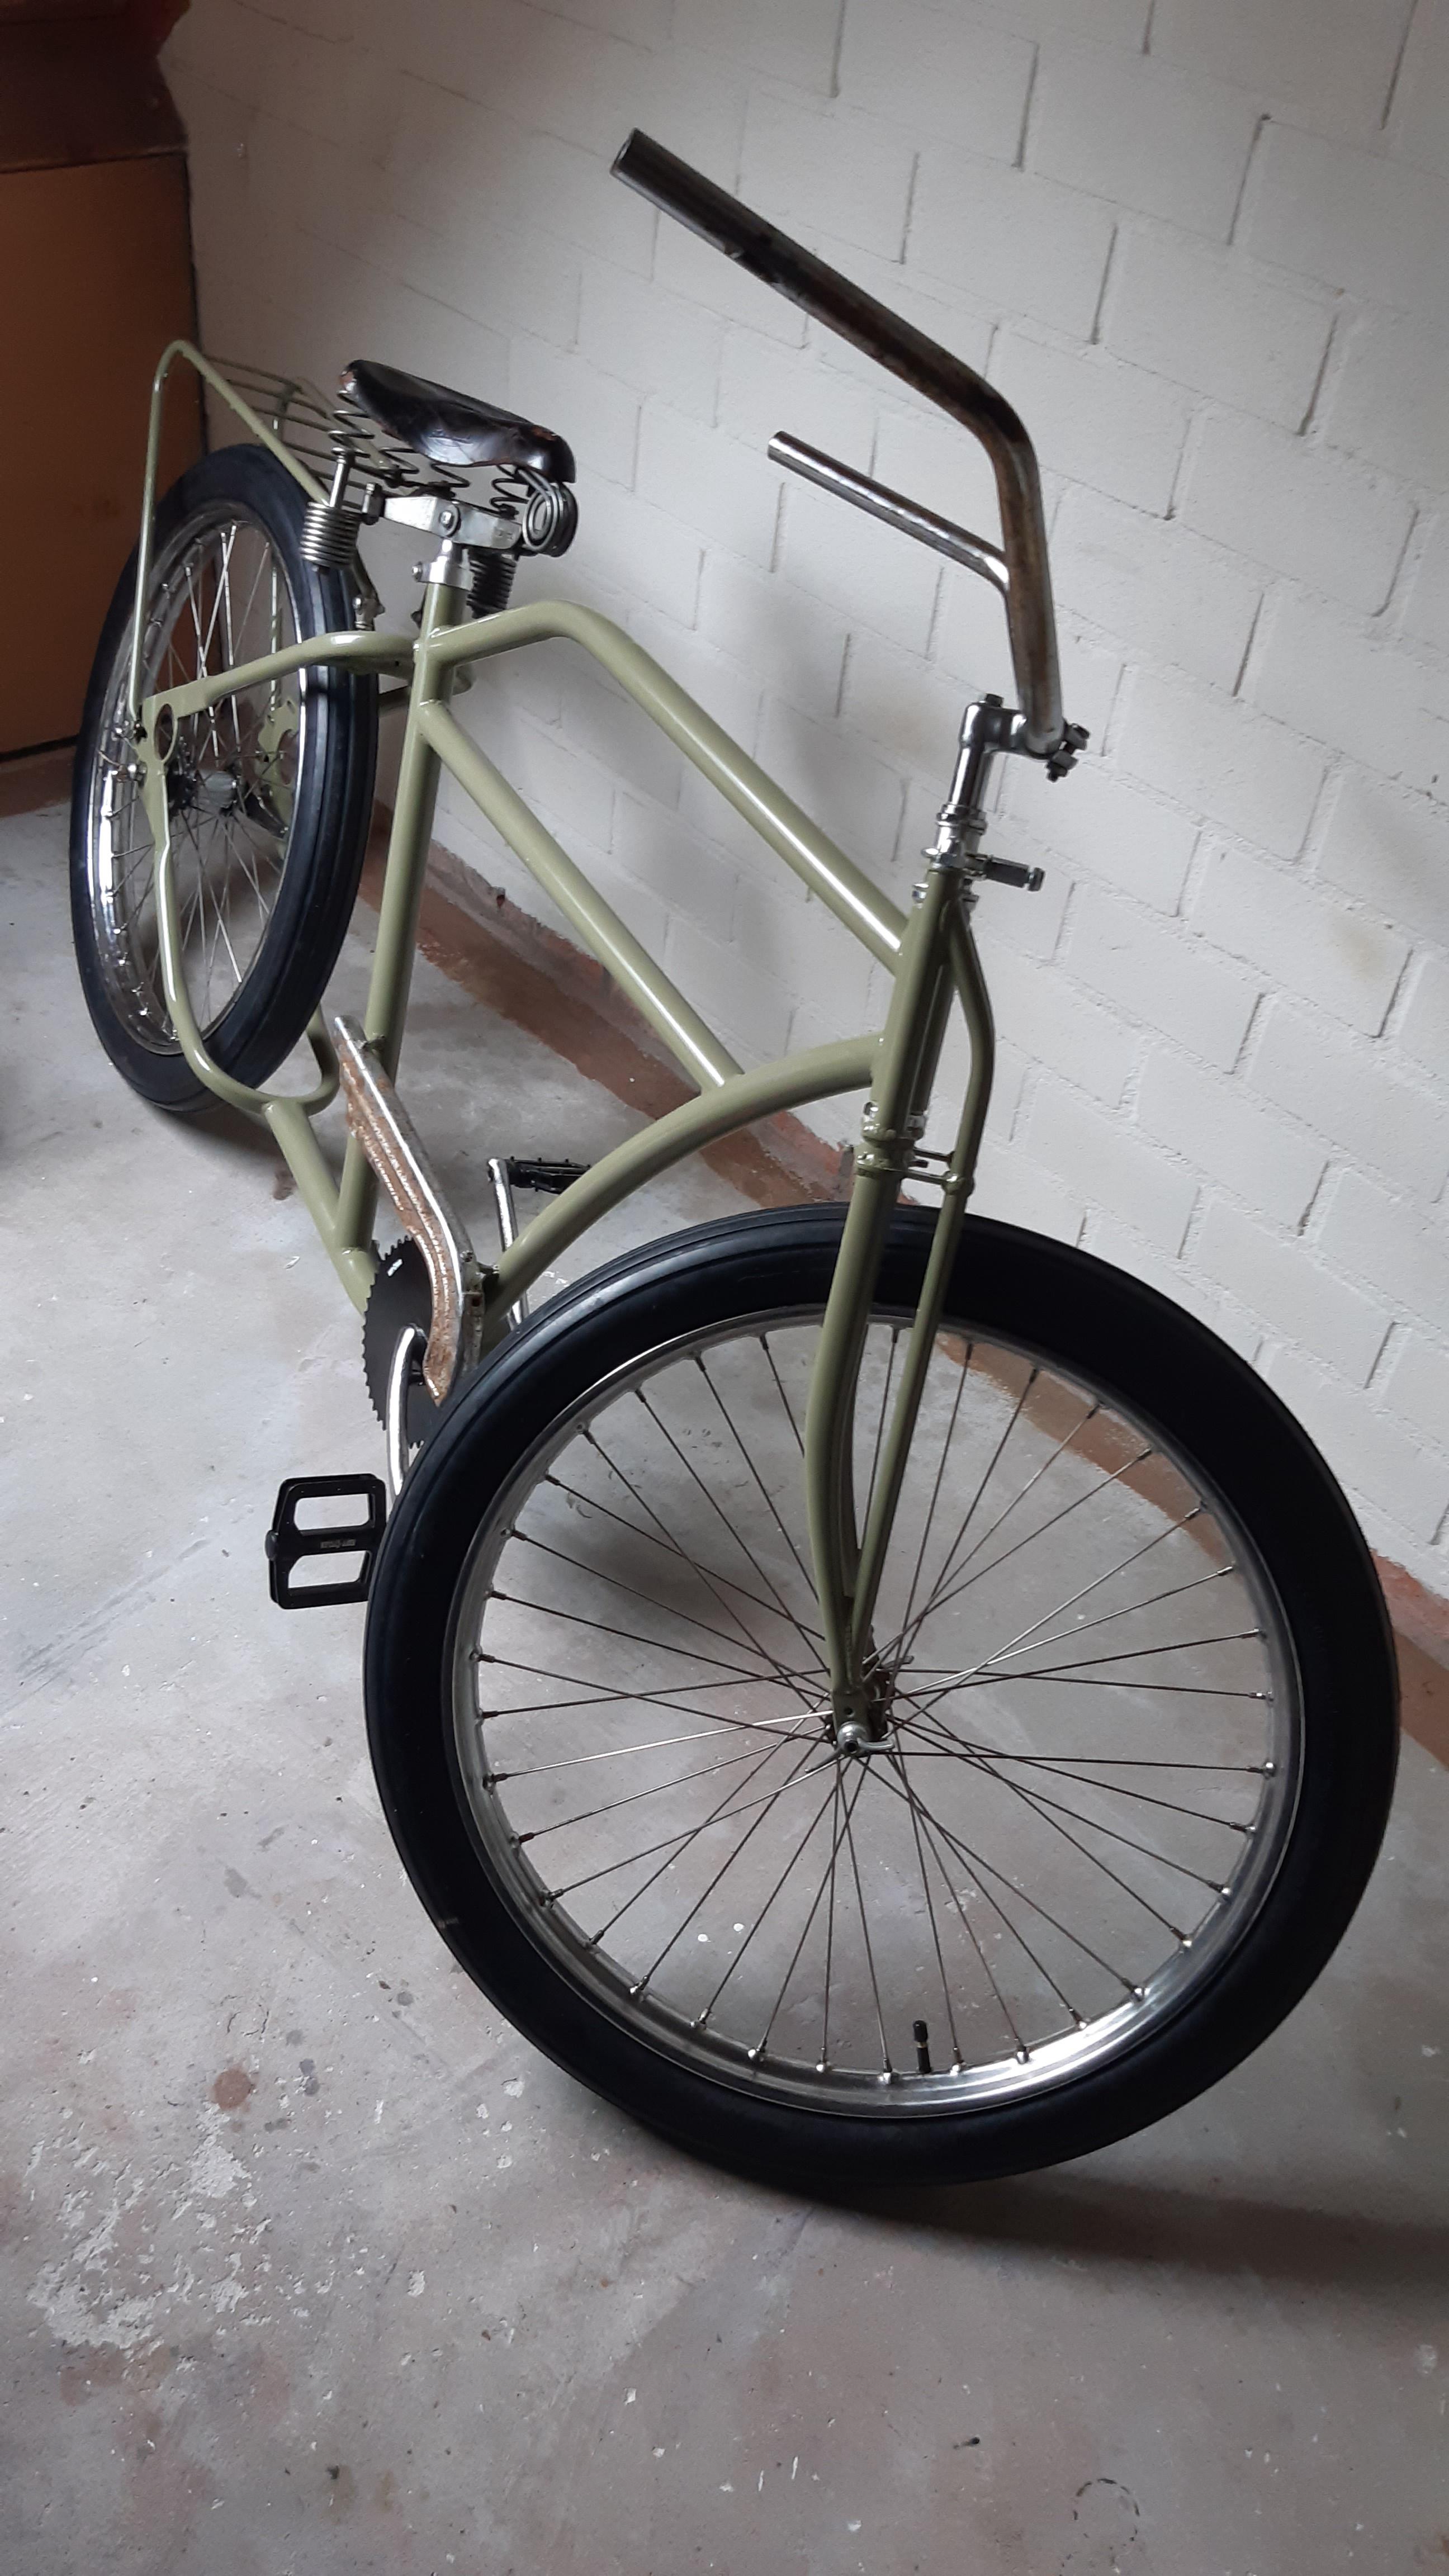
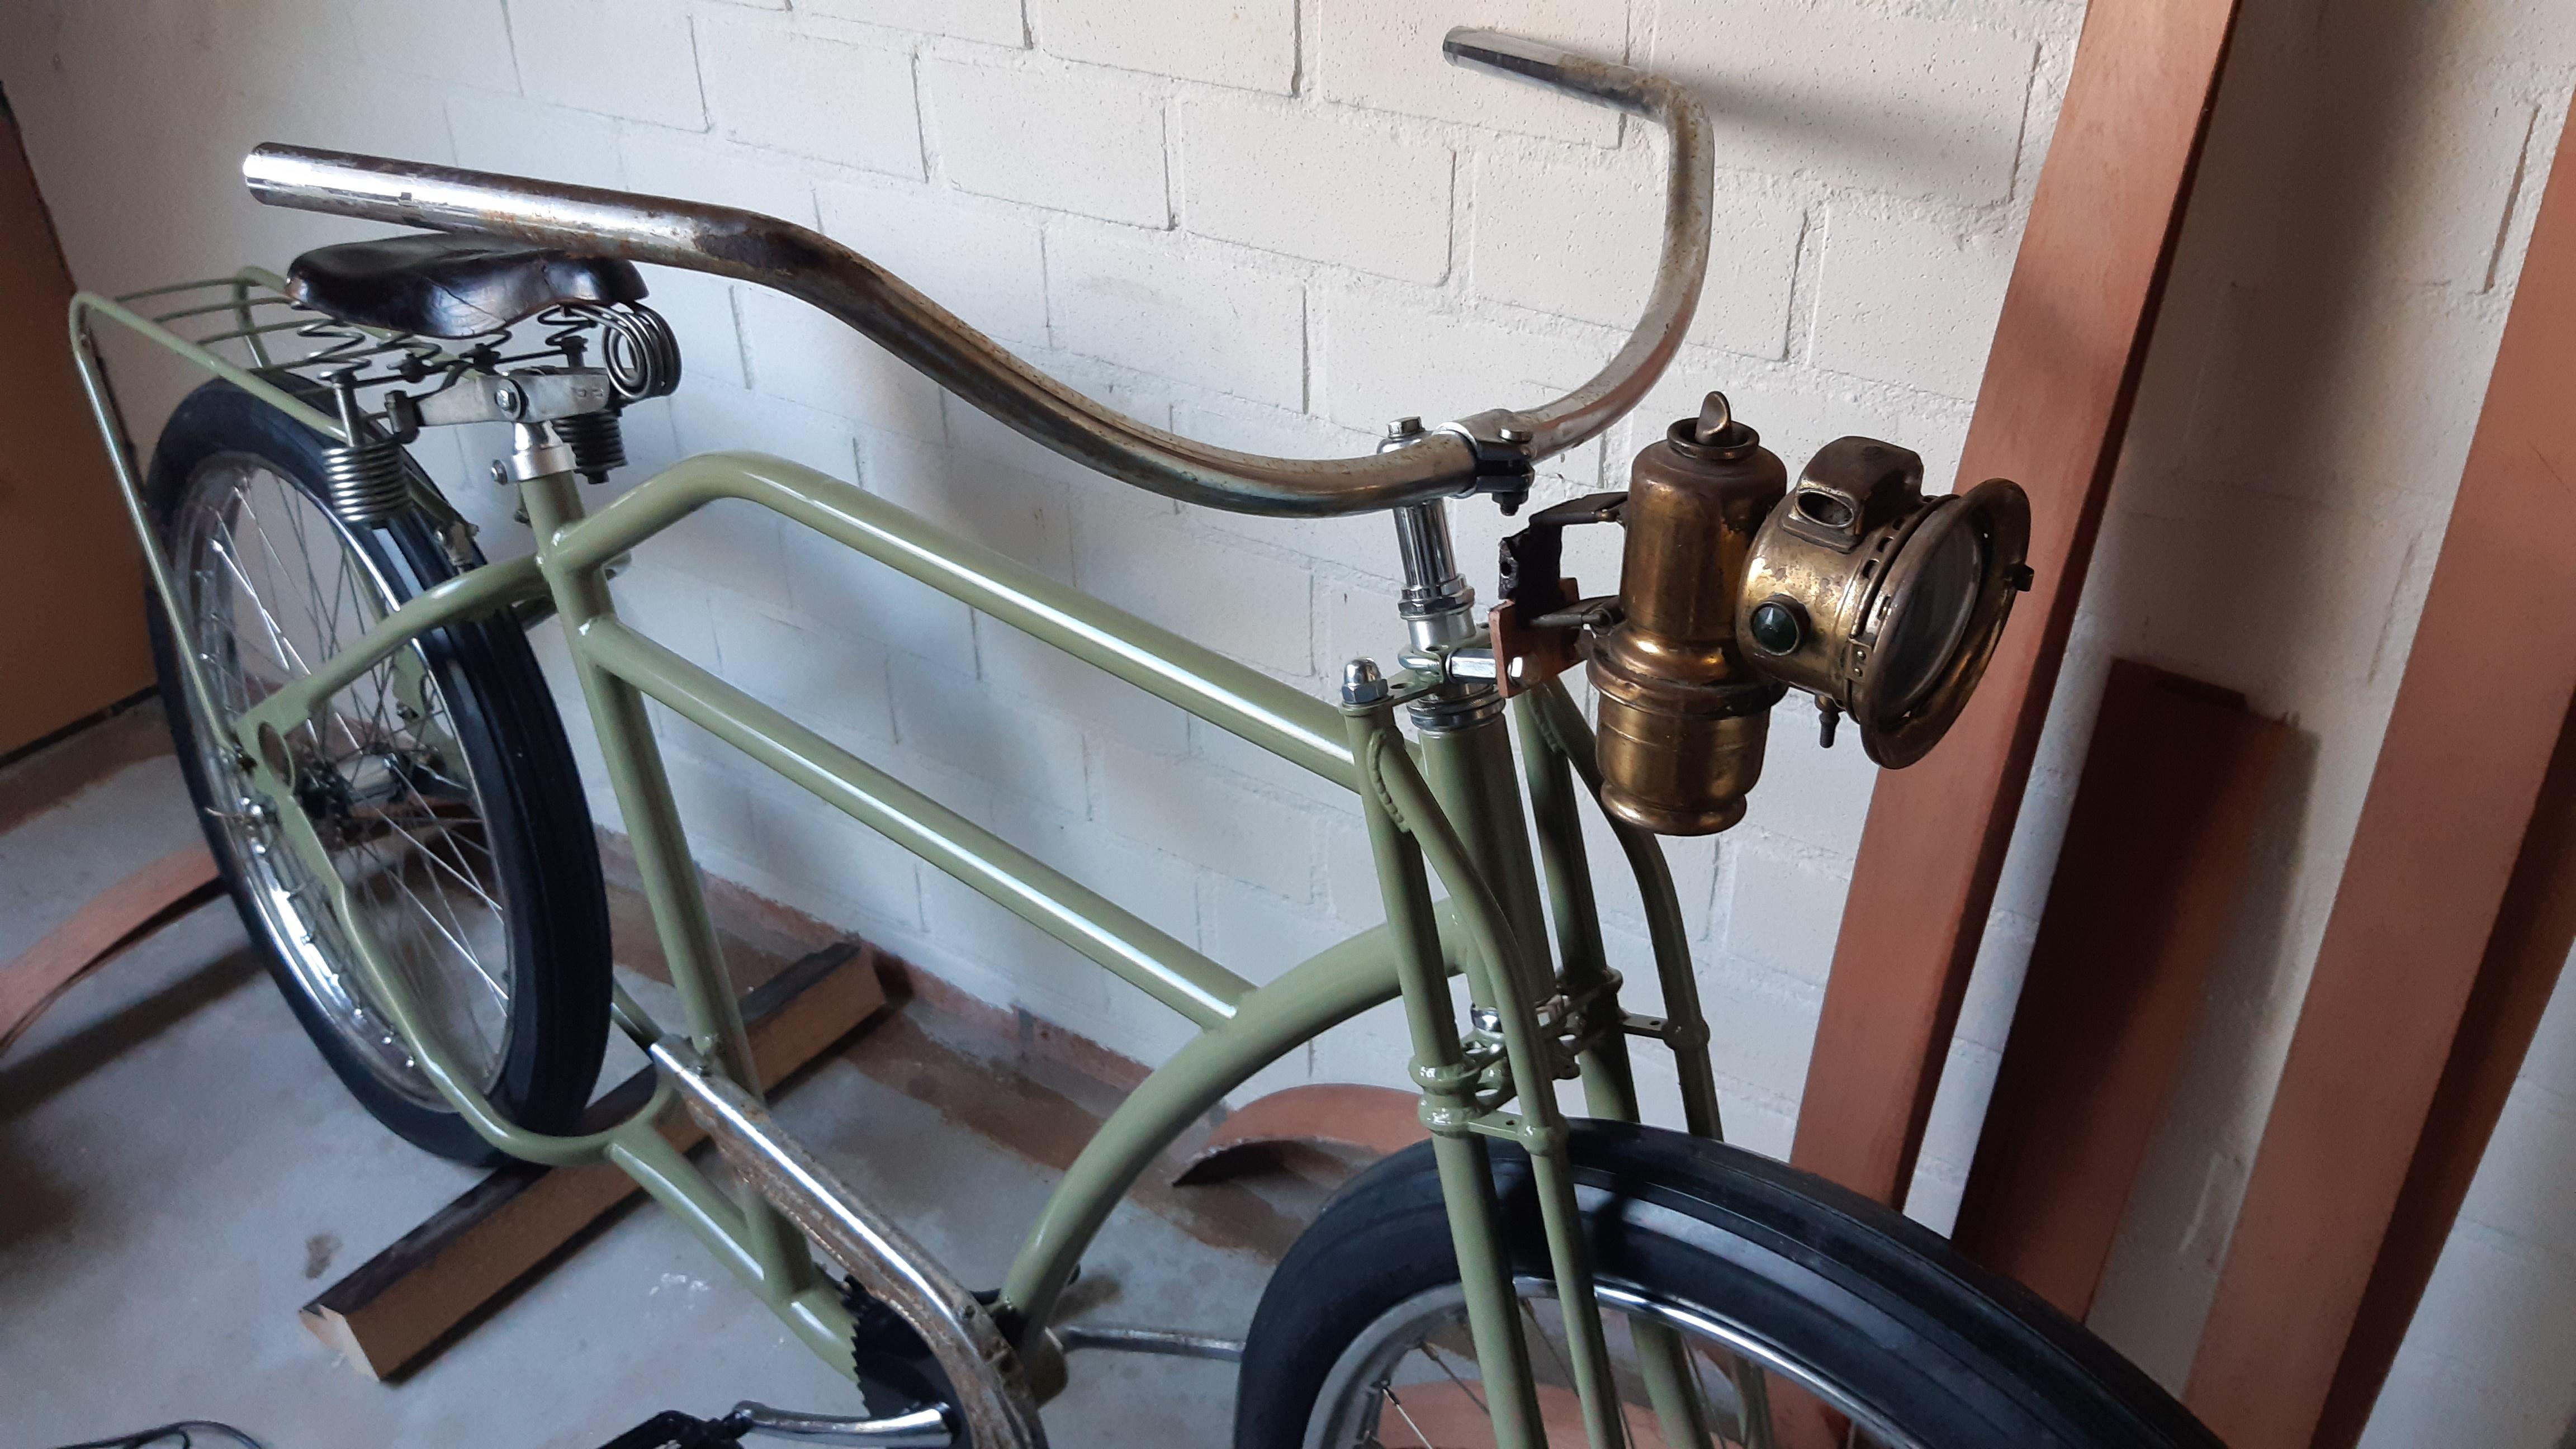
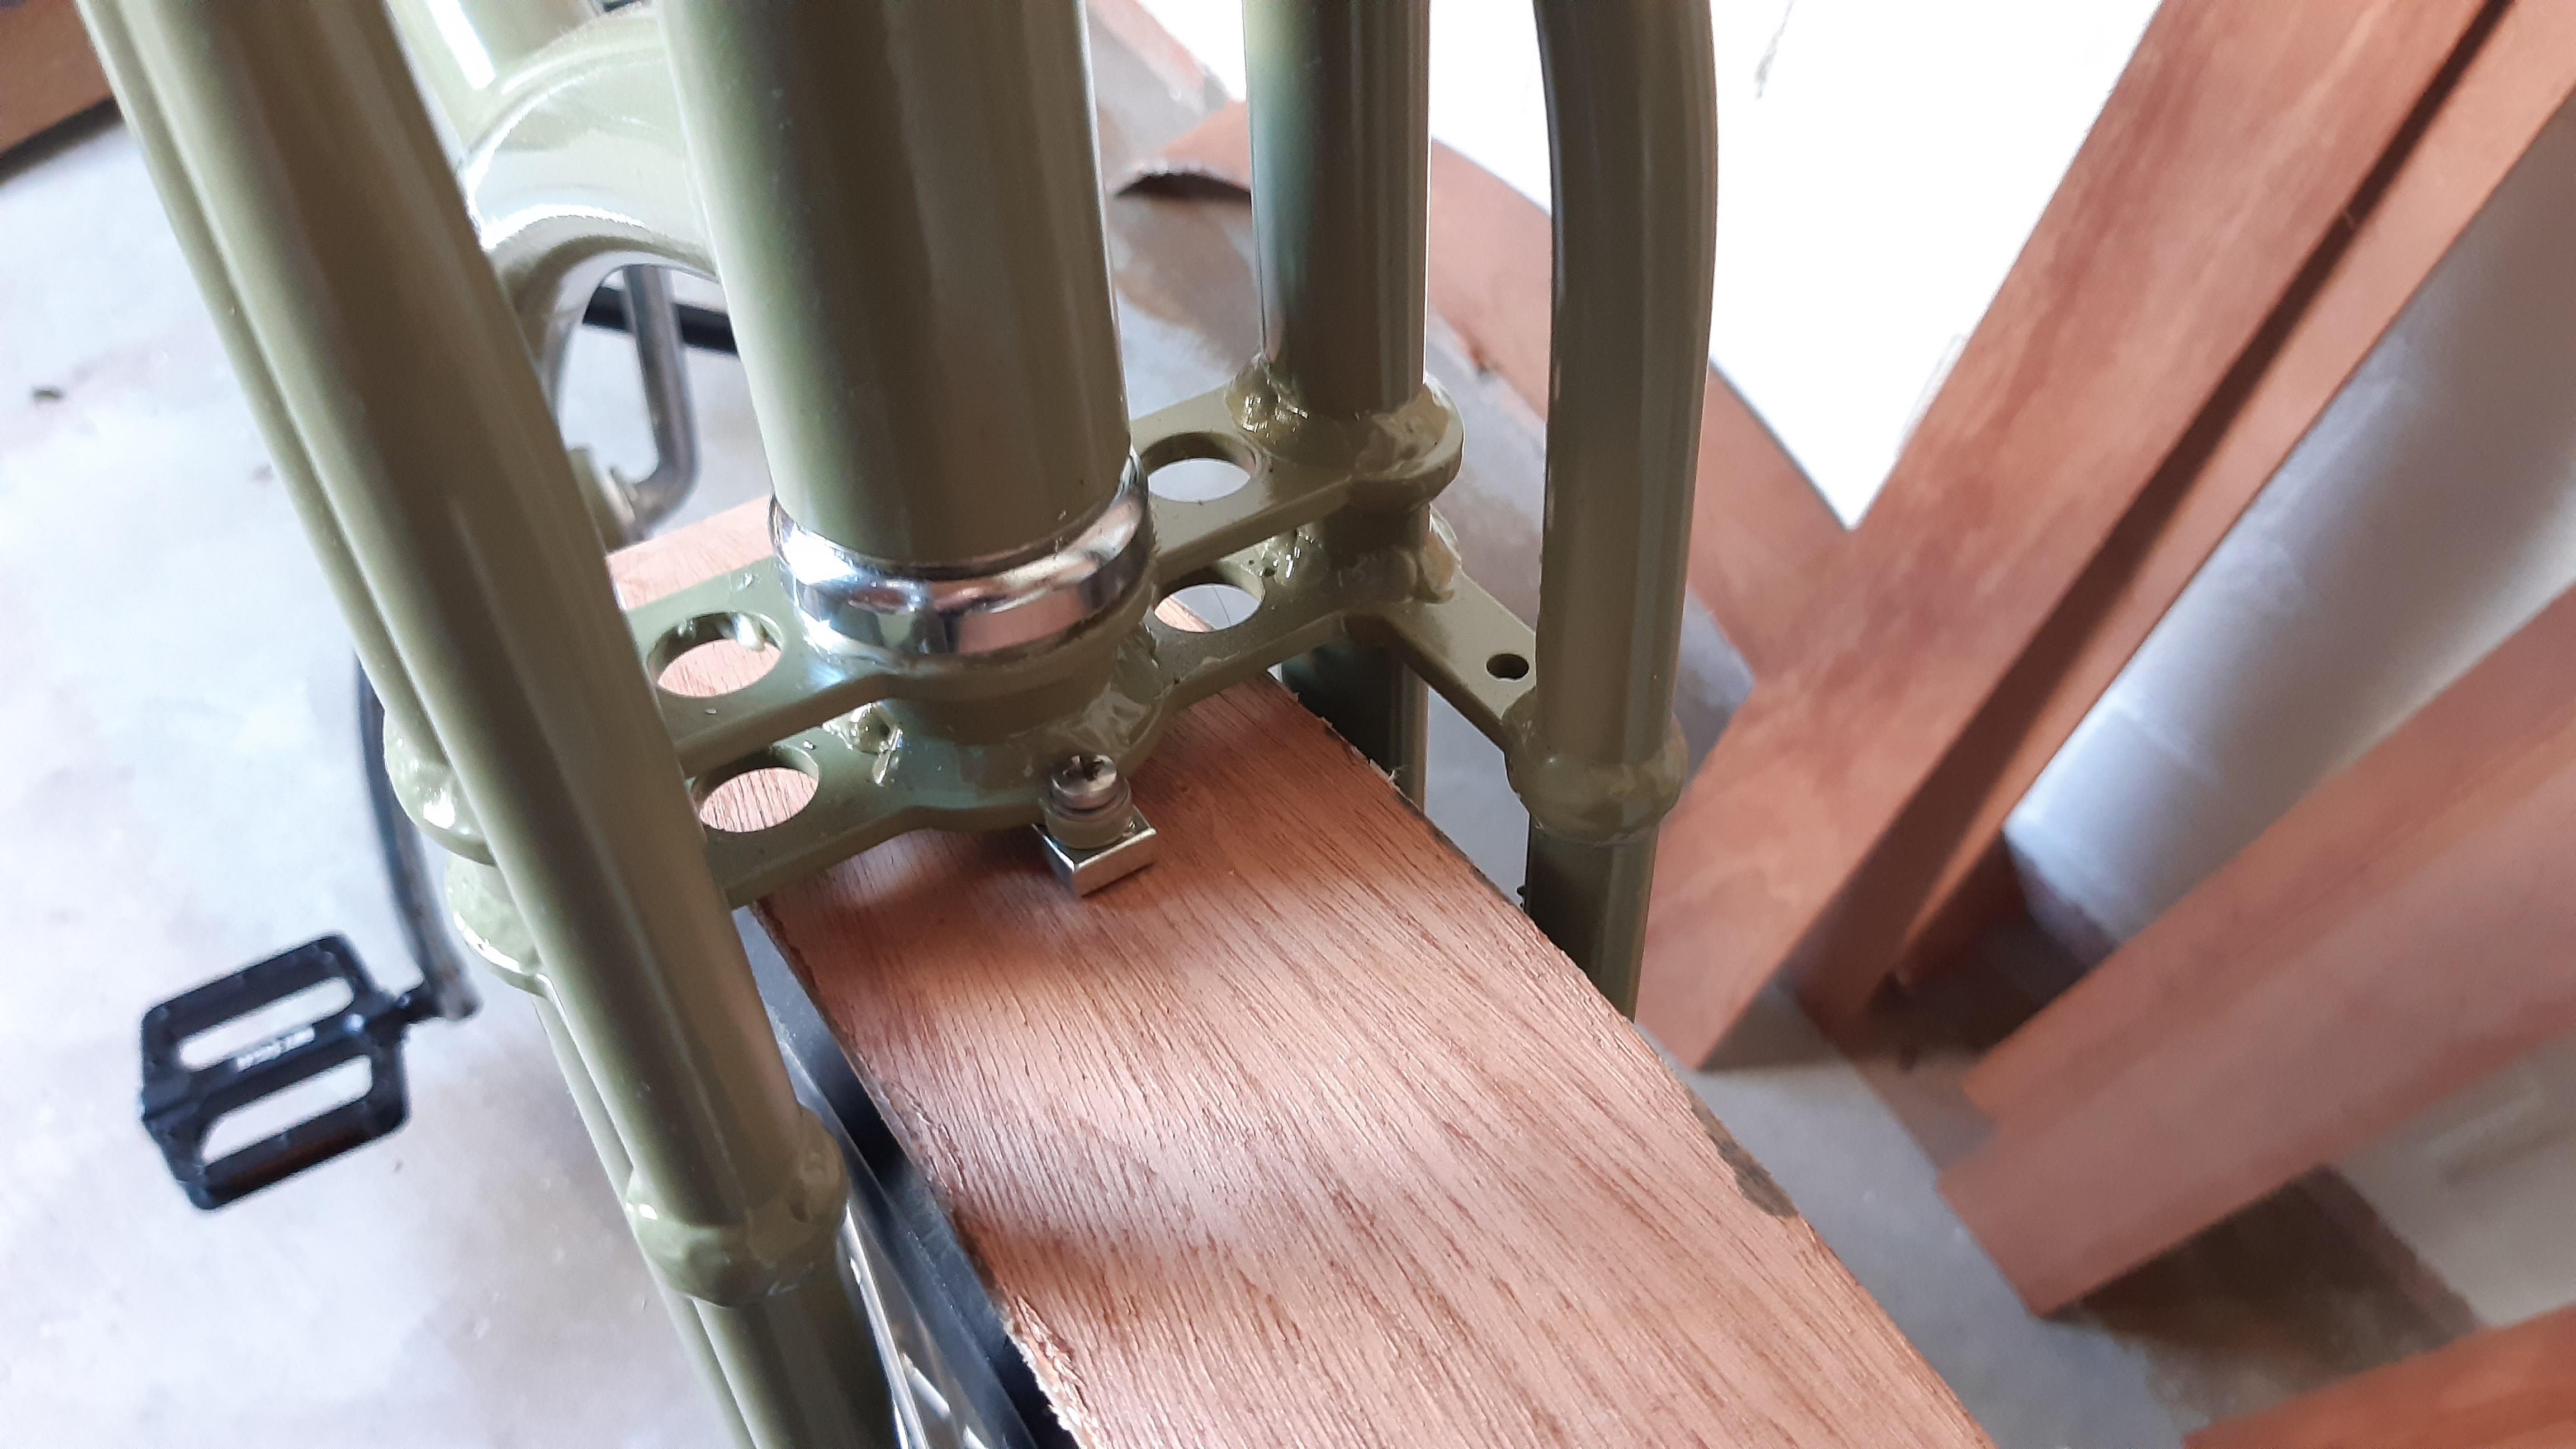
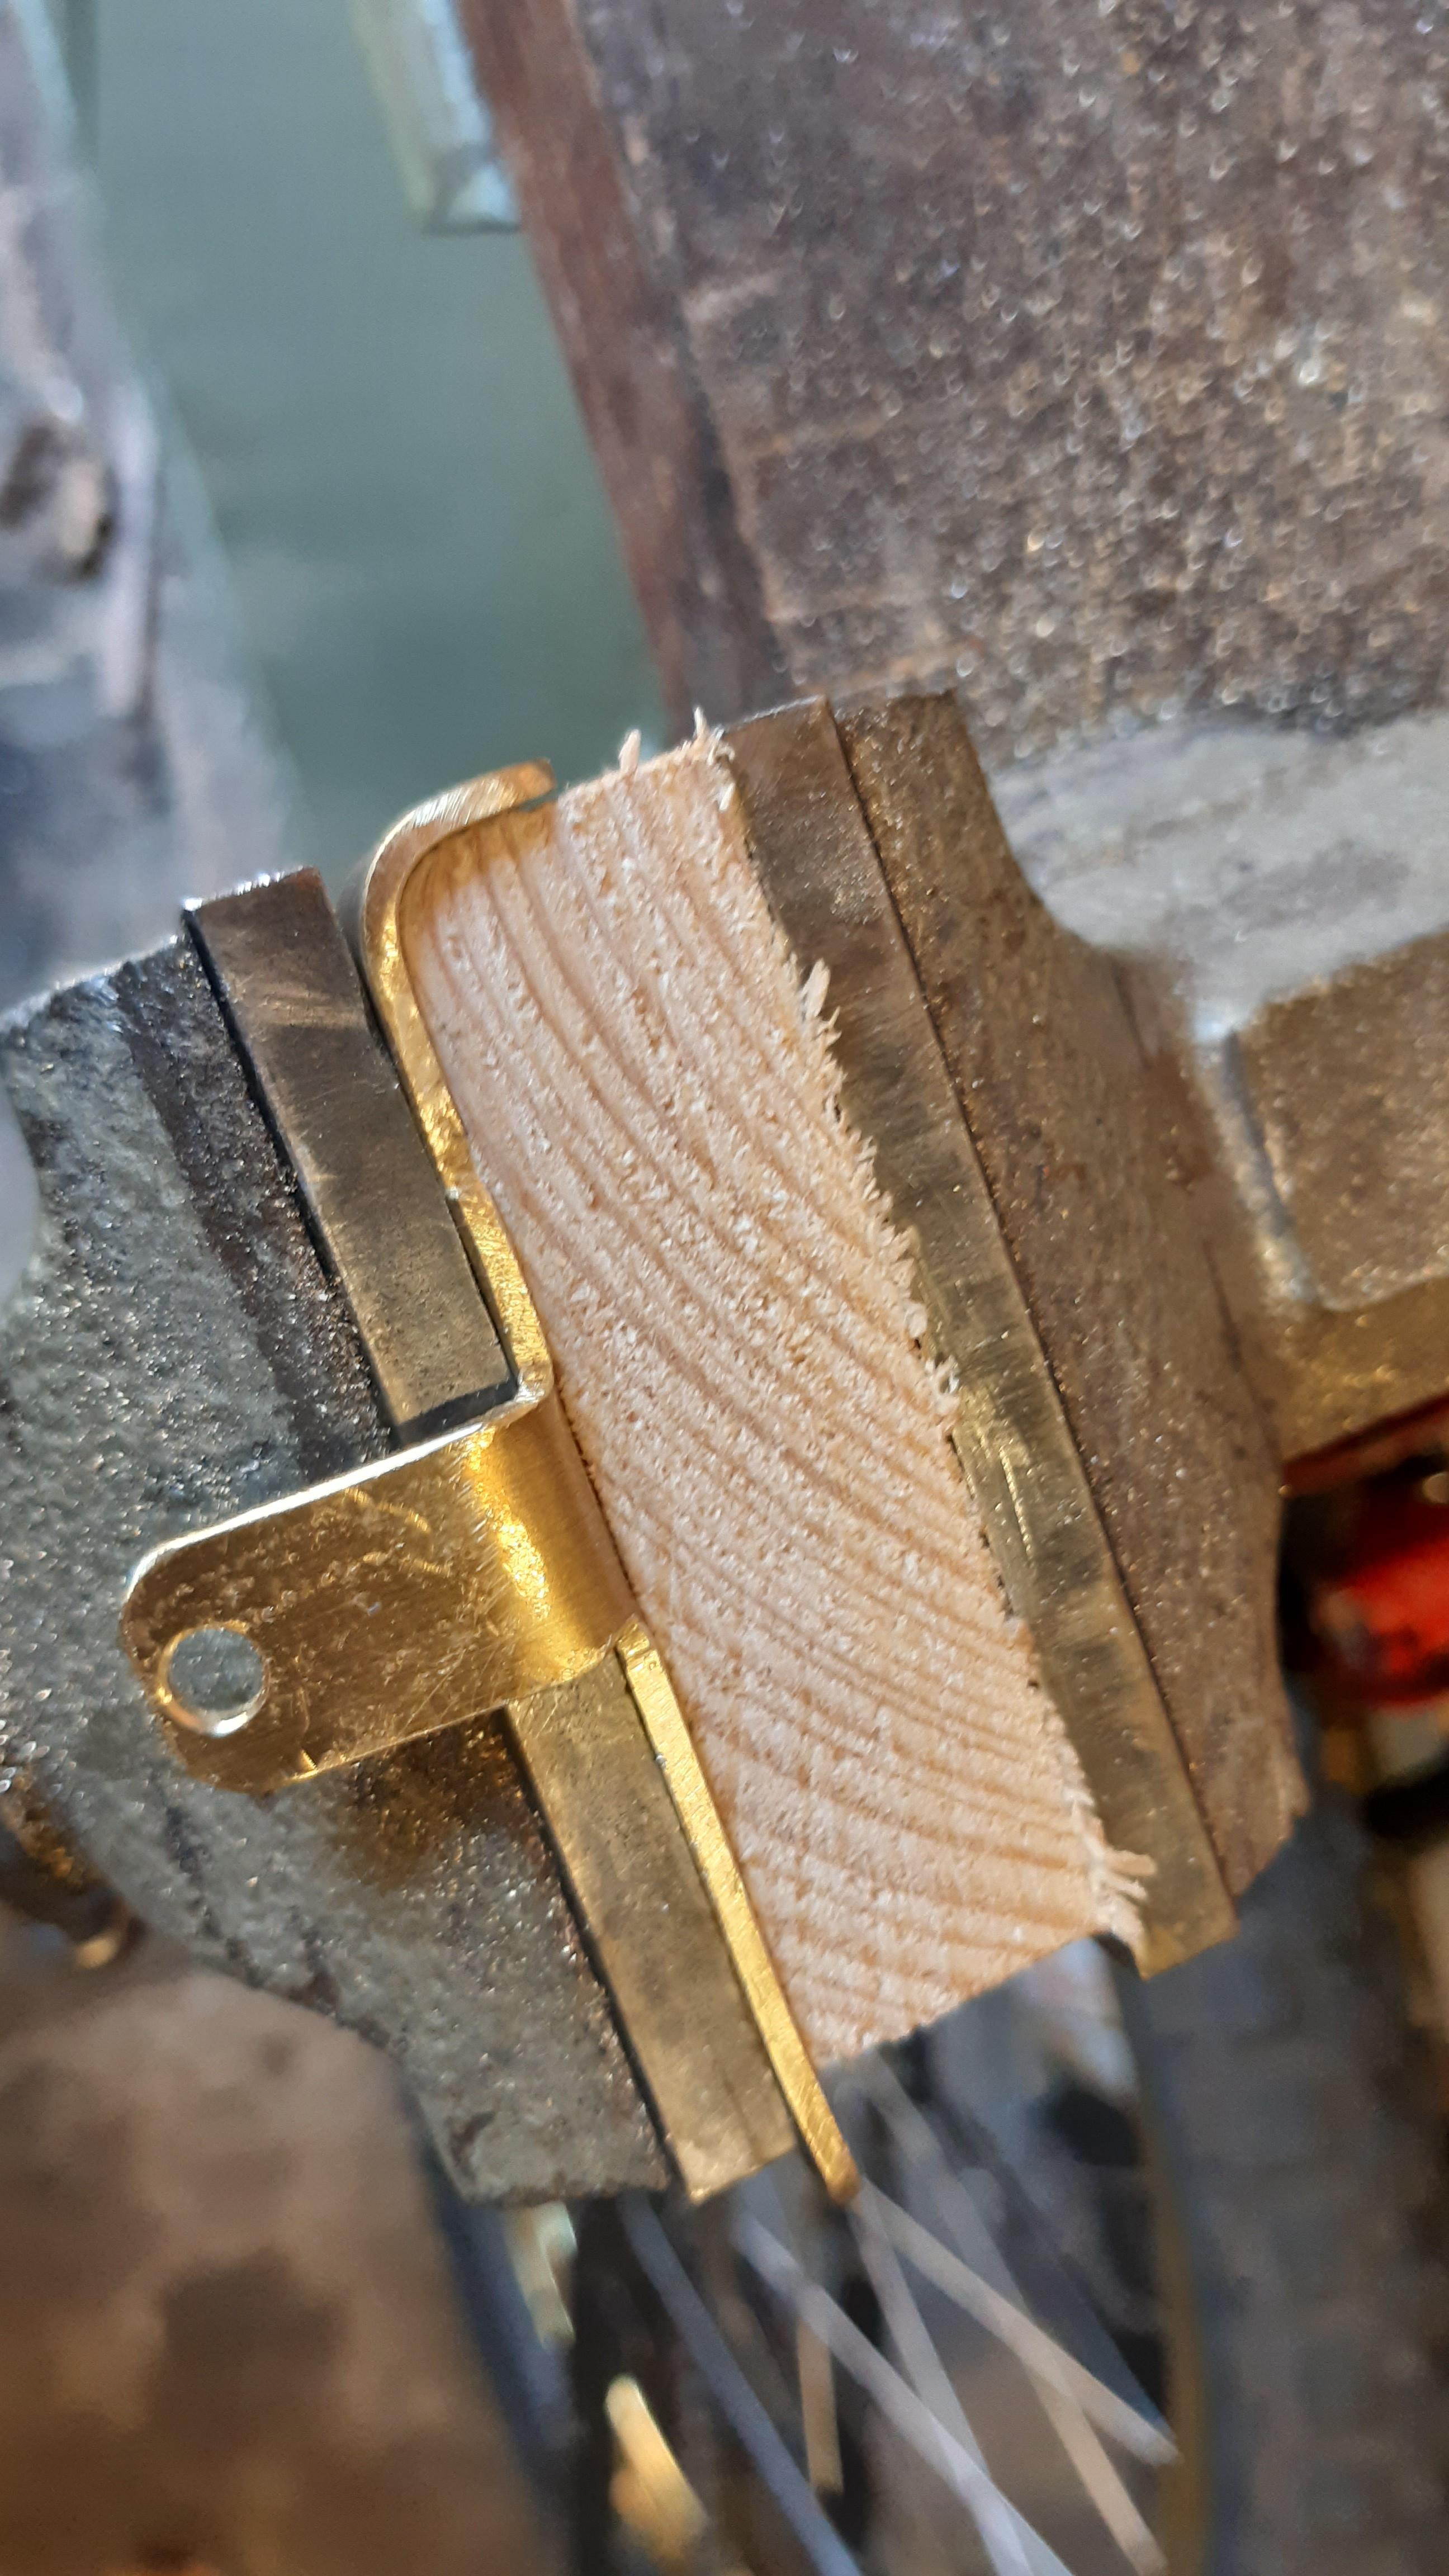
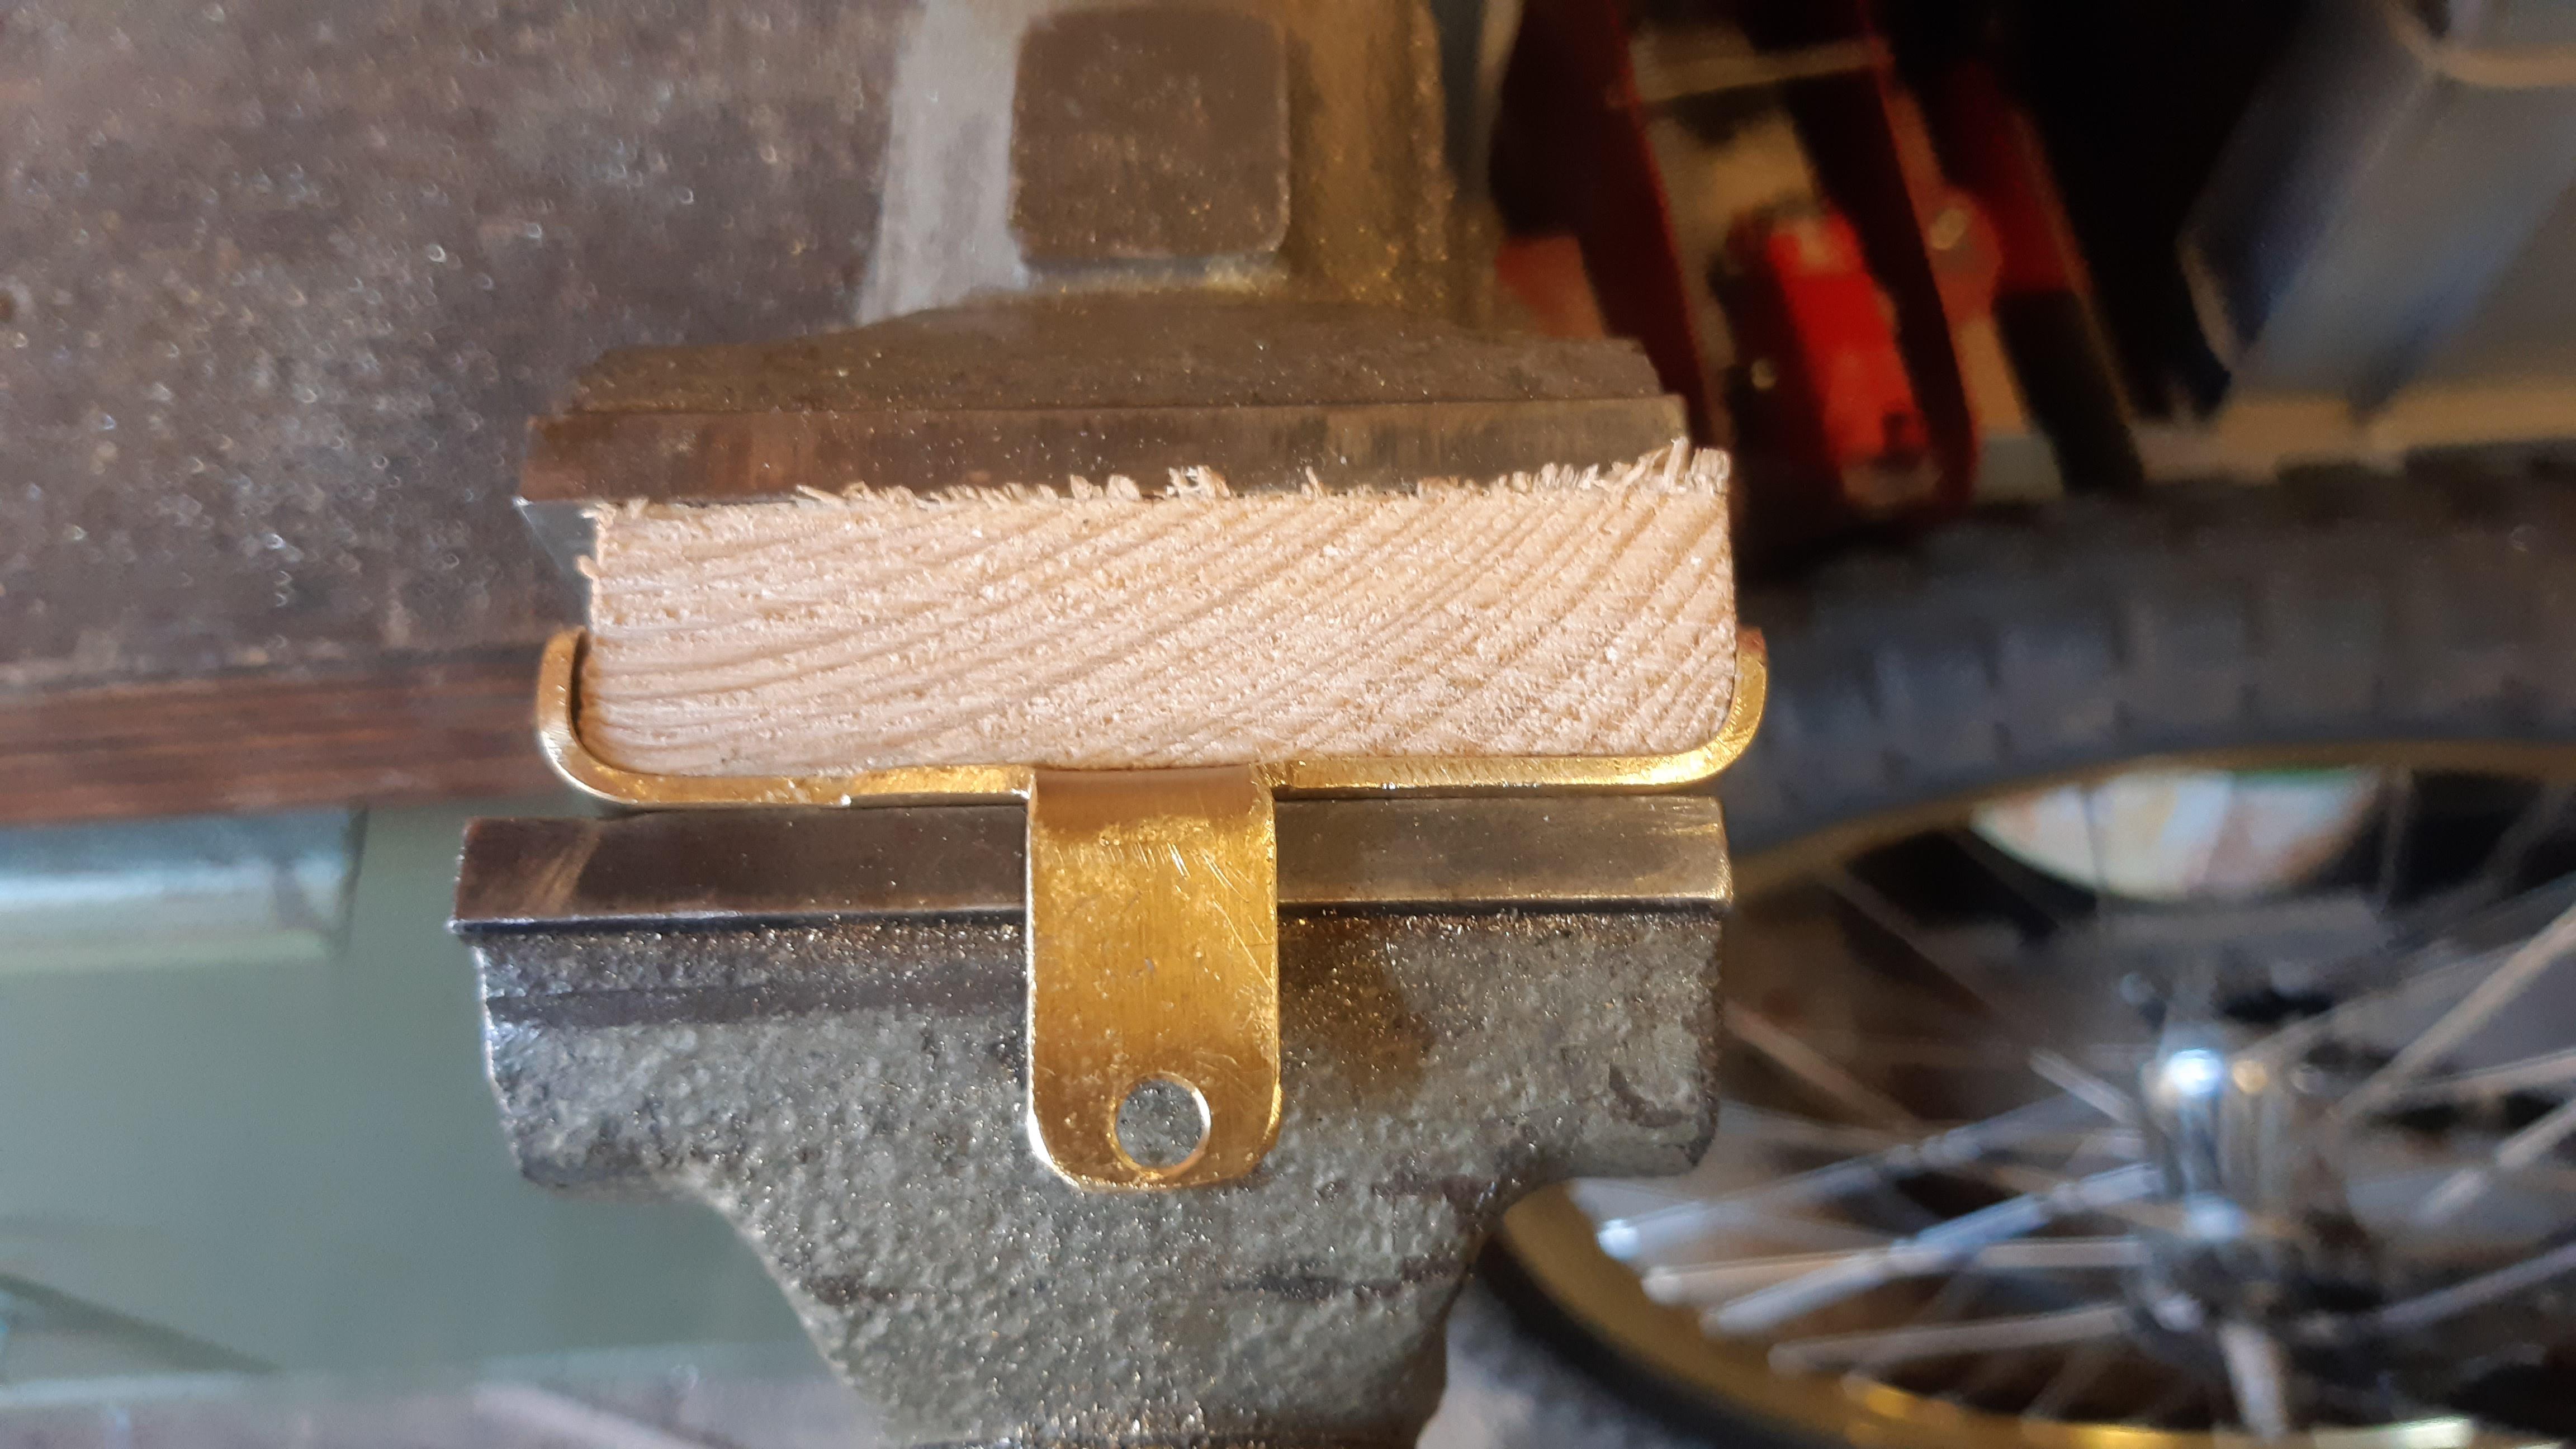
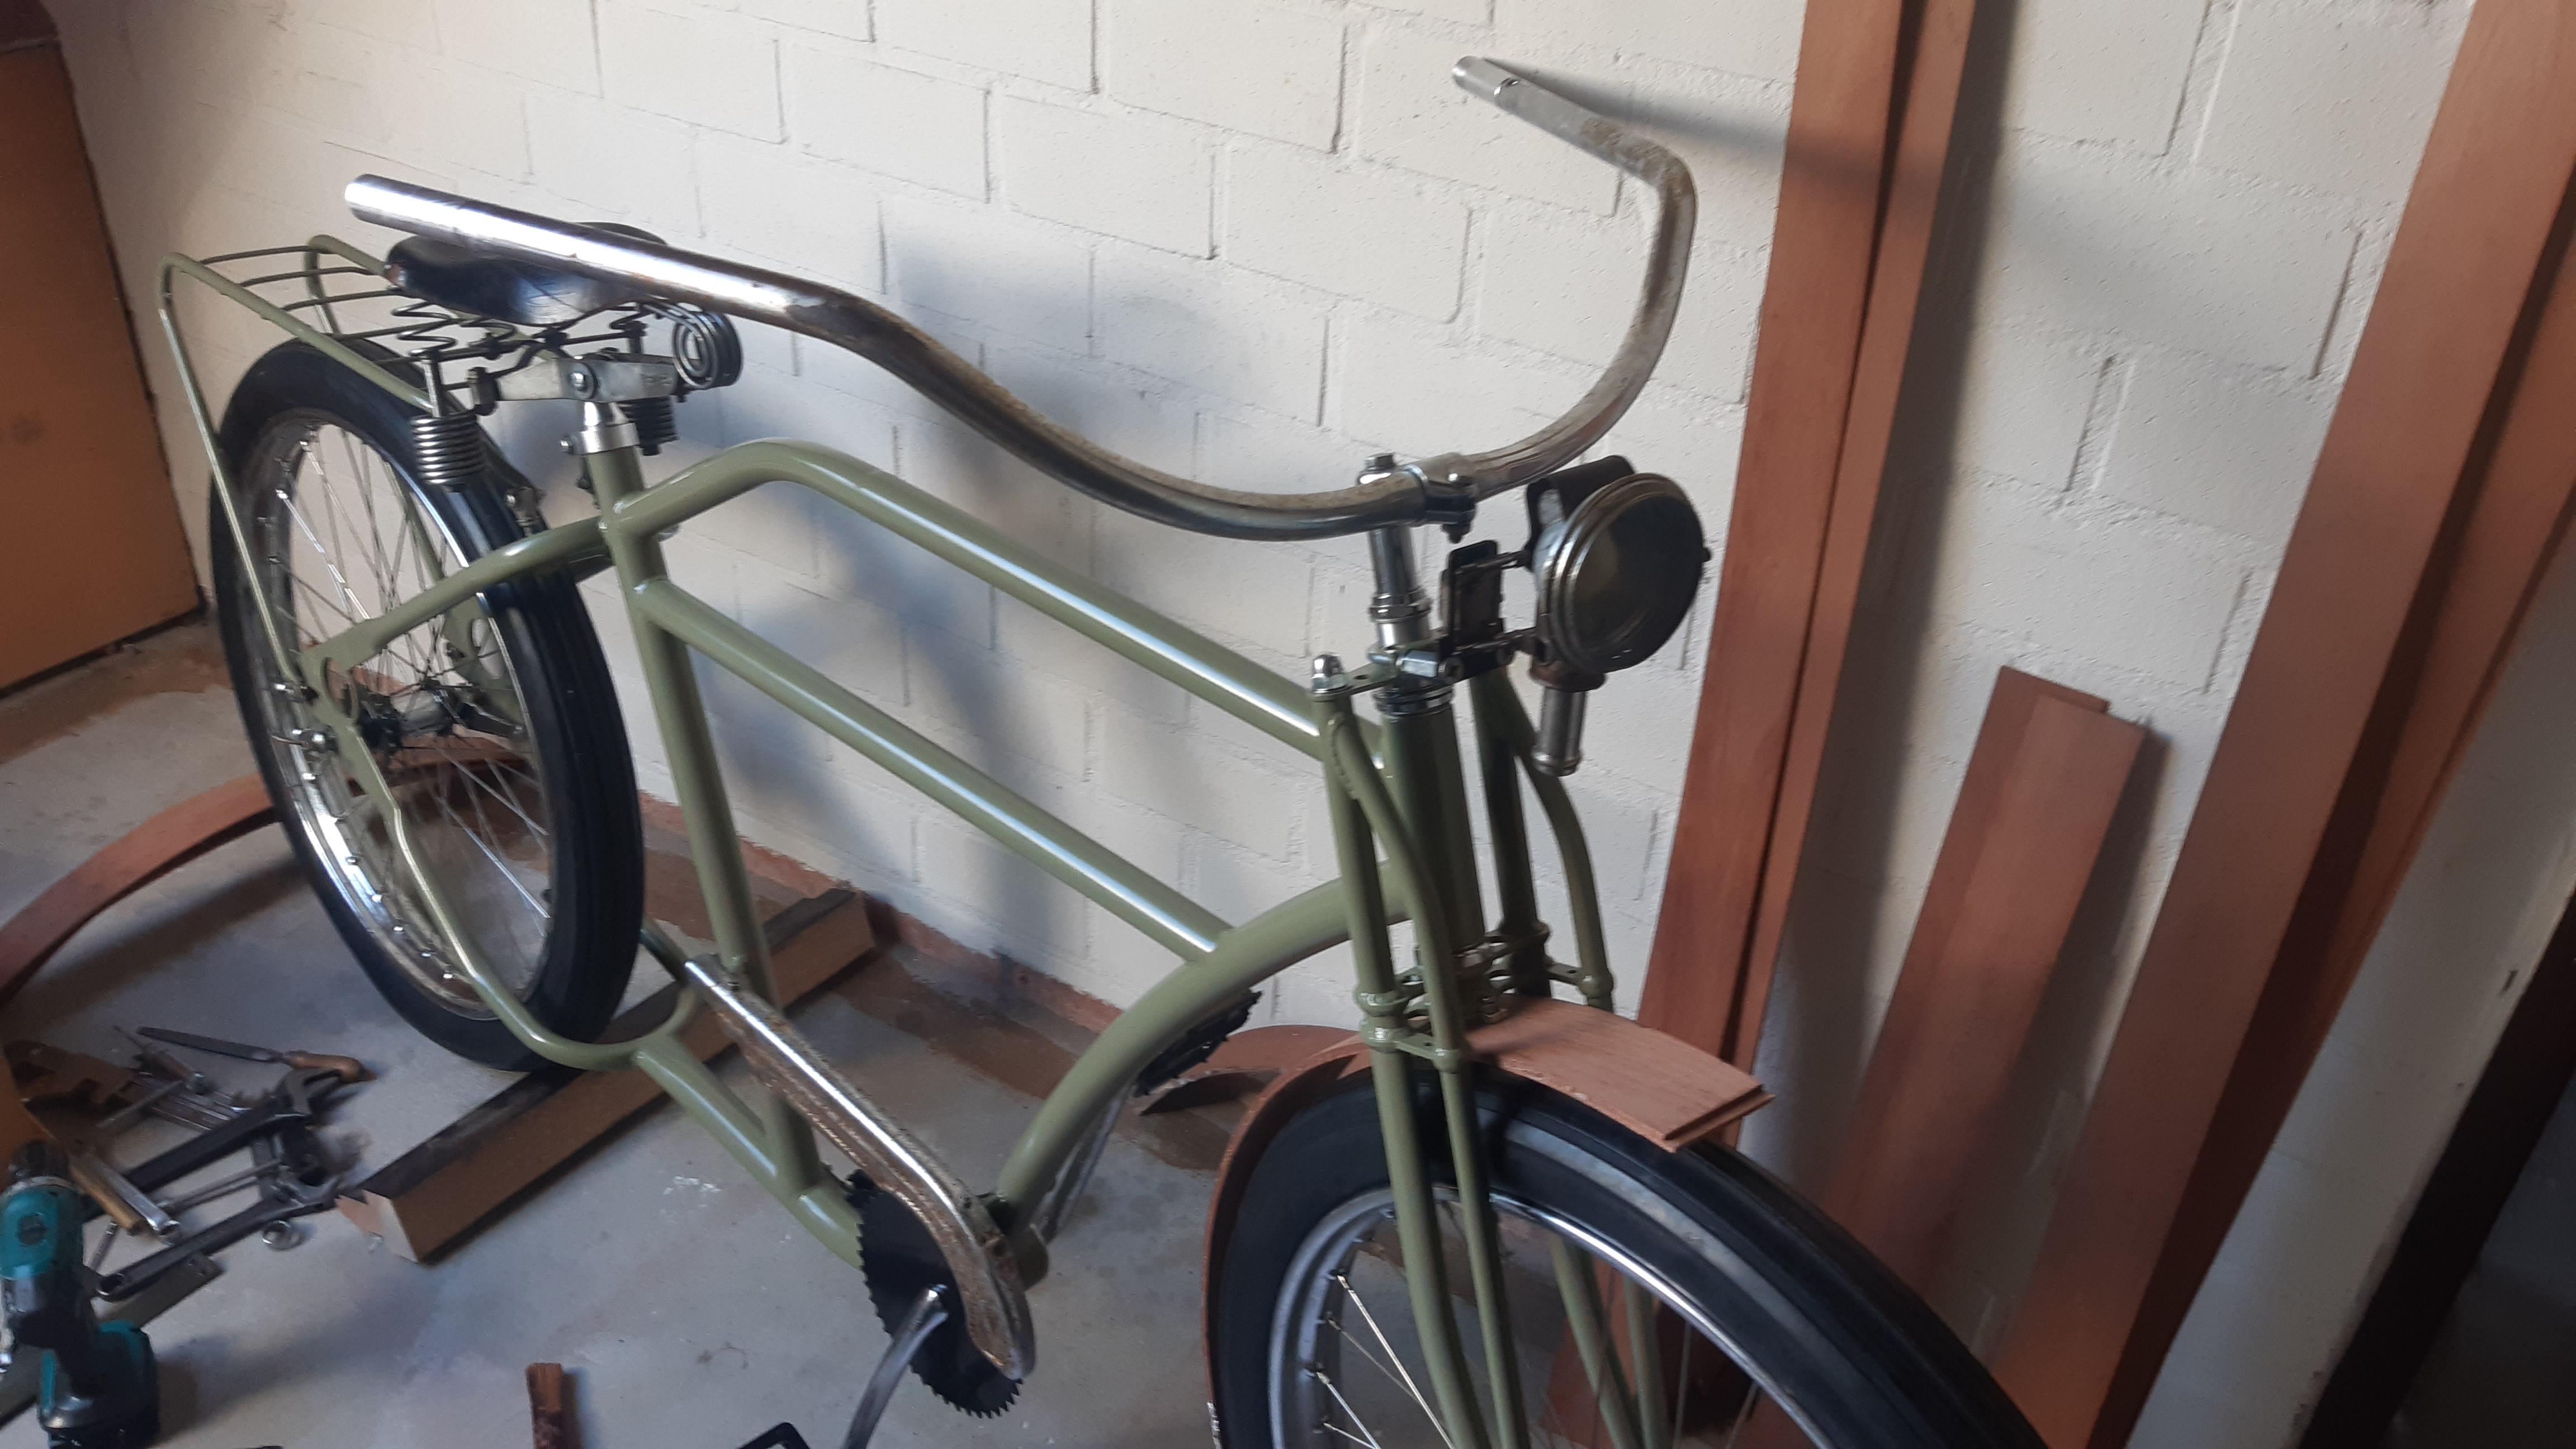
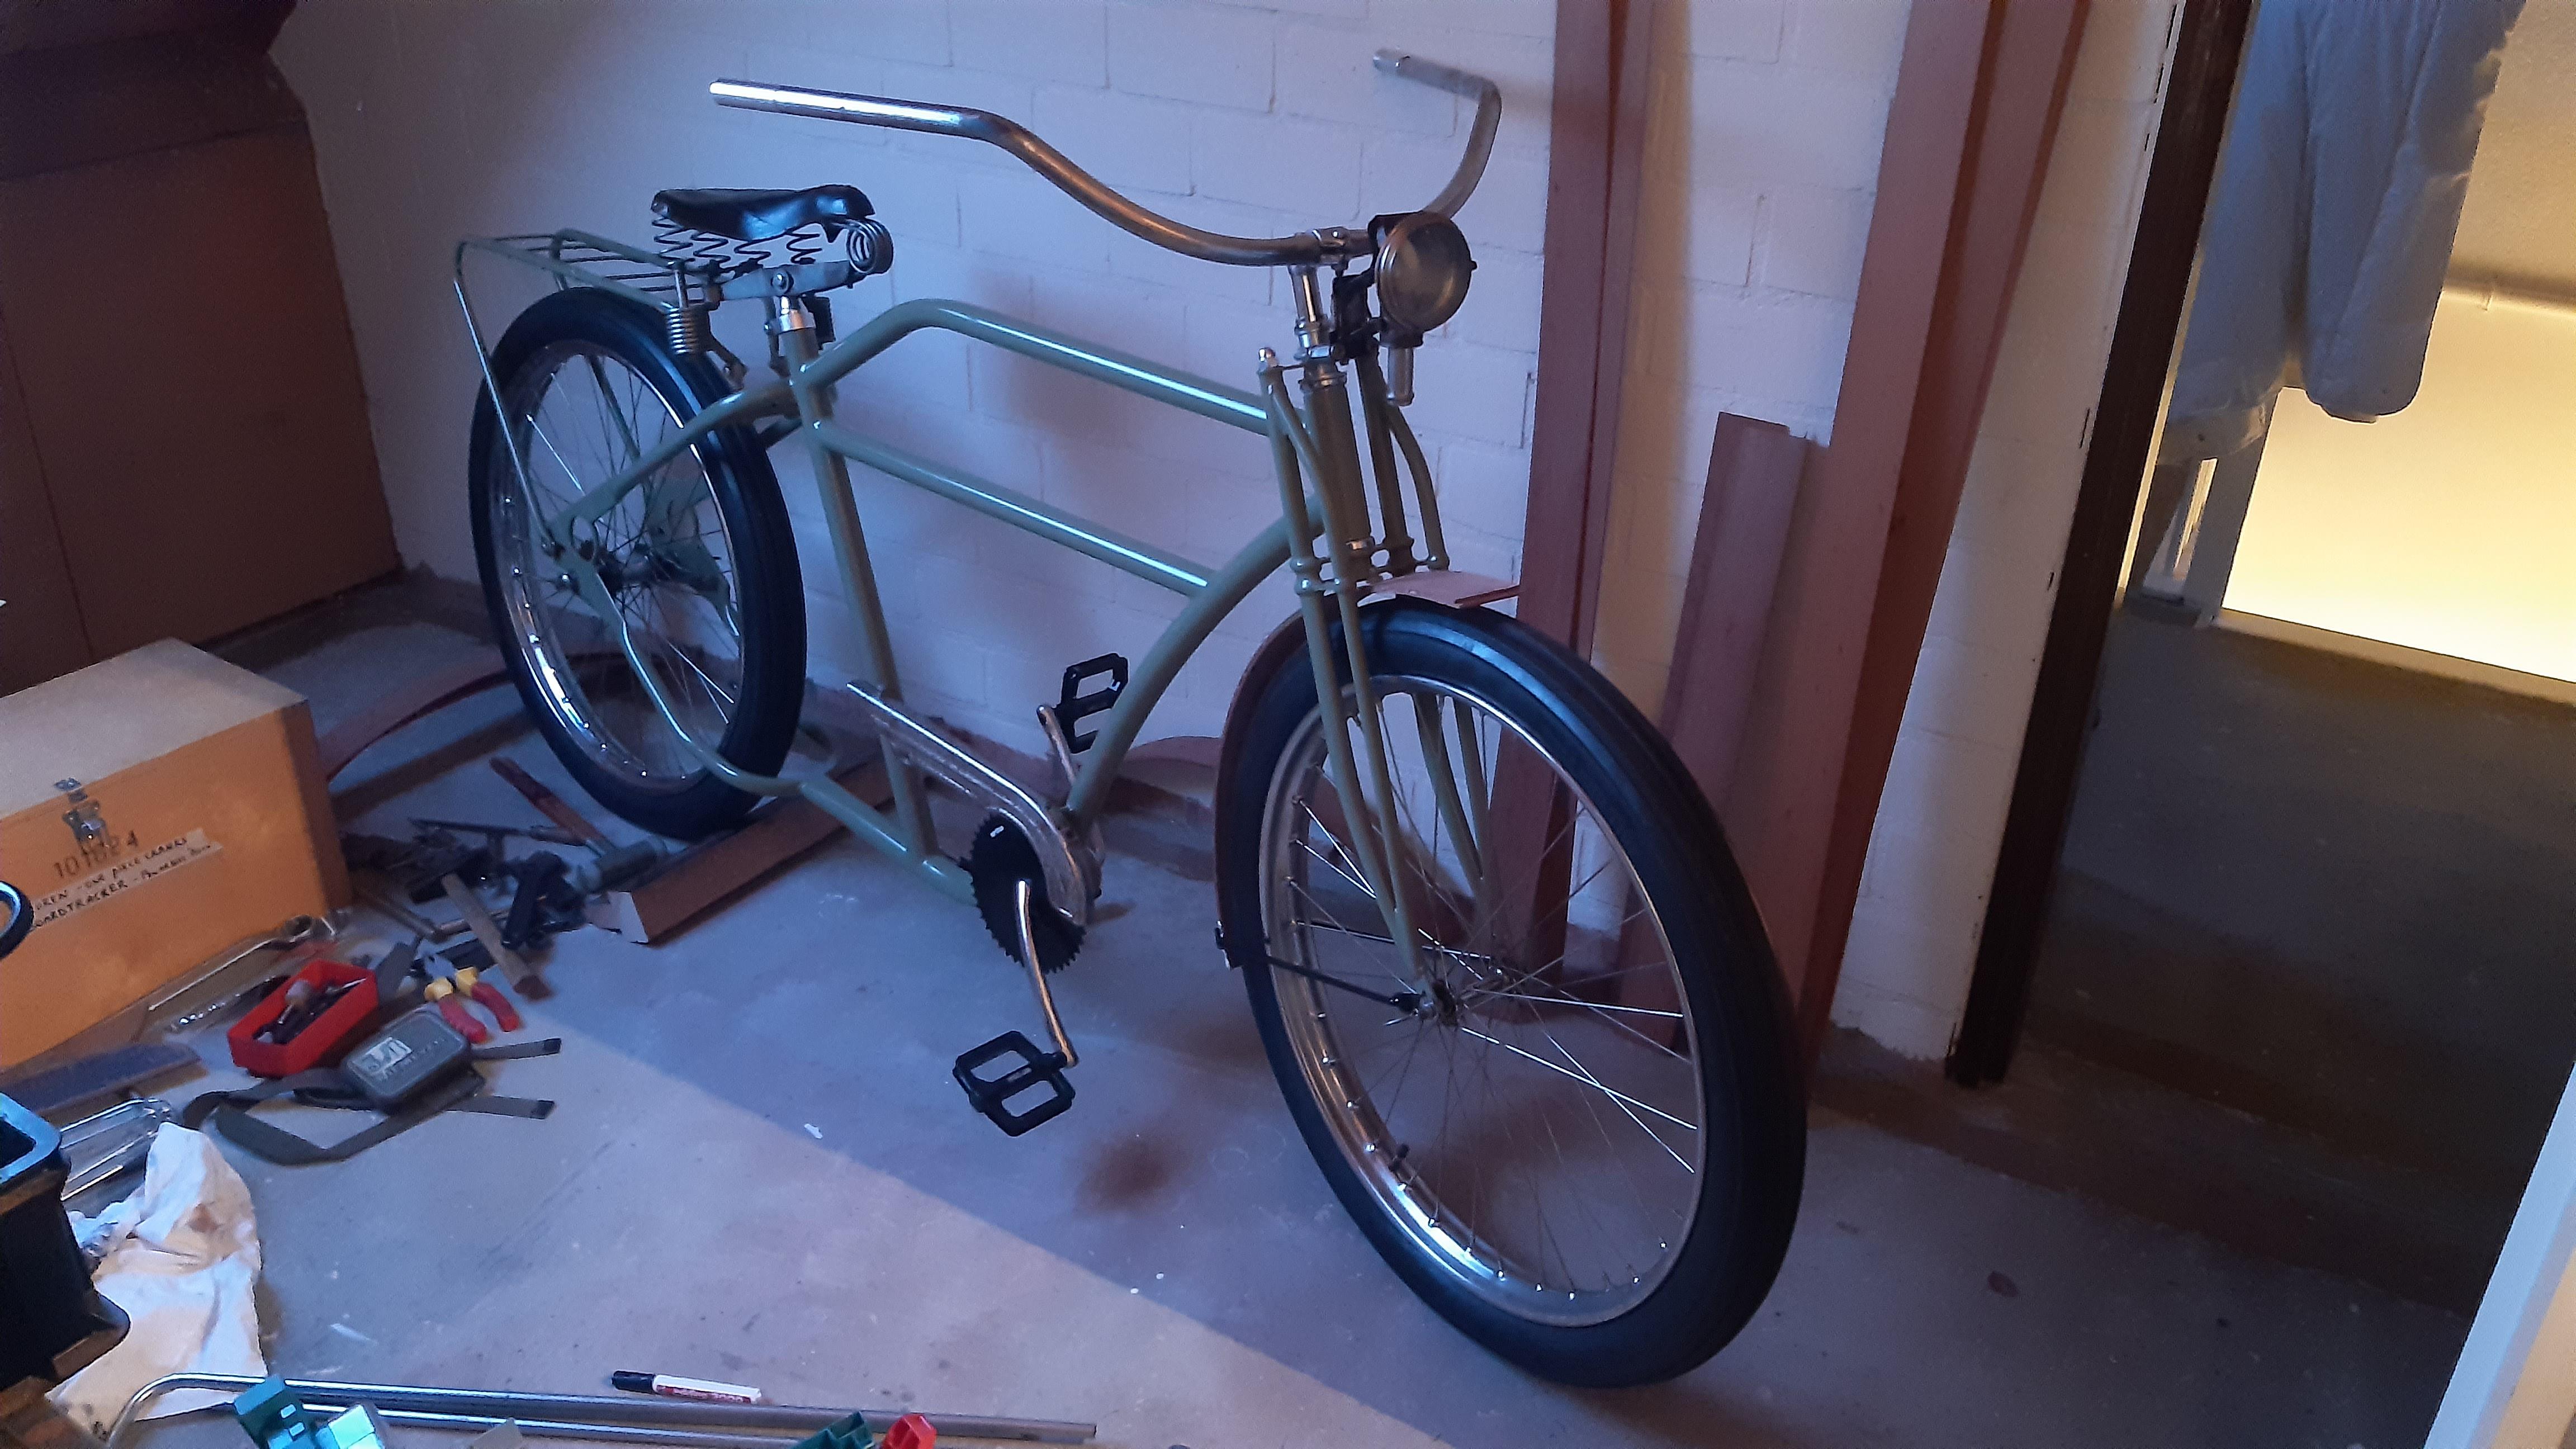
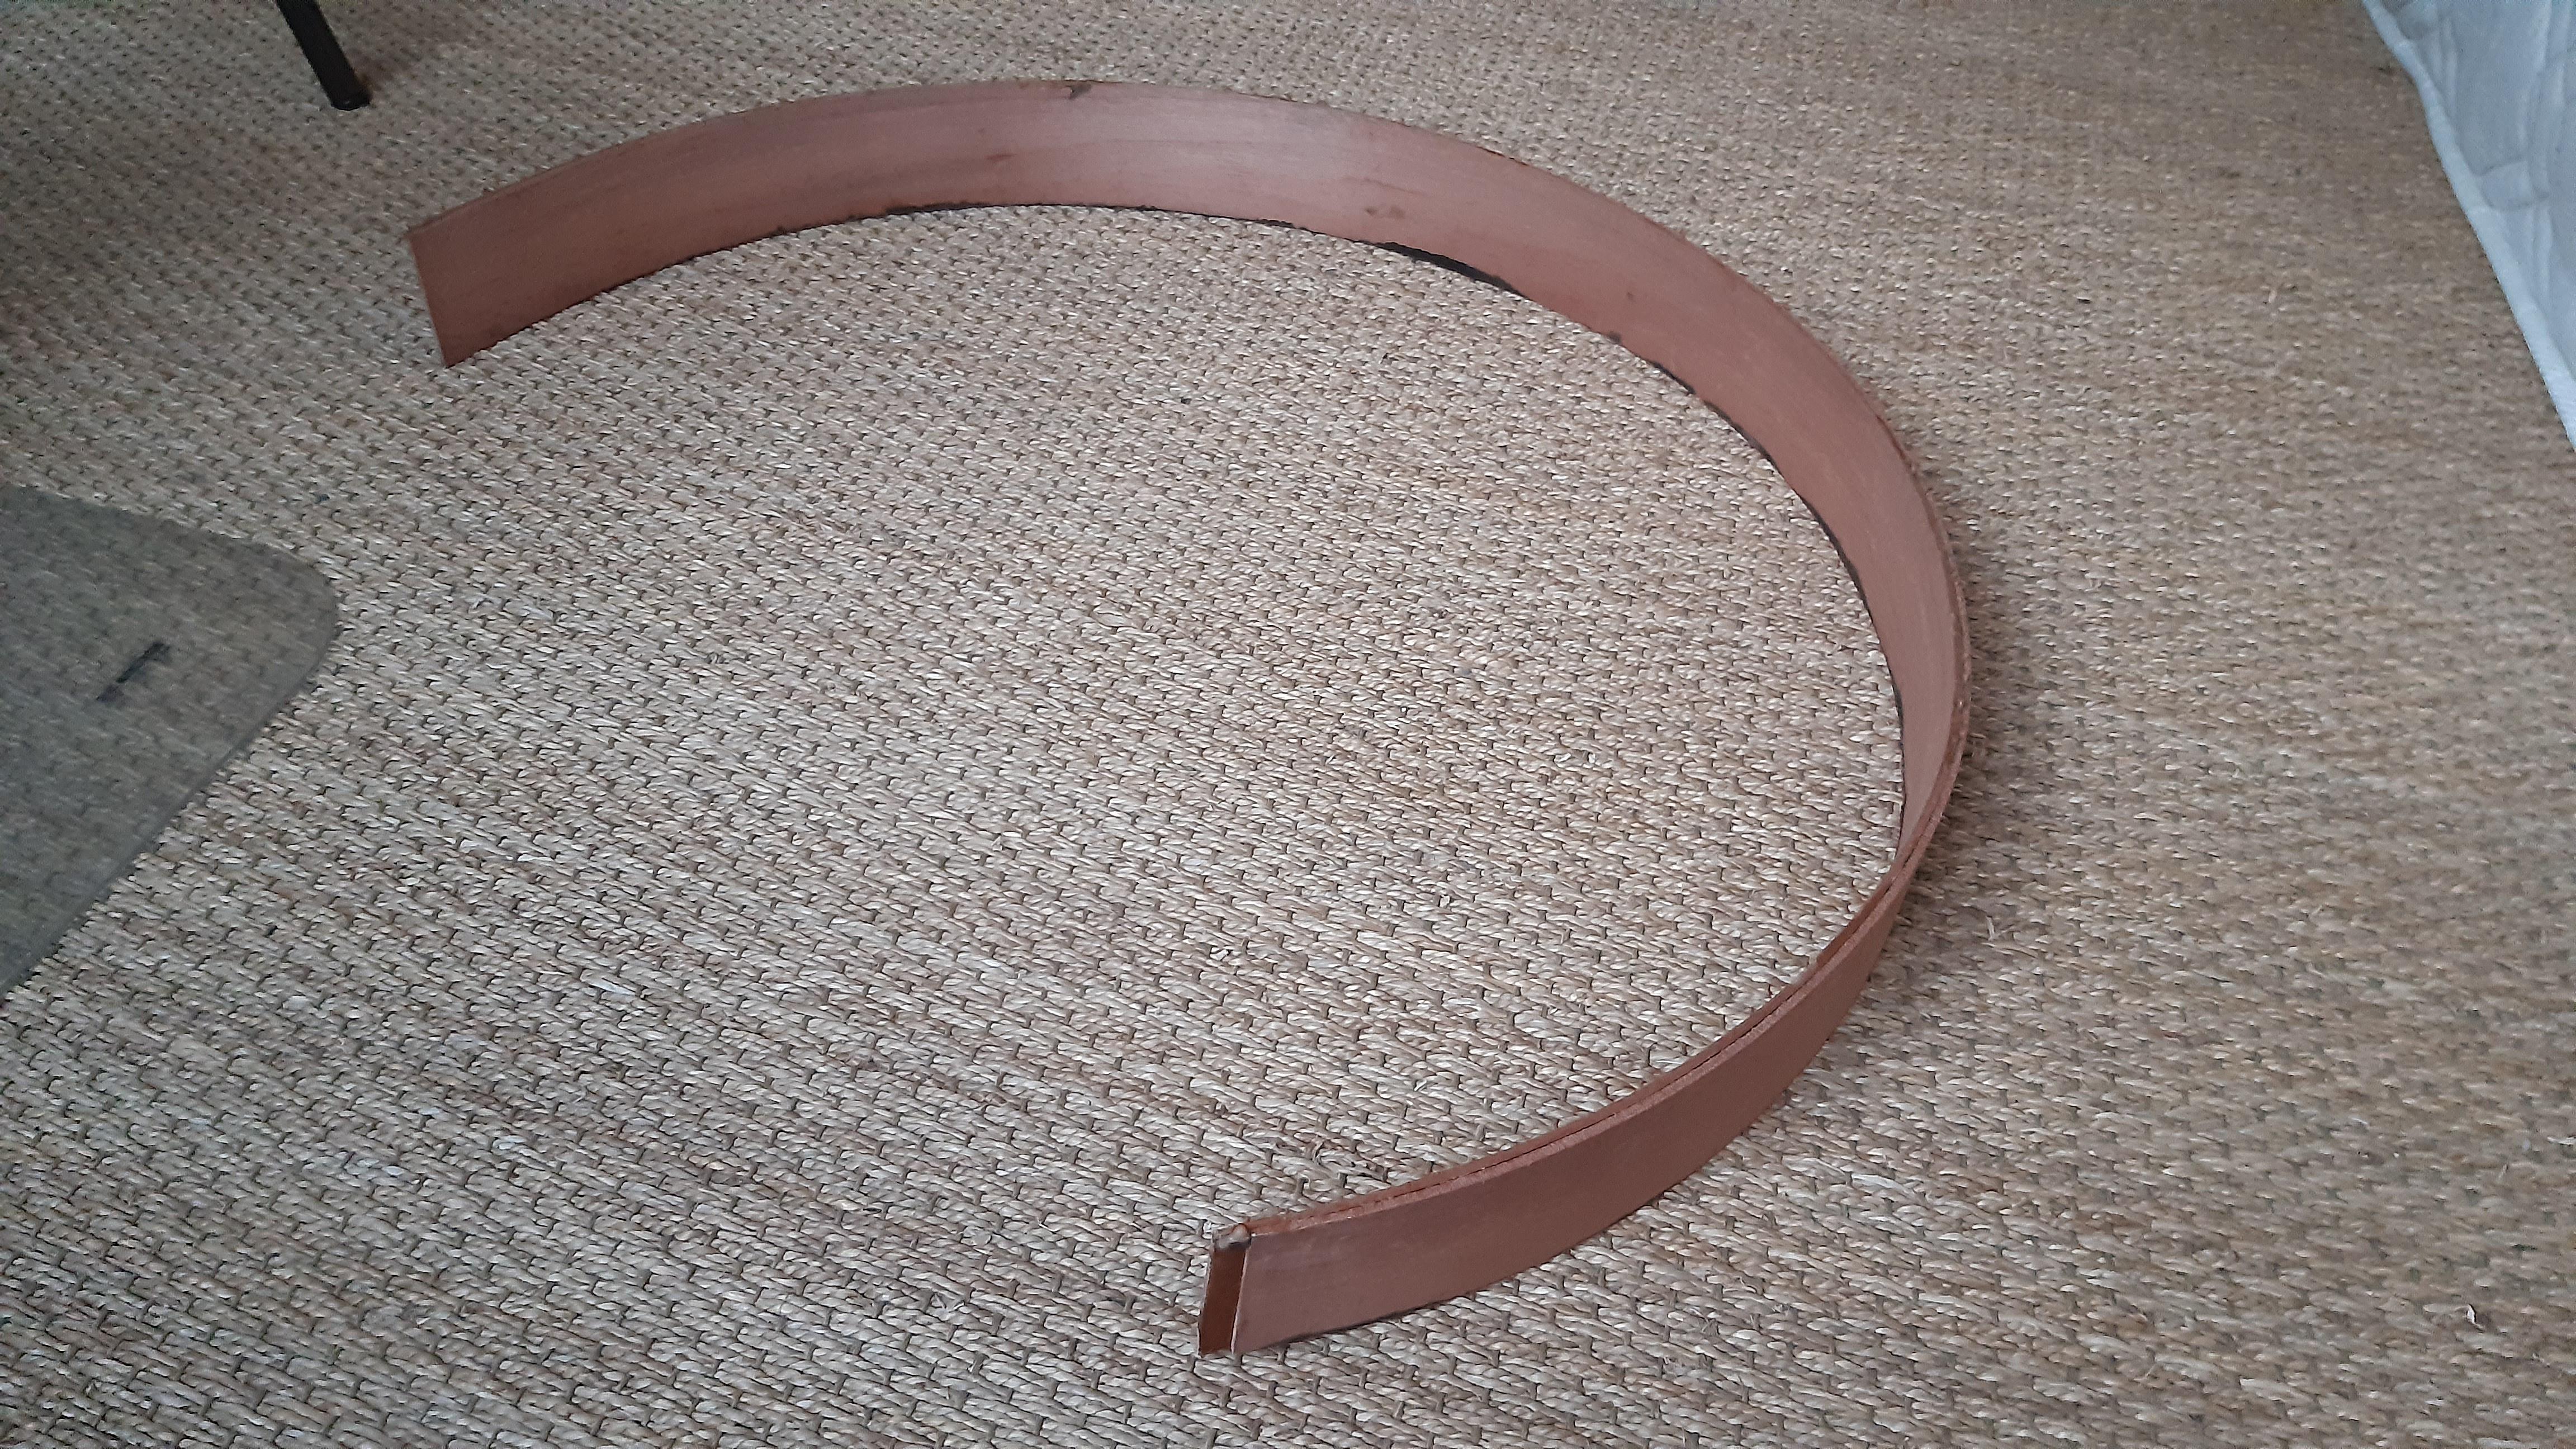
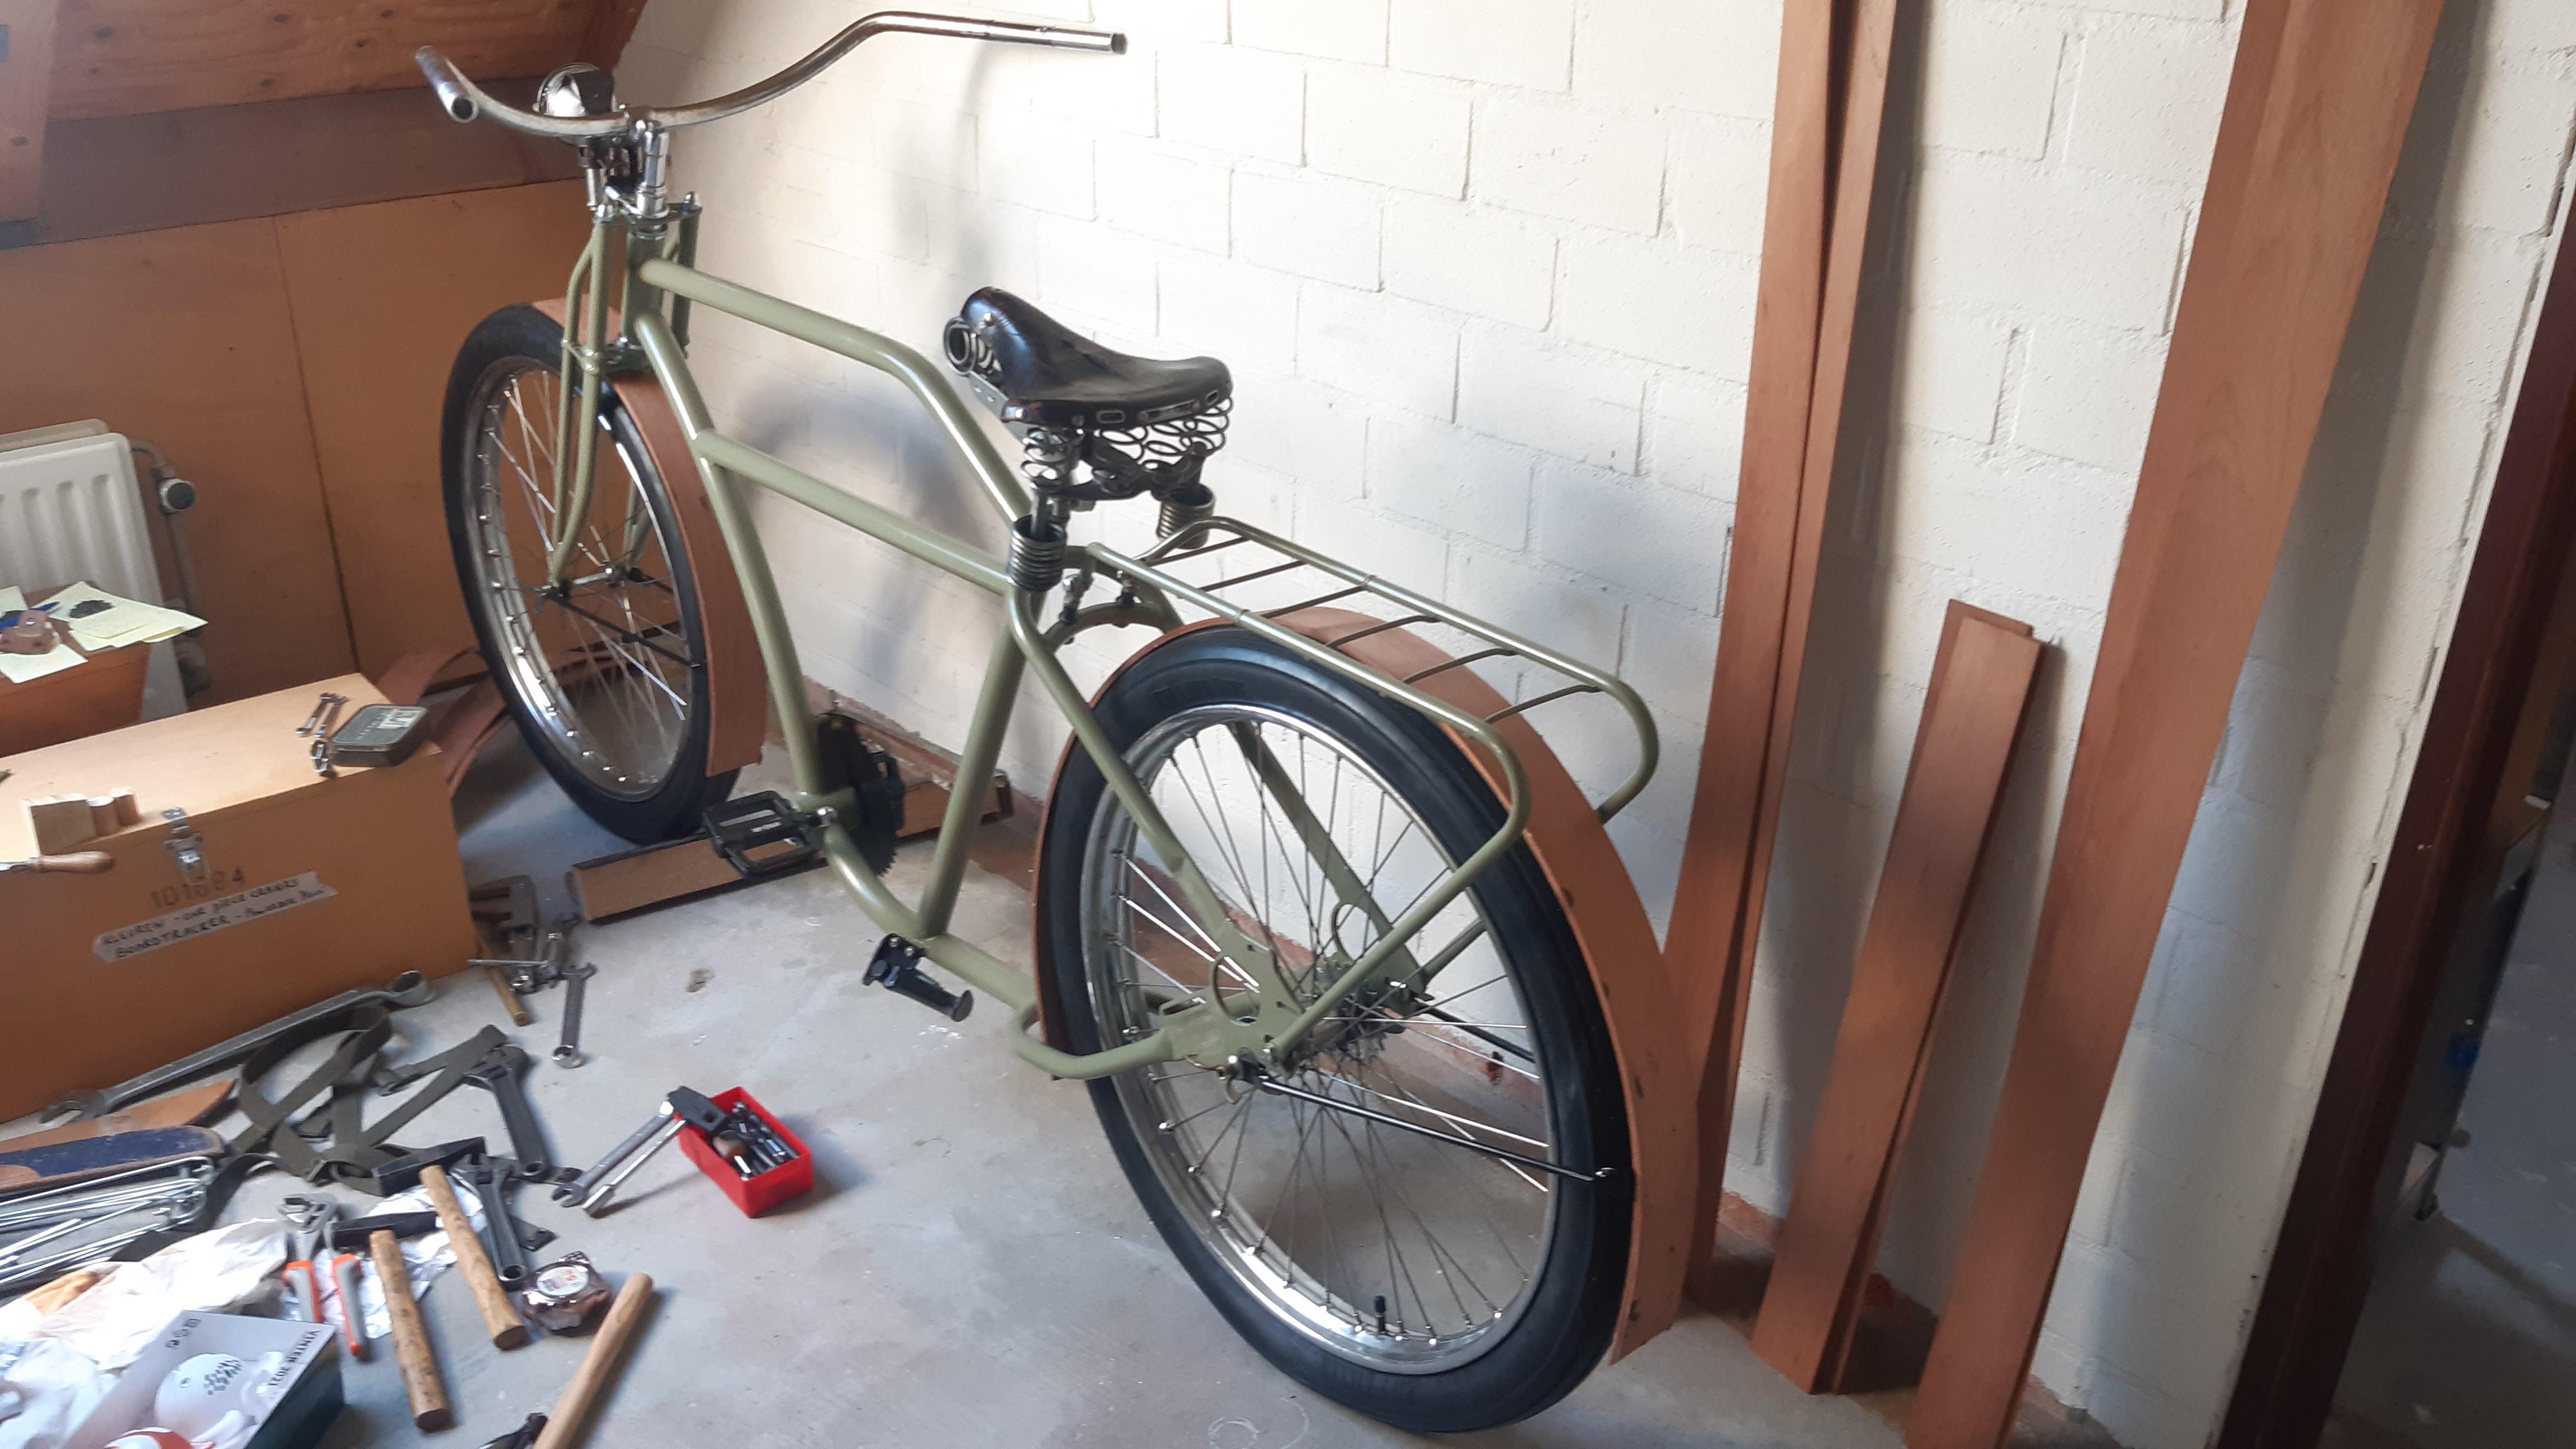
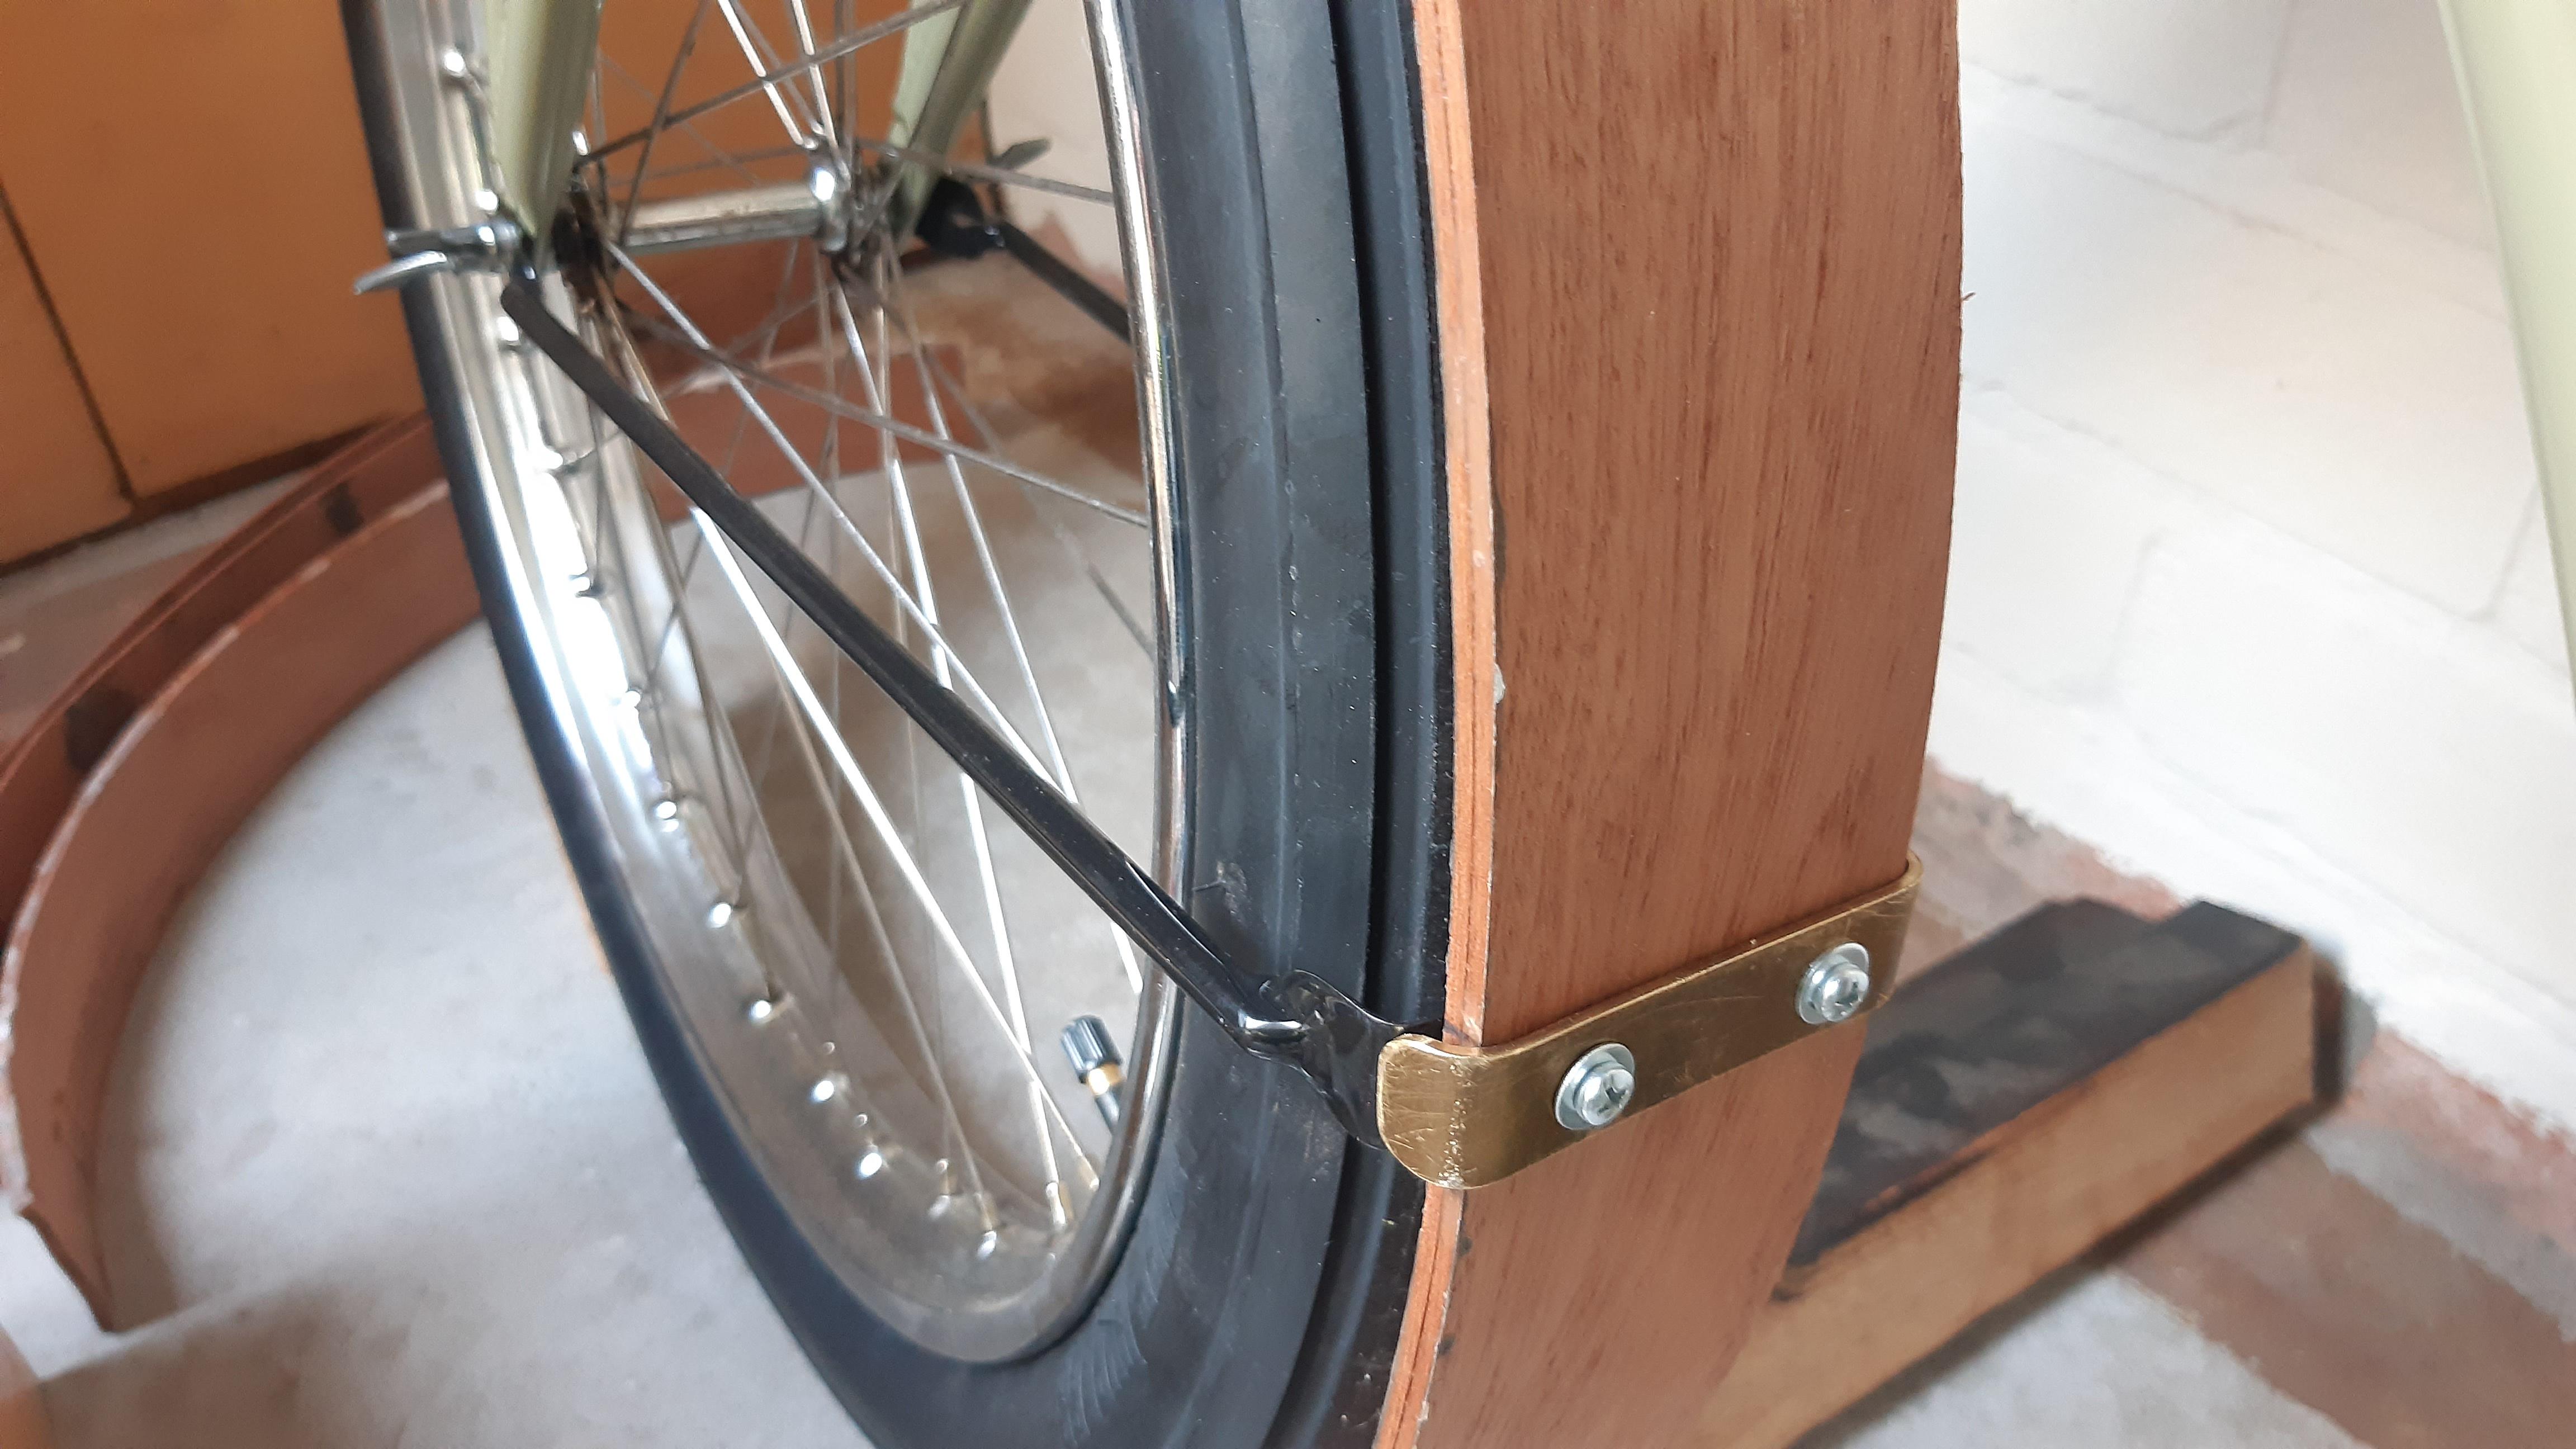
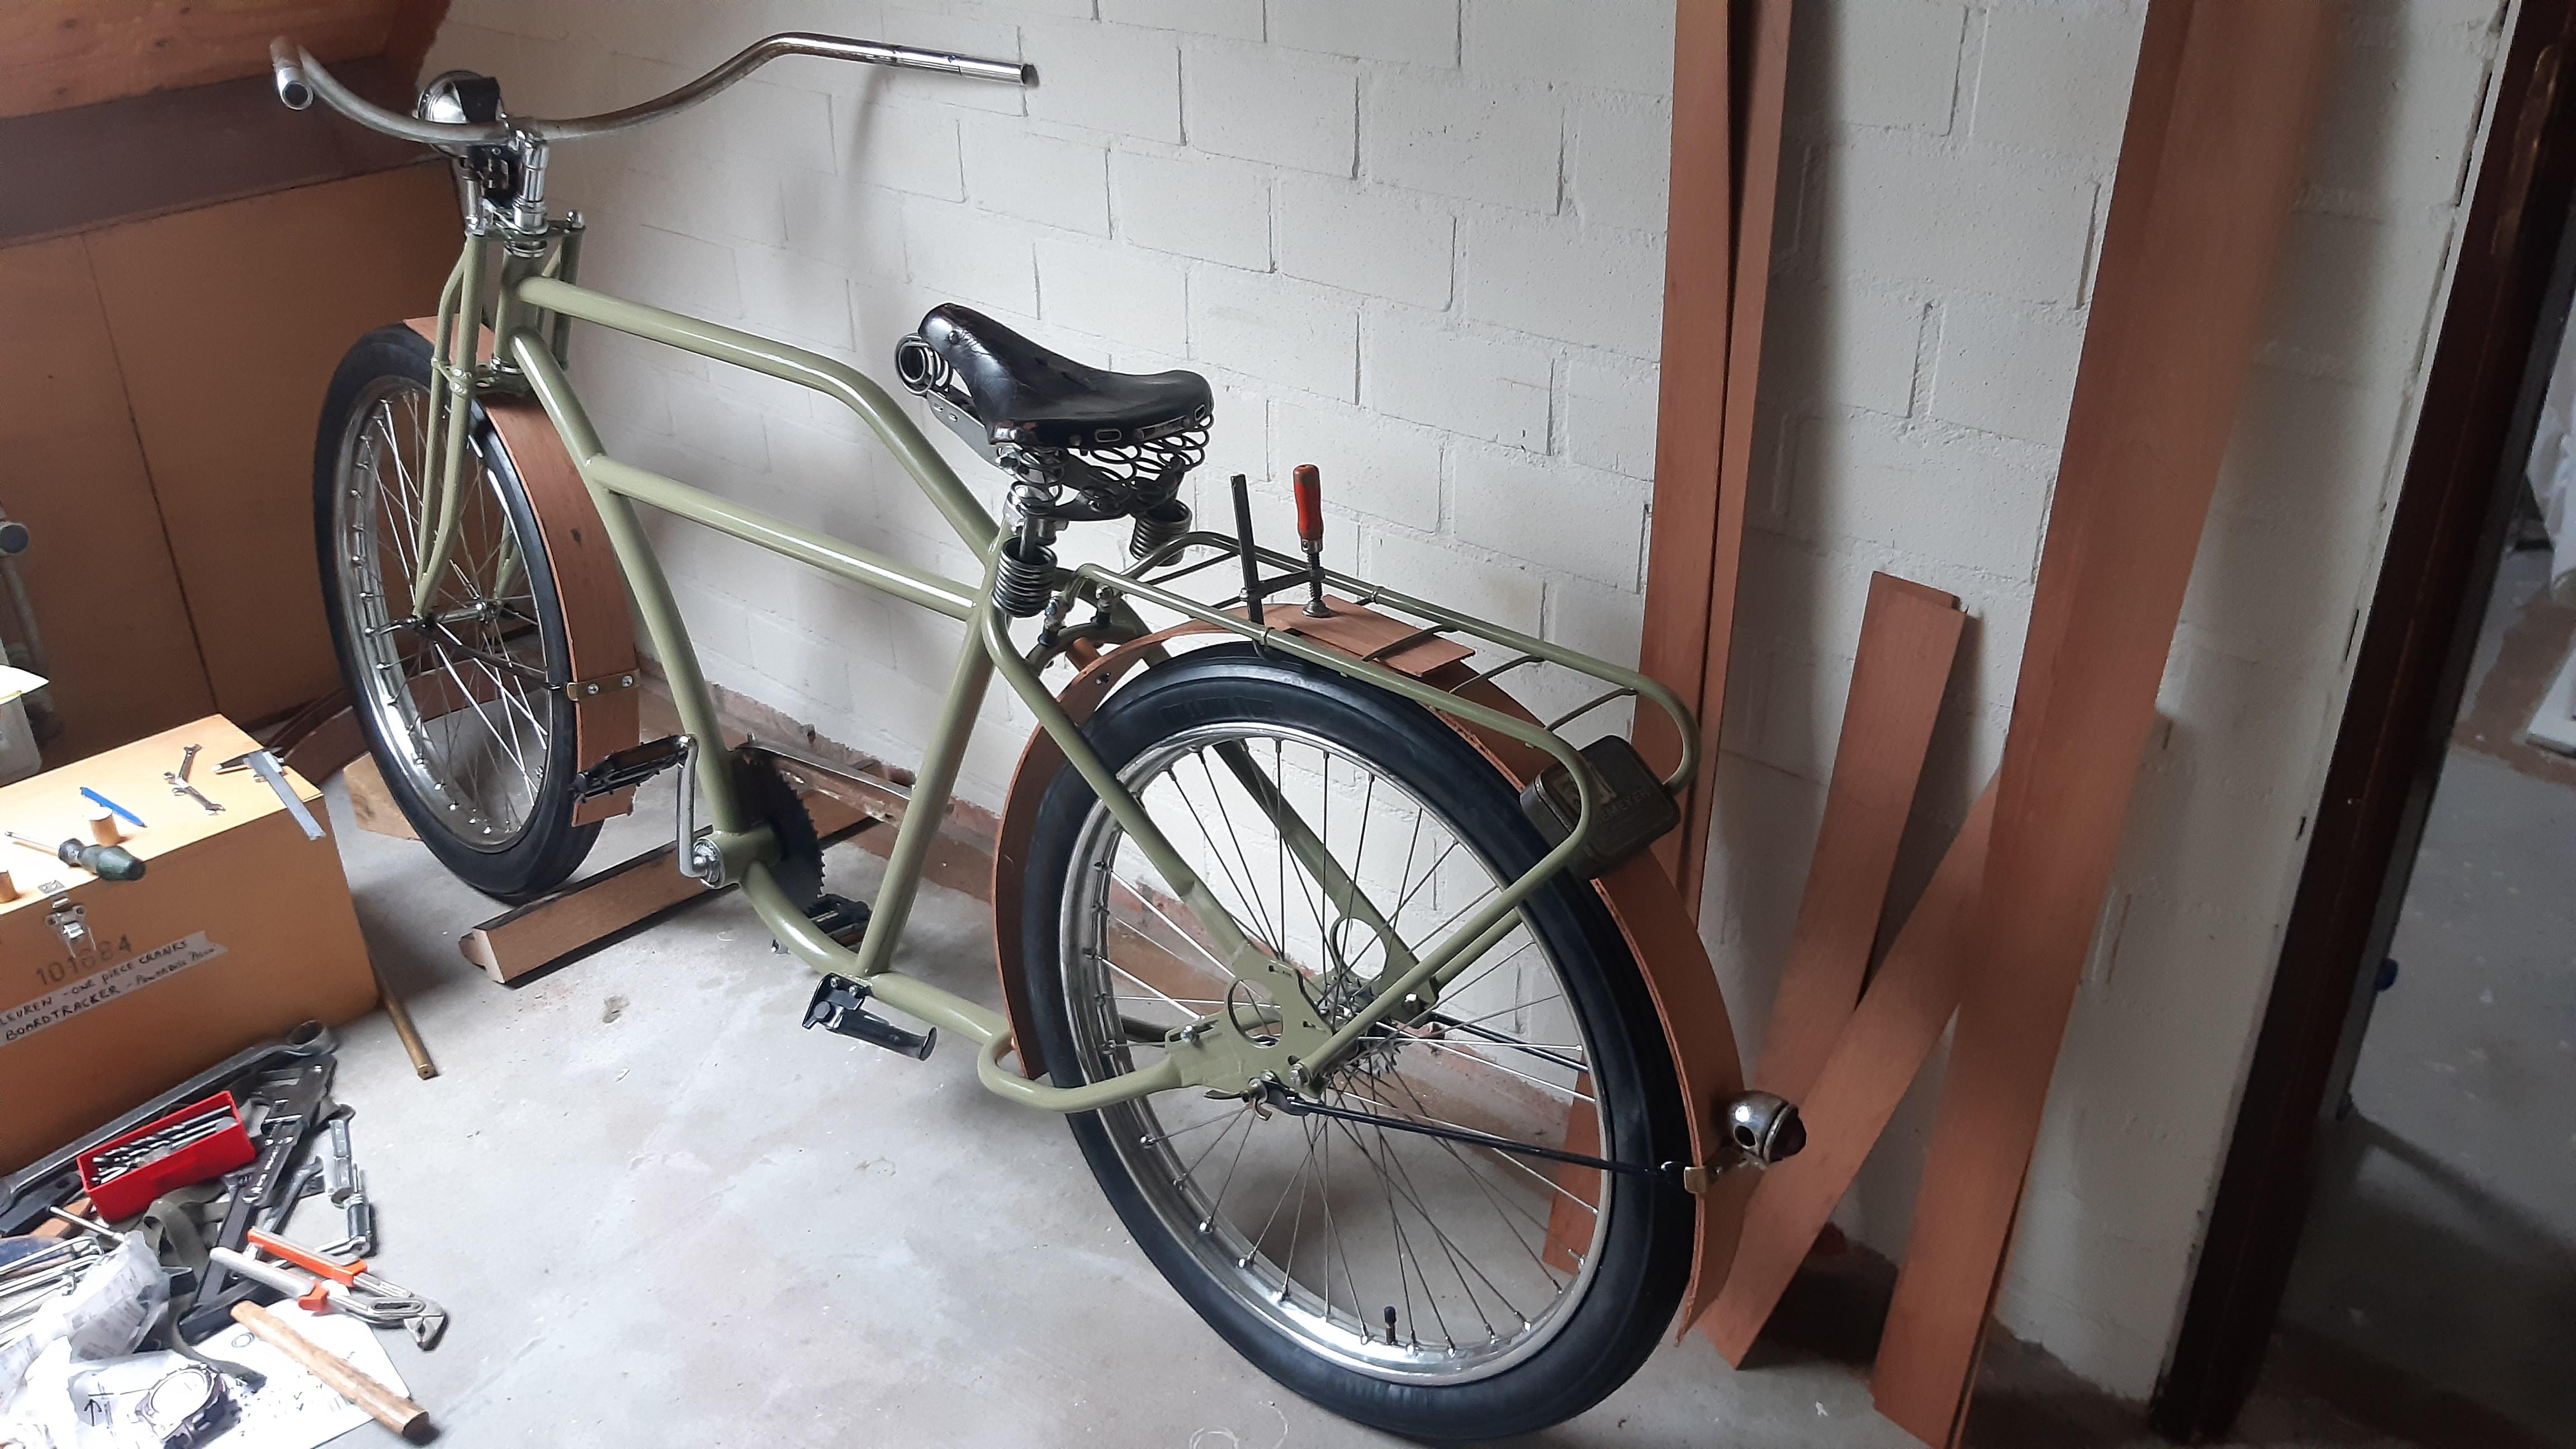
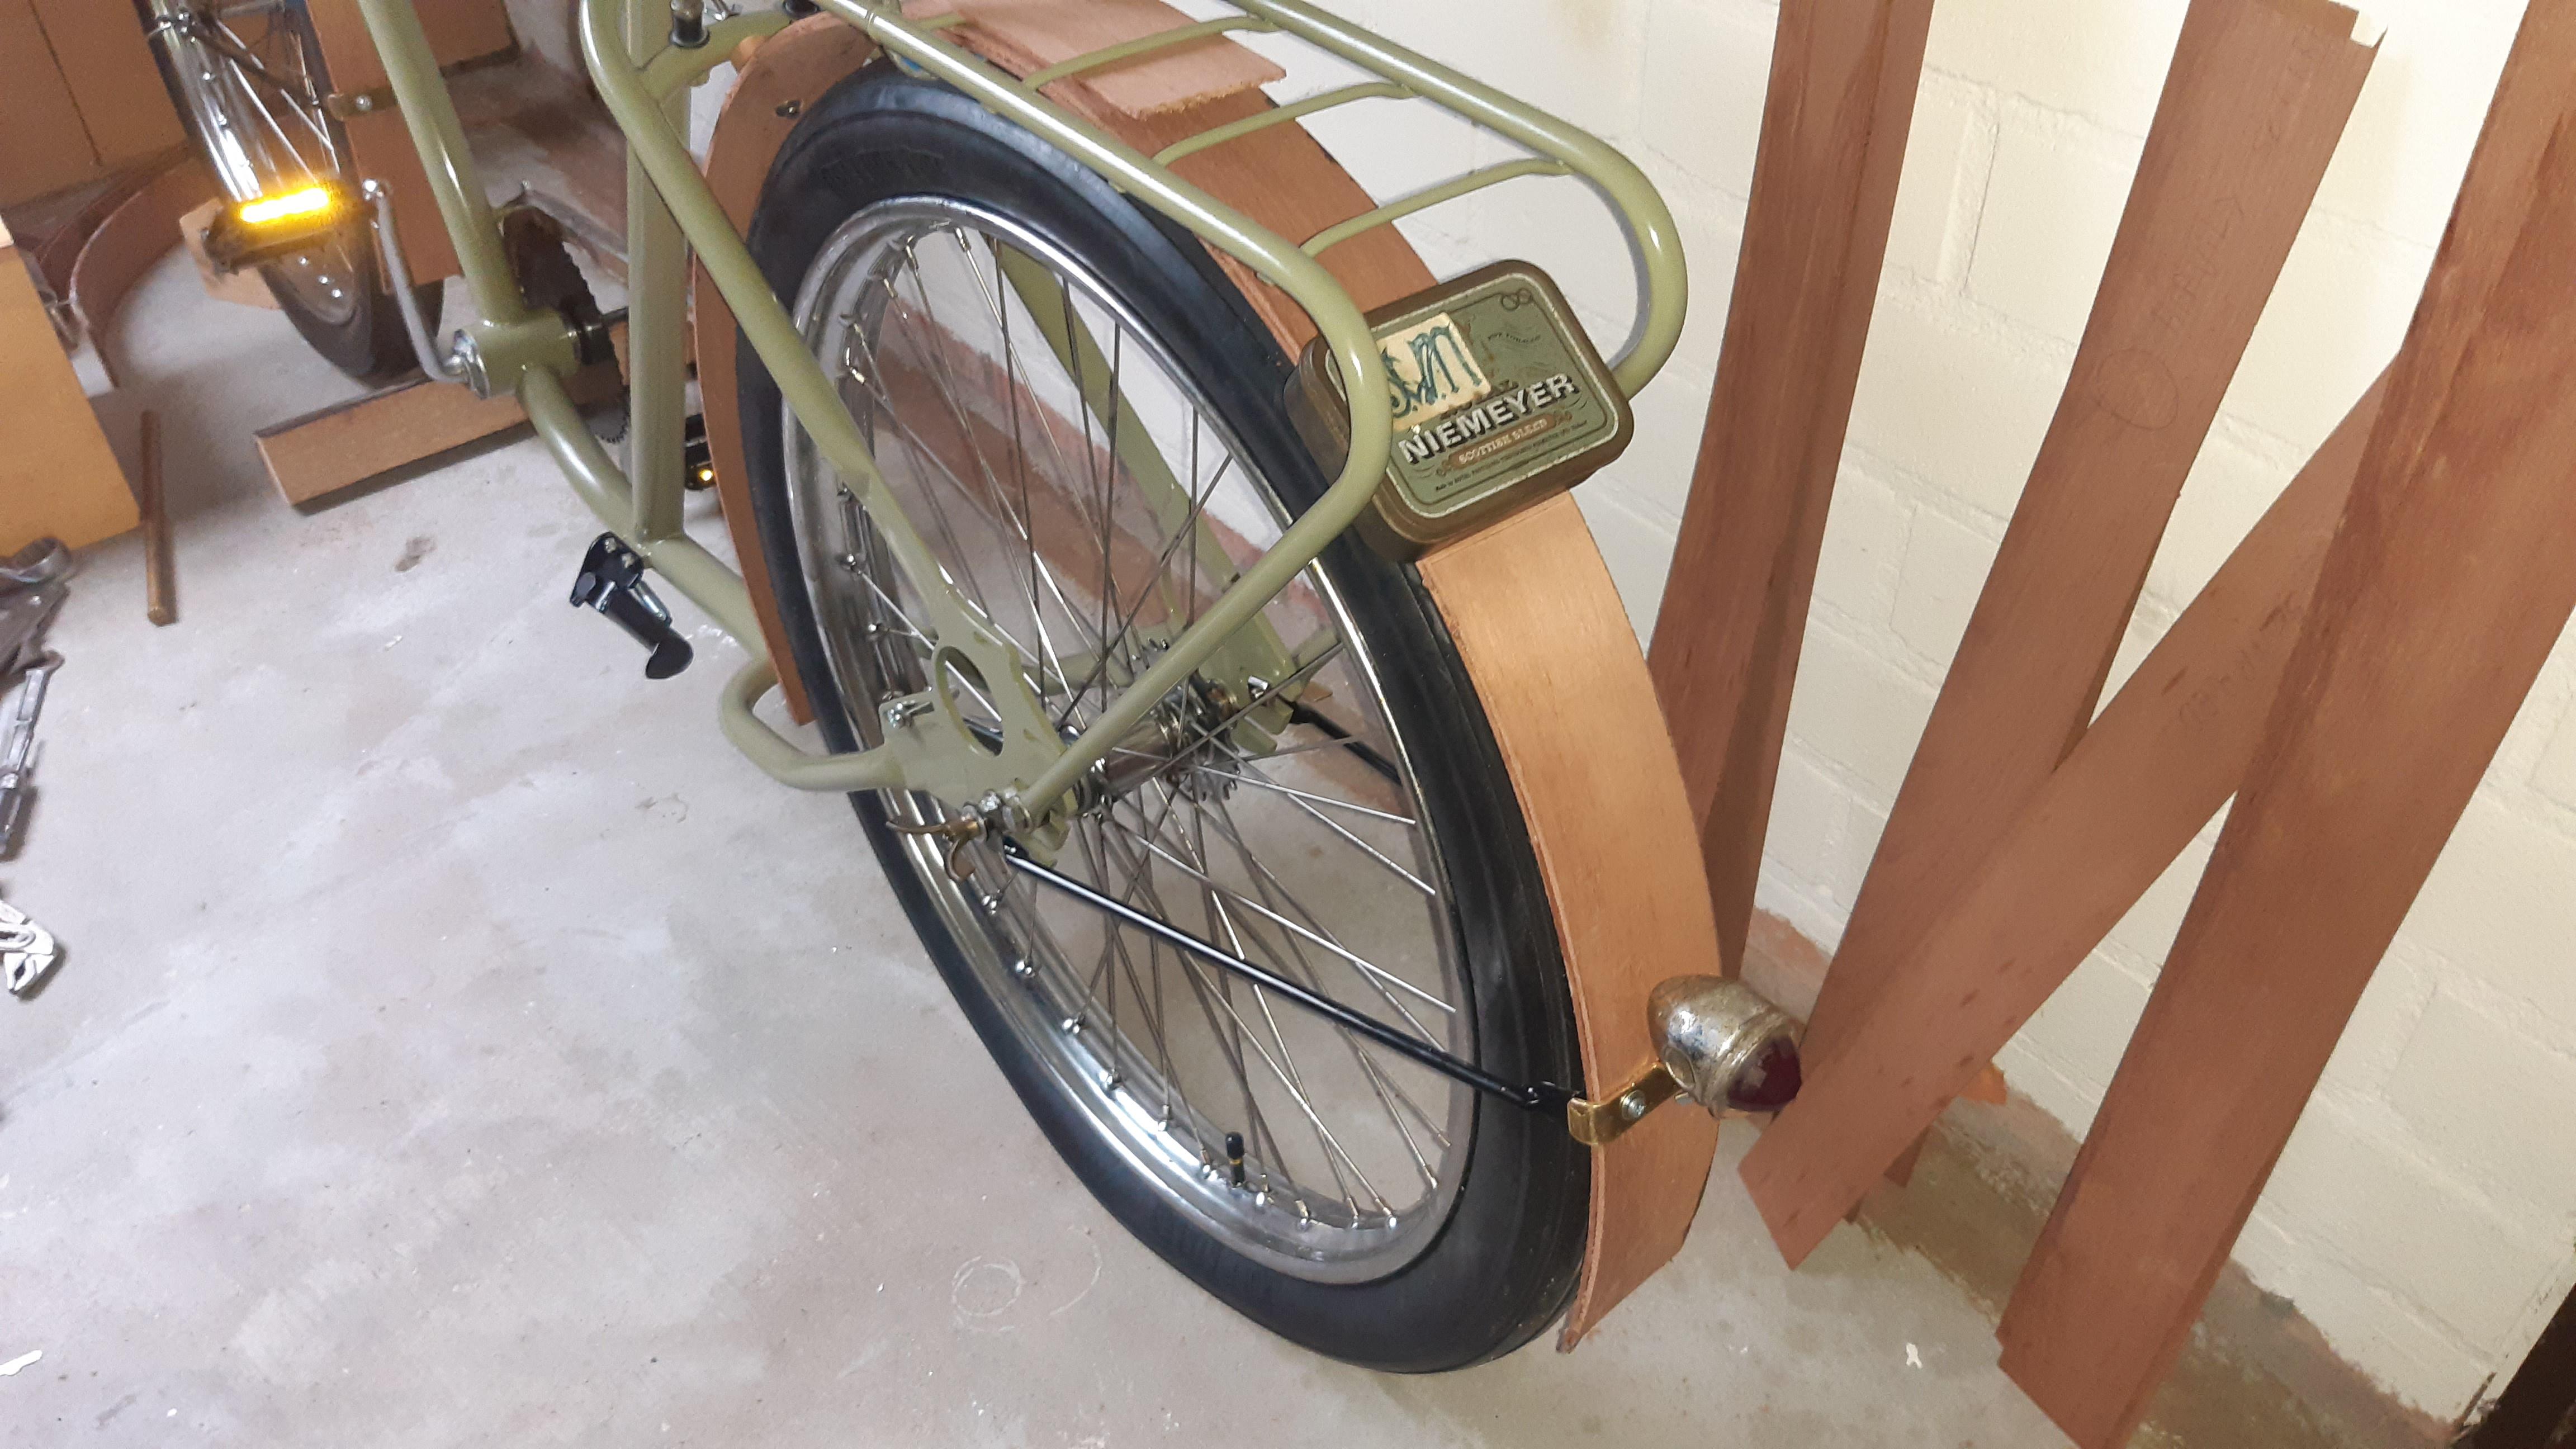
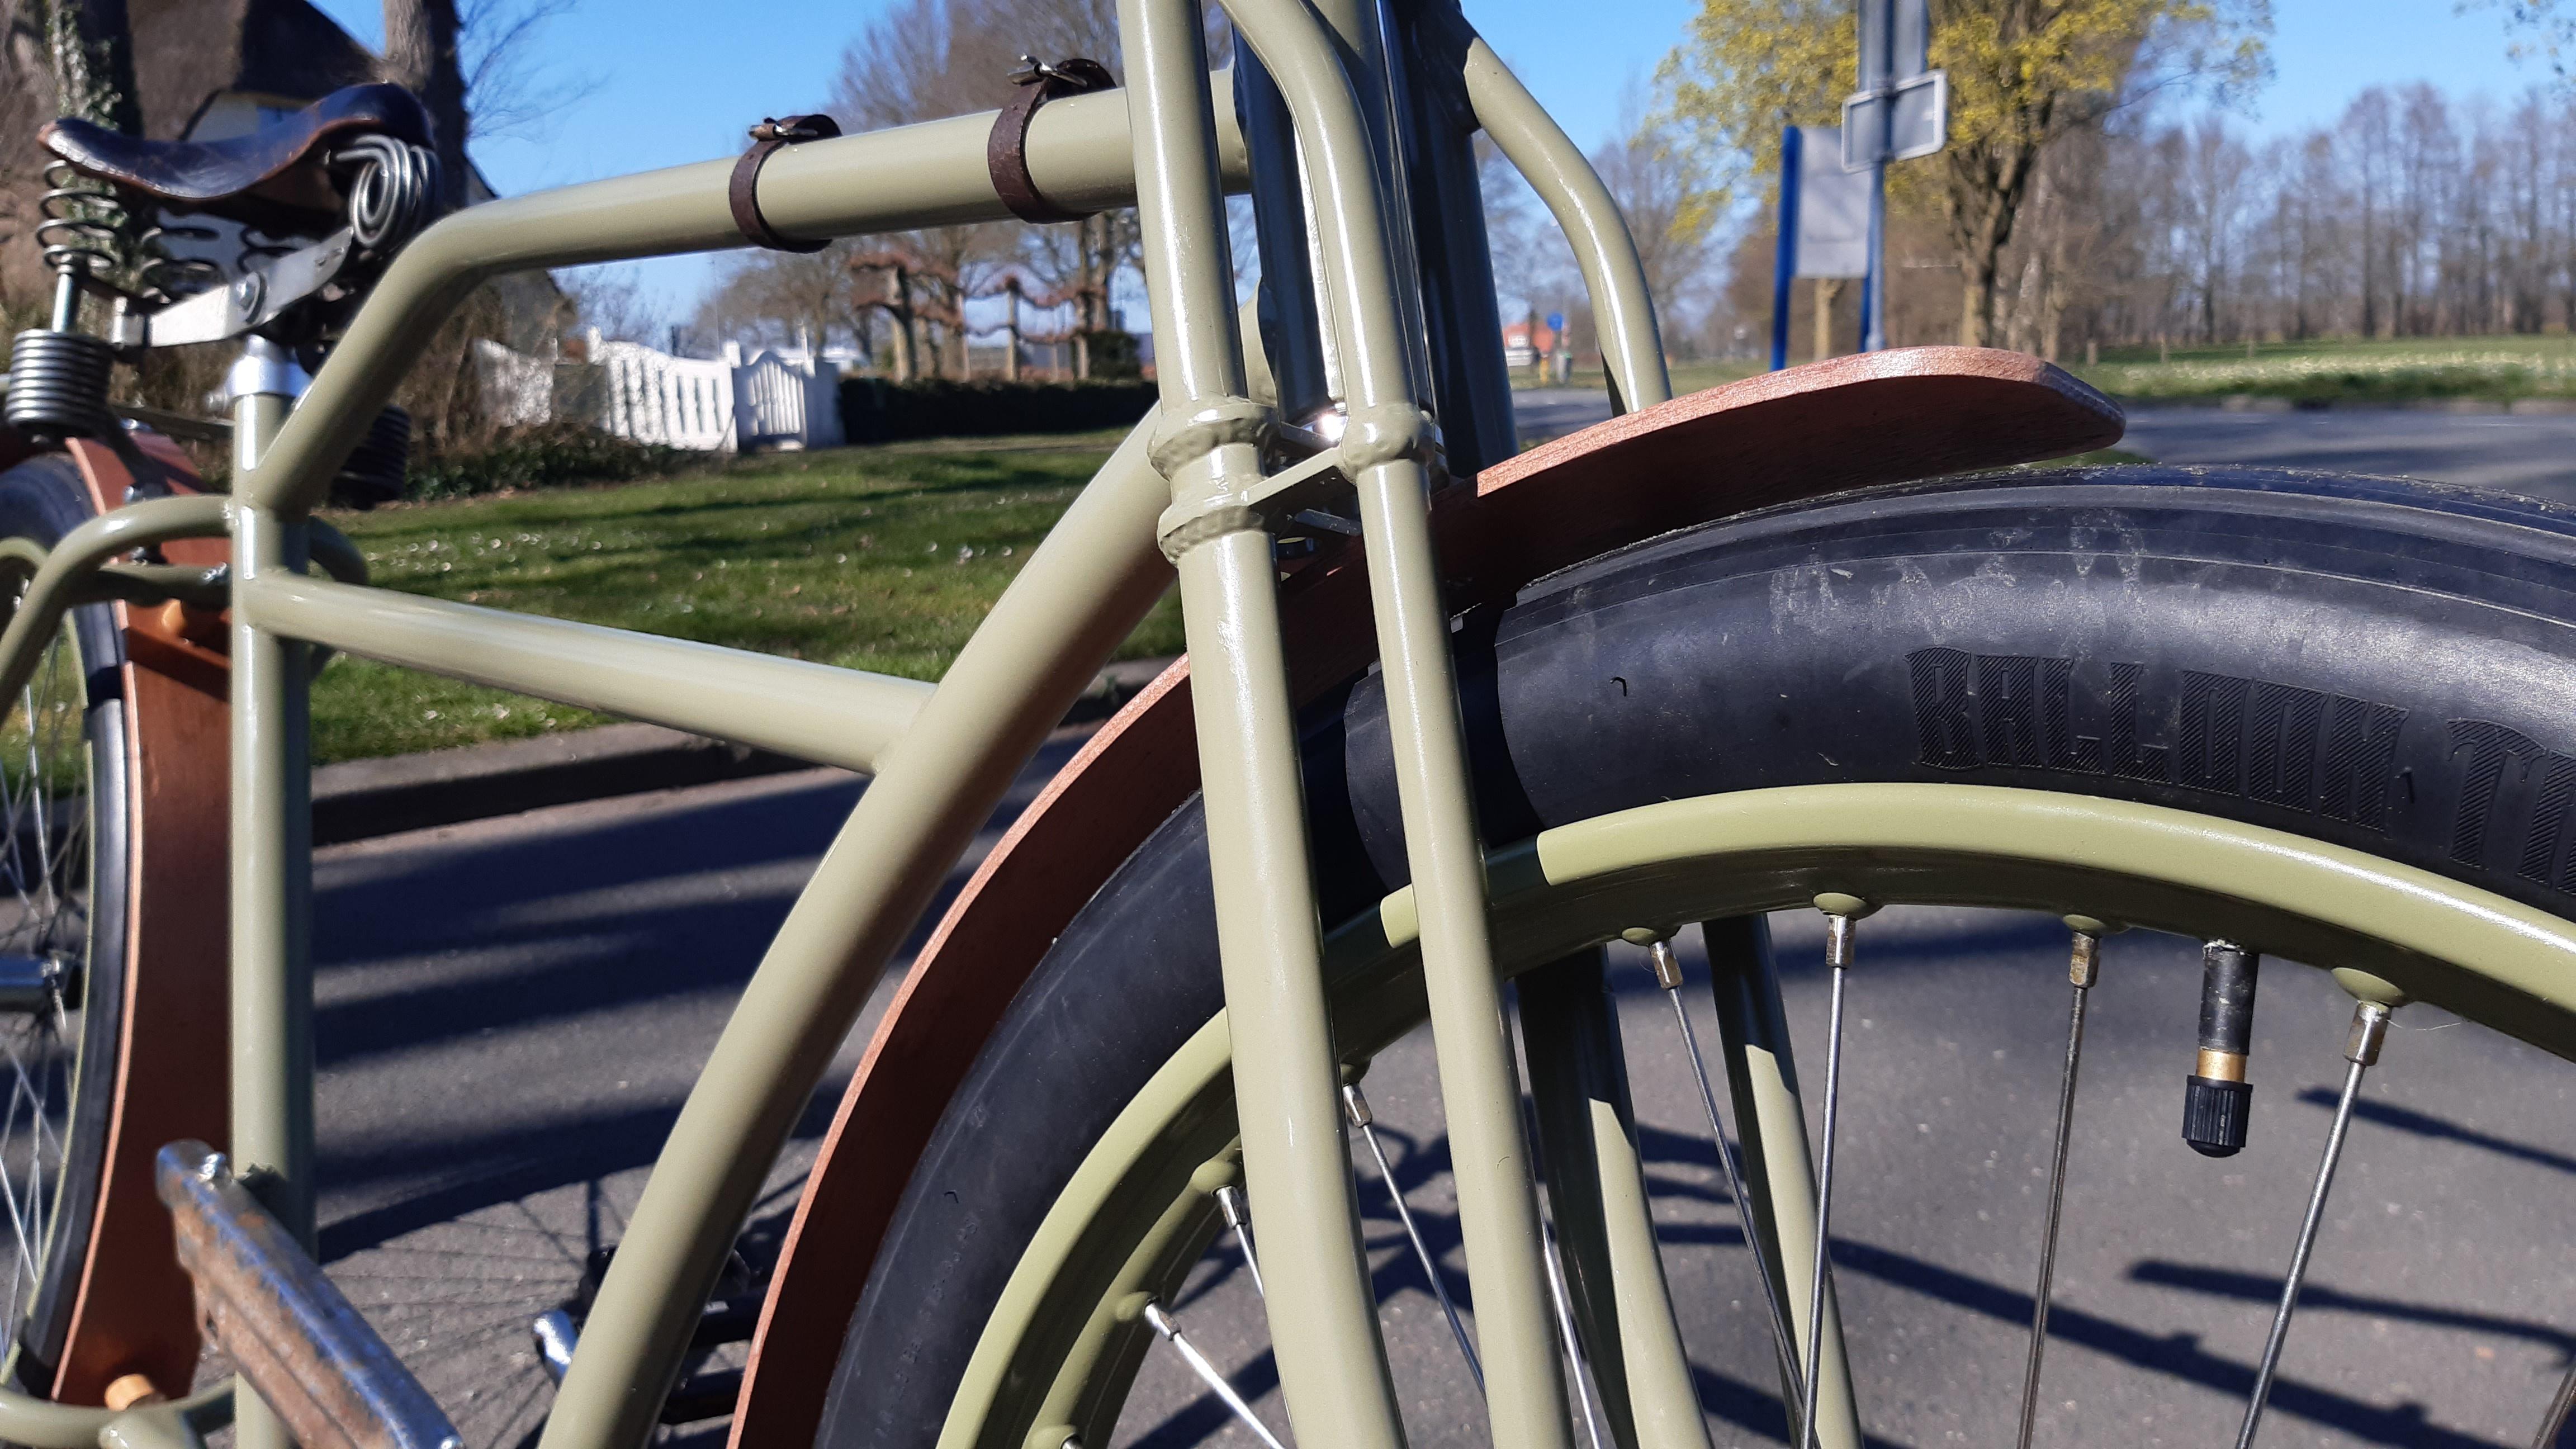
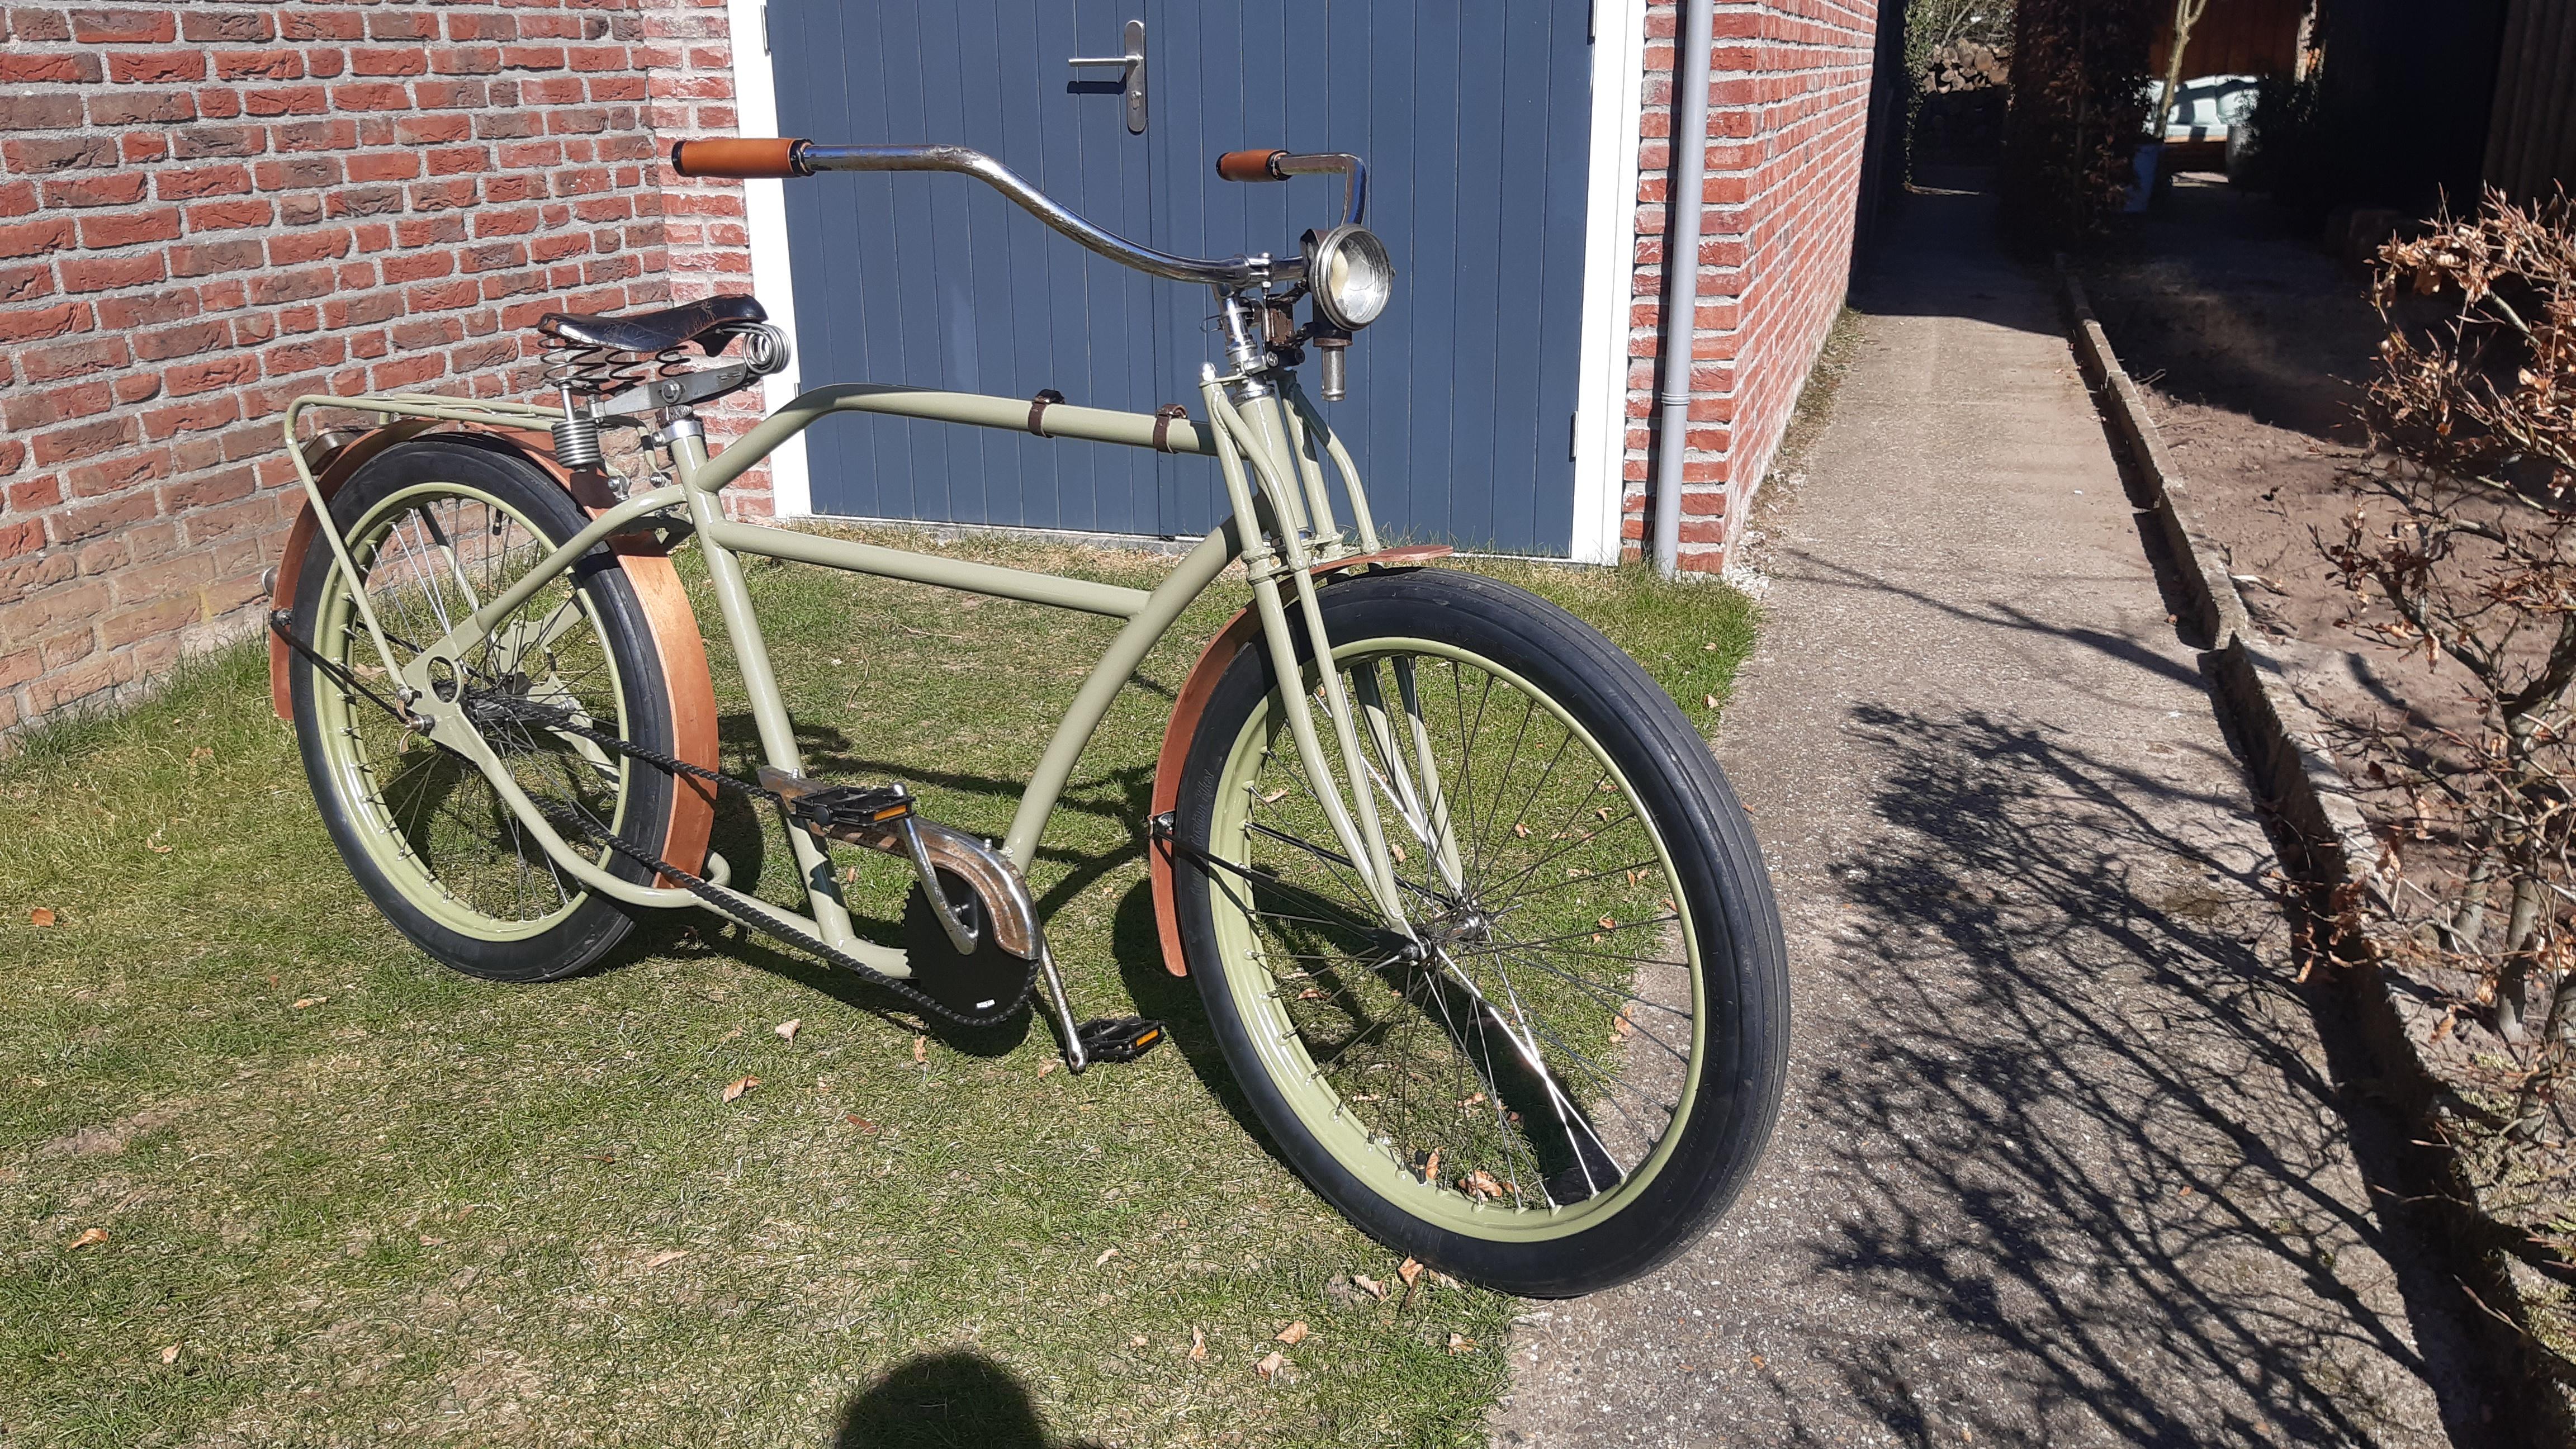
Good progress pics Bart. Keep 'em coming. Powdercoat colour turned out awesome. Nice solution to the rack's front mount, and that Lepper Primus saddle really compliments your Porucho frame.
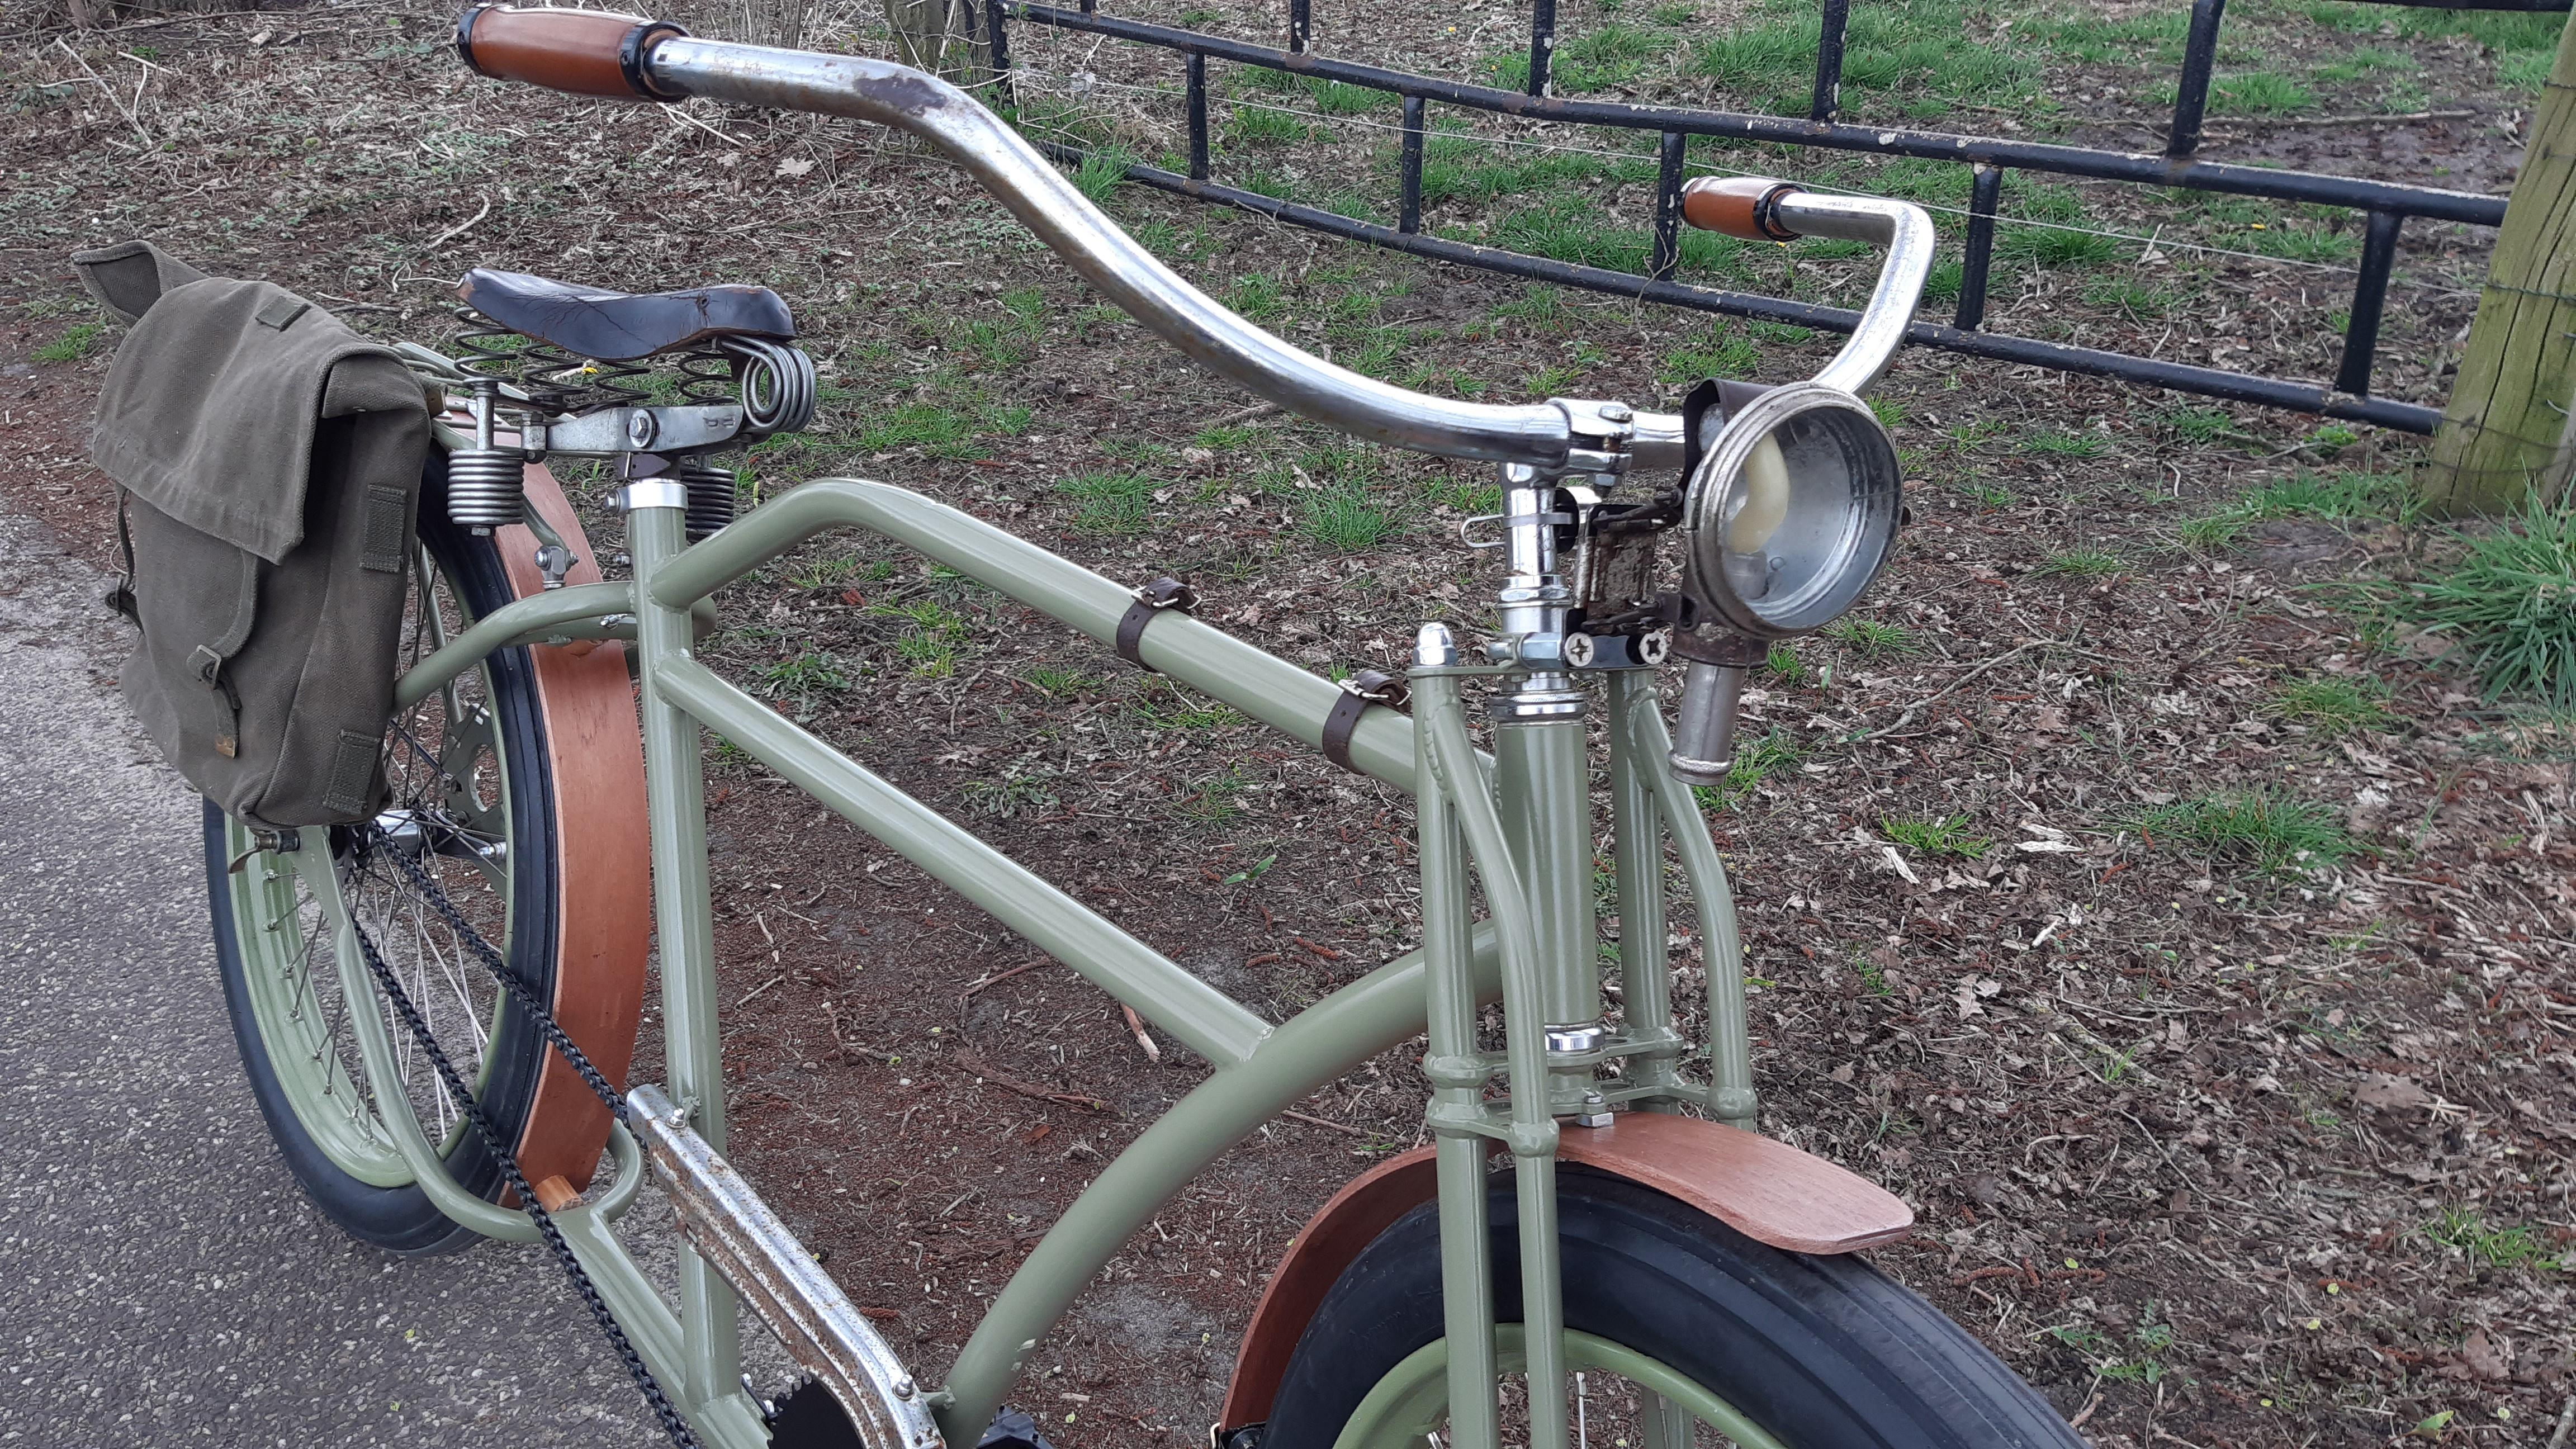
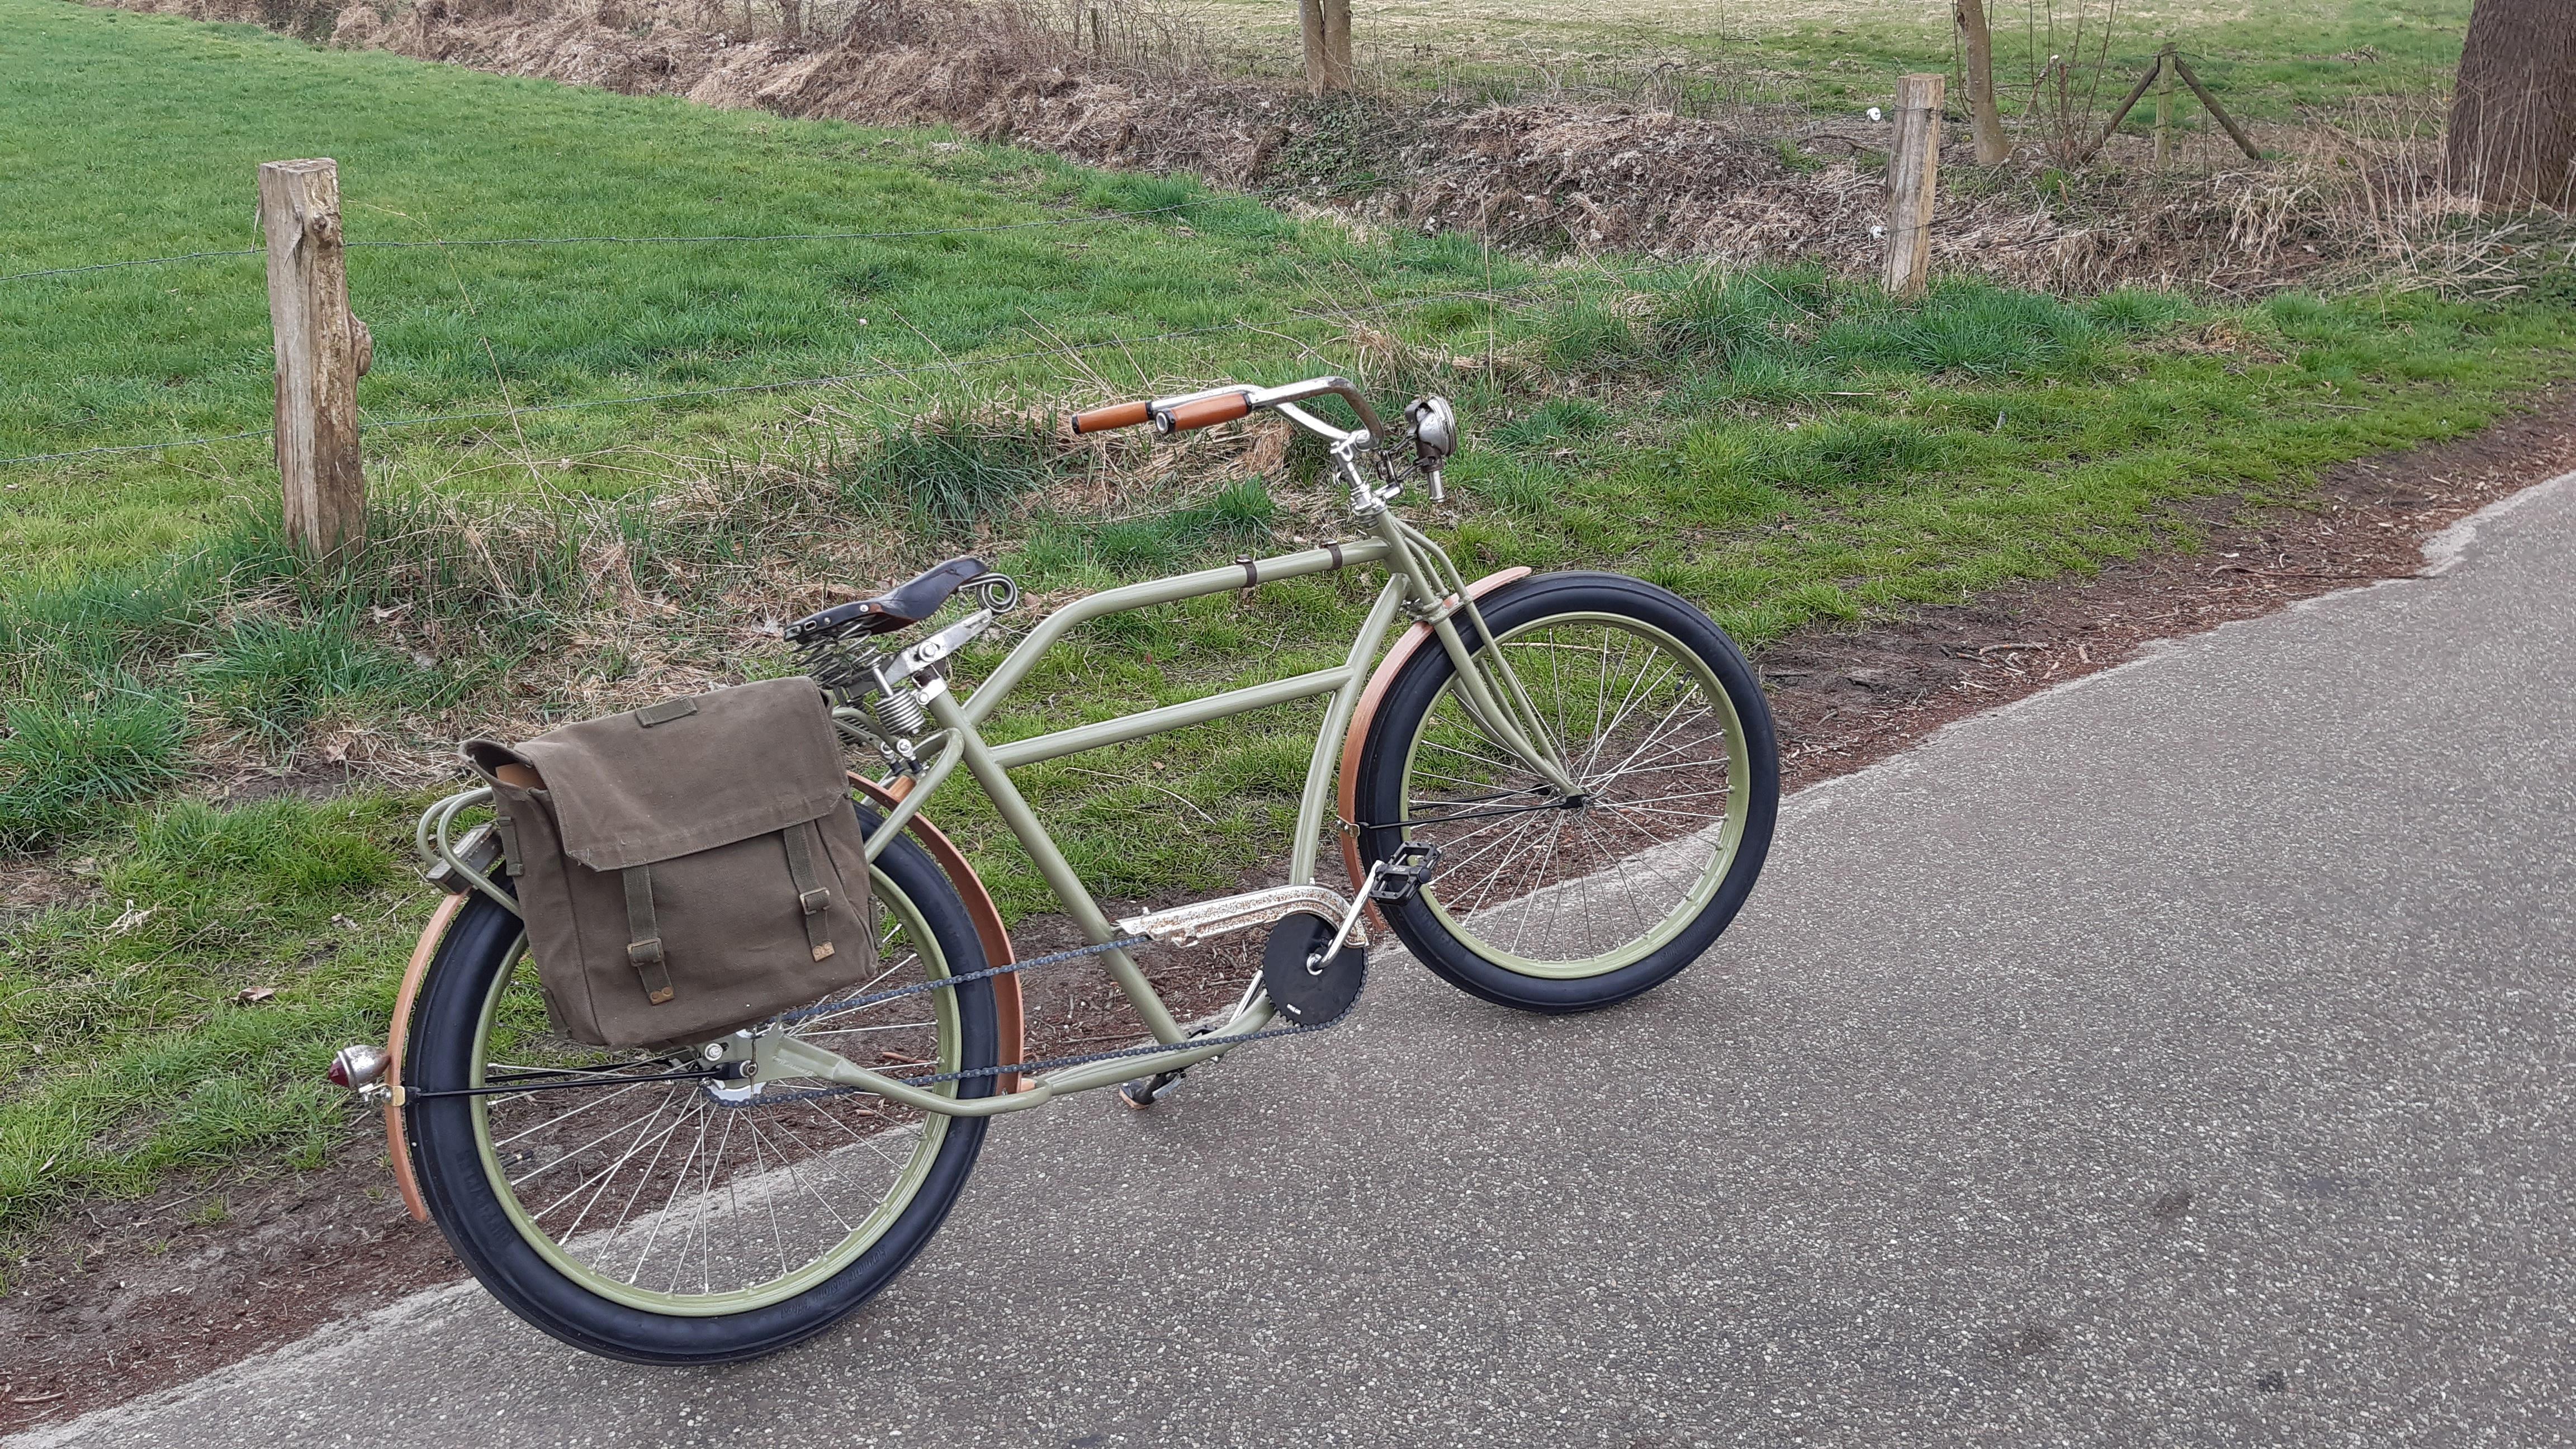
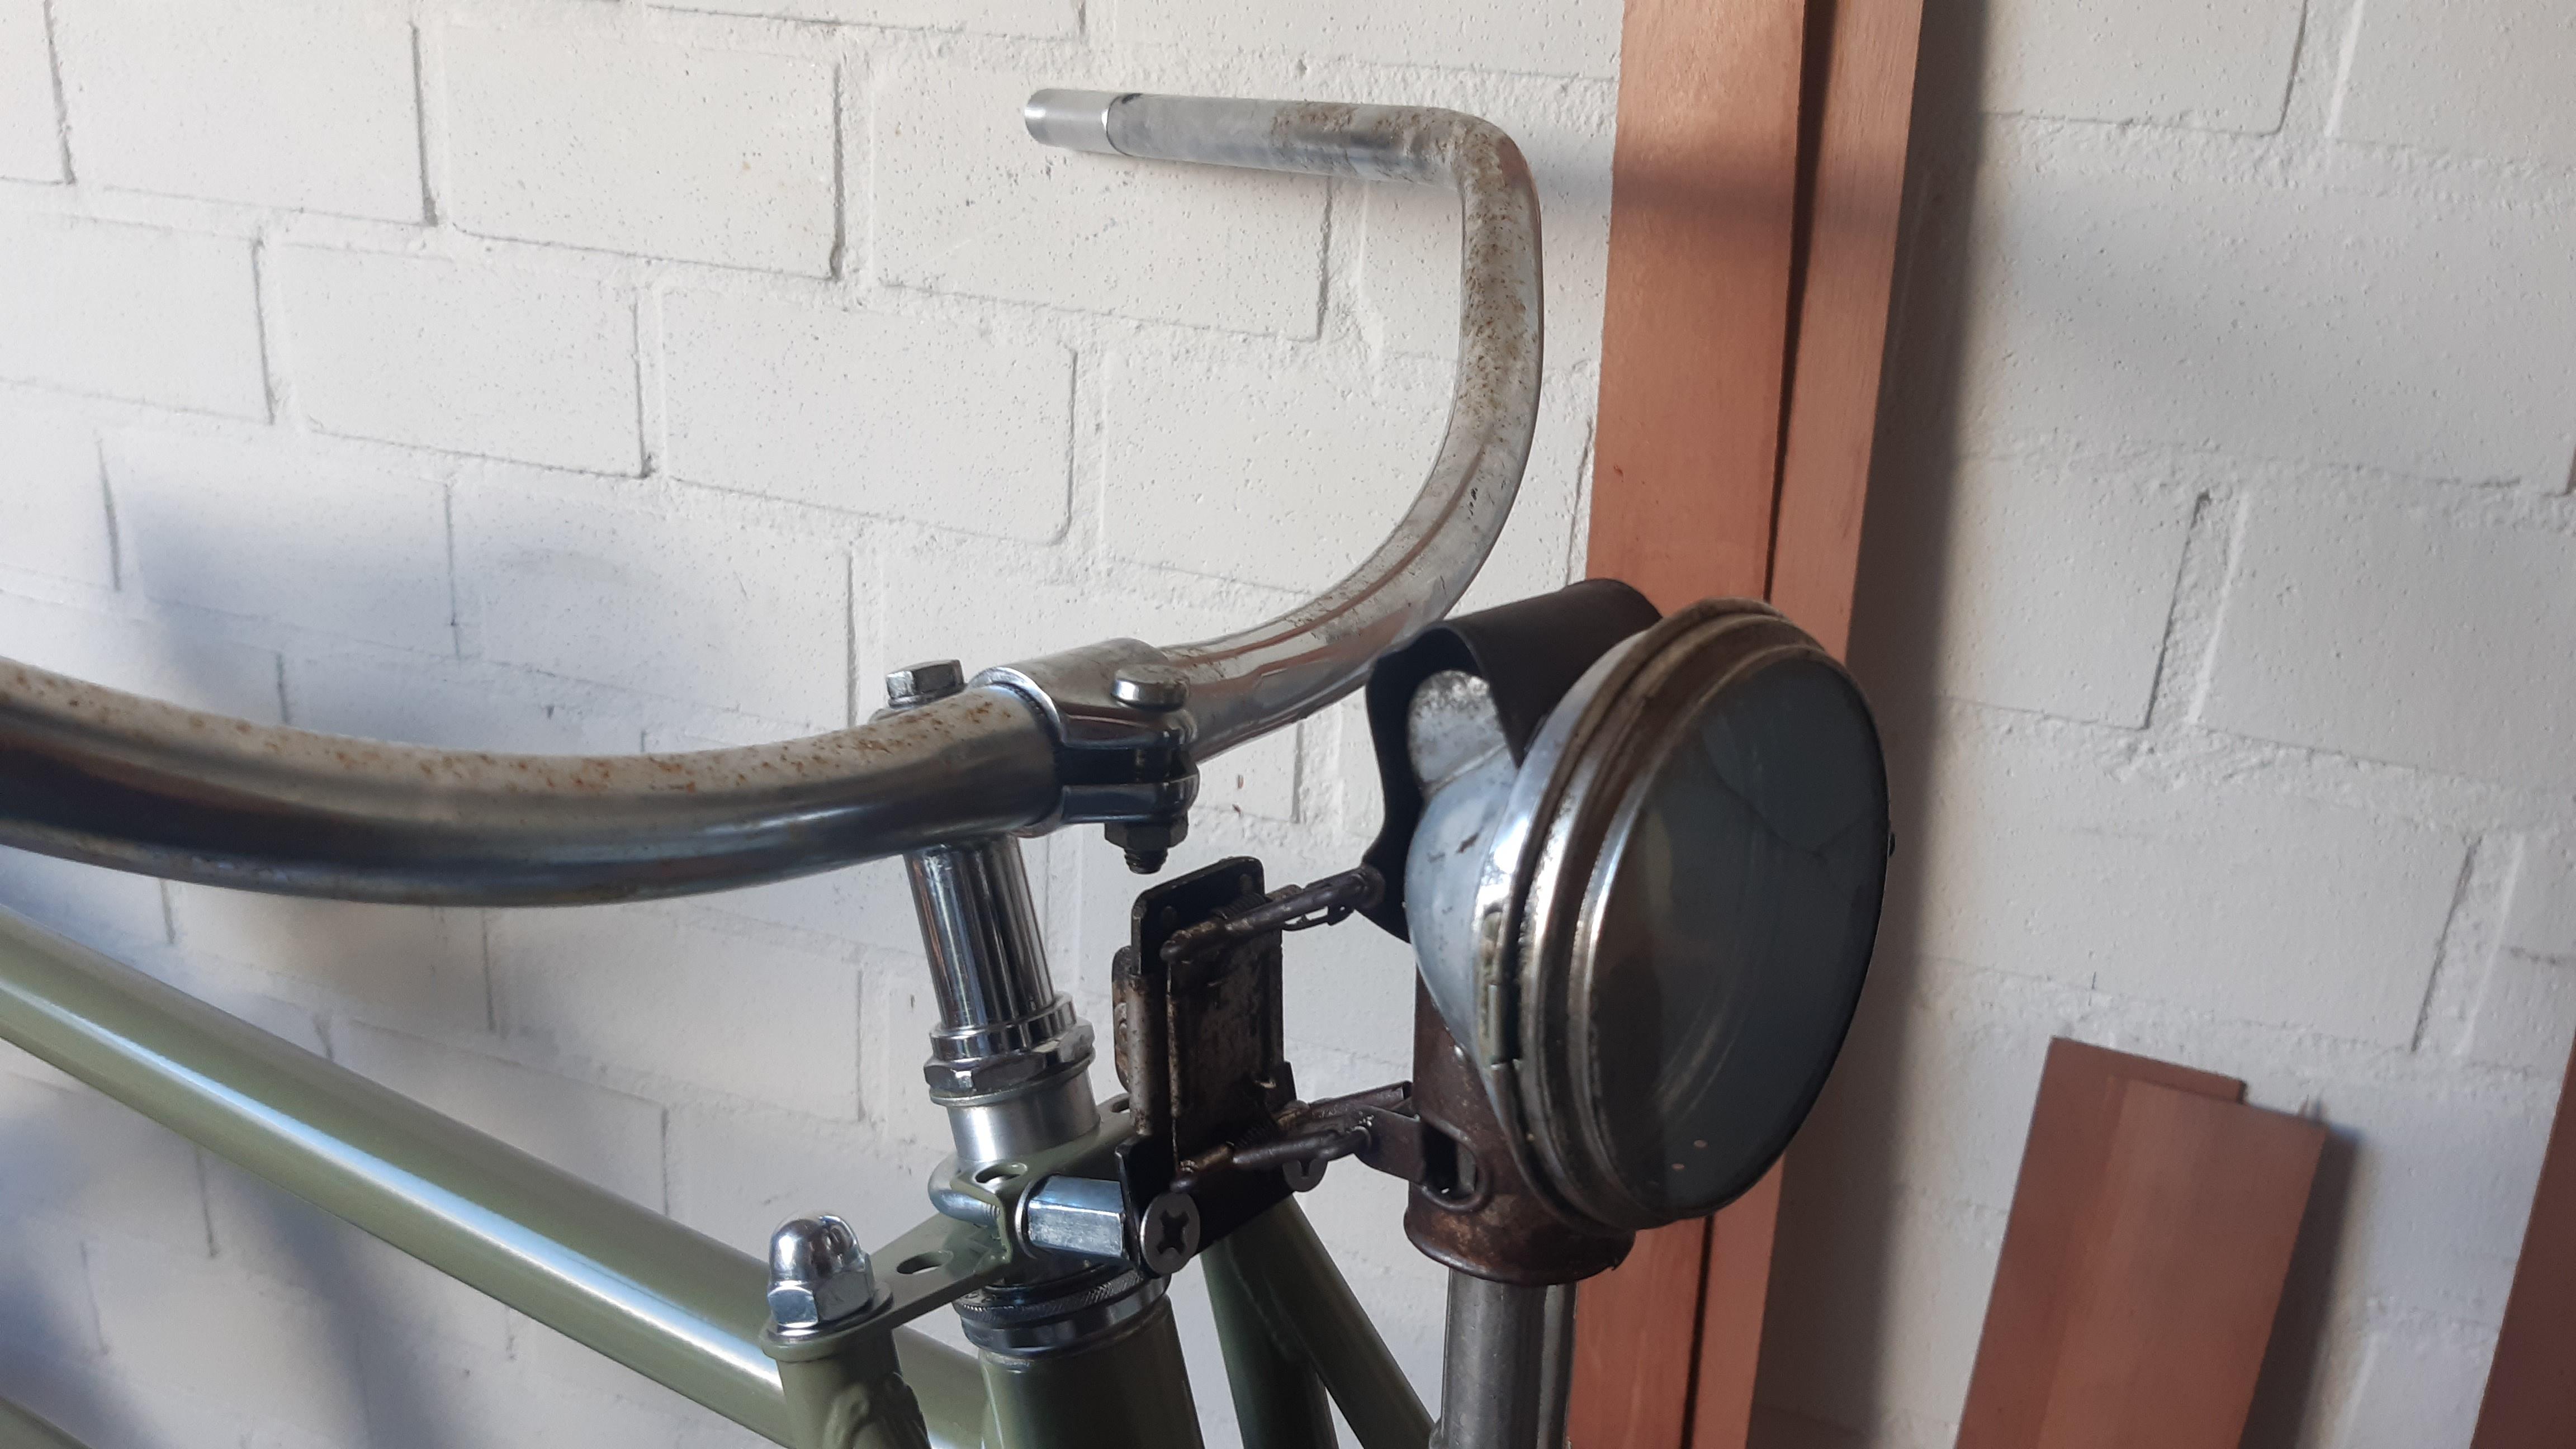
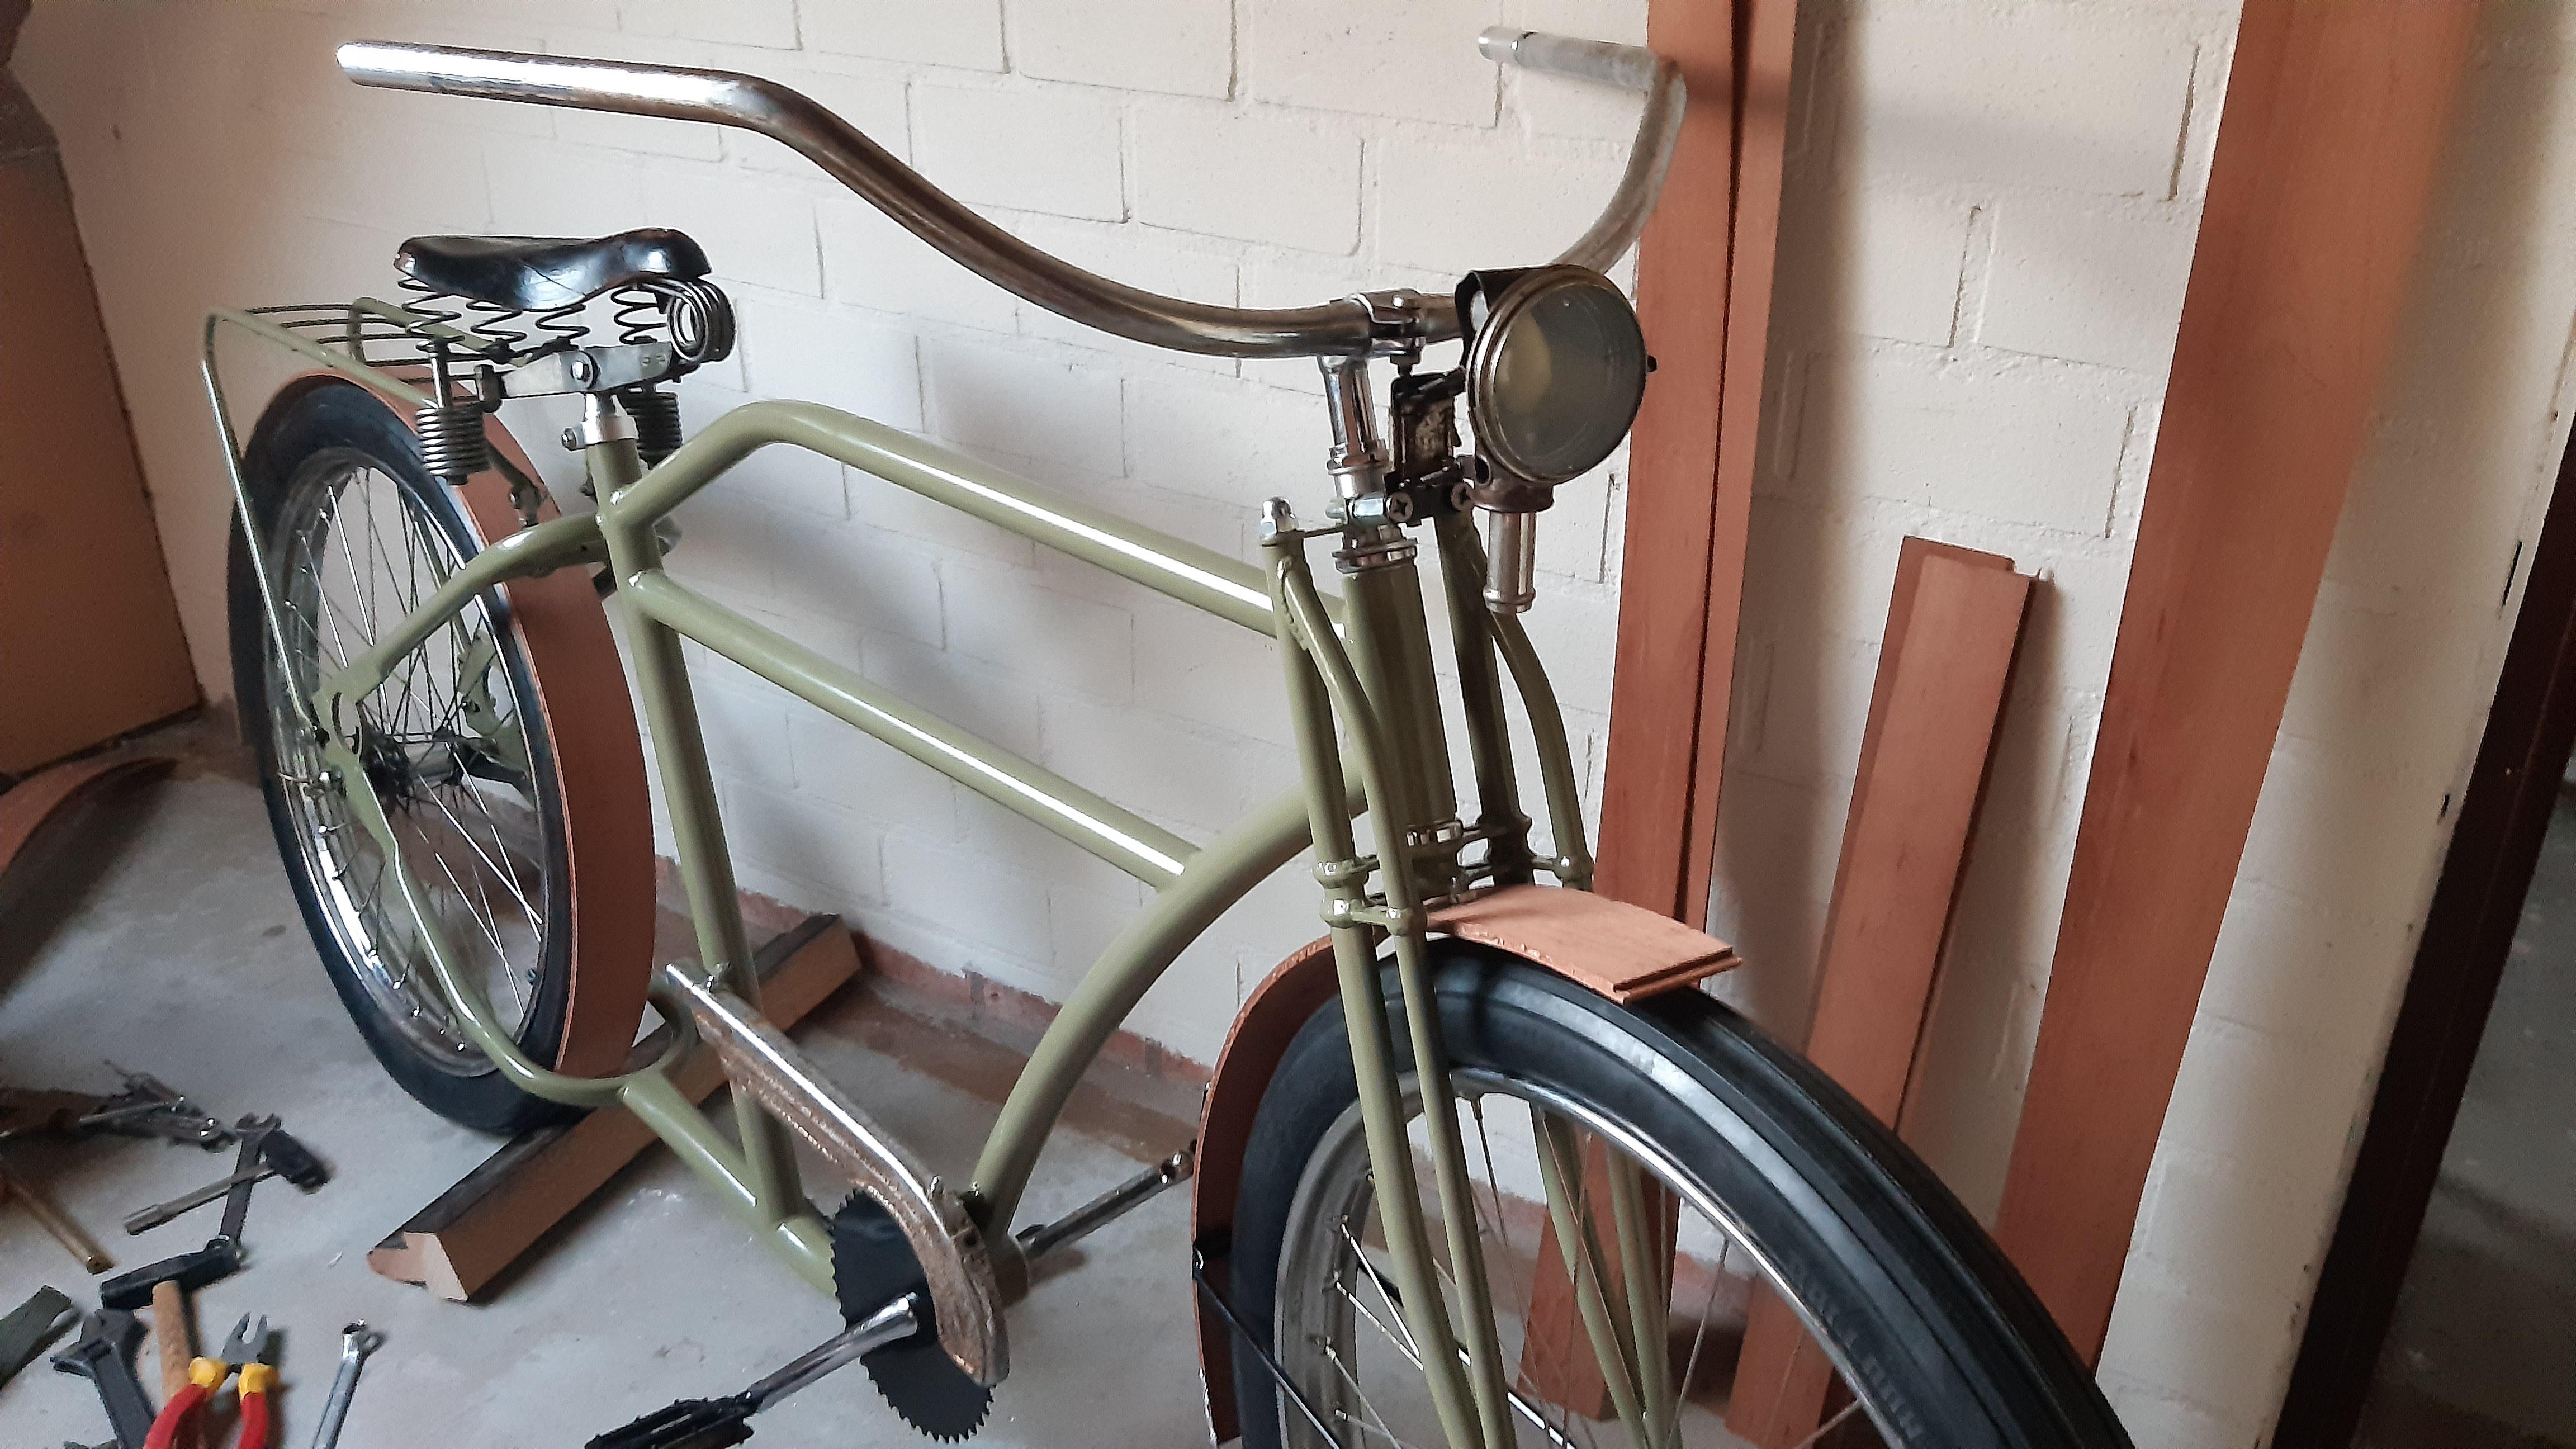
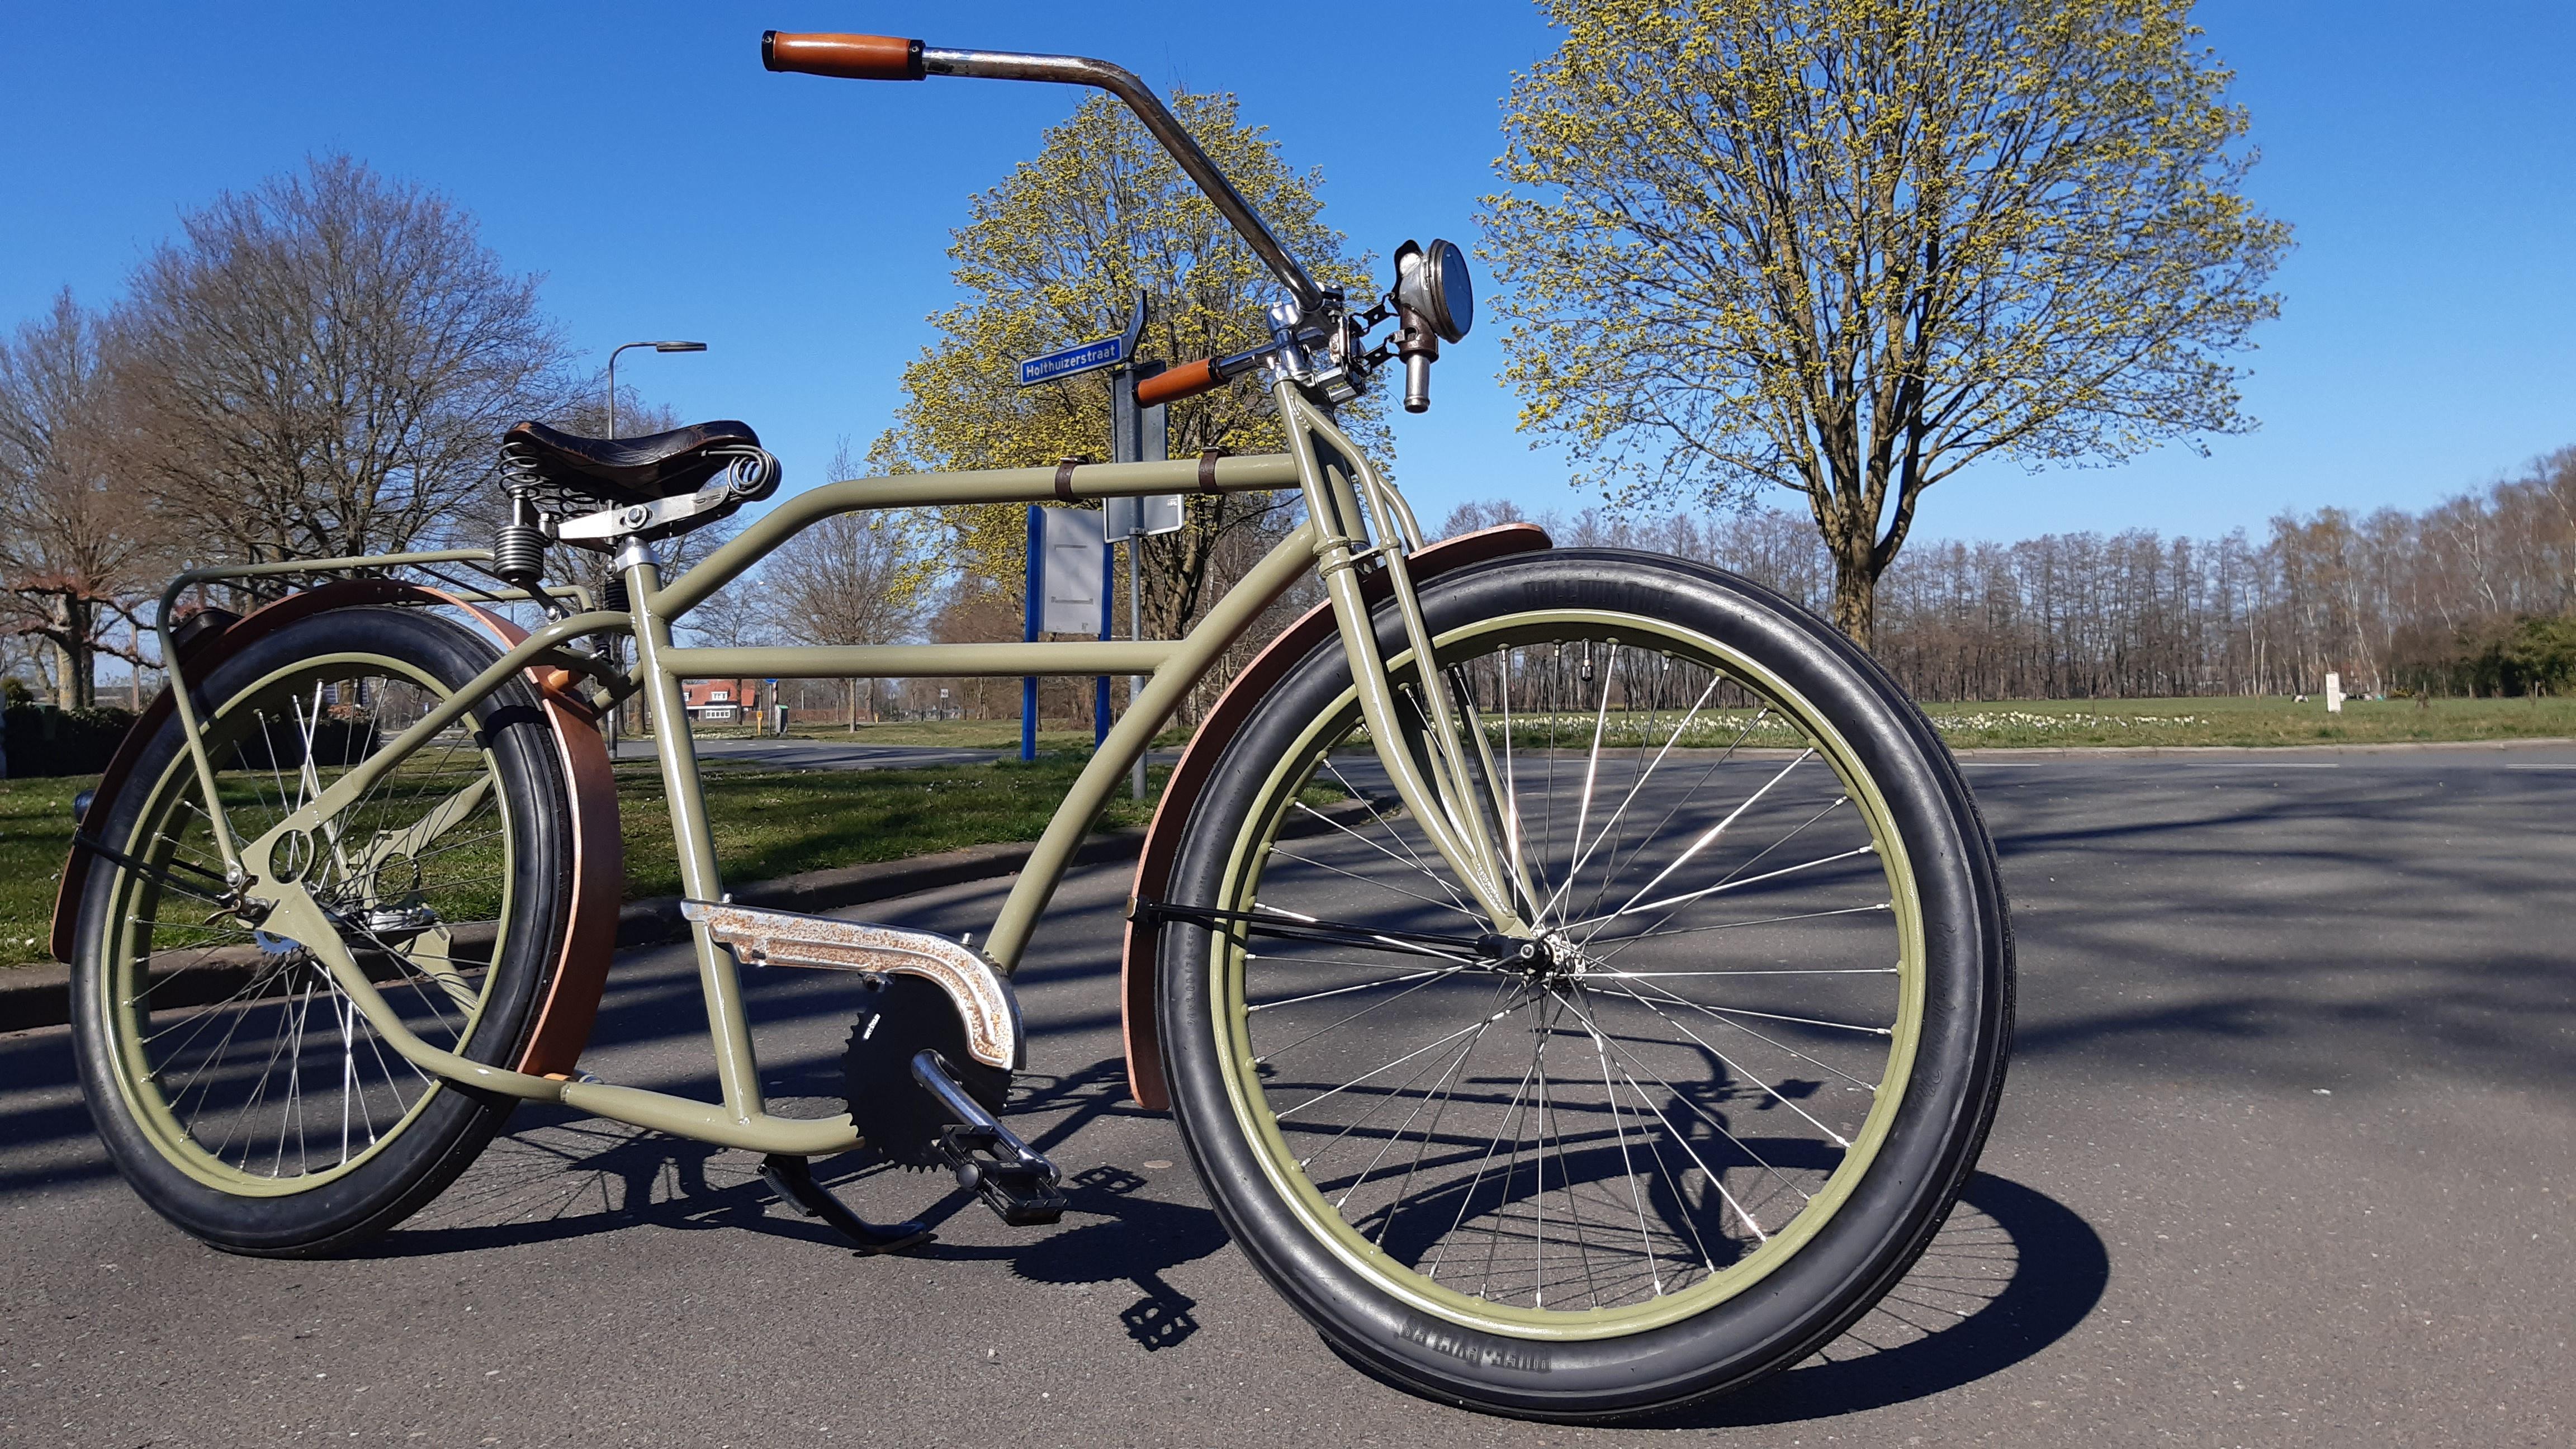
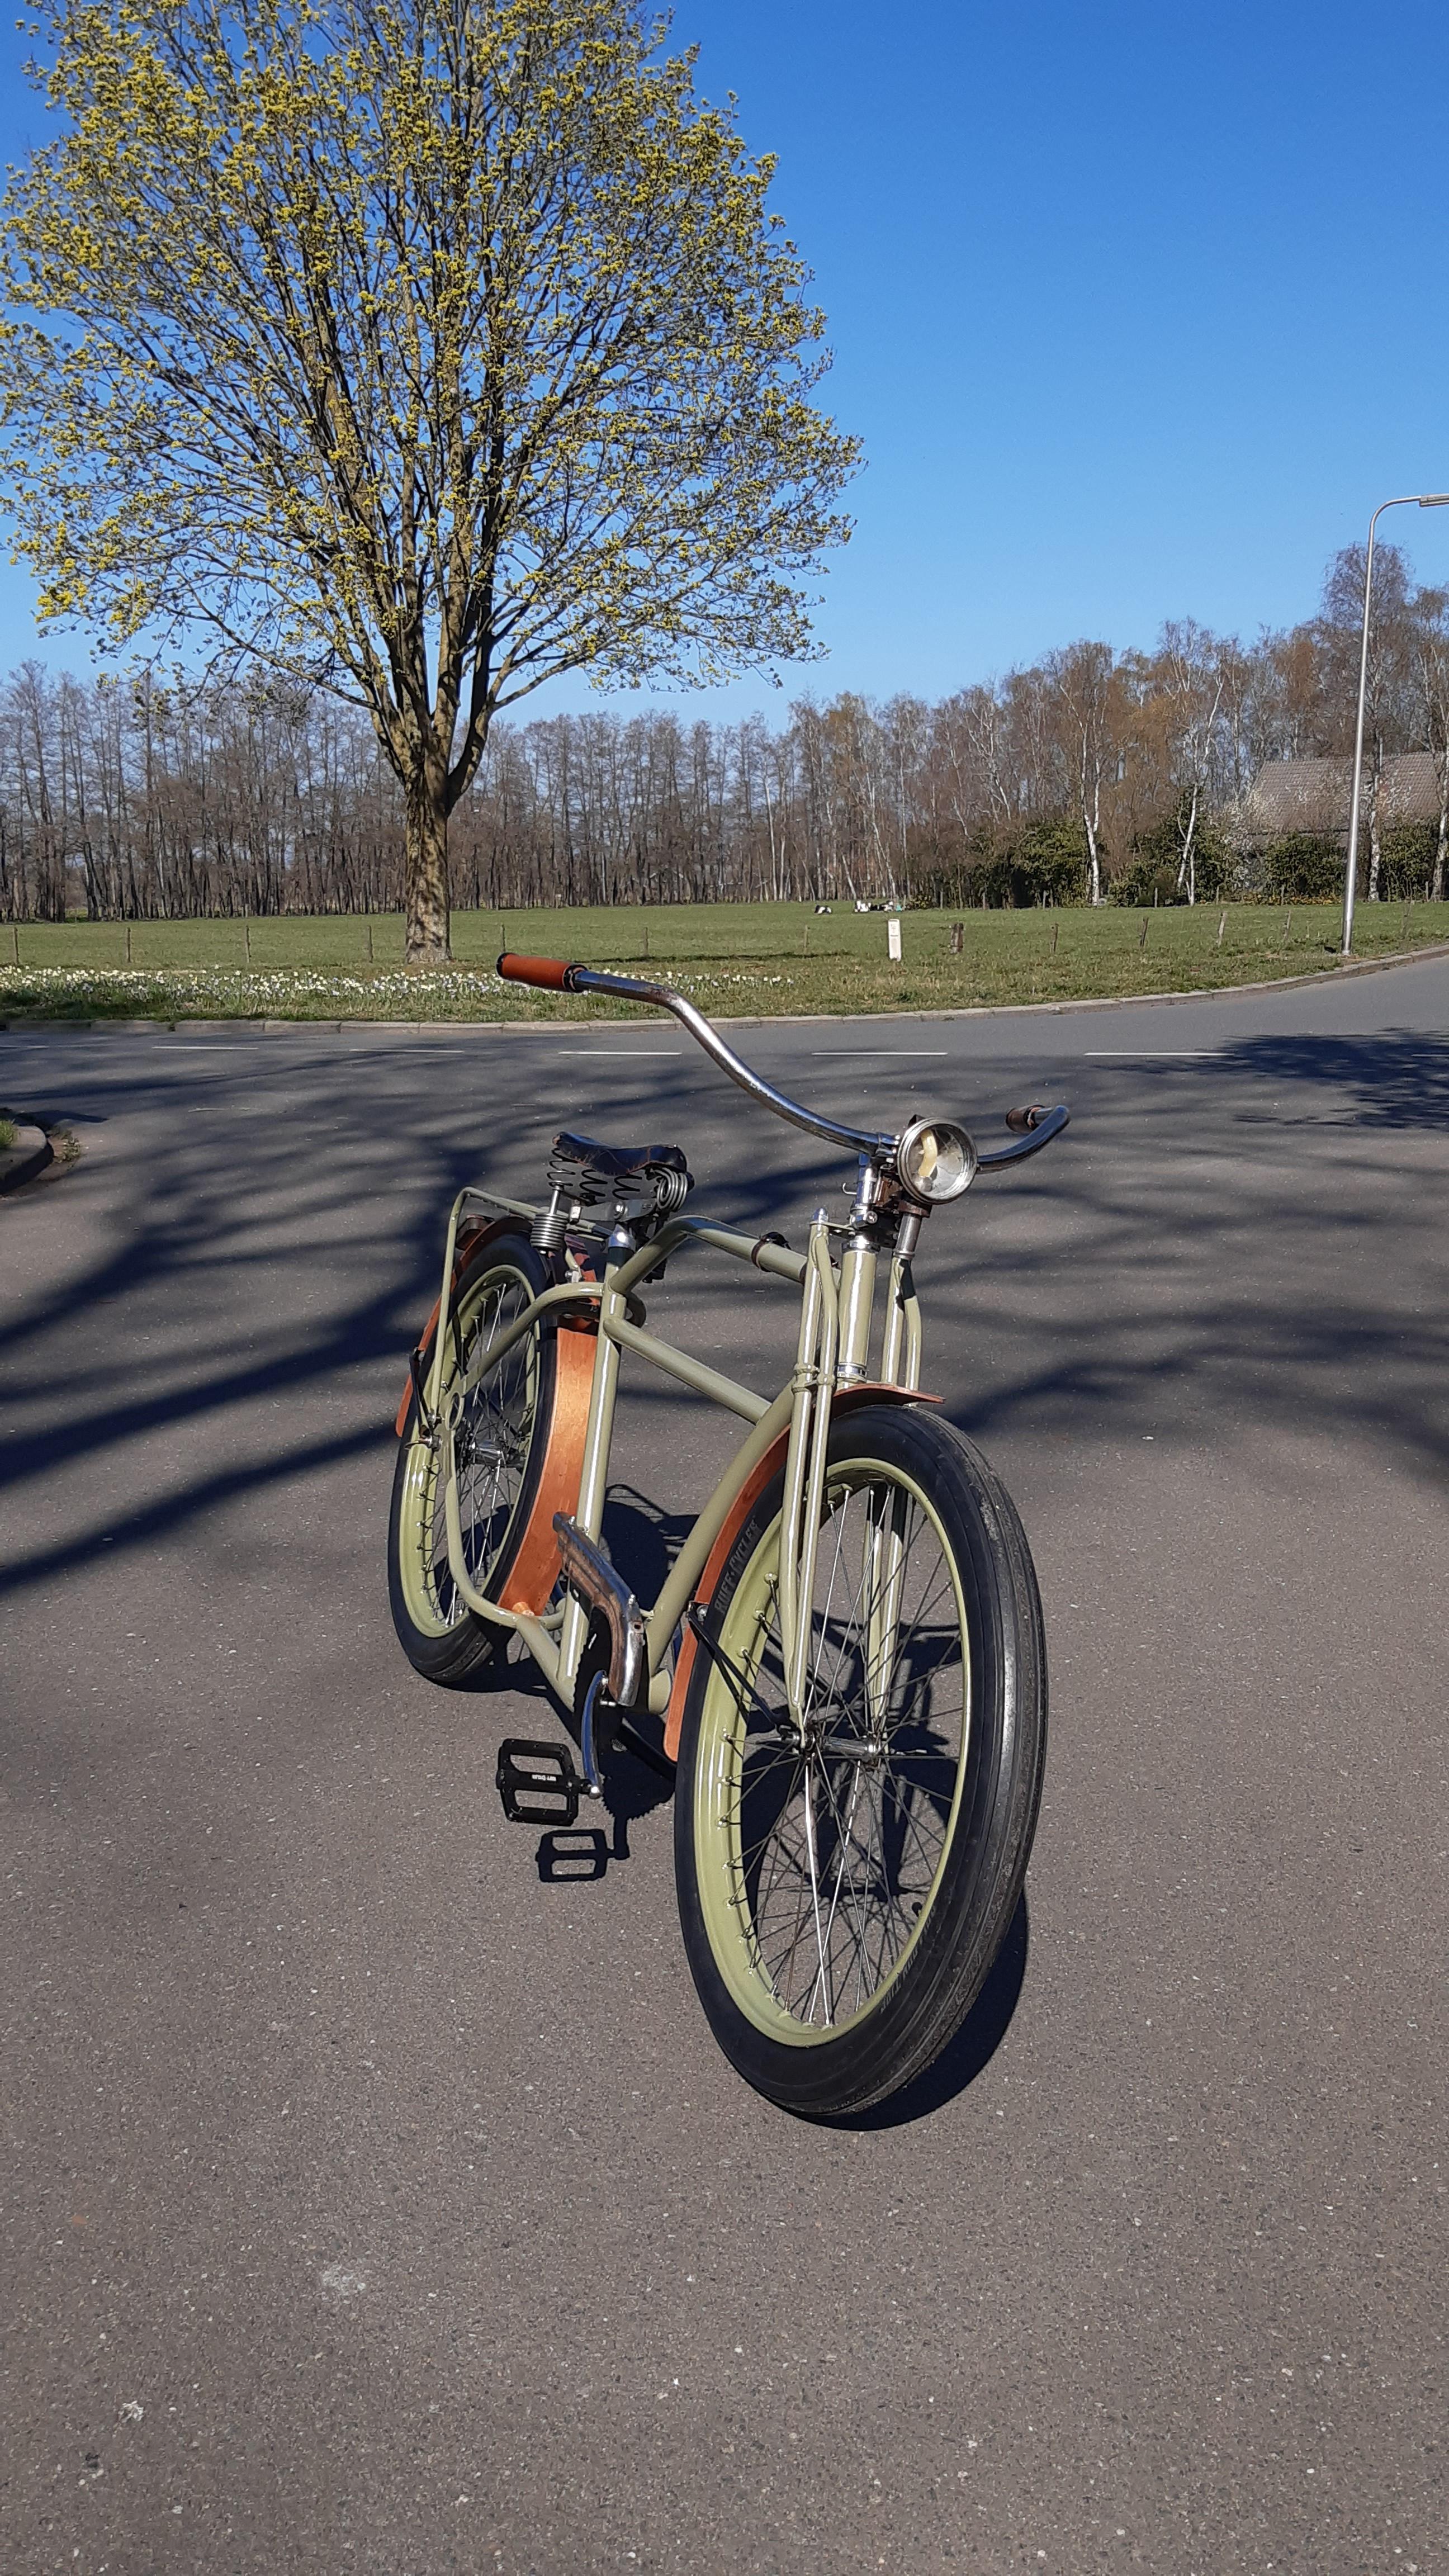
I agree, comfort when riding is paramount. No good building something which isn't a comfy ride. Been there, done that! In fact I've swapped-out the dropped boardtrack handlebars on my ongoing ACE tribute build for more comfy pull-back bars, making for a more 'roadster' vibe. The idea was to make the bars interchangeable depending on my ride/mood, but I'm betting the pull-back bars get far more use. Instead of lengthening your bike's bars, how about flipping the stem from ahead to astern? Did that on my BLUE BAMBOO which is my most comfortable ride.
I agree, comfort when riding is paramount. No good building something which isn't a comfy ride. Been there, done that! In fact I've swapped-out the dropped boardtrack handlebars on my ongoing ACE tribute build for more comfy pull-back bars, making for a more 'roadster' vibe. The idea was to make the bars interchangeable depending on my ride/mood, but I'm betting the pull-back bars get far more use. Instead of lengthening your bike's bars, how about flipping the stem from ahead to astern? Did that on my BLUE BAMBOO which is my most comfortable ride.


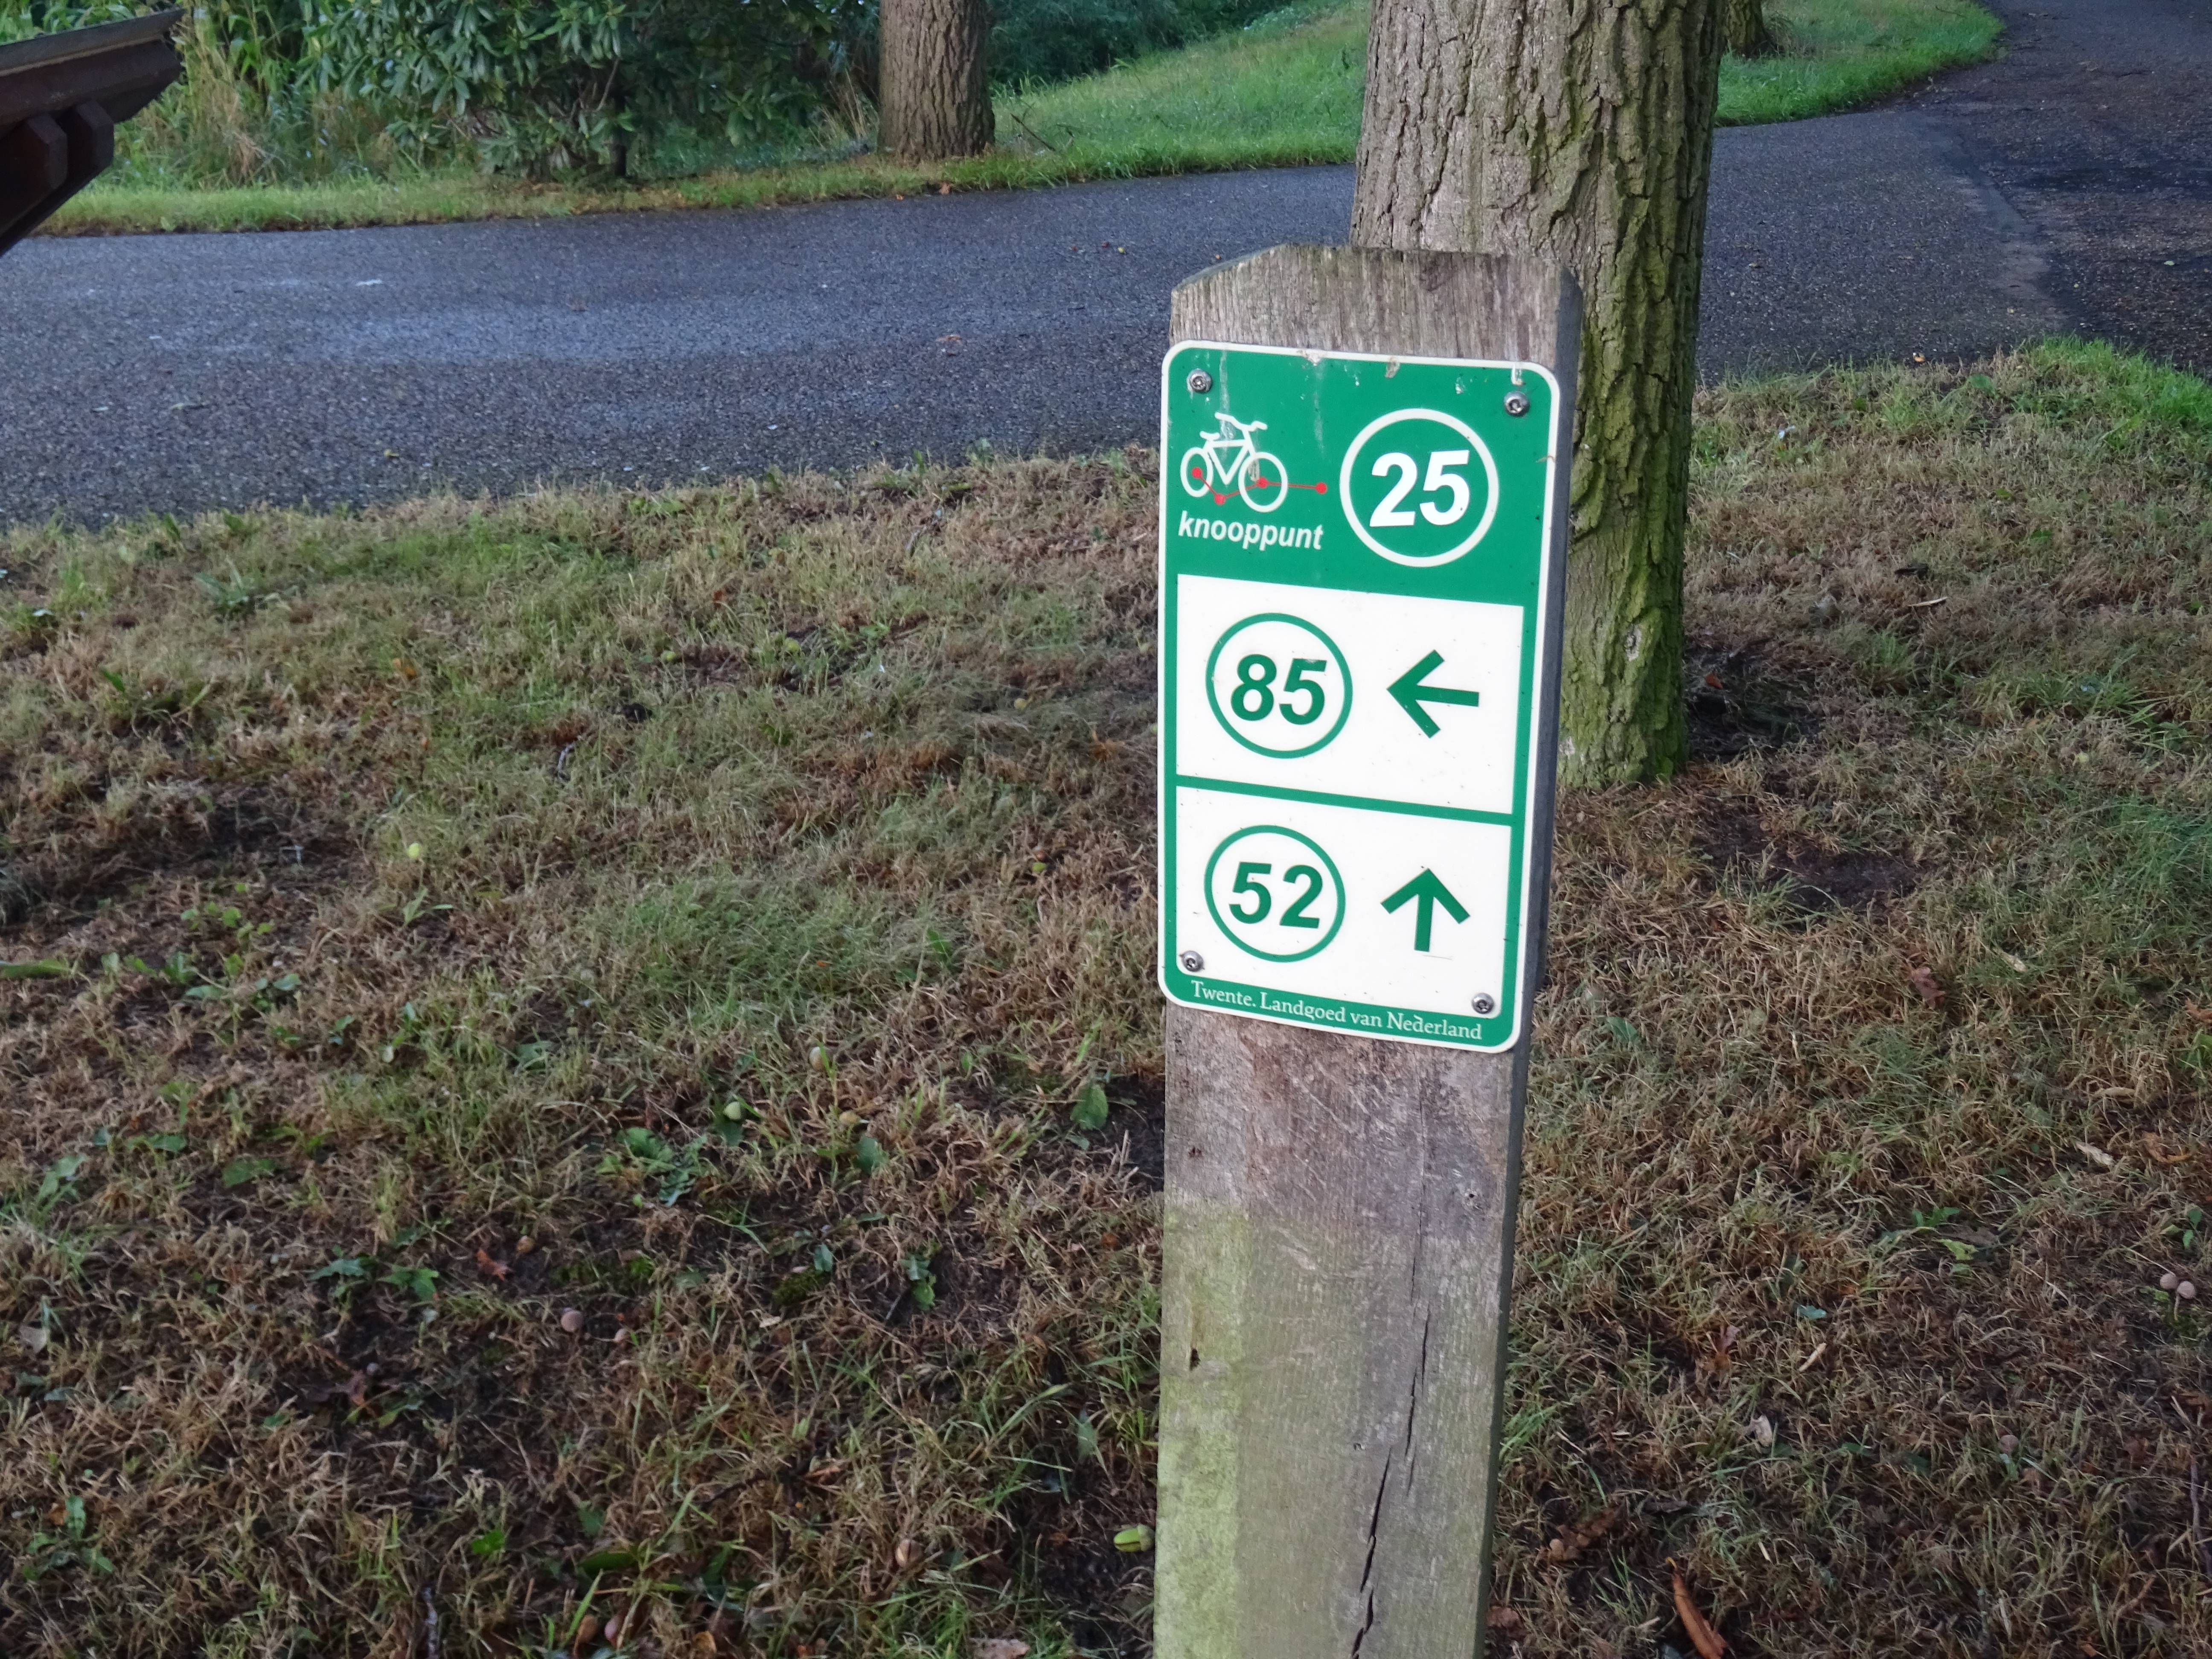
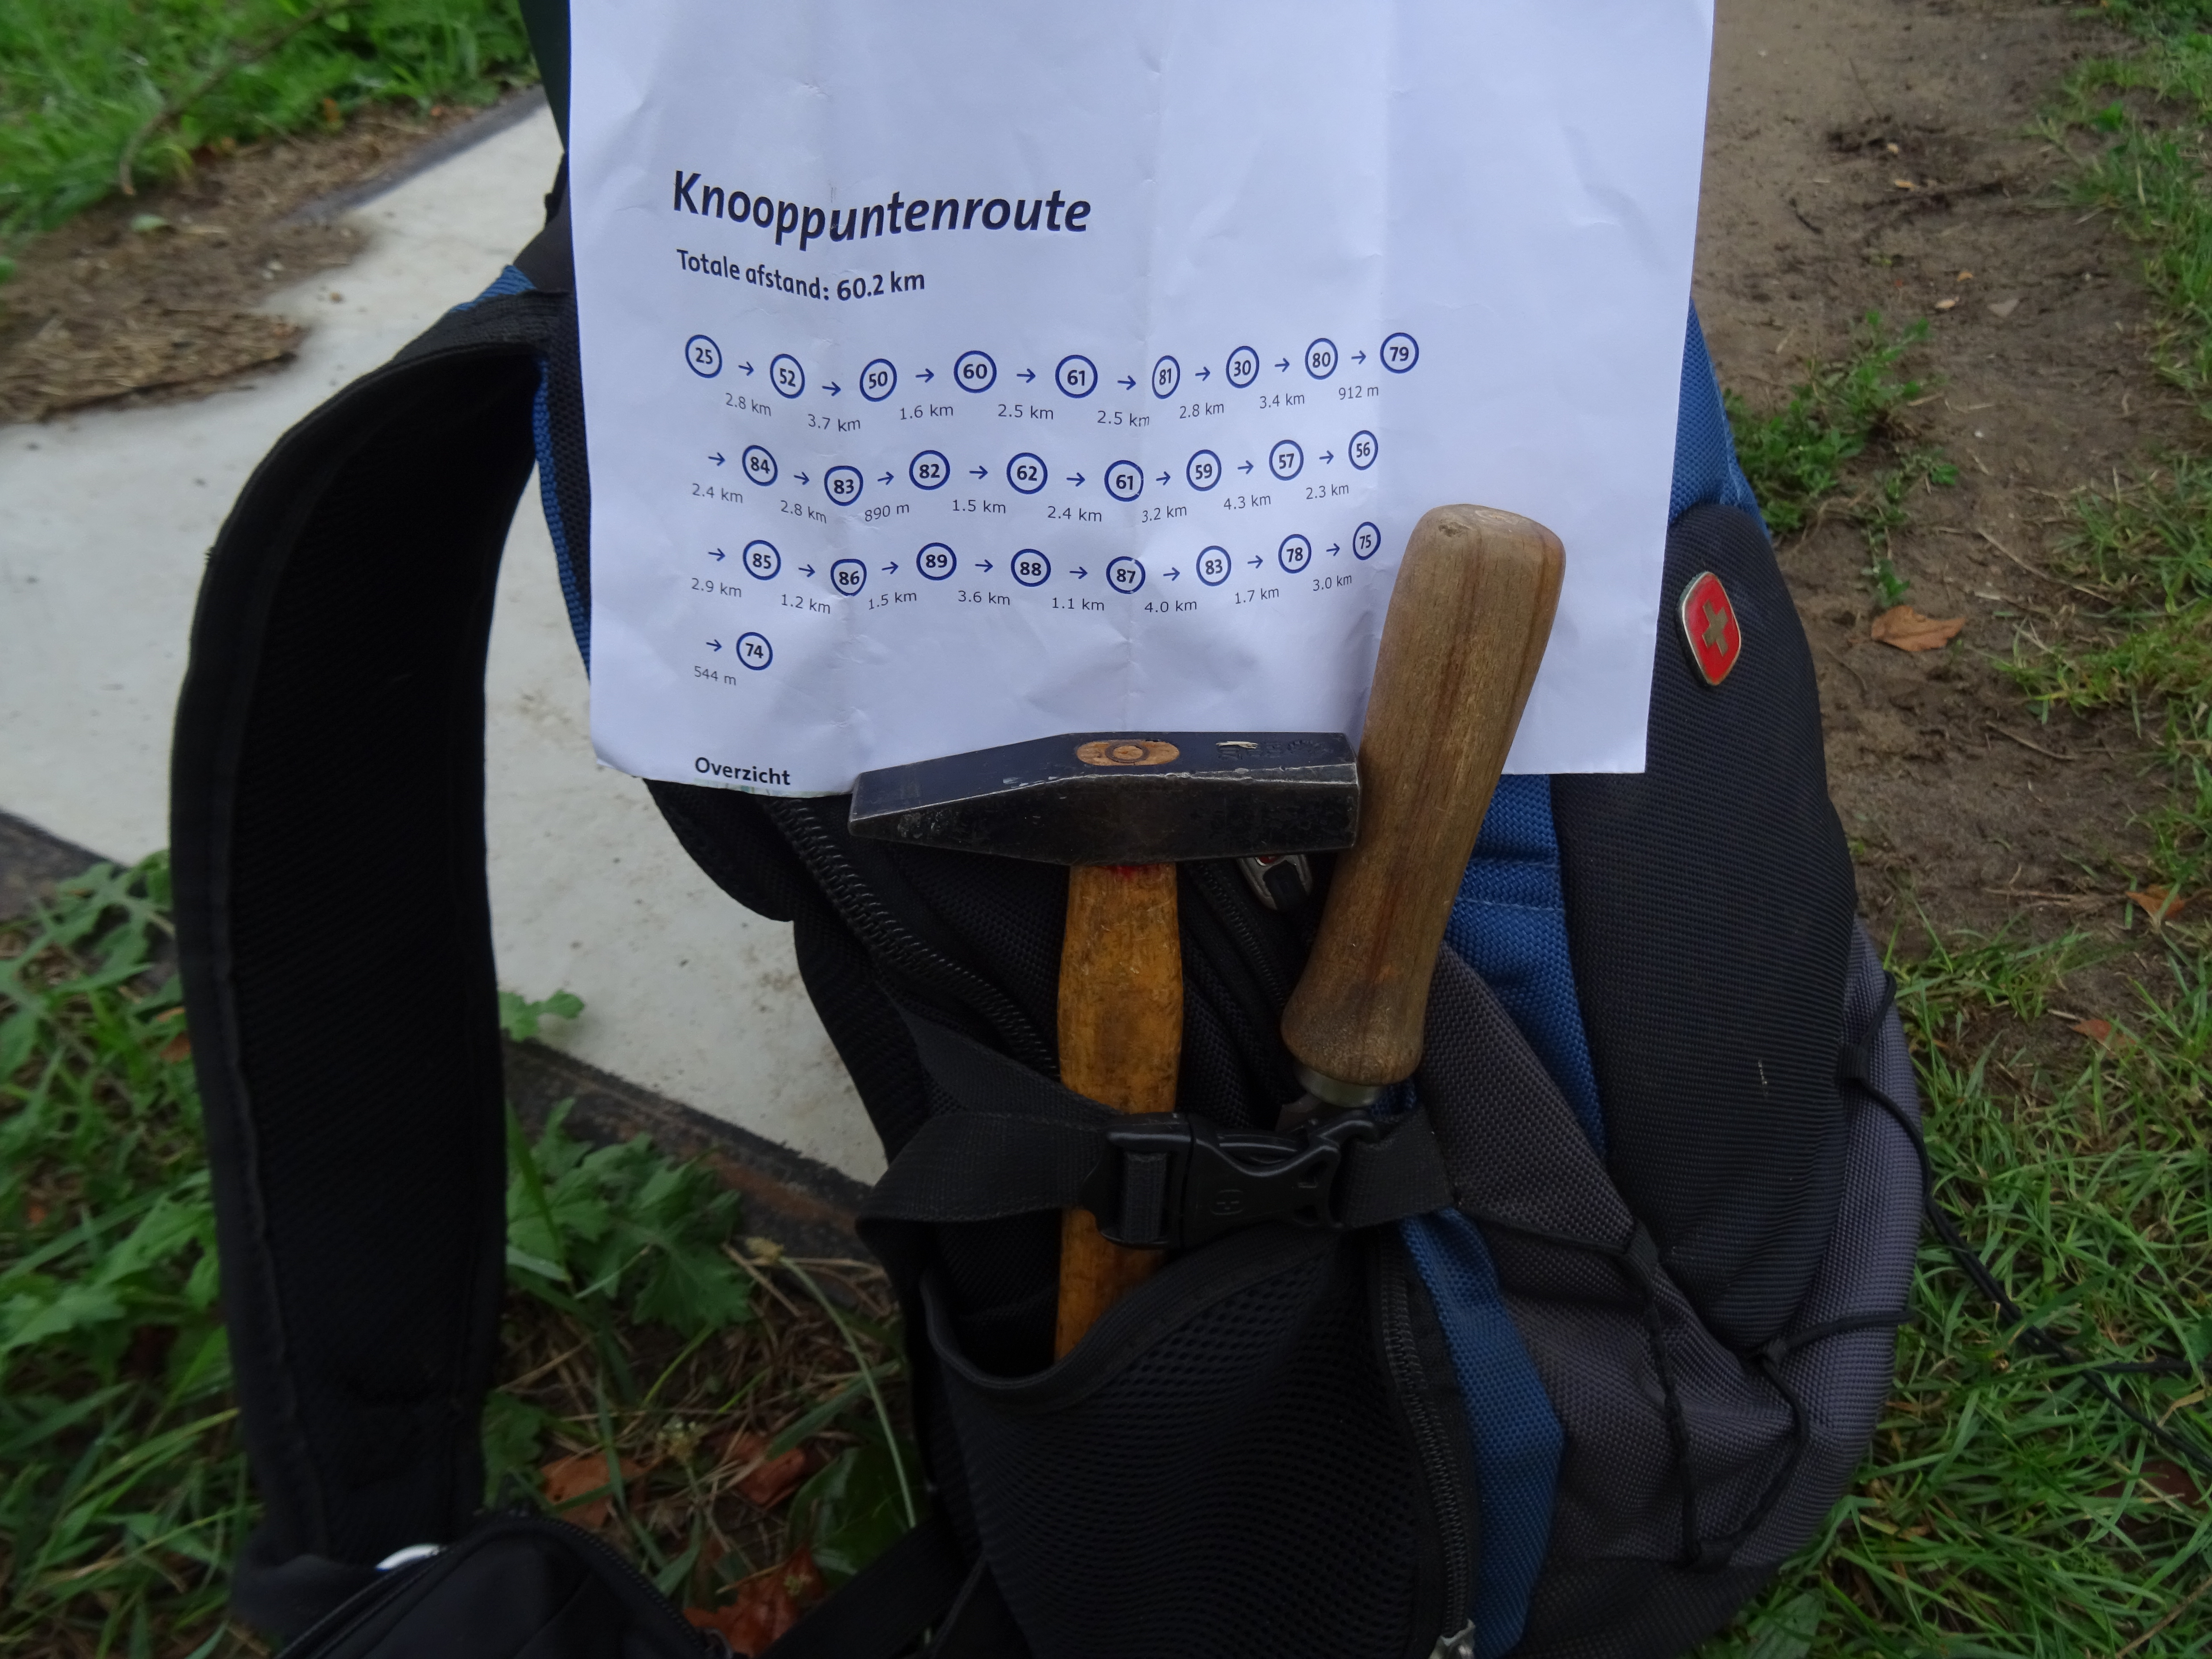
 And around June we have a new member to the family, so this might be my only chance to spend a whole day cycling in the coming months.