Coasterbrake hub builds

Rat Rod Bikes Bicycle Forum

Help Support Rat Rod Bikes Bicycle Forum:

This site may earn a commission from merchant affiliate links, including eBay, Amazon, and others.
Joined
Sep 18, 2019
Messages
1,708
Reaction score
6,210
Location
Twente, the Netherlands
Rating - 0%
0   0   0
Hi Ratrodbikers!

I recognize my natural cycles like the seasons. They come and pass, just like this subject.

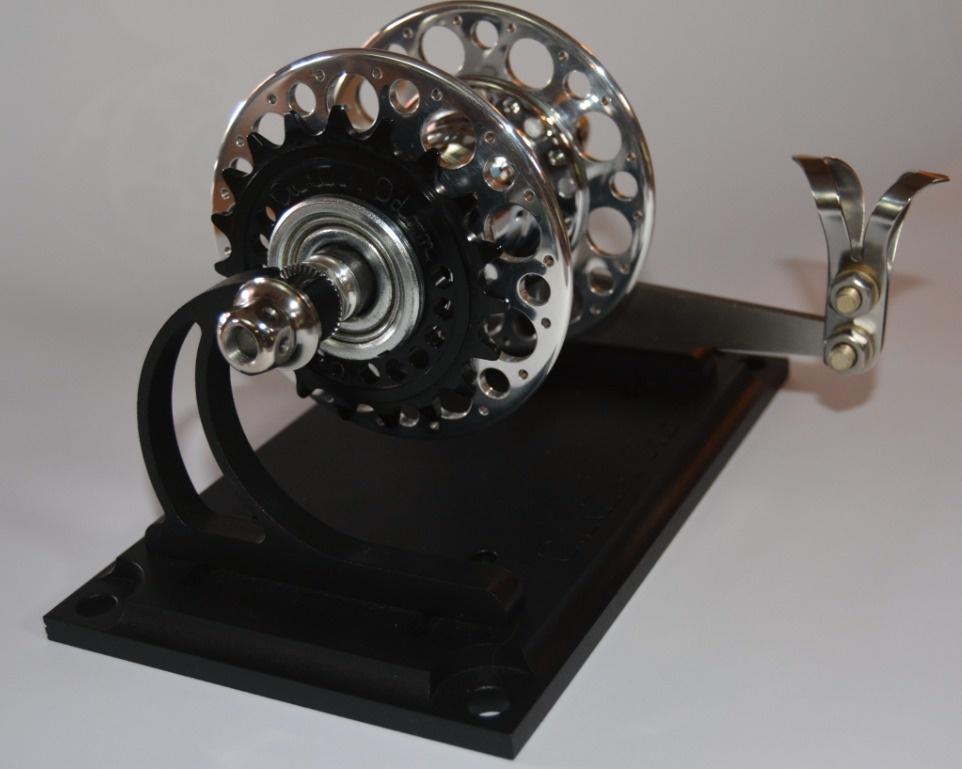
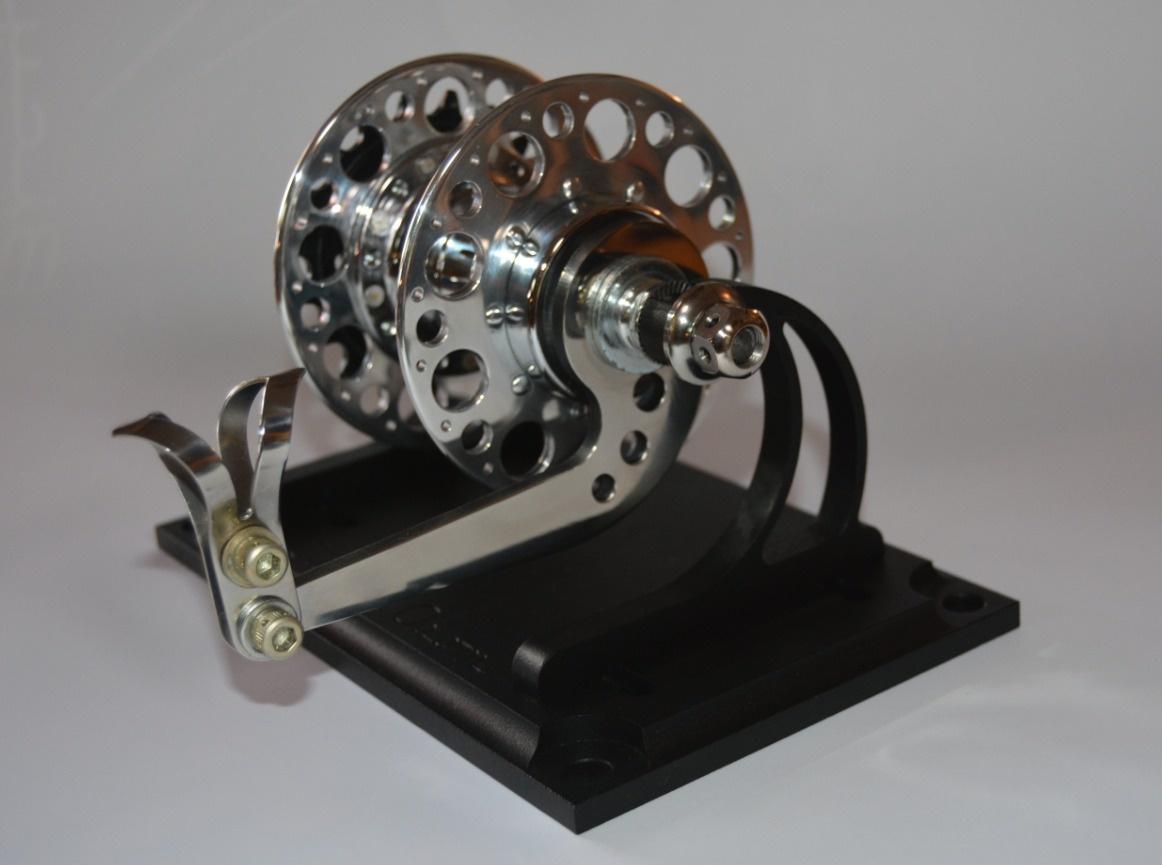
Alright, a while ago I made a design for a Coasterbrake hub with a disc brake. I really enjoyed designing it. Unfortunately I did not fabricate the hub due to time, cost etcetera.

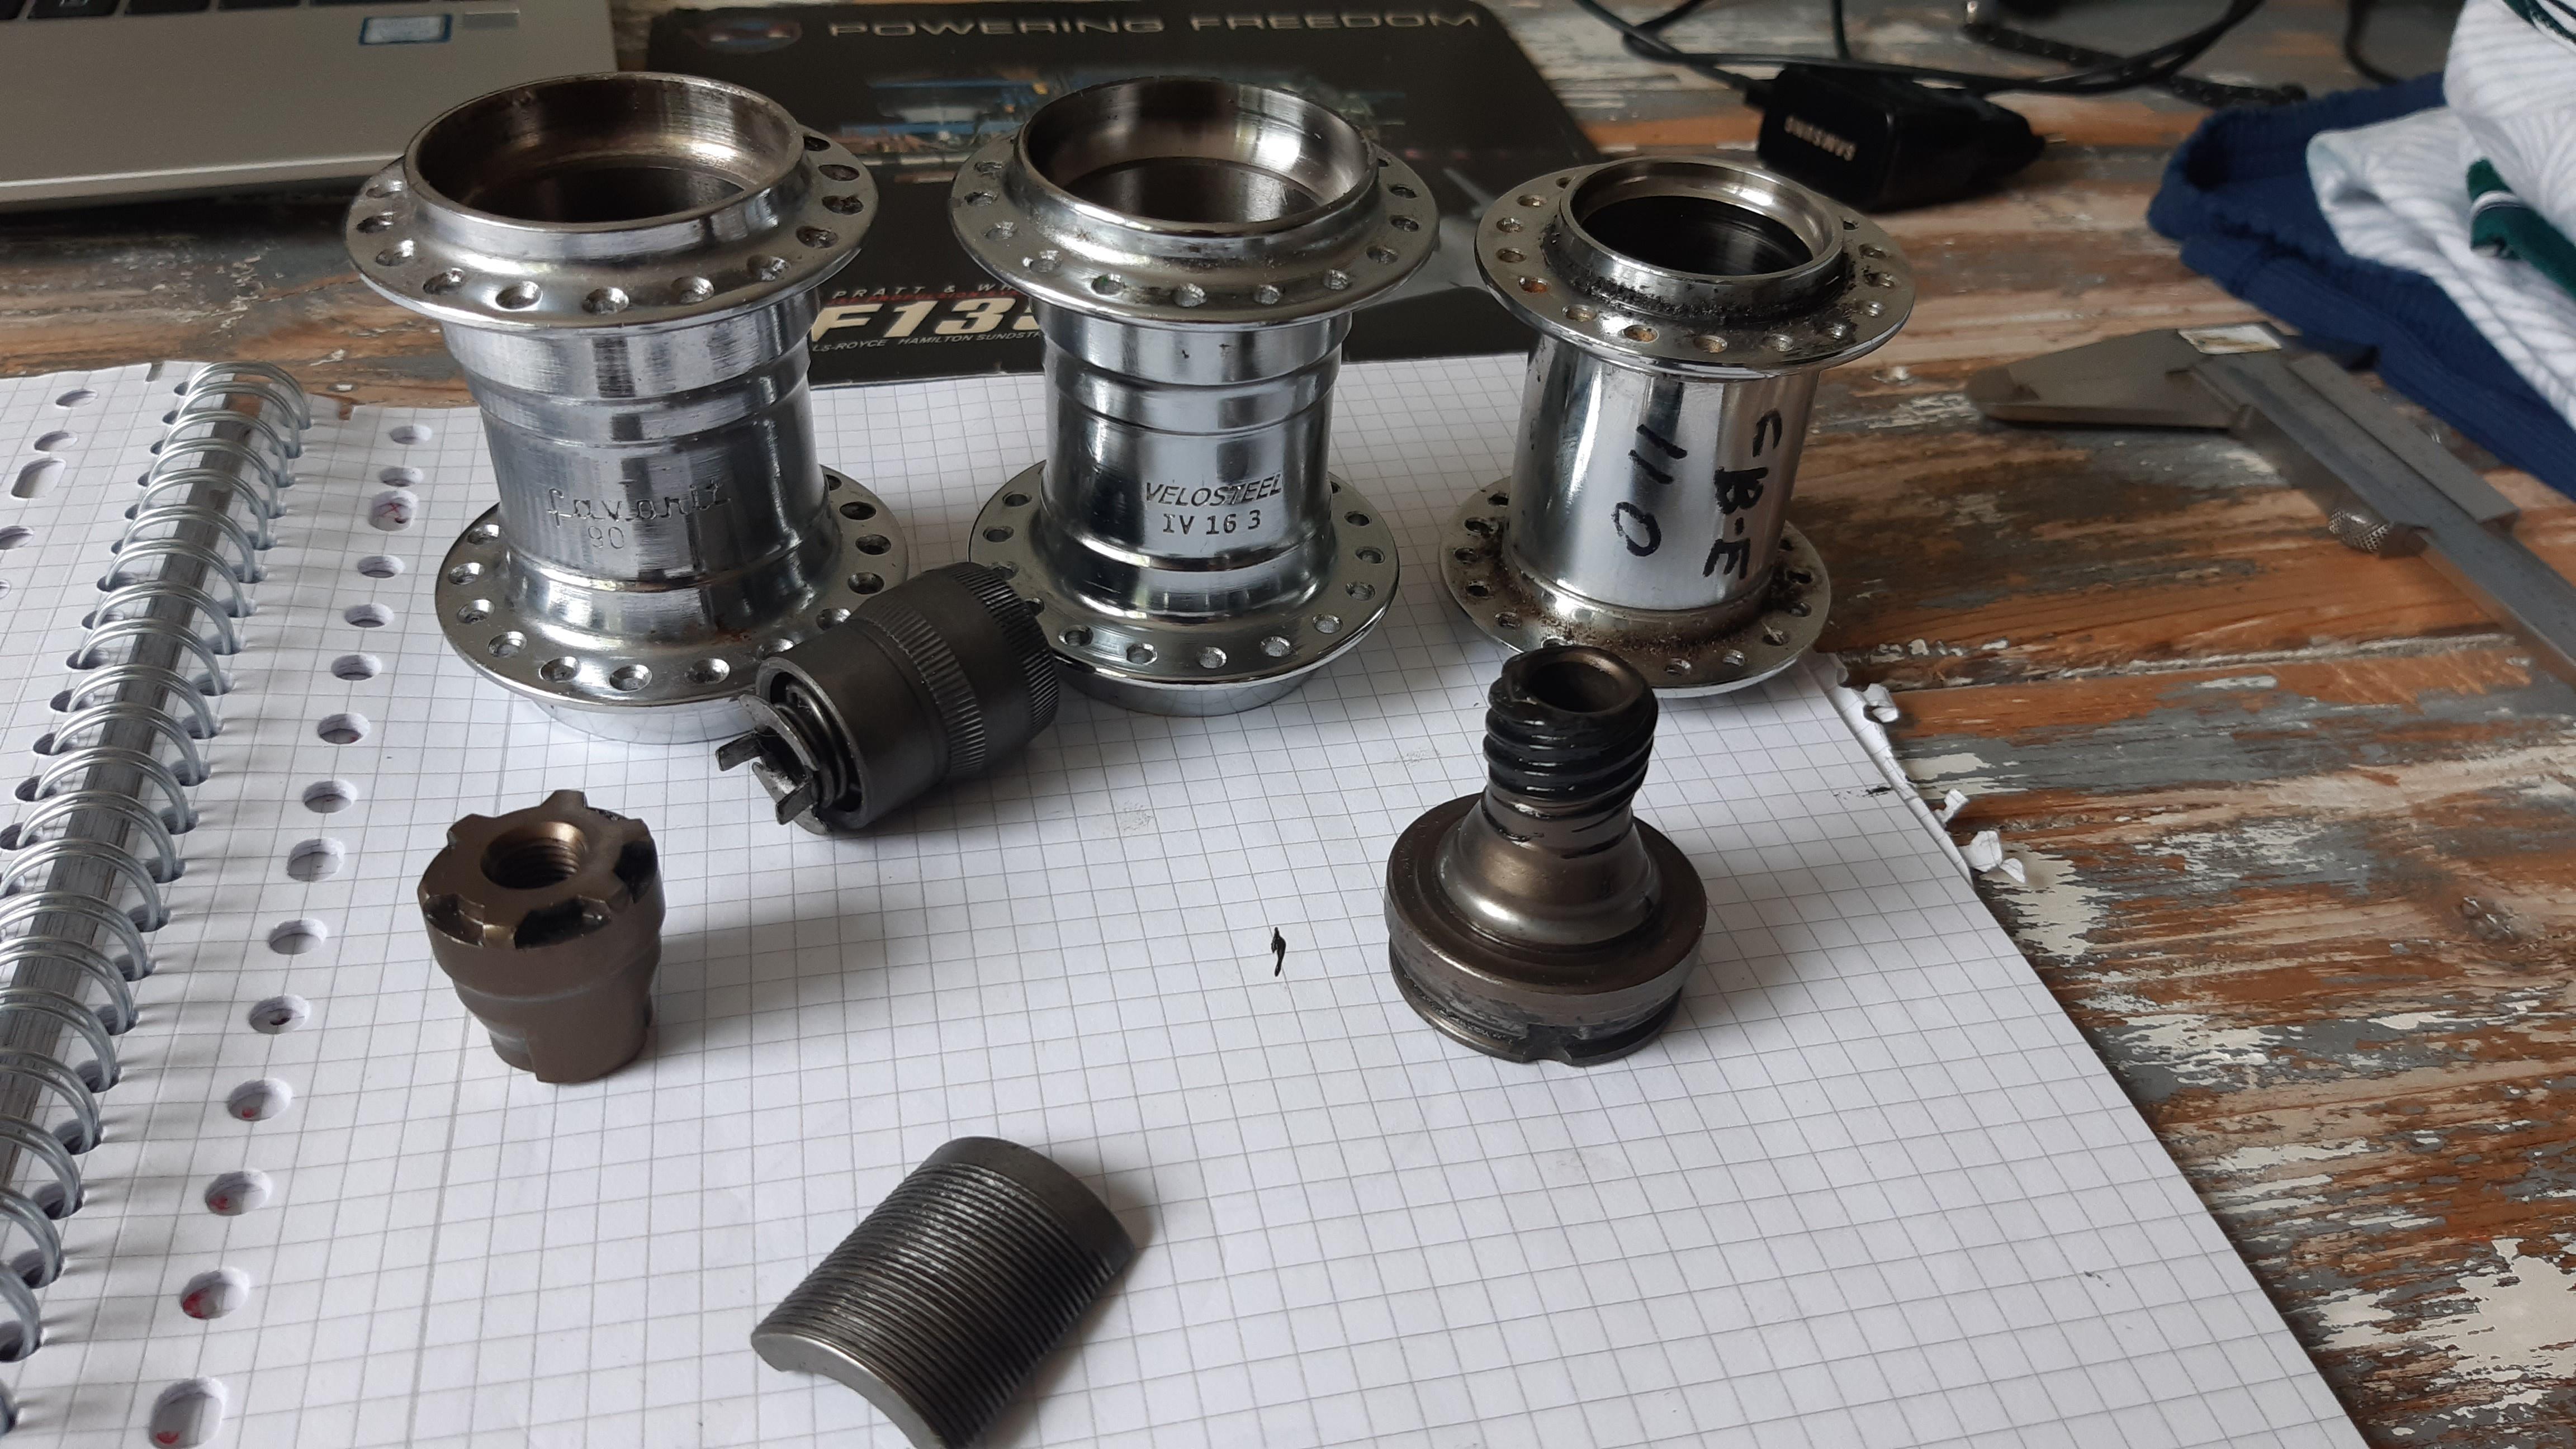
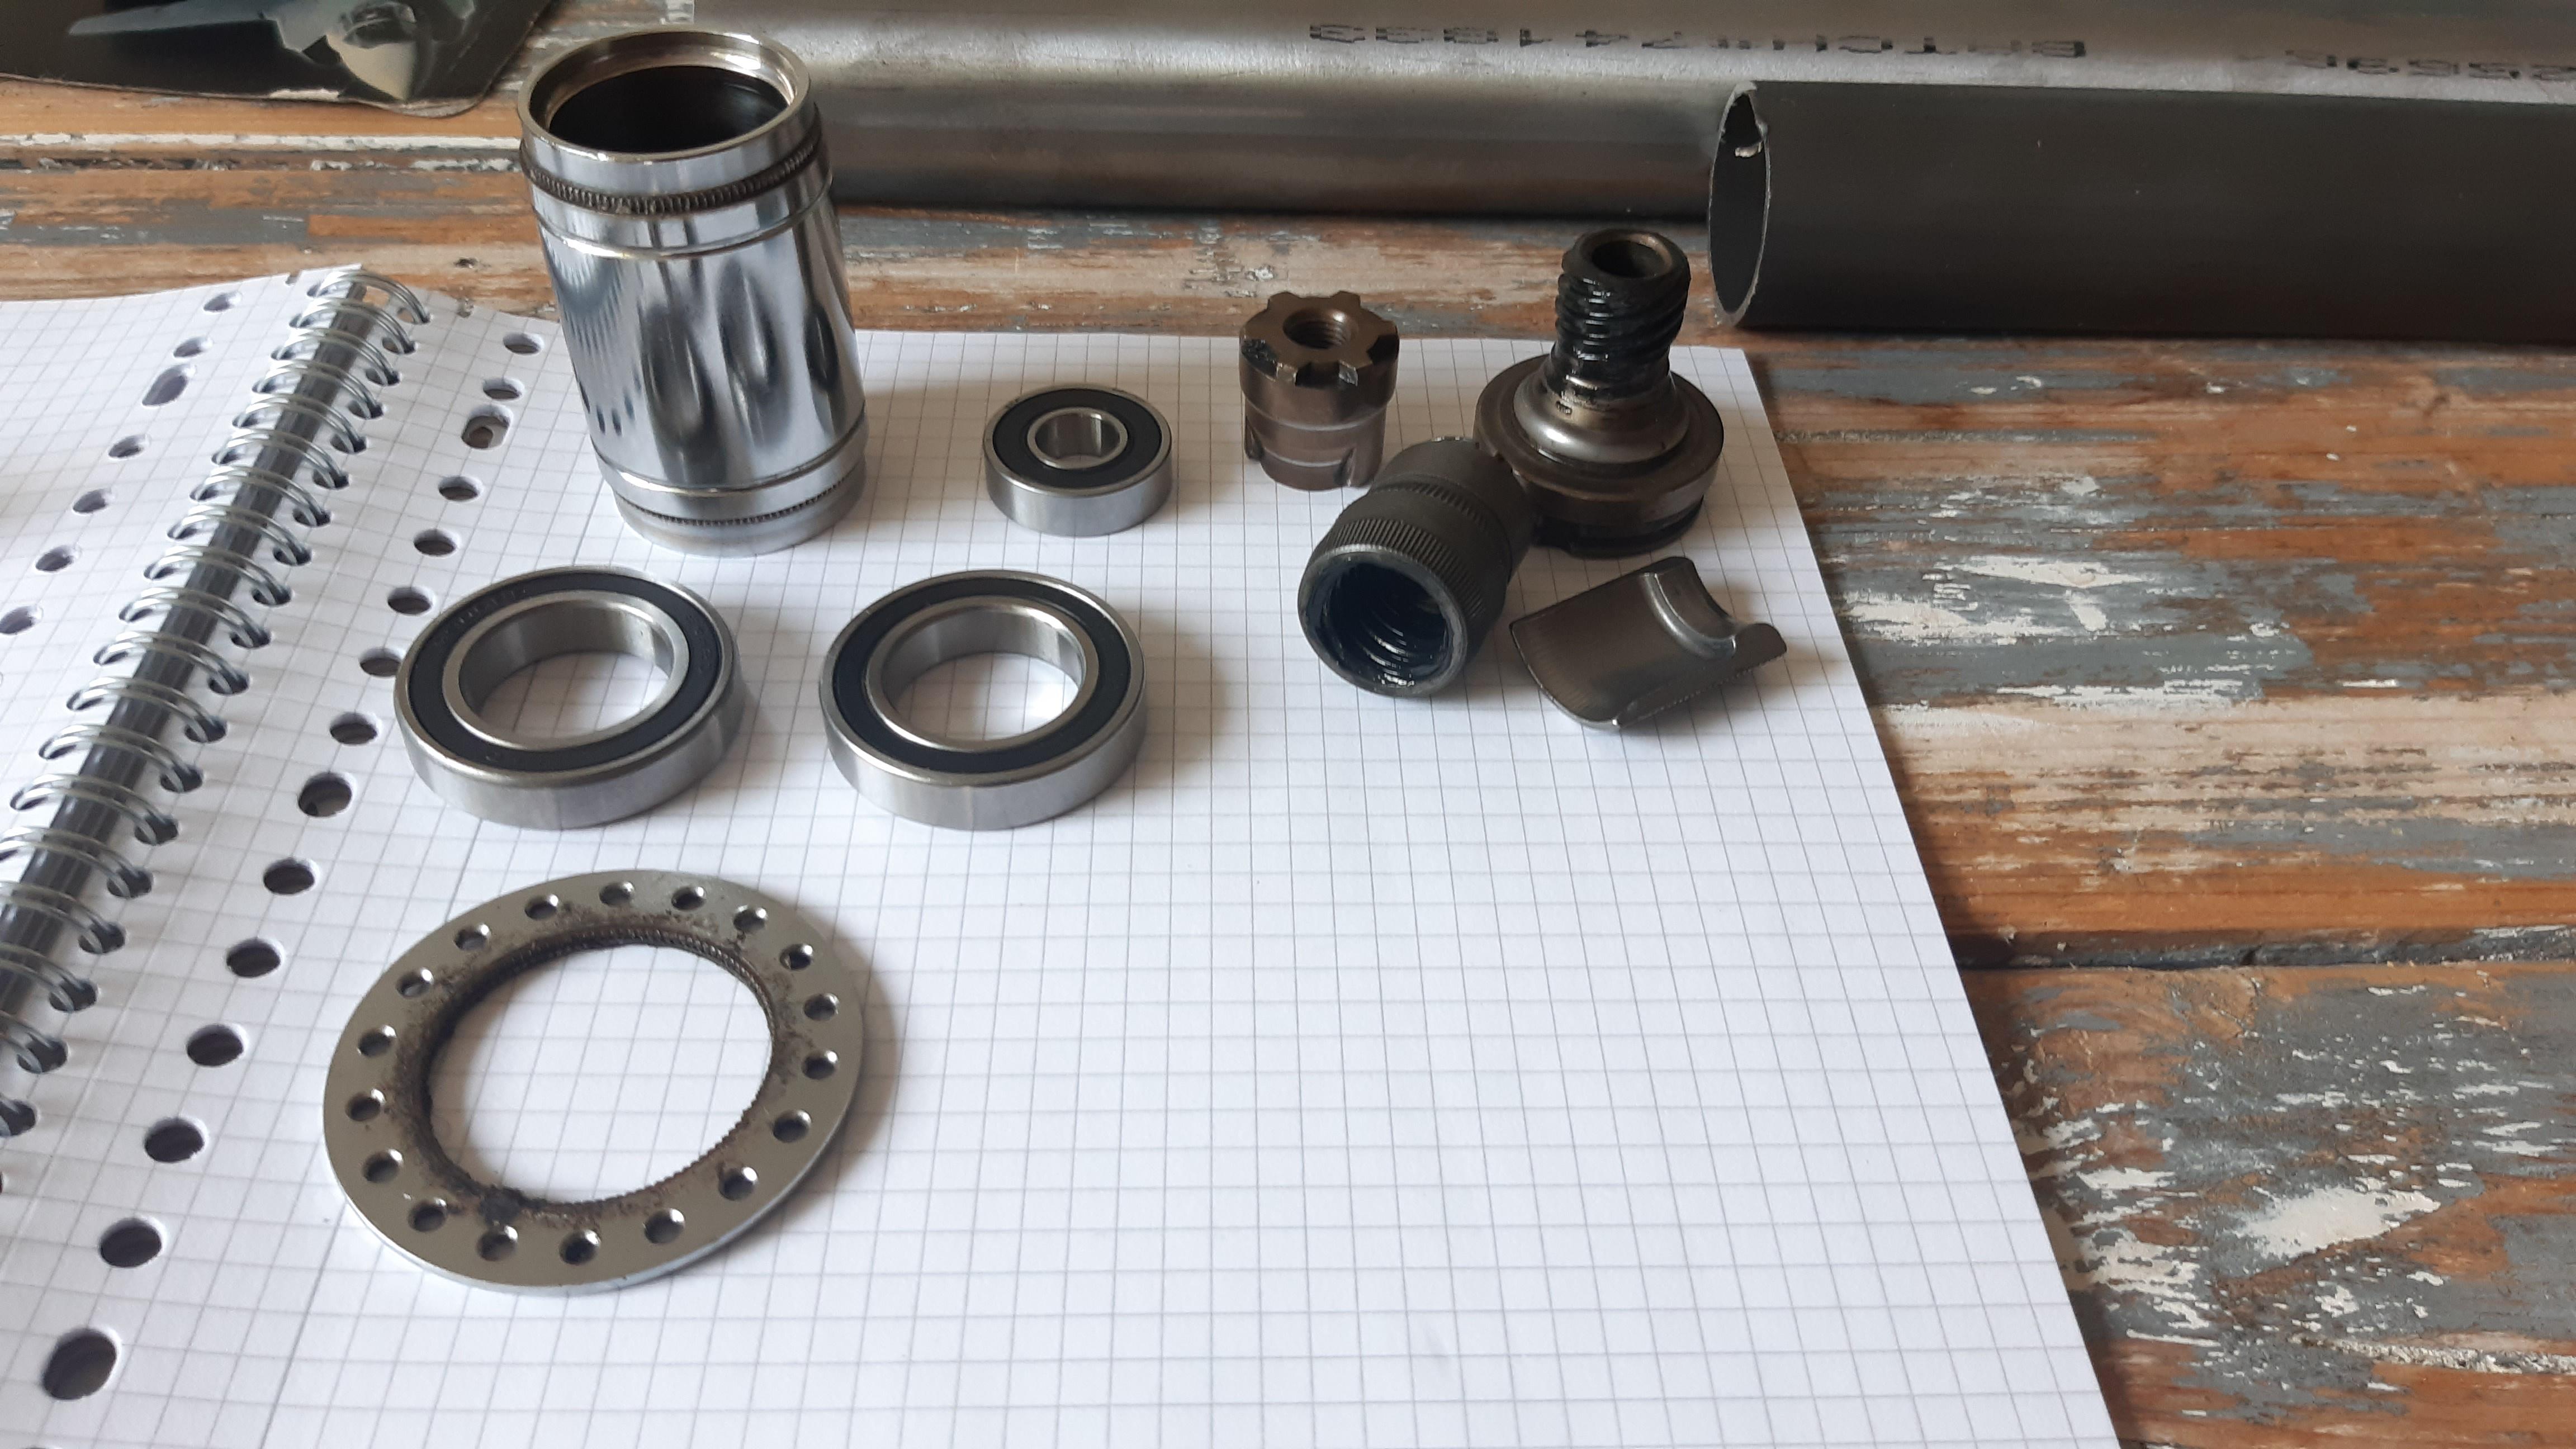
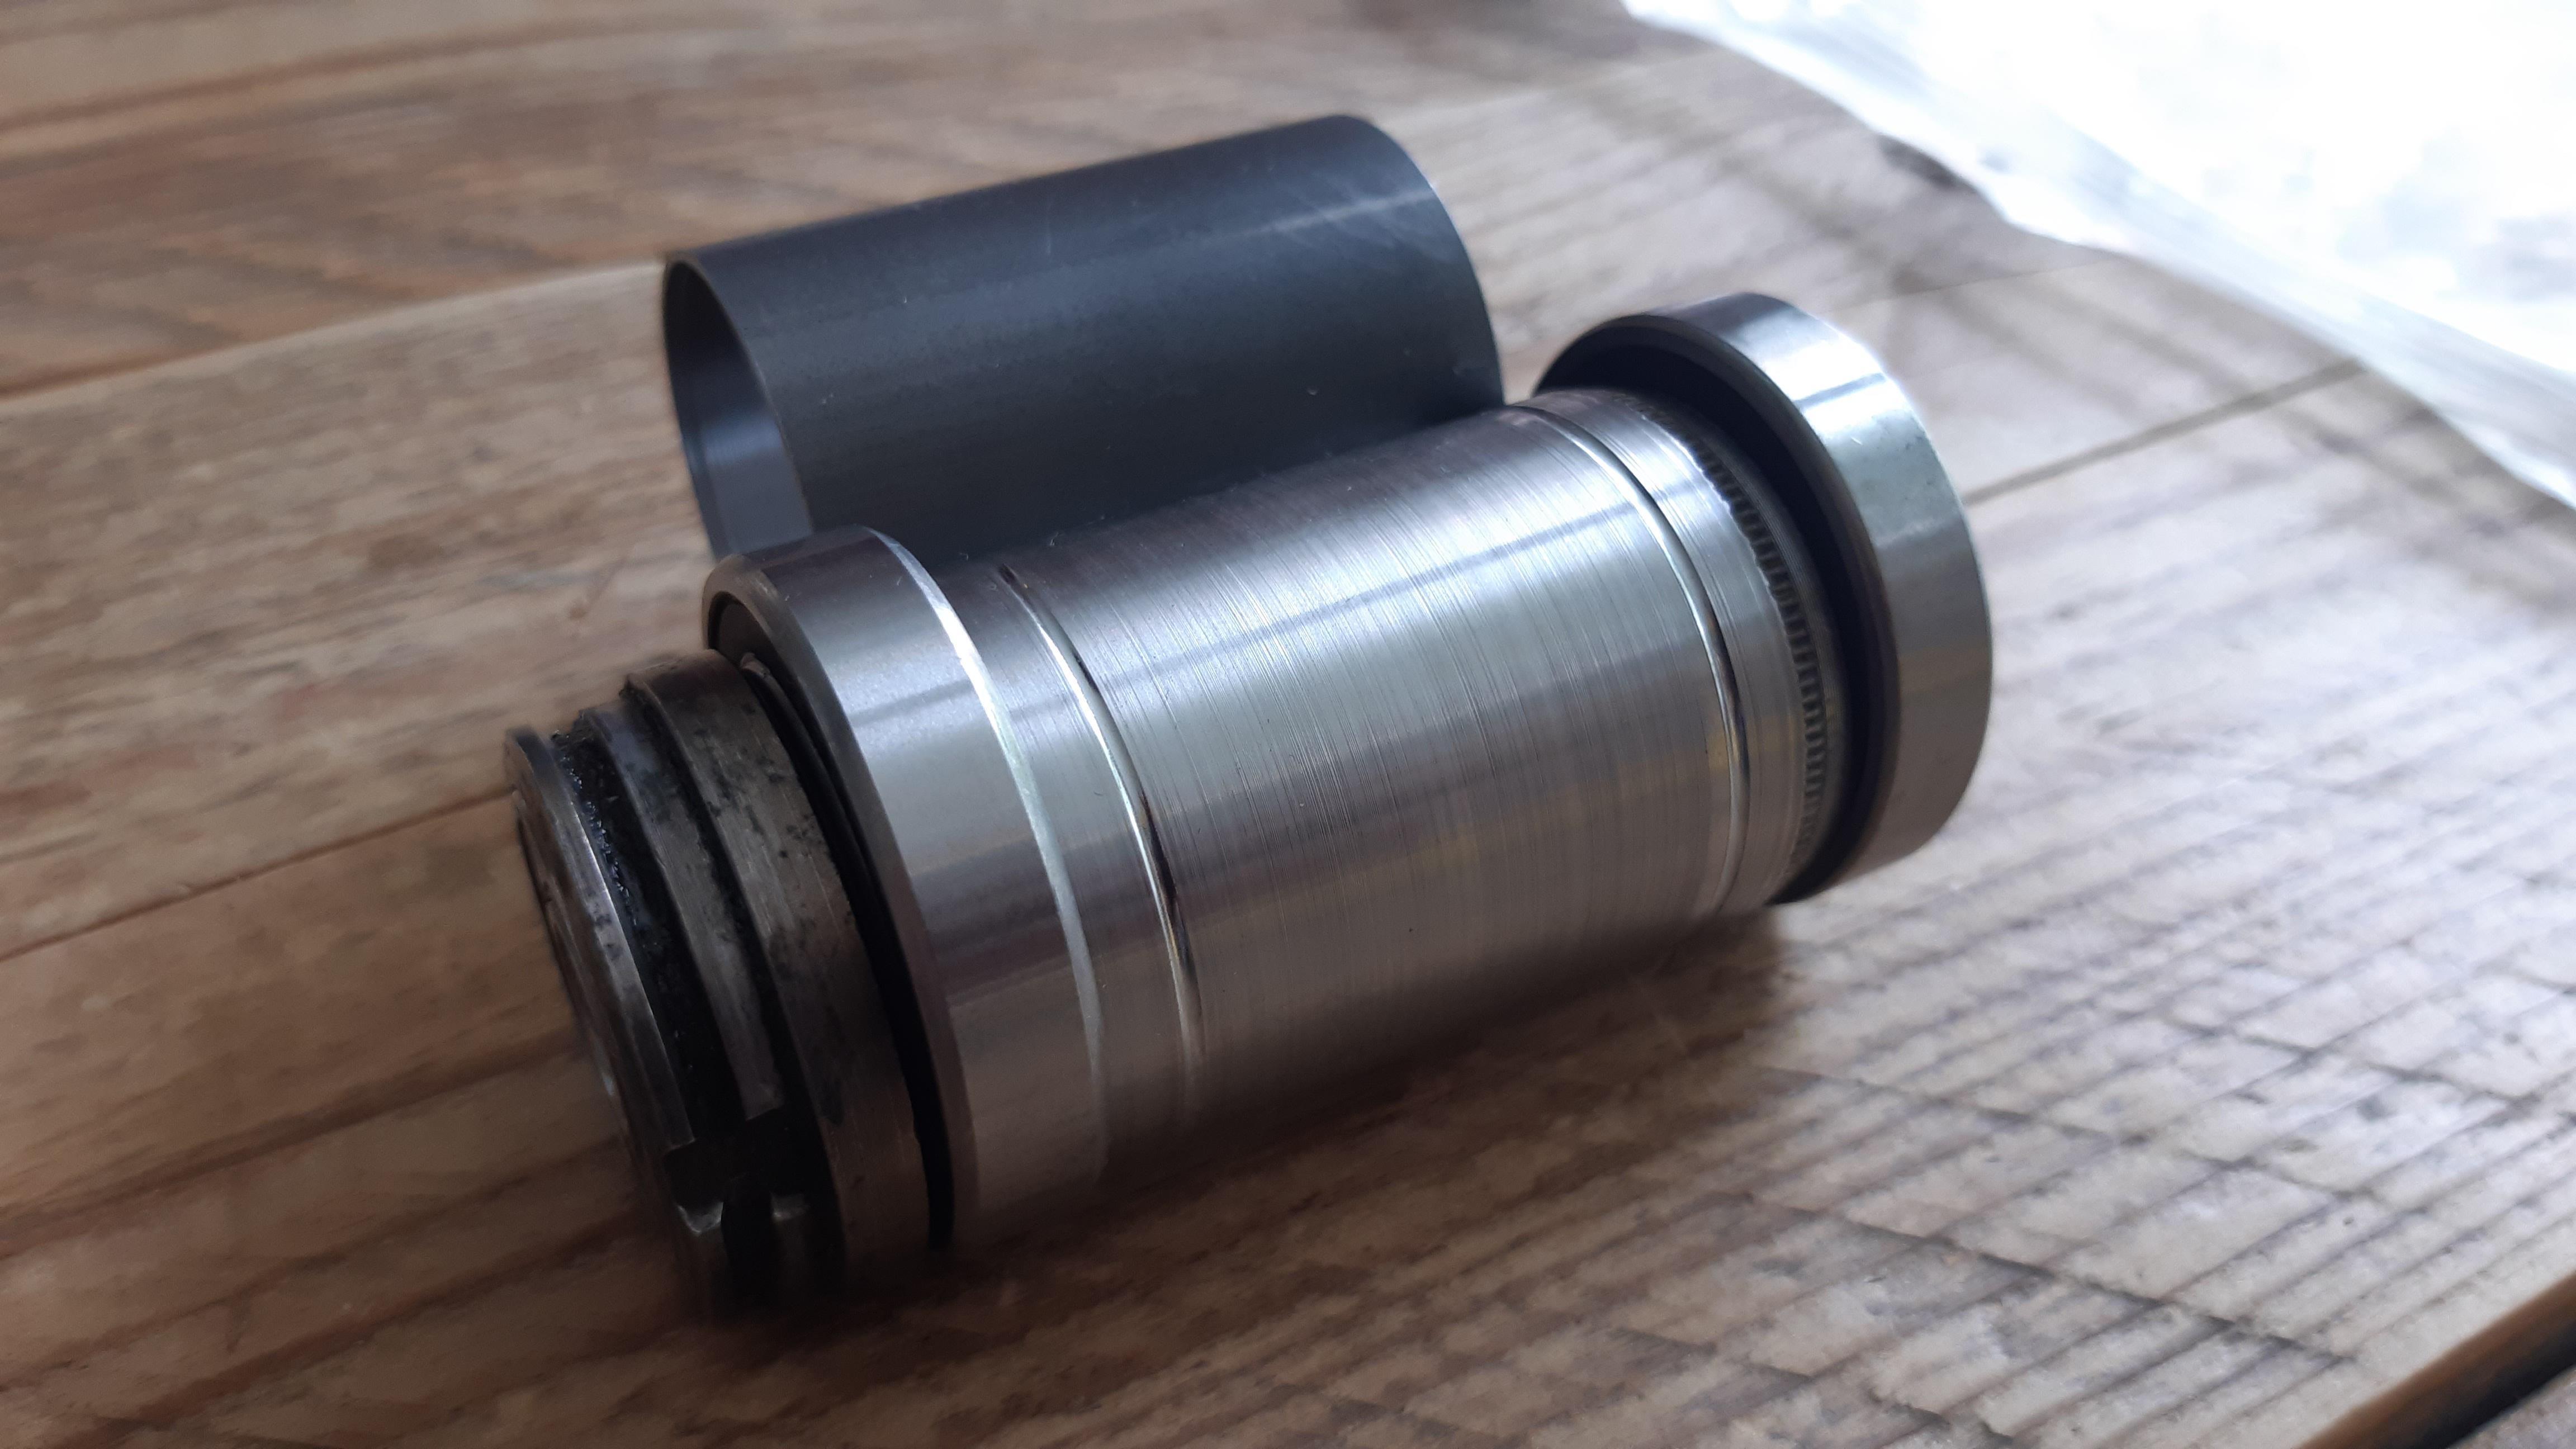
In the months after that, I picked up quite some parts that people tend to throw away: Shimano CB-E110, Velosteel and Favorit (basically the same) shells, drivers and more parts.

I decided to combine these two types of hubs:
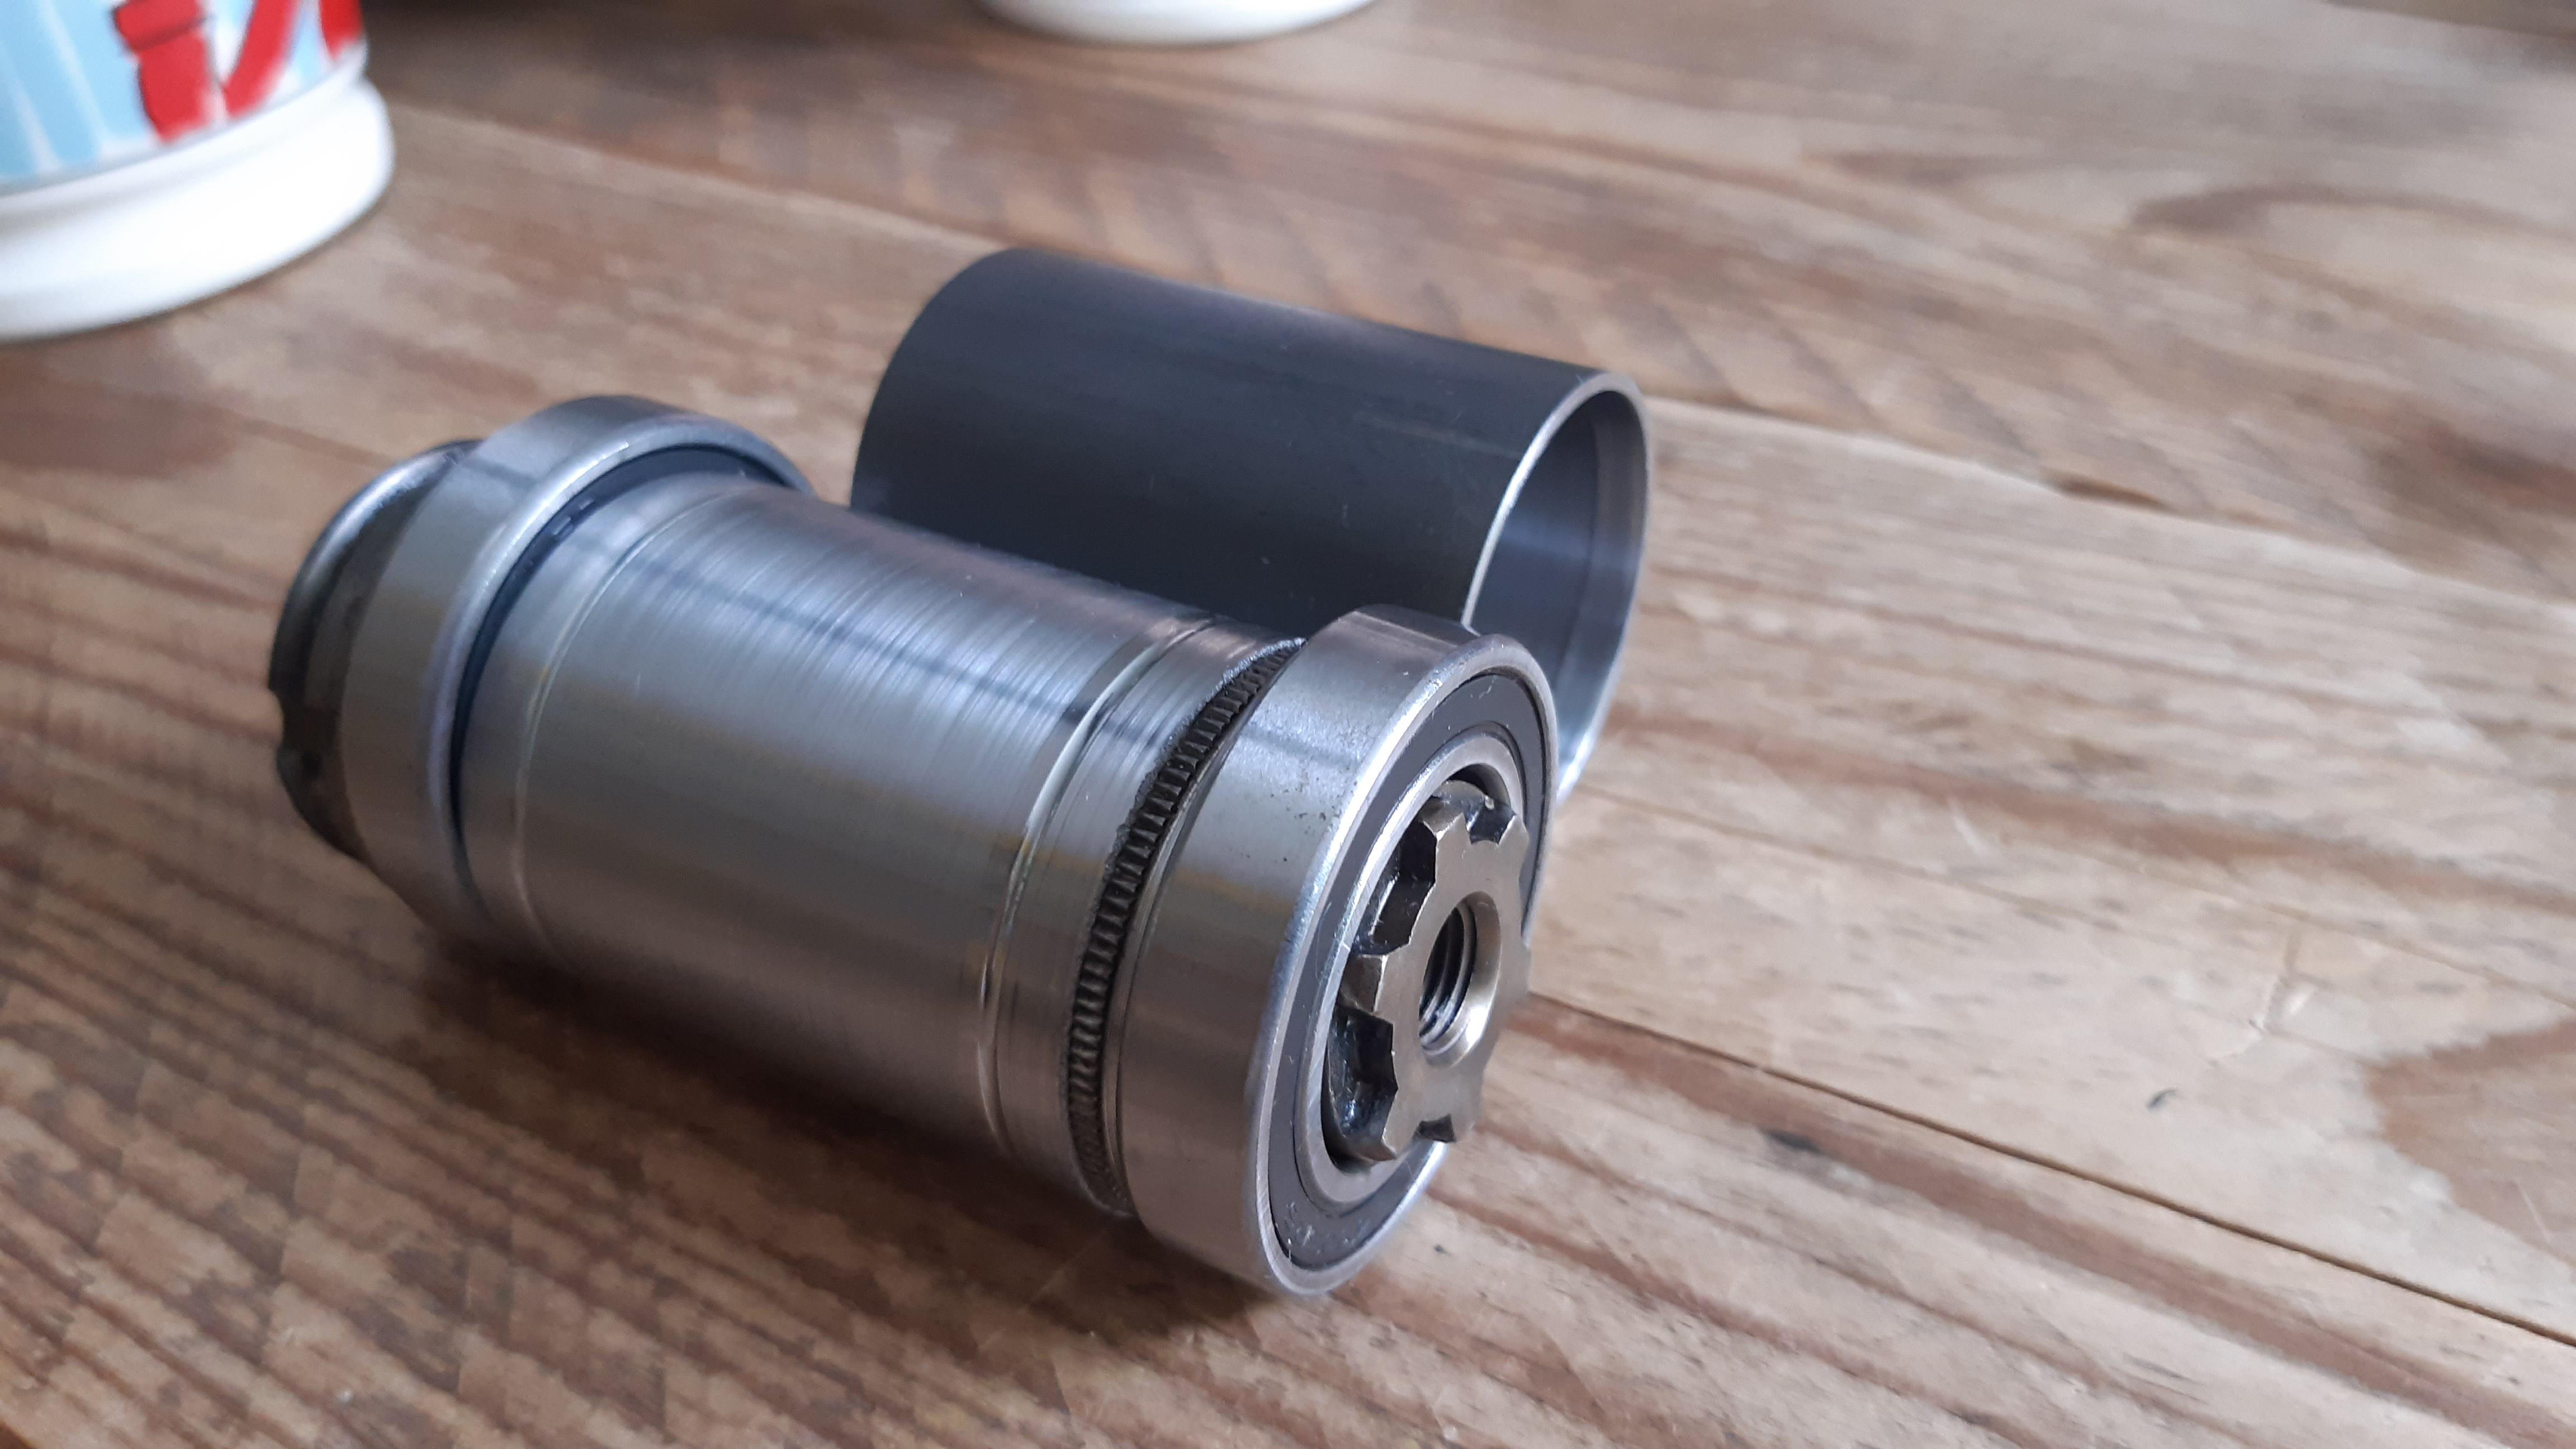
  • Shimano CB-E110 Guts
  • Favorit/Velosteel shell
And why? I forgot... (I need a reason to get working on a lathe again)


Oh yeah, industrial sealed bearings :crazy:
I remember industrial sealed bearing lasting a very long time on bicycles.

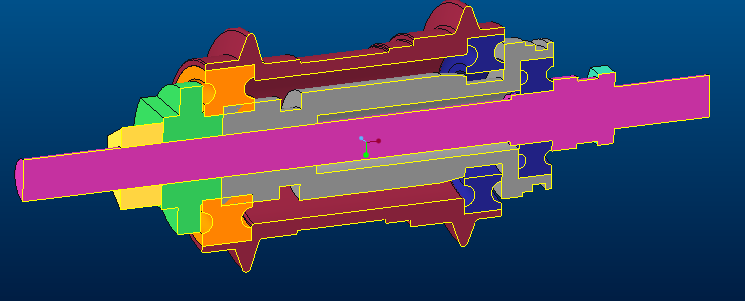
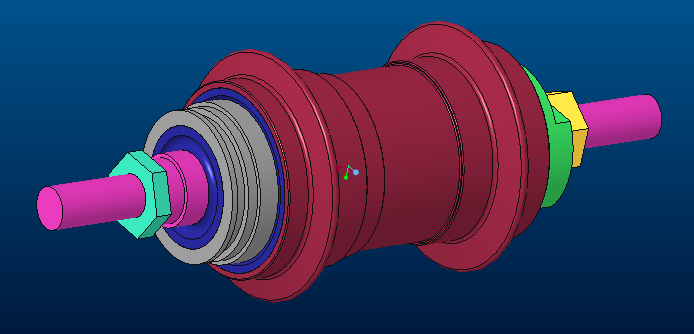
I found the following bearings to use with above mentioned parts:
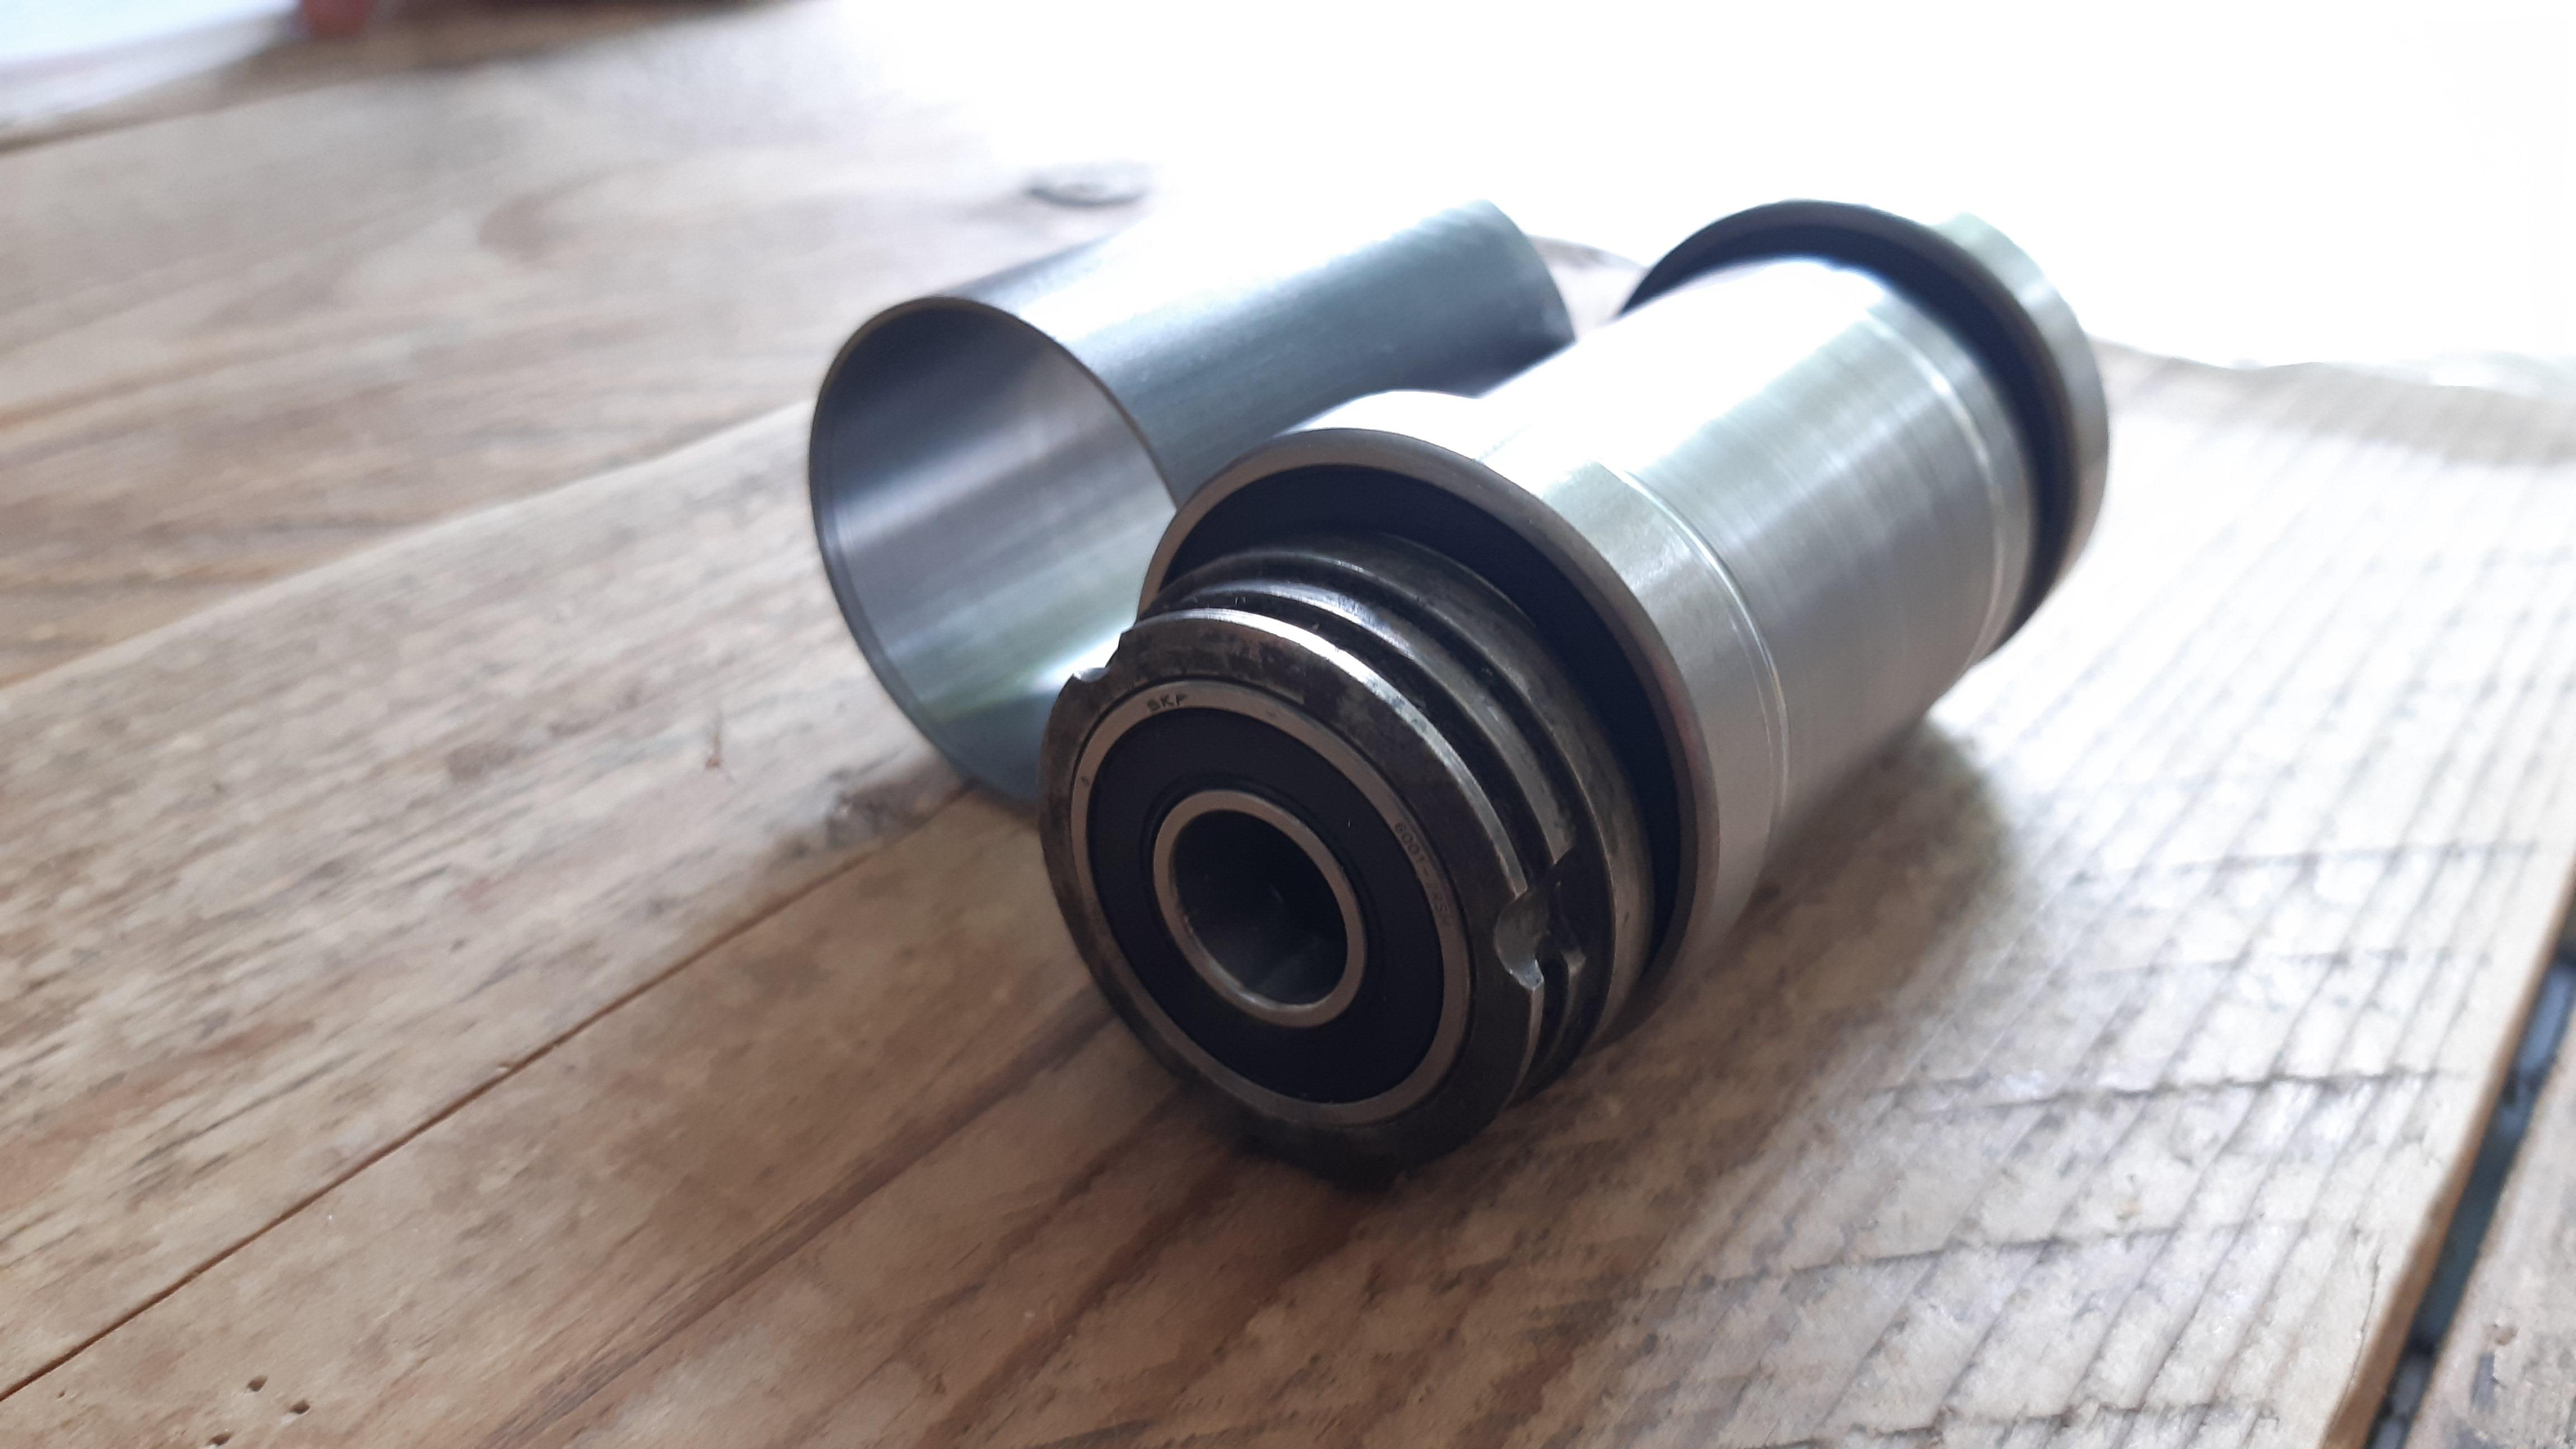
  • Drive side bearing, between the driver and the shell: KOYO 6905 2RS (42mm - 25mm - 9mm).
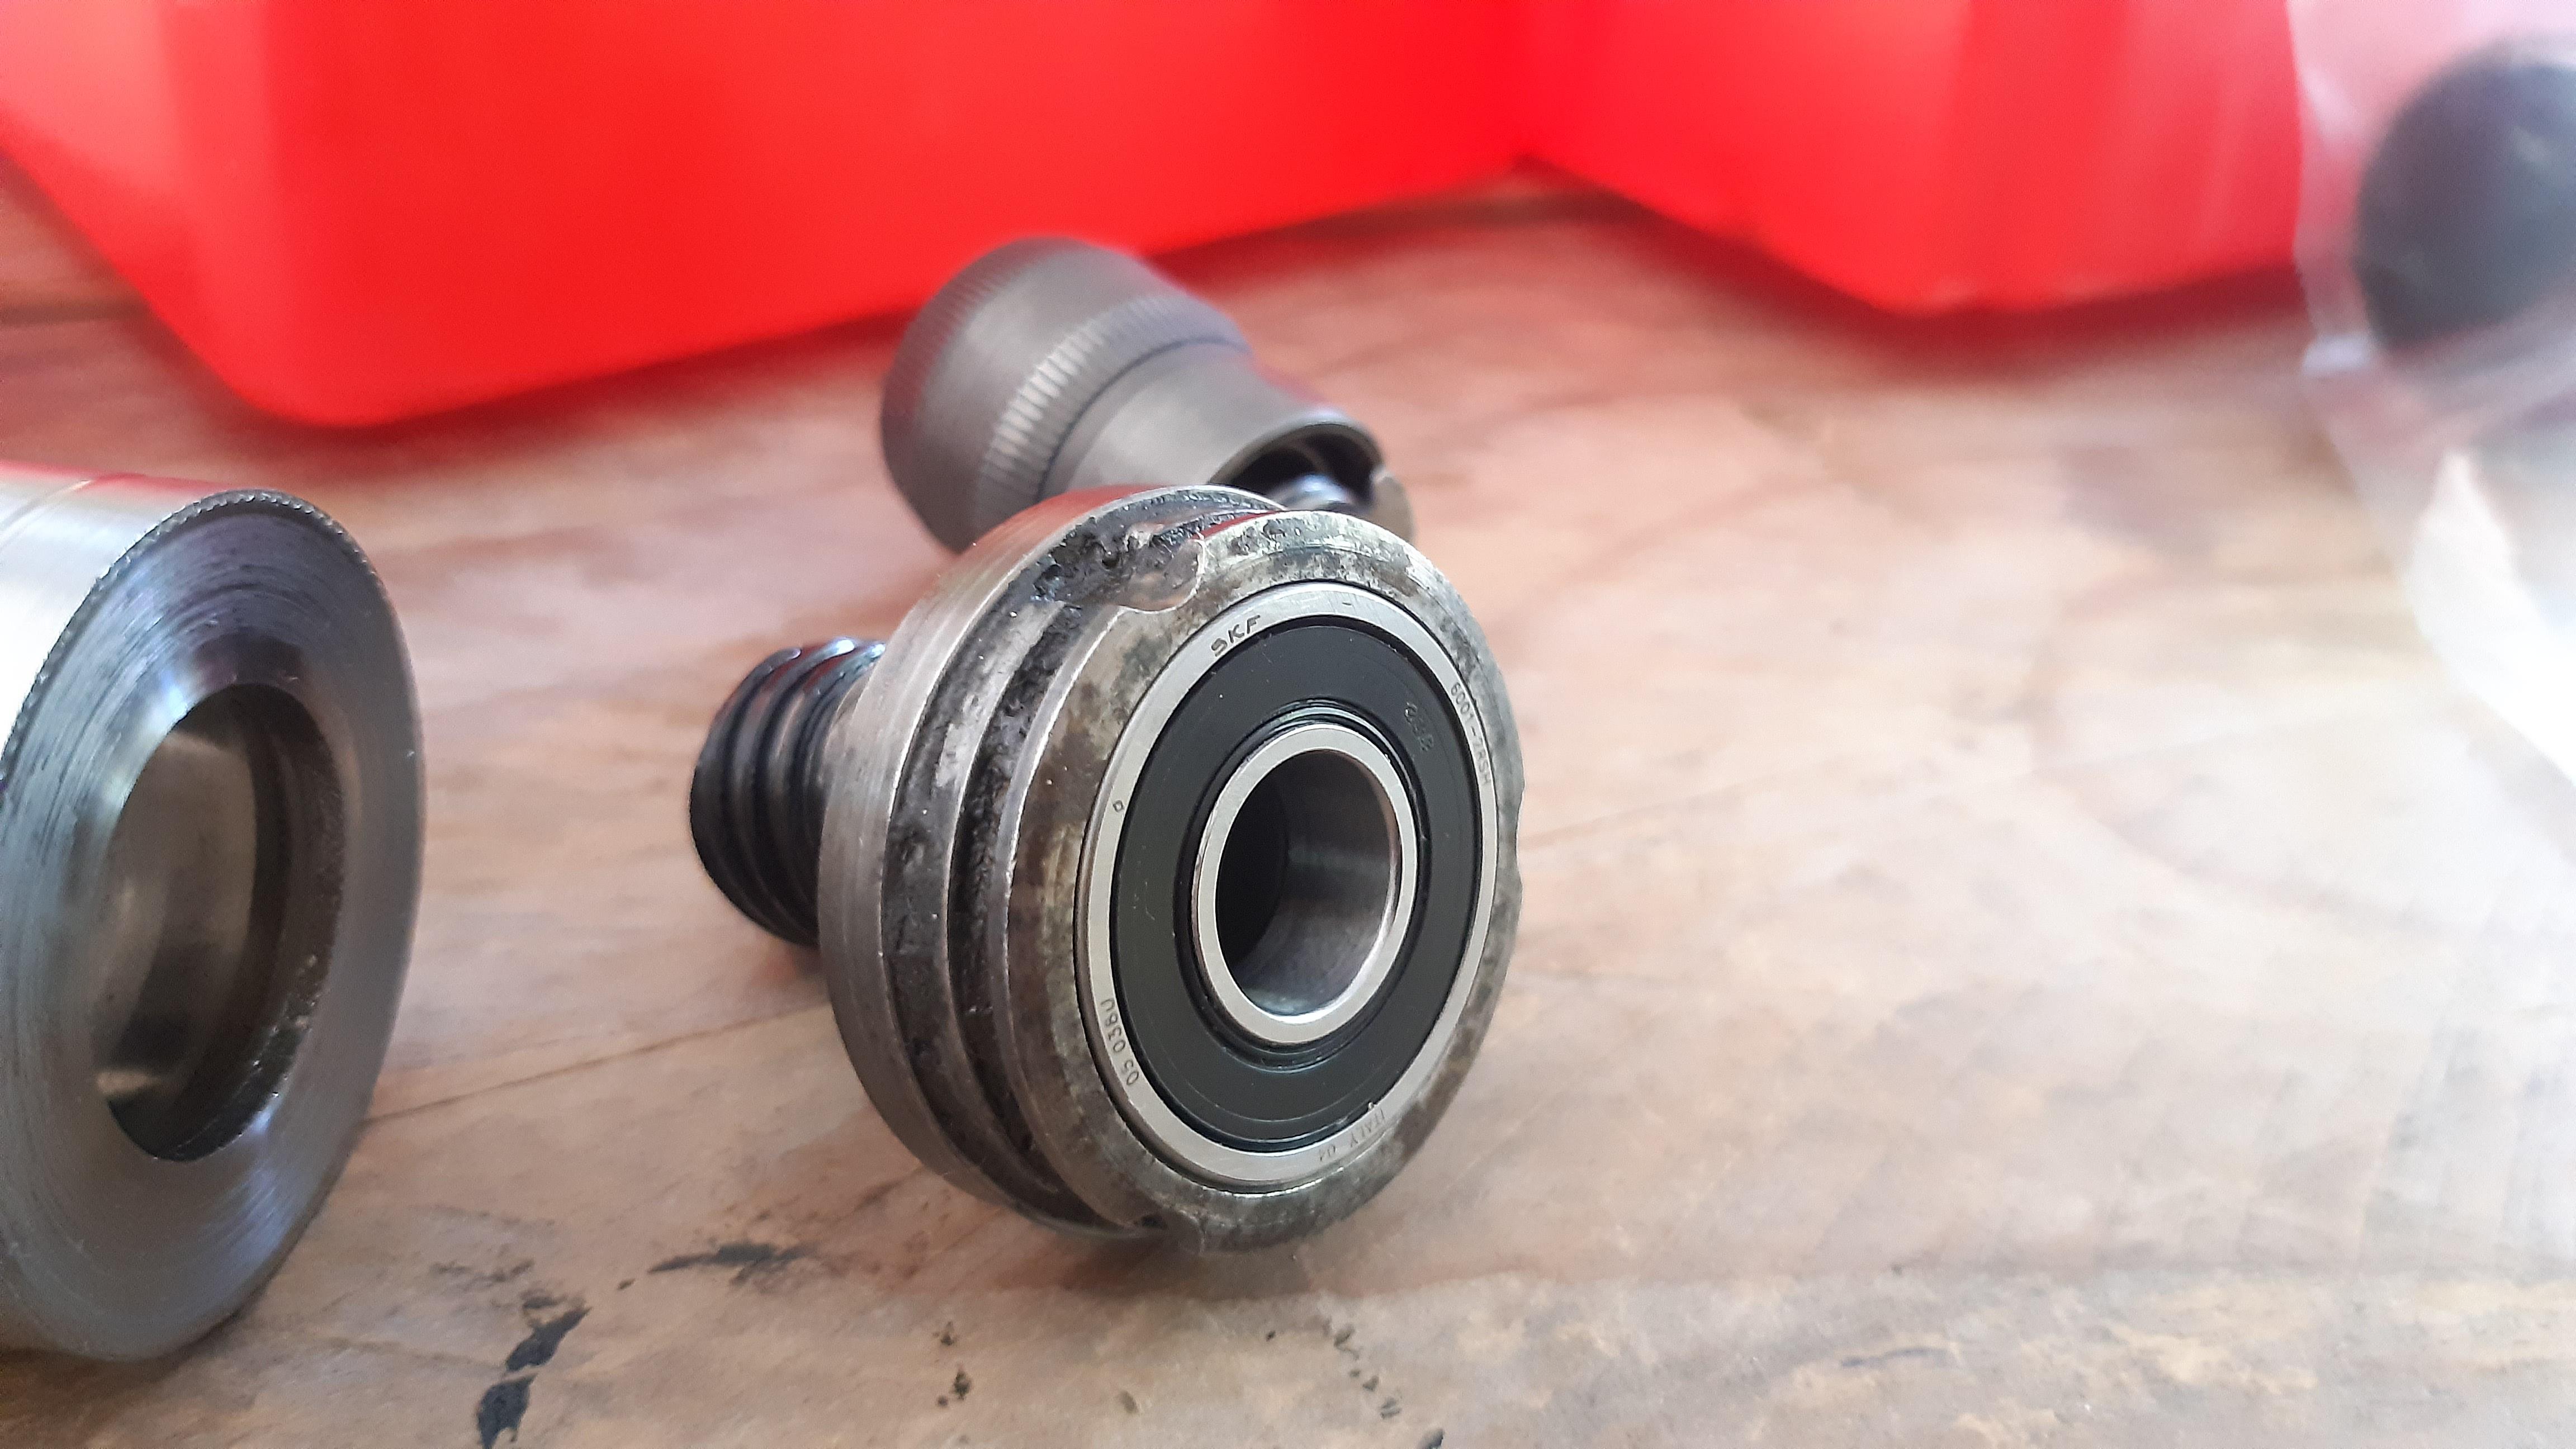
  • Drive side bearing, between the driver and the M10x1 shaft: SKF 6001 2RS (28mm - 12mm - 8mm).
  • Brake side bearing: 6004 2RS (42mm - 20mm - 12mm).
These bearings have seals on both sides, if I want, I can remove a seal on one side which faces inward.

Pictures! Work in progress.

1wZTjnN.jpeg

NpE92jE.png

7MxB569.png


Still parts to be modeled and double-checked in above 3D CAD model.

My goals; to have fun, try a build a almost indestructable hub and share it for the people interested.

If interested, I can share all measurements, drawings, tolerances and steps so you can build this as wel :thumbsup:

I love these junk projects.

Question:
Is it wise to powdercoat a hub? I am afraid for: 1: Spokes won't fit through the holes. 2: The coating will break under the pressure, like when you tighten a bolt on paint, the paint will eventually break.
 
Last edited:
Sounds like an excellent project...you had me at, 'lathe'!
Thanks Rusty!


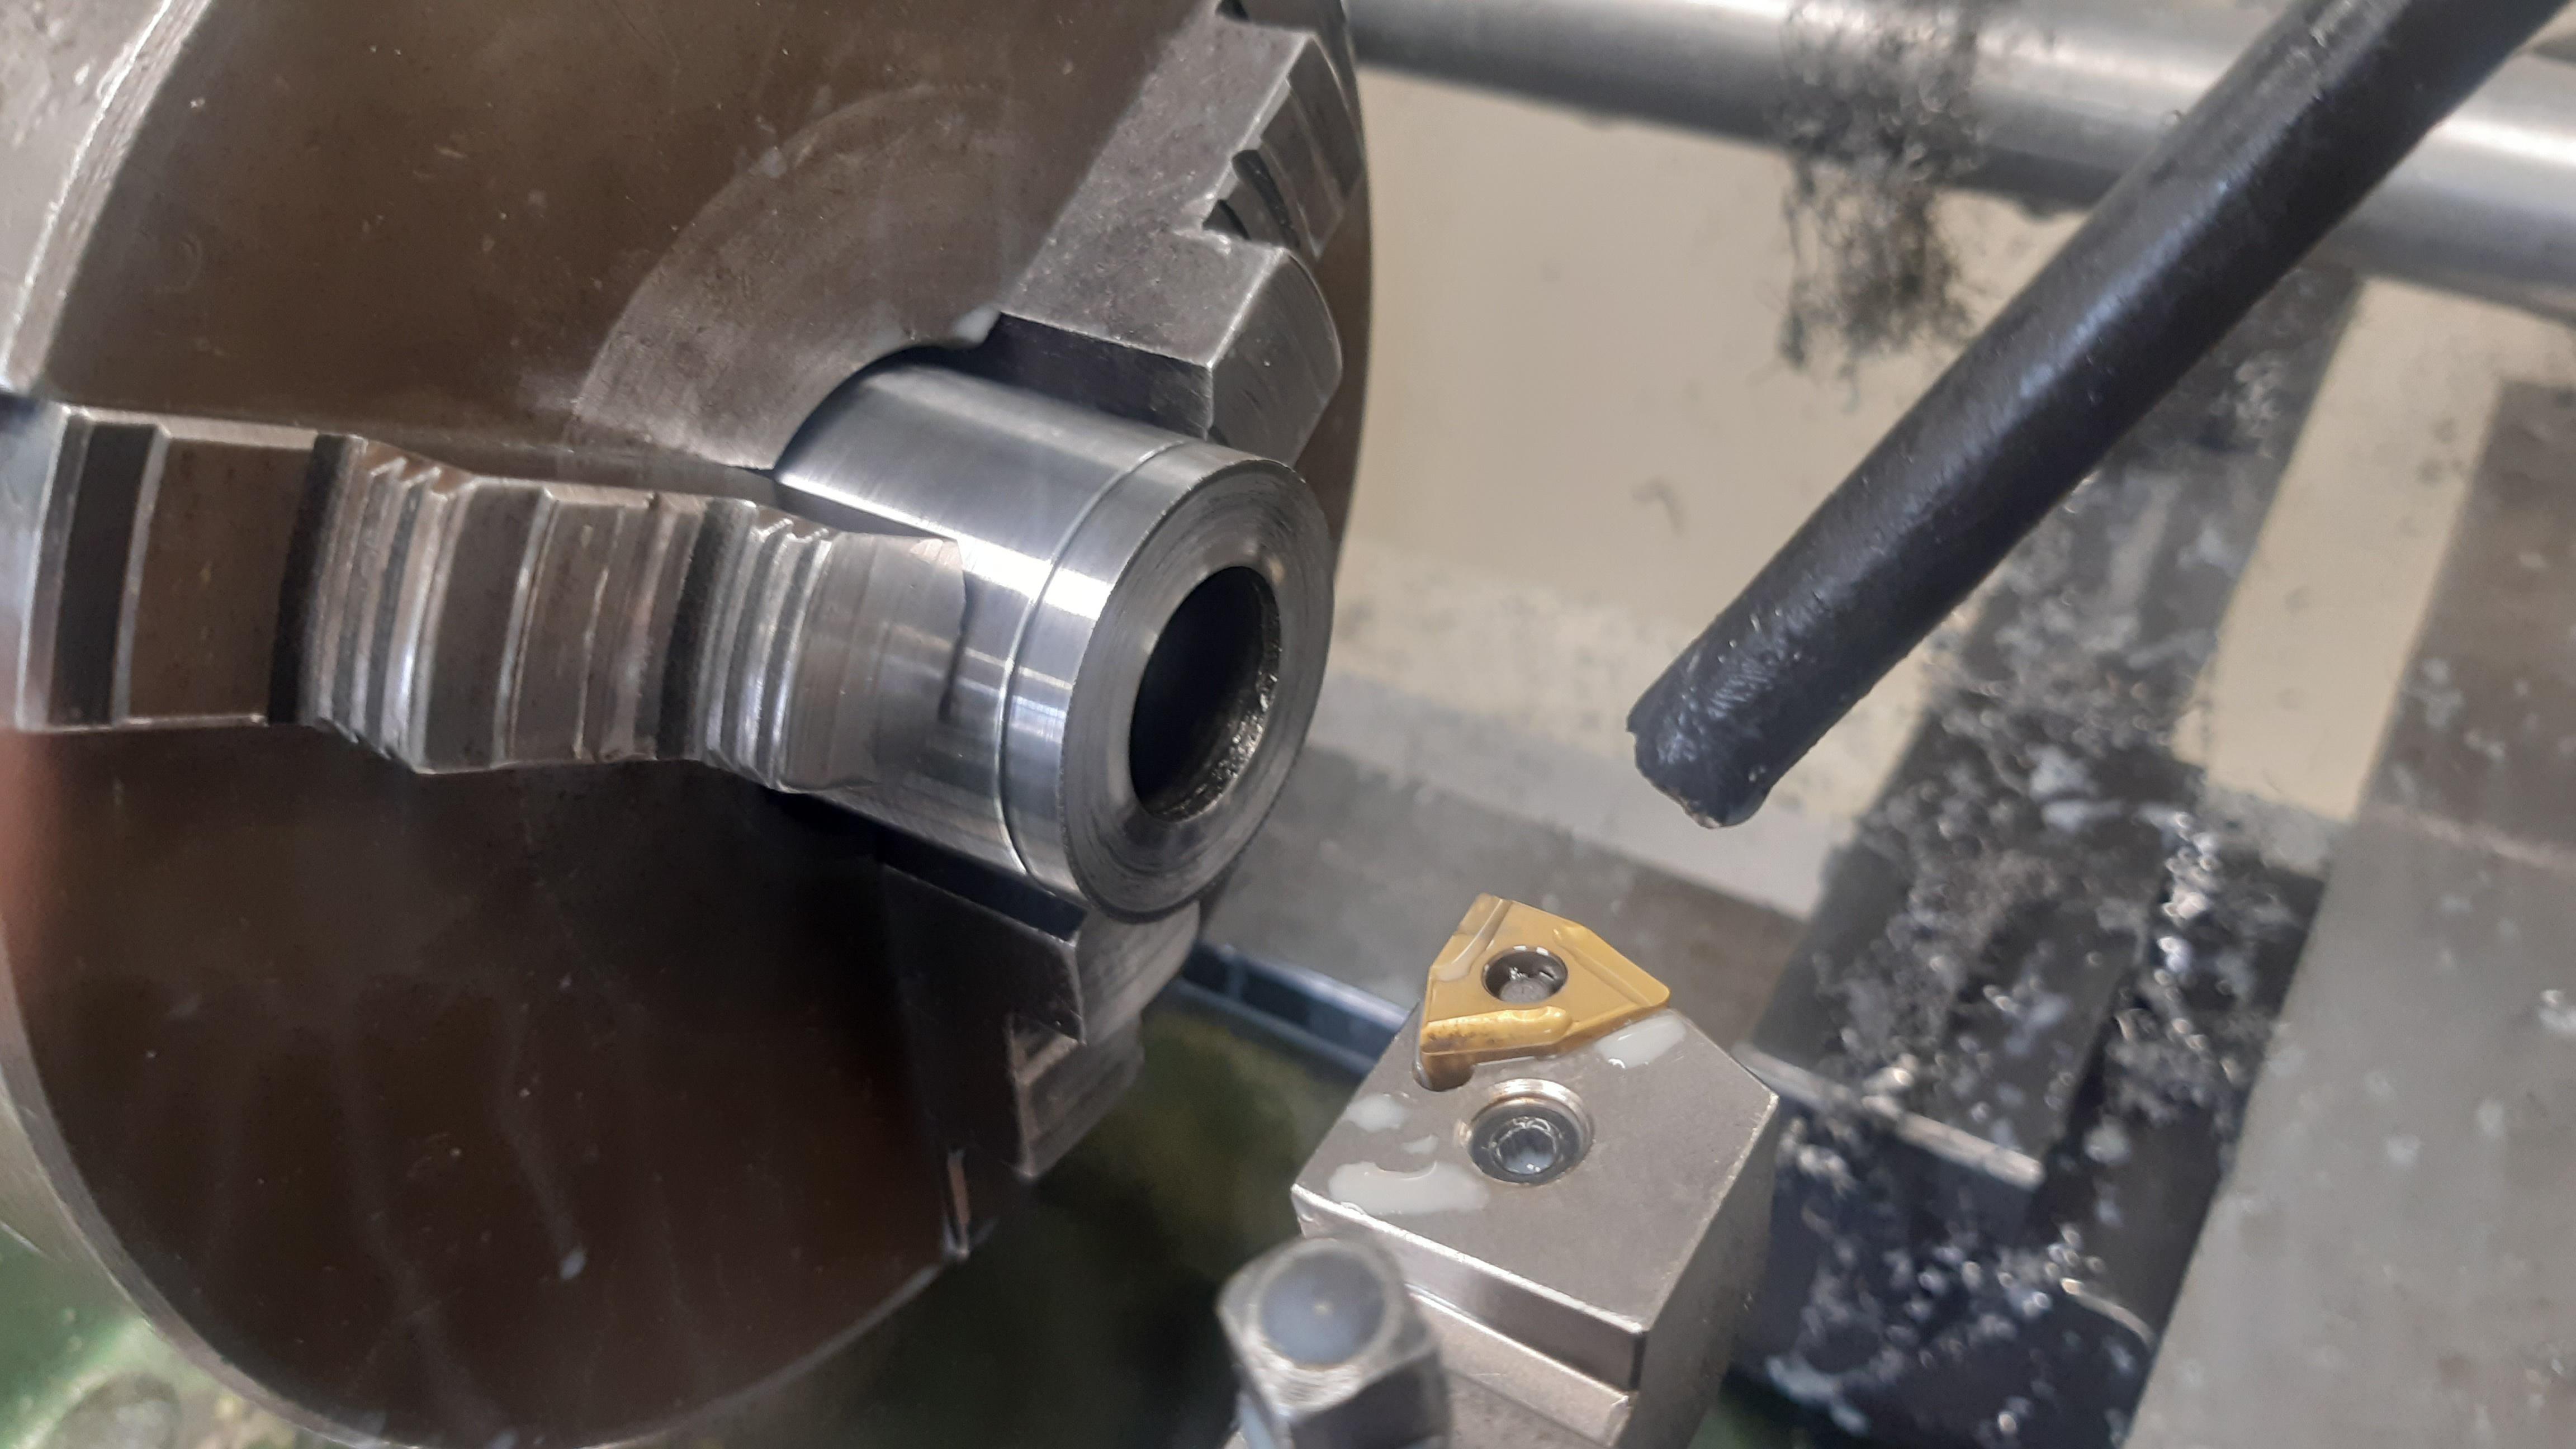
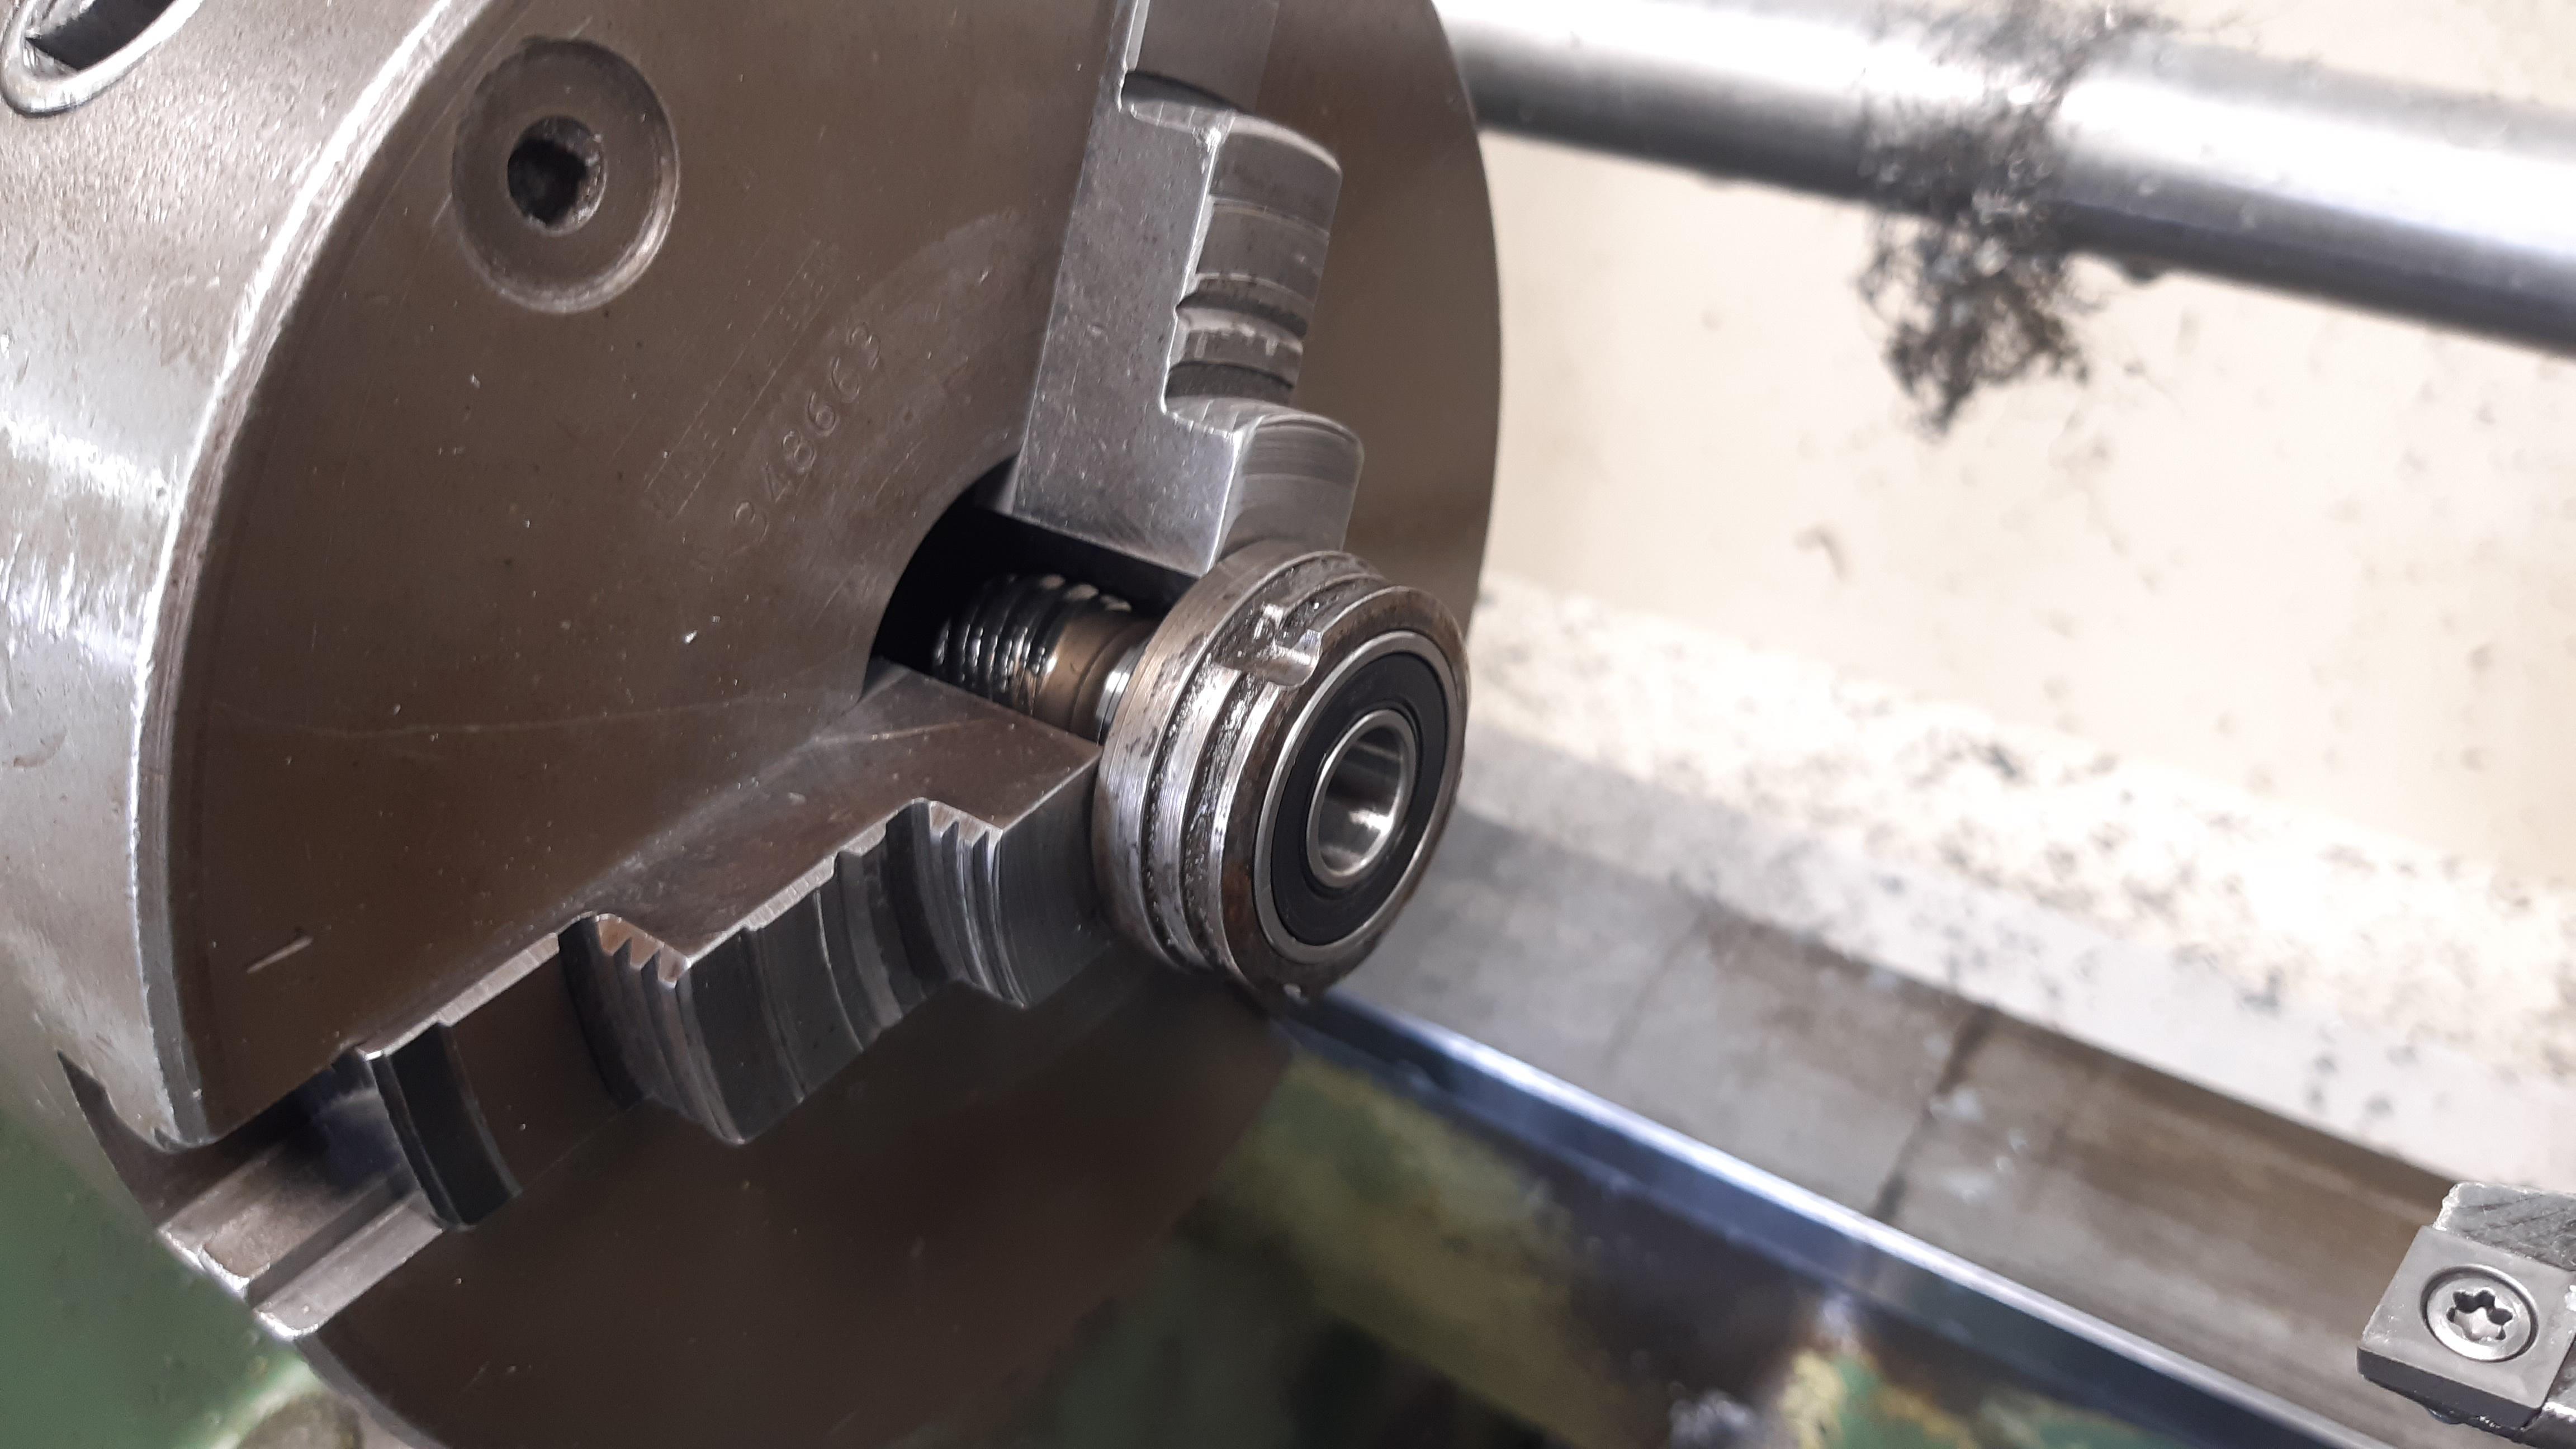
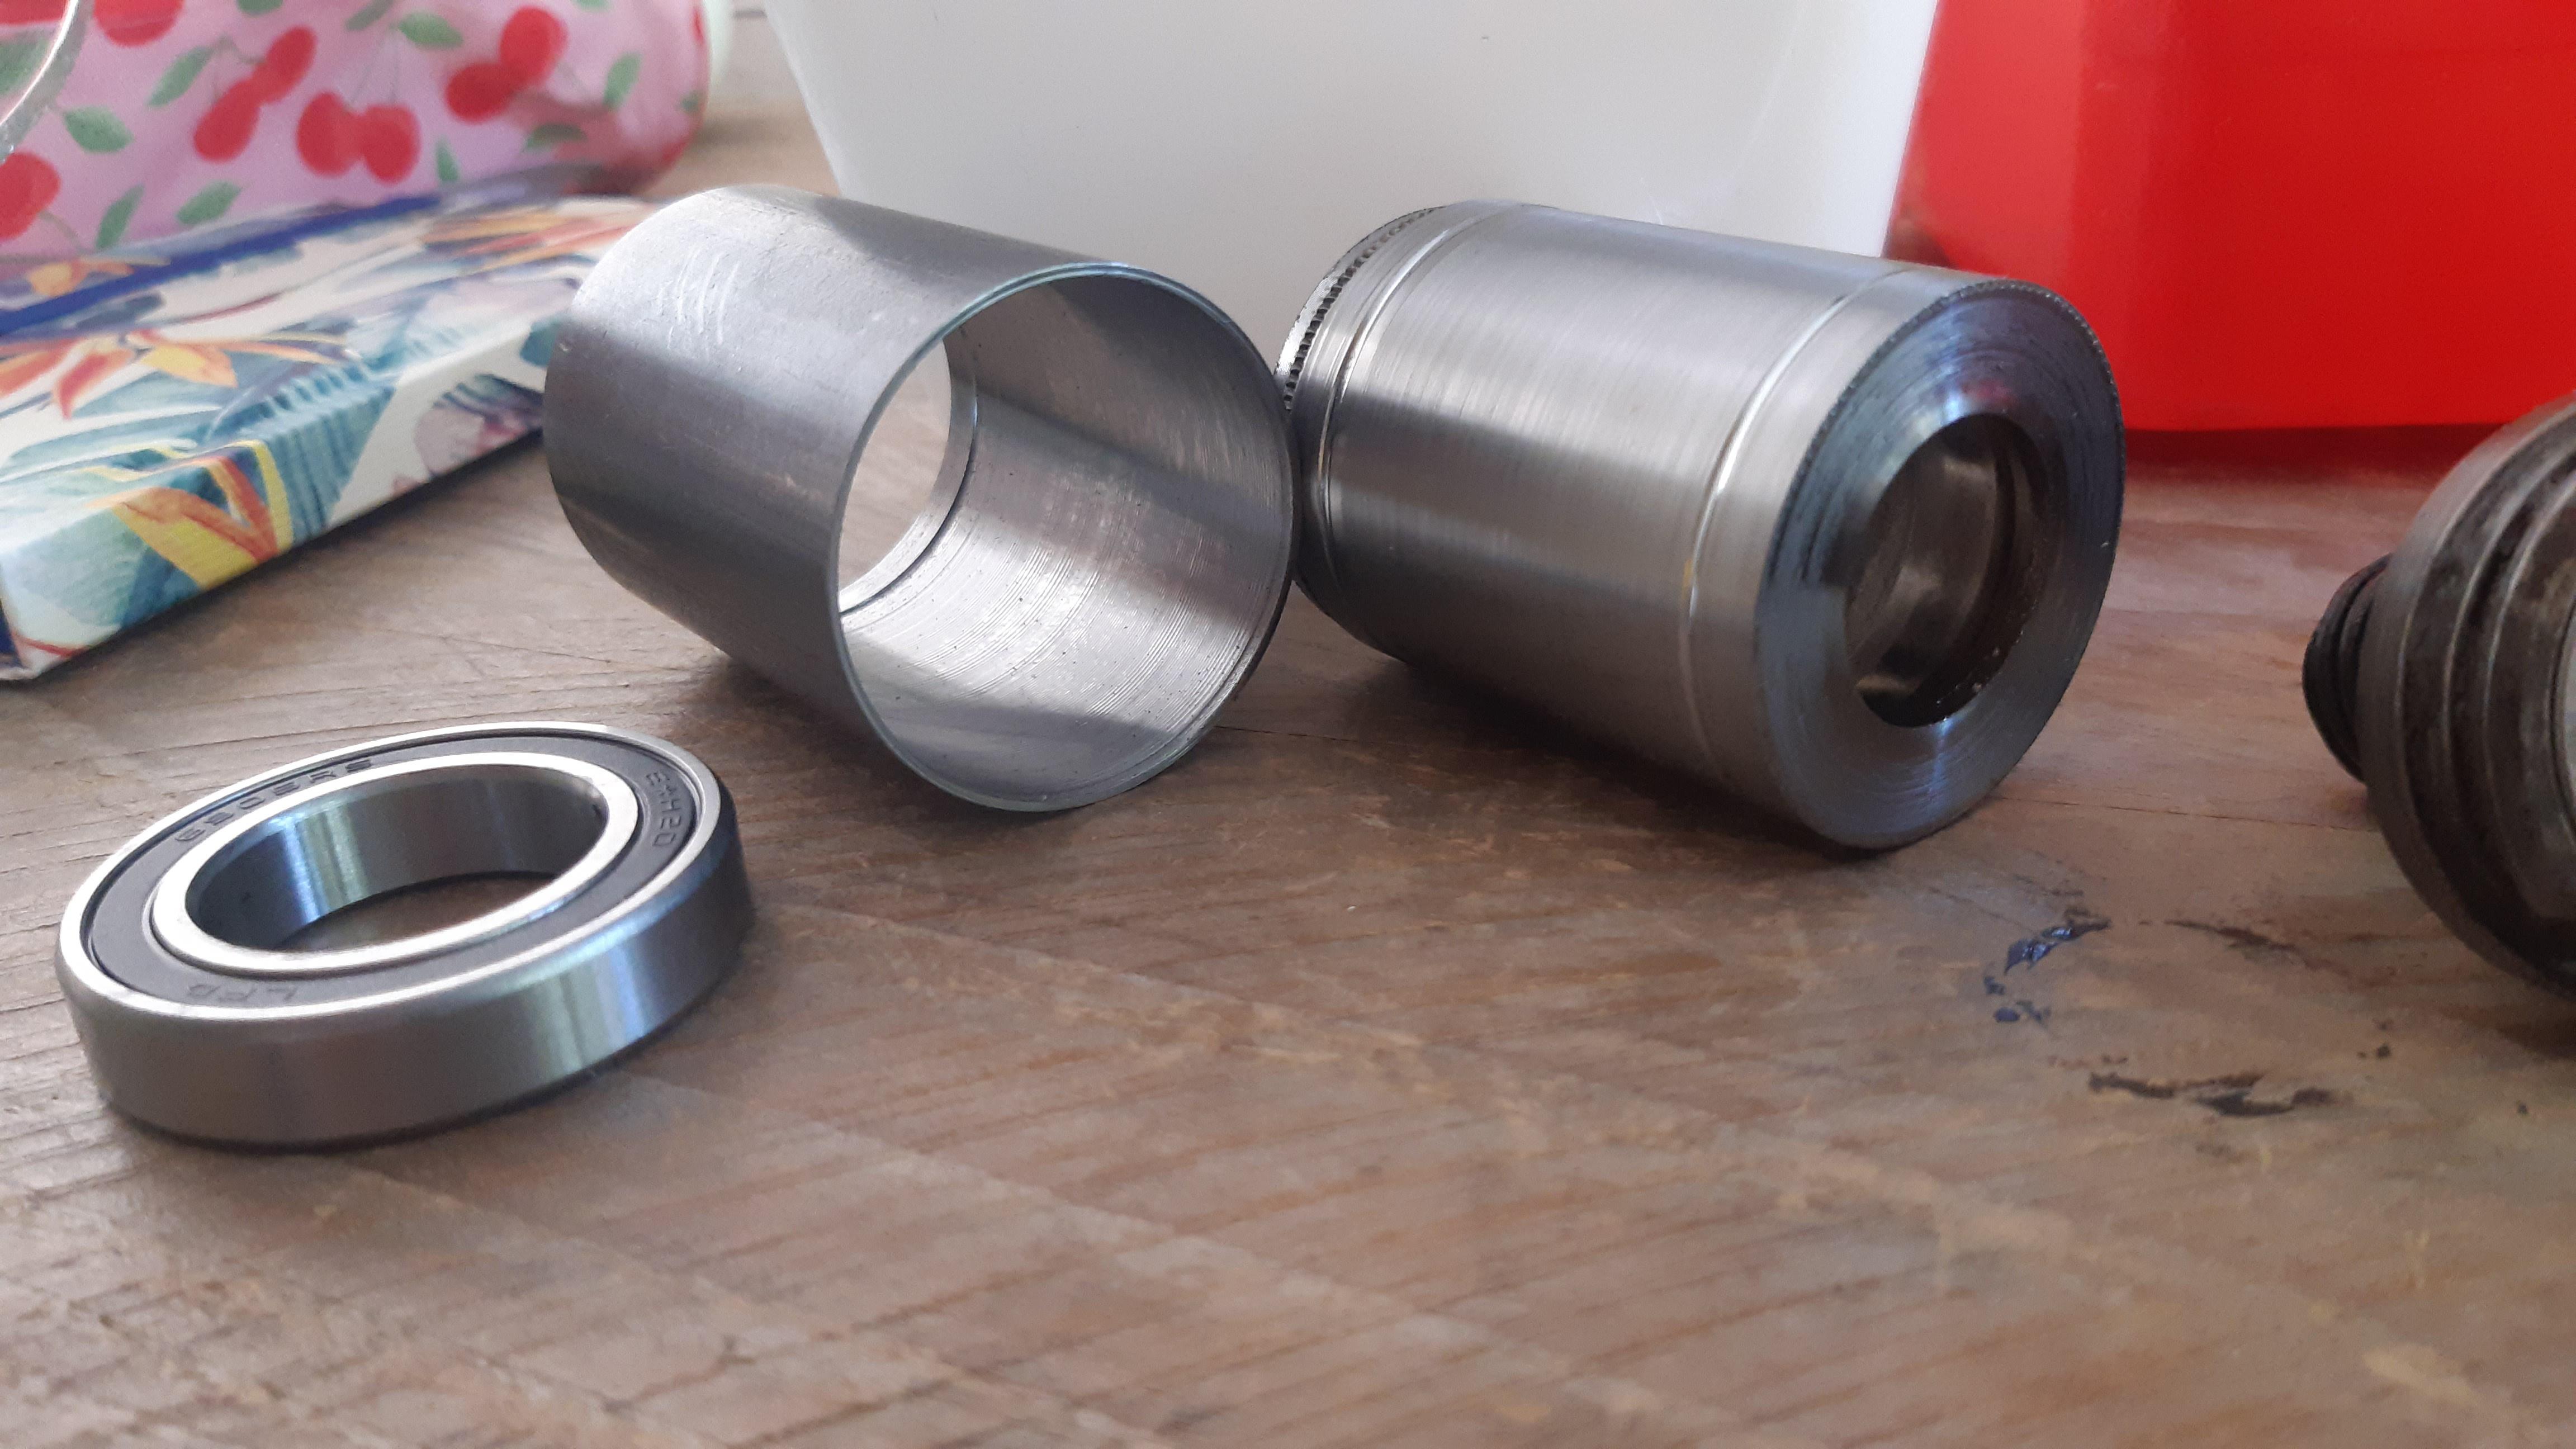
I wanted to type a long story here, but I screwed up. Pictures first then I'll talk you through it.

NLBTznw.jpeg

dskkhRa.jpeg

KgaGcMg.jpeg

ga831bb.jpeg


Alright what happened?

Centering (with a rotating center) was not an issue. The bearing races in comparison to the spoke flanges were nicely aligned. Ideally, I would center it from the brake surface, because thats more probable to be centered in relation to the bearing races. And that requires tool making effort.

So far so good.

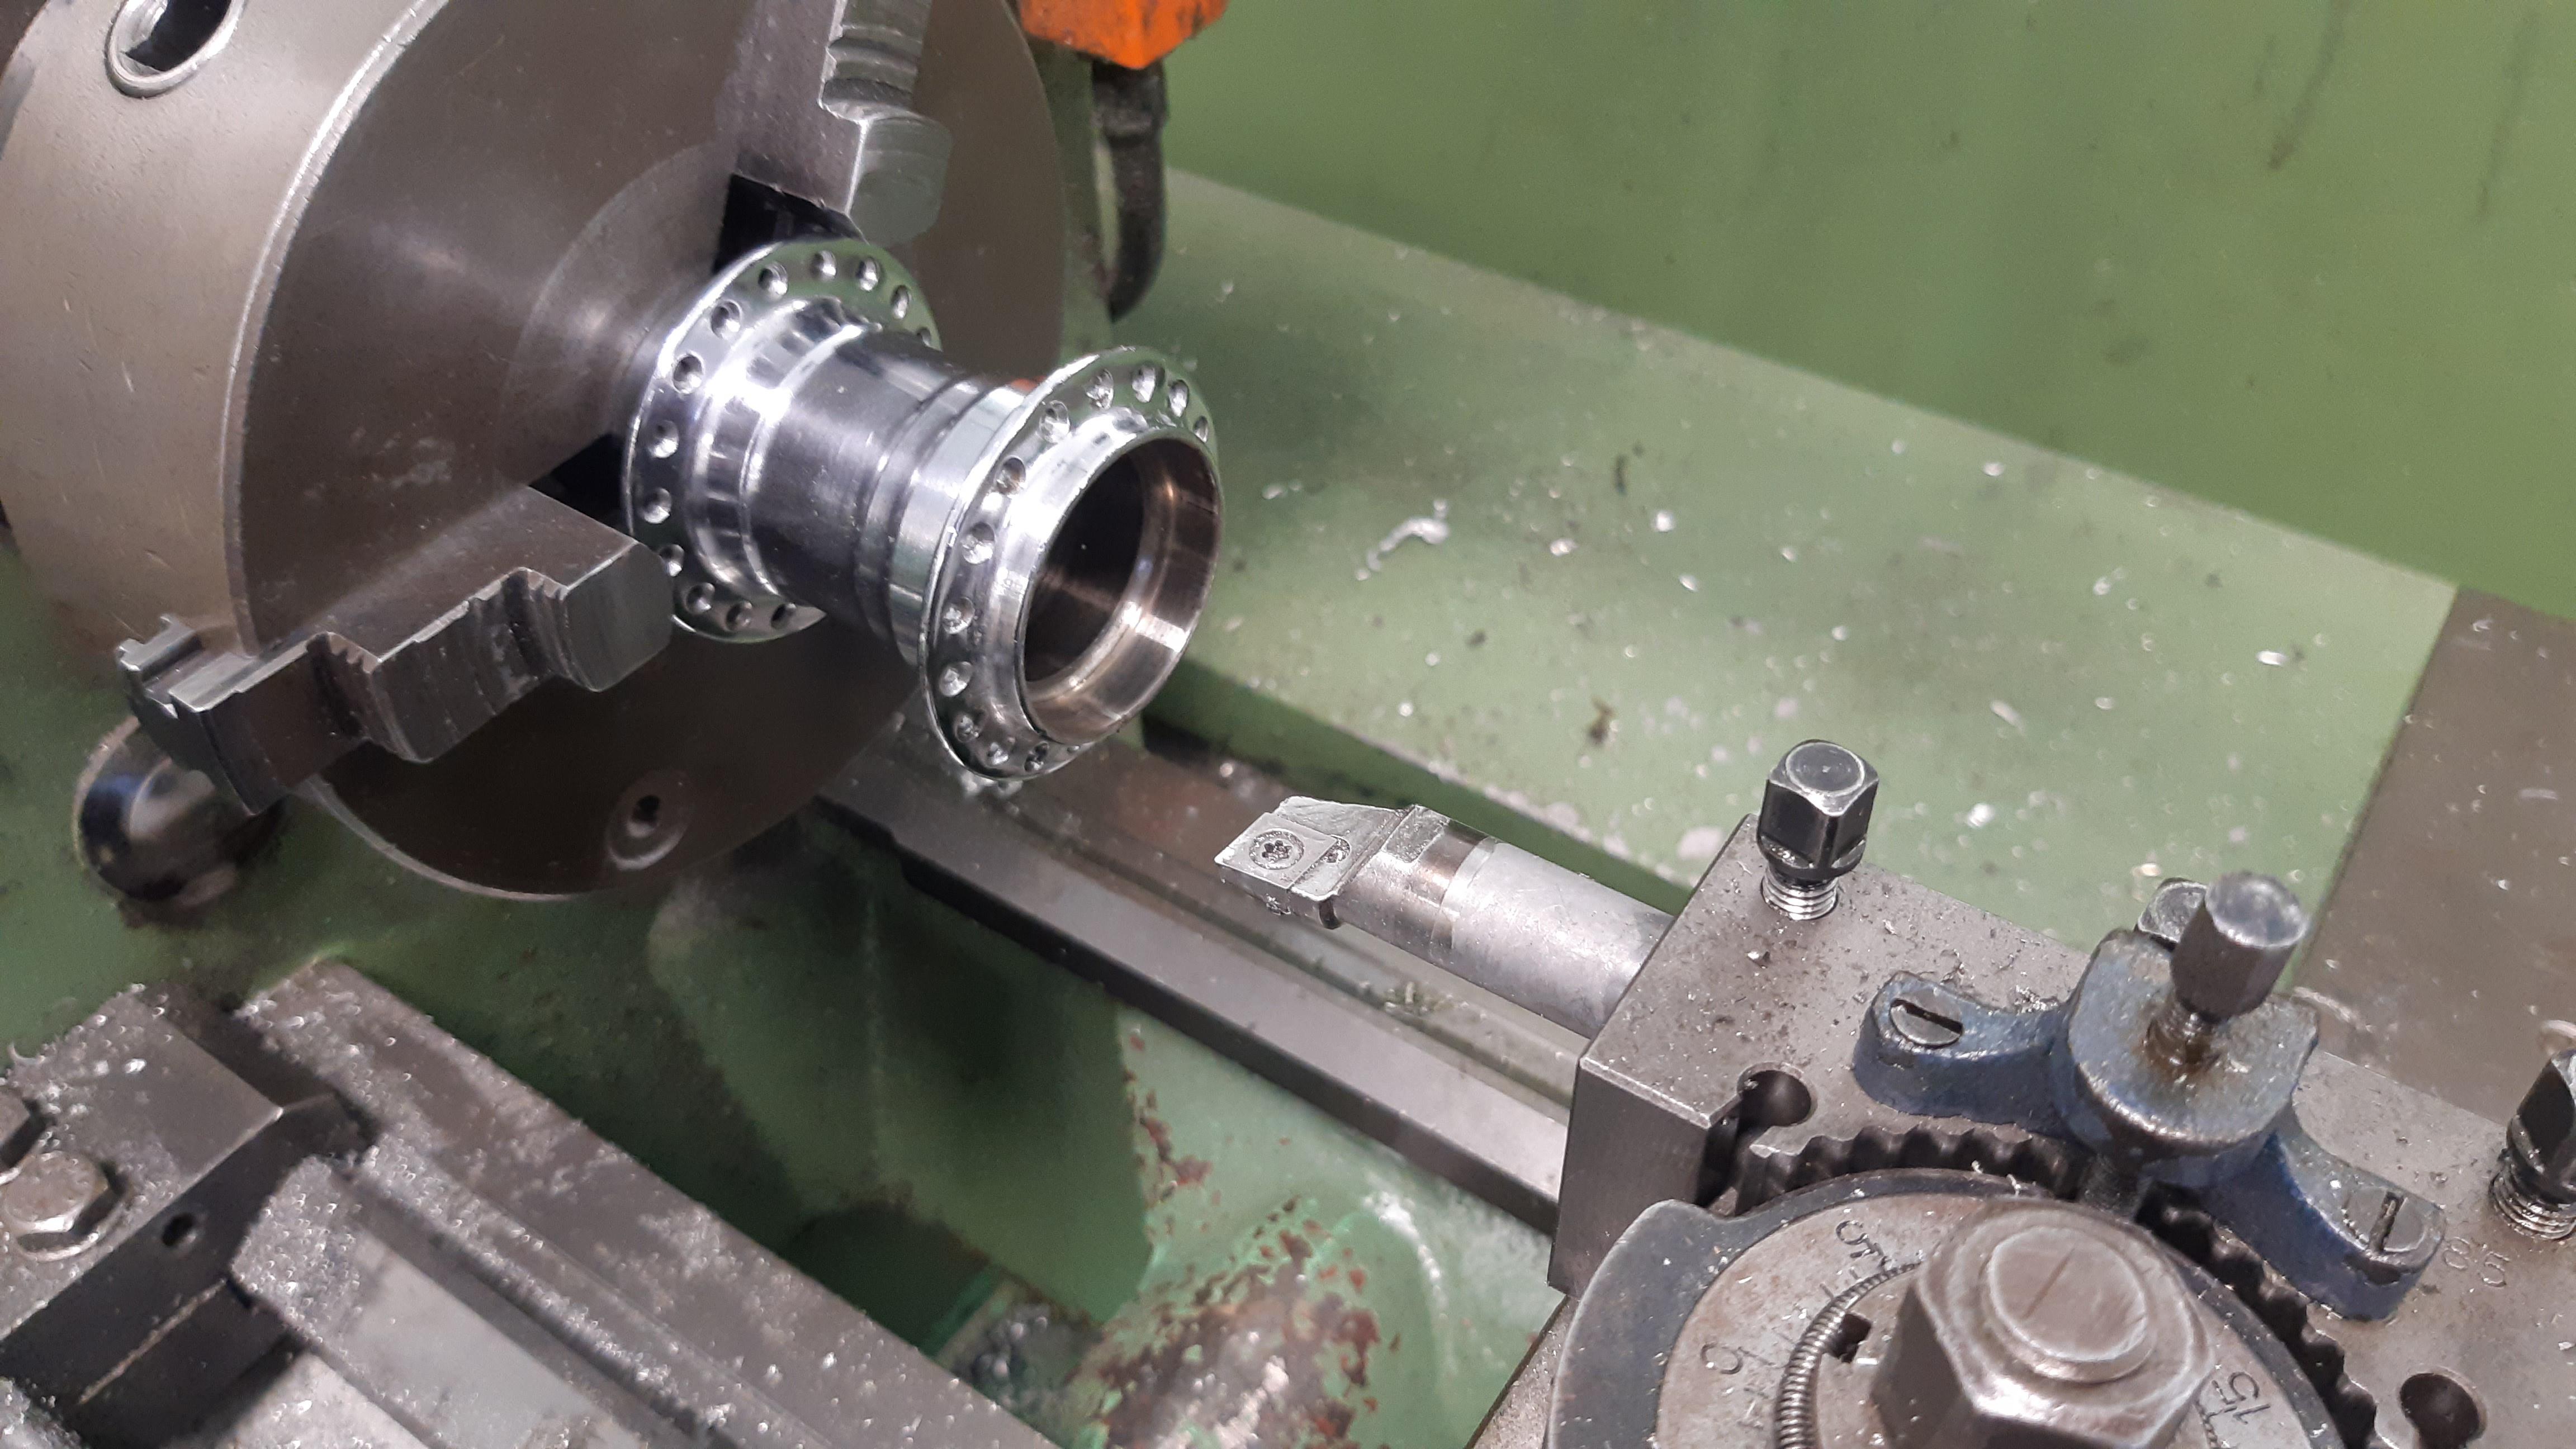
The tool shop did not have any bits/cutters left that are made for hardened steel. The hub shells are hardened and heat treated. (I think the Shimano shell has a hardened centre and a 'more soft' outer bit with the spoke flanges pressed over the hardened bit. You can see the splines).

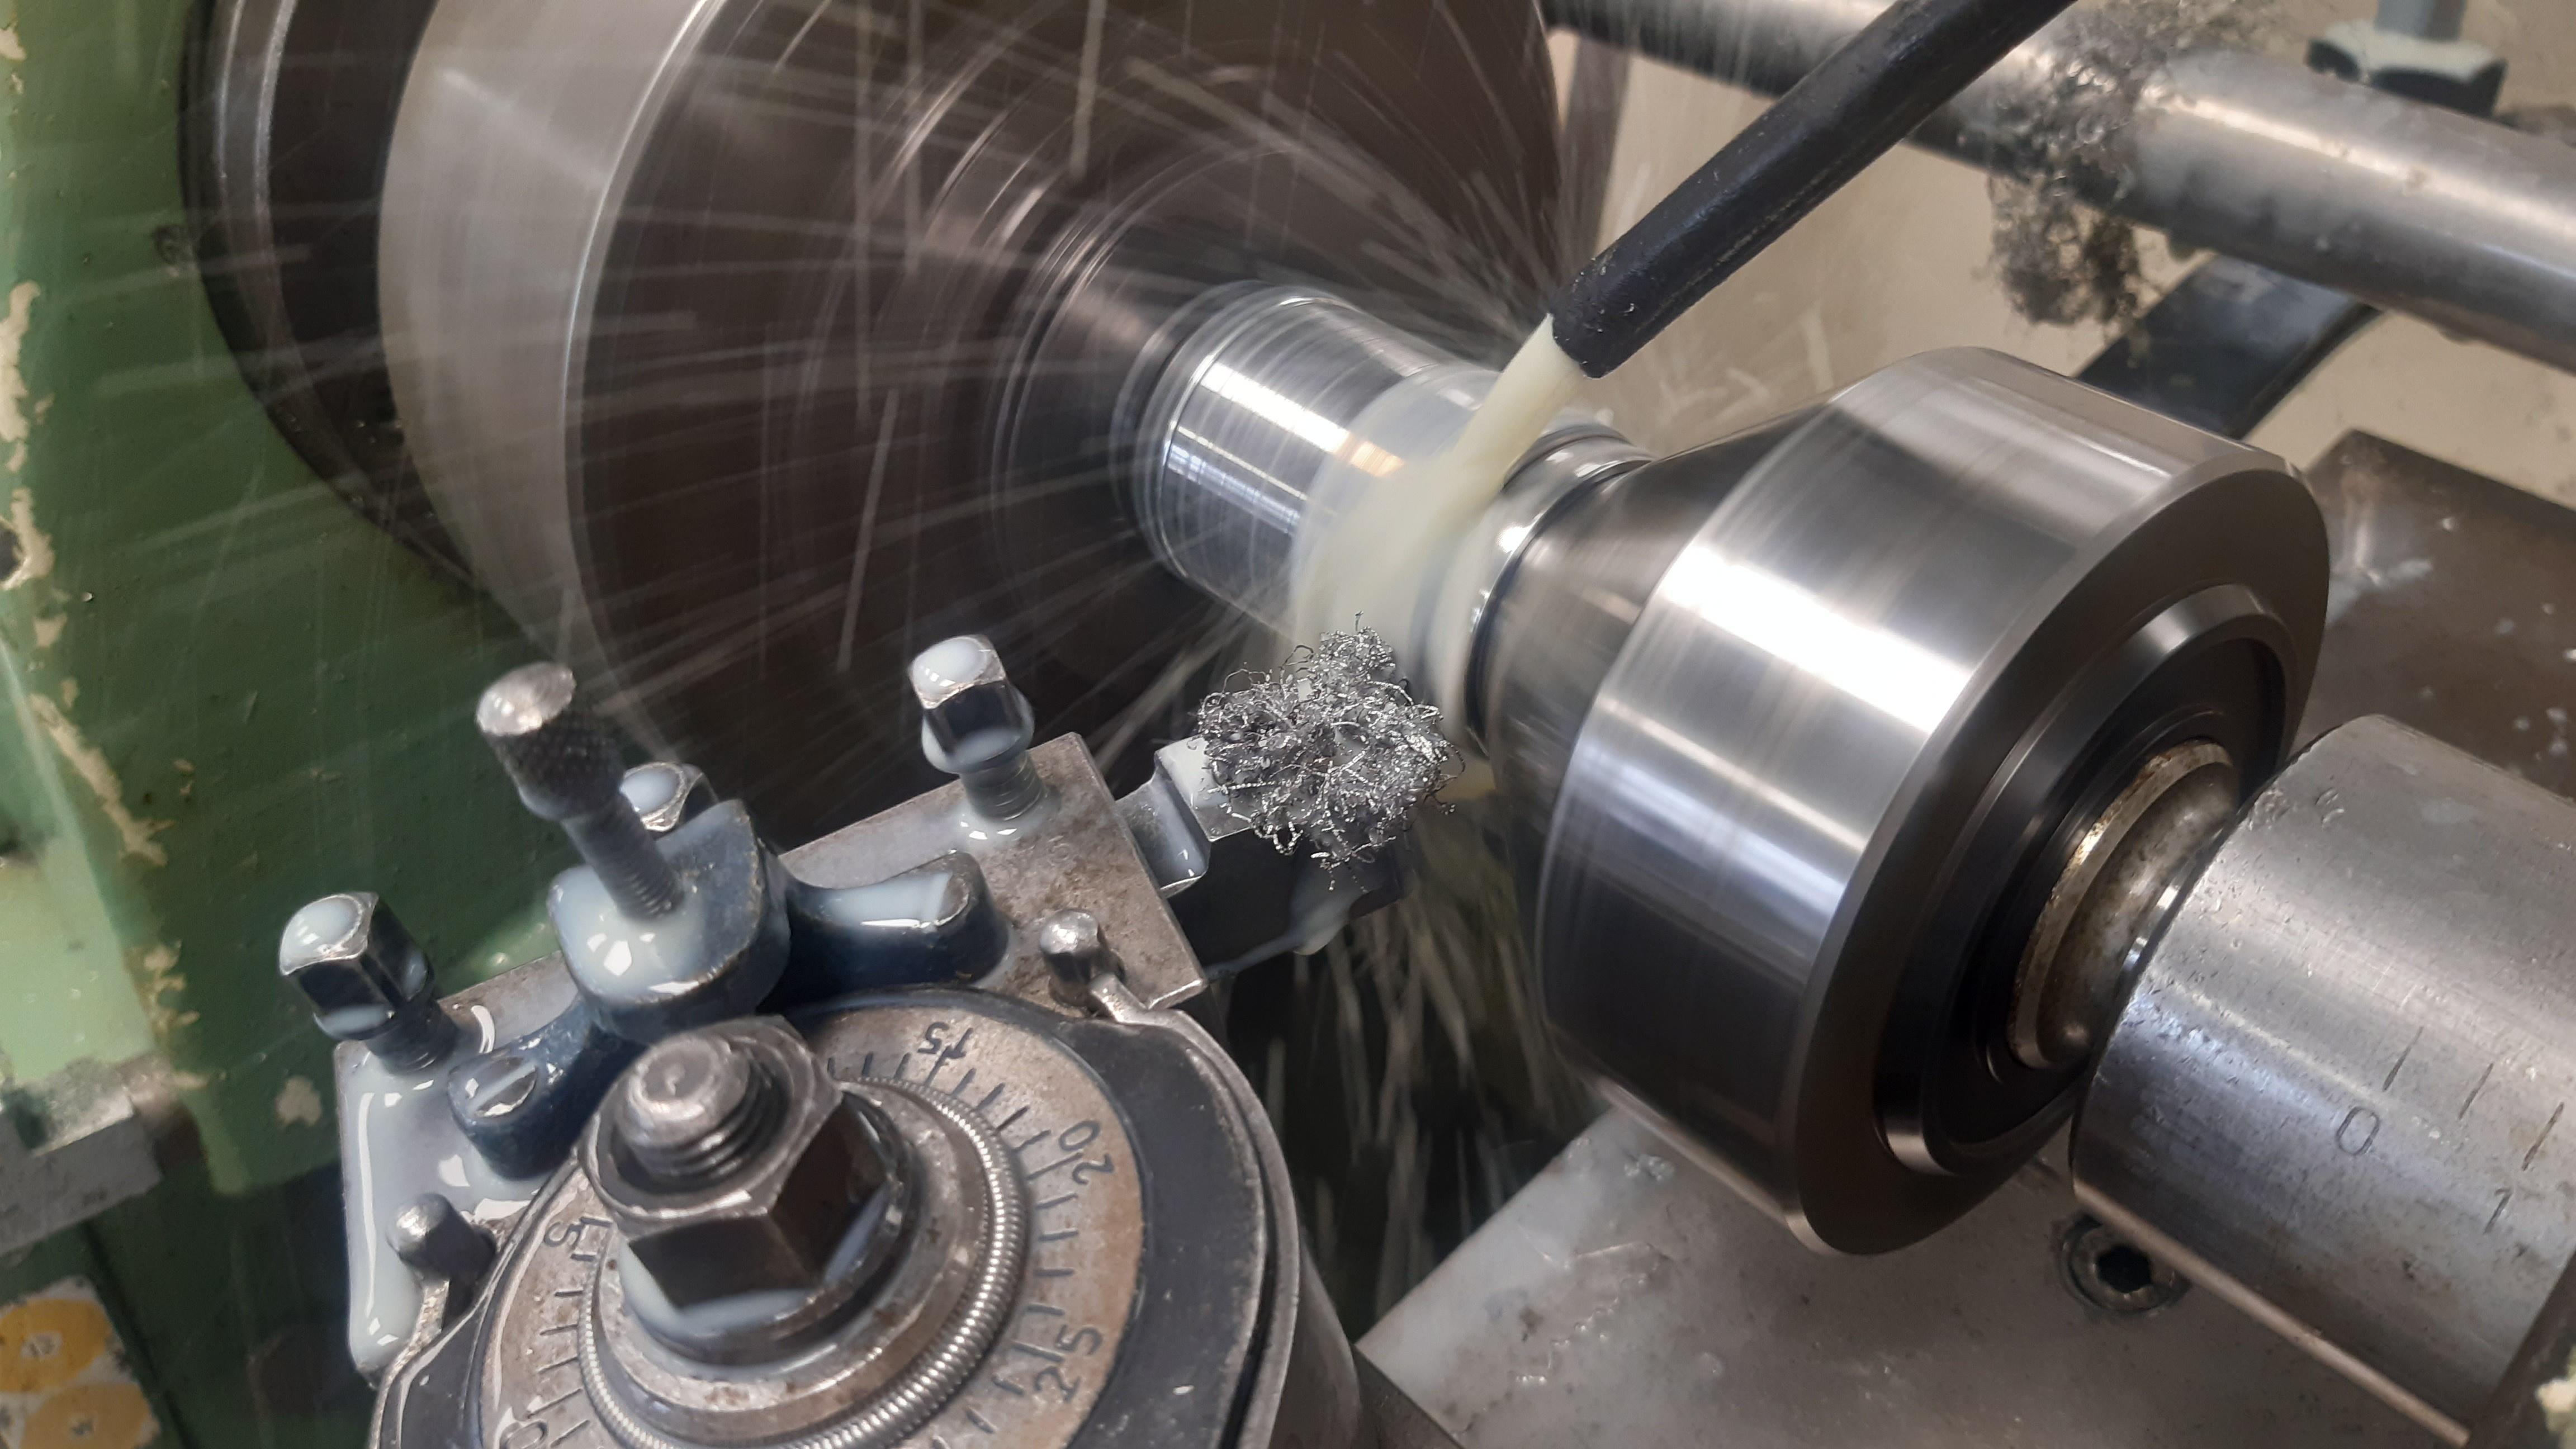
With some cooling liquid it was ok to cut the bearing space, but it took a long time.
Eventually I cranked up the revolutions of the lathe to create a smooth surface.

Apparently the higher revs made the bit to cut a little bit too deep and now the bearing race is:
42.13mm instead of 42.05mm :blush:

The bearing is too loose for my taste.

Its okay though, now I am exploring the possibilities of using the Shimano CB-e110 guts (maybe including the brake surface, depends if I can press that bit out) with a new aluminum or steel shell.

Shells are mostly made of 6061 - T6 aluminum.
7075 is also an option, but I read that is harder to anodise. Have to do some research.

Interesting thing is, this will be a completely different design as I anticipated :21:
I think there are also copies of the Shimano Hubs: Hi-stop and more Chinese brands.

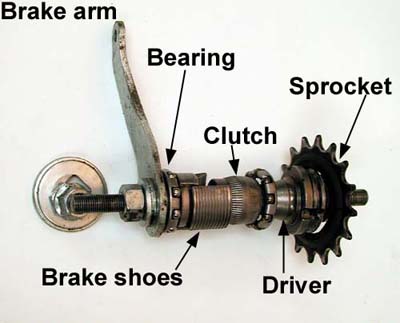
Question: Does anyone know where the design from the Shimano hub came from? Bendix Red band has that same principle:

A driver with multi-cycle thread and a clutch that goes left and right depending on your action/intentions.
I thought about this design a lot and its just so ingenious, but I could not find the historic patent.

coaster11.jpg


New Departure has the oldest design with this principle I could find:

https://www.sheldonbrown.com/coaster-brakes/new-departure.html
 
Last edited:
Nice lathe work! You are still good to go with that hub. Just use some loctite 620 retaining compound. It is made to make slip fits tighter...air tight, tough, and heat resistant to ~450F or so. Made for up to .25mm slip fit, if I remember correctly.
 
Next step...make your own hubs!
Yeah I would like that.
Problem is though, I am not in tune with the current market that seems to require a certain price to quality standard. This next to customers that want something else I like. That is probably why I am residing here on Ratrodbikes :thumbsup:

Two updates I would like to share:
  1. I got some CrMo tubes from the trash bin at a rollcage manufacturer I get my tubes from.
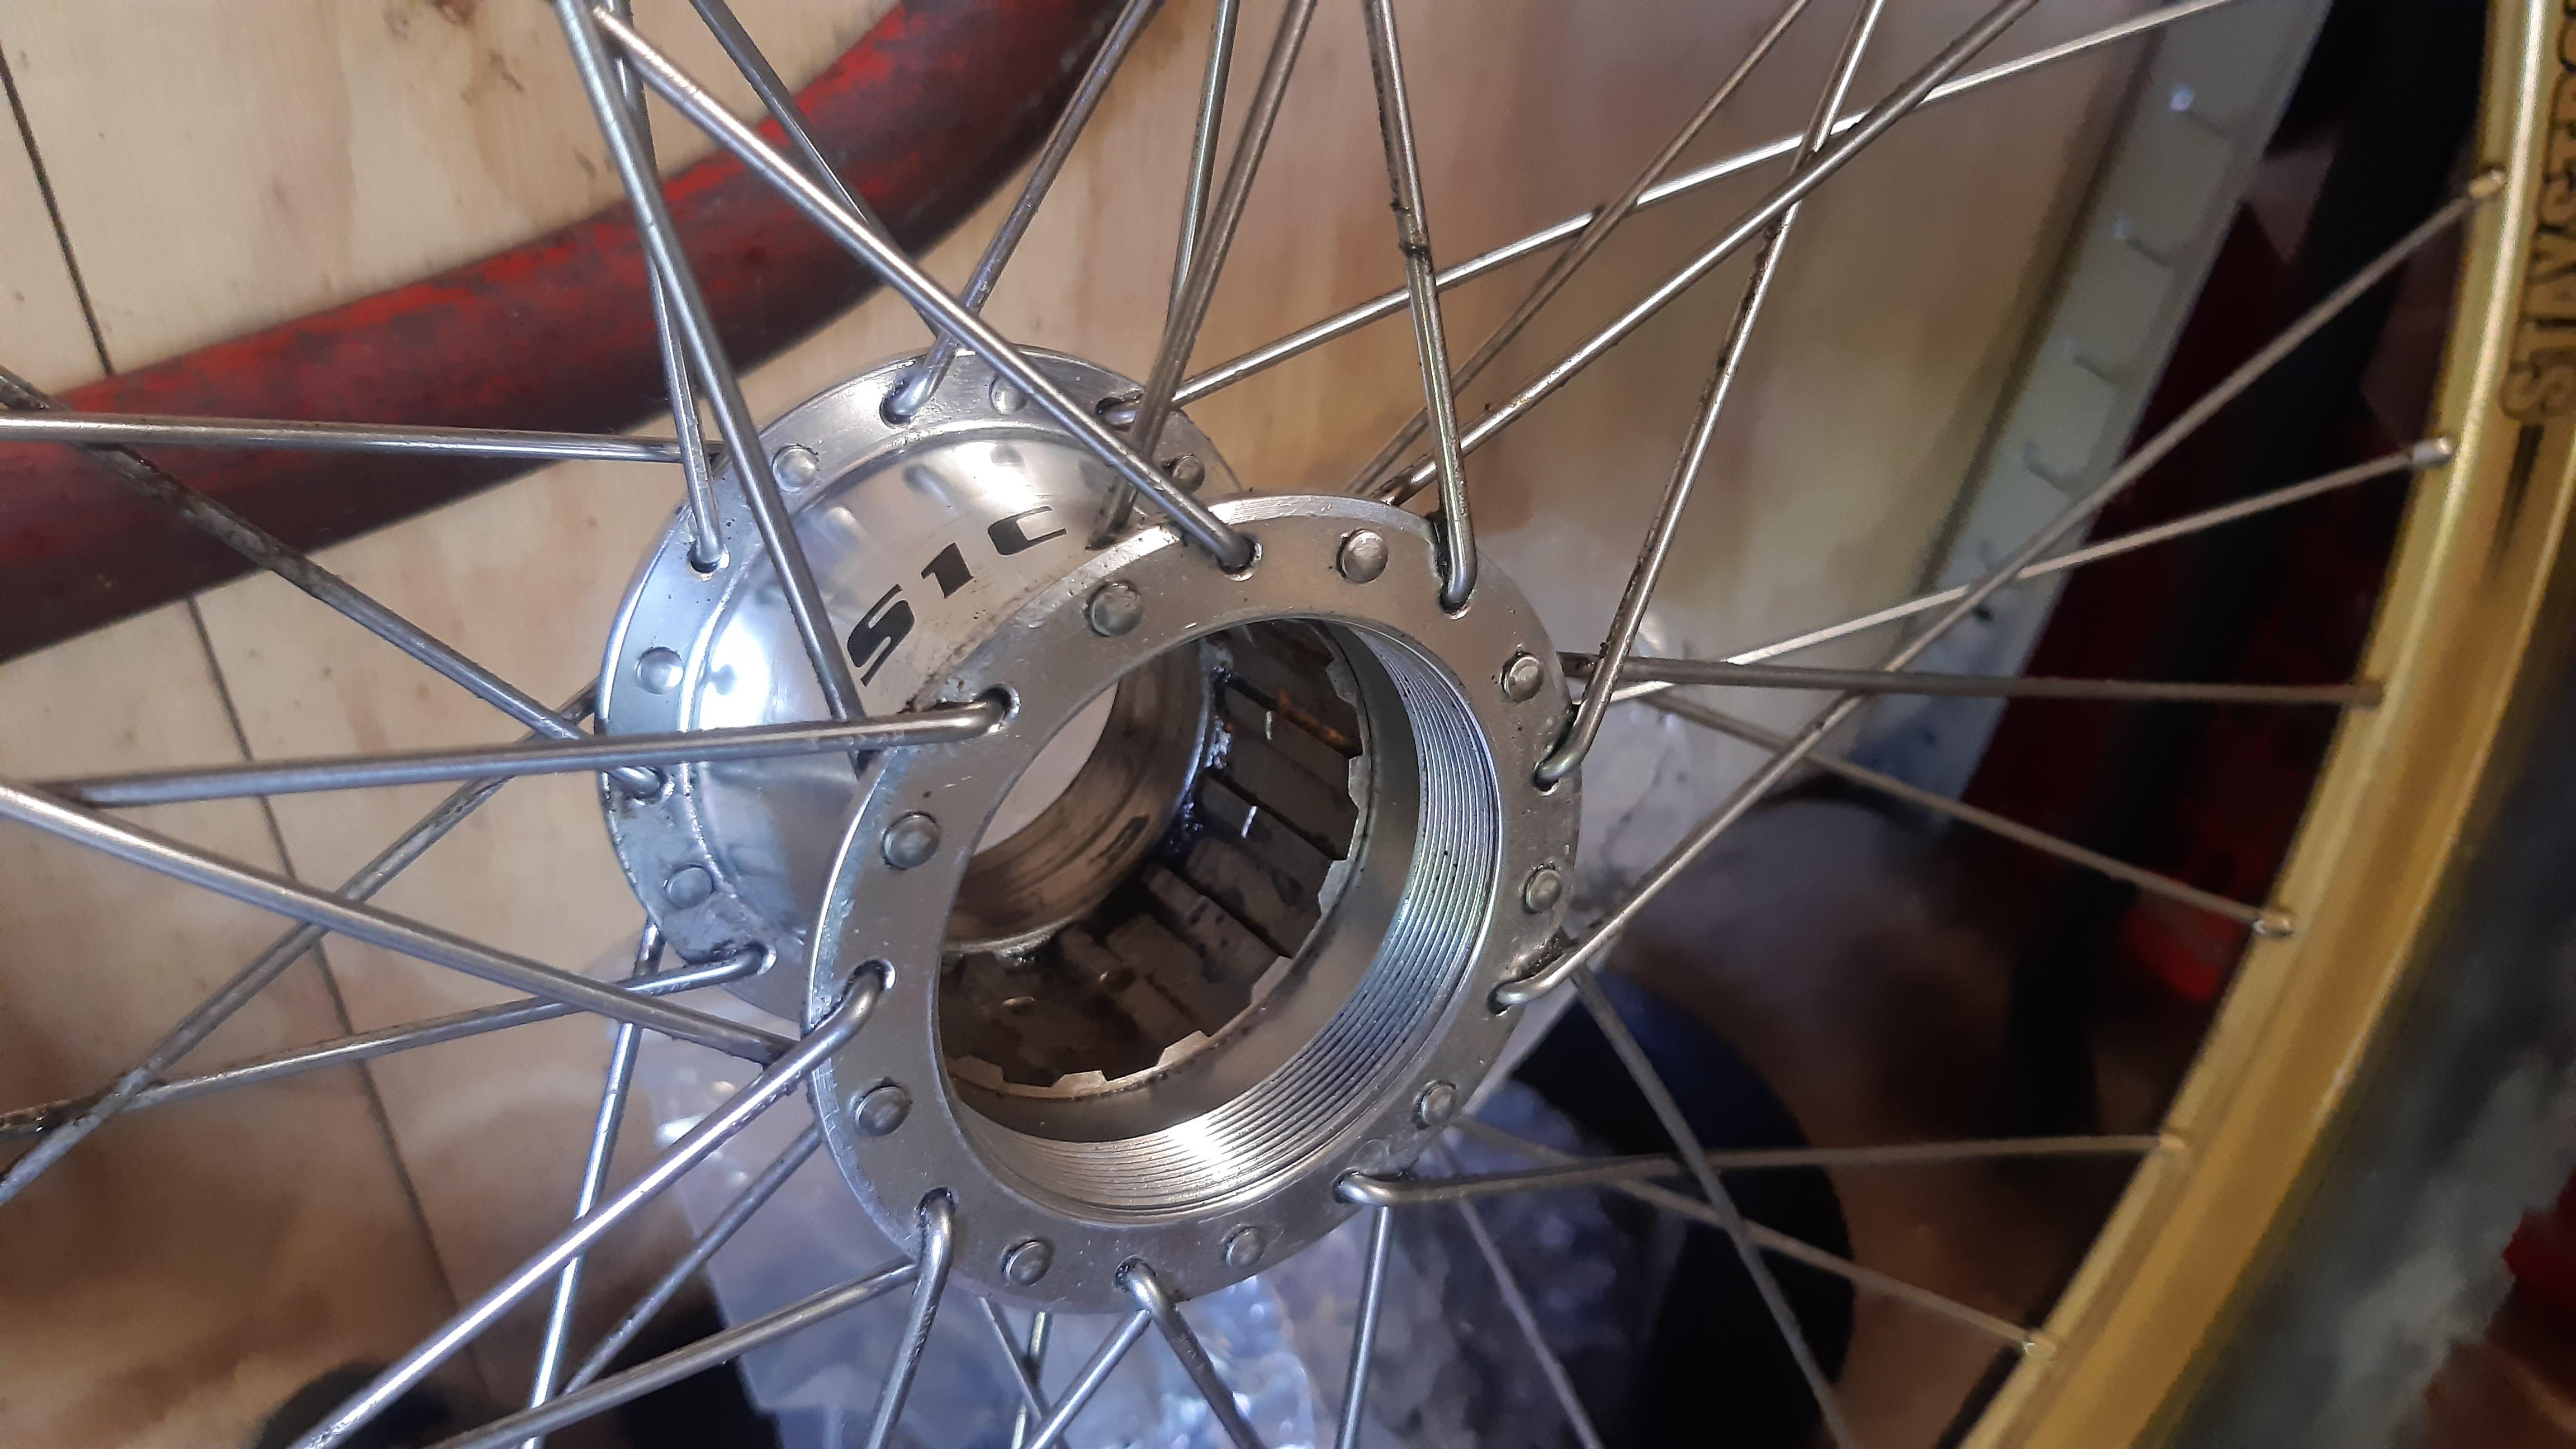
  2. I am overhauling my first Klunker bike and the Sturmey Archer S1C hub.

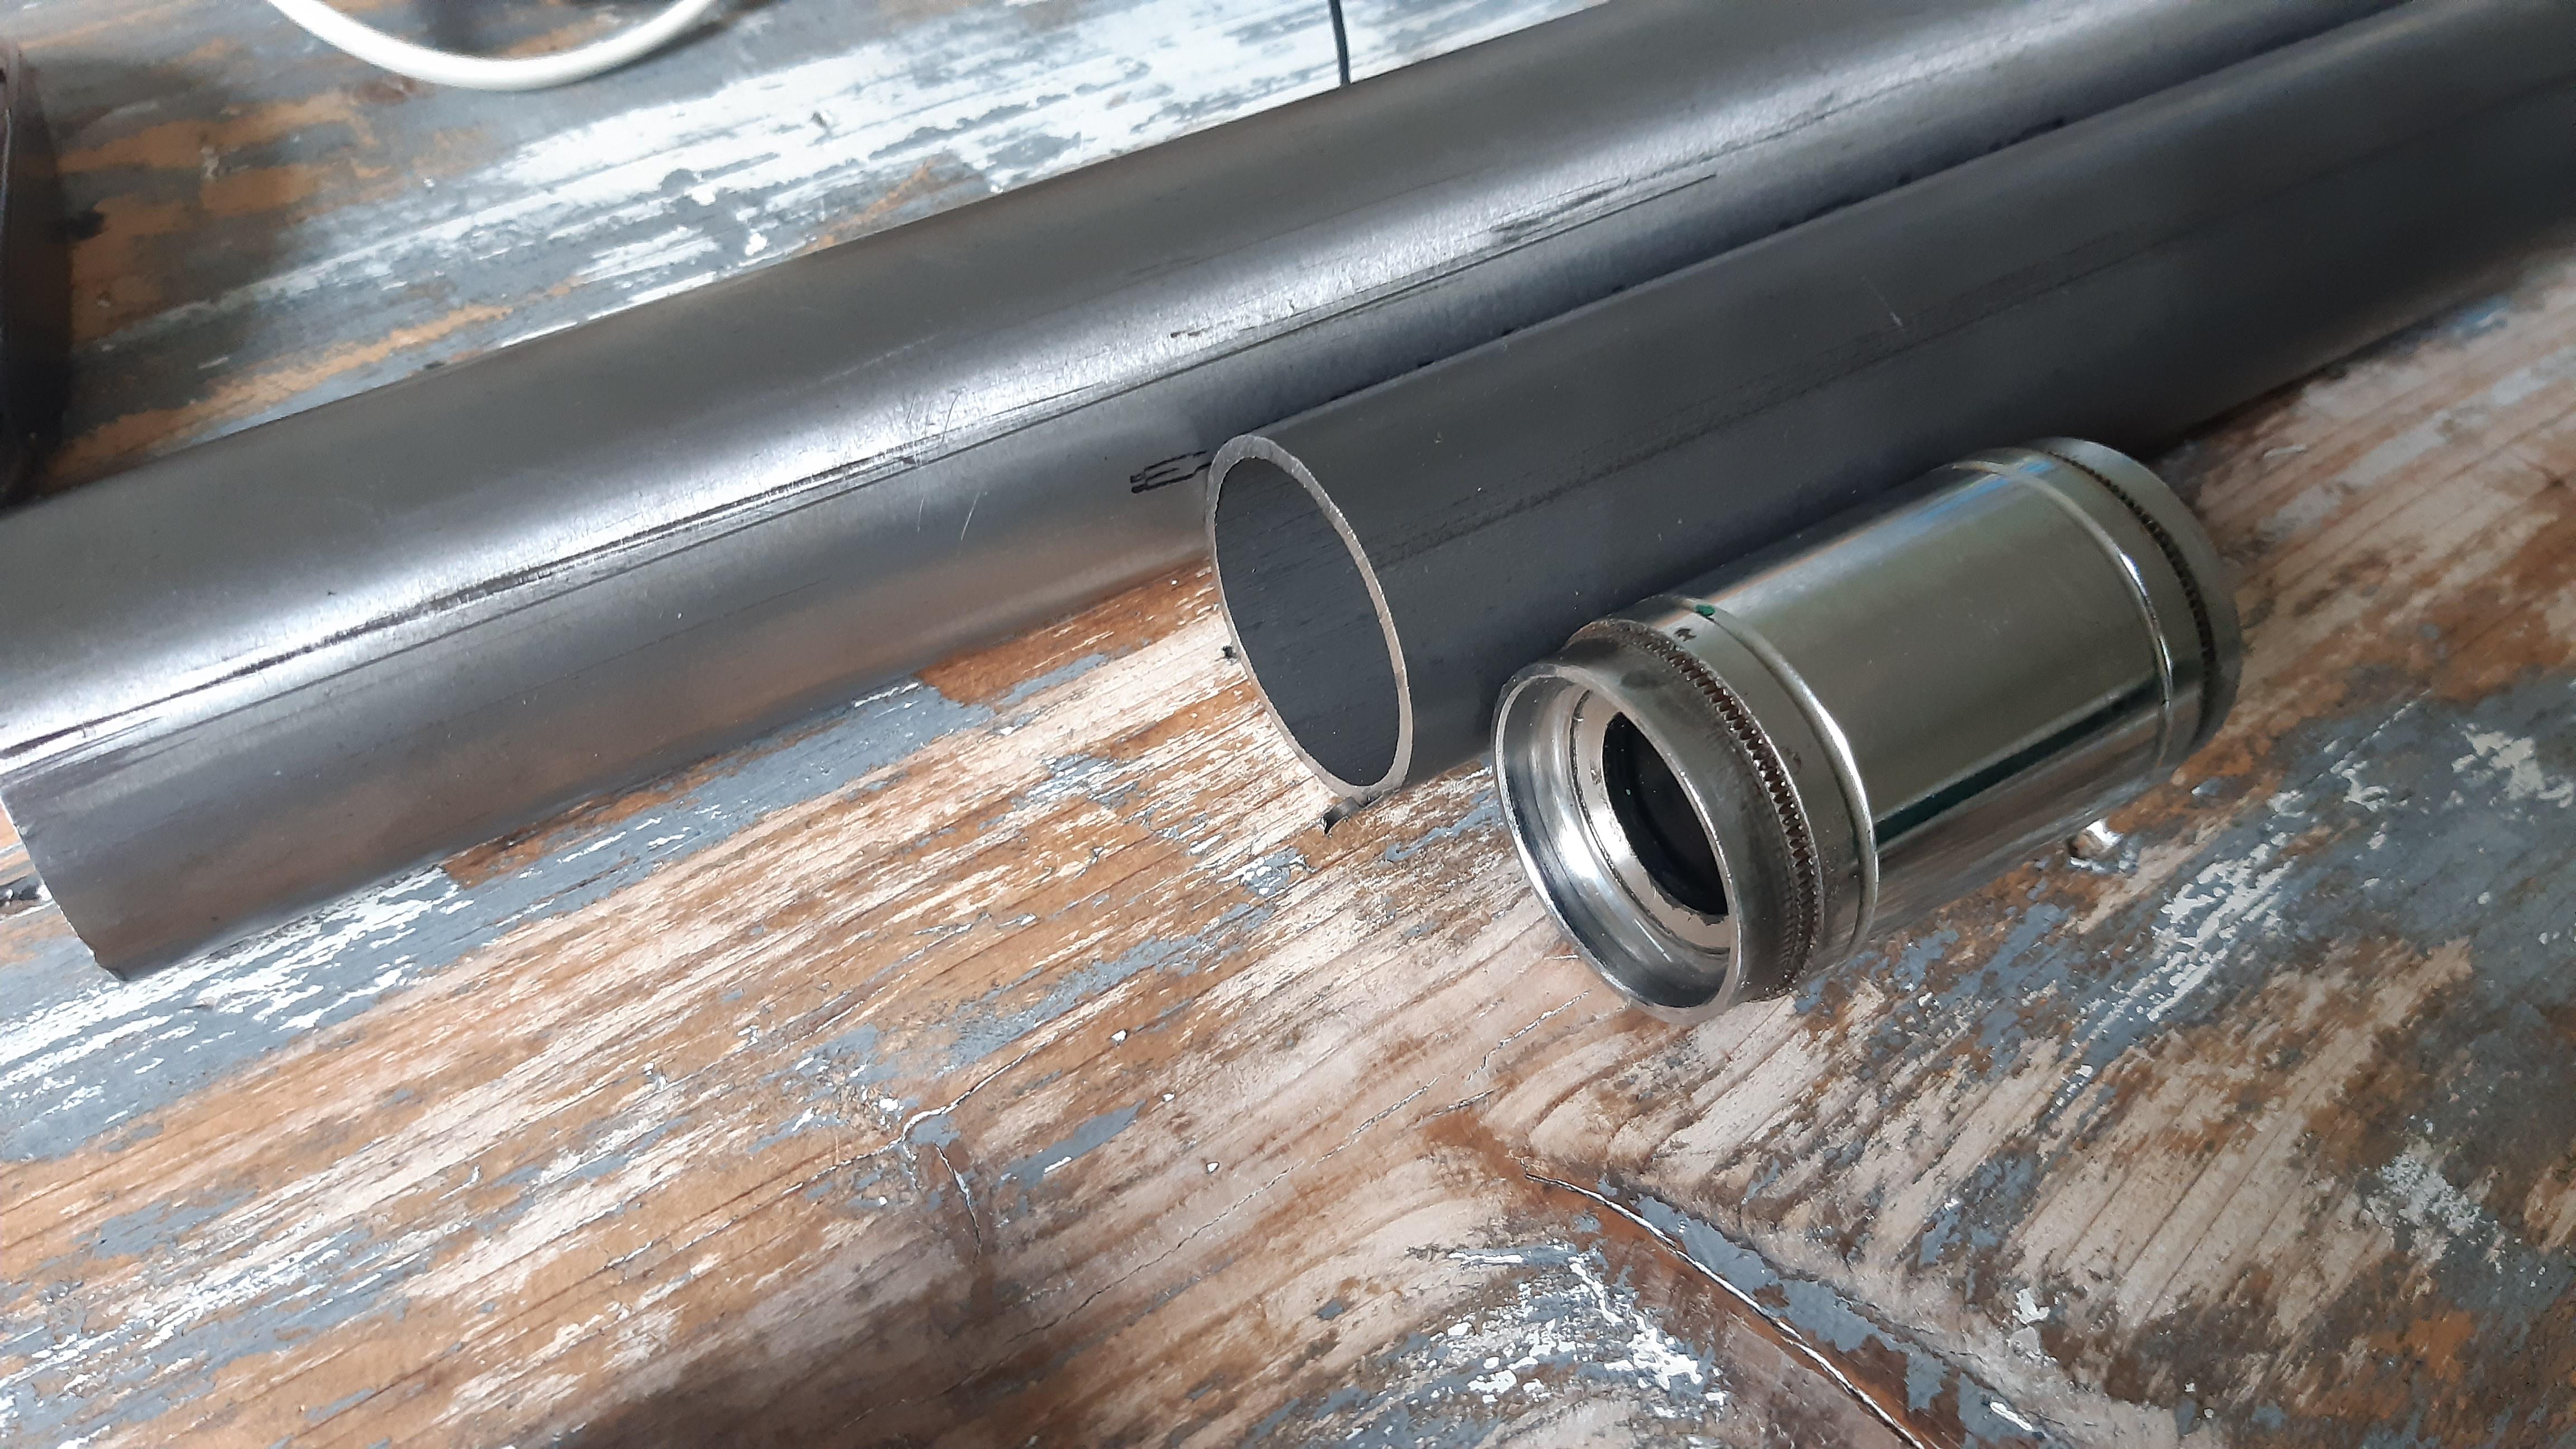
First; the CrMo tubes are: 45x2.5mm and 40x1.5mm.

This probably makes the Shimano hub way heavier than the original, but I see it as an experiment. After this very cheap junk build, I can see if I buy some wrought 6061 T6 or 7075 aluminum piece for turning my own hub.

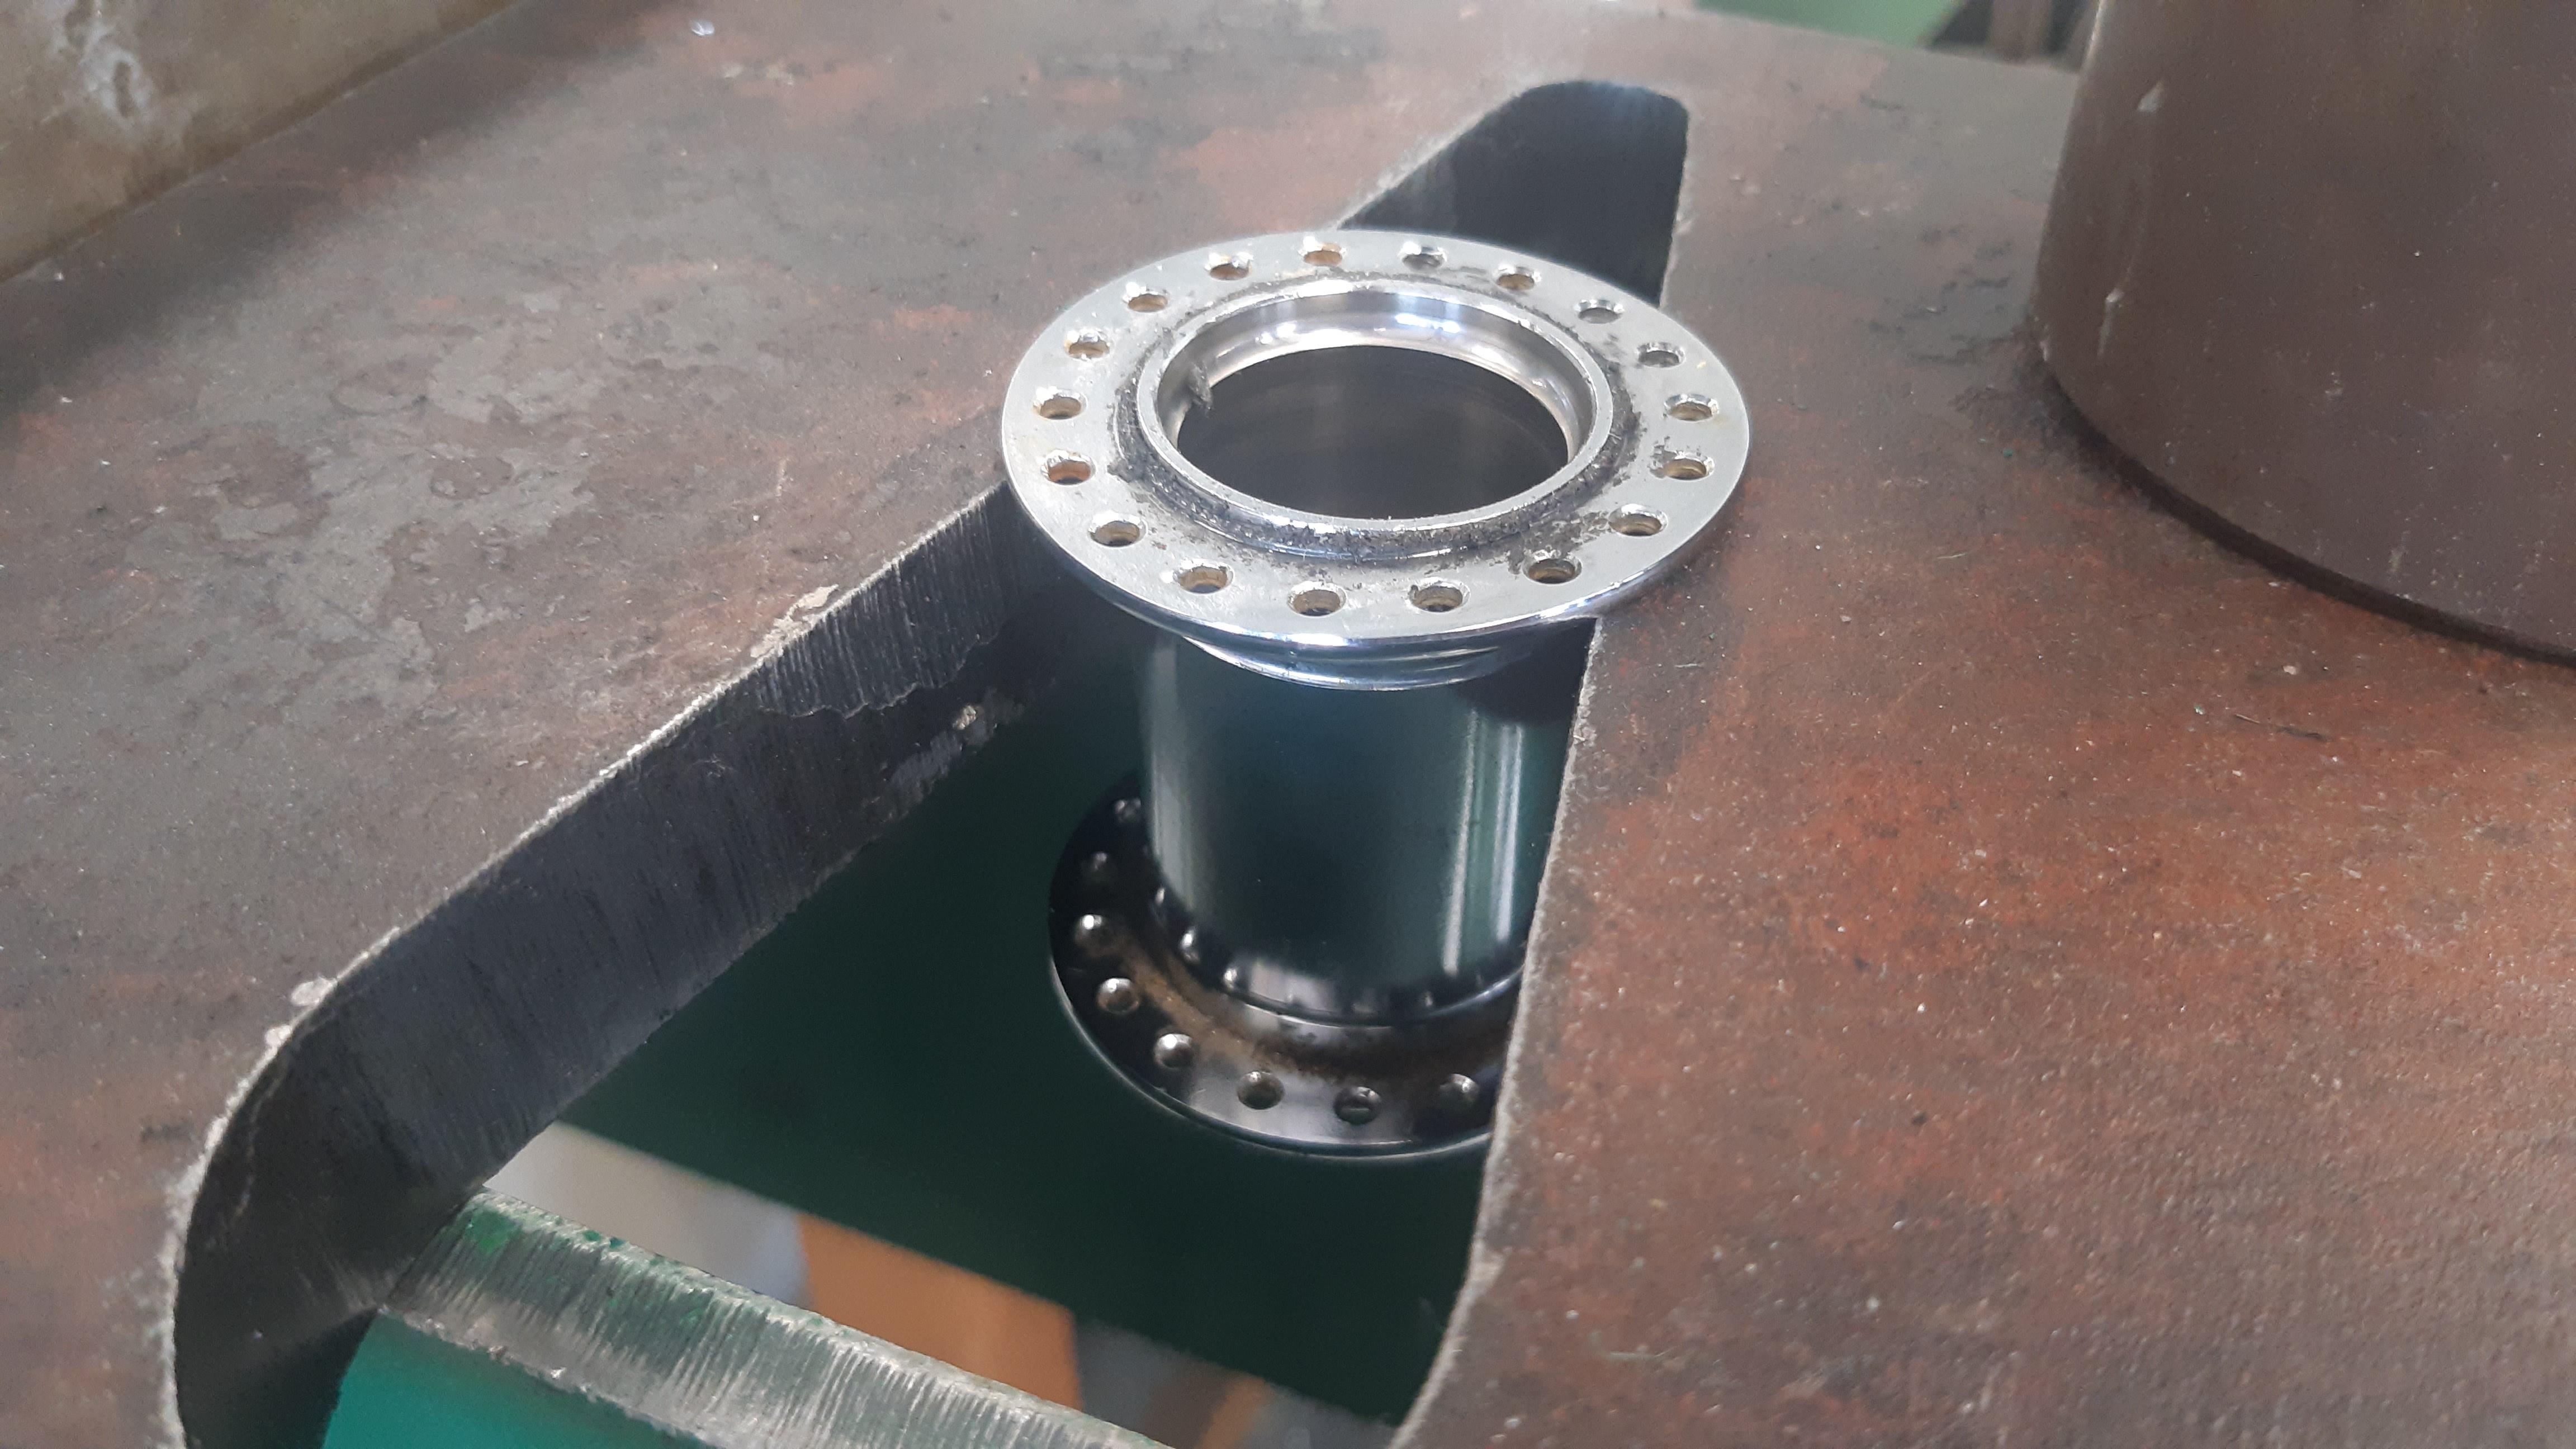
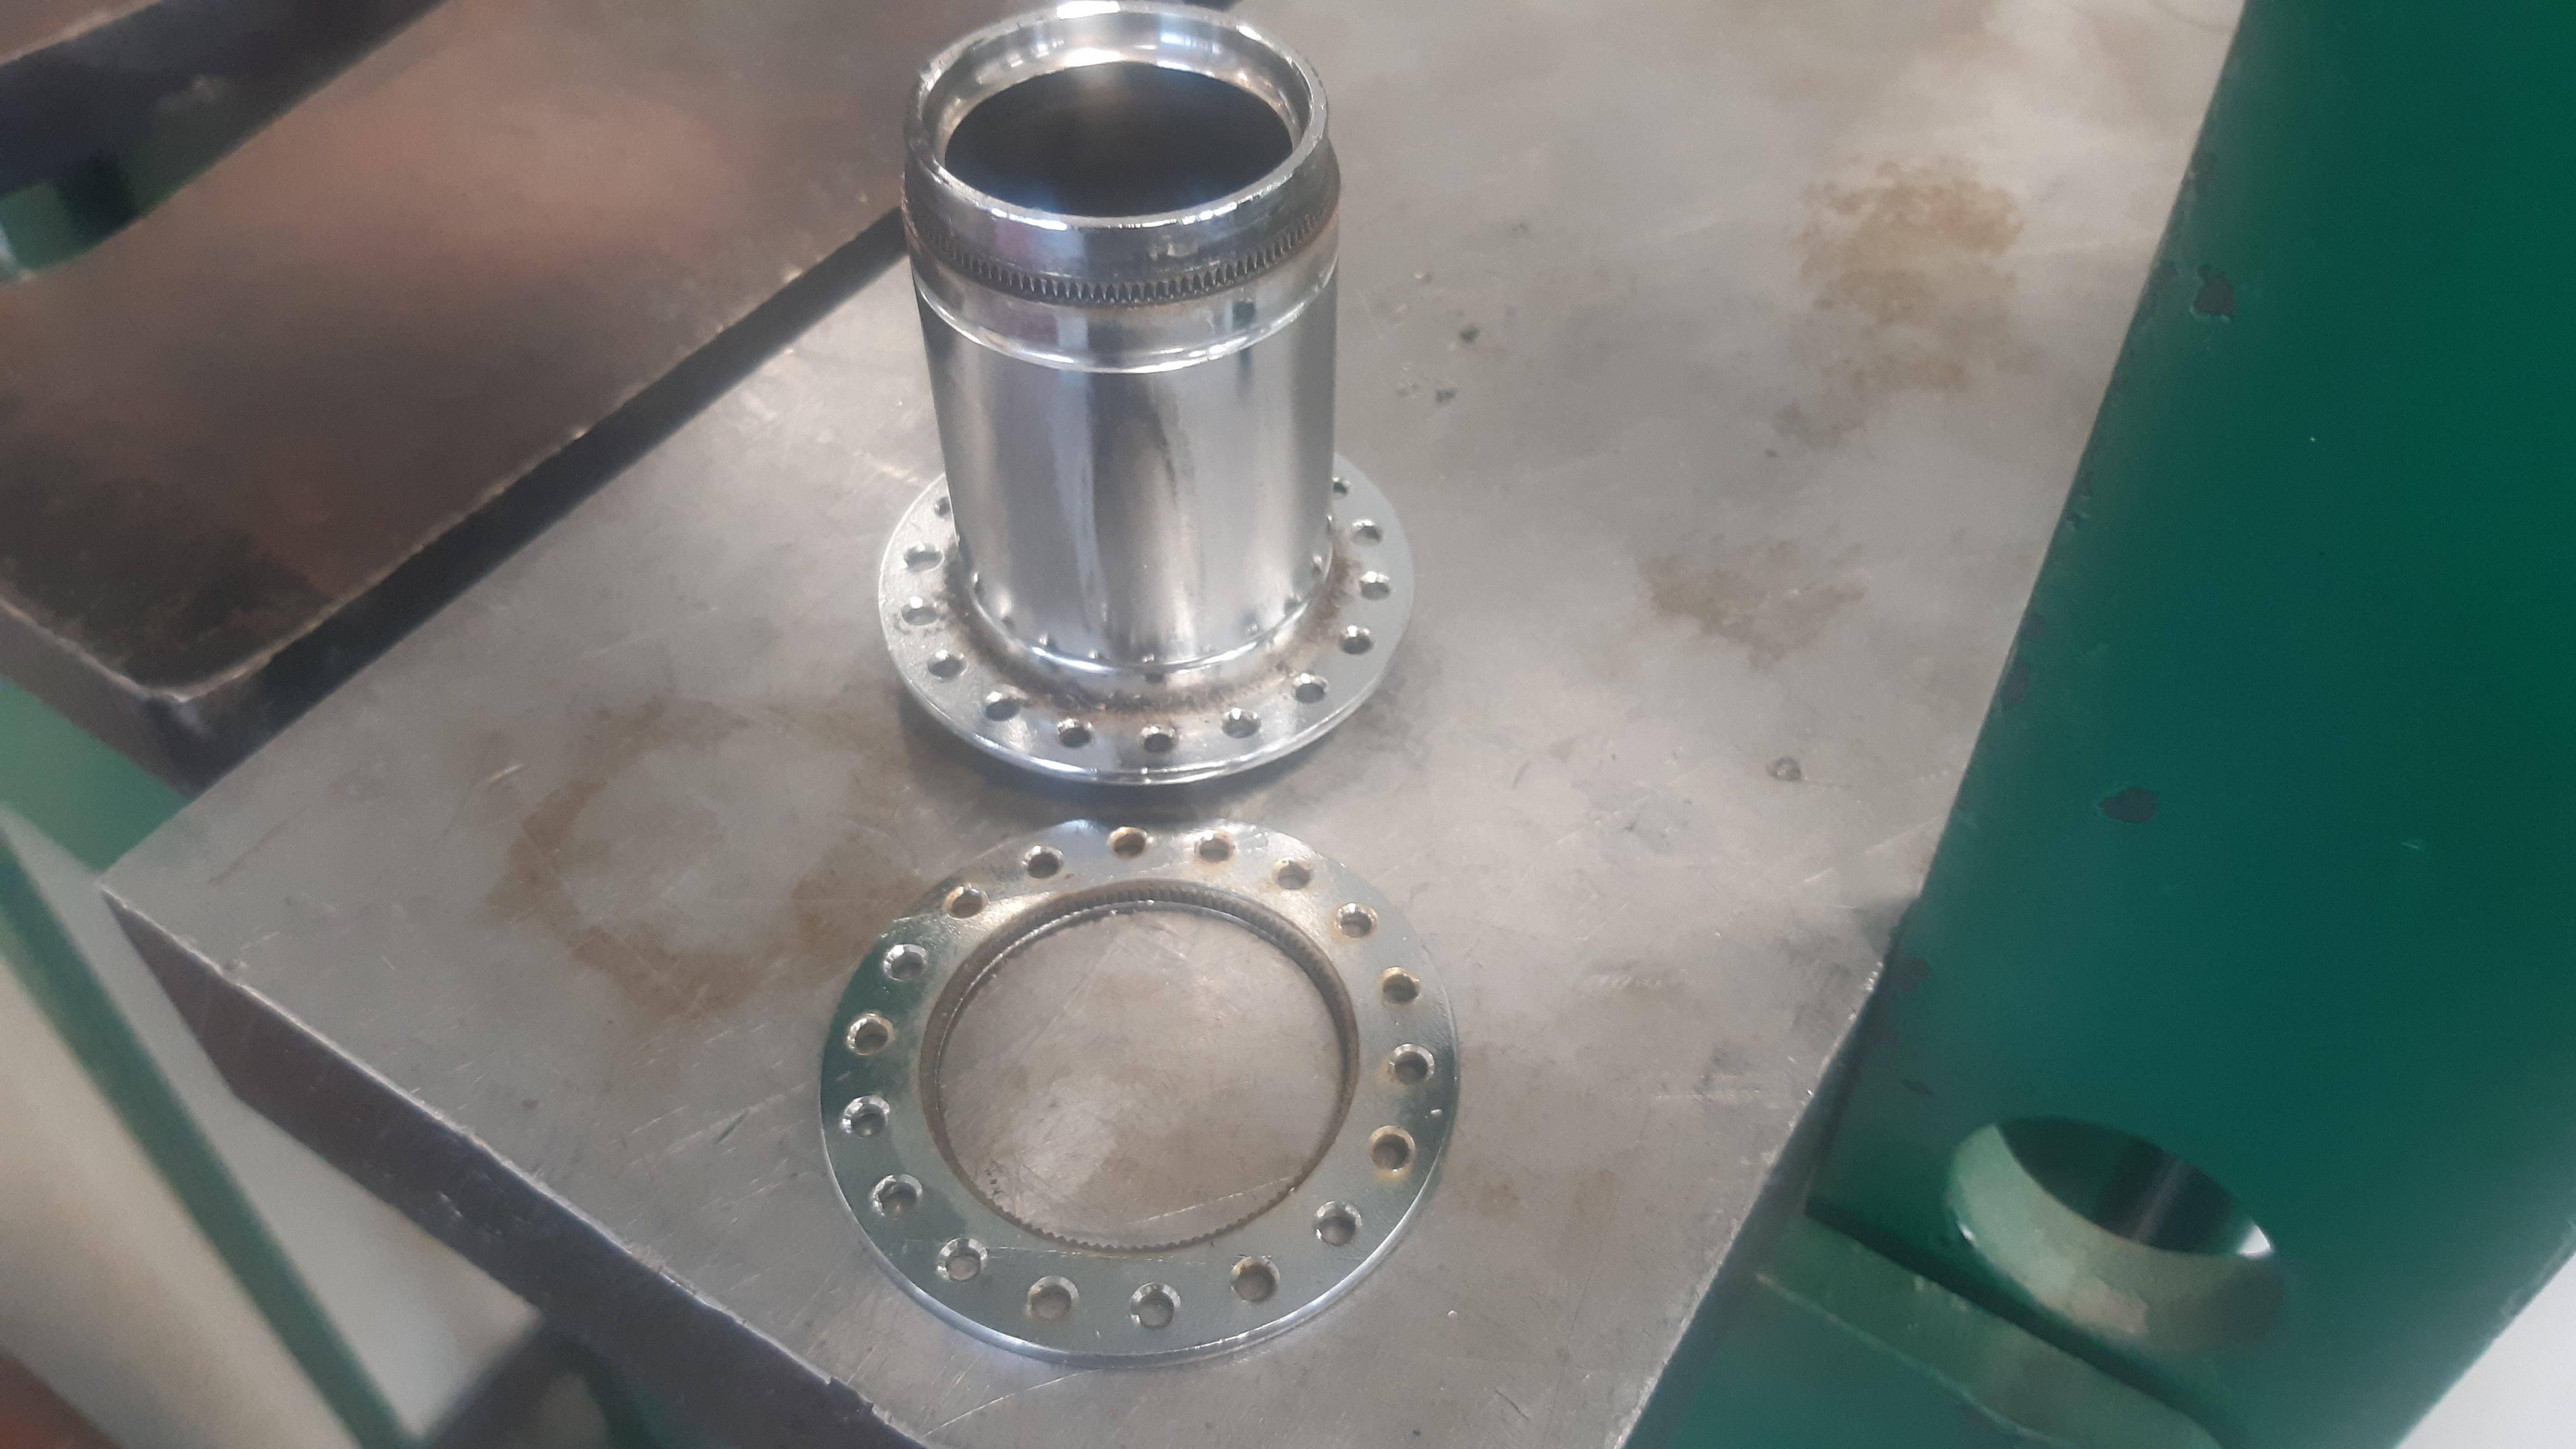
And I pressed the flanges off of the Shimano hub:

nPWUlYz.jpeg

6oAcl2u.jpeg

jgfLknE.jpeg

Hub shell with the CrMo tubing.

BCrOnF4.jpeg

Bf6gLDT.jpeg

owOmVrD.jpeg


Final picture:
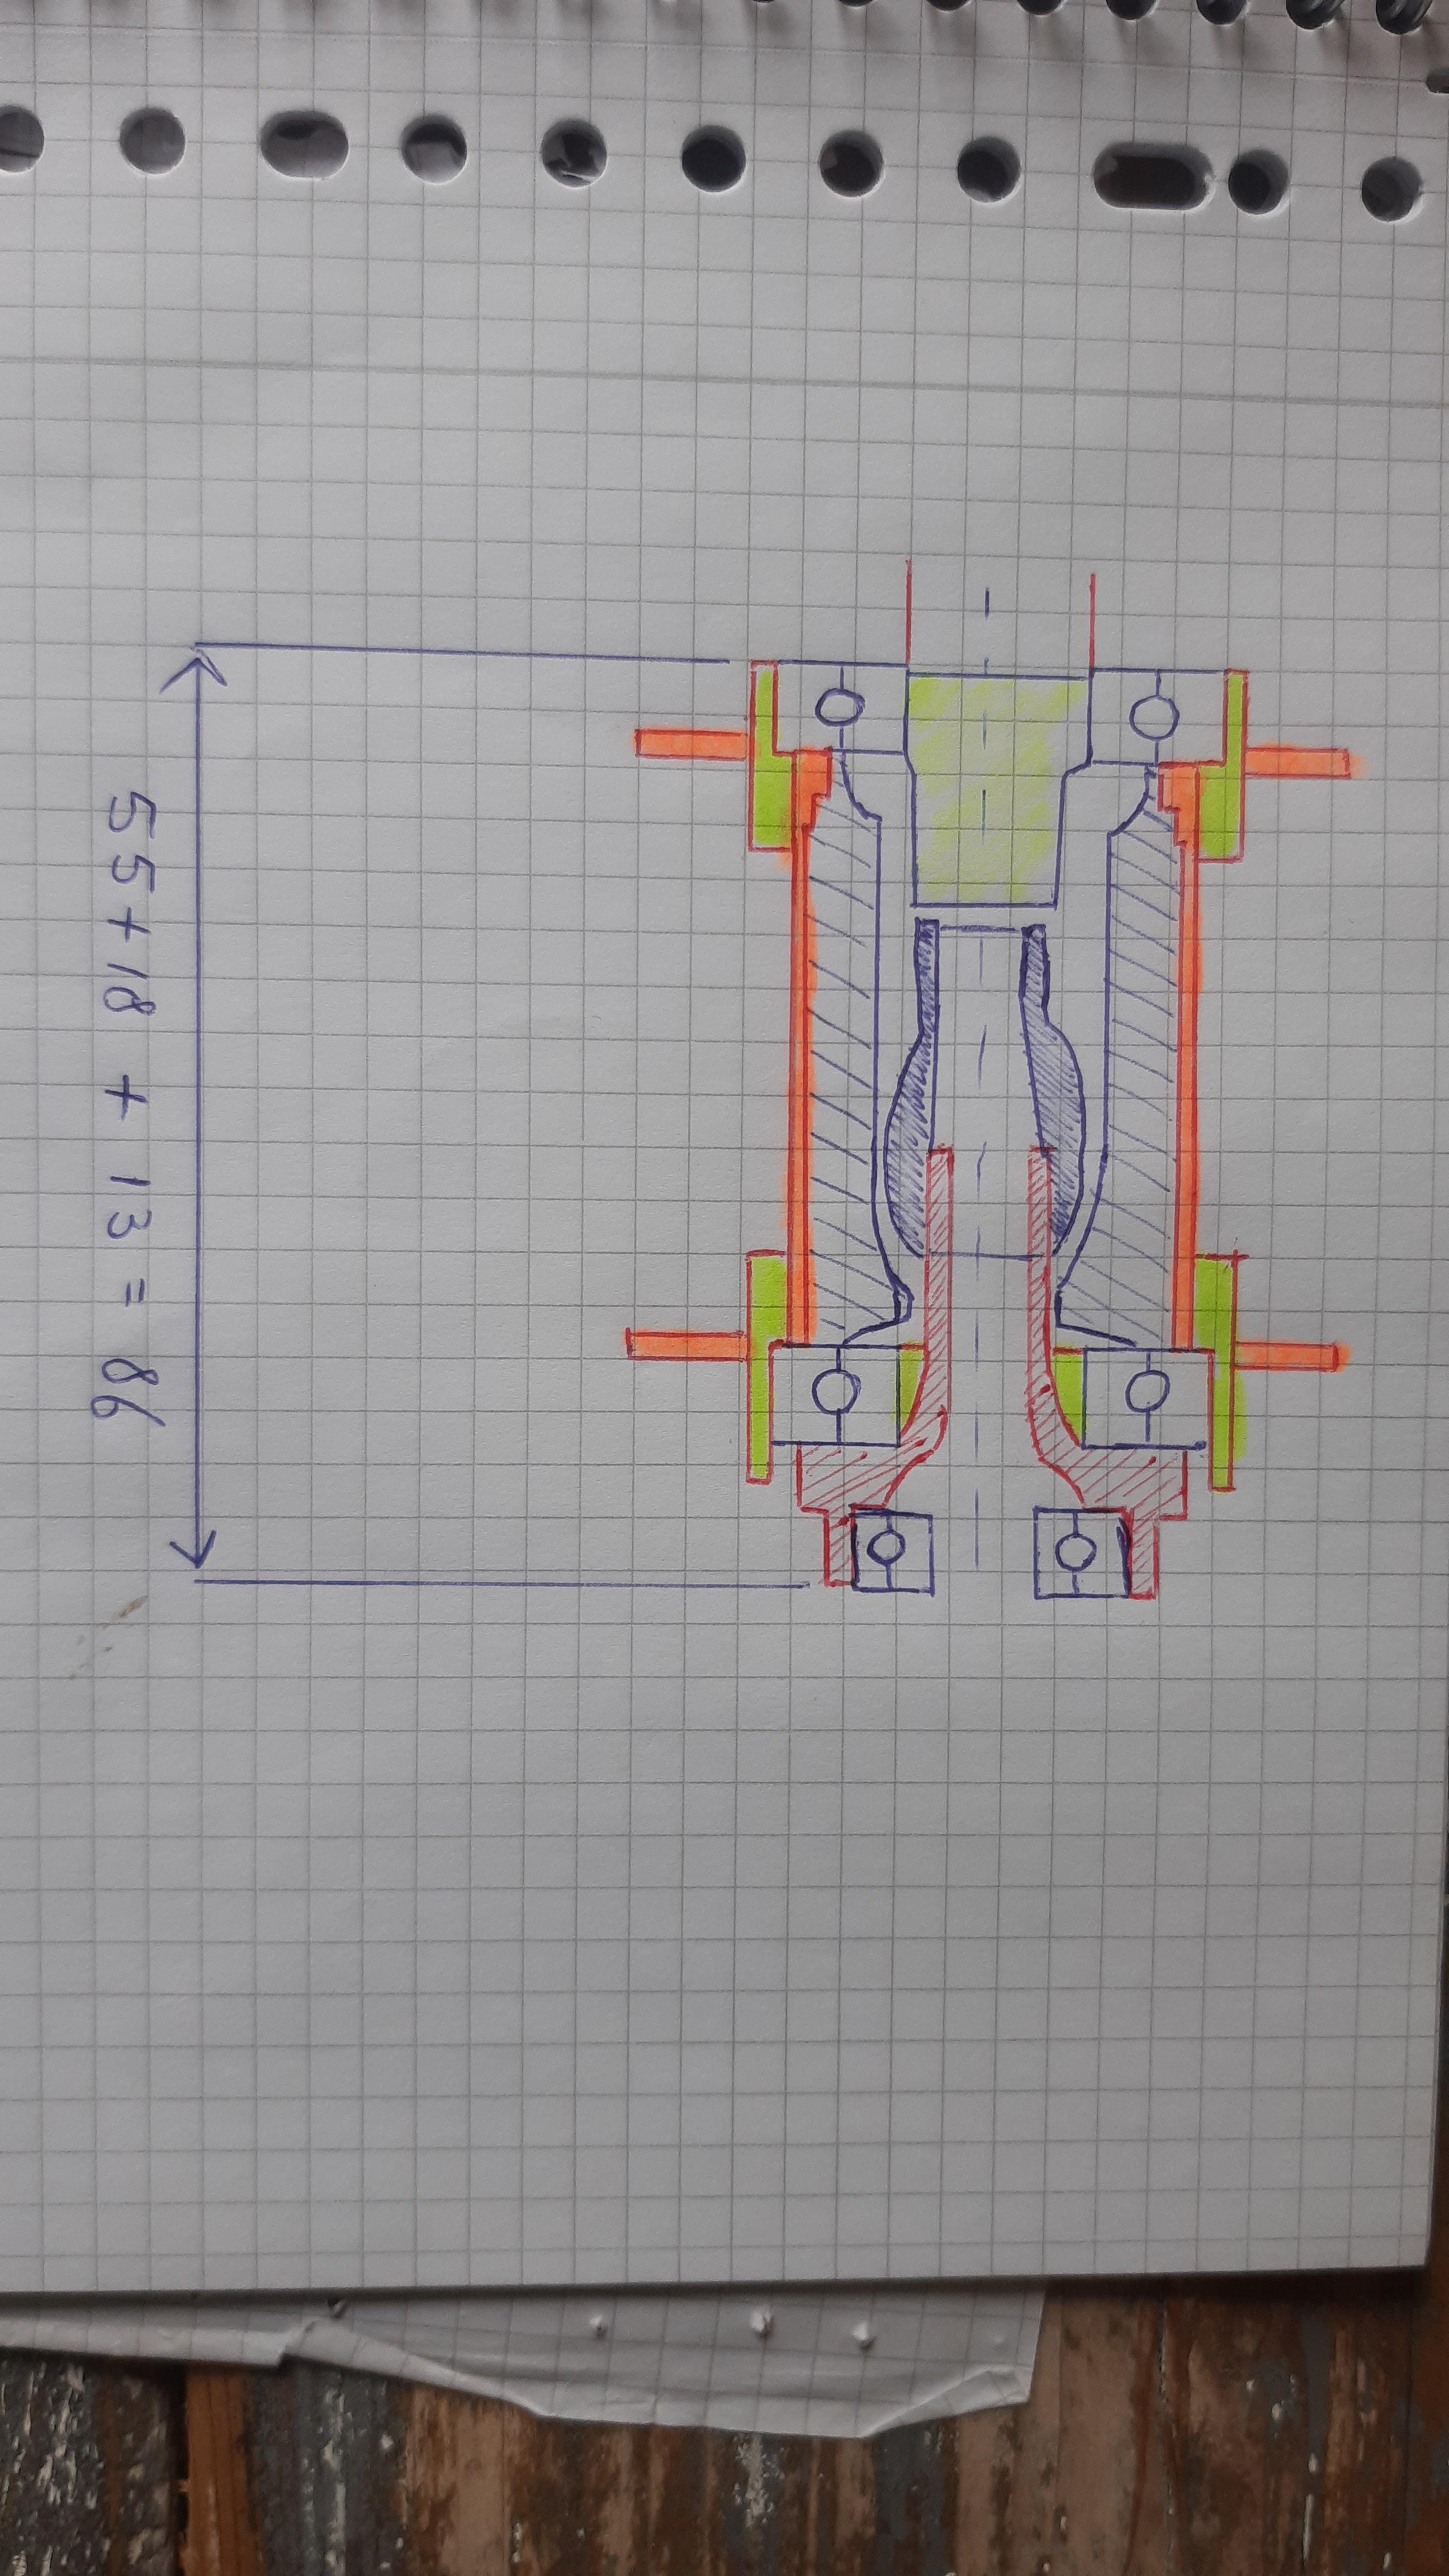
Another concept sketch where you can see the implementation of the CroMo tubes (orange and yellow).
The spoke flanges a made of lasercut S355 steel probably.
My thoughts on the process:
  • First turn the CroMo tubes to fit together.
  • Draw and order the spoke flanges.
  • Weld or solder the tube pieces and flanges together.
  • Back to the lathe to turn the bearing races and hub-shell press fitting on one go.
Why this order? So the bearings and fittings are absolutely concentric, no internal tension when assembling later on.

I am fully open to critical questions and not all knowing :thumbsup:


The Klunker bike with Sturmey Archer S1C coaster brake overhaul.

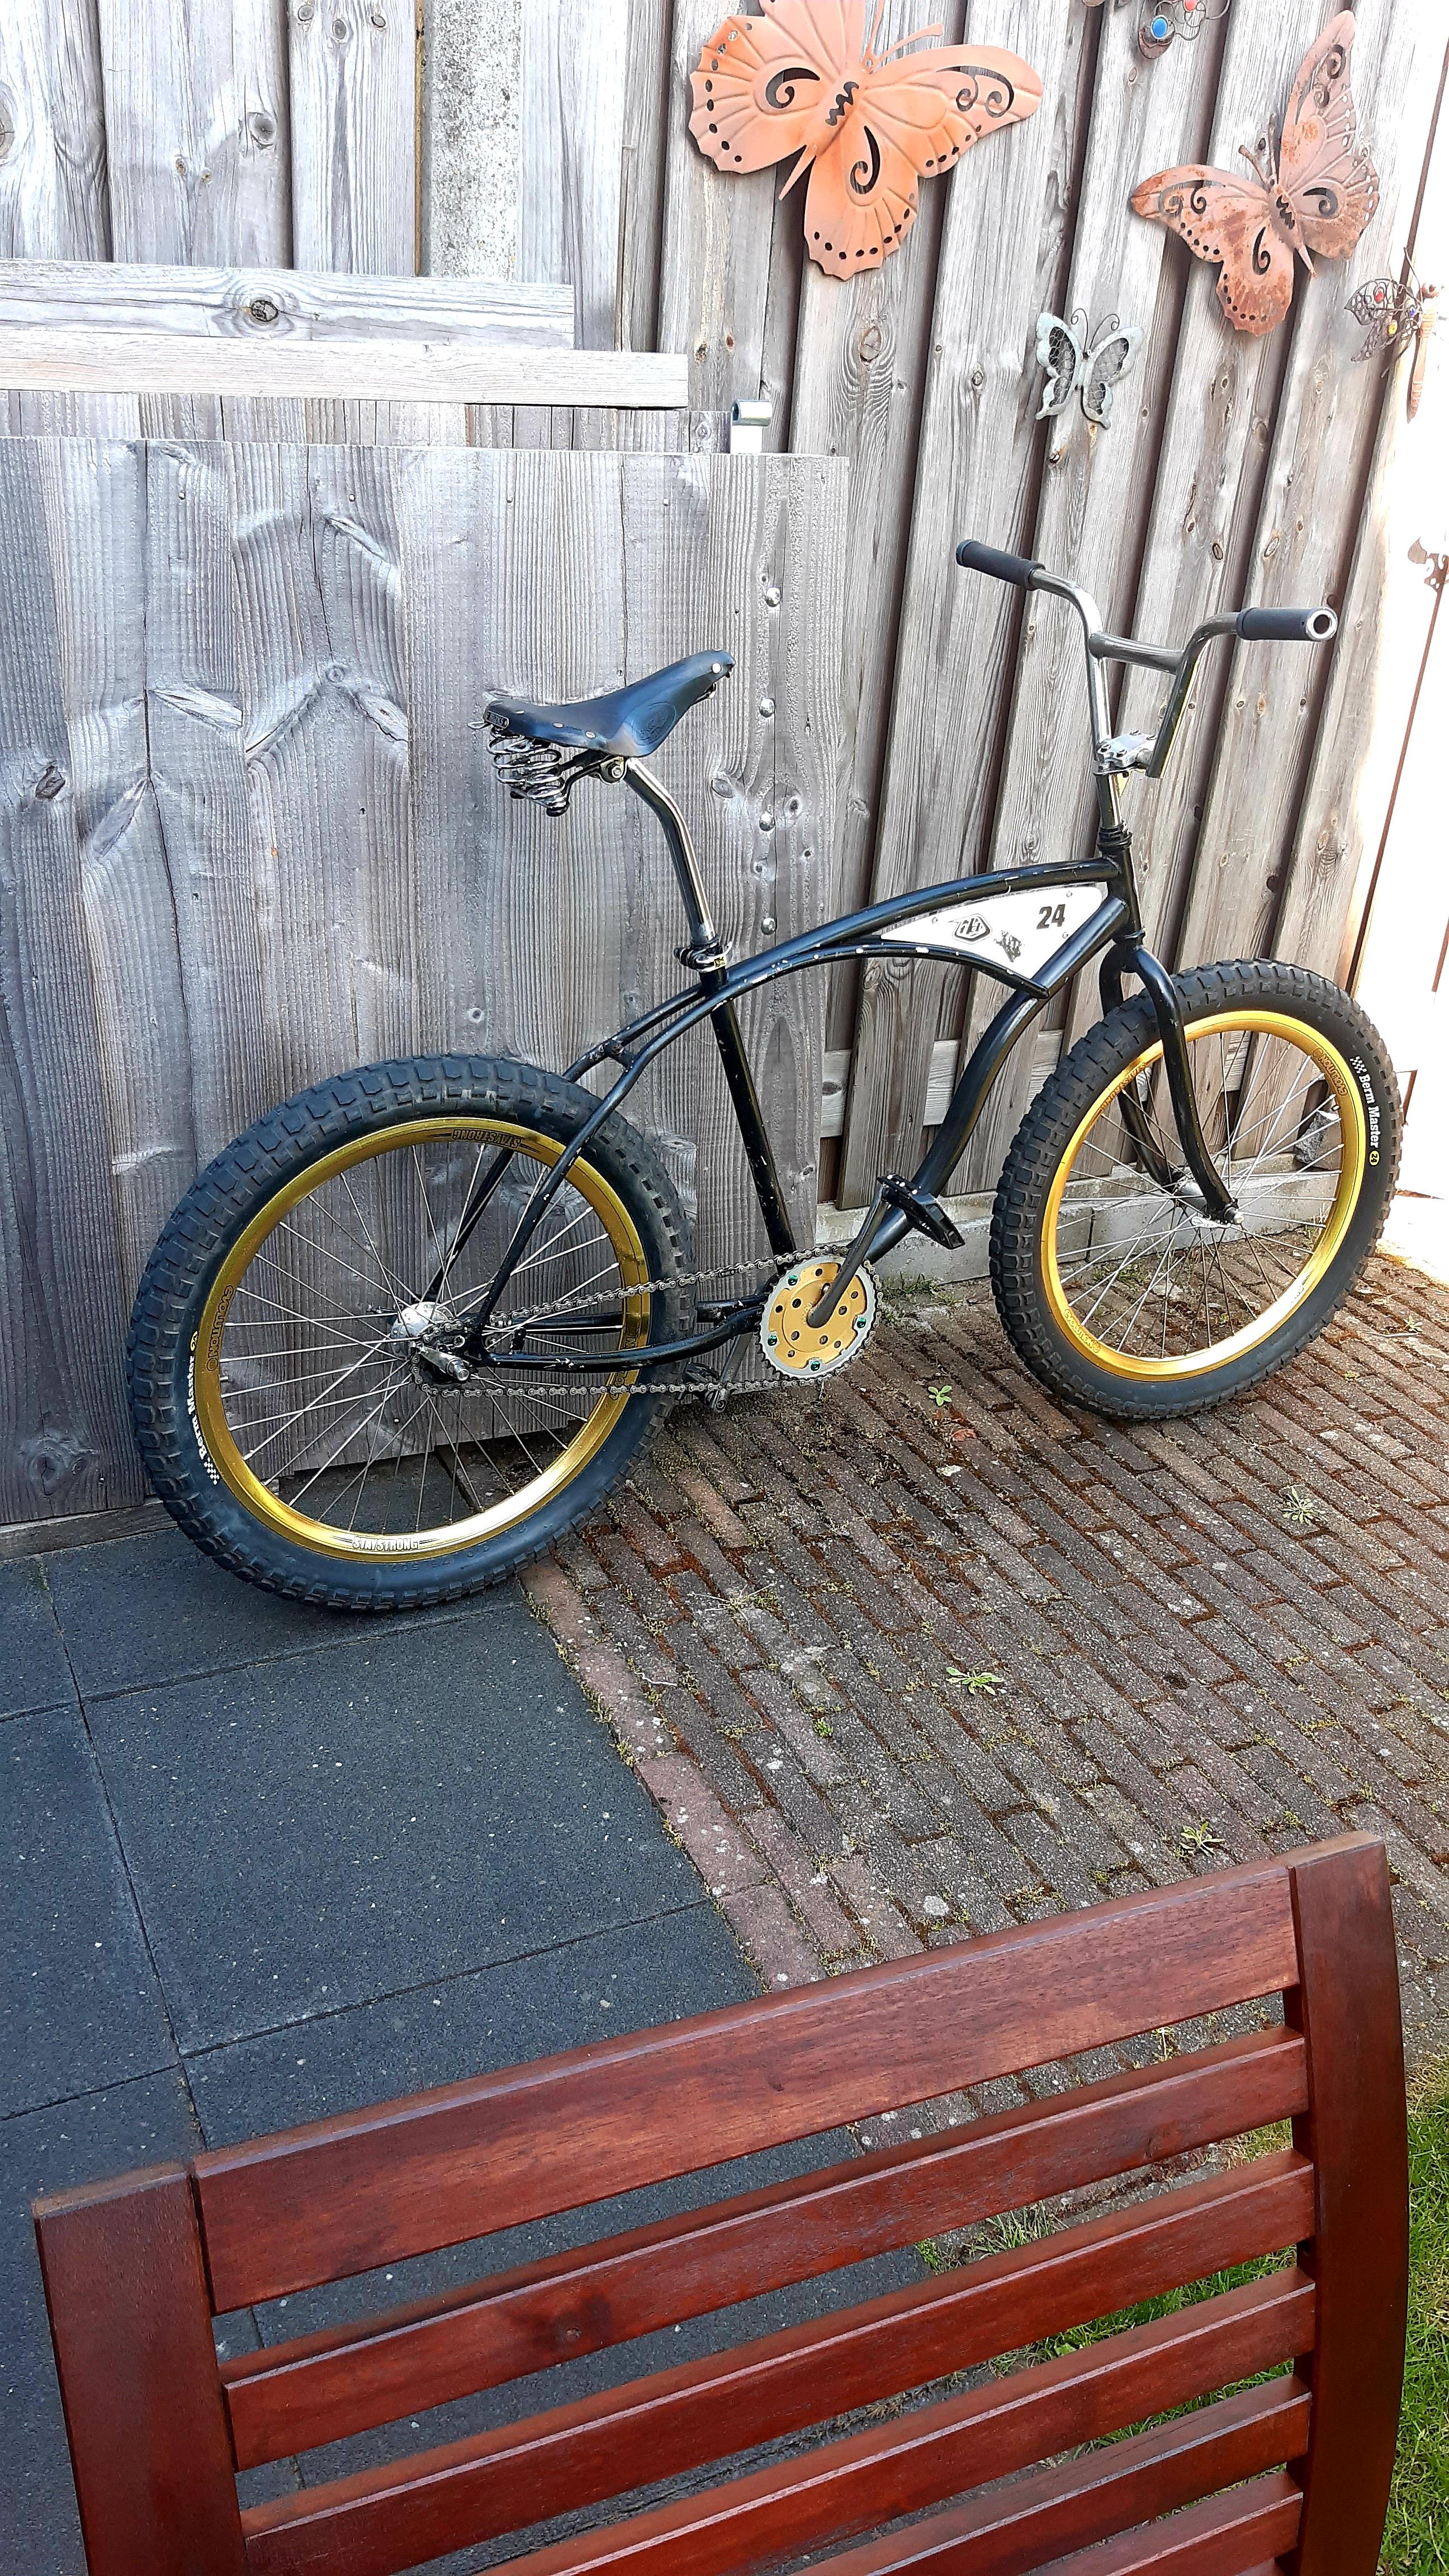
Many of you are already acquainted with my 24" klunker bike. Built it with fun in my mind. Did not expect it to last this long (about six years now).

I do not exactly know how many kilometers I used this bike and hub, but I guess around 6000 now.
The Sturmey Archer S1C hub did very well and I like how refined it feels compared to all other hubs!

The only thing I noticed, is the coasterbrake arm bending one time when I was braking hard on a section with stumps.

Note: I only tried this hub with relatively flat sections, so I can't say how it will perform when it gets VERY hot due to friction while braking.
My thoughts on this:
Having seen the design, and taking the large aluminum hub shell into consideration; I think it will certainly perform much better than the Velosteel or Torpedo hubs.
The most sensitive parts in relation to heat are the rollers and the 'brake shoe retaining spring' in my view.


Back to the overhaul:
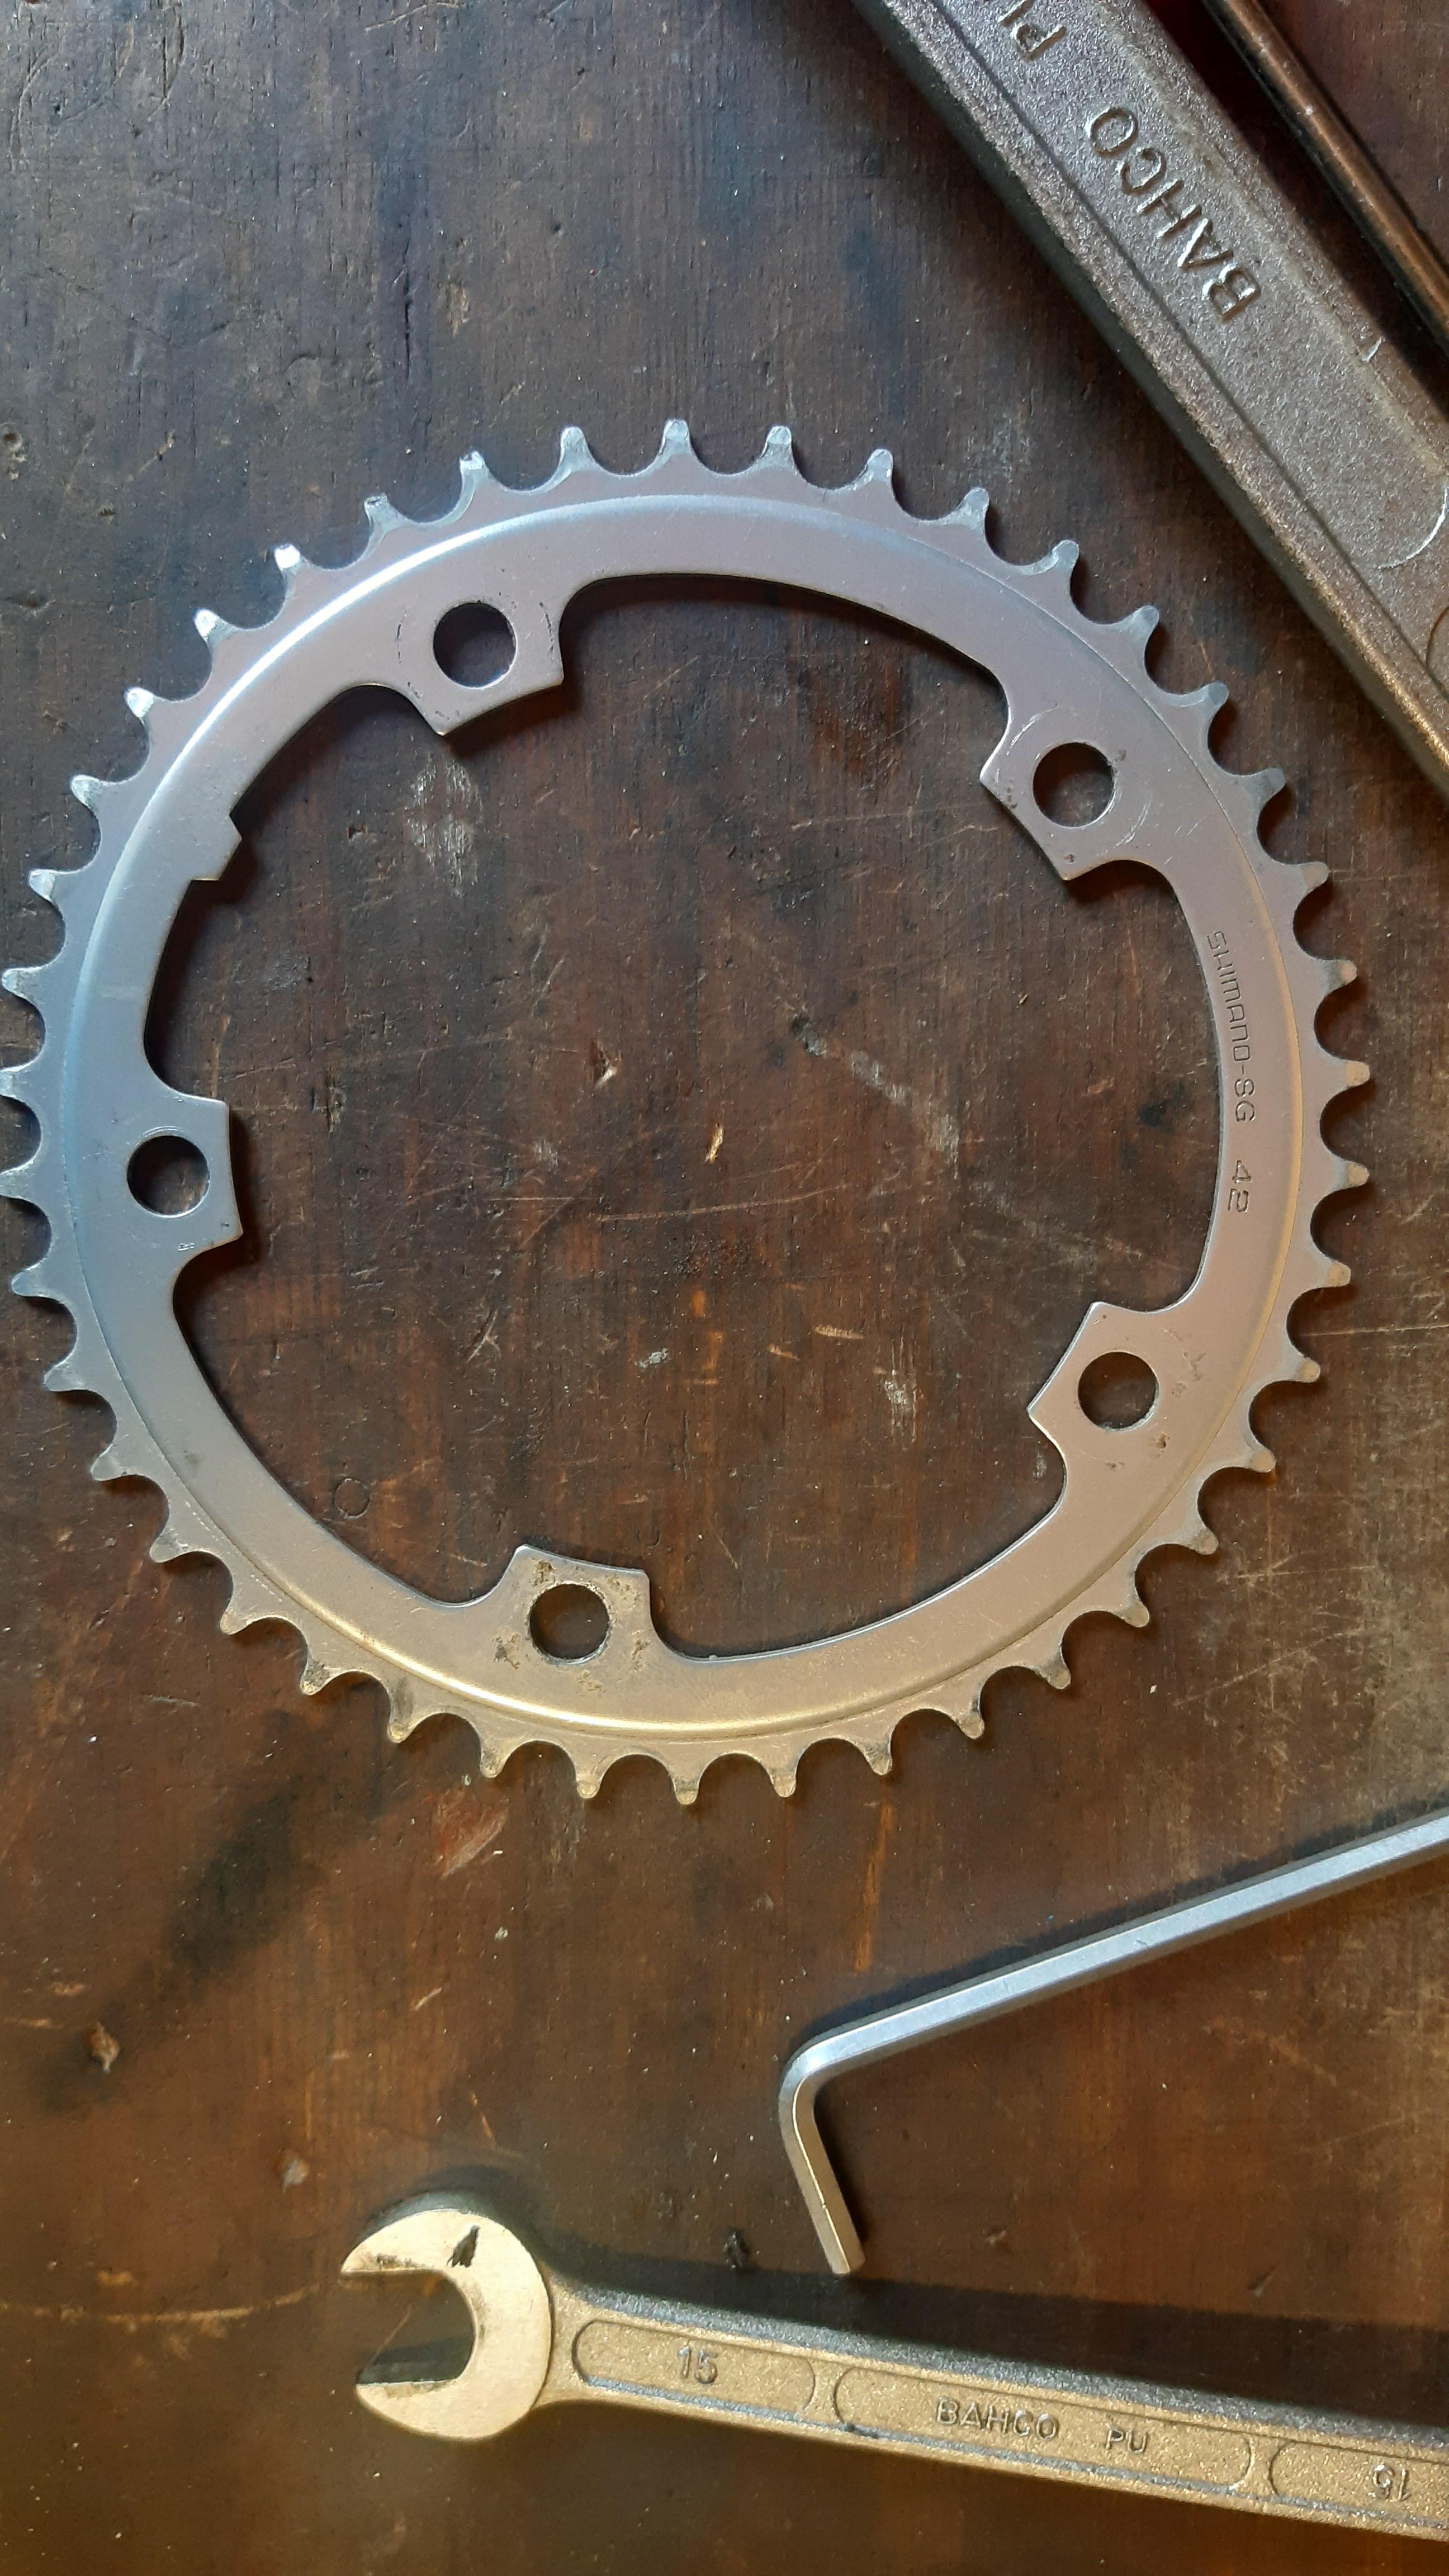
I made the mistake to use the 42t Shimano SG "eliptic" gear, I noticed it before, but never had issues with the chain falling off, so kept riding with this chainring.

This overhaul is also for a race I am participating in in September (4 months from now). Its a flat-surface mountainbike race that will last about 80 kilometers in total.


Mj3hIUy.jpeg

xkFxFKf.jpeg

I'm an idiot :crazy:


MX6e1qa.jpeg

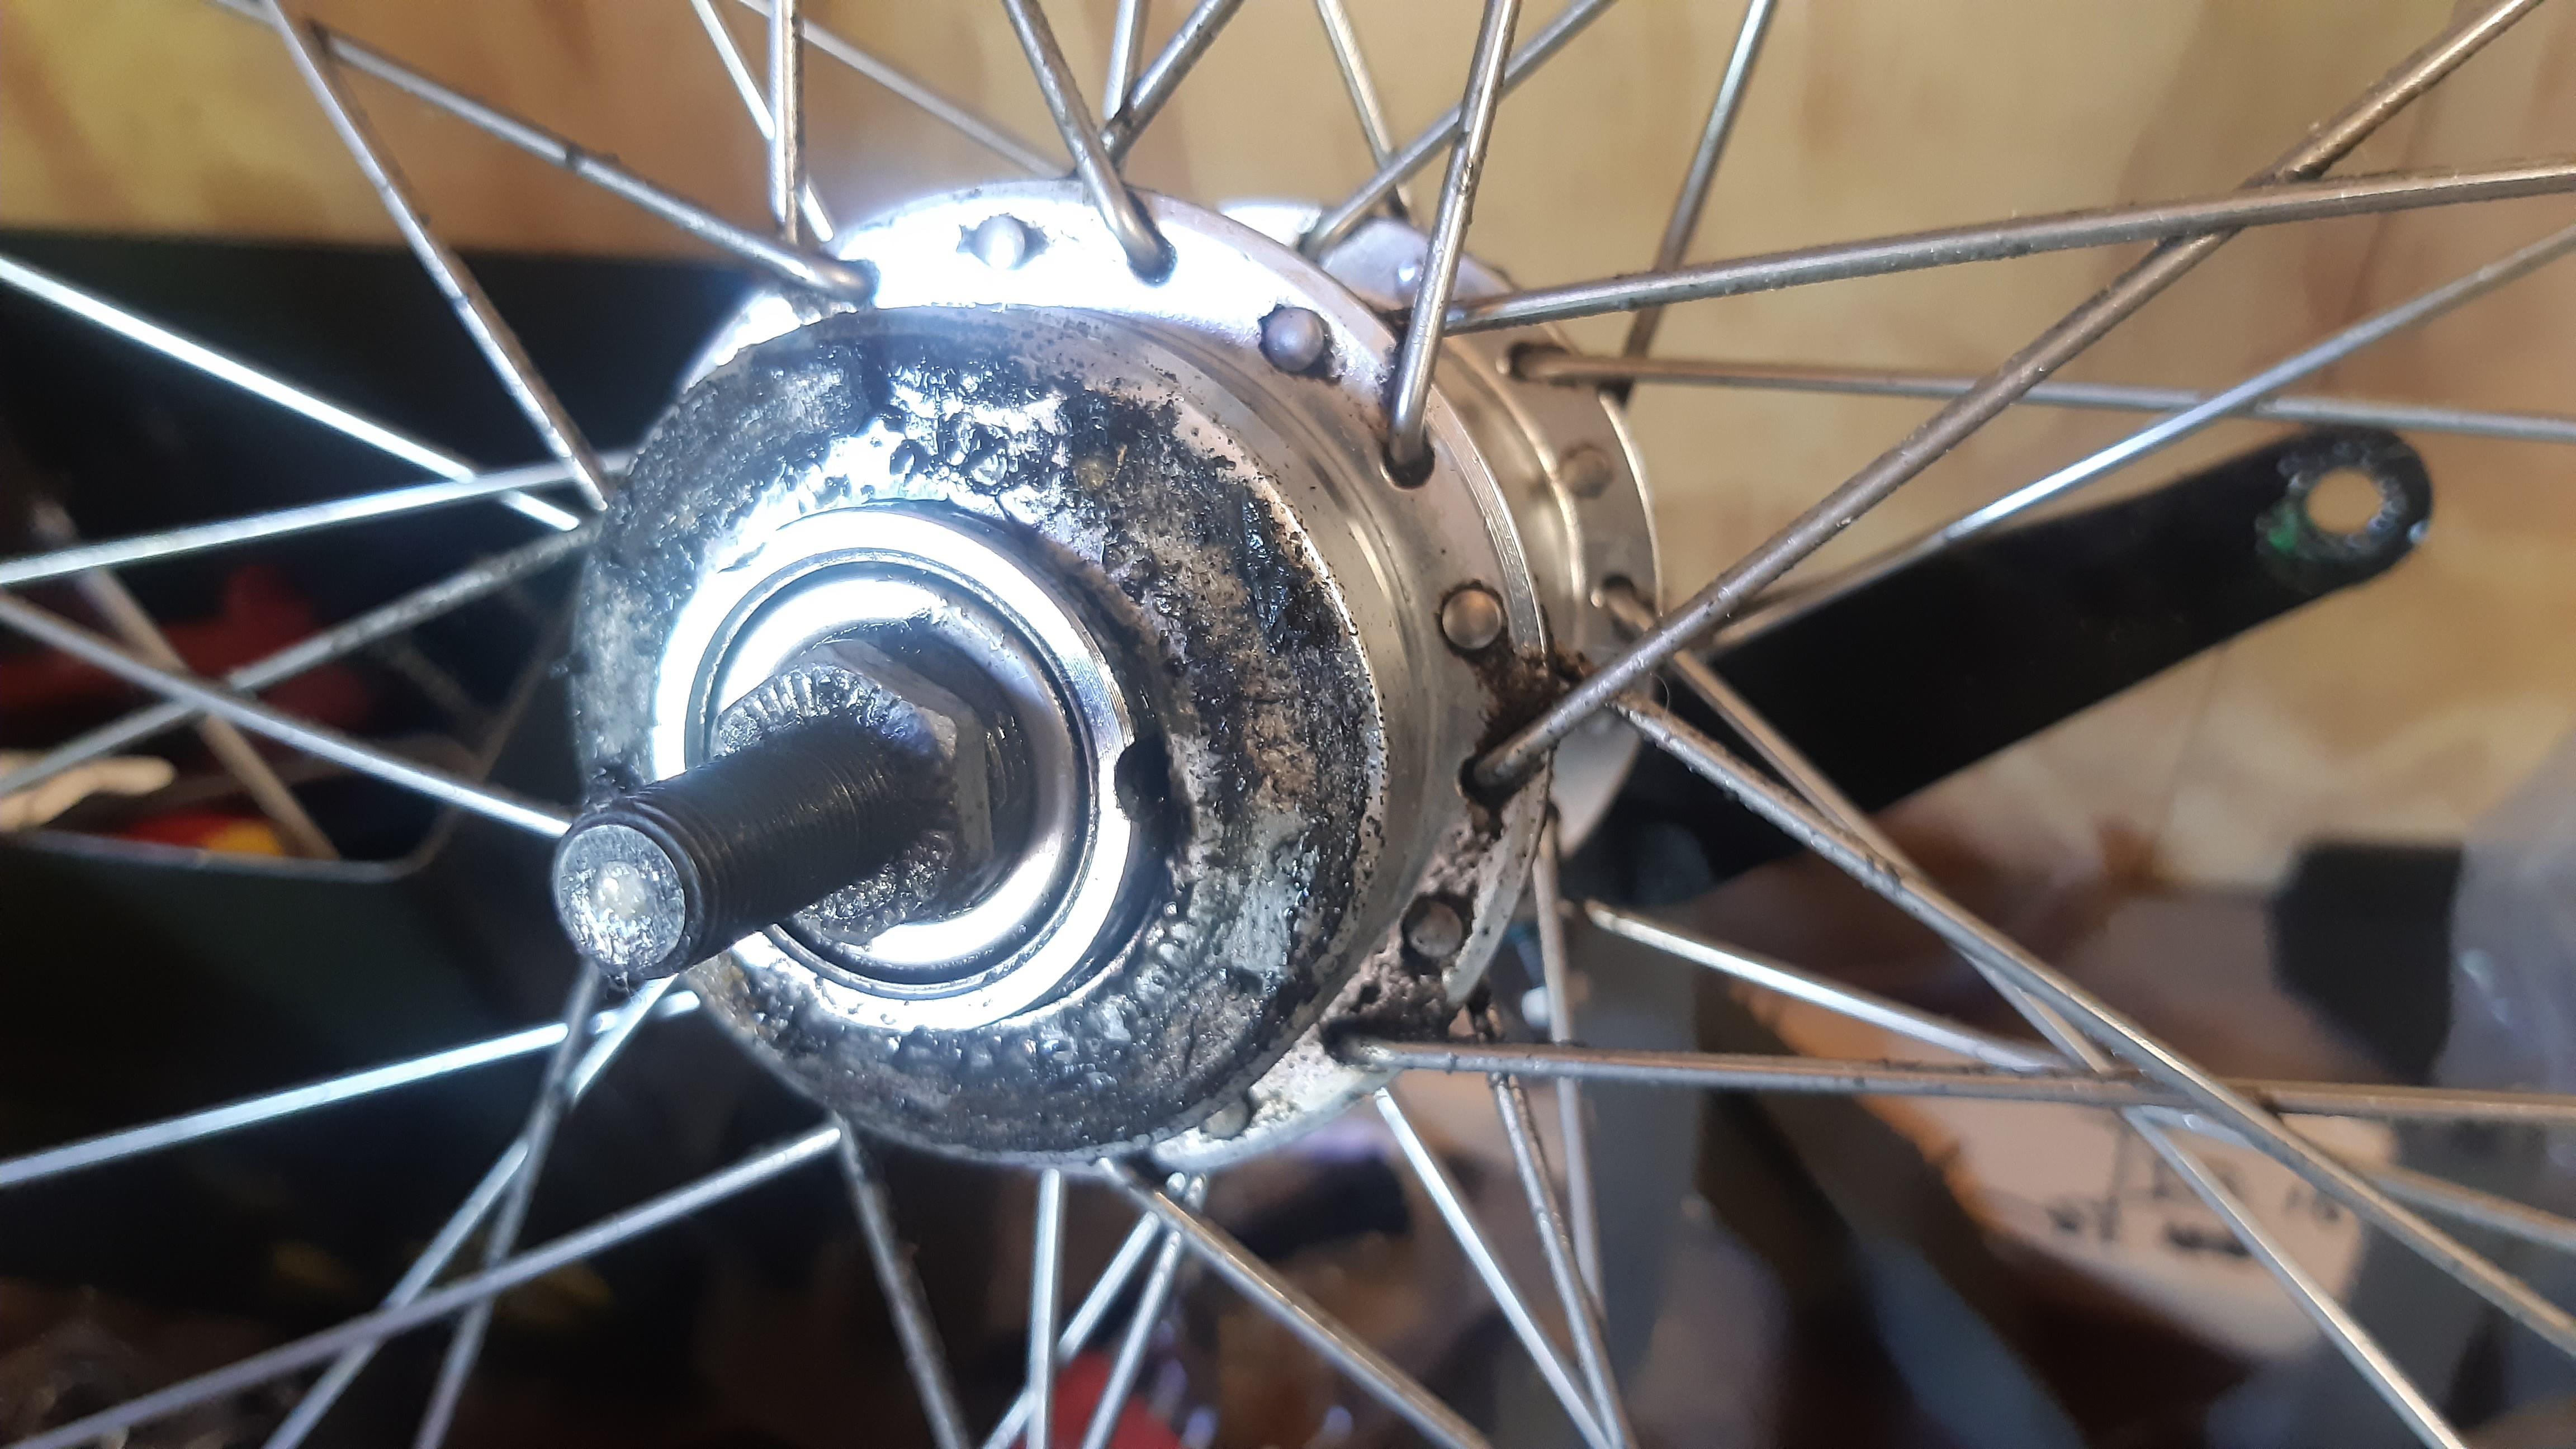
Dirt and grime behind the rear sprocket.

n5gJpJB.jpeg

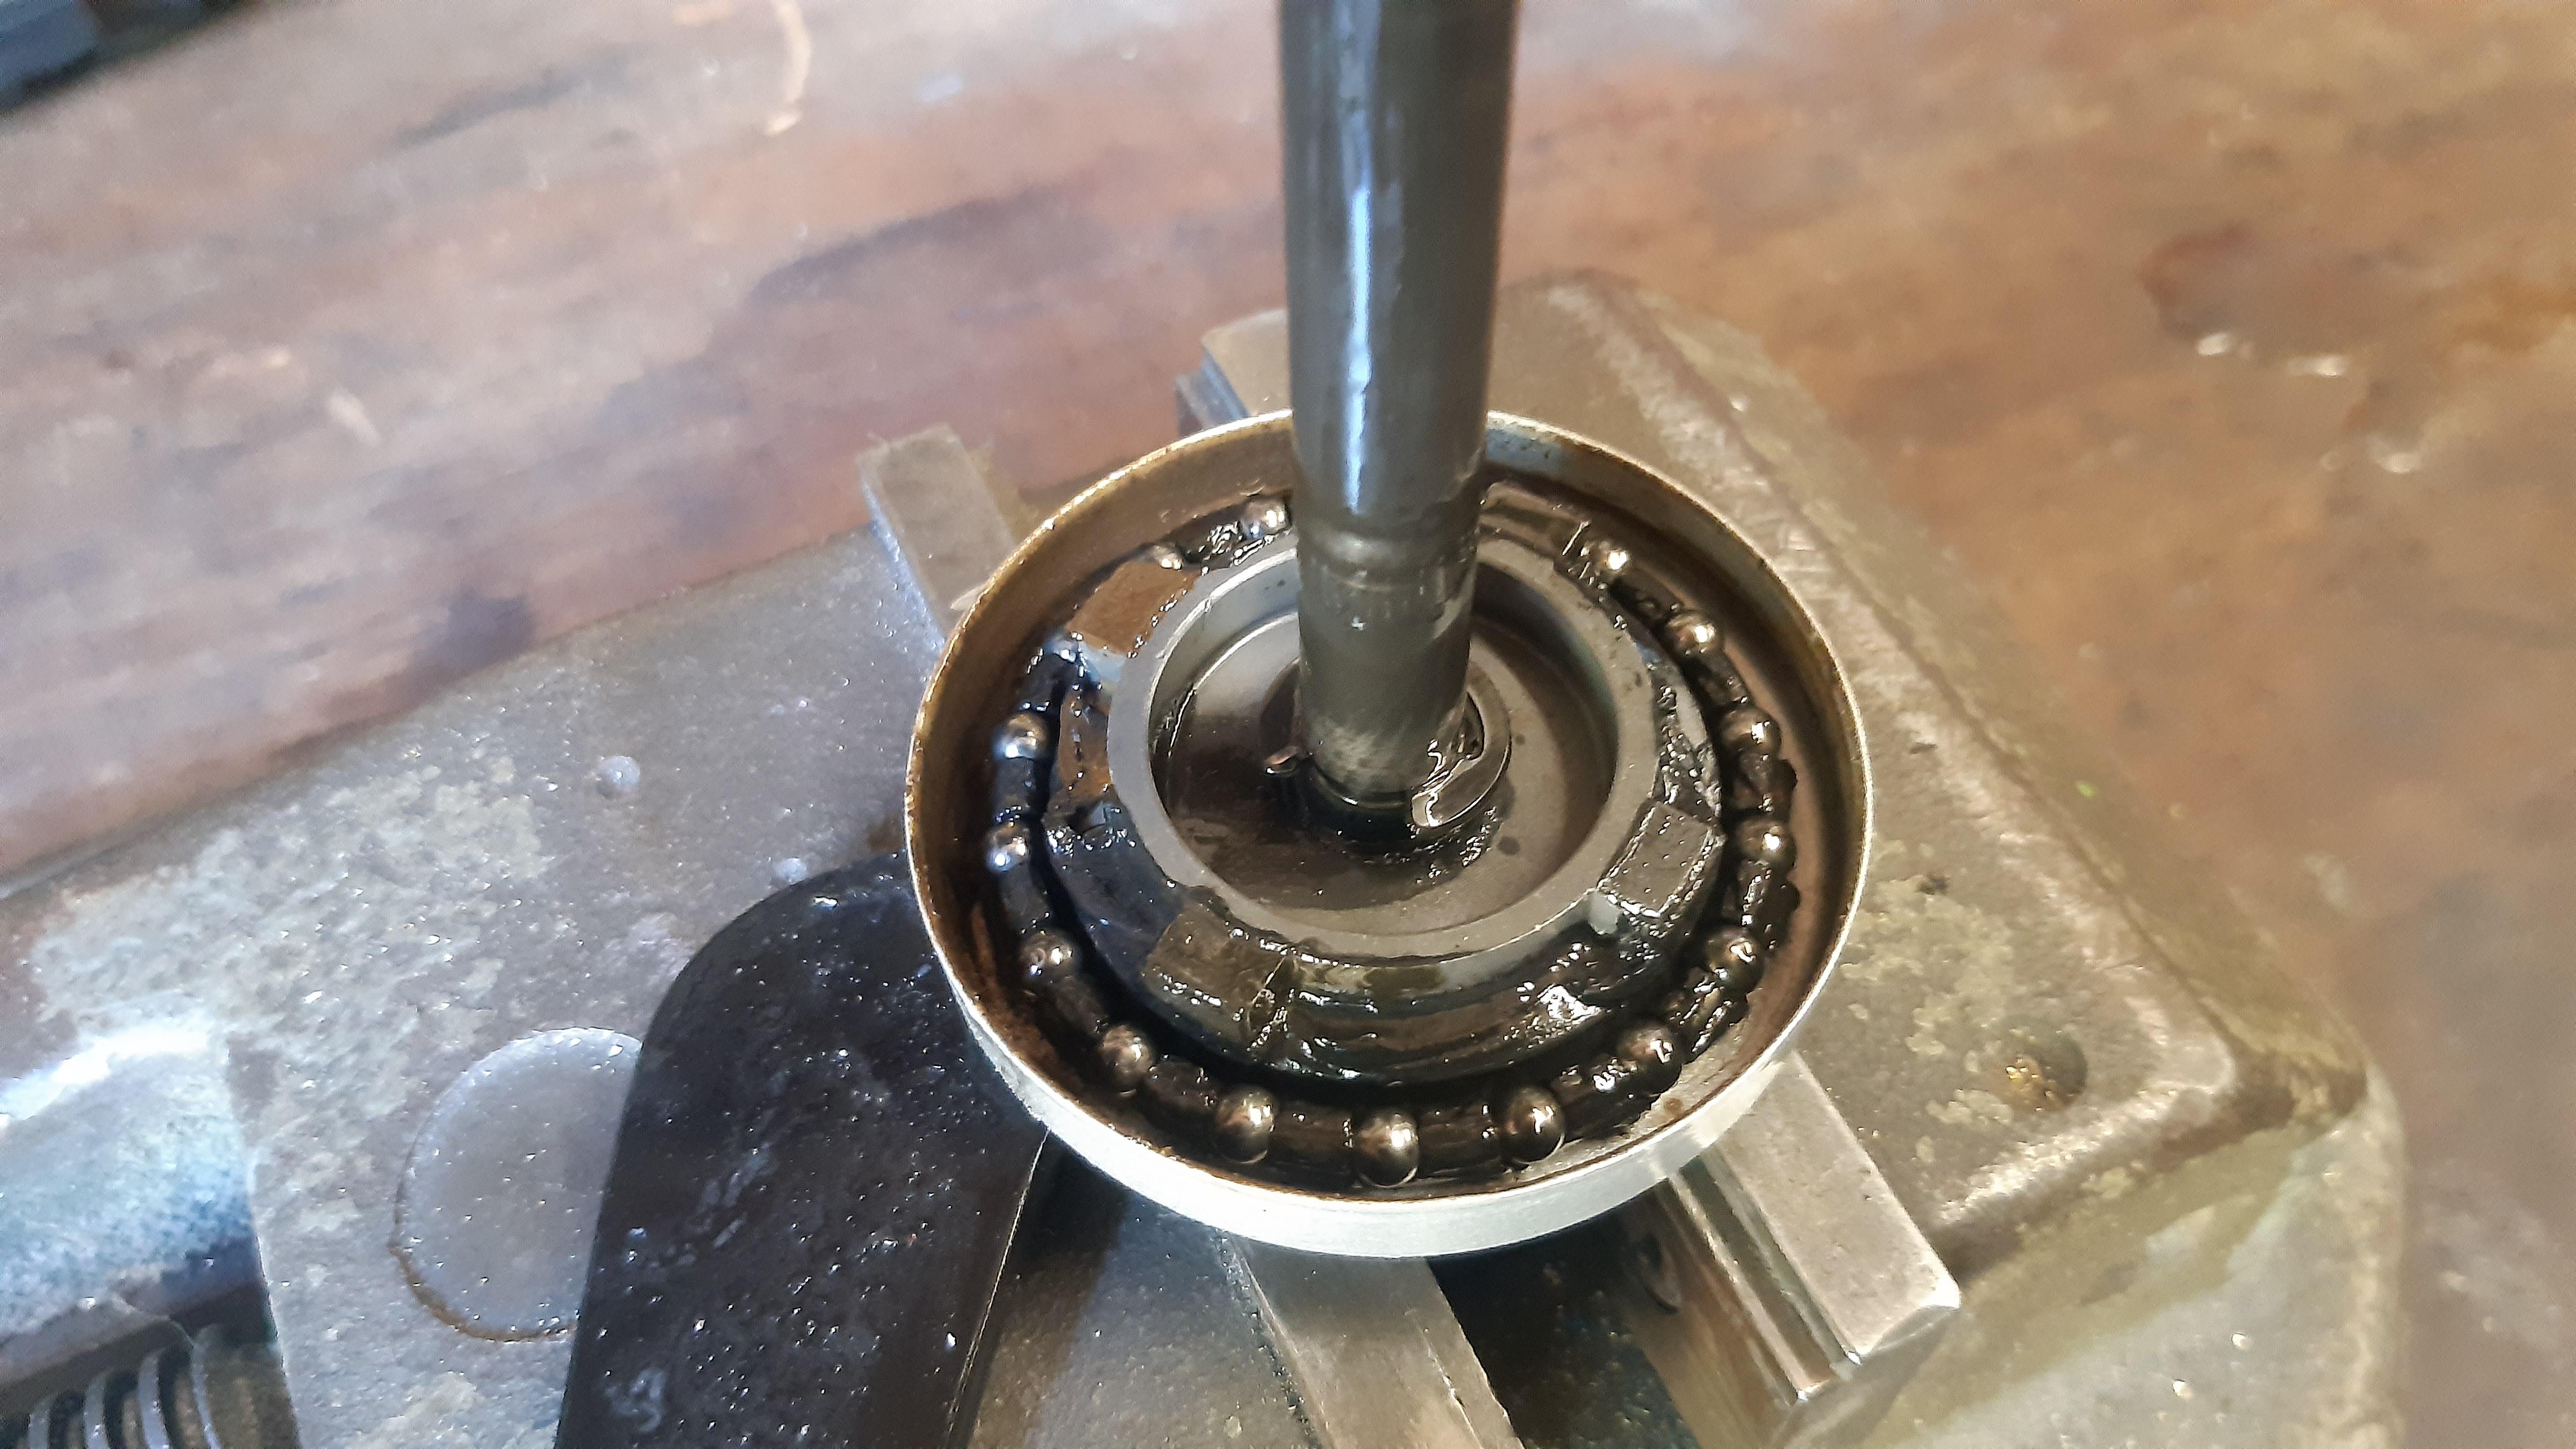
Brake side bearing and anchor plate.

Zw6hagK.jpeg

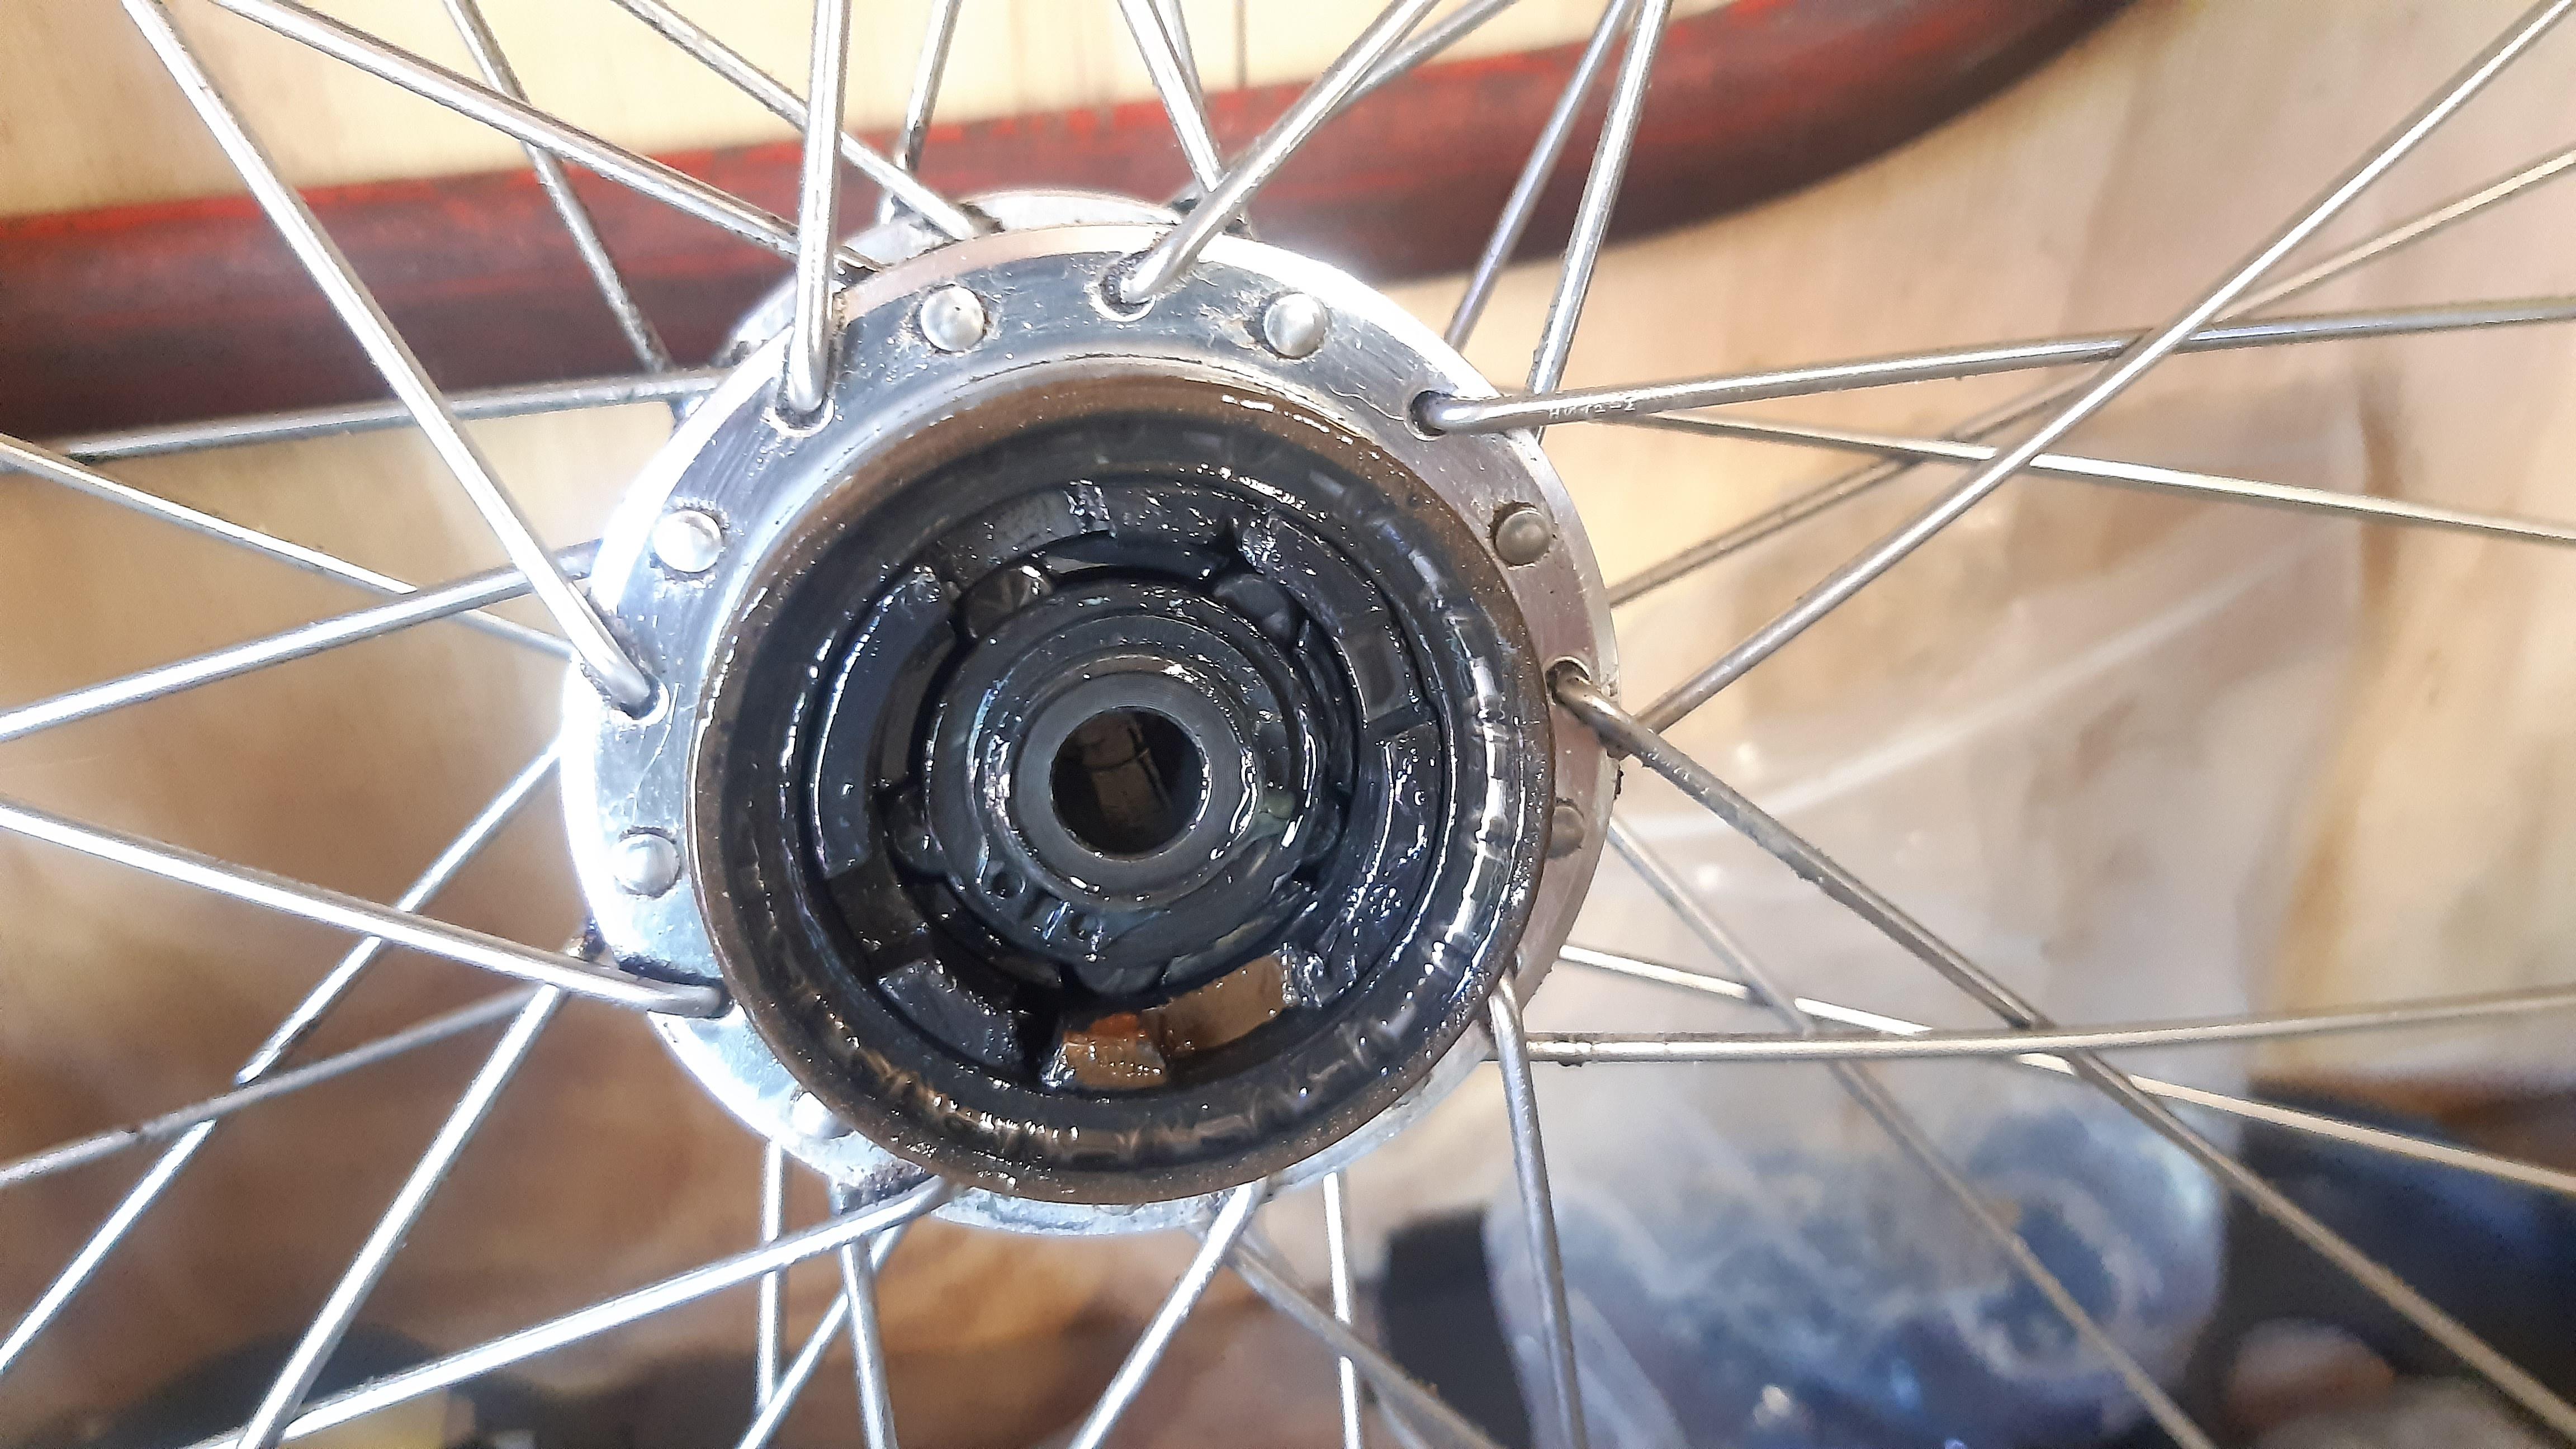
Brake shoes and rollers covered in heat resistant grease.
Same principle as the Shimano Rollerbrake, but more robust and in my view better executed.

ohaNyMc.jpeg

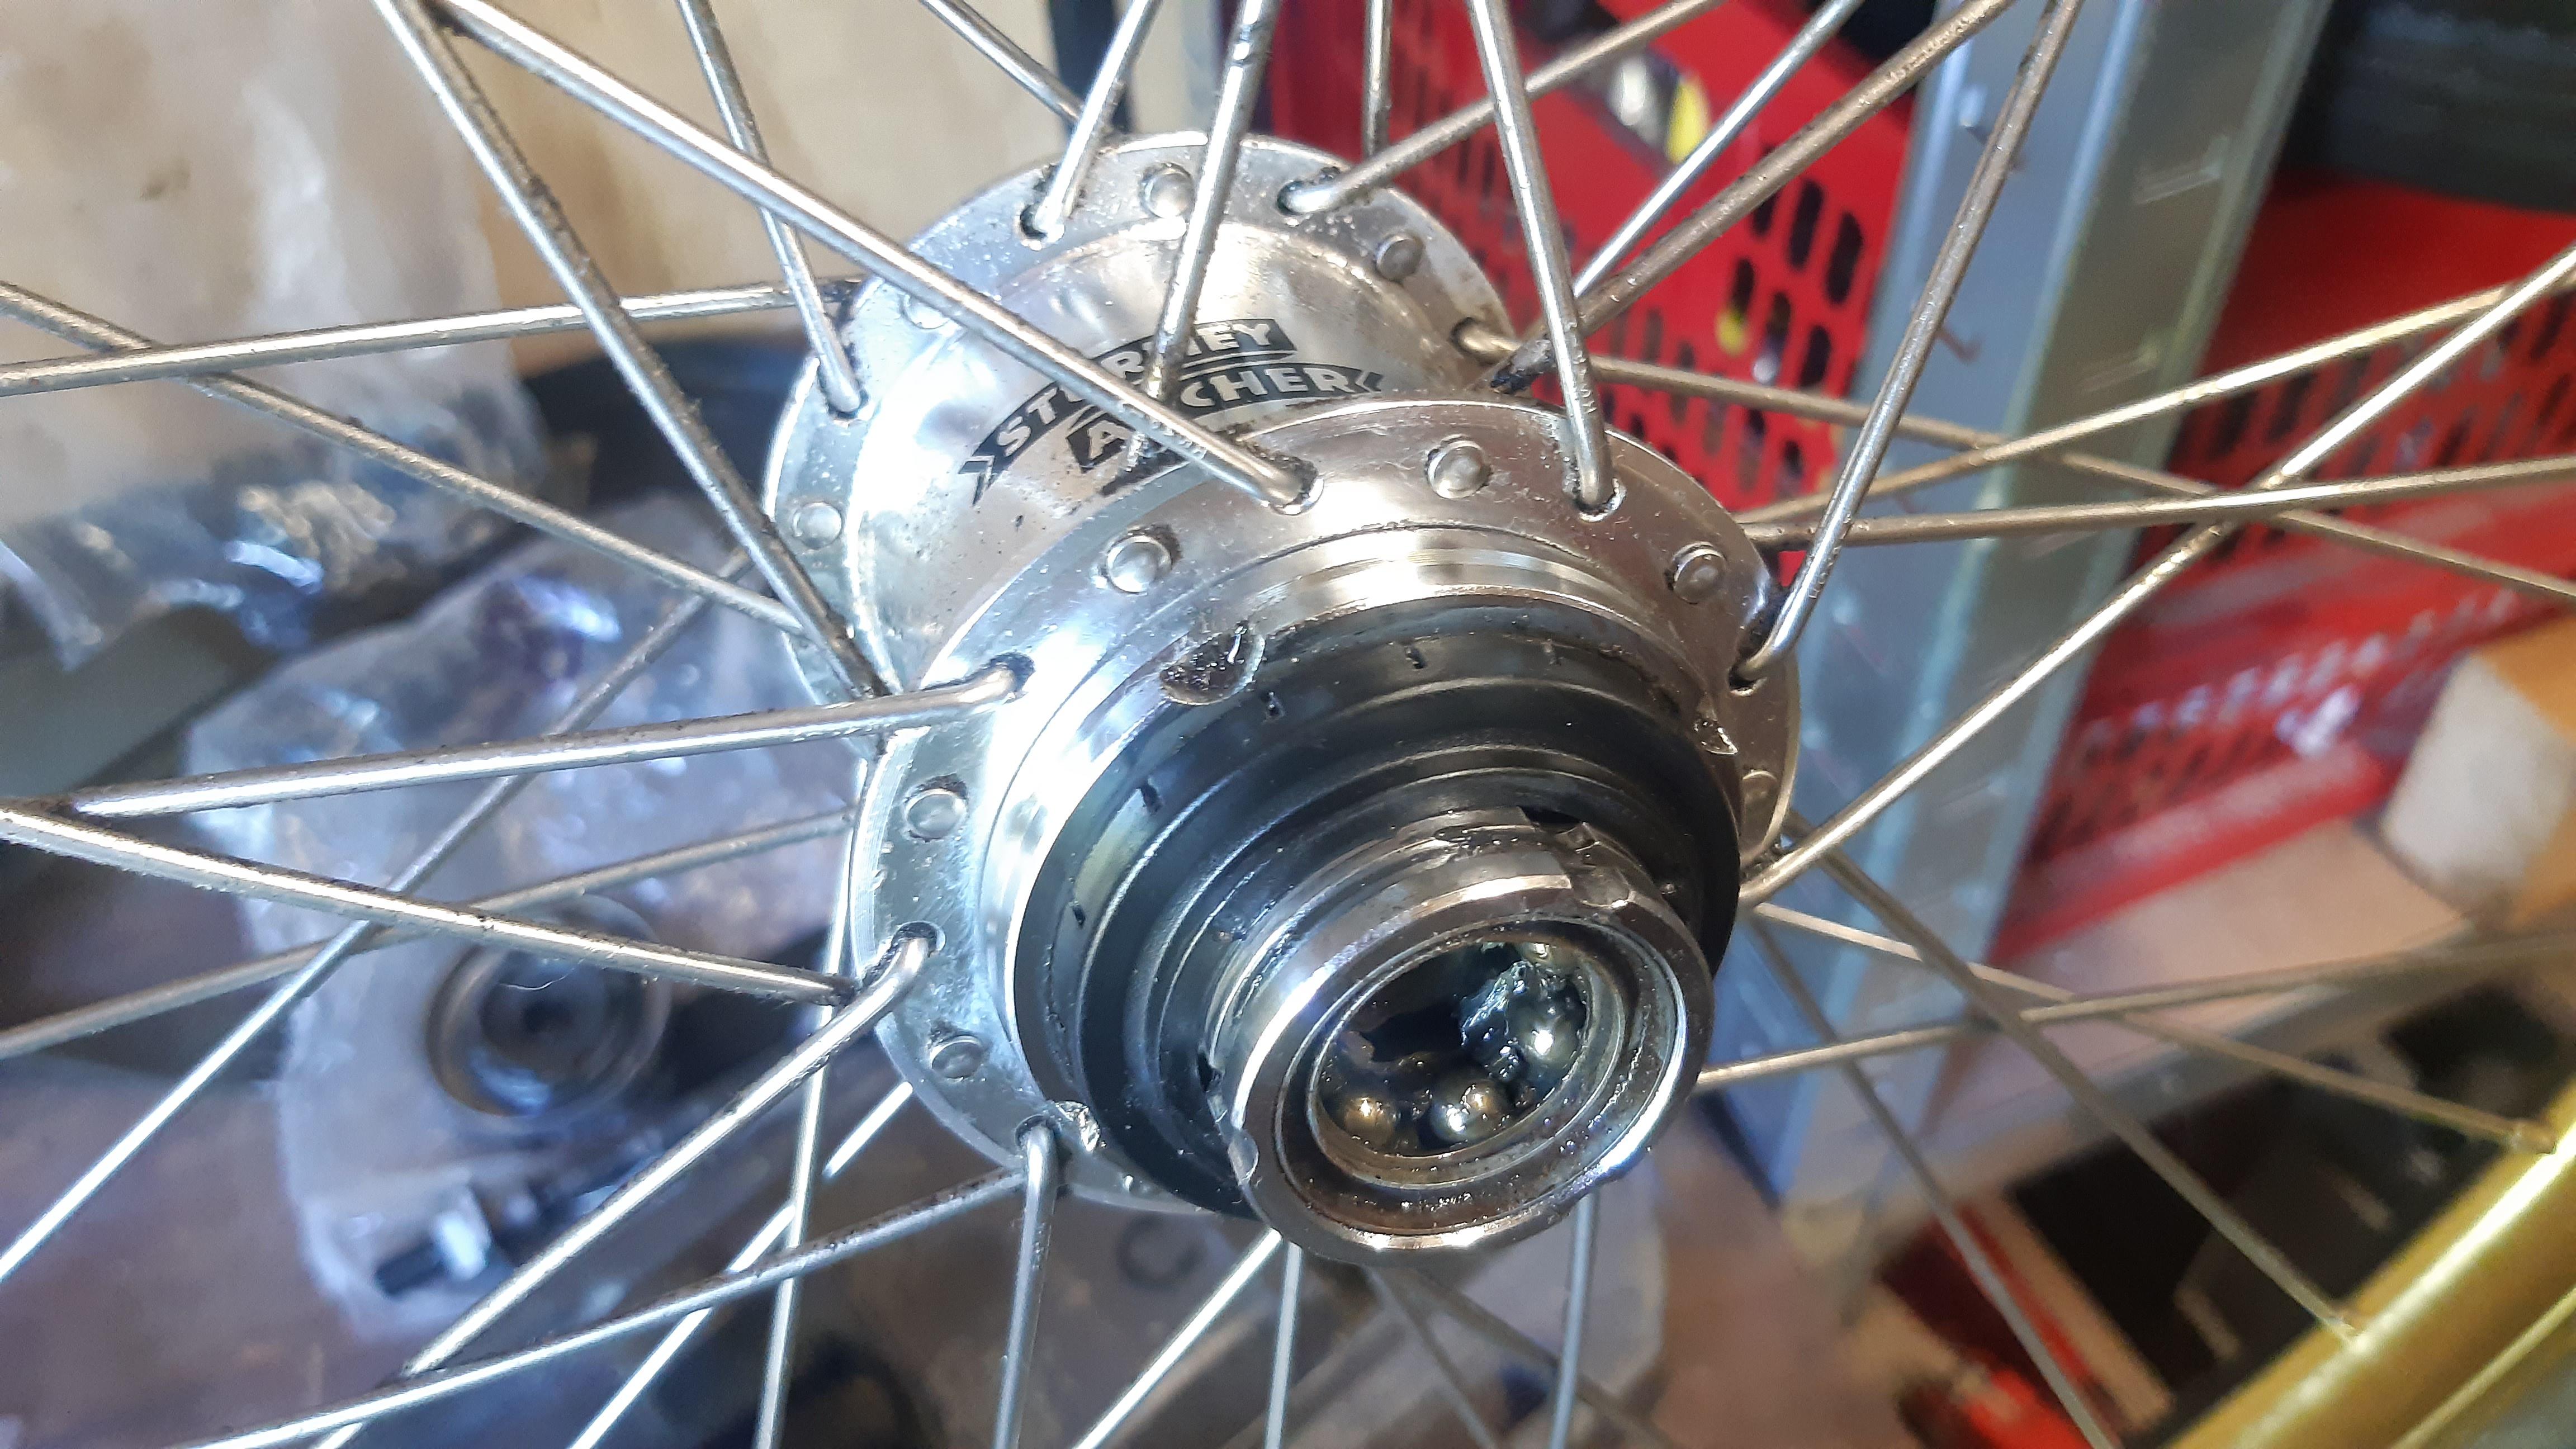
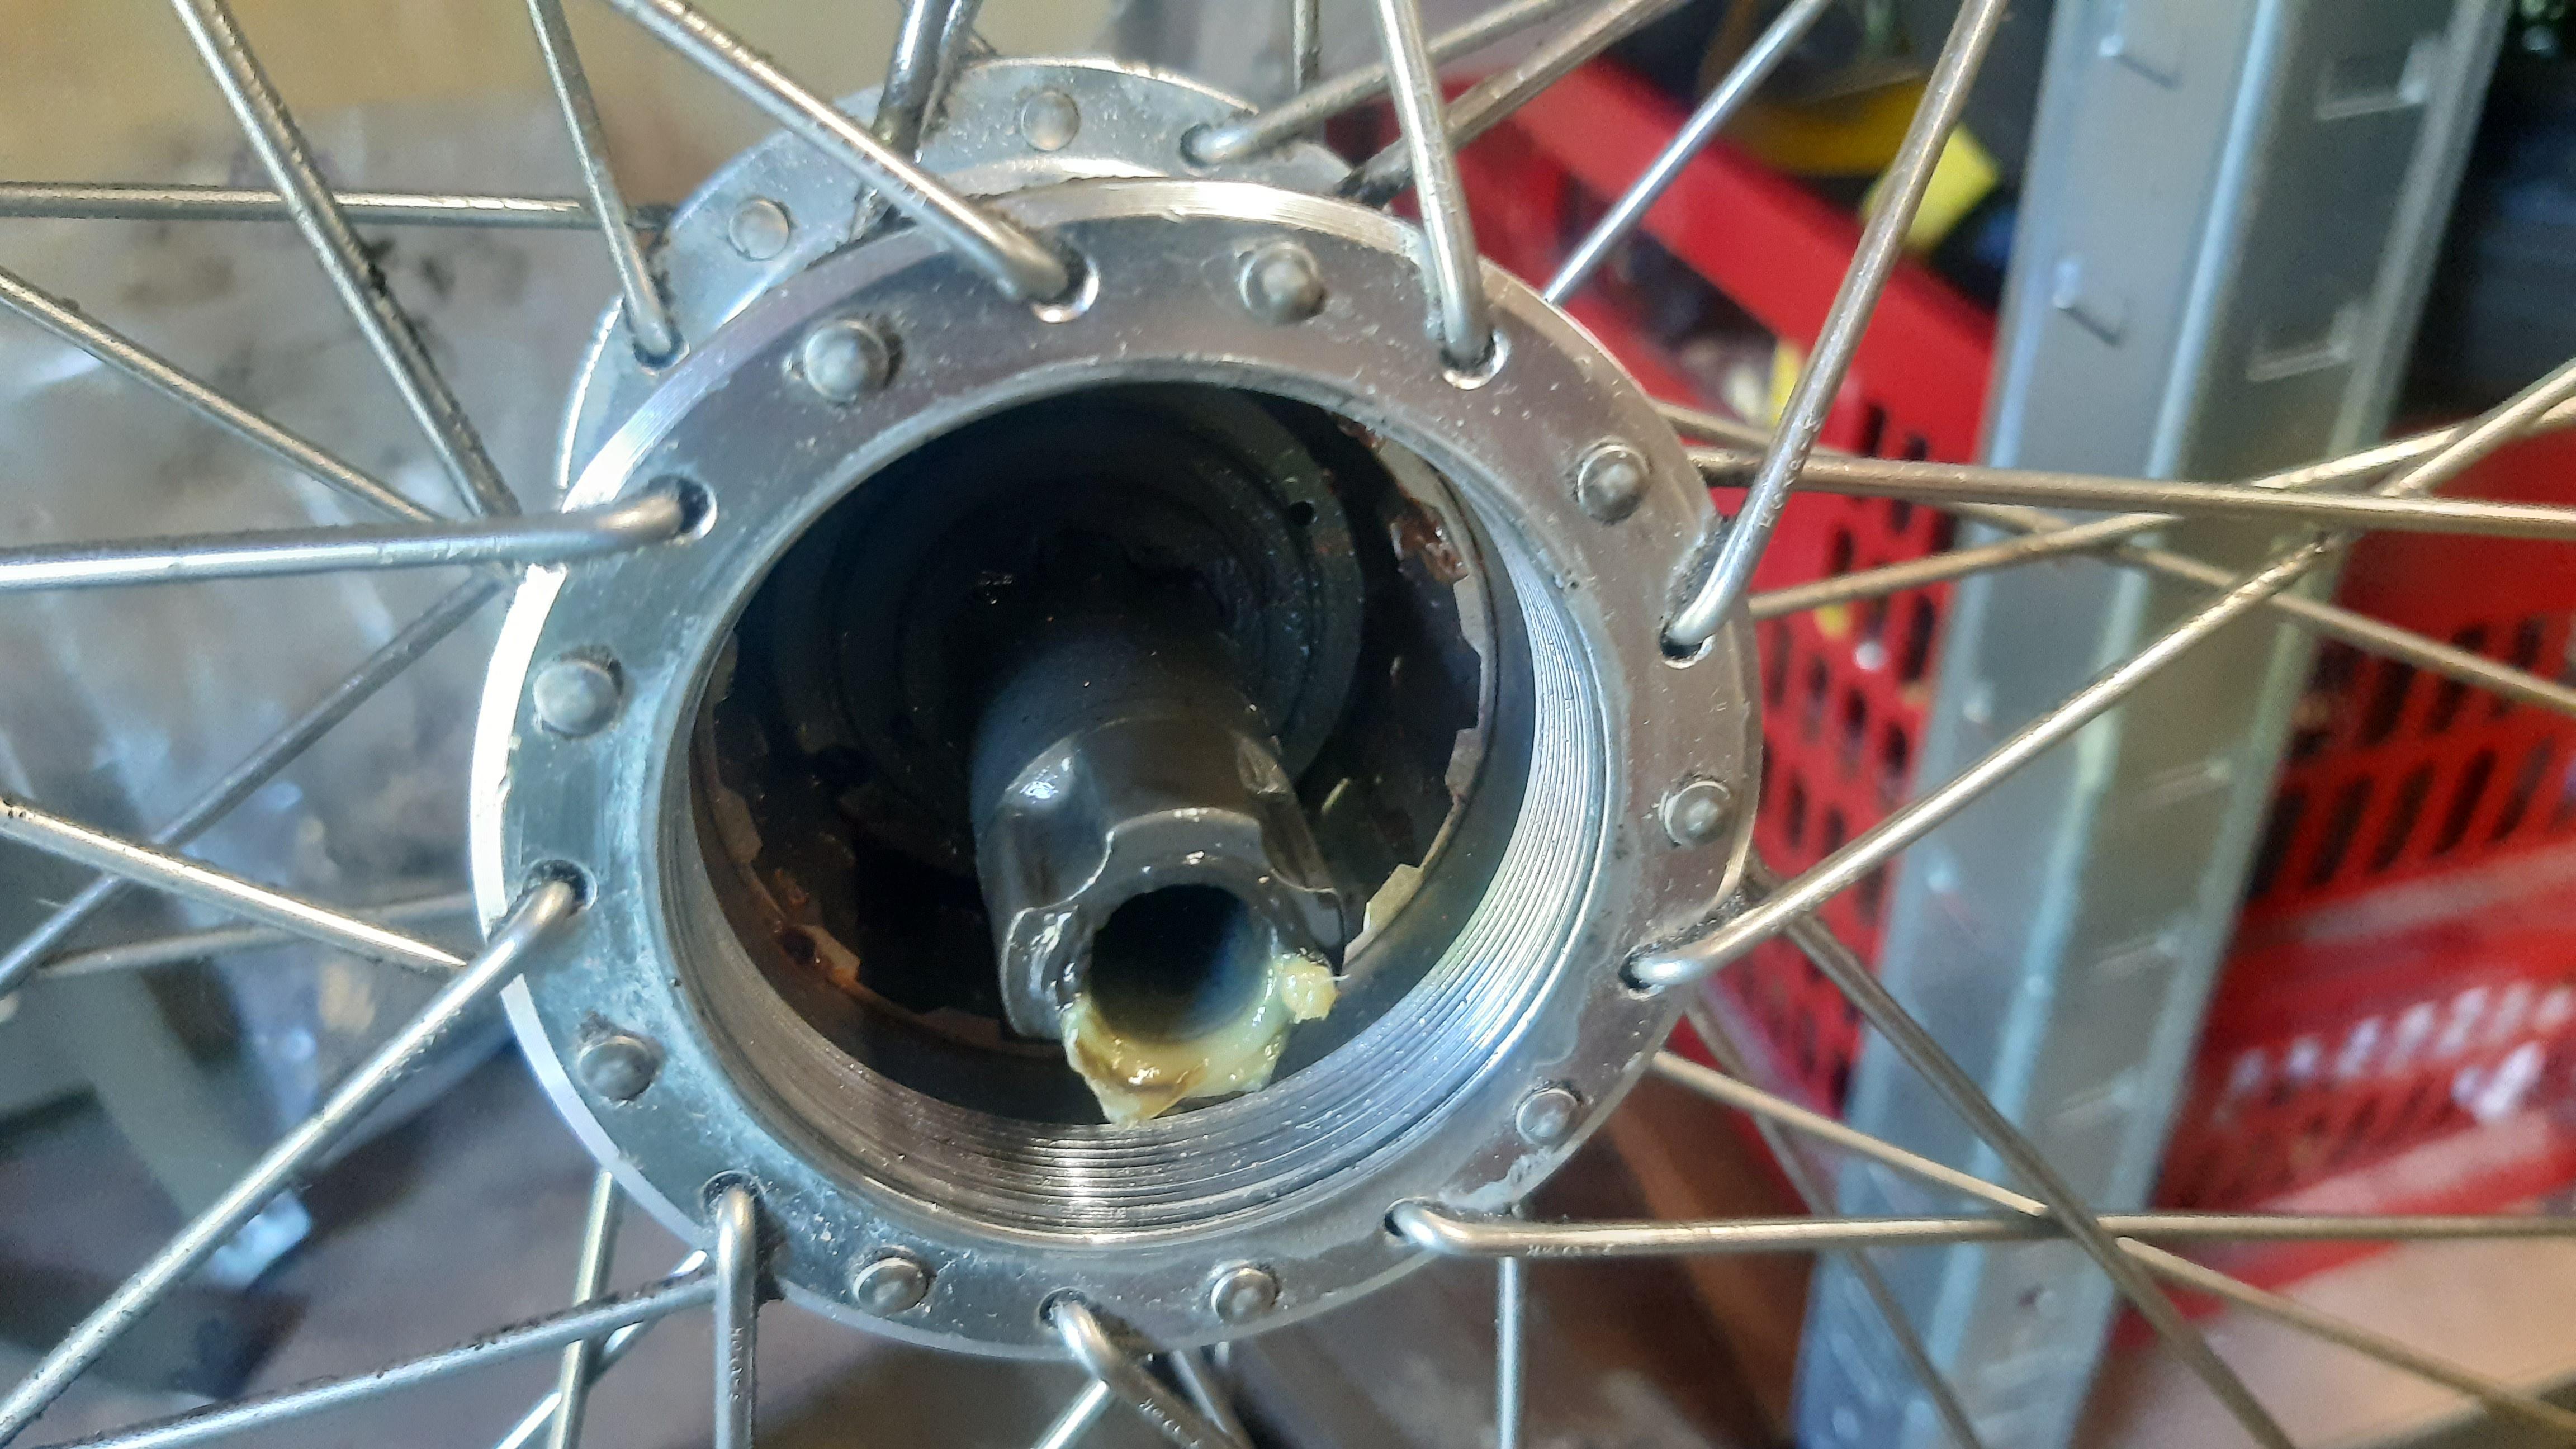
Drive side. Note: When the shaft is removed, you can remove the driver, and expose the large drive side bearing by 'unclipping' the black plastic dust cover with a screw driver.

3VmYiOW.jpeg

Driver removed. The central shaft is like a drive shaft.

upYisTH.jpeg

Driver inside the hub-shell bearing part.

yYHUorA.jpeg

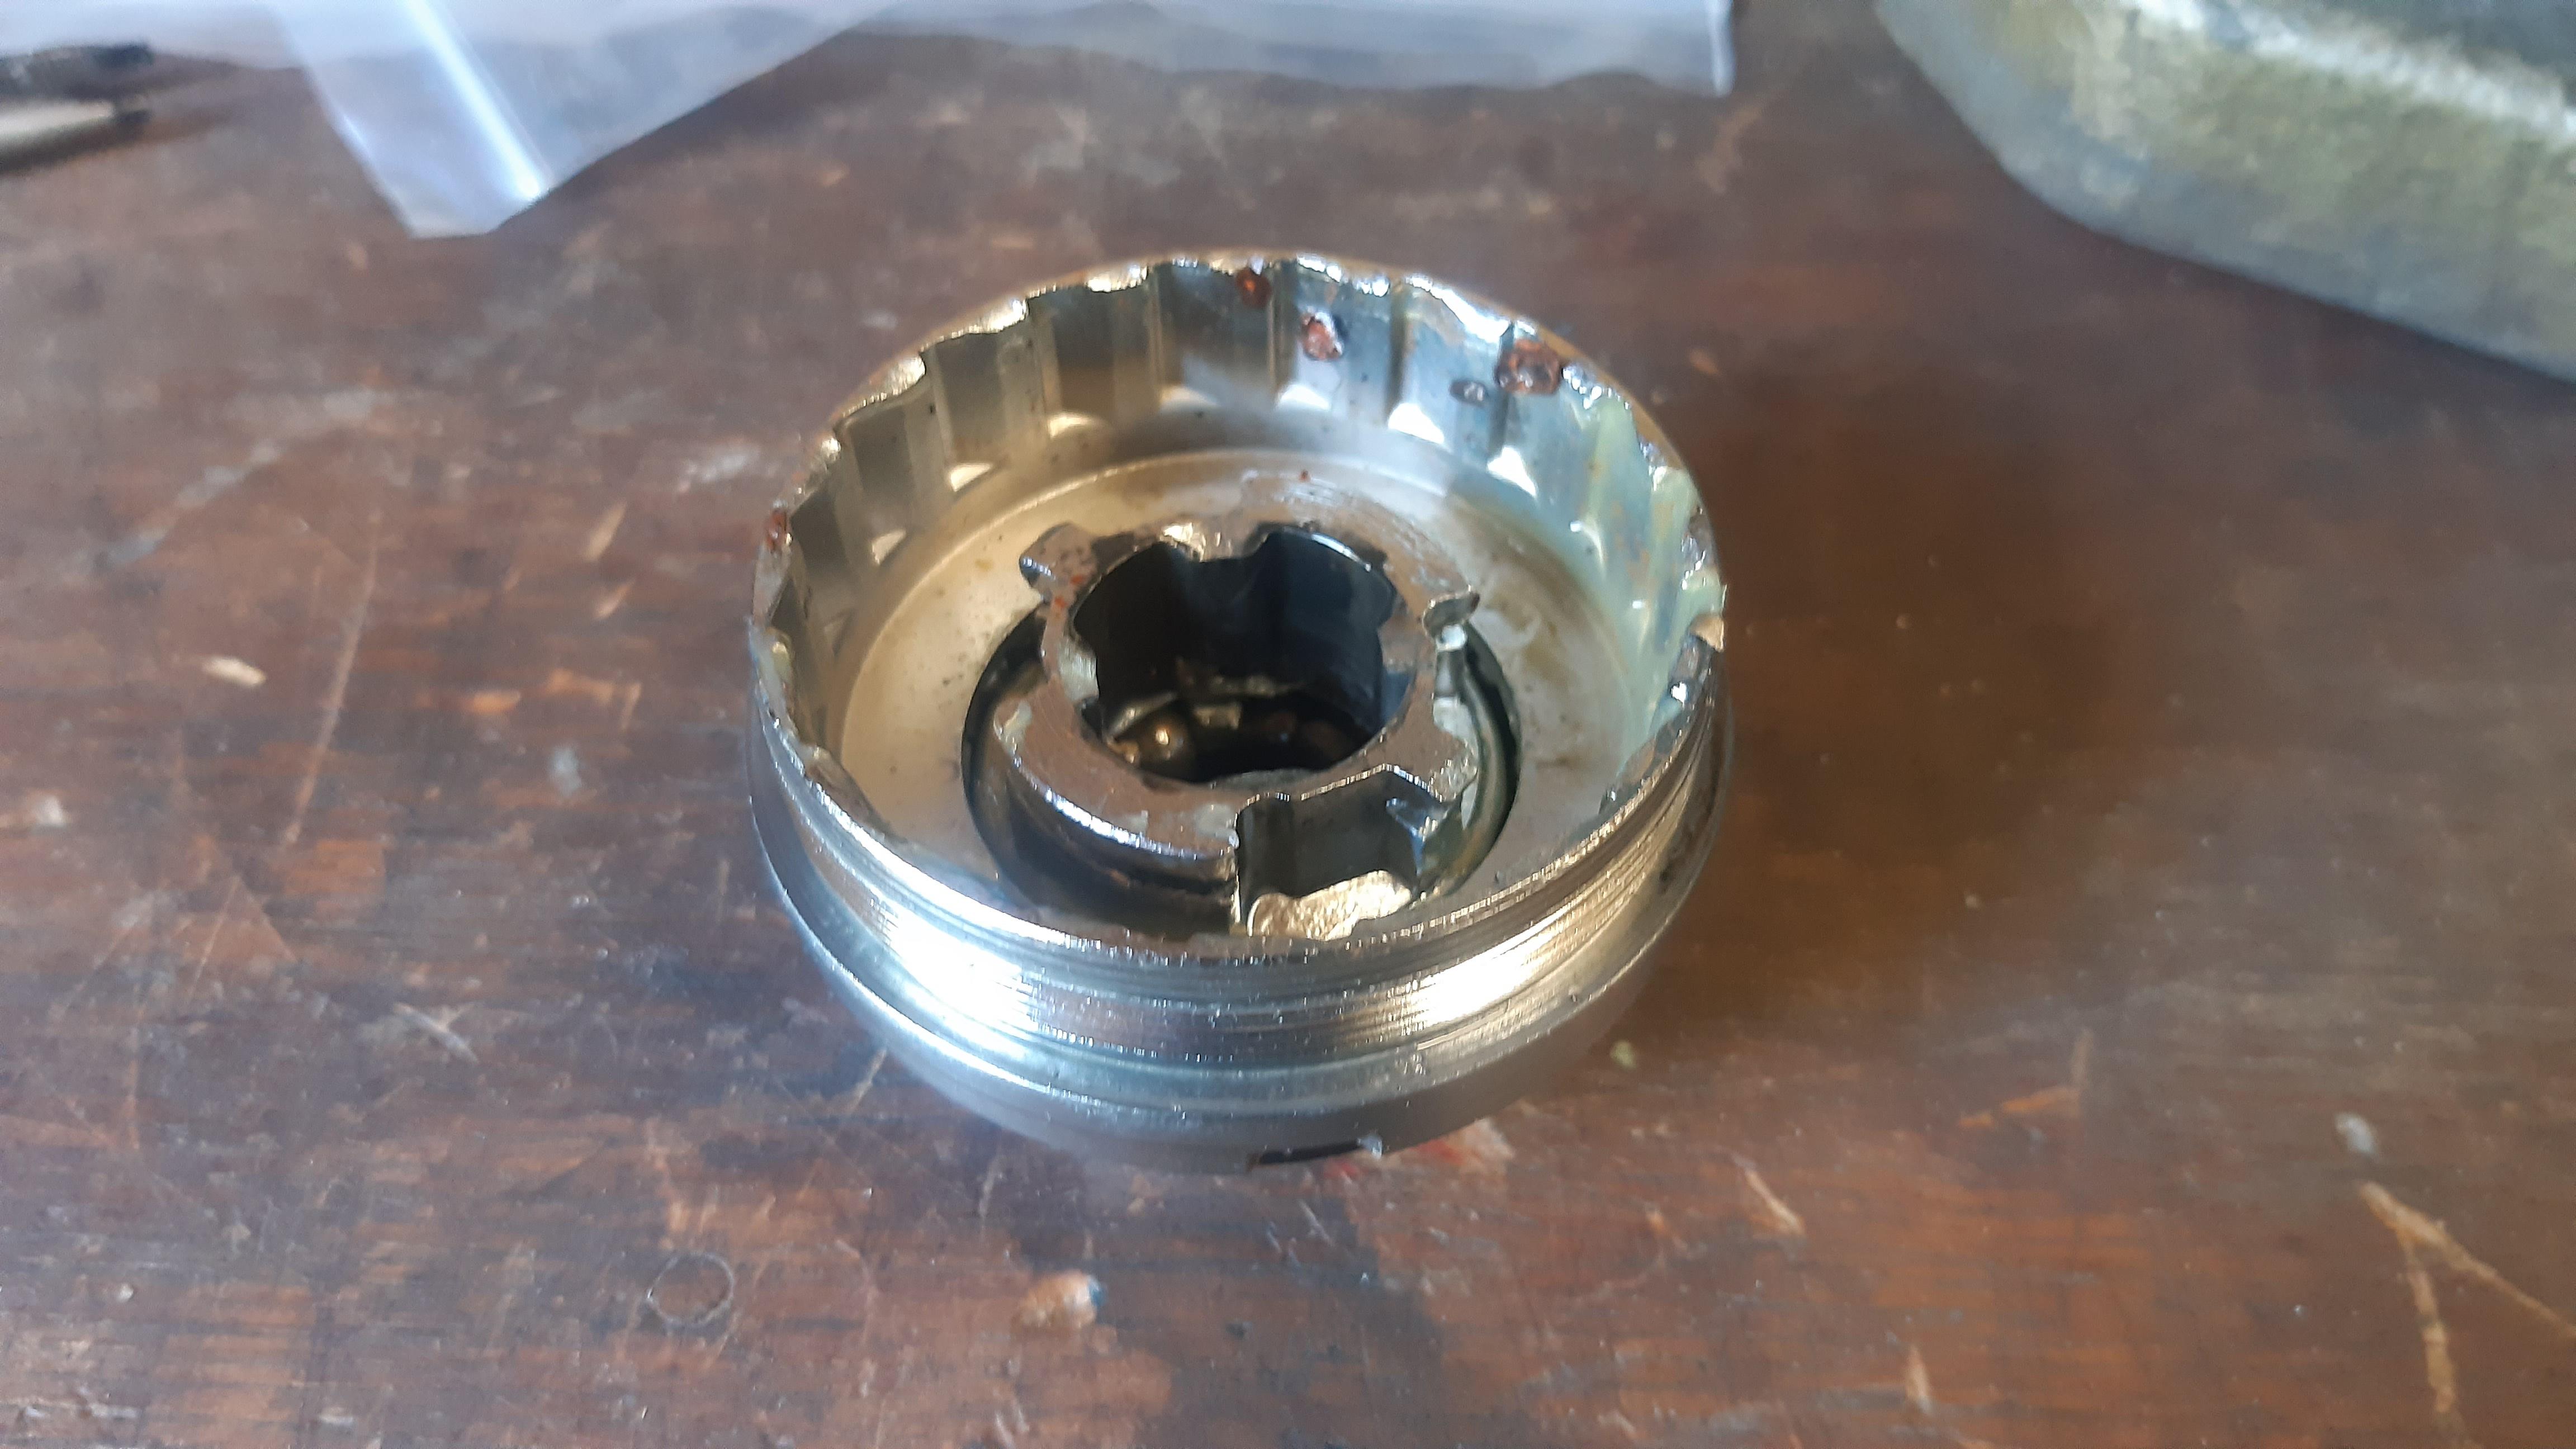
Empty shell, only the brake padding remains. The grooves in the shells are for the Sturmey Archer S2C kickshift hub with 2-speeds. They are probably interchangeable.

22akIRY.jpeg

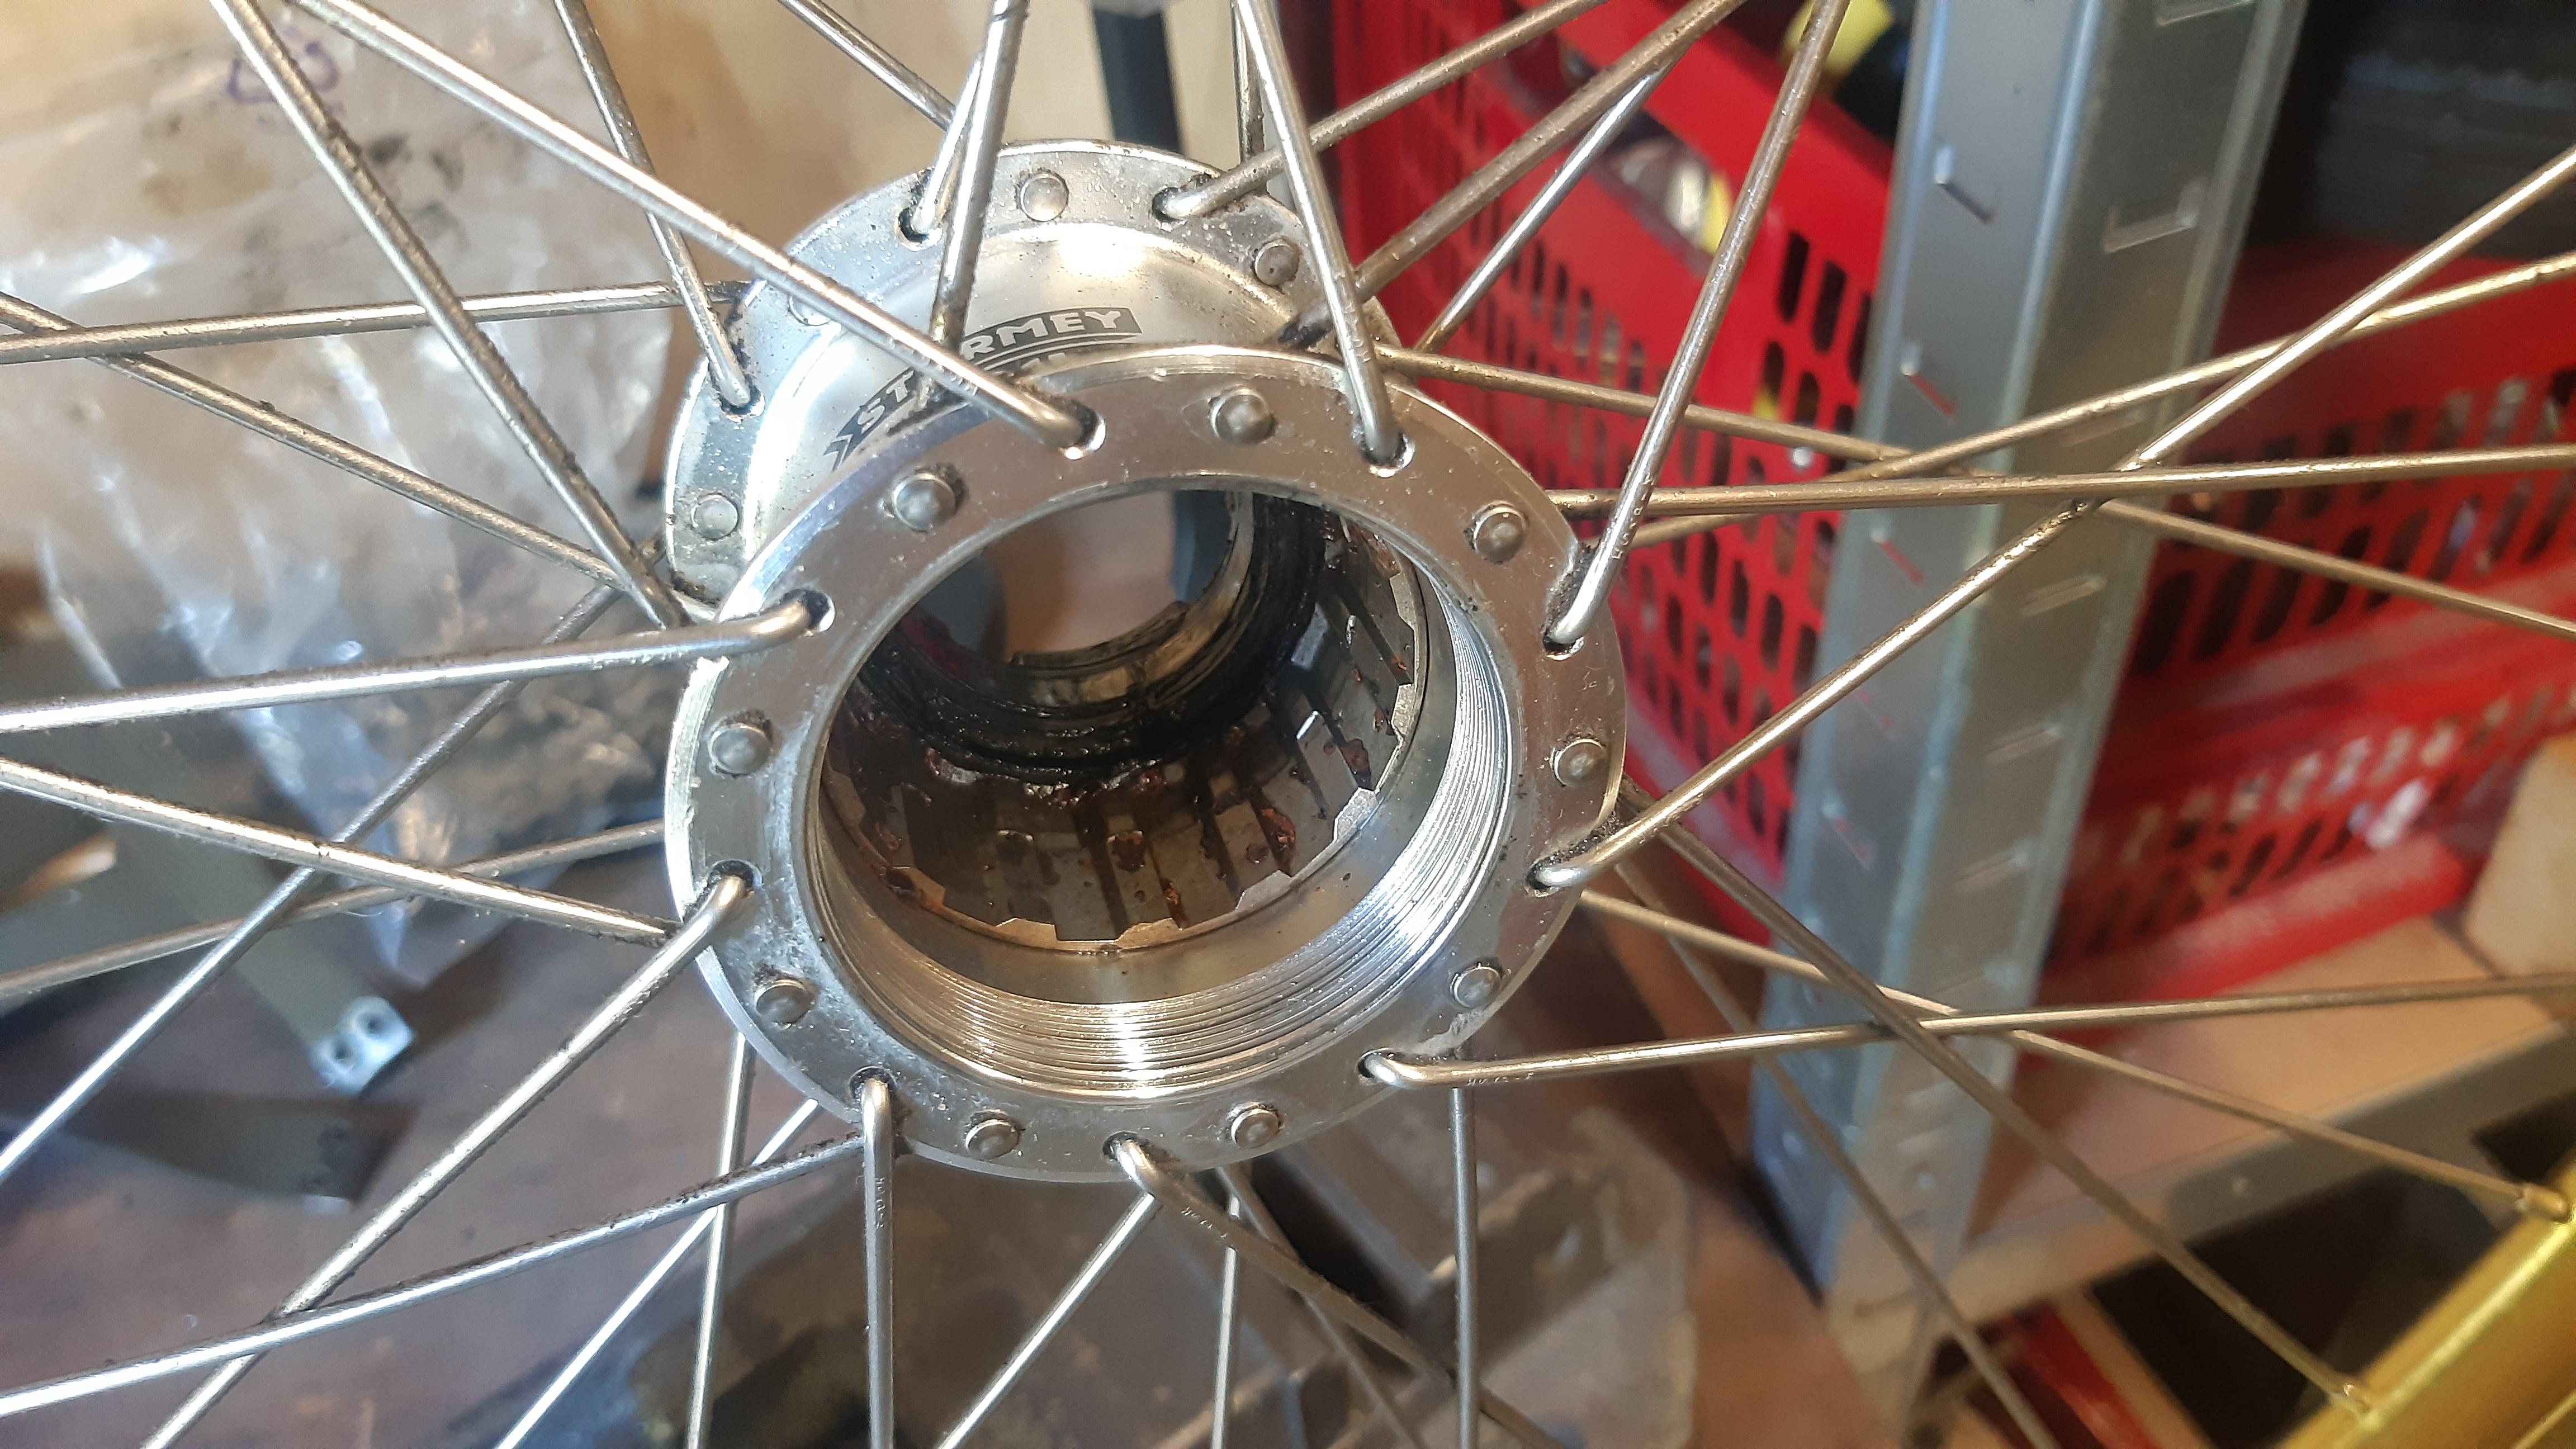
Empty shell brake lining. A bit of surface rust due to my riding through a river.

AjkNur9.jpeg

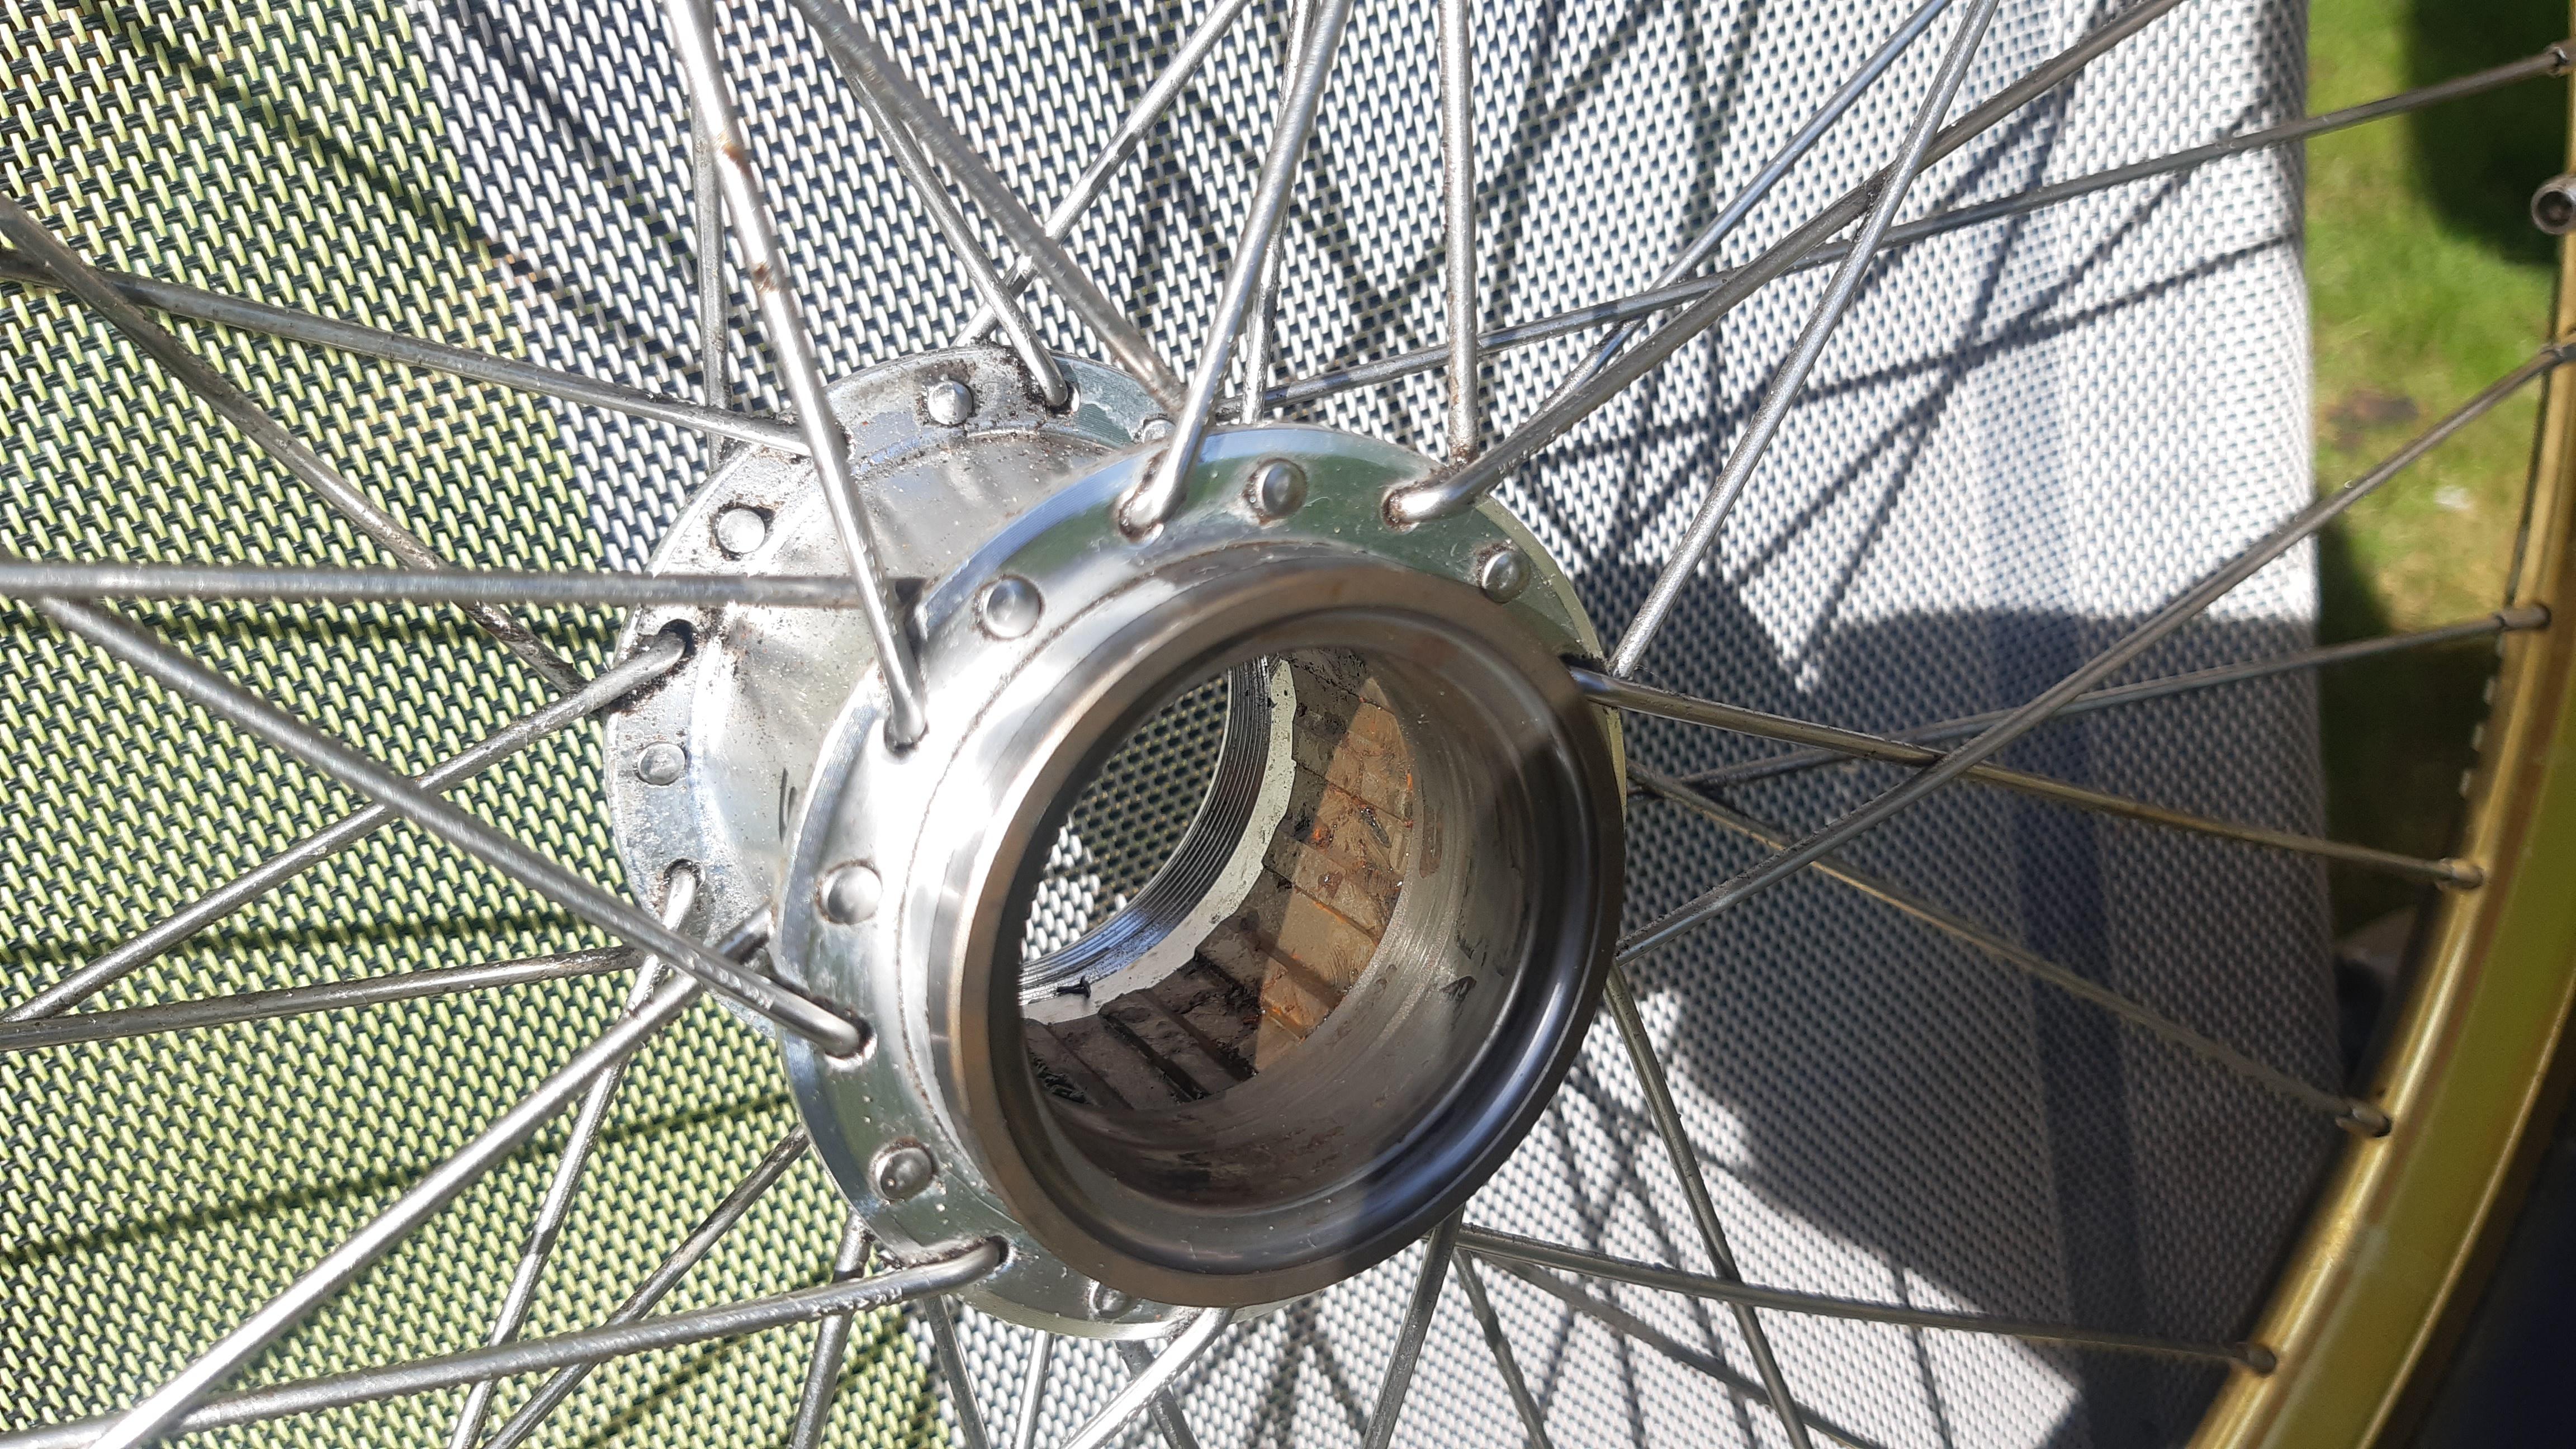
Again, empty shell, only the brake padding remains. The grooves in the shells are for the Sturmey Archer S2C kickshift hub with 2-speeds. They are probably interchangeable.


Overall I am very happy with the state and quality of the hub!
Just cleaning, greasing/lubrication and putting it back together.
The surface rust is there because I went through water a couple of times:


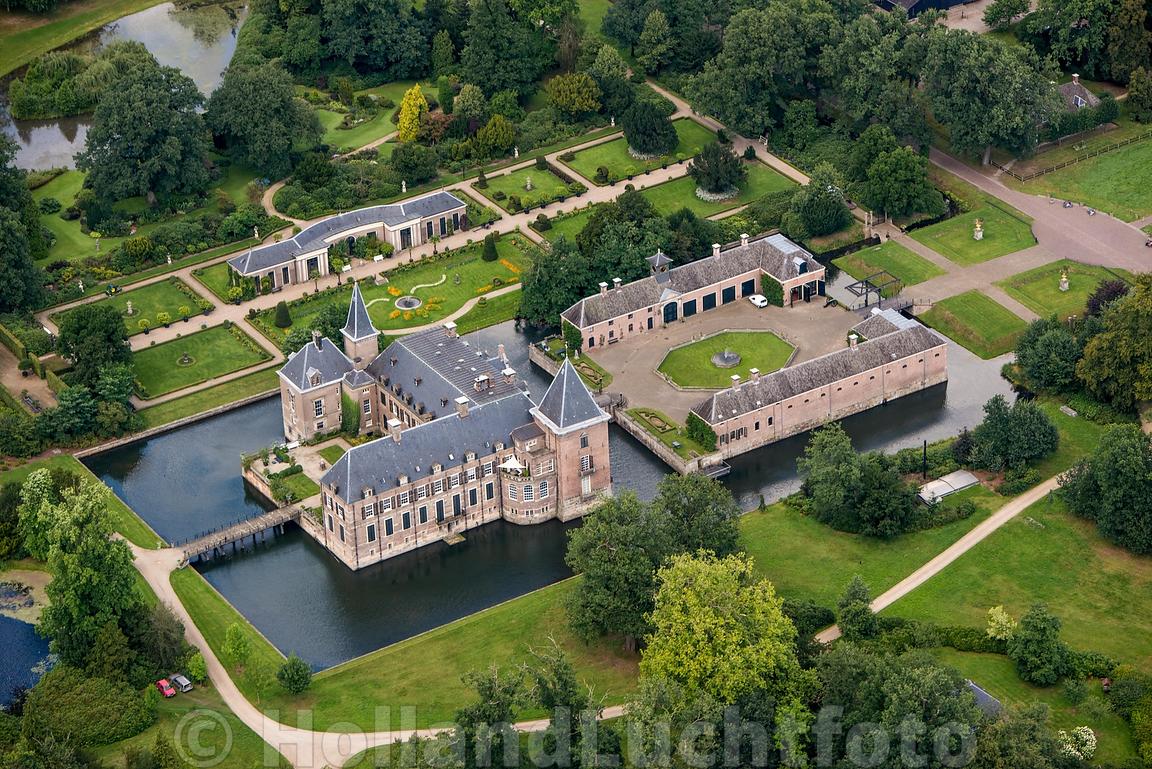
For those interested, the mountainbike race is held around the castle of Twickel.

Twickel - Delden MTB route (link)

hollandluchtfoto-delden-twickel-1_xgaplus.jpg


Thanks for reading my ramblings
 
Last edited:
Nice lathe work! You are still good to go with that hub. Just use some loctite 620 retaining compound. It is made to make slip fits tighter...air tight, tough, and heat resistant to ~450F or so. Made for up to .25mm slip fit, if I remember correctly.
Sorry Rusty, I forgot to react on this one.

Good idea, and certainly possible. But I was asking myself this: Is this Velosteel/Favorit hub shell worth grinding hours on a lathe? And I am a bit of a mechanical perfectionist.
So I decided on some free CroMo tubing which is easier to cut in the lathe and yet very tough.

But thanks for thinking forward!
 
Updates on the plan:

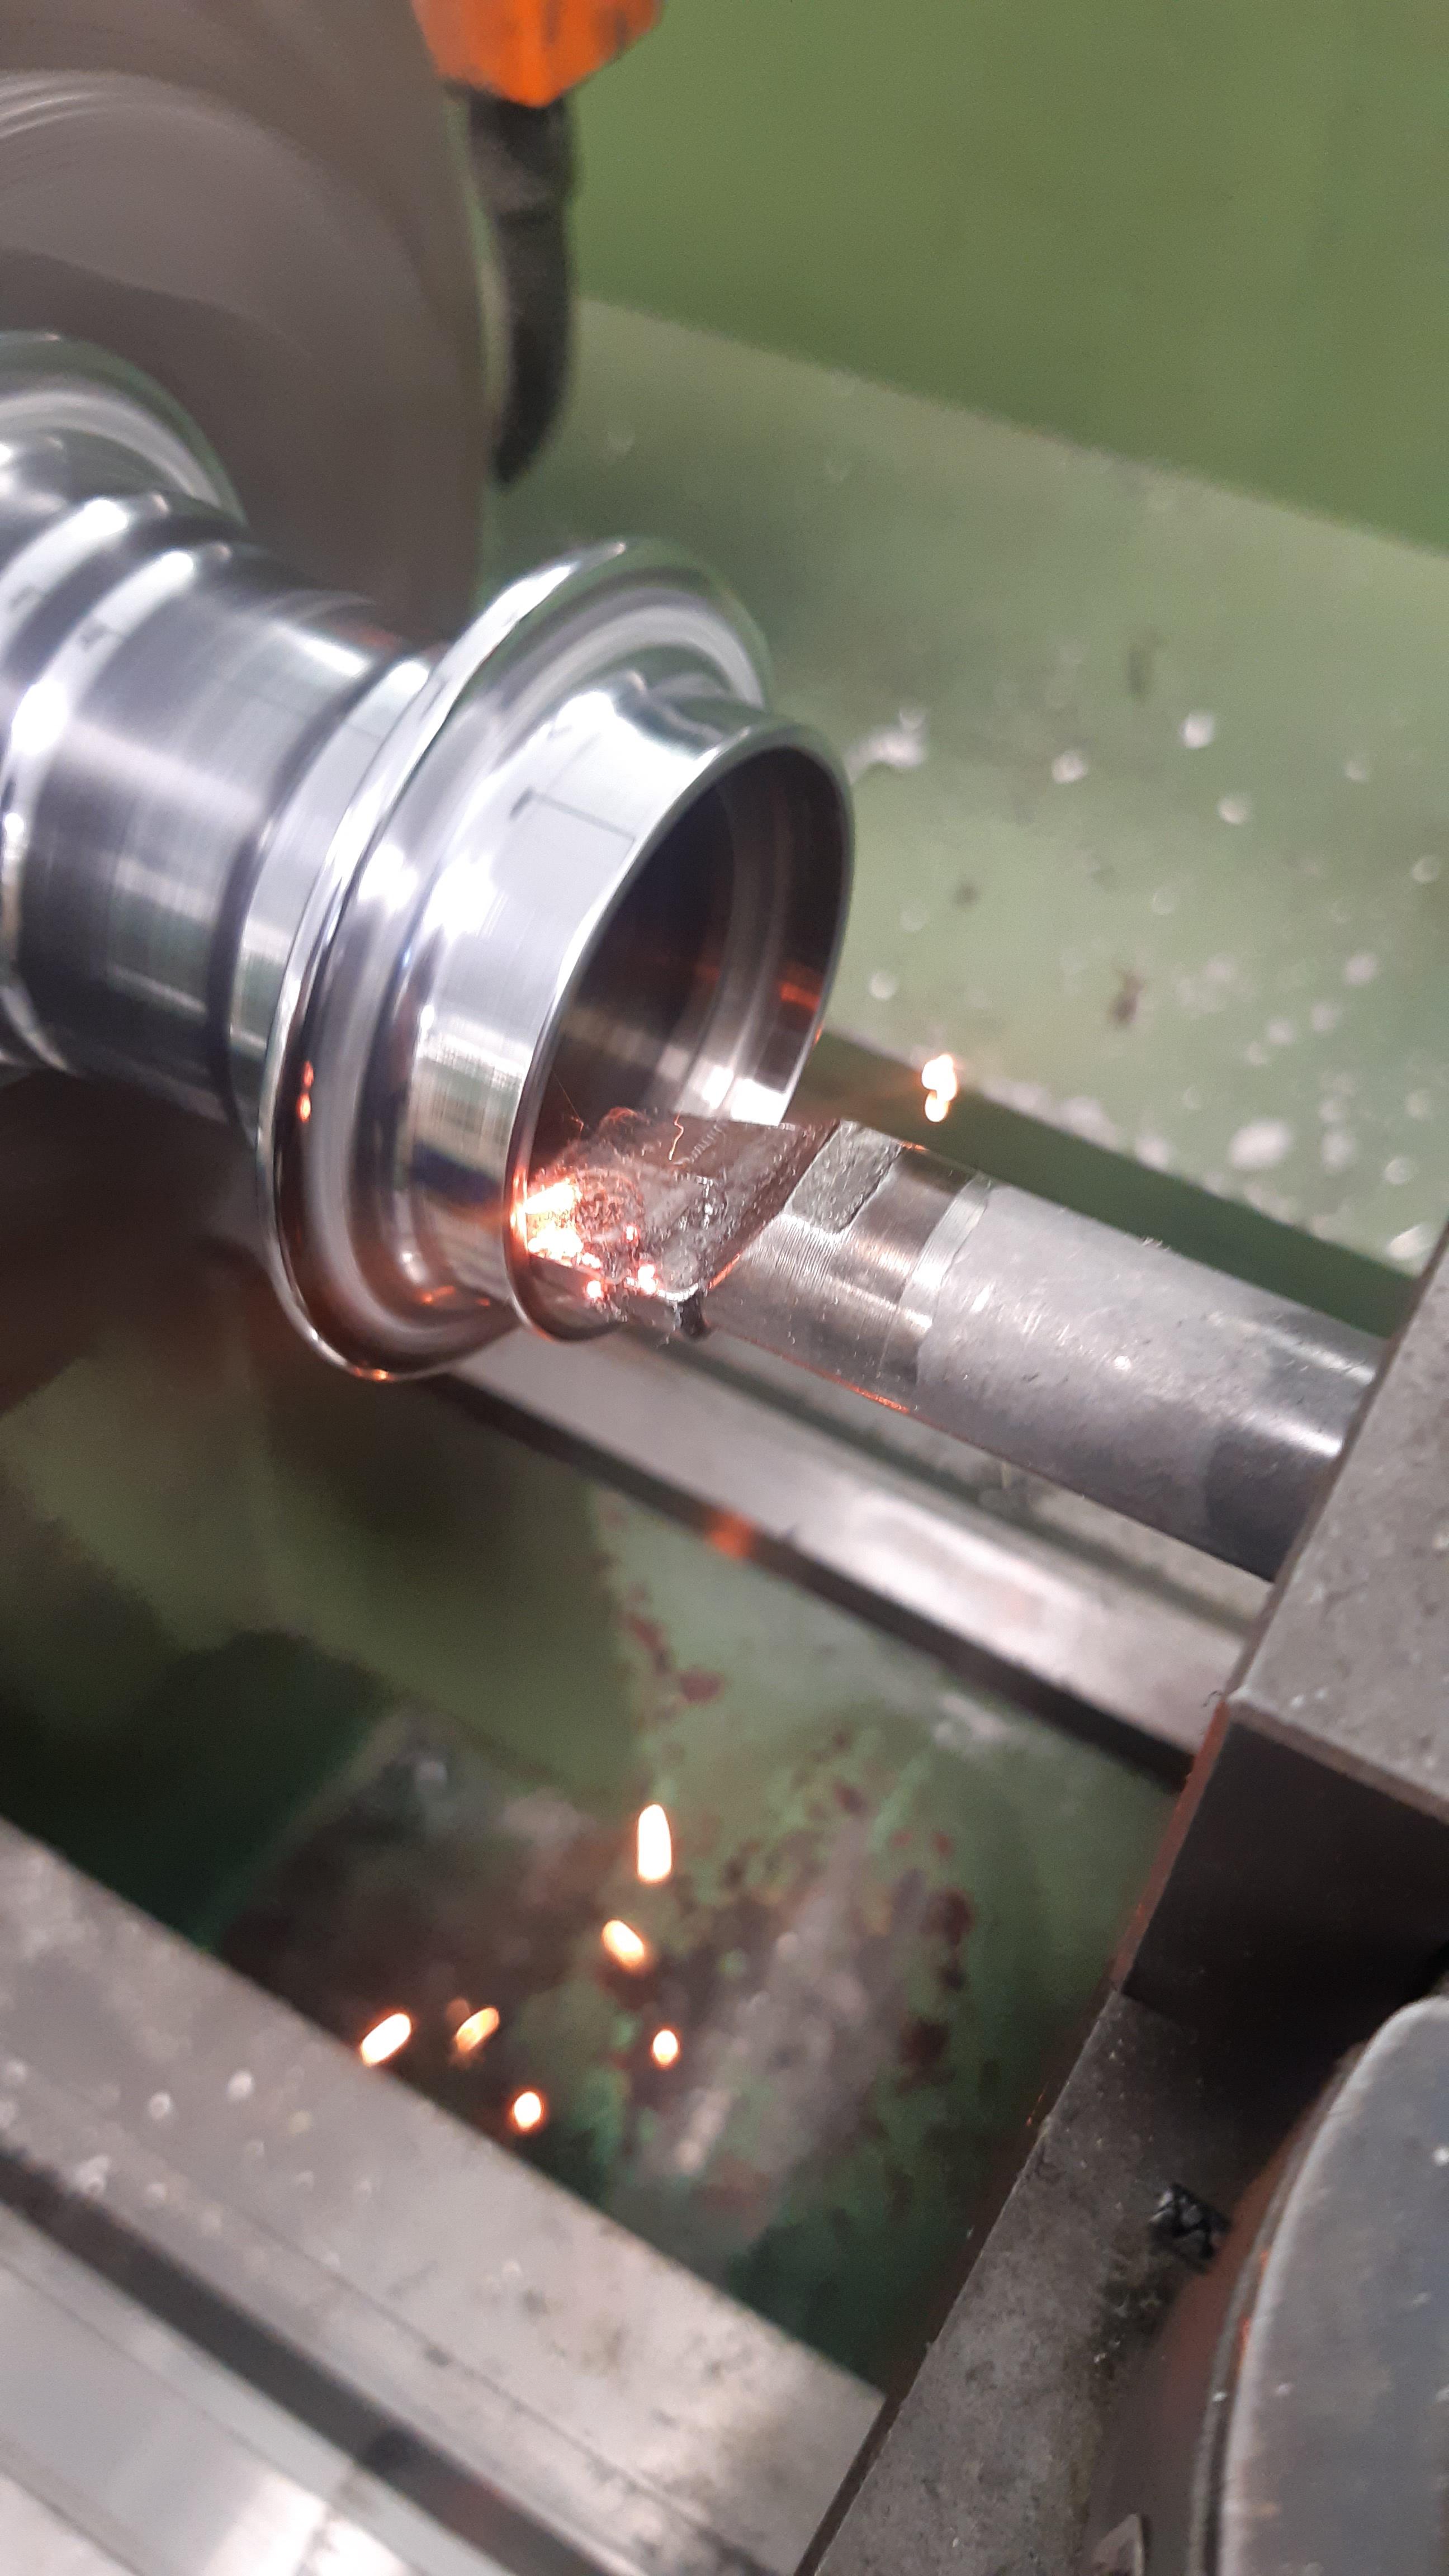
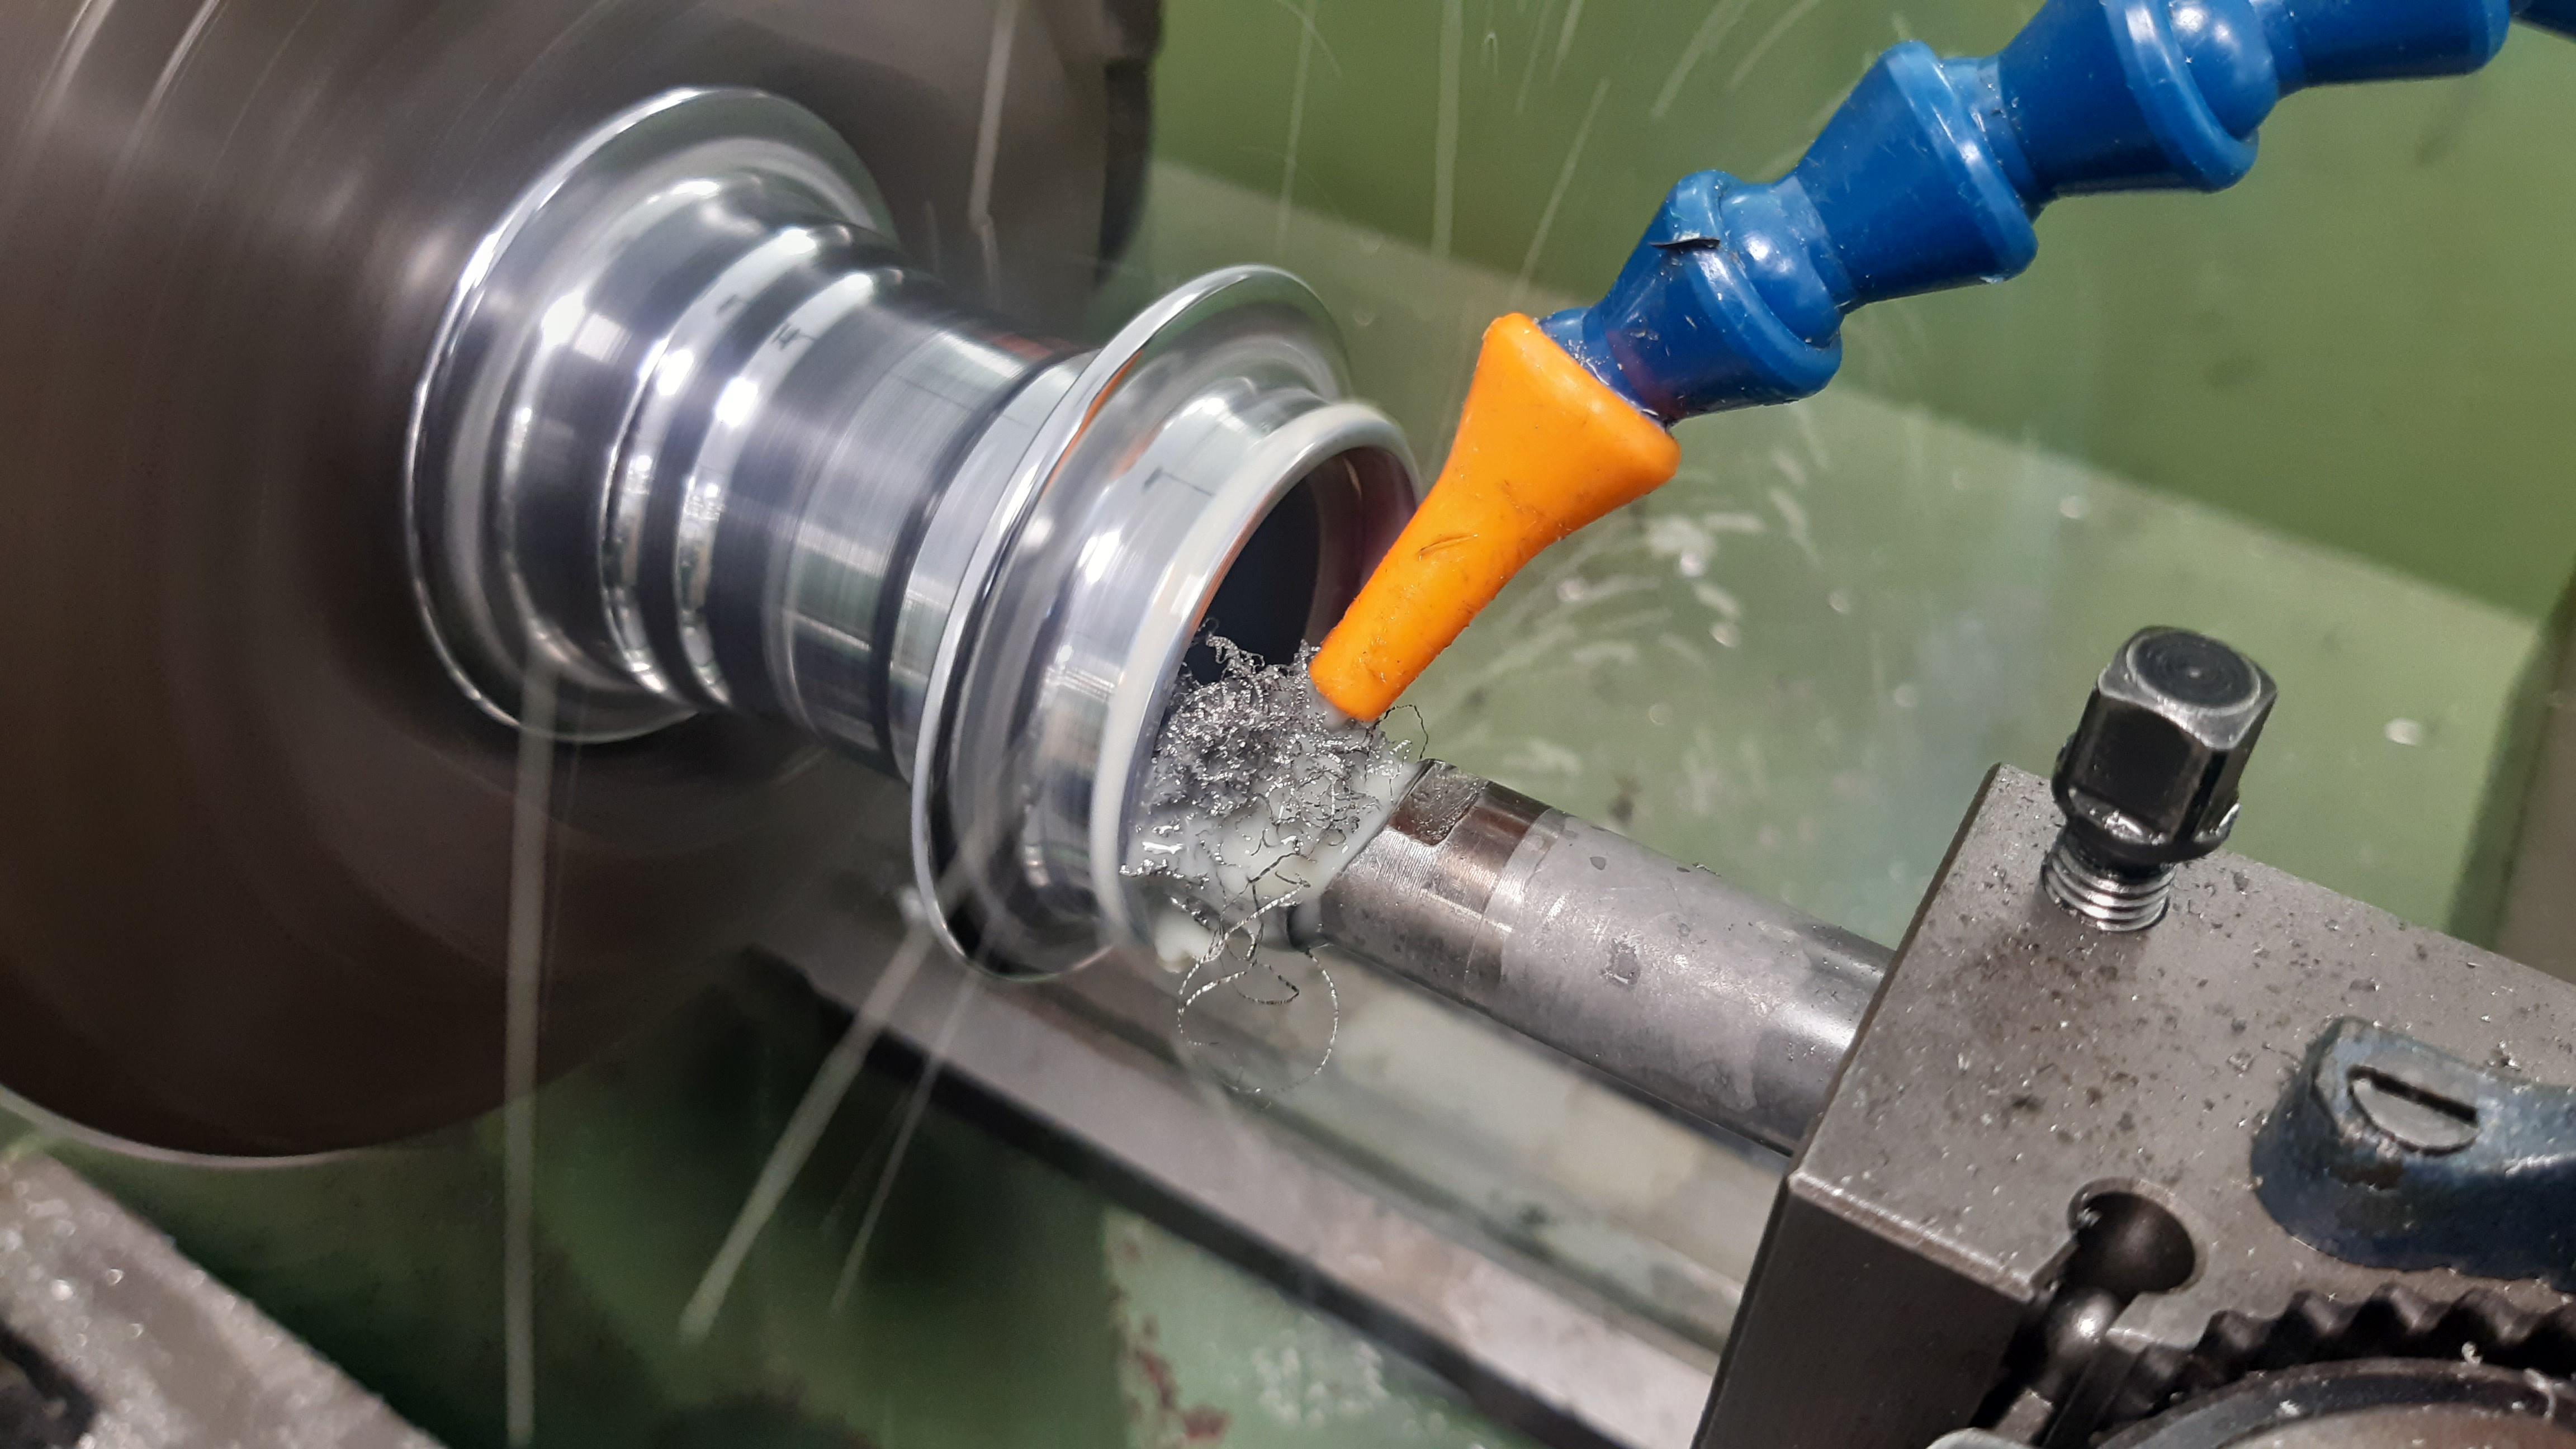
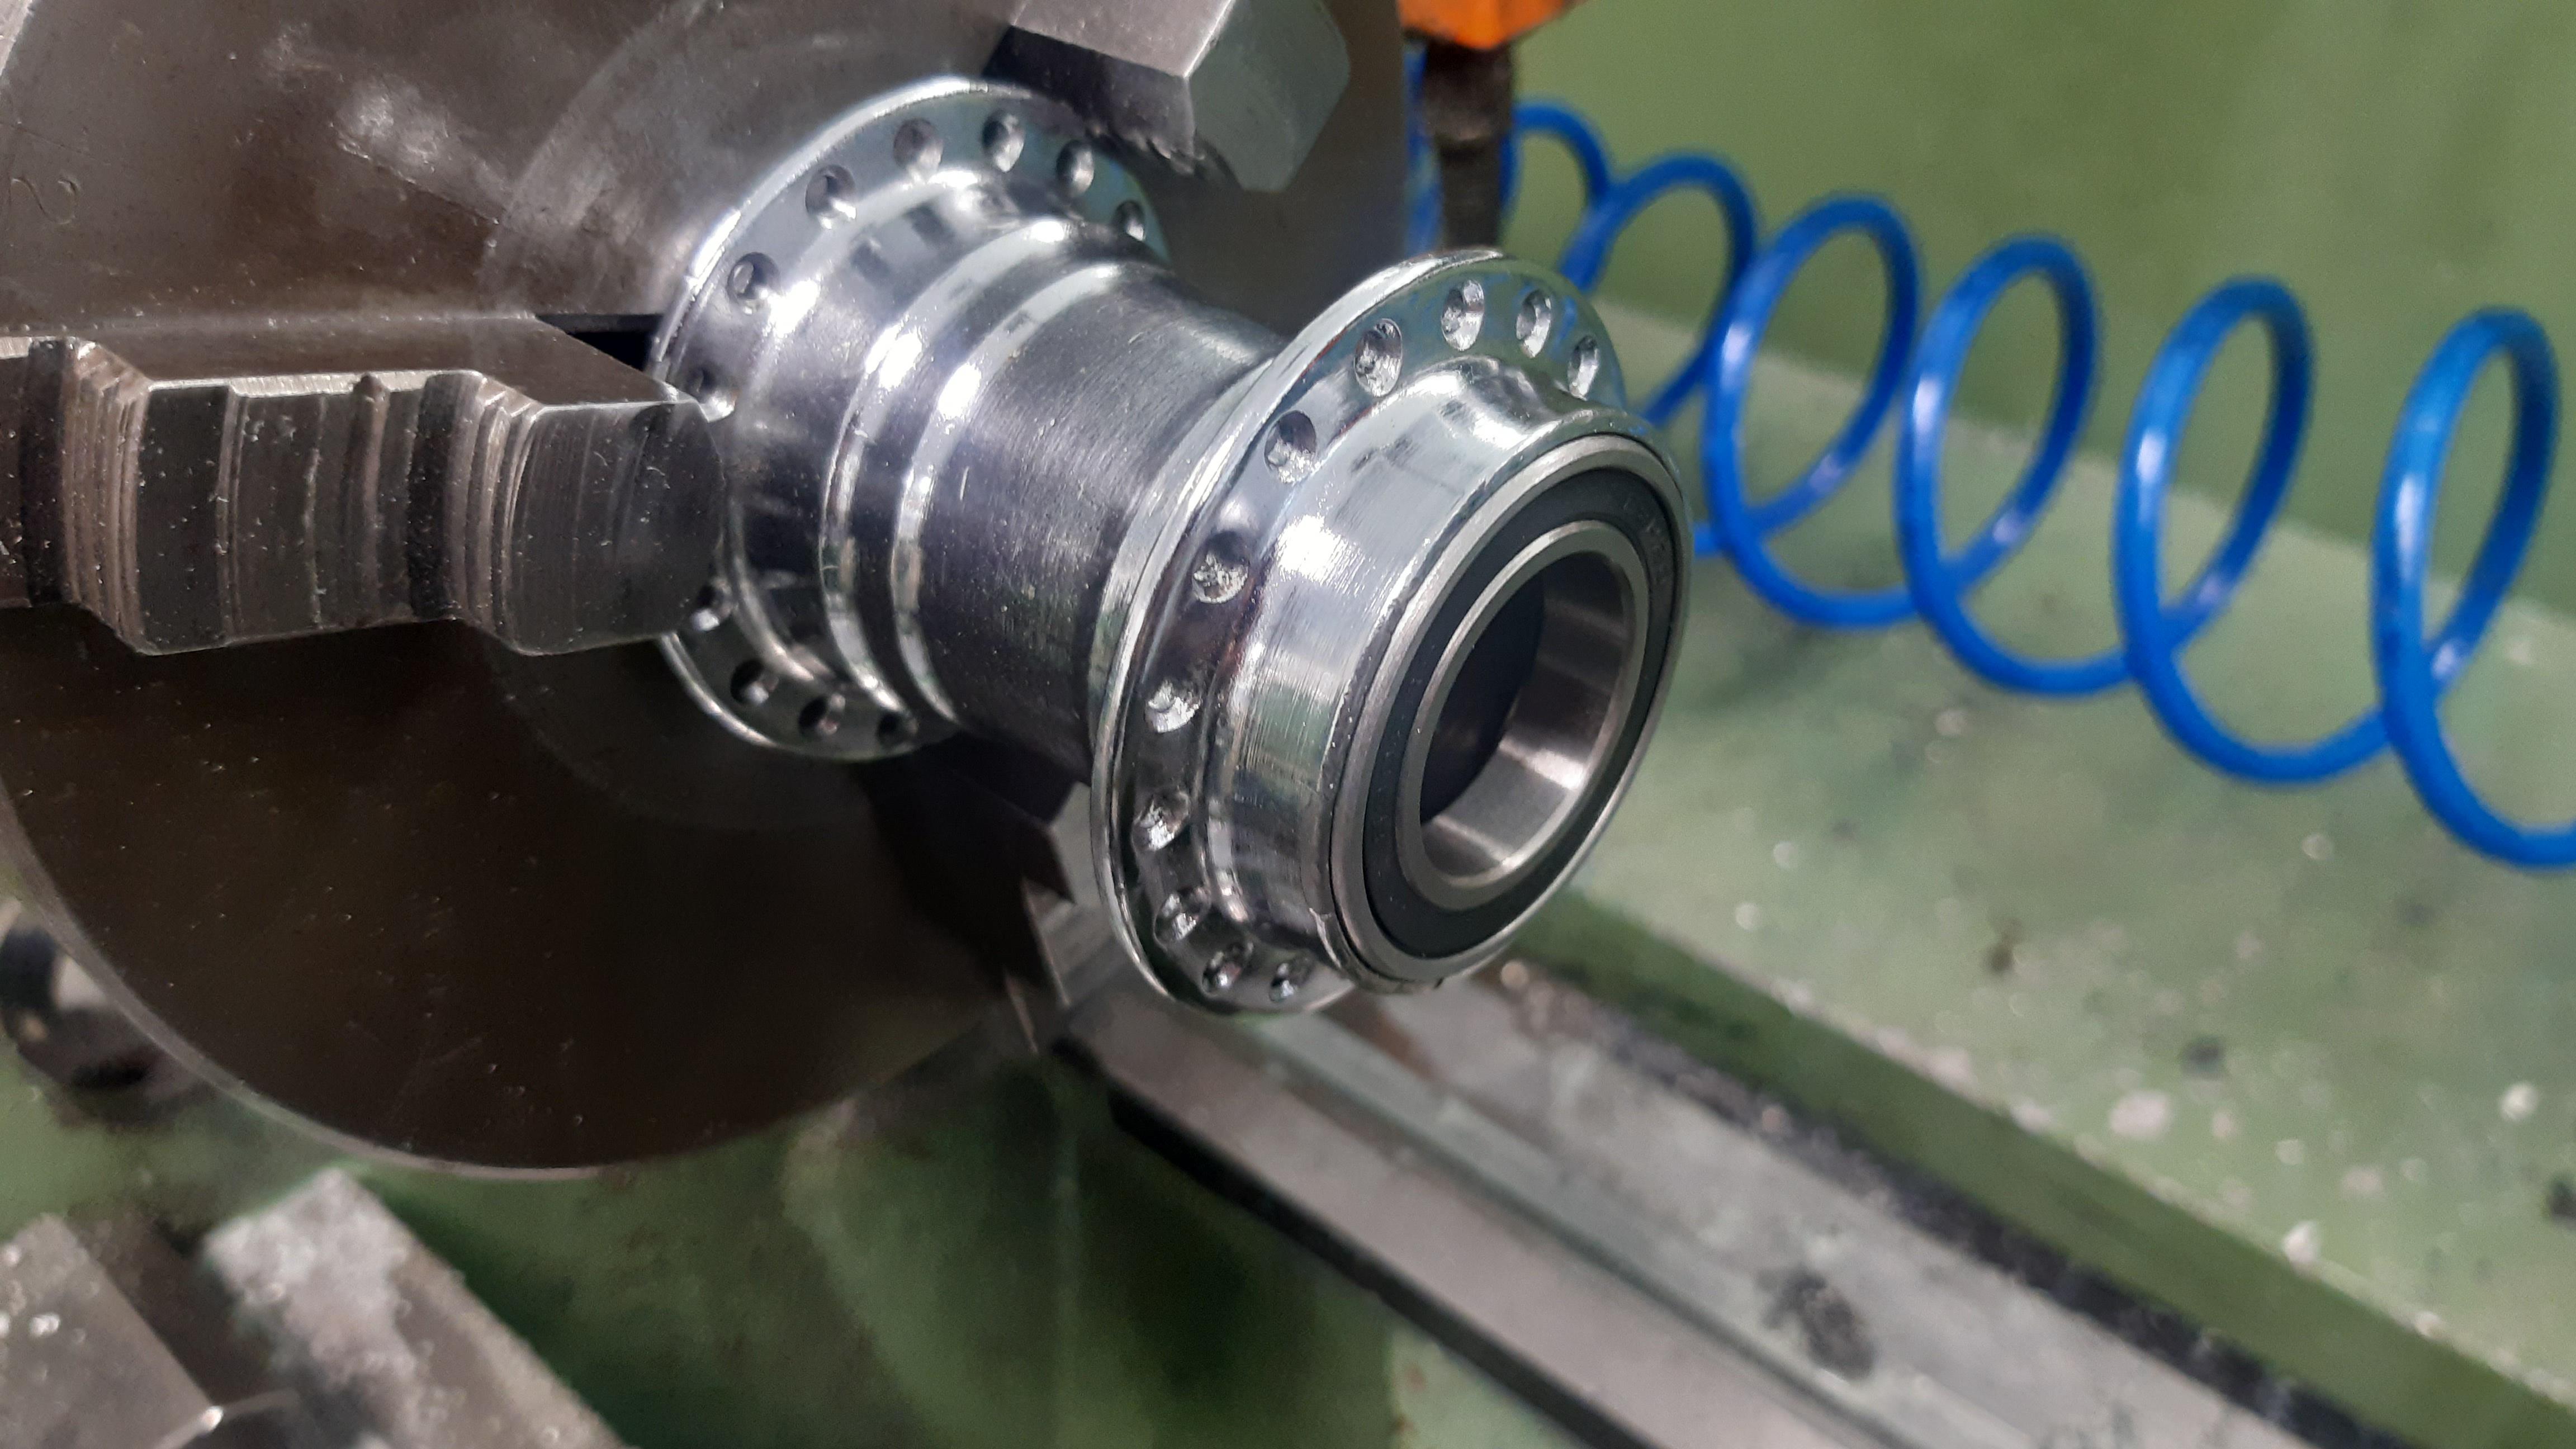
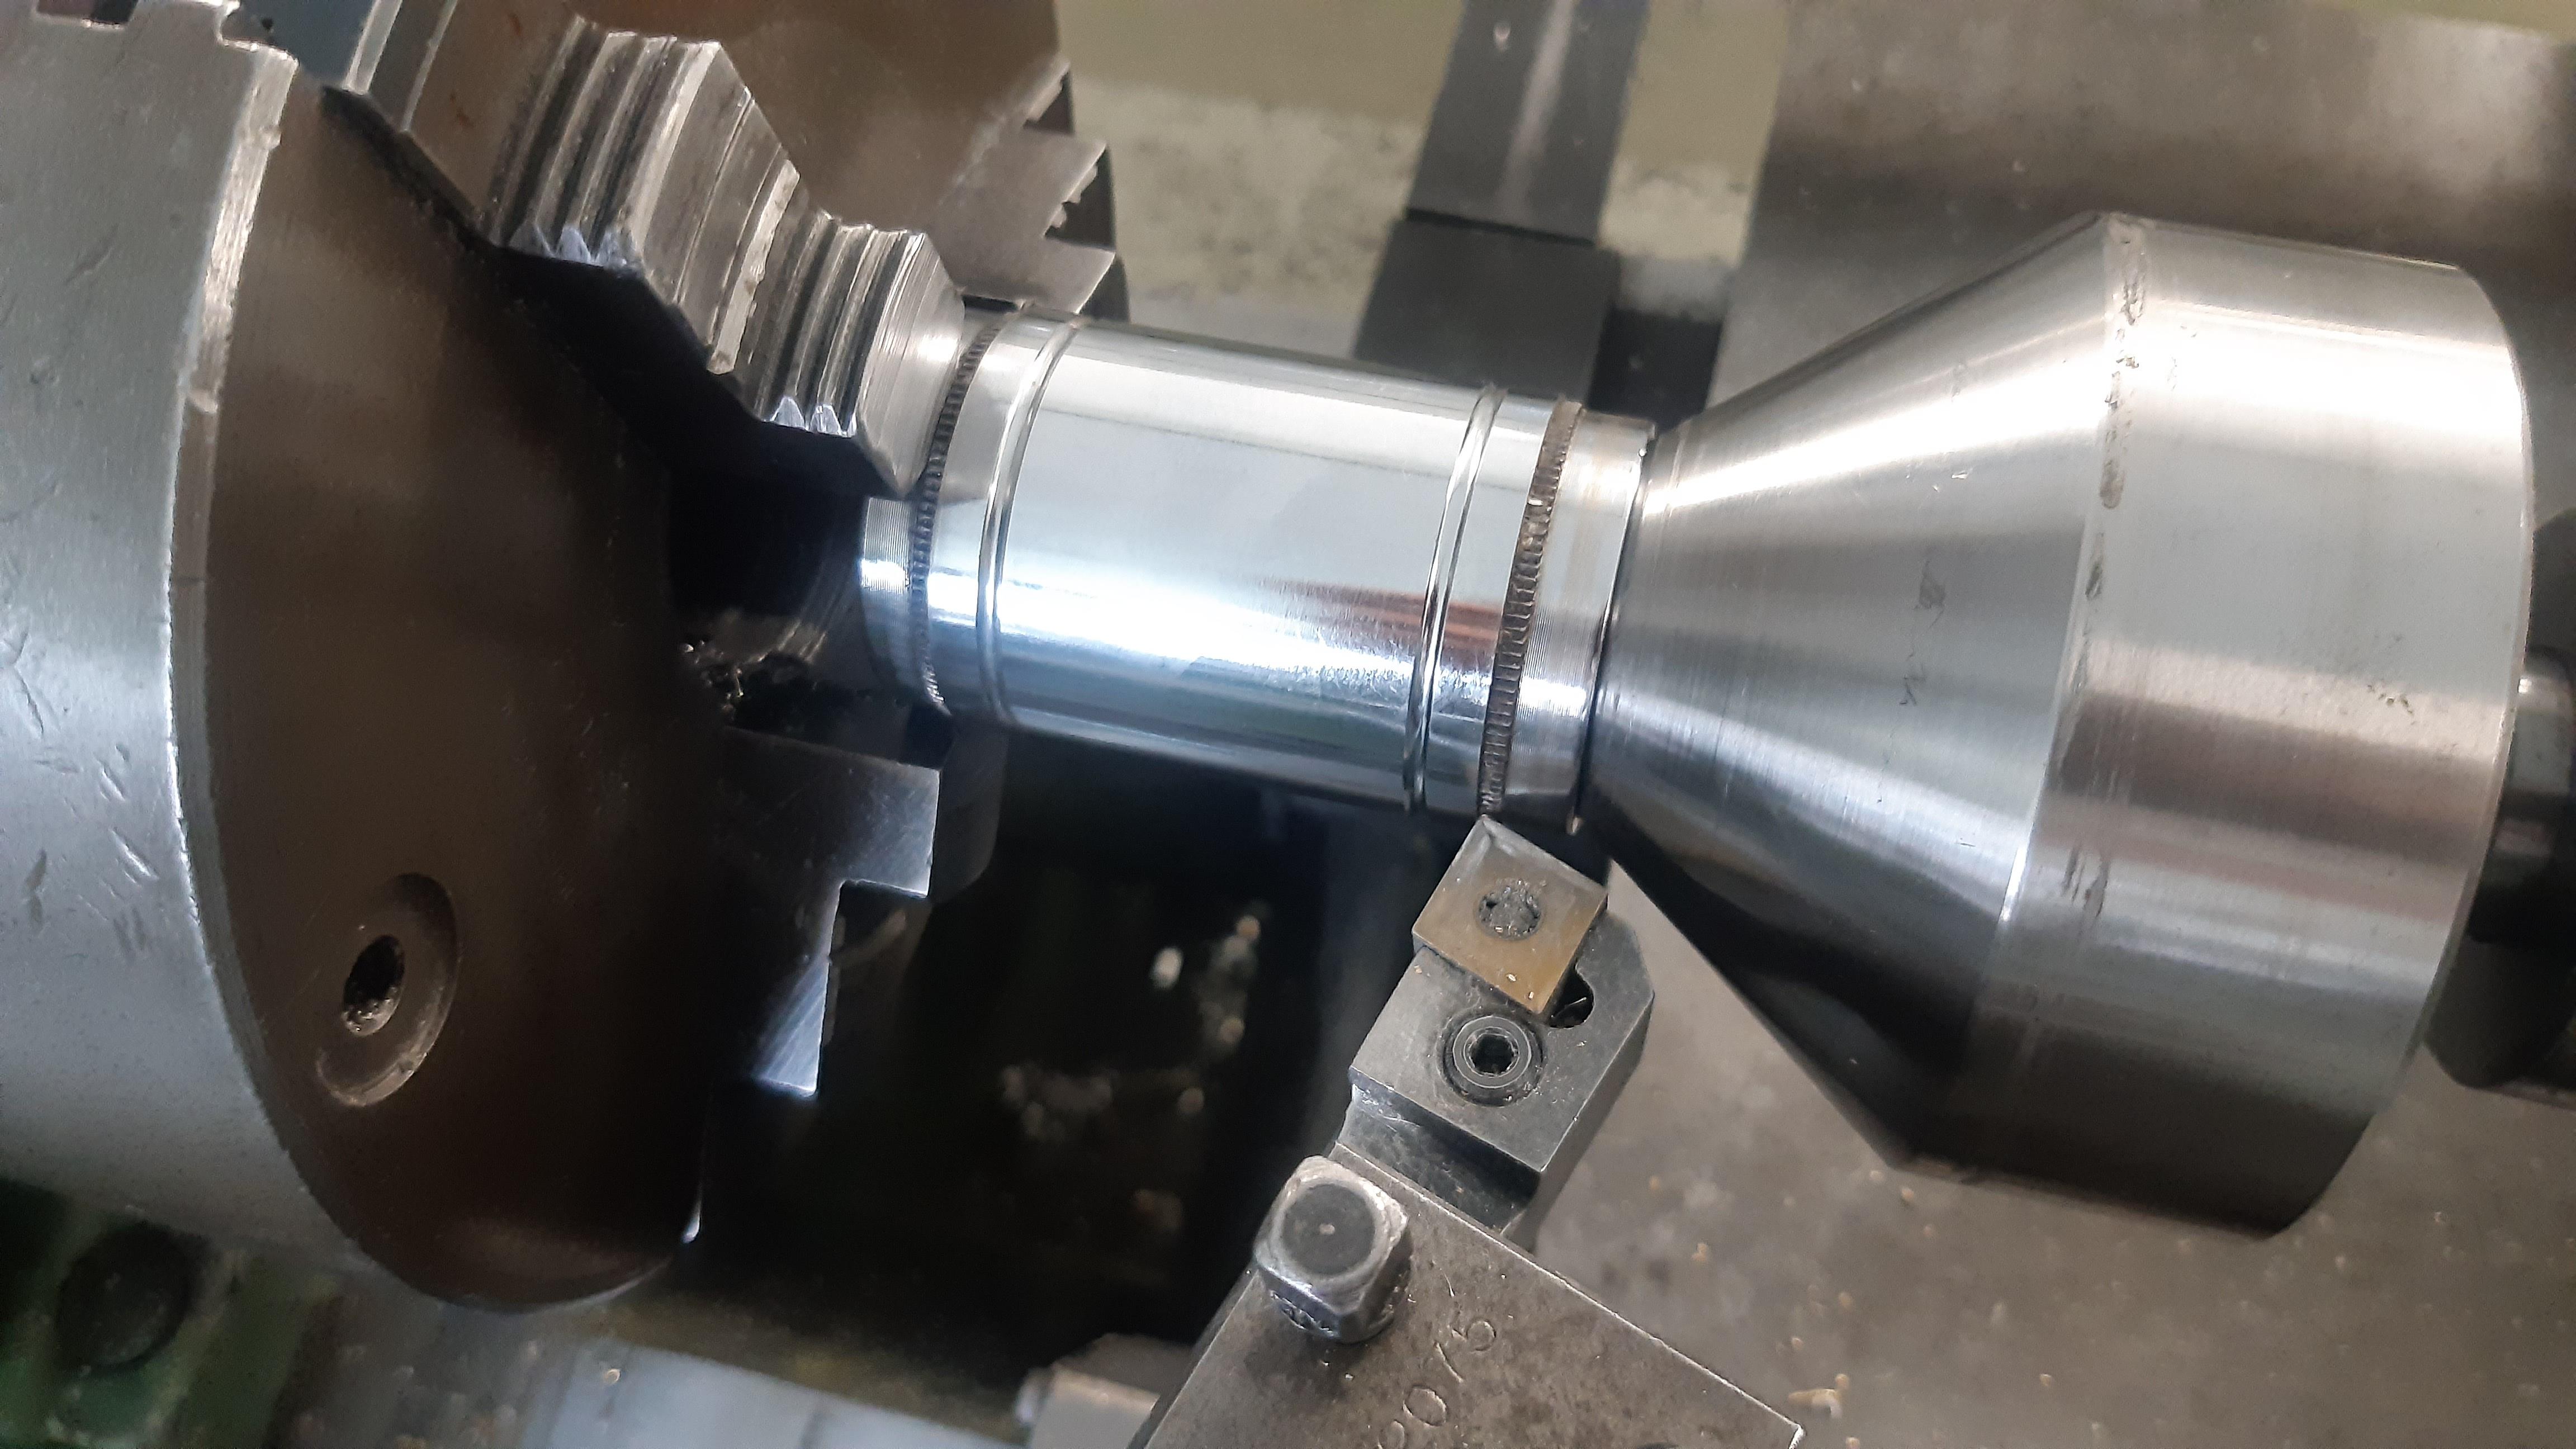
The shell is very hard to machine, but do-able with cooling and the right tools:

oDyWHyt.jpeg

YUyhTIH.jpeg

1W8V1uv.jpeg

d12NuBL.jpeg

MjqdEbs.jpeg

Picture above: The left shell is to be pressed over the machined Shimano Shell and making usage of the teeth that the Shimano used for the spoke flanges.

mUaHhjm.jpeg


Video without cooling liquid (sparks) and with cooling liquor, I mean liquid

Next: Soldering or welding the outer bearing races/CroMo tubes!
 
Last edited:
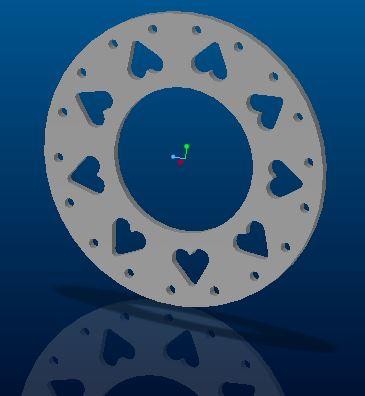
Forgot: Hub Flanges!

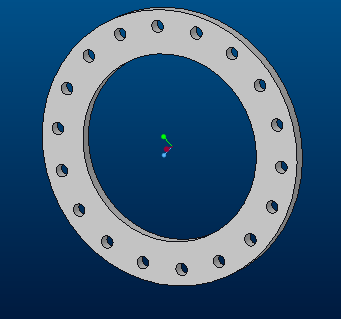
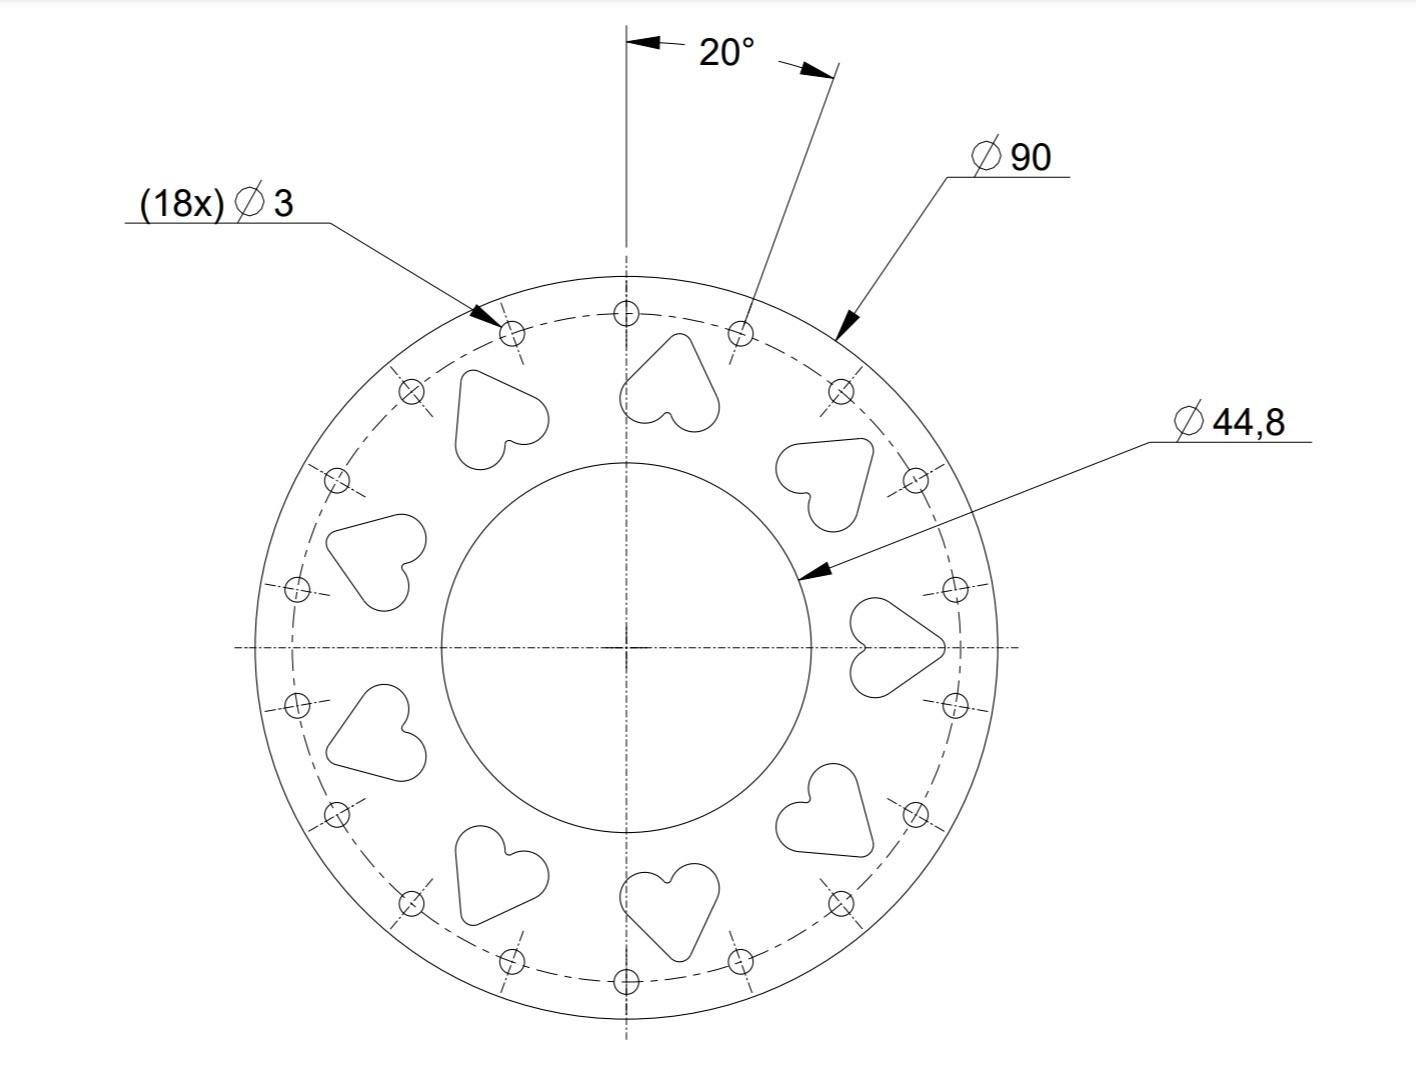
So the hub will be 36 holes.
The flanges will be a tad bit thicker than the Shimano's and there is some room to play on design/size.

jO6npSq.png

Standard flange.

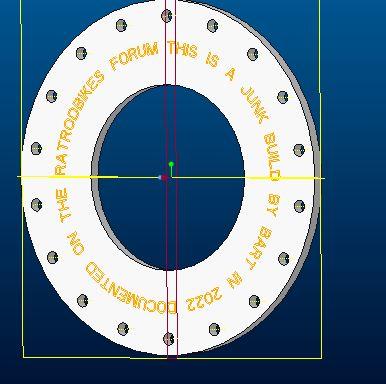
osEa3UB.jpeg

Goofing around with text that can be engraved.

So the flanges are not junk, but they are not expensive either.

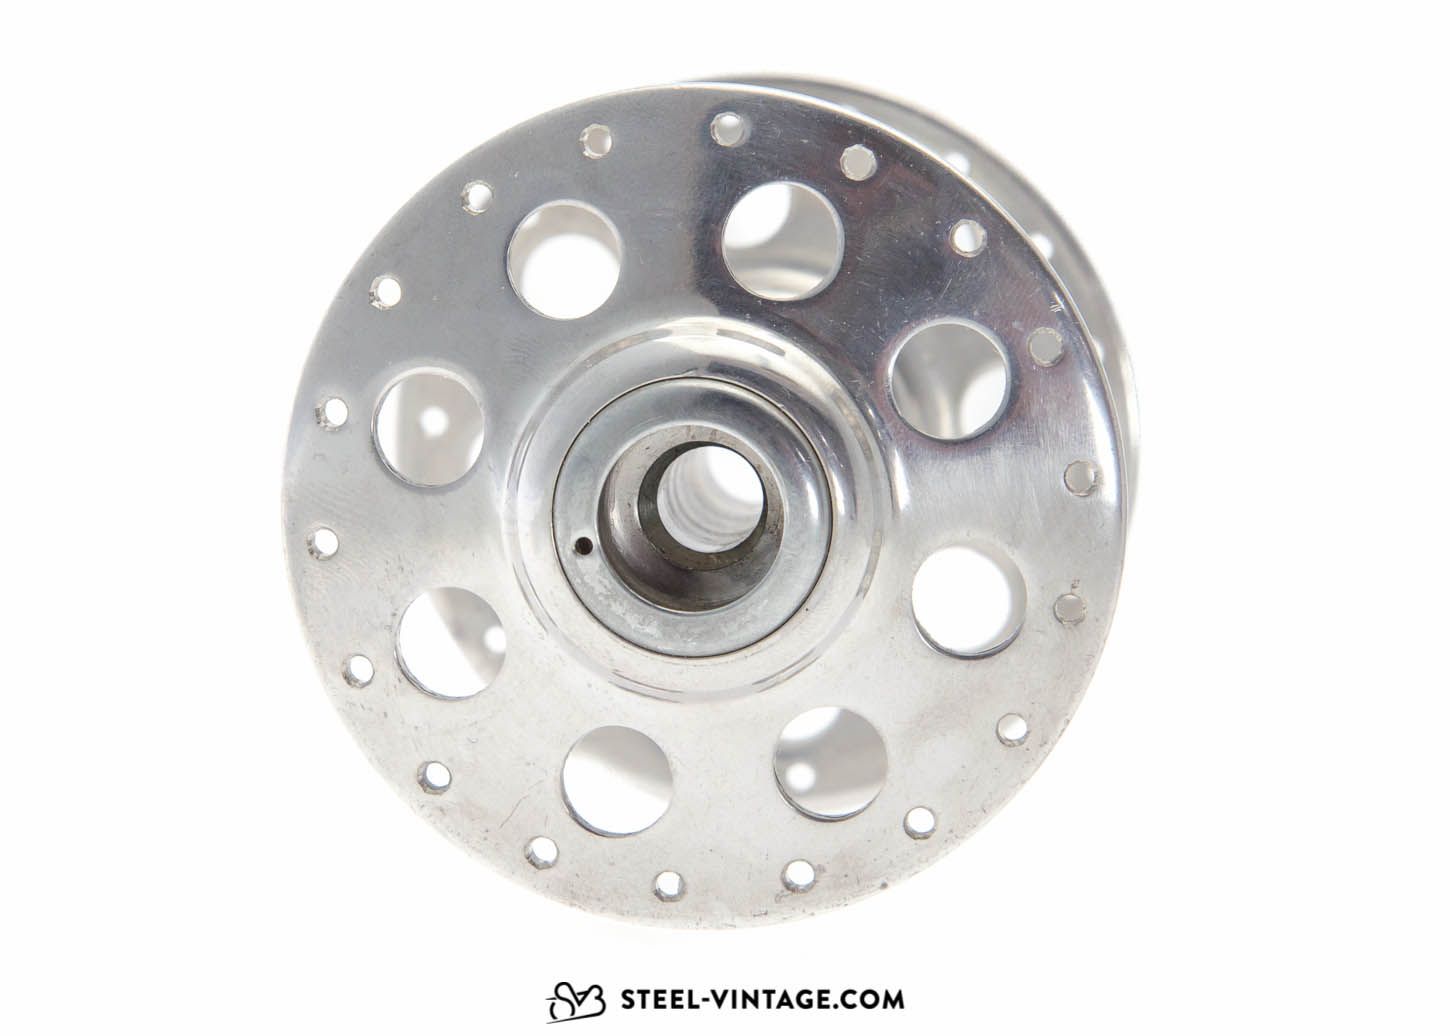
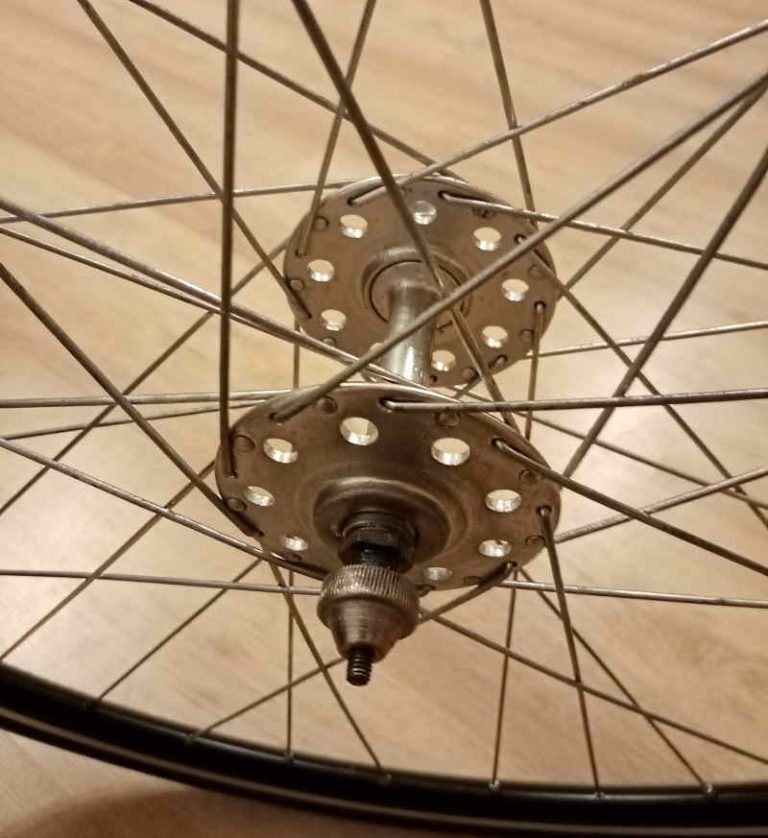
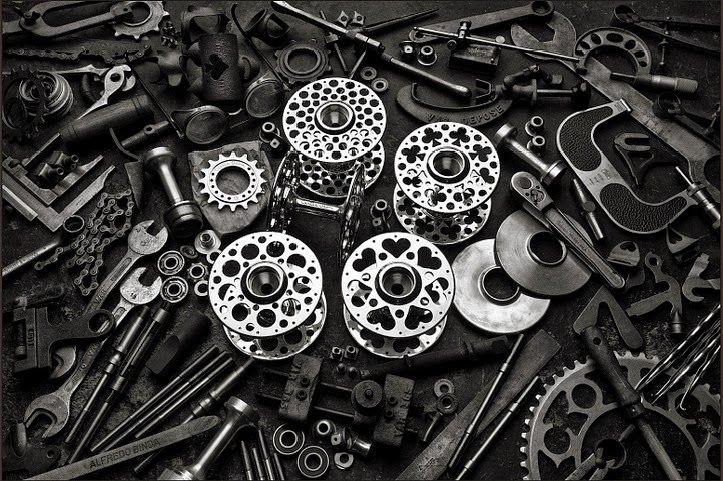
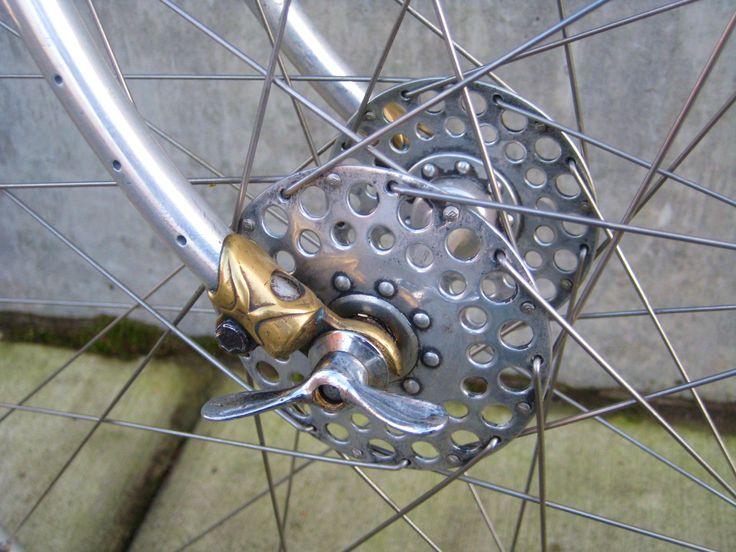
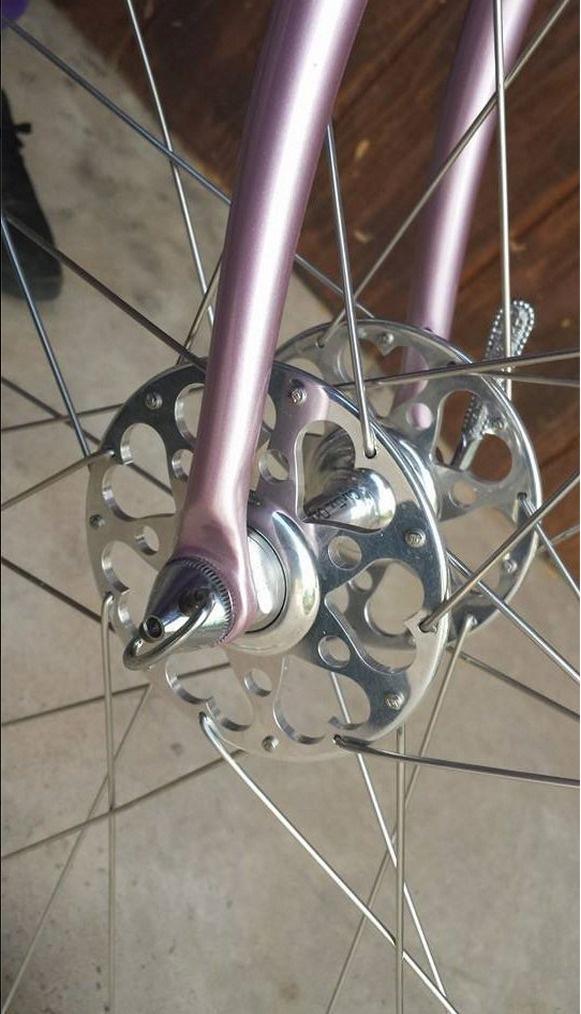
Do you have any cool/retro ideas on the (18 hole per piece) hub flanges?
Or fun text?

Some examples:

campagnolo-nuovo-tipo-high-flange-nos-hub-2.JPG


High-flange-hub-road-bike-1-768x838.jpg


Interesting article for me to read tomorrow!

Thanks for any input!
 
Agreed.

I saw a like from @c.p.odom on my previous post, this forum is so awesome with all the creative technical heads here :rockout:

I am full of ideas, but I'll finish this cheap build first.

Question:
Is powdercoating a hub wise with the possibility of paint cracks due to the spoke pressure?
My other thought is a rusty hub on the outside, I use enough thick grease with assembly to keep it in perfect shape technically.

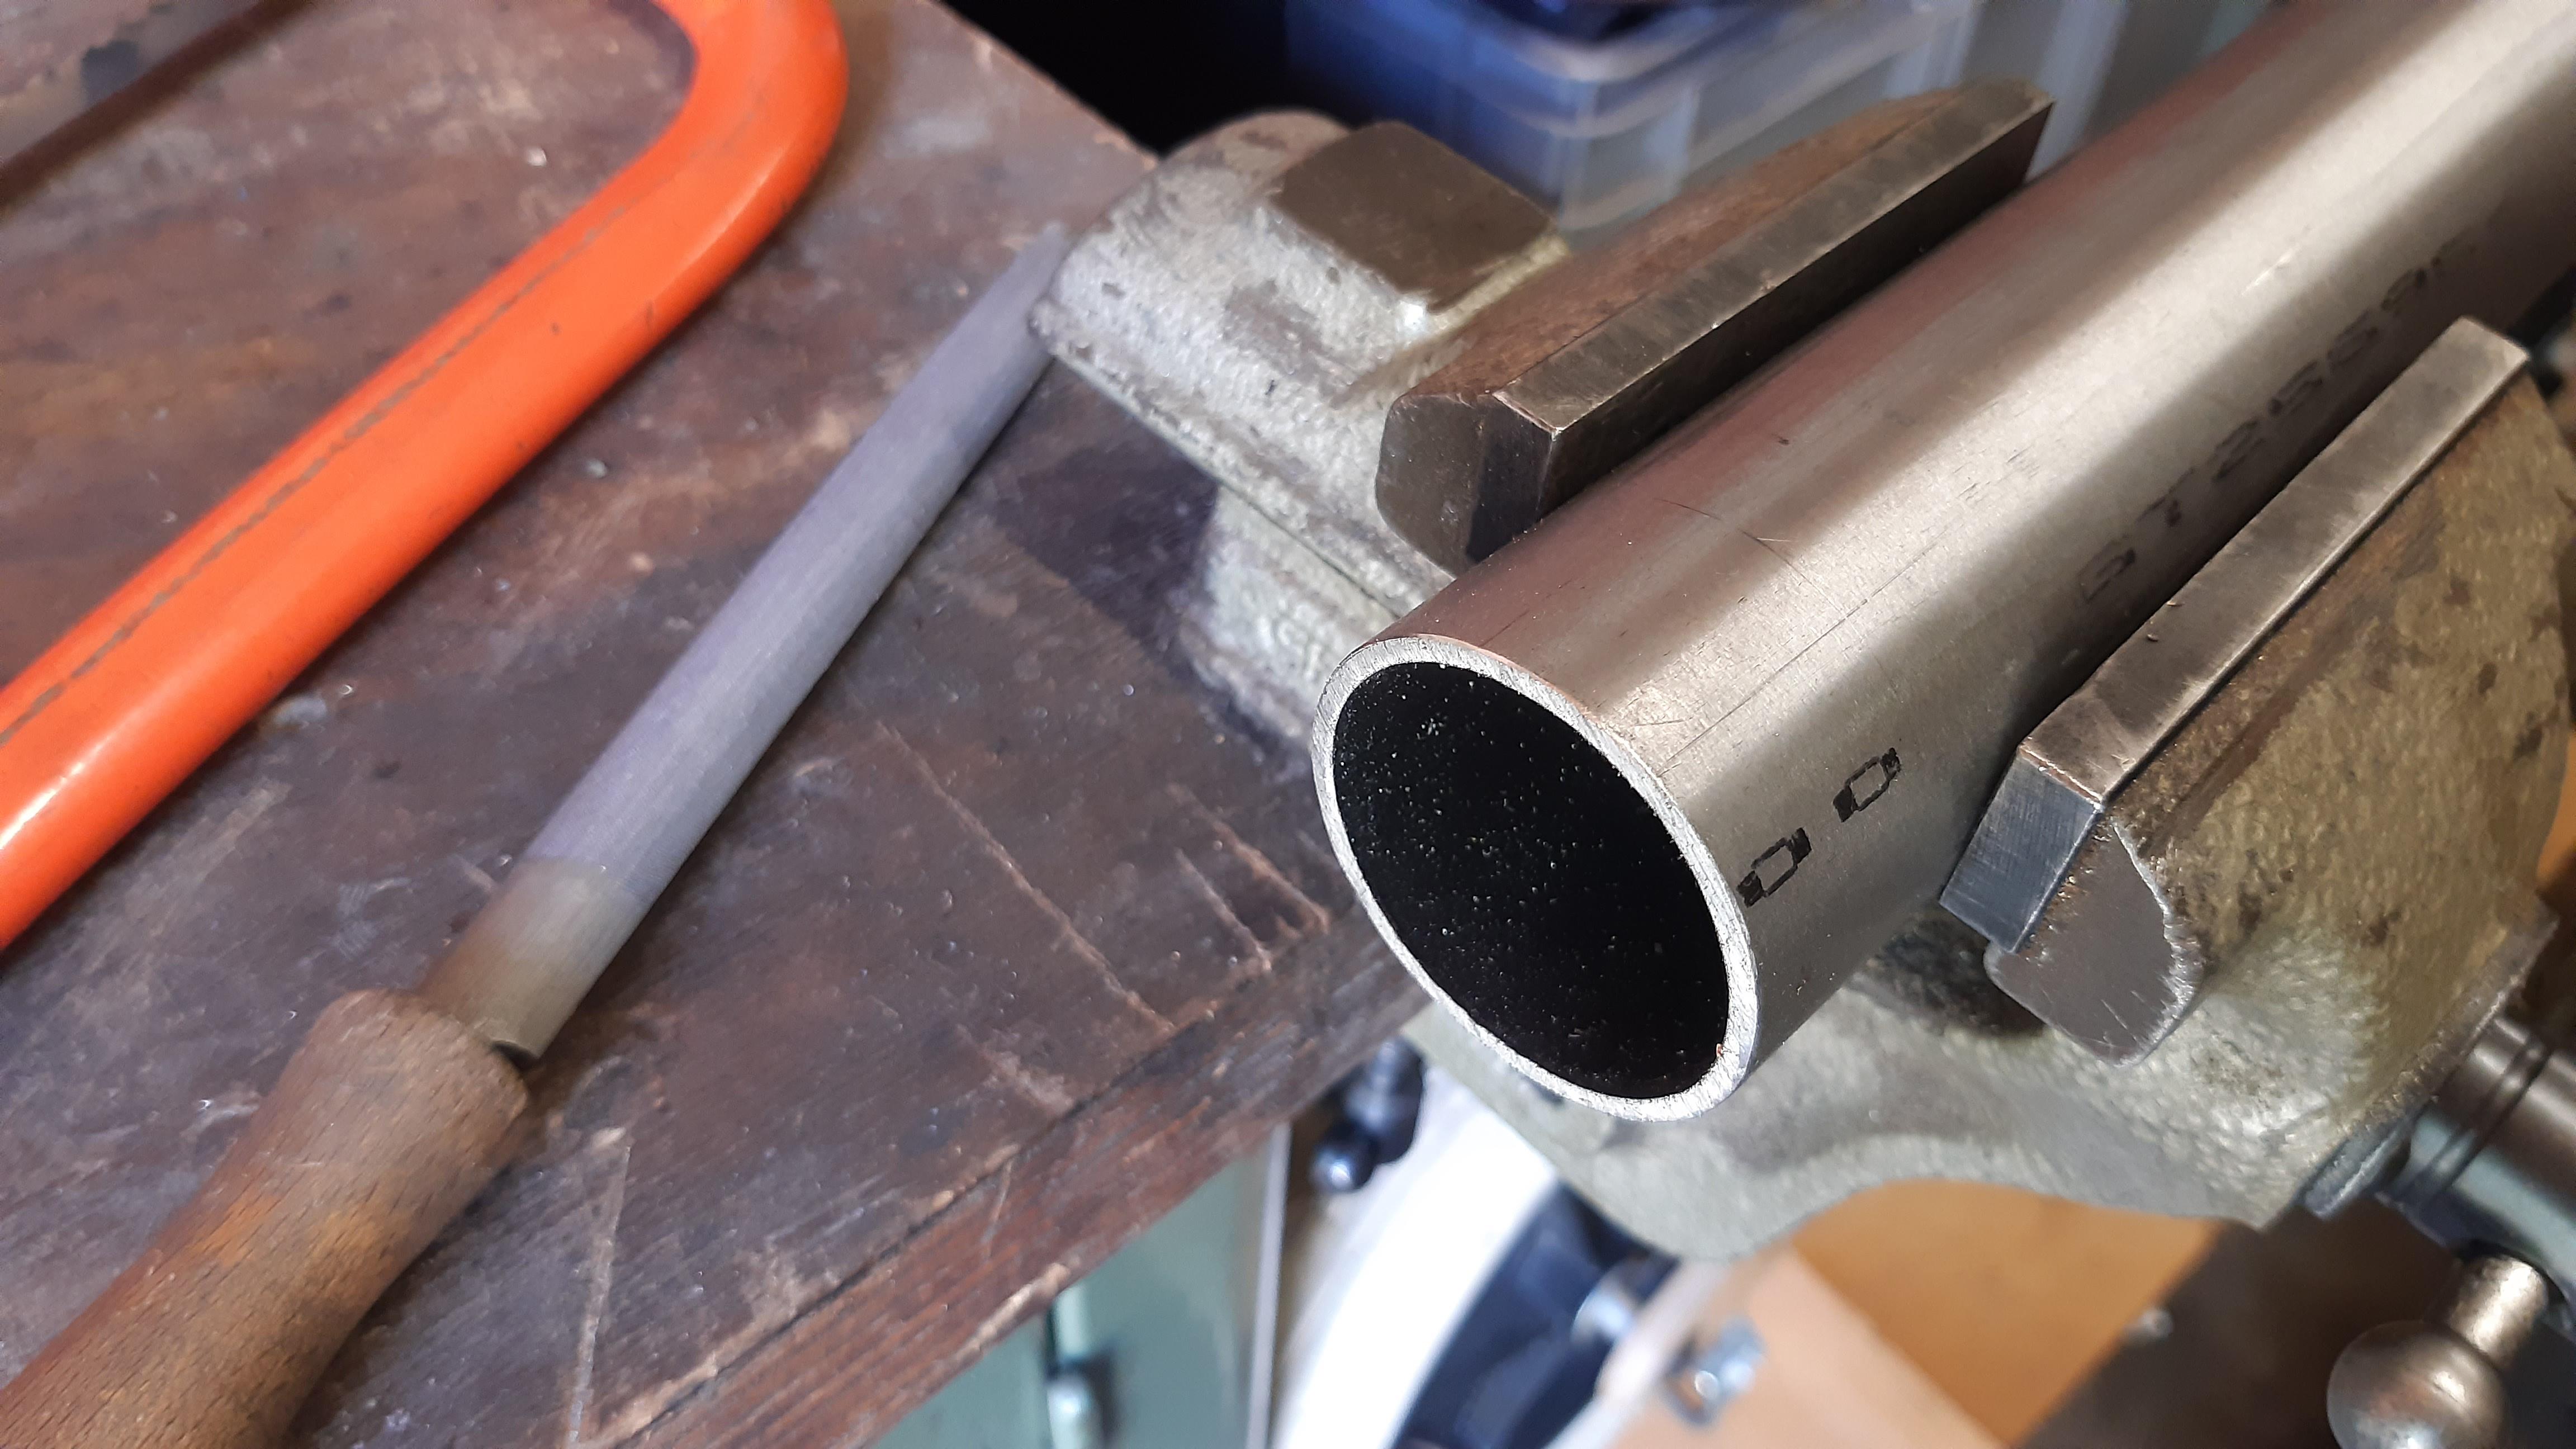
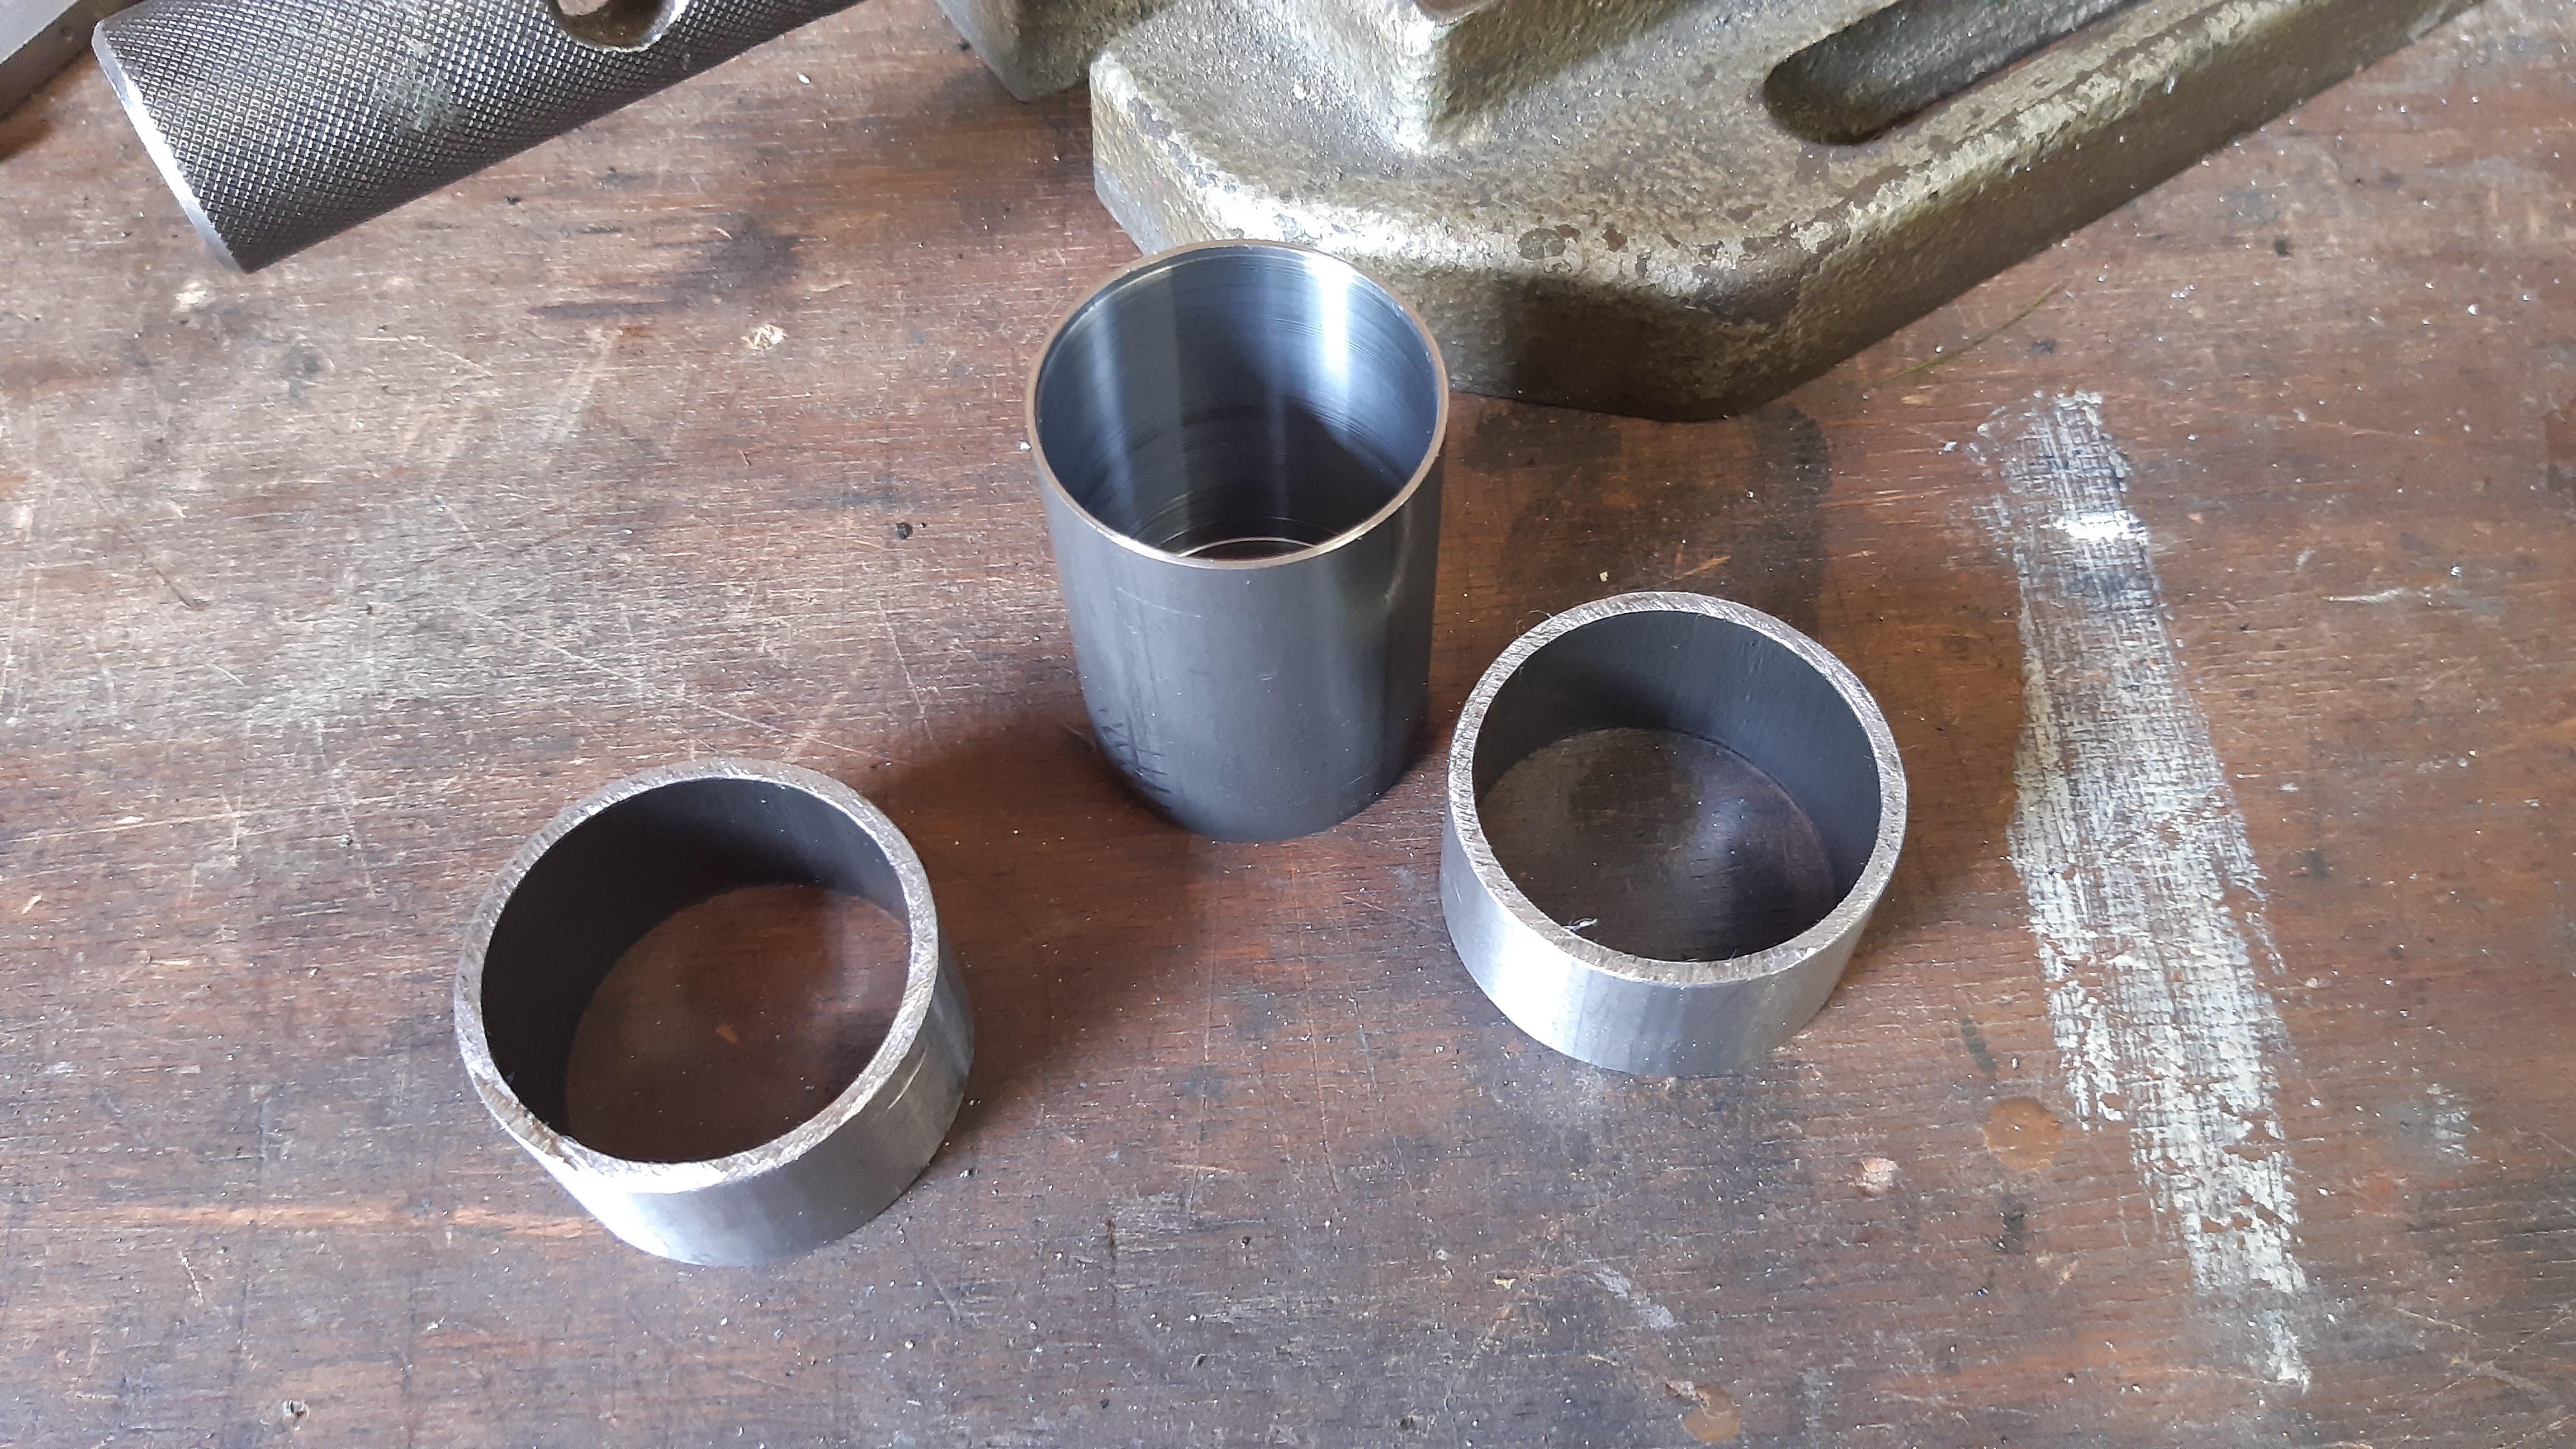
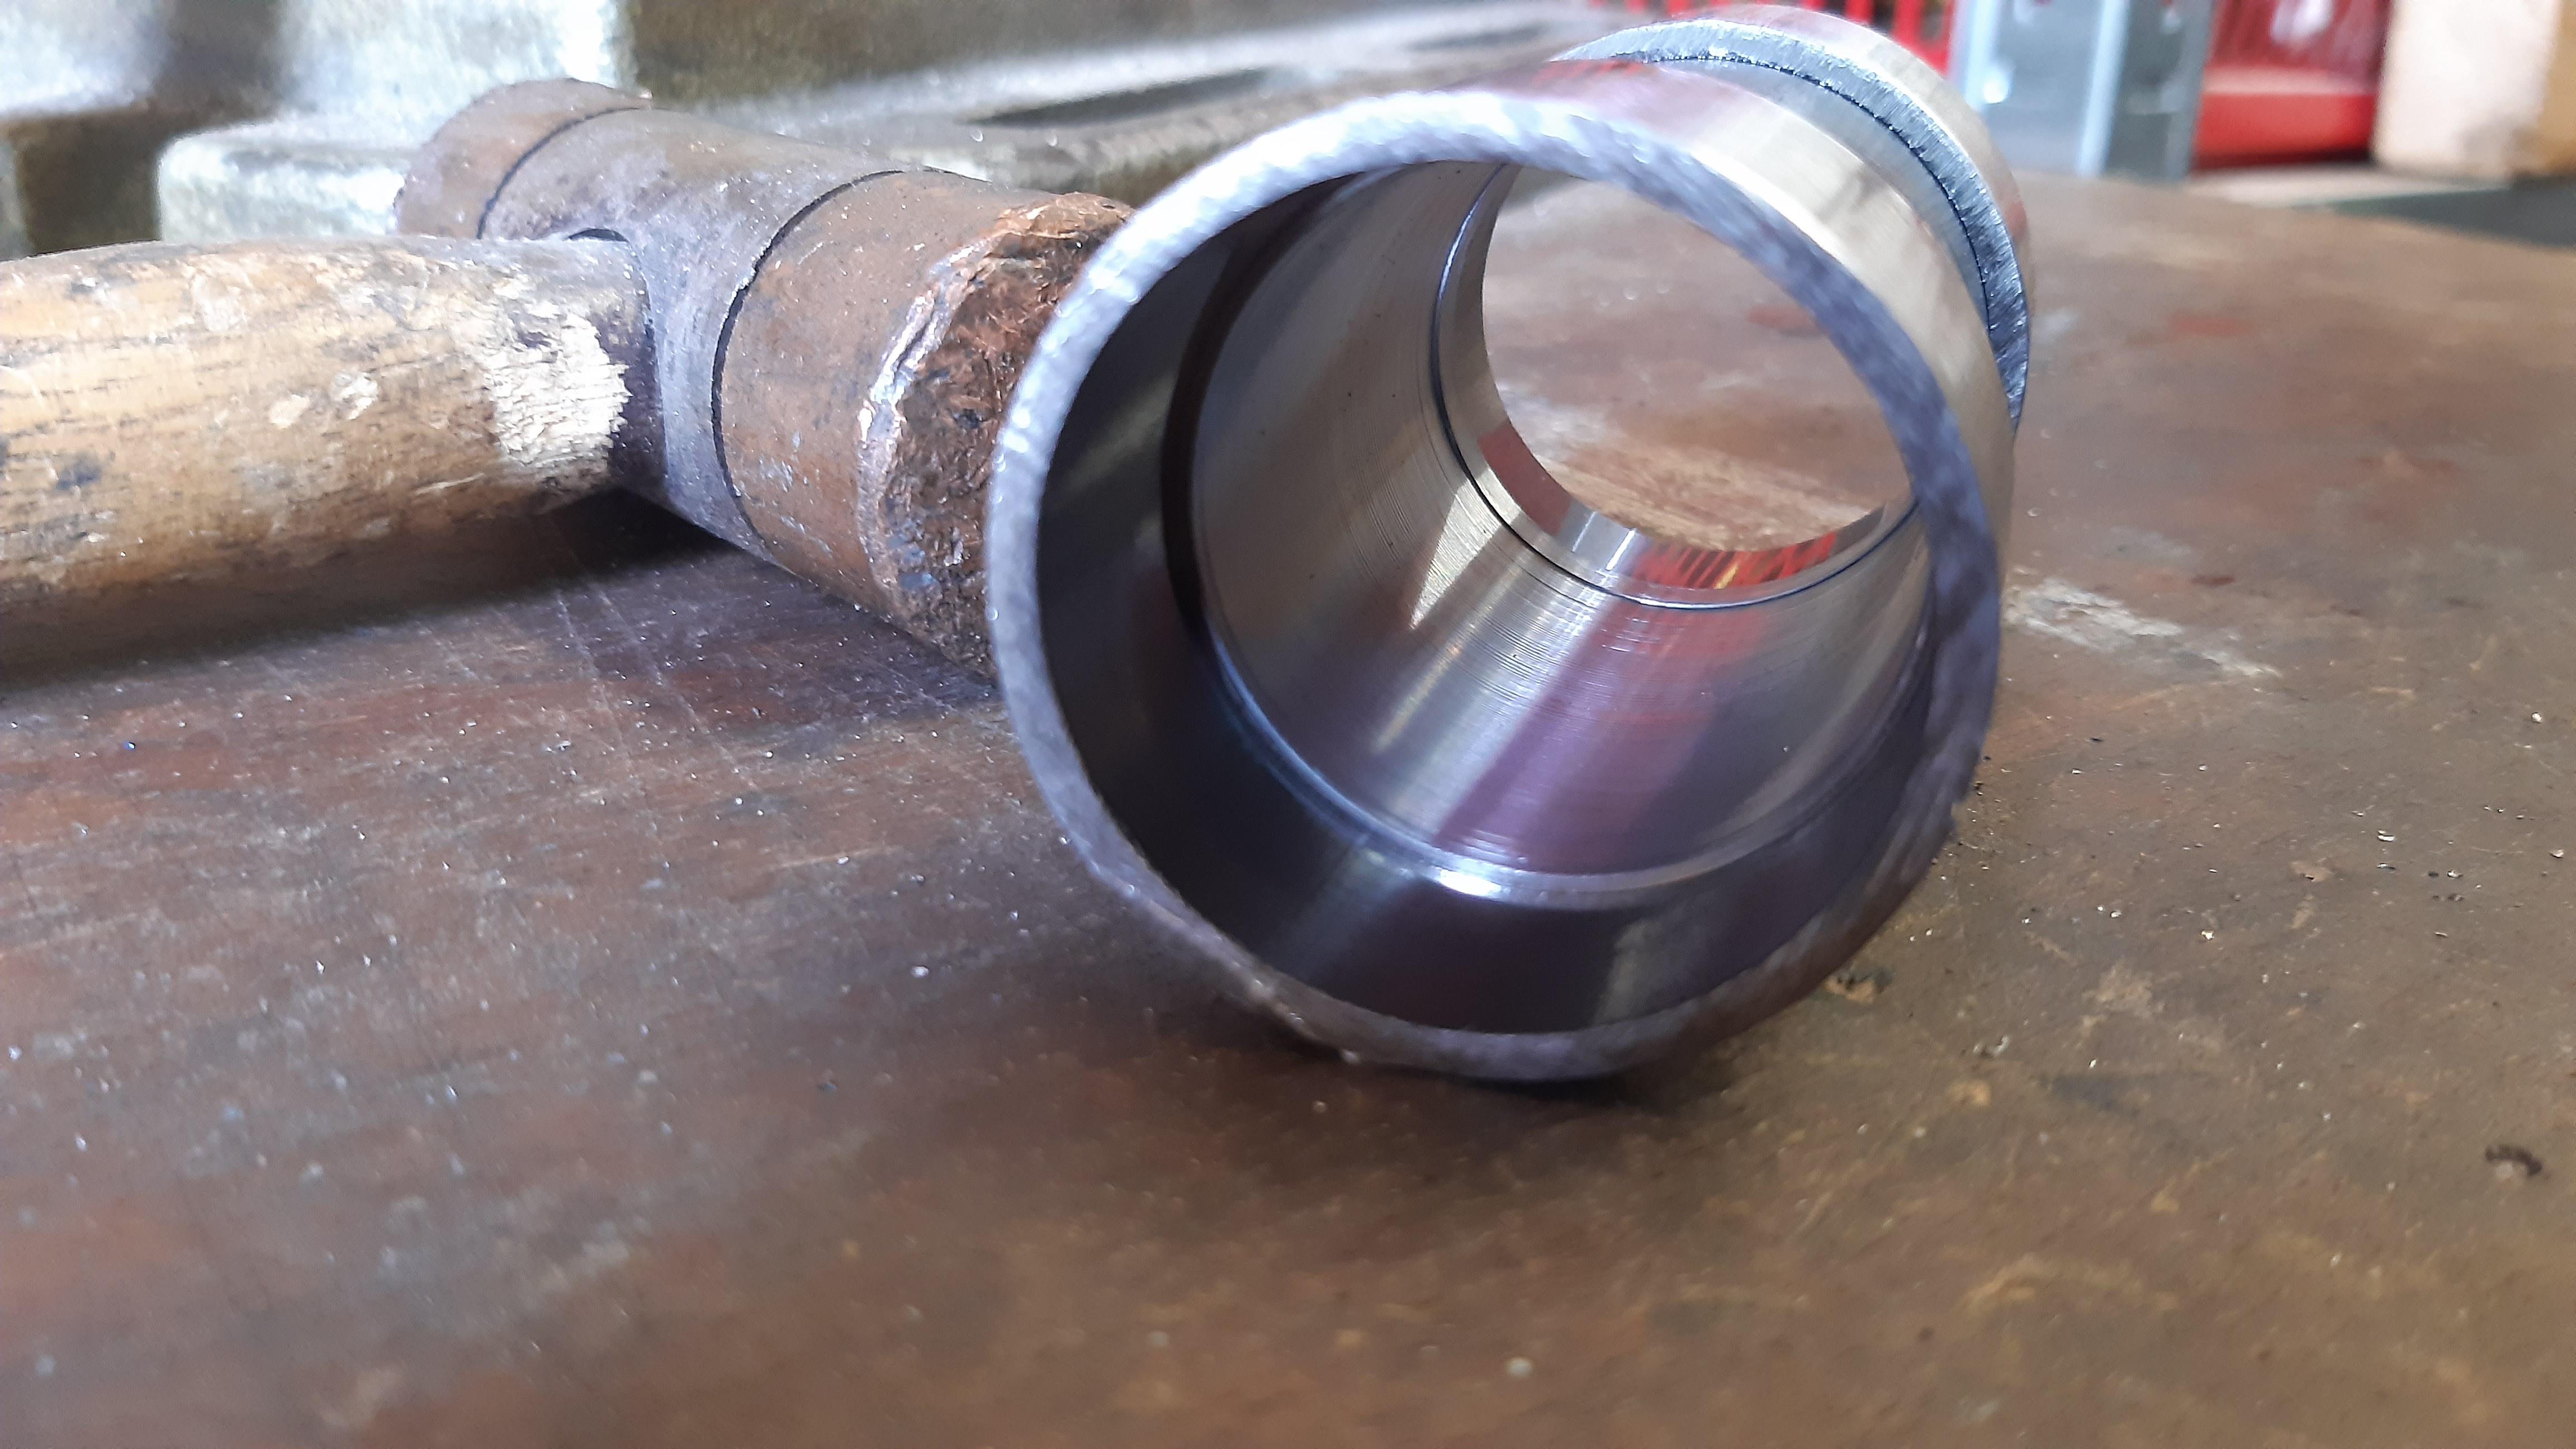
The 45x2.5 and 40x1.5 CrMo tubes fit perfectly together, just a little deburring and some taps with the hammer and now the 'outer bearing races' are neatly in place.
They will be milled and straightened after welding or soldering.

Next week I'll design some spoke flanges. High flange!
Due to this being a tryout, I am going to have some fun with the lasercut flanges, maybe use a christmas tree shape or something that fits.

Pictures:

aSigStX.jpeg

KSUytyE.jpeg

zwb08aa.jpeg

ECKsIp0.jpeg

AtjrVUu.jpeg

7FBUU4x.jpeg

I used the straight cut outsides of the 45mm CrMo tube on the inside for tidyness purposes.

Thanks for watching
 
Last edited:
Powdercoating hubs seems to work for every hub manufacturer I can think of.
Thanks Karate Chicken, I did see some other forum where the coating has cracked which made me a bit nervous: Reddit post - Cracked coating
Could also be a quality thing.

I think it would be wise to make the spoke holes just a bit bigger so when it's coated you can still fit the spokes in easily
They are now 3mm, 12g spokes are 2.3mm as far as I remembered. But I can always drill them even larger.

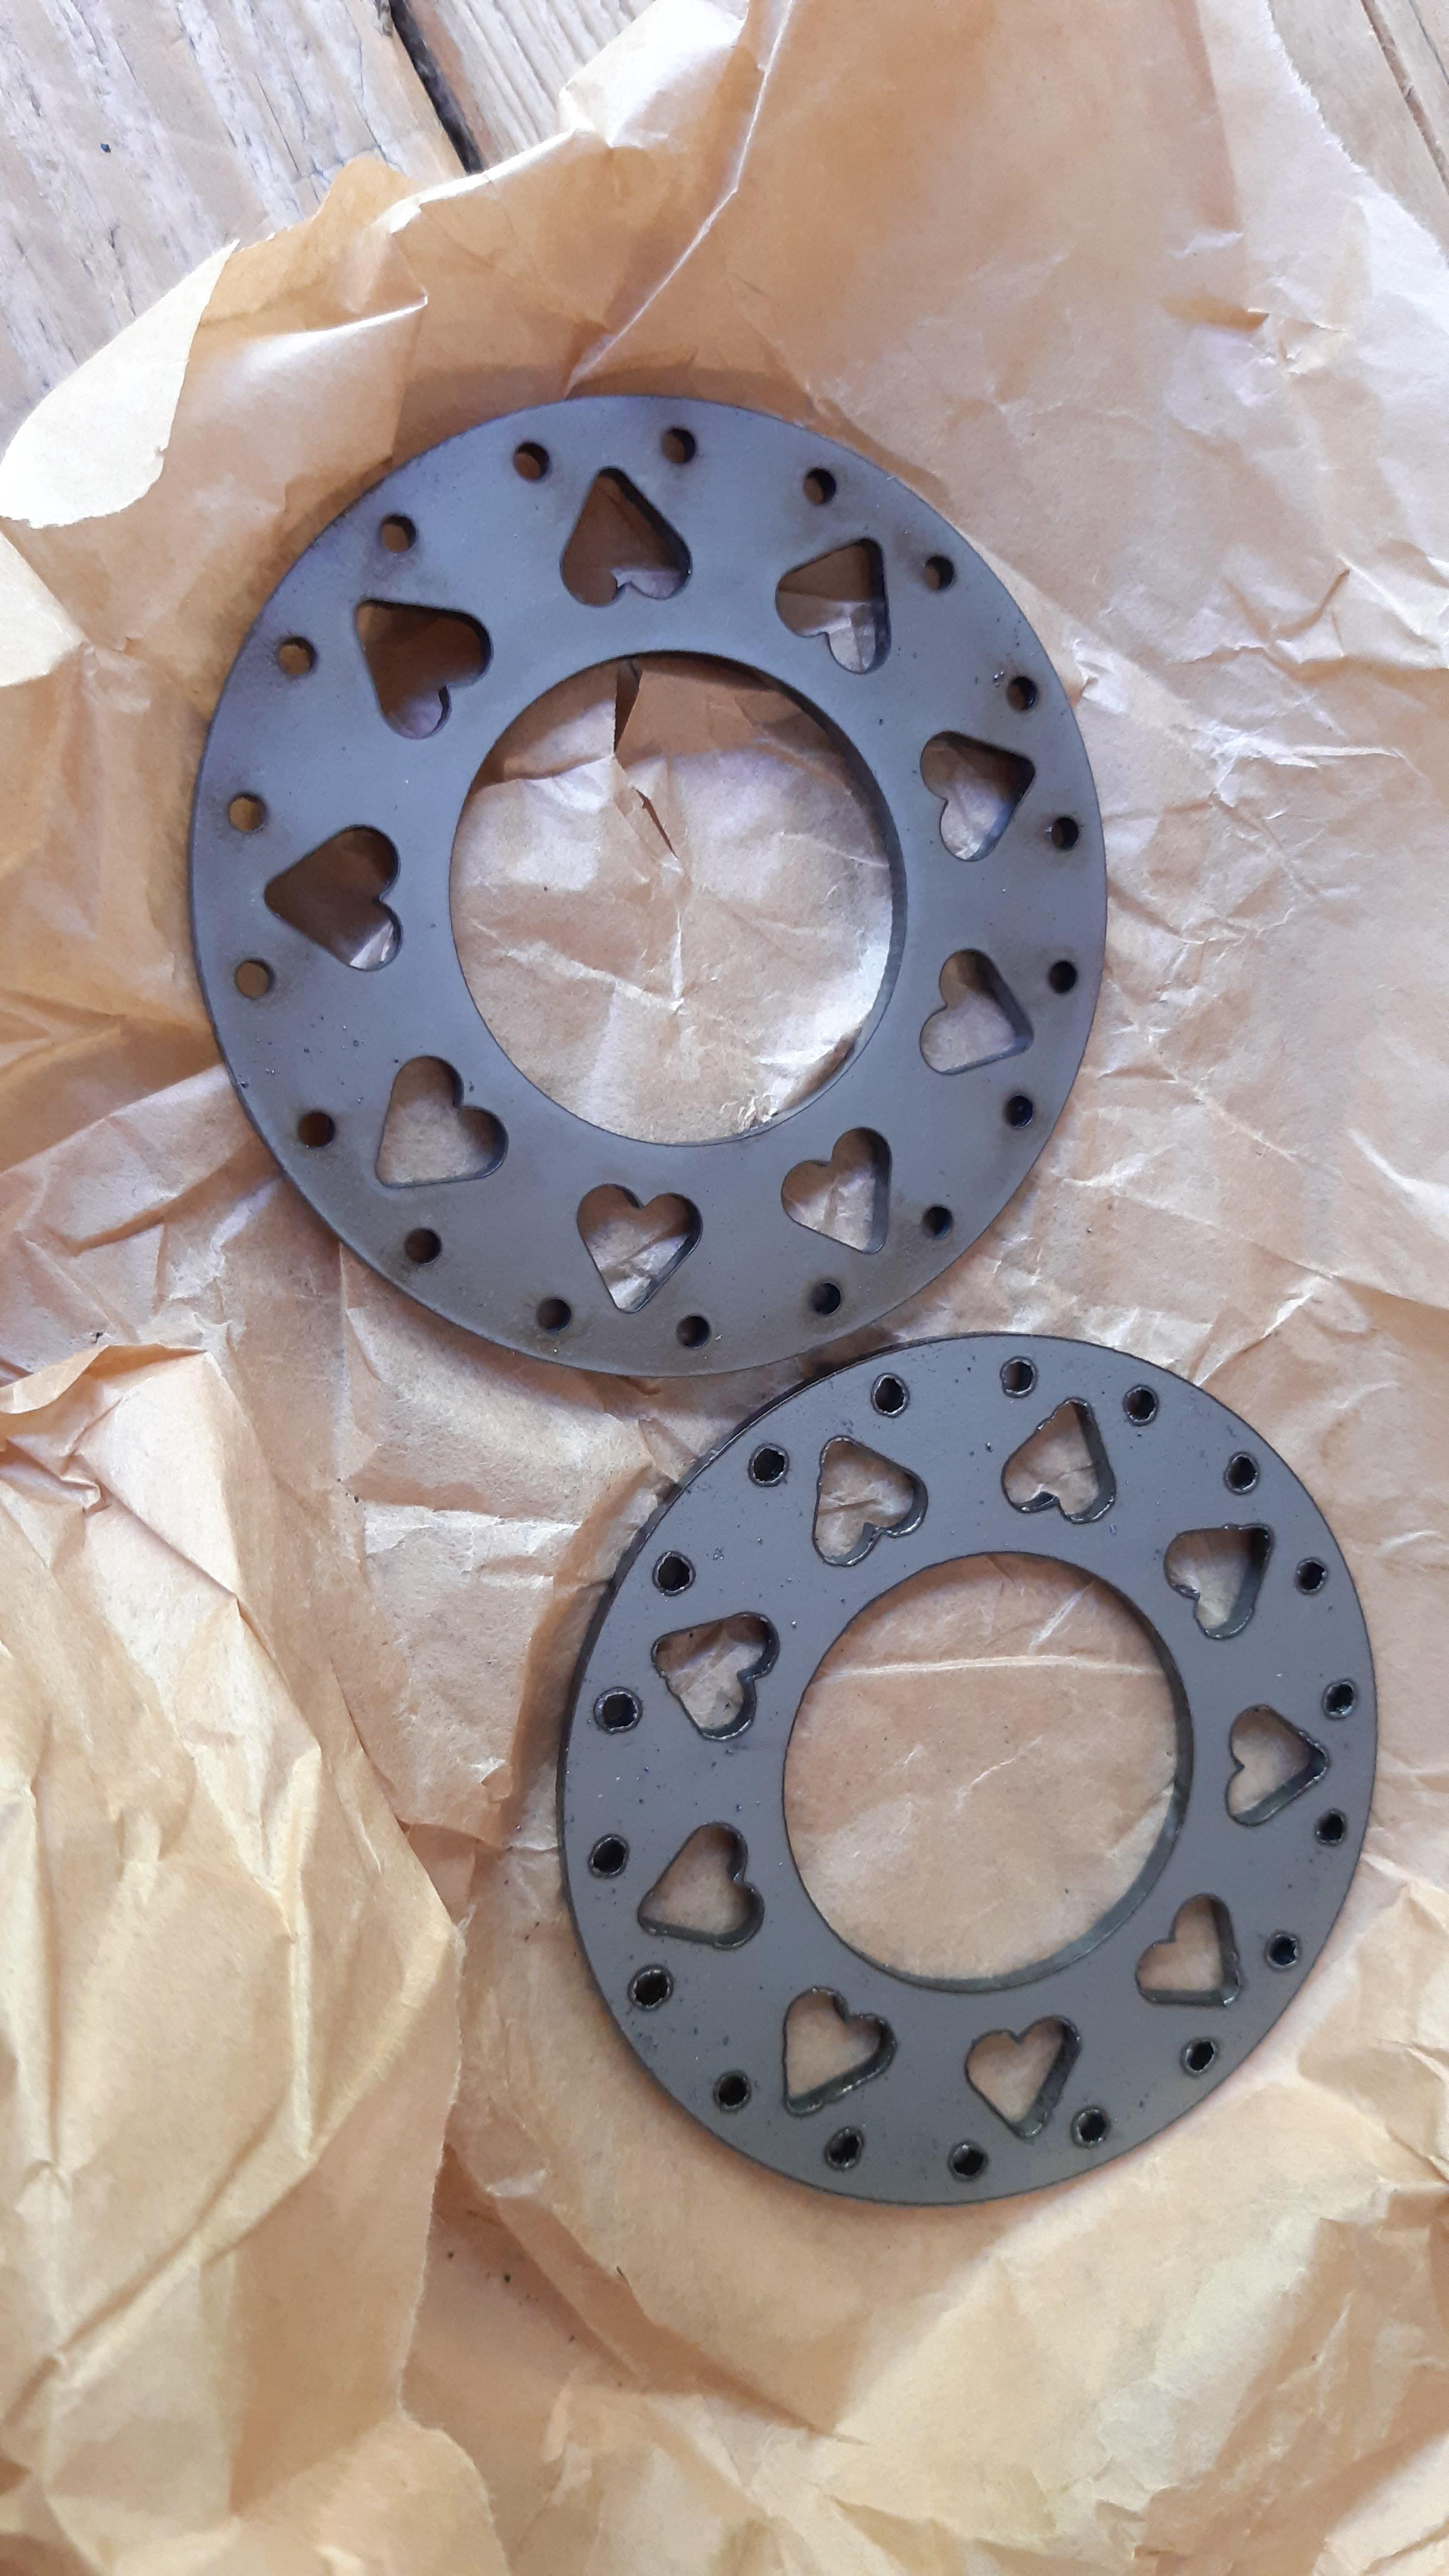
The flanges, to be lasercut:
1XLRdYZ.jpeg

SB5v6Zm.jpeg
 
Hi guys, a little update:

Projects will go significantly slower coming months, due to the birth of my daughter, Thura
The name is from a Dutch book, a writer called Thea Beckman.
Everyone is doing great!

In the meanwhile the flanges are lasercut:
GYIMXcQ.jpeg


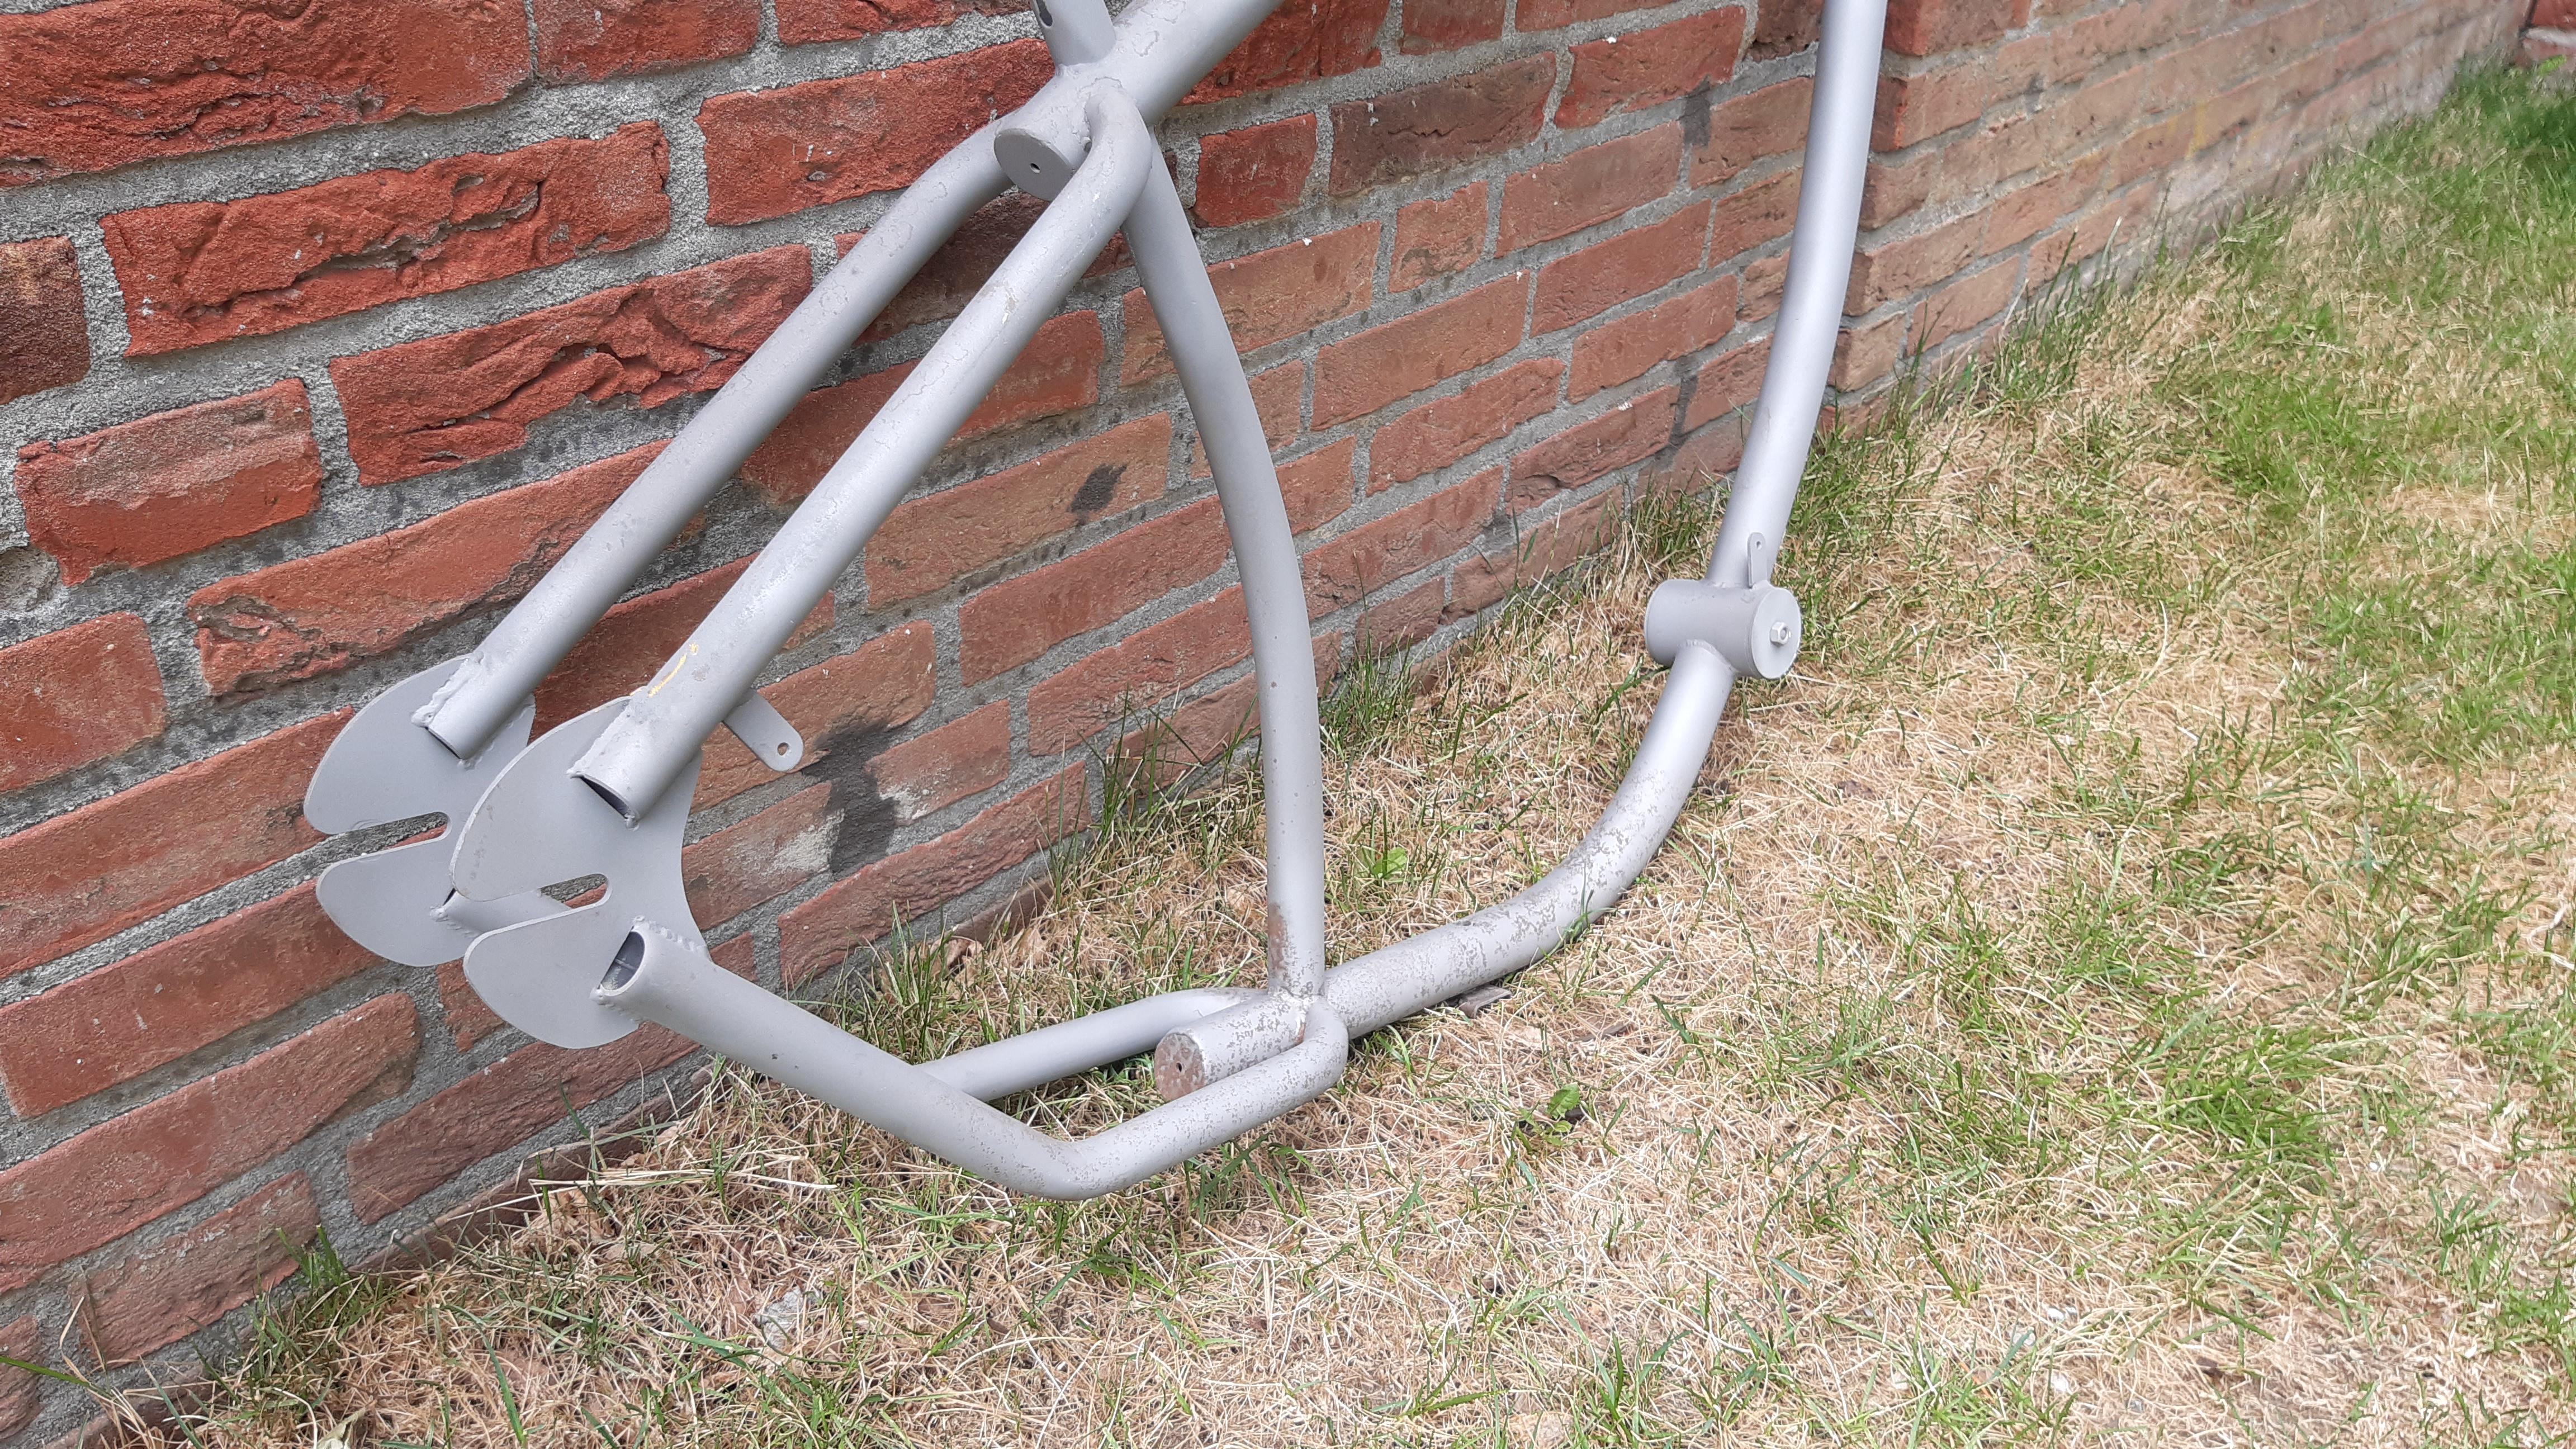
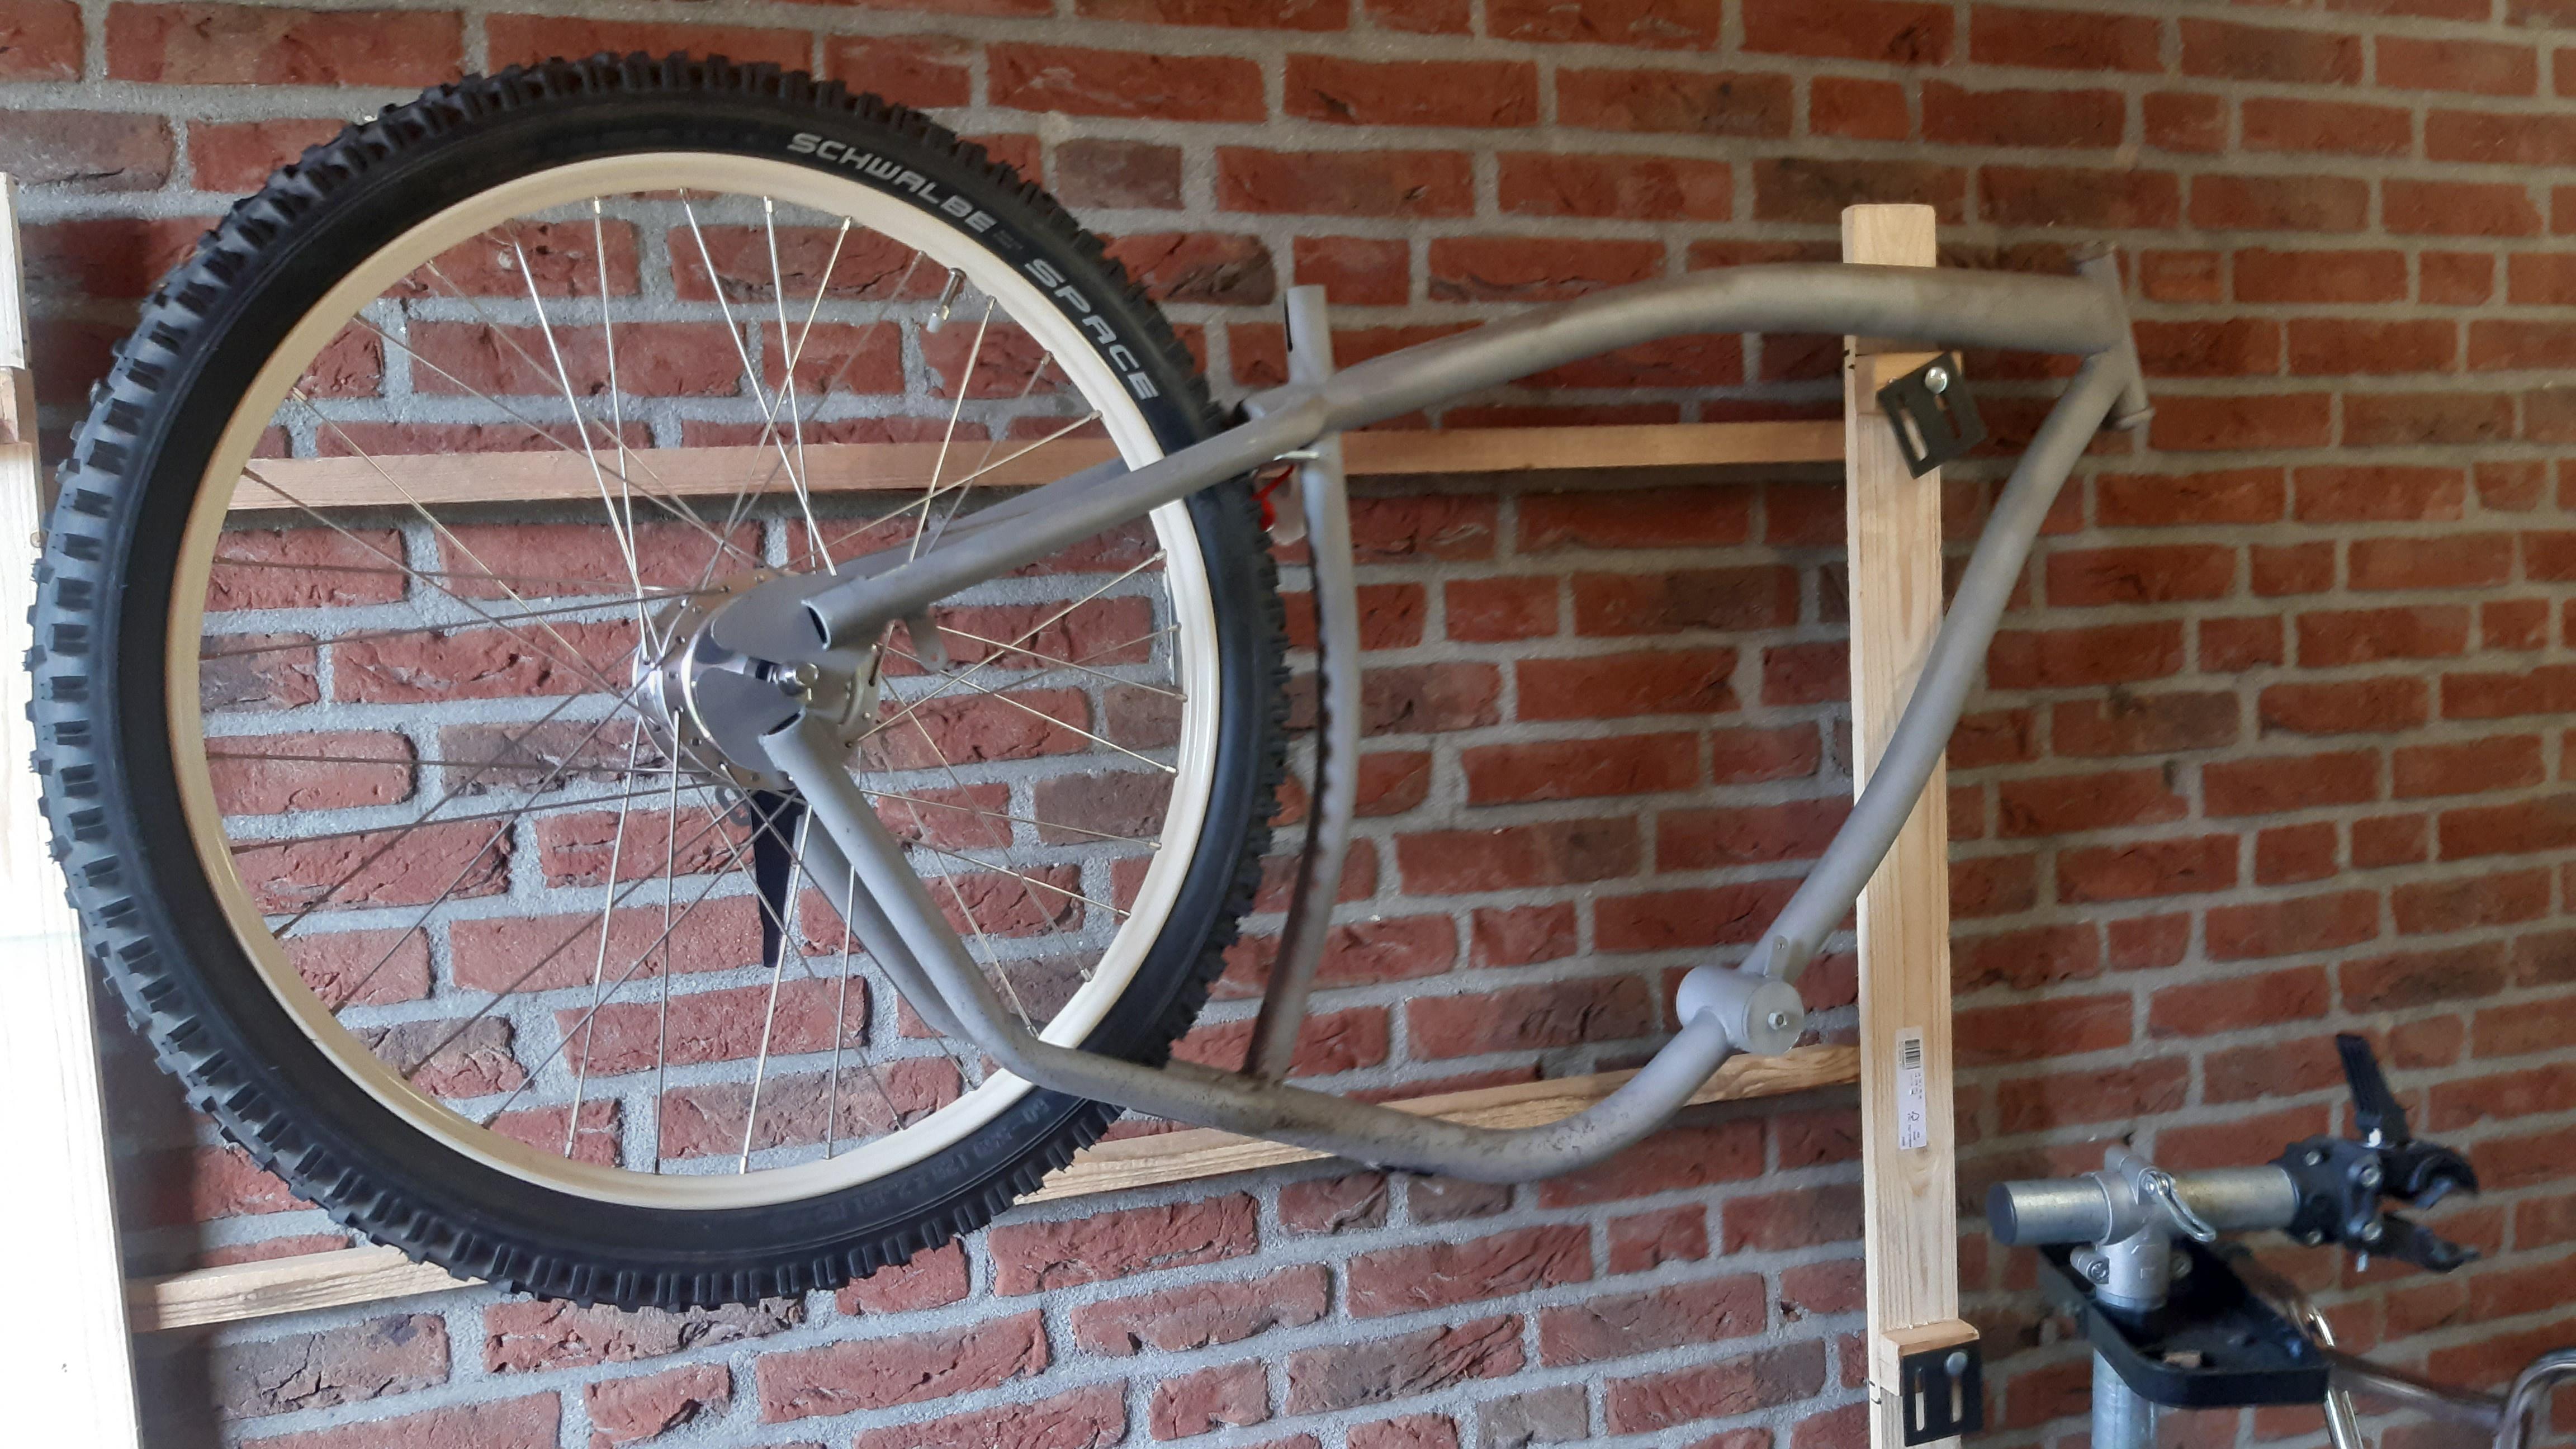
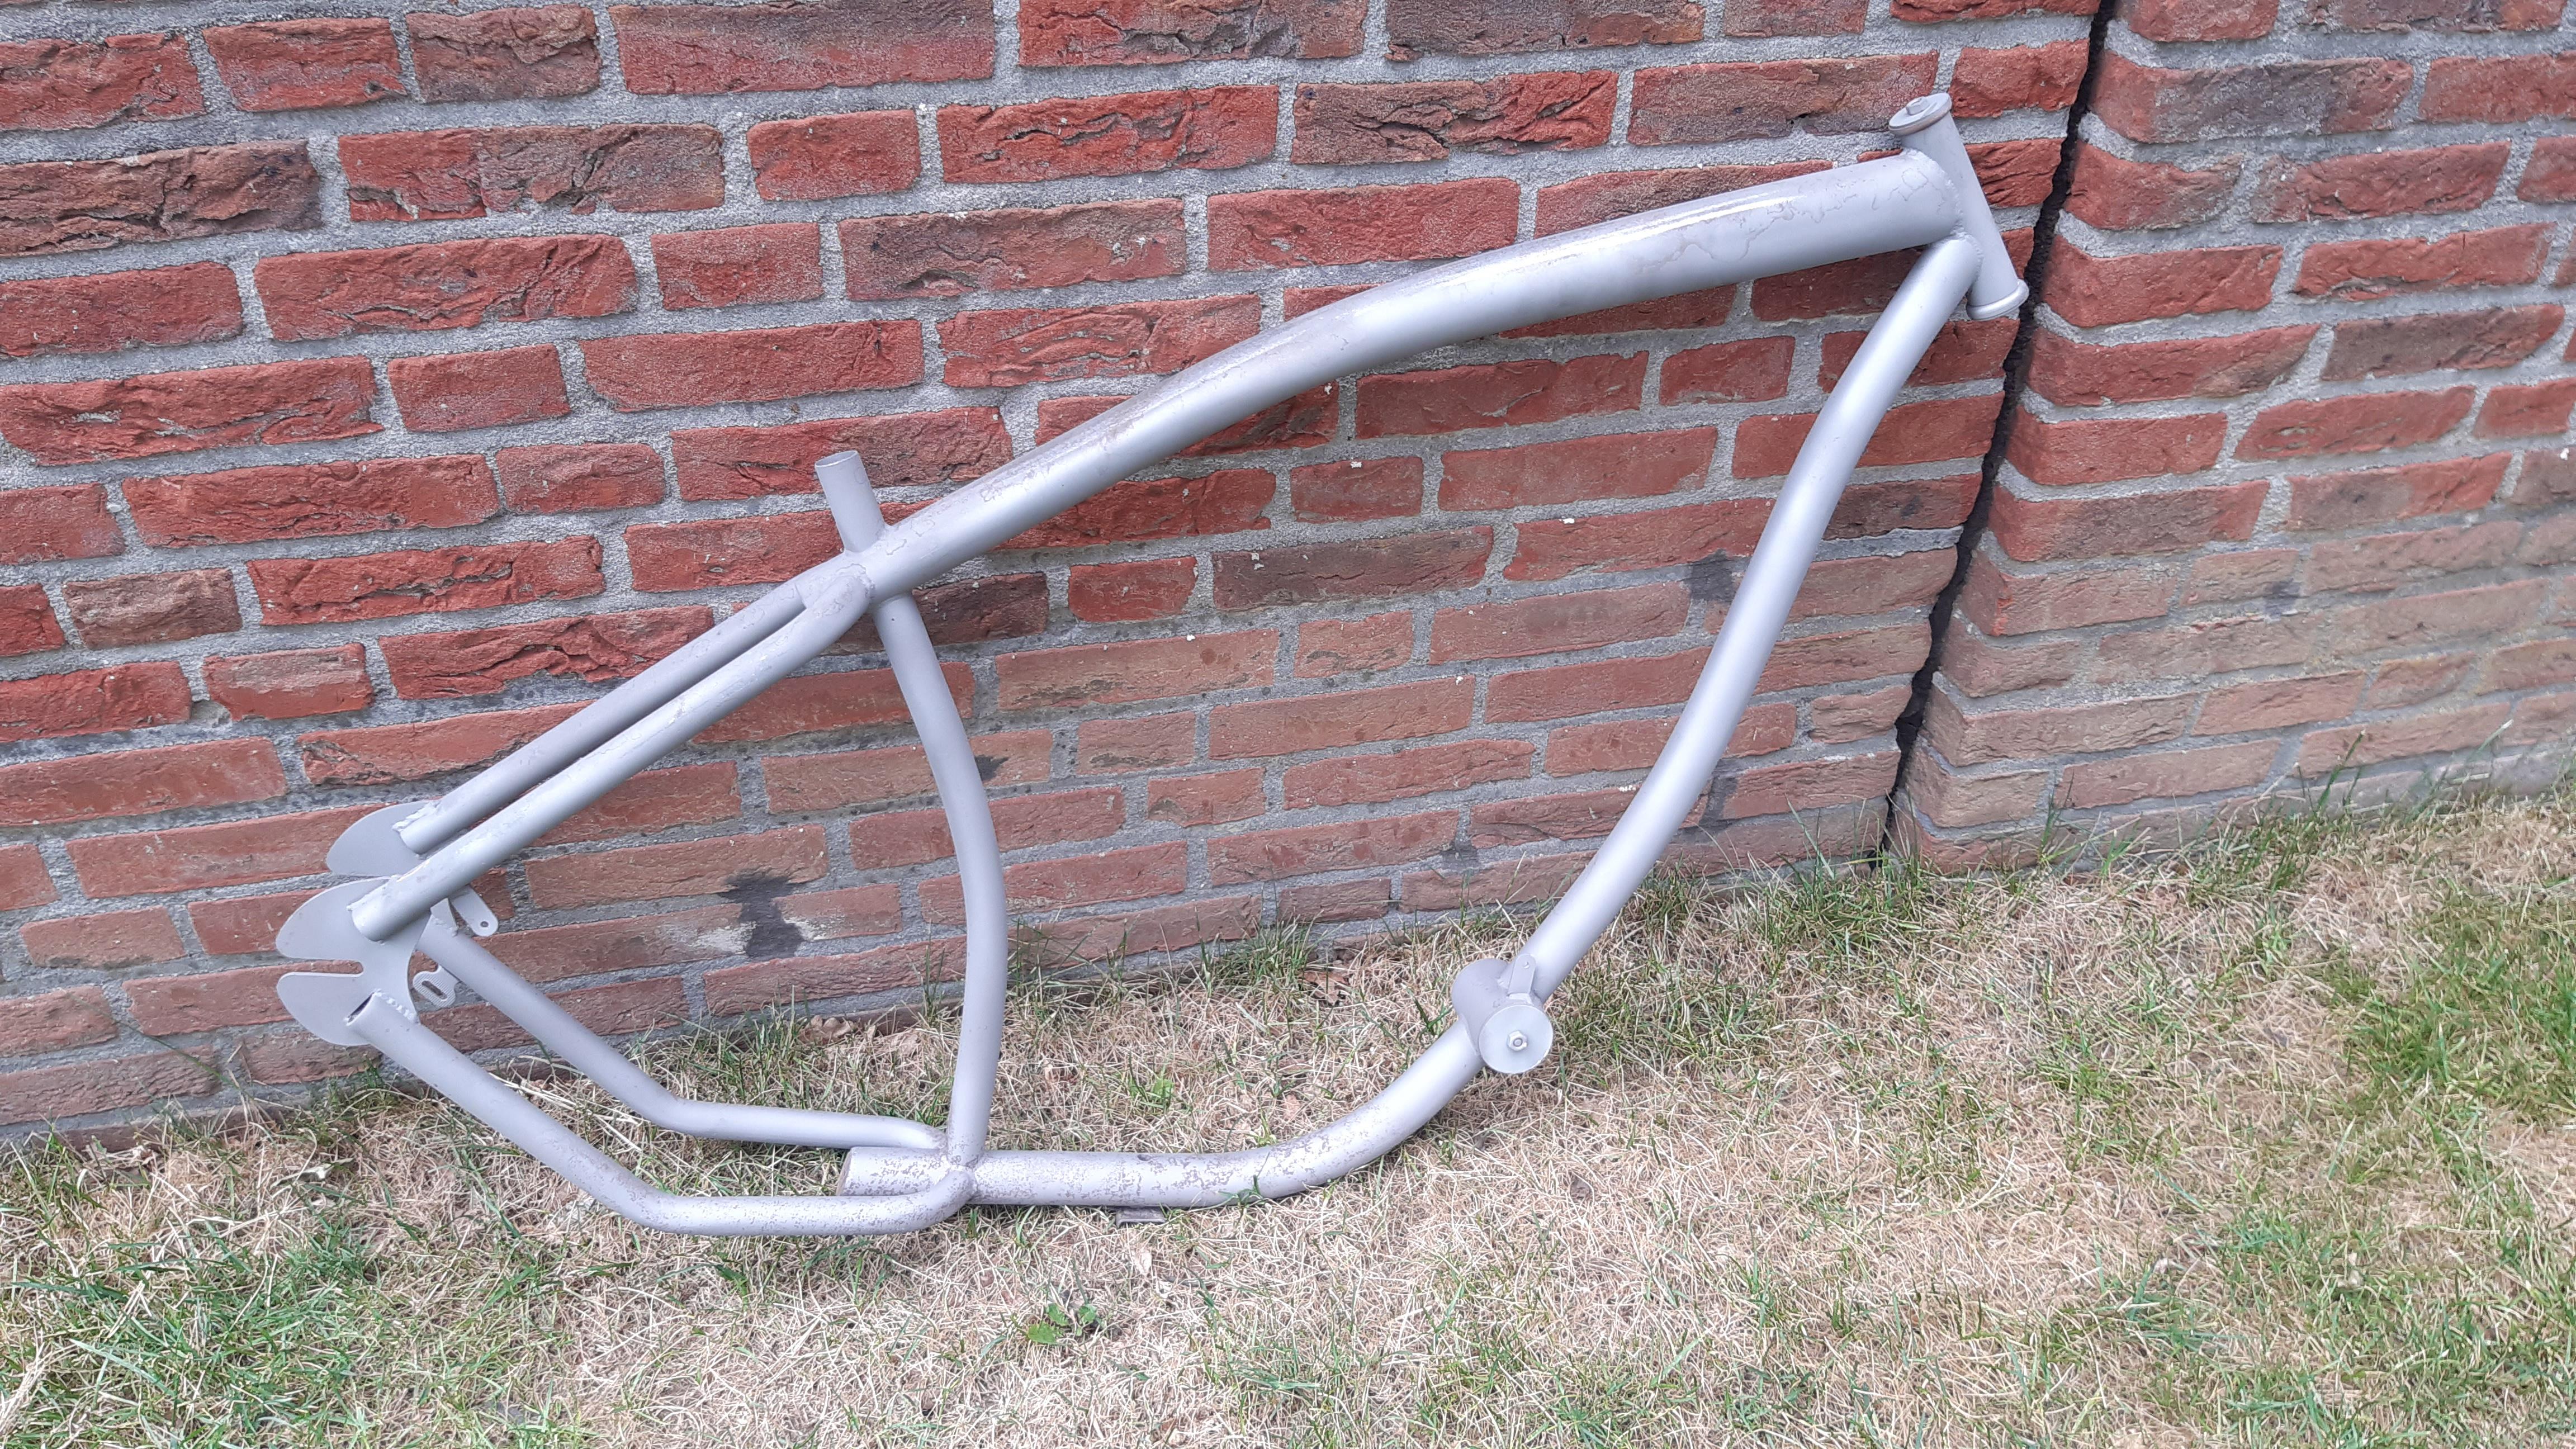
And (pre-birth!) I bought a chopper frame from a workshop, lying in the corner collecting dust for decades:
lfkvytg.jpeg

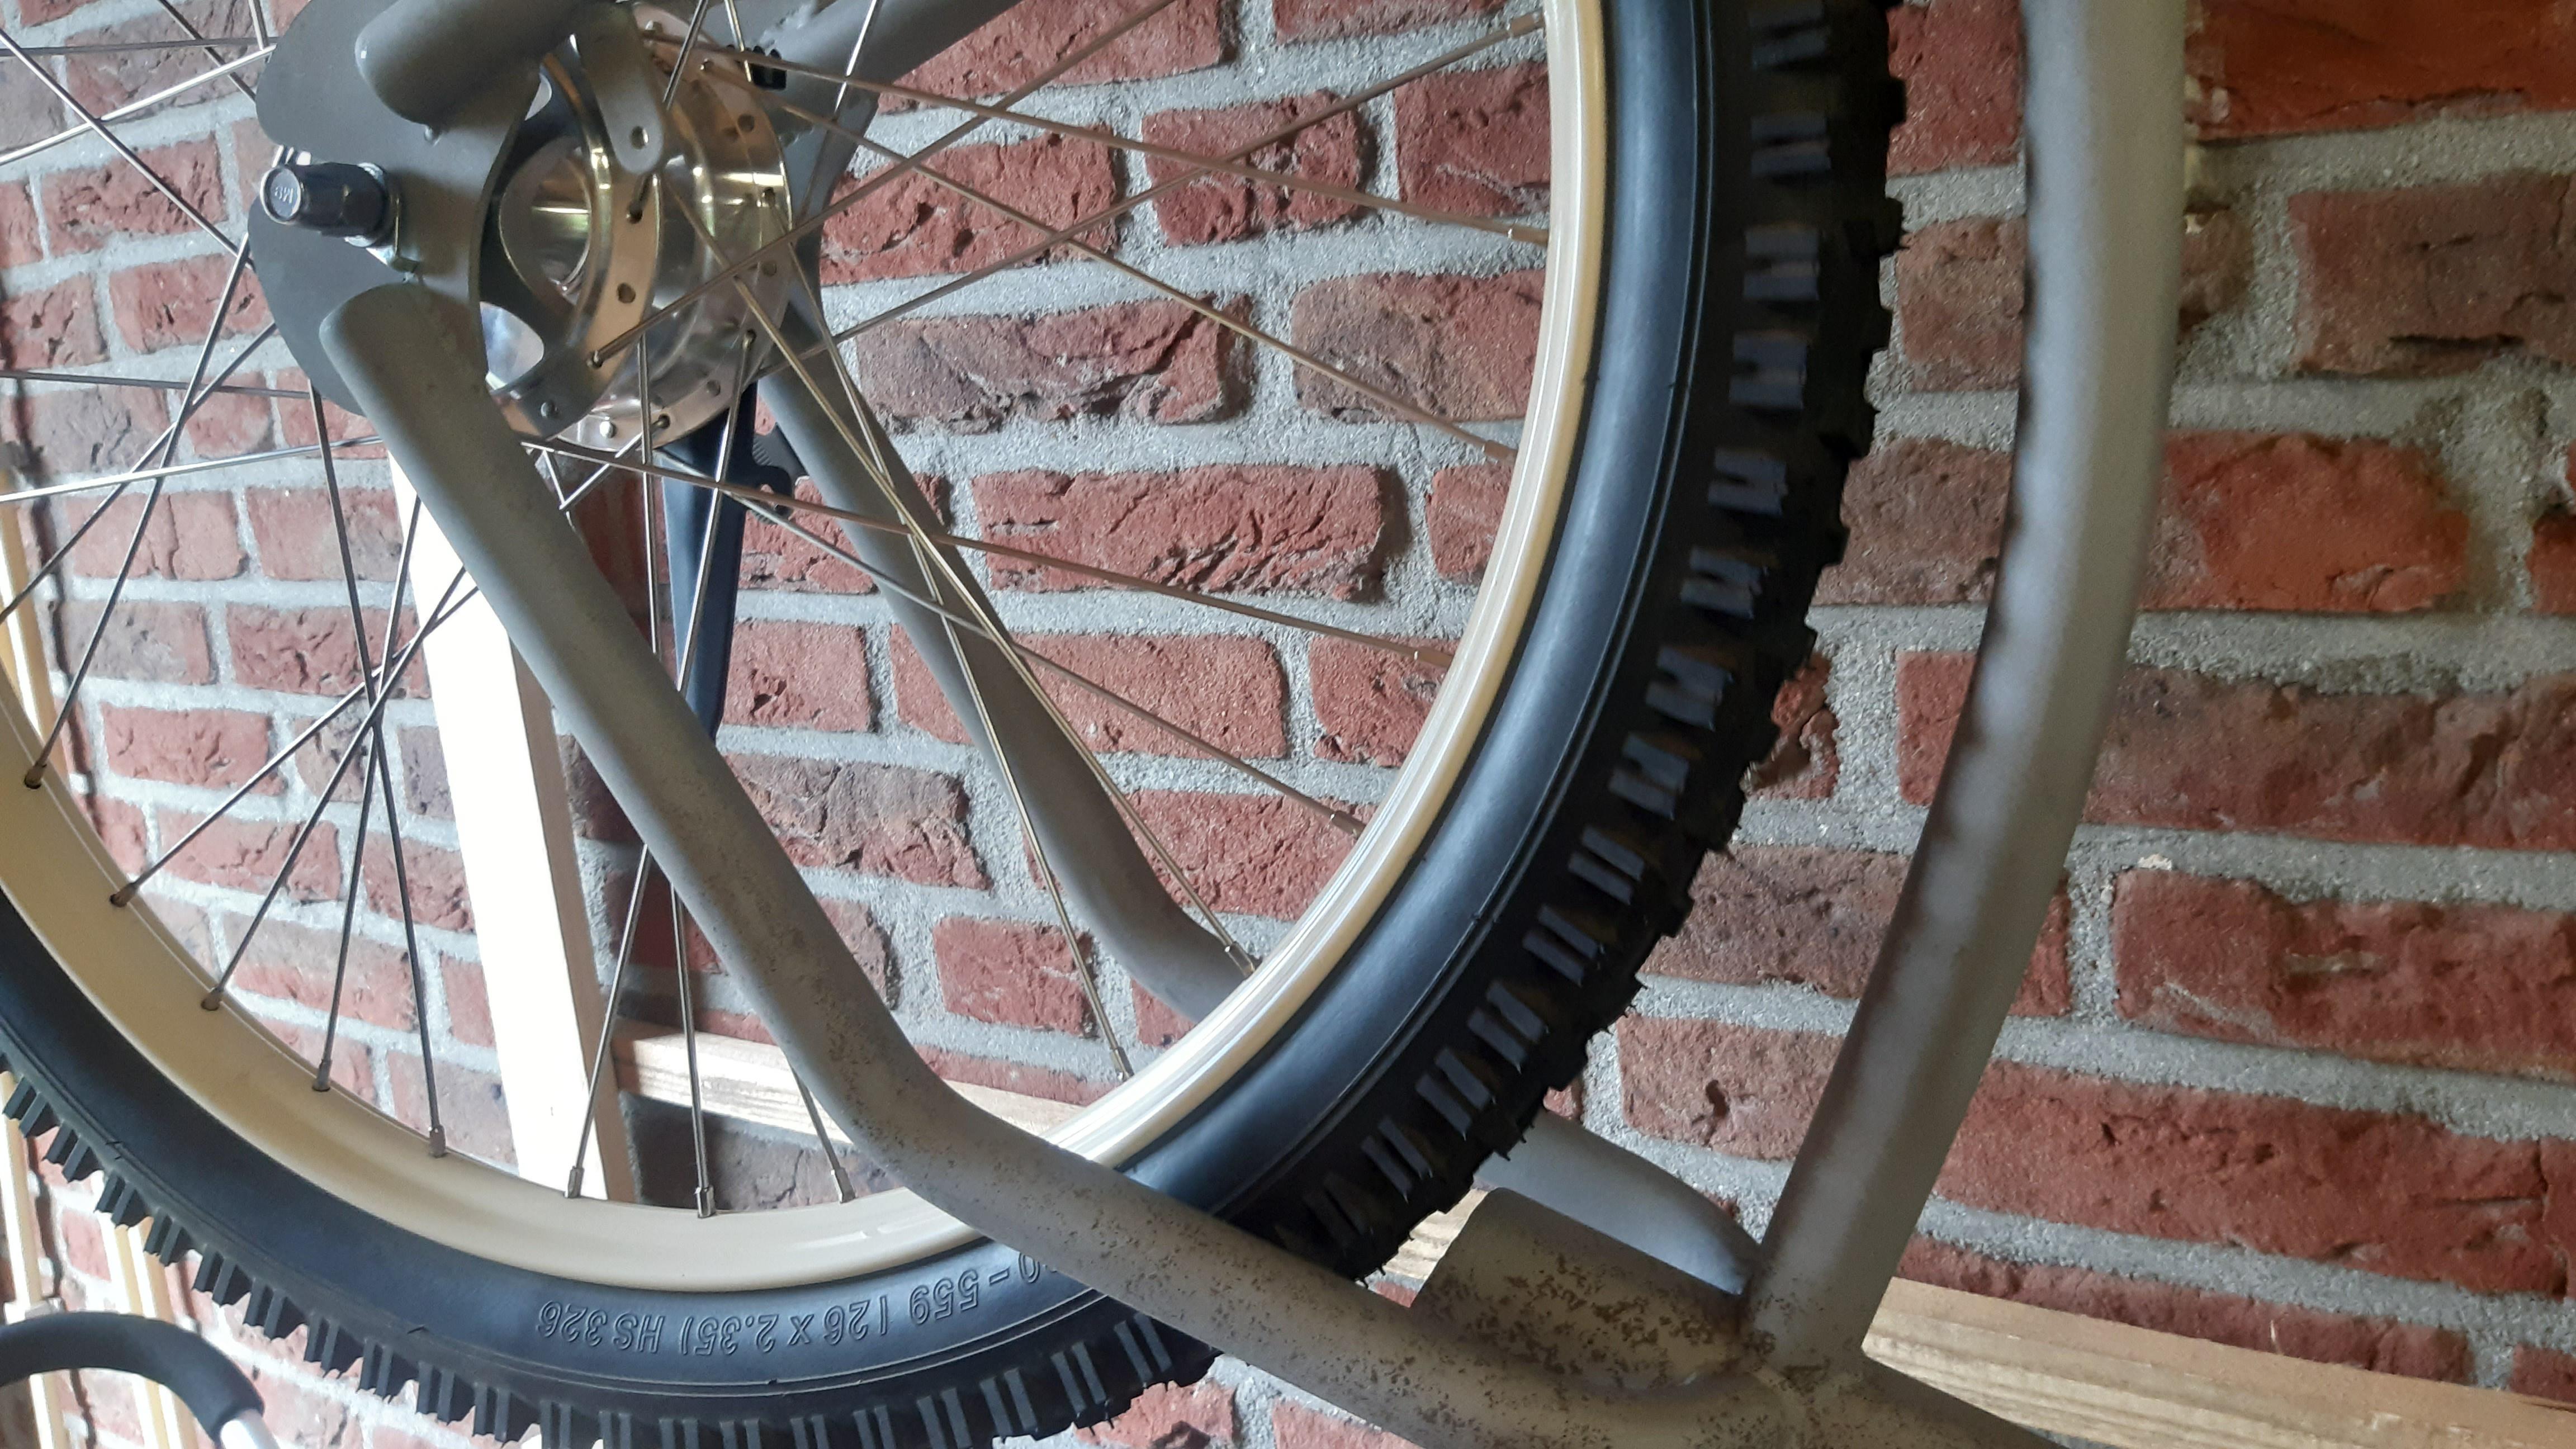
hUrssdd.jpeg


Fitted some wheels to get a idea of the sizing. 26x2.4 tires.
QlwxLaV.jpeg

AUDHu7T.jpeg


Ideas?
HcMWbbJ.jpeg

;)
 

Latest posts

Back
Top