- COMPETITIONS
- THE COMPETITION ARCHIVES
- RRBBO OFFICIAL COMPETITIONS
- BUILD OFF 9 - (2014)
- BUILD OFF 9 BIKES
You are using an out of date browser. It may not display this or other websites correctly.
You should upgrade or use an alternative browser.
You should upgrade or use an alternative browser.
█★█ starsNbars █★█ 38 Hawthorne Twin Bar 5 Bar ☠ - Red White and RUST - Tied for 7th Place
- Thread starter kingfish254
- Start date

Help Support Rat Rod Bikes Bicycle Forum:
This site may earn a commission from merchant affiliate
links, including eBay, Amazon, and others.
They are very cool frames! Good job on yours.
Man, that light turned out very nice. Did you cut the back of the headlight housing or the glass?Worked on the light tonight. First I removed the bracket and hammered out a little flatter then reattached it to the center of the light.
View attachment 4309 View attachment 4310
View attachment 4311
The I put on some gloves and googles and used my Dremel to cut the backside of the sealed headlight glass. I should have worn long sleeves too.
View attachment 4312 View attachment 4313 View attachment 4315
But it cleaned up nicely.
View attachment 4316 View attachment 4317 View attachment 4318 View attachment 4319 View attachment 4320 View attachment 4321 View attachment 4322
Man, that light turned out very nice. Did you cut the back of the headlight housing or the glass?
This was a sealed beam headlight, so both the front and back are glass. I cut the glass of the backside of the light.
Nice light B!! Crank up that- Blinded by the light!! PEACE
Nice light B!! Crank up that- Blinded by the light!! PEACE
Can't crank that up yet Jake, I still need to LEDize it and add the starsNbars effect to it.
Crank up Blondie's Heart of Glass instead!

$29.99
$34.99
Bicycle/Motorcycle Chain Picture Frame 8" X 10" Photo - Faux Bike Chain Vertical or Horizontal Table Top Display
Old River Outdoors (USA Merchant)

$19.99
$24.99
Top Brass Bicycle/Motorcycle Chain Picture Frame 5" X 7" Photo - Faux Bike Chain
Old River Outdoors (USA Merchant)

$19.99
Electra Glide Wall Decal 2ft Long Sport Harley Davidson Bike Motorcylce Sticker Man Cave Garage Boys Room Decor
FatCat Wall Graphics

$209.99
$219.99
cubsala Freestyle BMX Bike, 20 Inch Kids Bicycle for 7-13 Years Old Kids and Beginner Level Rider, Black with Blue Tires
funwheels
Nice work and cool idea King!
Luke.
Luke.
- Joined
- Apr 11, 2014
- Messages
- 340
- Reaction score
- 286
Thanks for the step by step. That was pretty cool to see the transformation. Nice work man!Worked on the light tonight. First I removed the bracket and hammered out a little flatter then reattached it to the center of the light.
View attachment 4309 View attachment 4310
View attachment 4311
The I put on some gloves and googles and used my Dremel to cut the backside of the sealed headlight glass. I should have worn long sleeves too.
View attachment 4312 View attachment 4313 View attachment 4315
But it cleaned up nicely.
View attachment 4316 View attachment 4317 View attachment 4318 View attachment 4319 View attachment 4320 View attachment 4321 View attachment 4322
The Renaissance Man
__CERTIFIED DIVER__ (Open Water & Open Dumpster)
Staff member
Moderator
Pro Member
Wow, that's pretty hard core cutting a sealed beam bulb apart to make a lens!


Thanks for the step by step. That was pretty cool to see the transformation. Nice work man!
Wow, that's pretty hard core cutting a sealed beam bulb apart to make a lens!
I am pretty sure that a lot of other RRBers have done similar grinding on sealed beams. Don't know if I have seen anyone do it for just the lens, but I know plenty have cut holes in the back to LEDize them. Just remember that you are grinding glass and protect yourself and also make sure you clean up good, so that you don't rub a particle into your eyes.
Taped up the lense, cut out the surround of a star, and painted the surround with the Hammered Black.


Manipulated some old chainguard braces to finally mount my Iver Johnson chainguard. I think I did a pretty good job of centering the chainring. The dropstand tab forced me to let the back end curve out some.


Used some hanger strip that I got at a yard sale just last weekend to make a clamp for the tank.


Mounted the massive prewar kickstand and 1943 leather Cleveland tag and jewel that I picked up from @marius.suiram . This thing is HUGE but it tucks away pretty well. @Double Nickle thought it might even be motorcycle related.


Used some hanger strip that I got at a yard sale just last weekend to make a clamp for the tank.


Mounted the massive prewar kickstand and 1943 leather Cleveland tag and jewel that I picked up from @marius.suiram . This thing is HUGE but it tucks away pretty well. @Double Nickle thought it might even be motorcycle related.


Last edited:
Test mounted the headlight again.


Then went for a very short ride since I discovered something wasn't shifting right.


Then went for a very short ride since I discovered something wasn't shifting right.


BUILD OFF 6 FLASHBACK
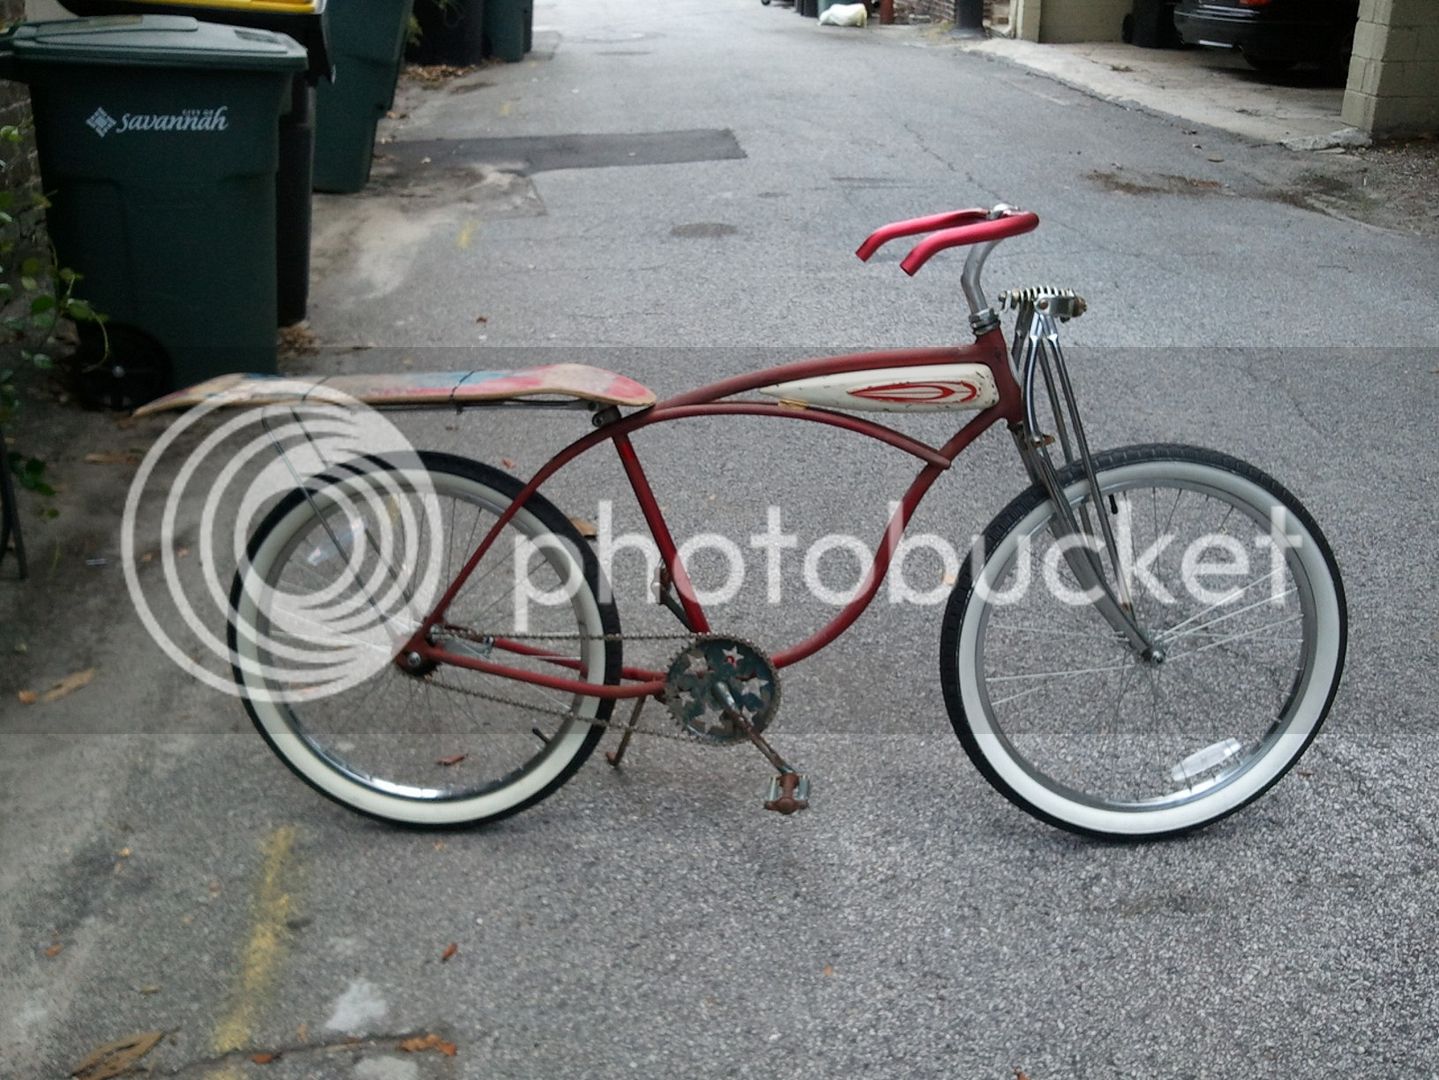
Found this pick from my first build (and Build Off) BEER RUN when I was considering this tank. This was the EARRRRRRRRLY stage of BEER RUN. I don't think I even had a name for it at this point.

Found this pick from my first build (and Build Off) BEER RUN when I was considering this tank. This was the EARRRRRRRRLY stage of BEER RUN. I don't think I even had a name for it at this point.

- Joined
- May 20, 2010
- Messages
- 946
- Reaction score
- 1,146
Manipulated some old chainguard braces to finally mount my Iver Johnson chainguard. I think I did a pretty good job of centering the chainring. The dropstand tab forced me to let the back end curve out some.
View attachment 4376 View attachment 4377 View attachment 4380
Used some hanger strip that I got at a yard sale just last weekend to make a clamp for the tank.
View attachment 4378 View attachment 4379
Mounted the massive prewar kickstand and 1943 leather Cleveland tag and jewel that I picked up from @marius.suiram . This thing is HUGE but it tucks away pretty well. @Double Nickle thought it might even be motorcycle related.
View attachment 4381 View attachment 4382 View attachment 4383 View attachment 4384 View attachment 4385 View attachment 4386
KF,
That kickstand is killer.
Did you get the shifting issue sorted?
Luke.
Luke.
Love the work on the headlight.
Cutting sealed beam headlights is a pain but if you use diamond tip were covered bits; keep cool water running over the glass and go slow it can be done without a big mess or cracked glass.
BTW the hammered black is one of my favorite rattle cans.
Looks great.
Cutting sealed beam headlights is a pain but if you use diamond tip were covered bits; keep cool water running over the glass and go slow it can be done without a big mess or cracked glass.
BTW the hammered black is one of my favorite rattle cans.
Looks great.
Did you get the shifting issue sorted?
Luke.
Haven't even looked at it yet. Pretty sure it's a cable adjustment issue and nothing serious.
Love the work on the headlight.
Cutting sealed beam headlights is a pain but if you use diamond tip were covered bits; keep cool water running over the glass and go slow it can be done without a big mess or cracked glass.
BTW the hammered black is one of my favorite rattle cans.
Looks great.
I used a Dremel diamond cutoff wheel to do the cutting. I just kept going in slow circles around the perimeter.
The diamond cutting wheels are a pain to use.I used a Dremel diamond cutoff wheel to do the cutting. I just kept going in slow circles around the perimeter.
If you cut glass again use a sink or have somebody help and keep cool water on it; it helps keep the debris down and prevents cracking from heat.


