Oldbikeguy1960
My name is Rob, and I approve this rant.
- Joined
- Sep 3, 2021
- Messages
- 301
- Reaction score
- 637
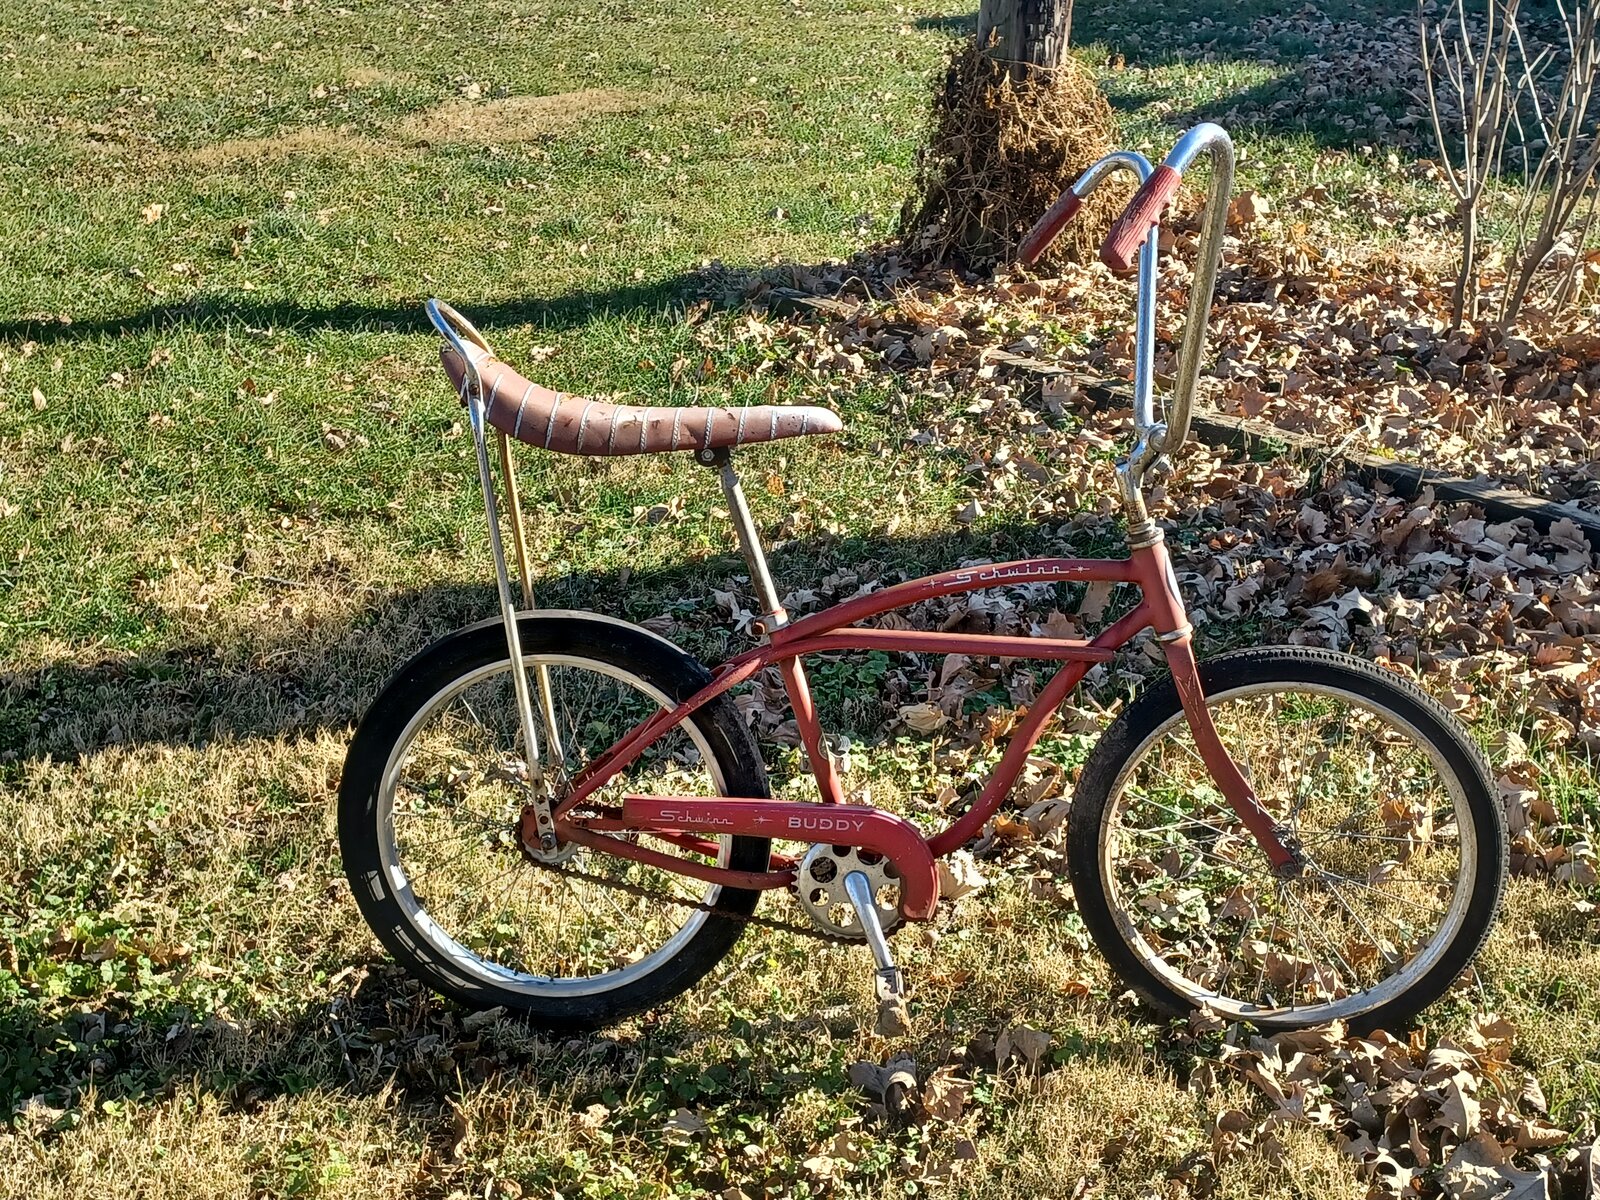
I am starting a (re)build thread on a bike I got maybe 10 years ago in a basement cleanout that looked like a 1960s garage sale.
When I got it it had chrome S-2 Wheels with tractor grip tires and a red Solo Polo seat. It also had Longhorn bars with Red Schwinn script grips. That was a true Pig Bike from the beginnings of Pig Bikes.
Then I sold it to a friend who wanted it to look more like a Stingray, so he changed the seat and handlebars. We put the chainguard on it from a 1962 Buddy, it had the same frame except for the stamped joints instead of the welded joints.
Somewhere in the shuffle the original bars and seat are lost or I would never have touched it.
Since that is not the case it is going to become something else. It will be a Dad and Son vision of a cool bike that was built from parts they could access at the time and work they could do themselselves. Since it was 1950s-1960s parts chroming was cheap and easily accessible so there was no reason not to go with some parts that may not have been done to that point.
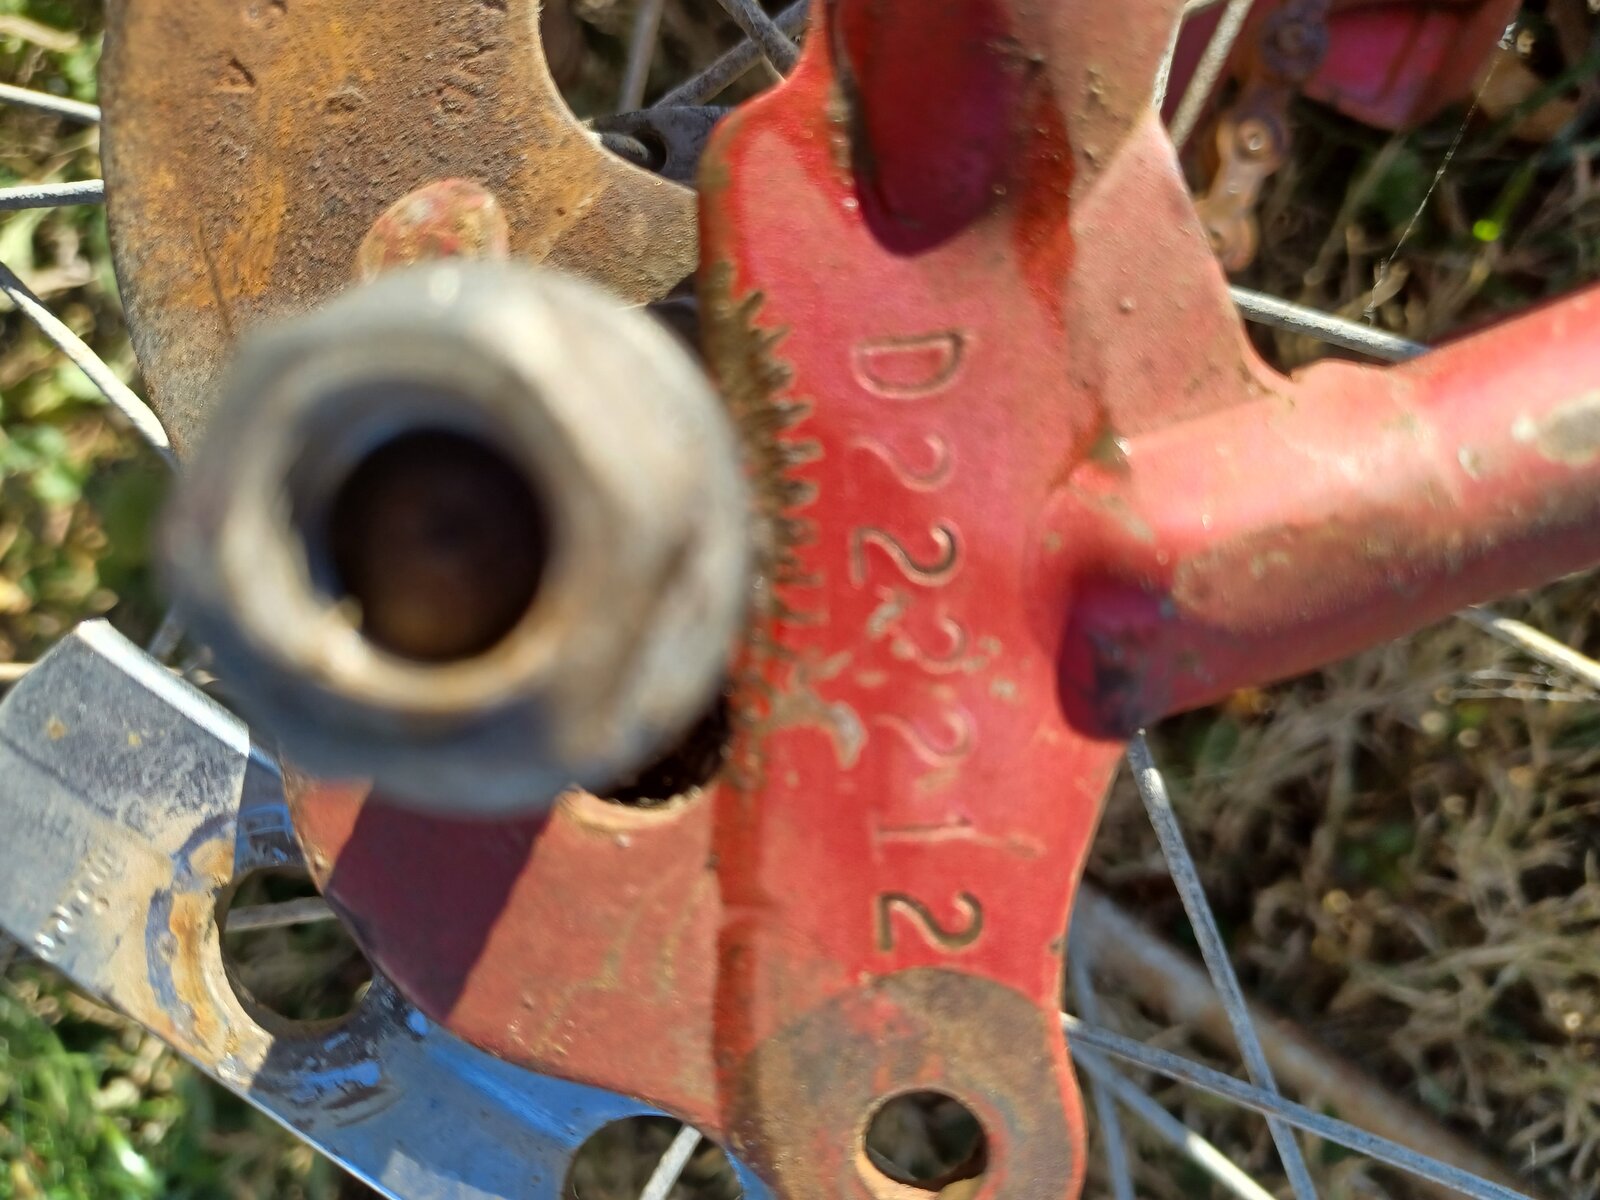
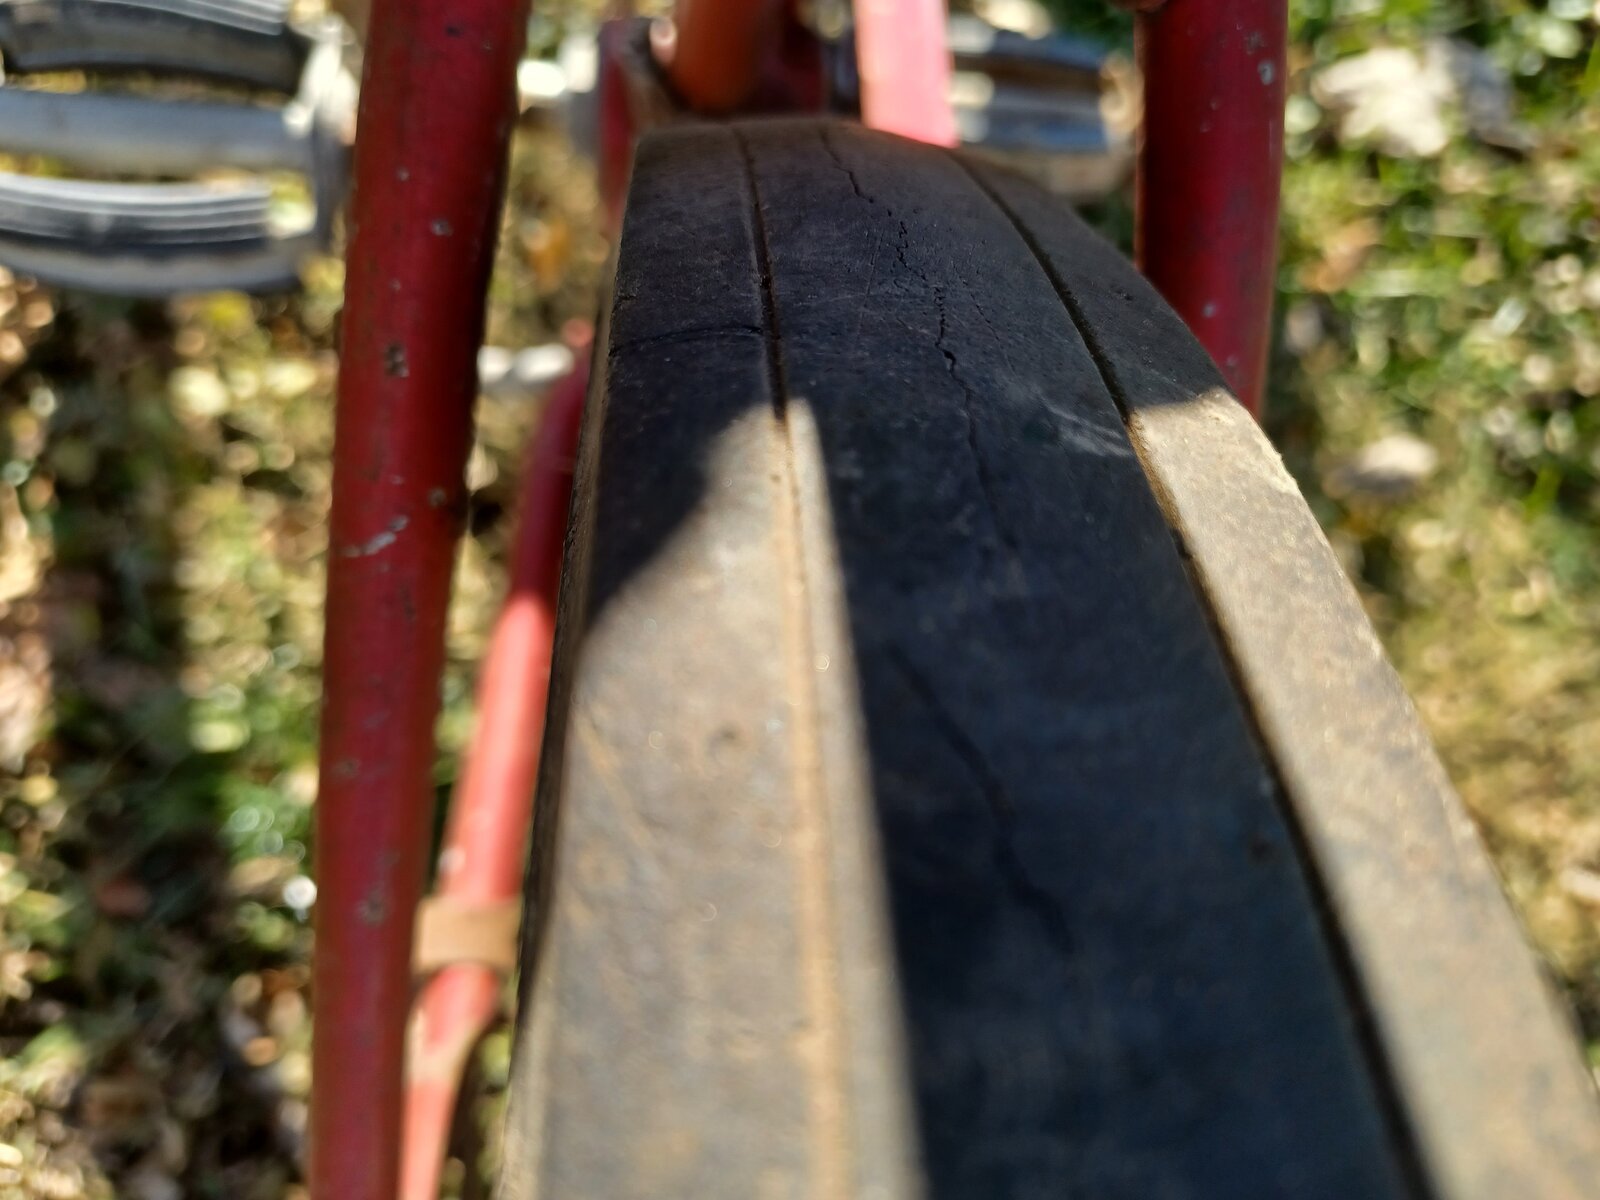
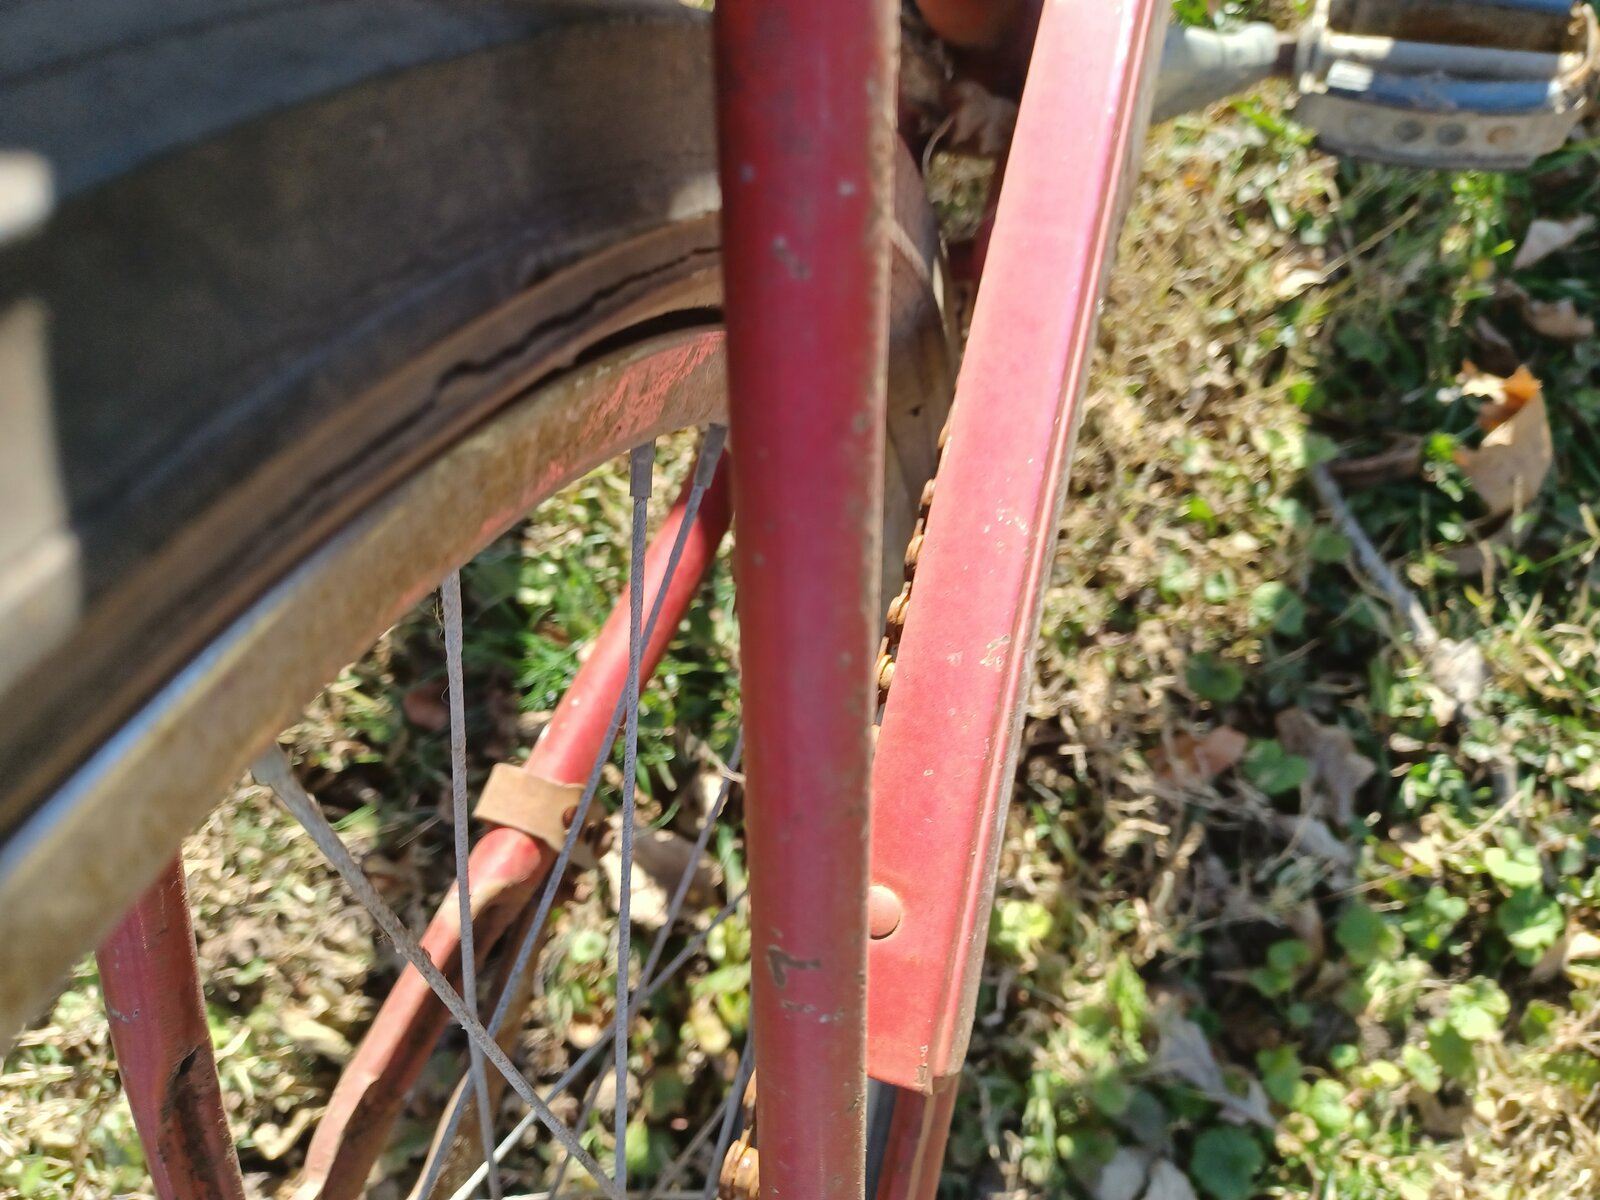
Below is some photos of what the bike was when I started. Progress photos to come.
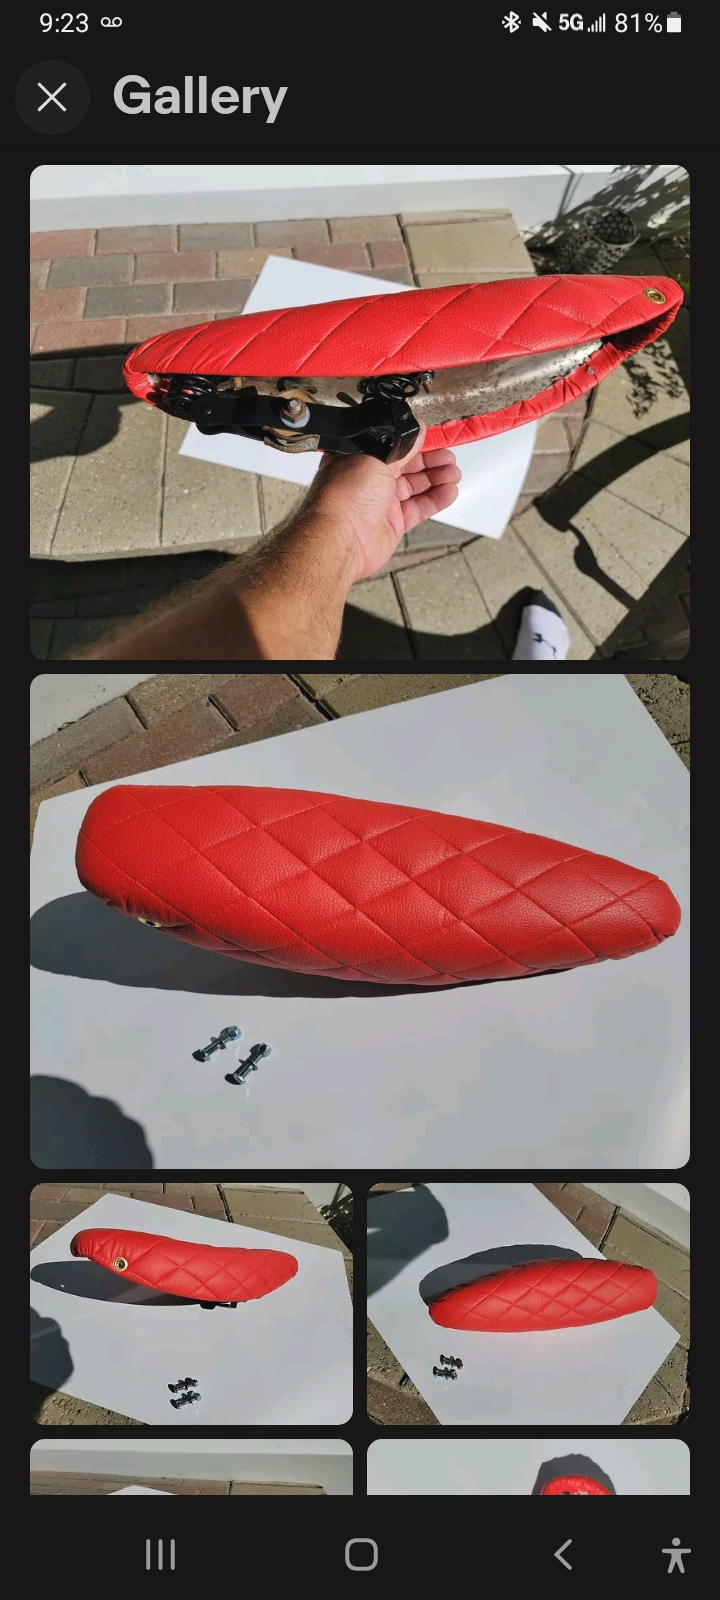
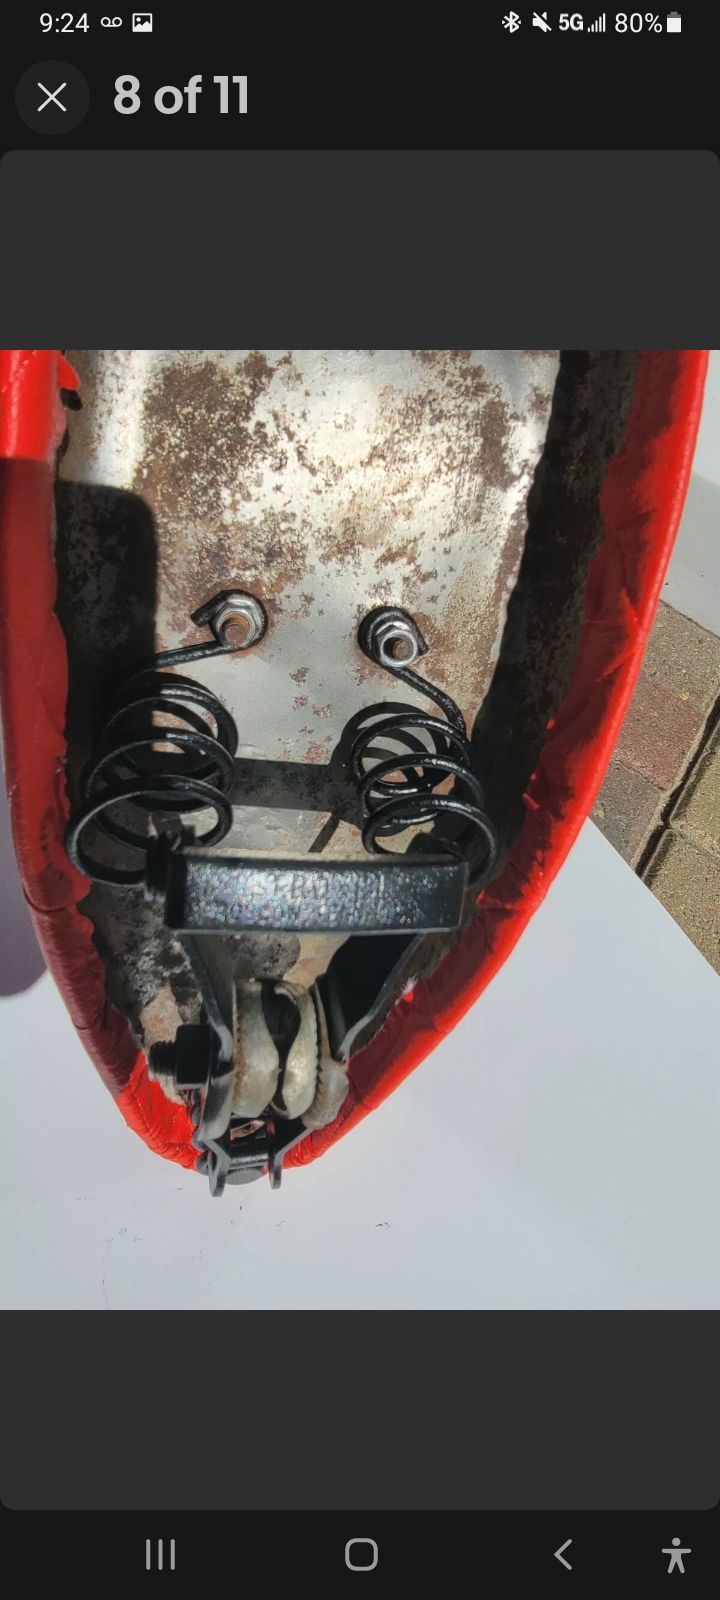
The seat I purchased for the project. It was actually recovered at home by a Dad that builds some custom bikes with his sons so I felt it was perfect and the price was more than reasonable. Included in the price was a piece of extra vinyl large enough to make a nice sissybar pad. Thanks to Max Golter for this!
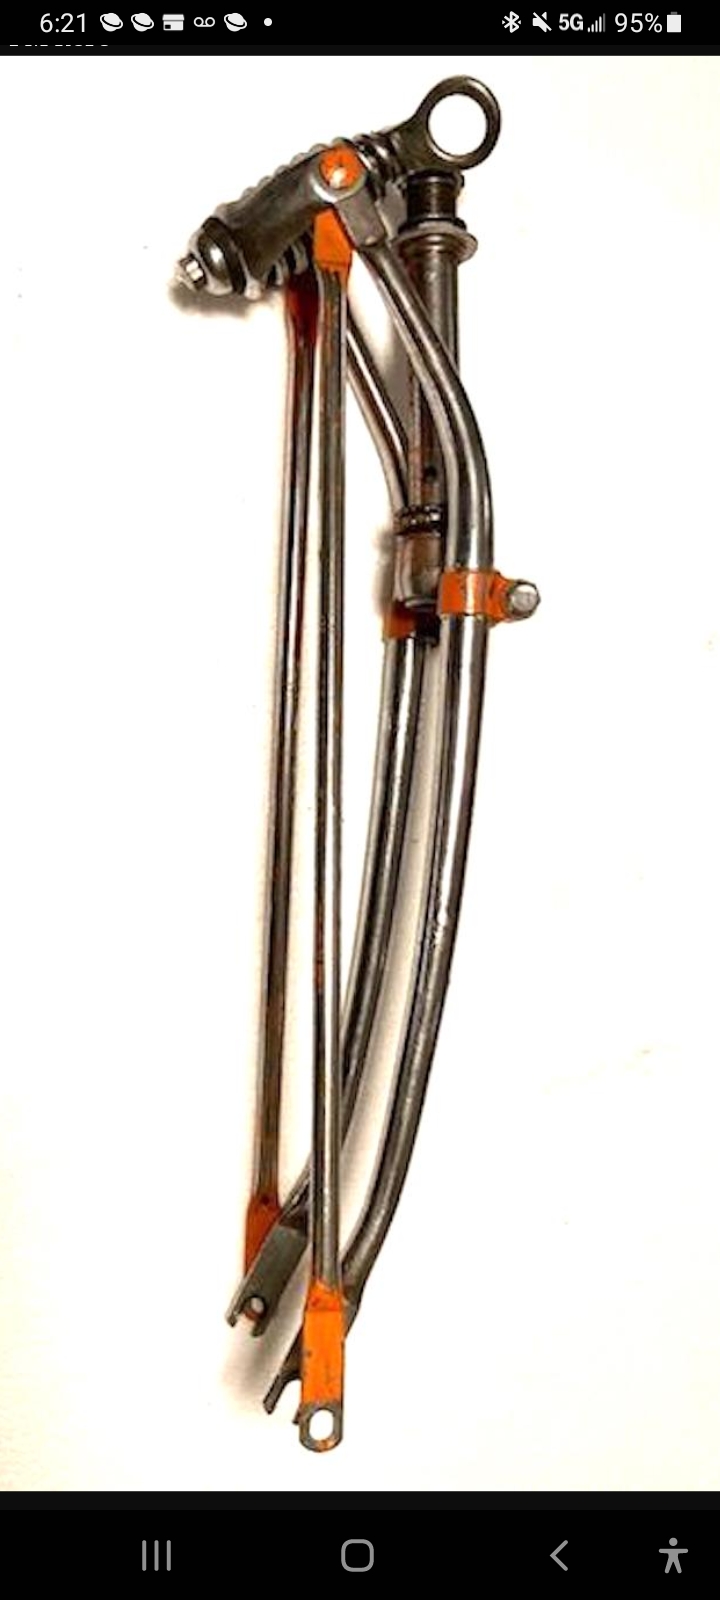
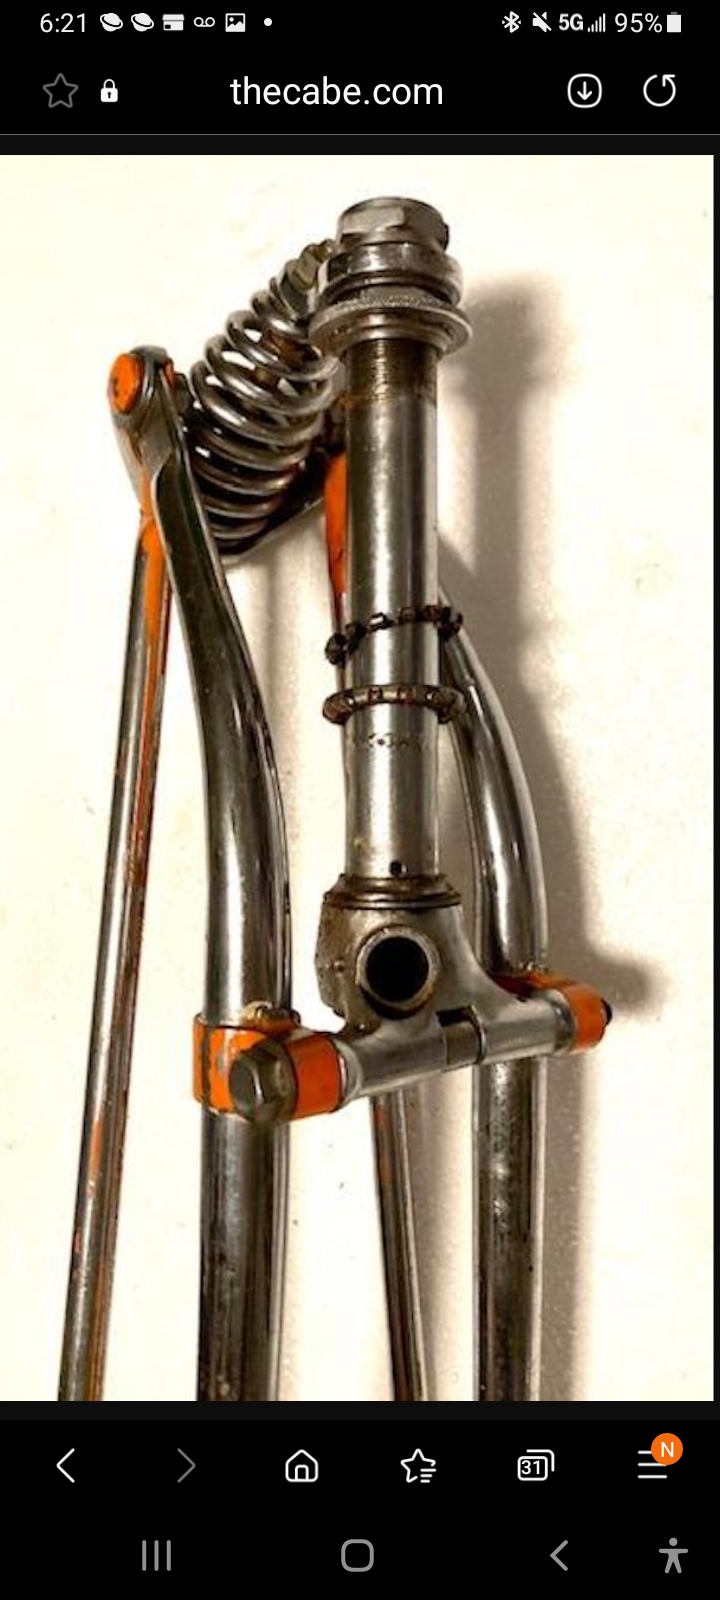
The fork for the project came from bobcycles. When I received it all it needed was some paint removed and polished which I will be doing soon. Thanks Bob!
I will either need to rethread and cut the neck or make a shiny chrome spacer for it.
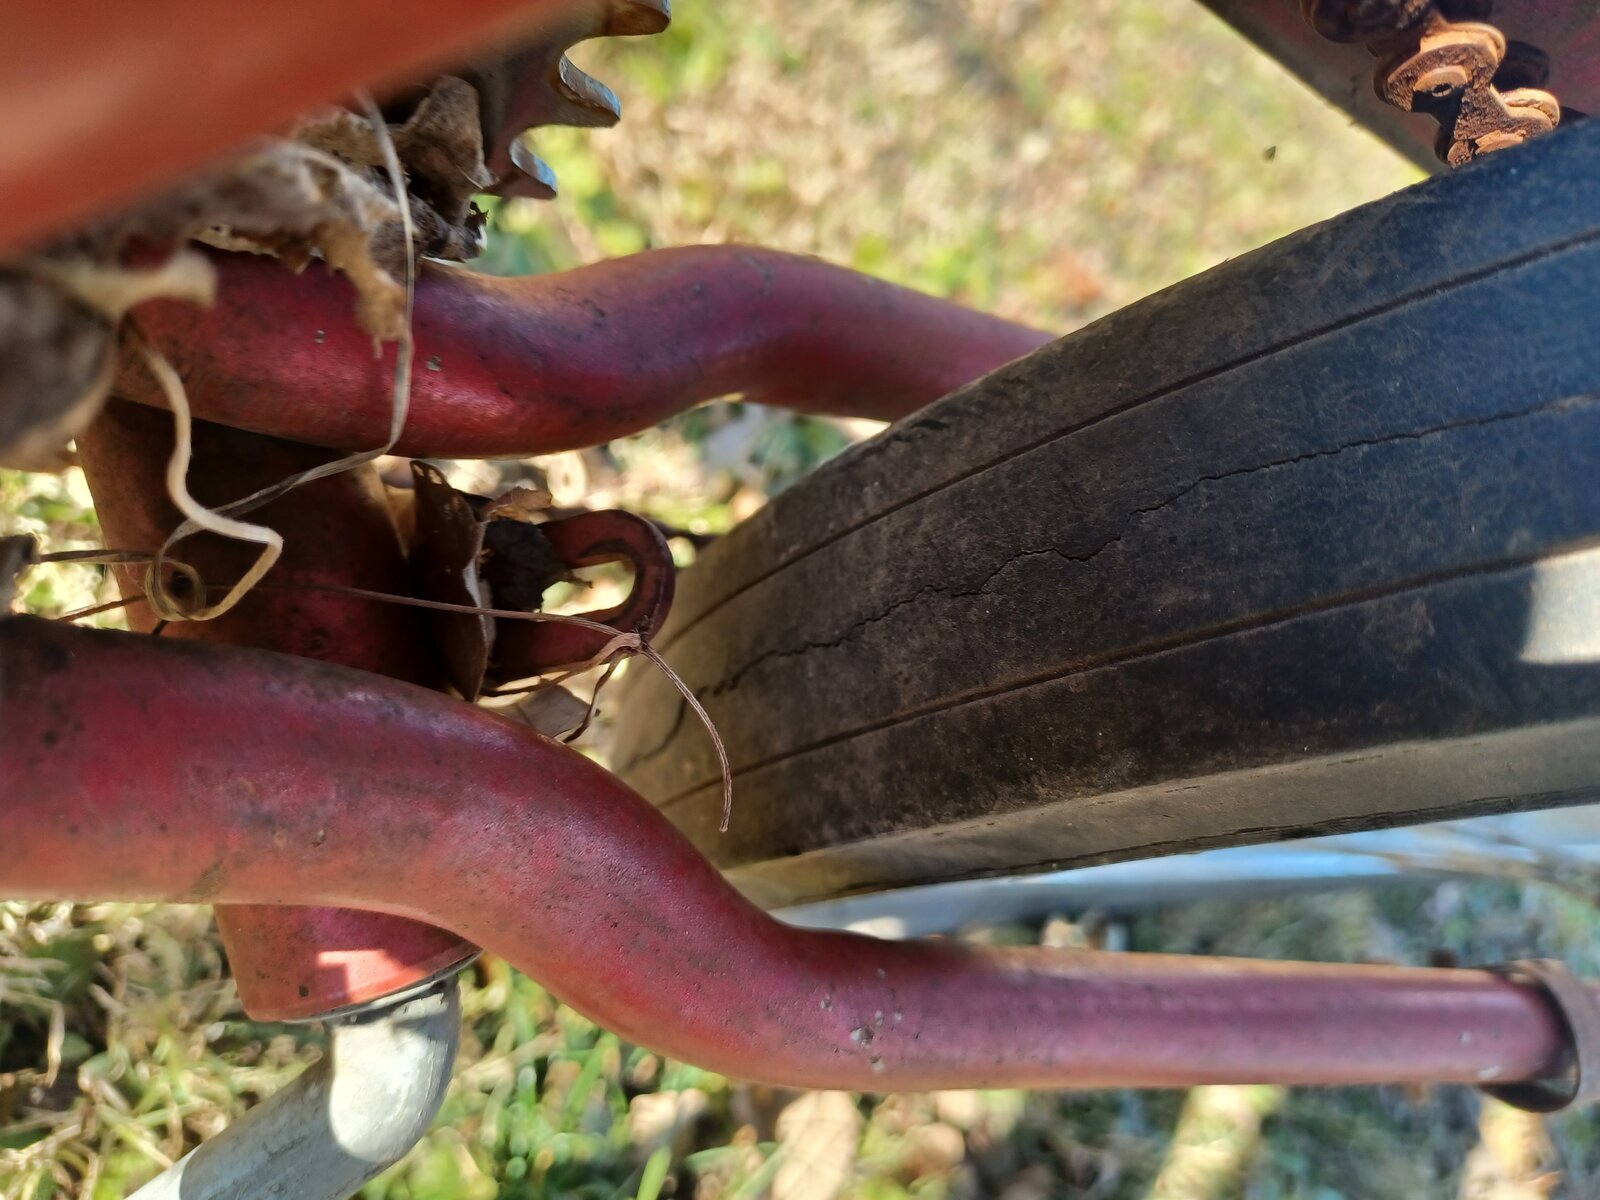
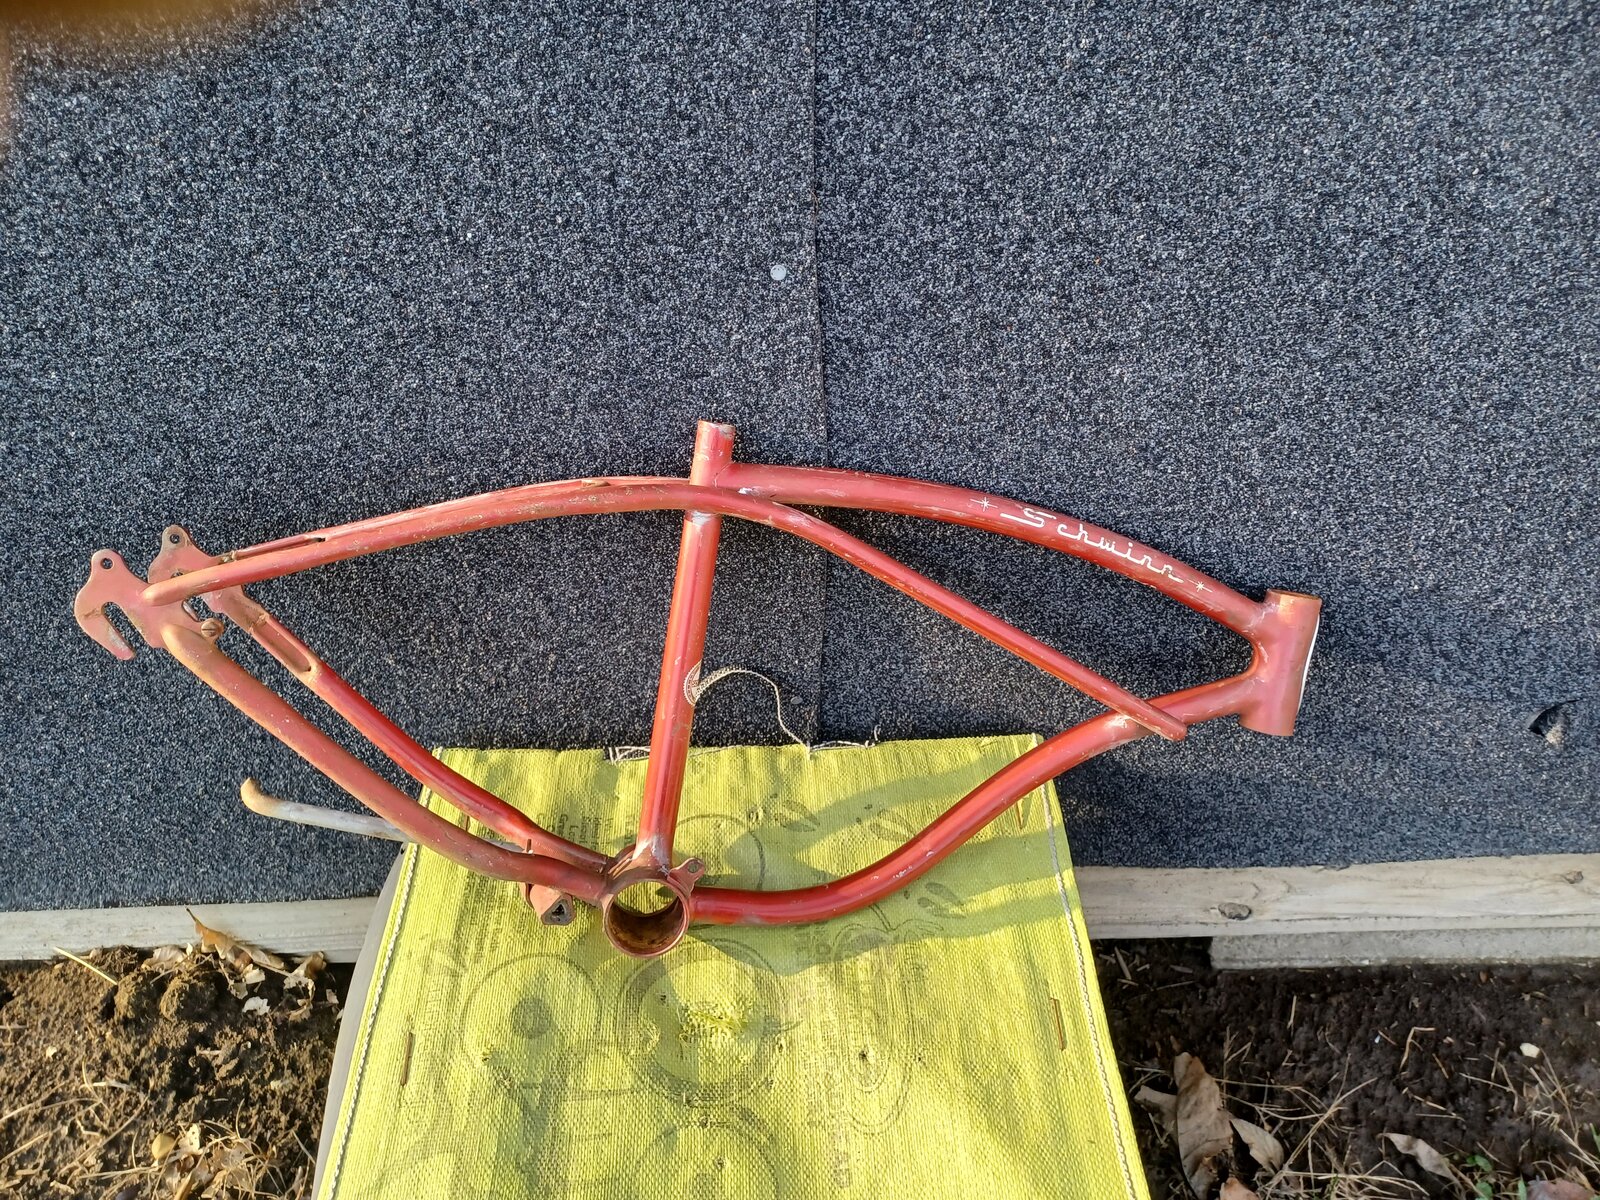
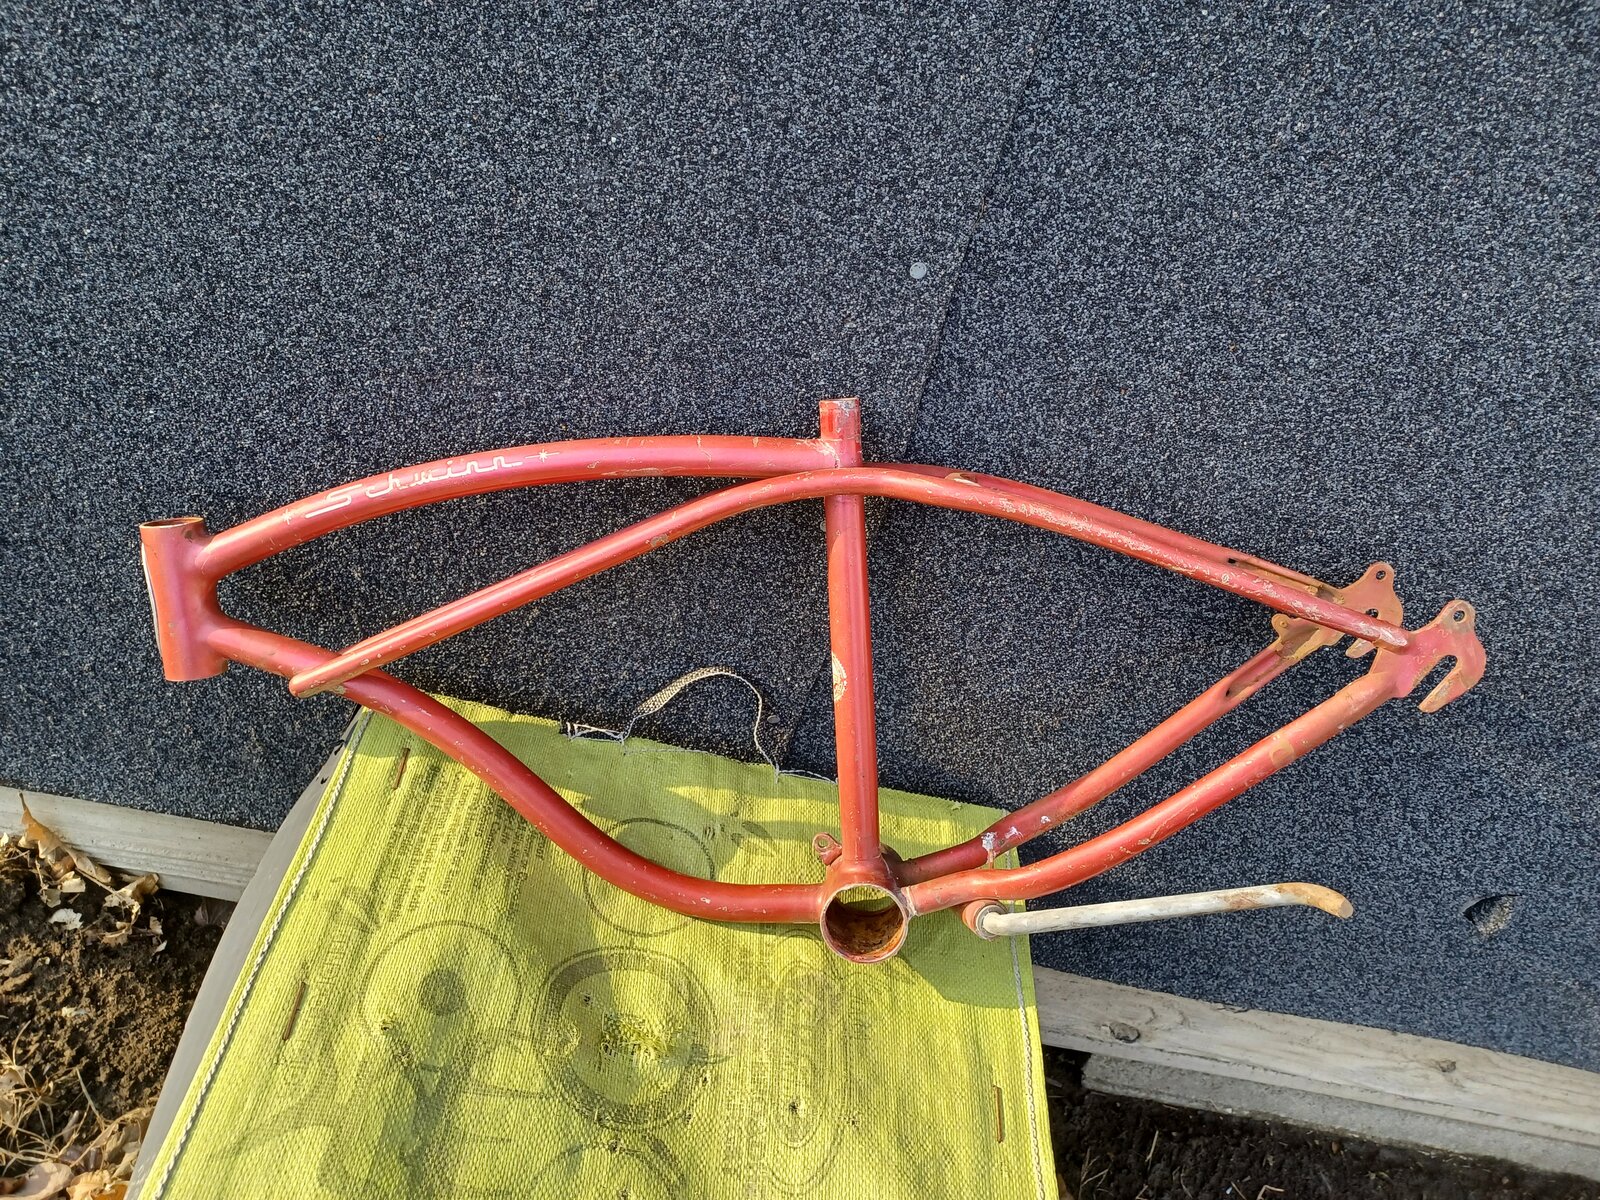
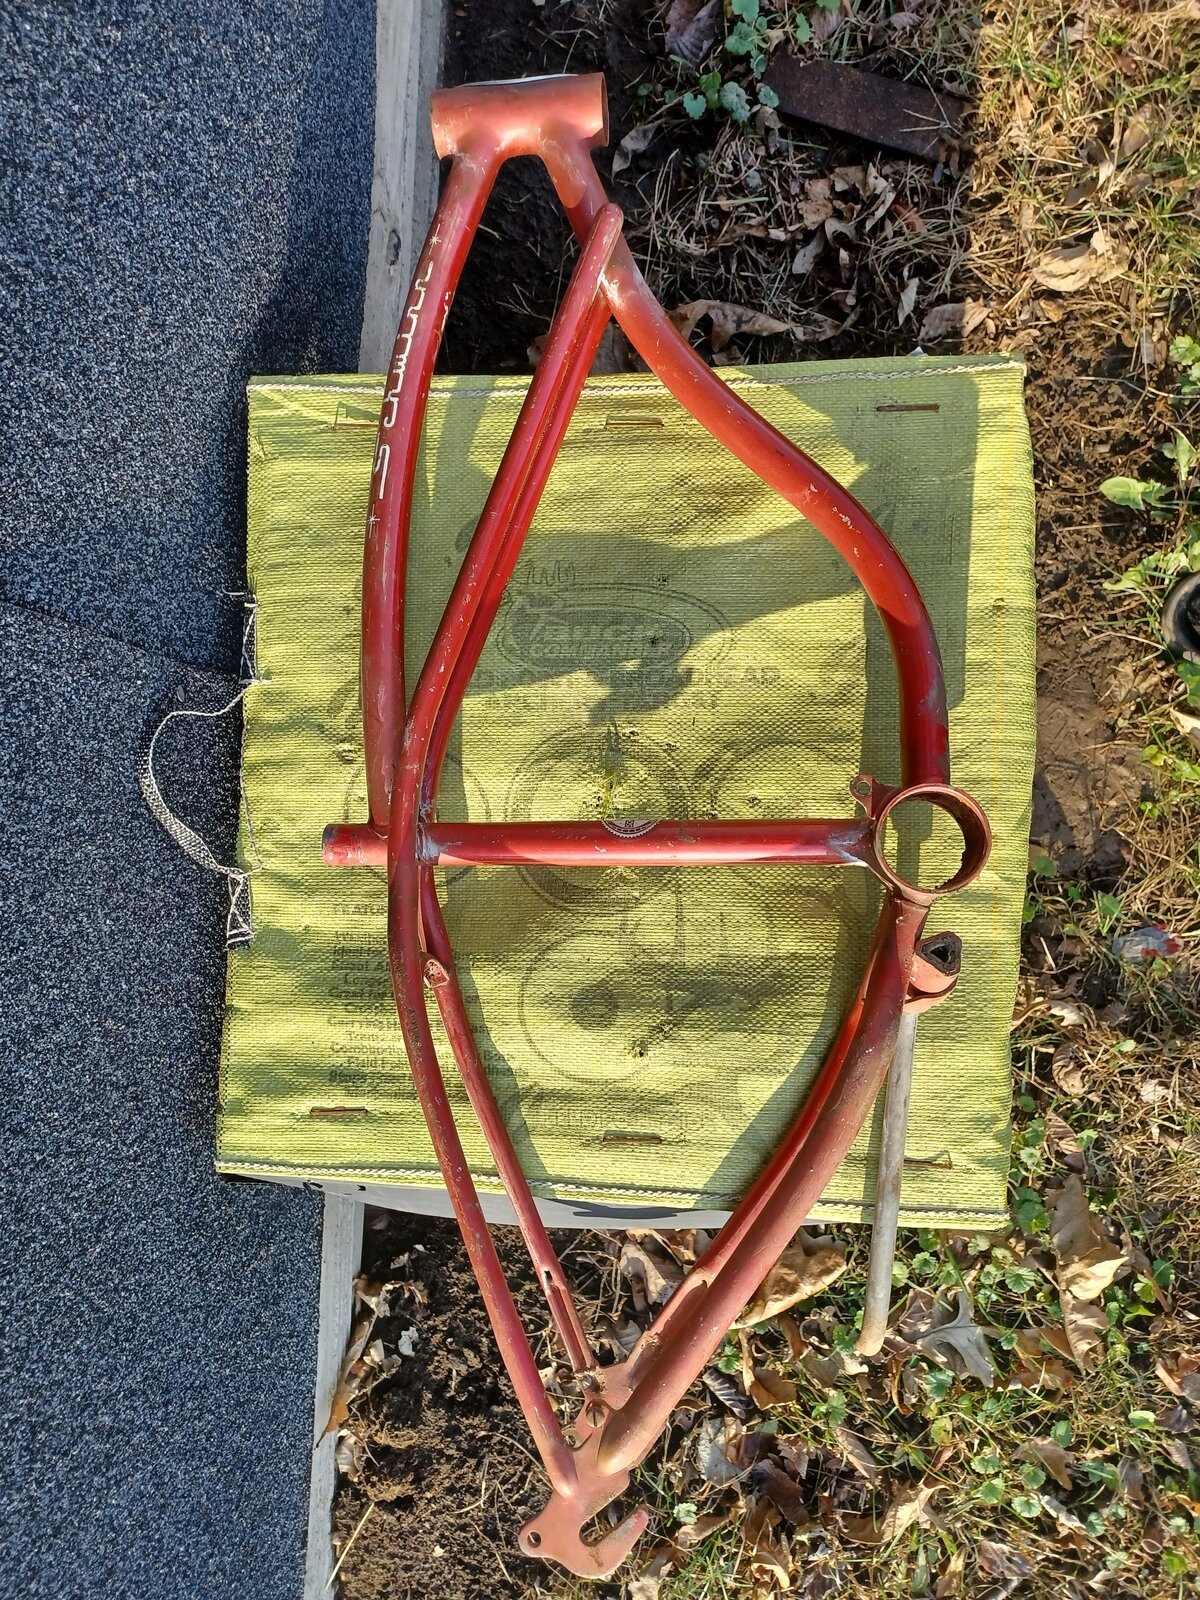
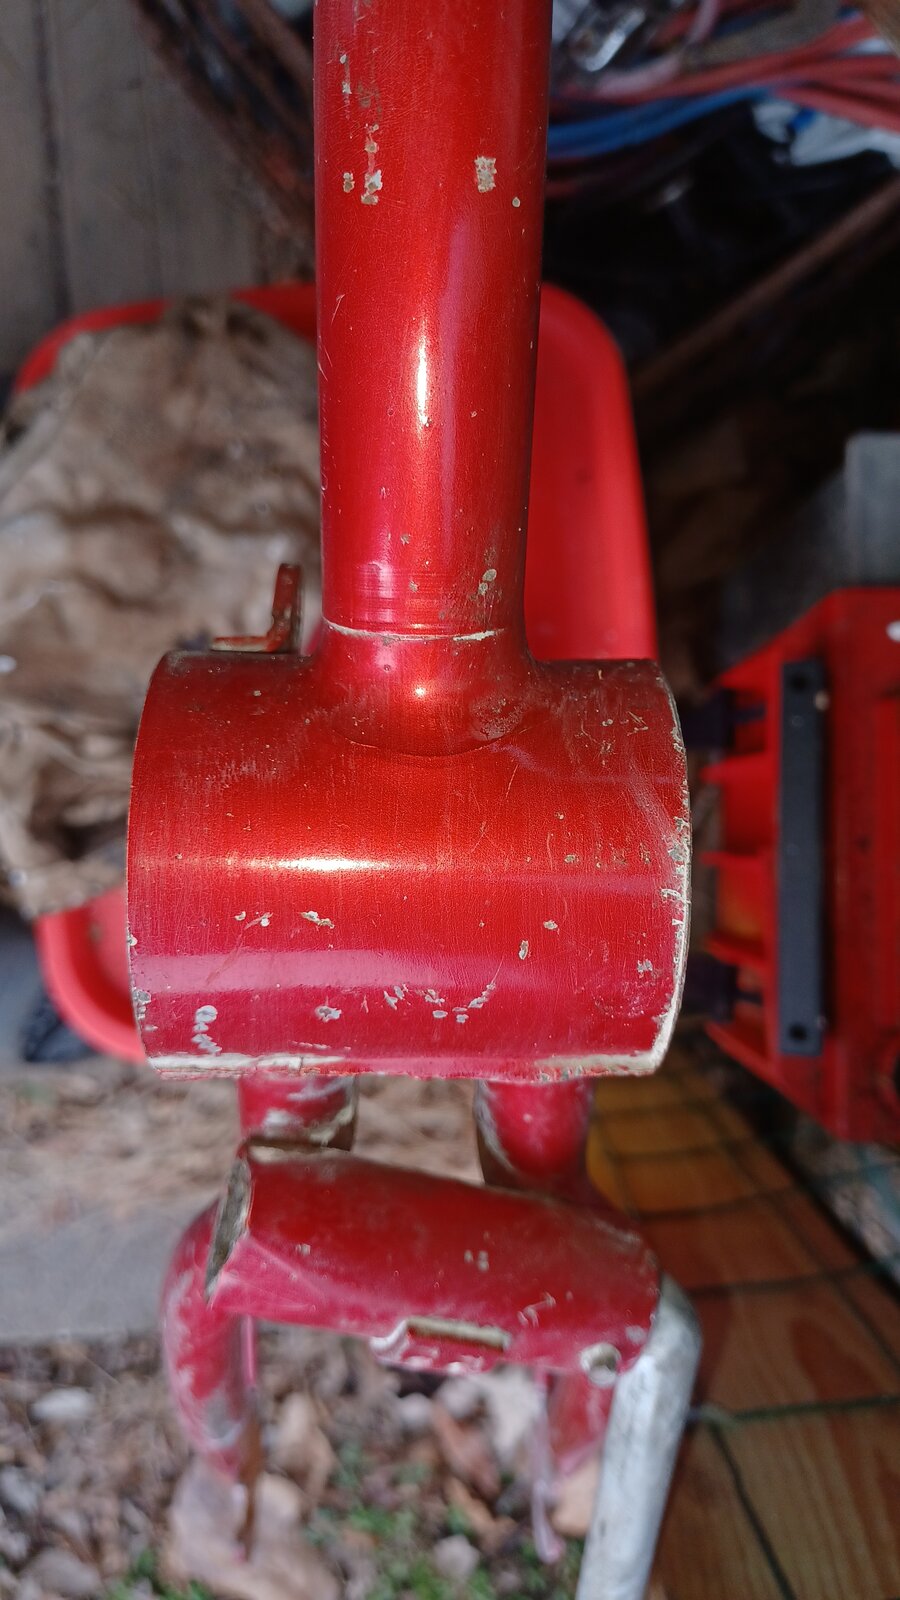
Now some shots of the (almost) bare frame. After receiving these parts I am going to do something I swore I wouldn't do. Repaint.
It just will not look like it all belongs together with how bad the paint looks. I tried polishing but some of the color burned out on the top bar from being outdoors for half its life.
There is a bright side, this frame I'm 1962 came in Flamboyant Red.
Now I need an economical way to paint it. I already have more money in this than my original plan of getting a sprung Solo Polo and a set of handlebars and I am an old disabled guy on a budget.
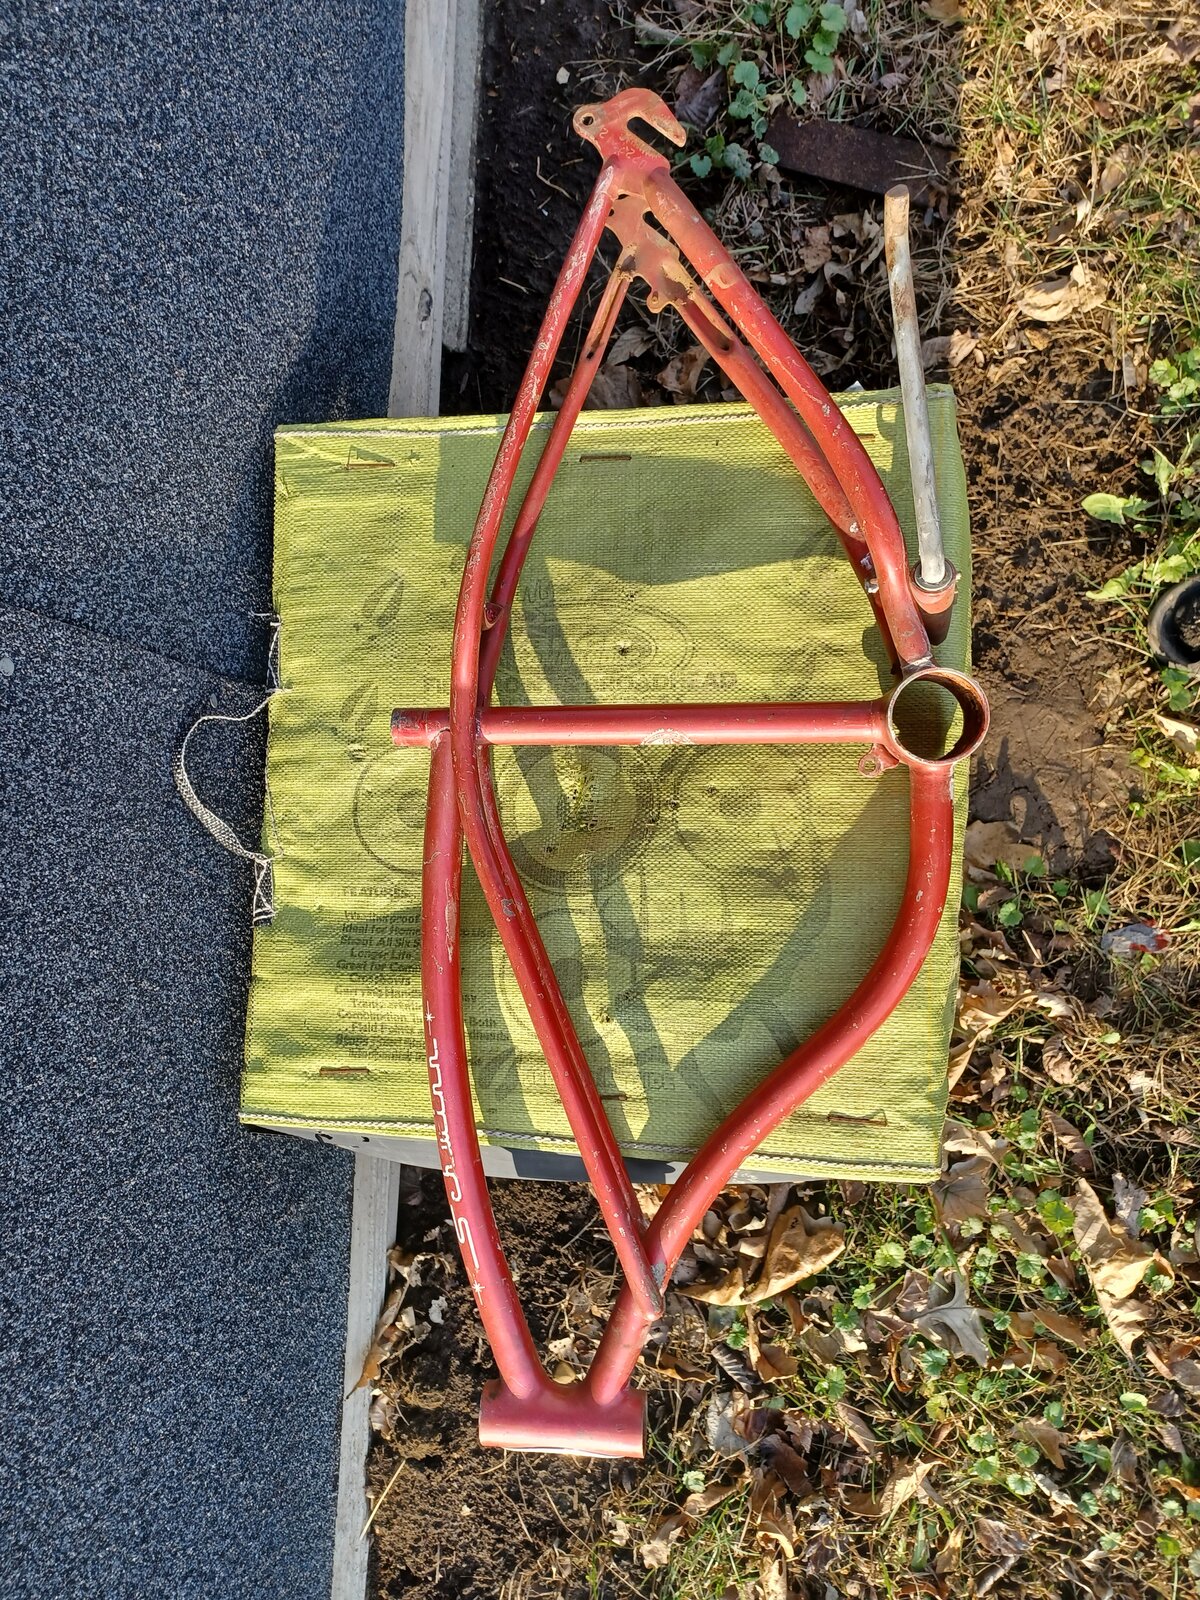
As you can see in the last photo the only part I could get to shine good enough to pass muster was the bottom of the bottom bracket. Kinda hard to see in riding position.
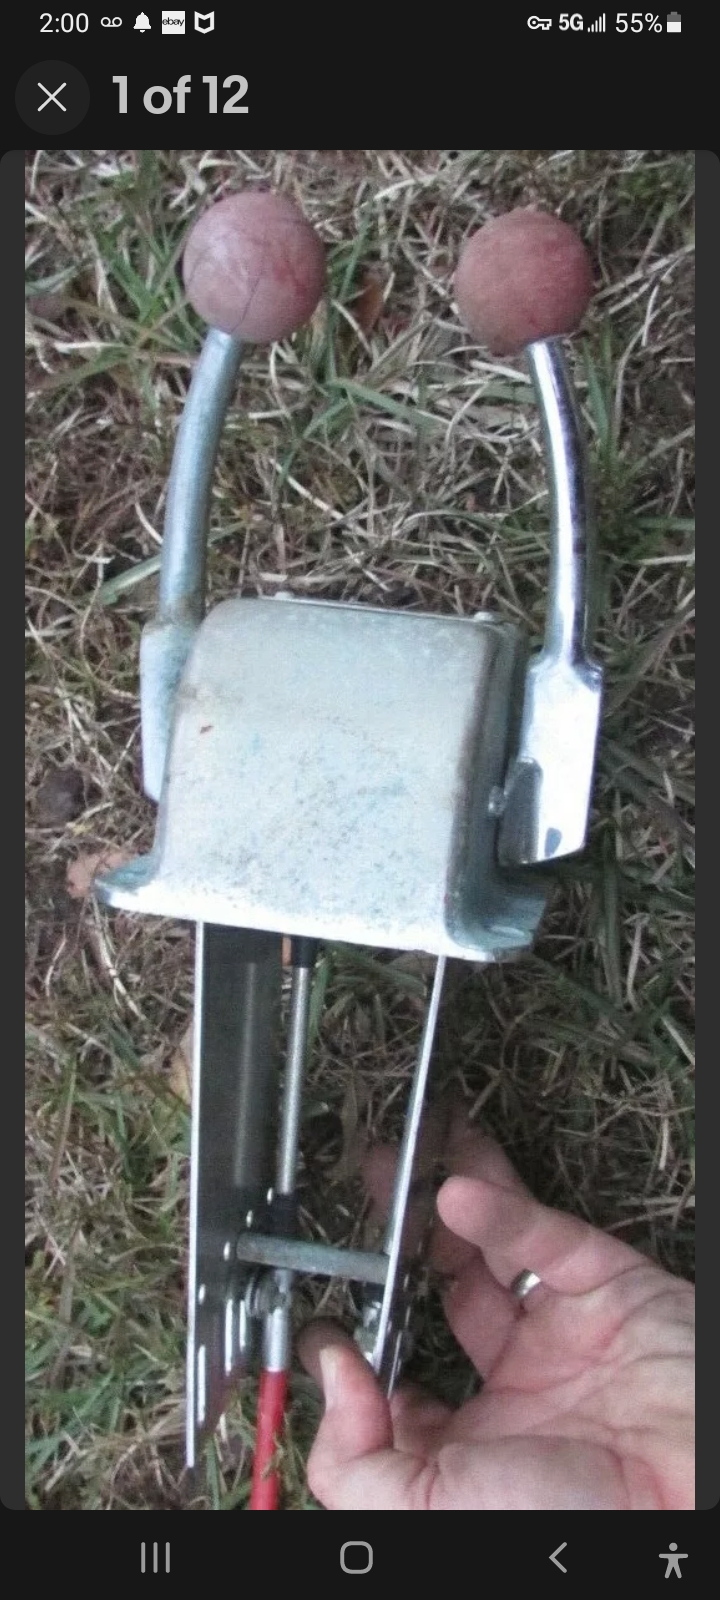
Wheelsets are to be some version of multi speed with drum brakes front and rear. I plan to modify some type of boat shifter to change gears.
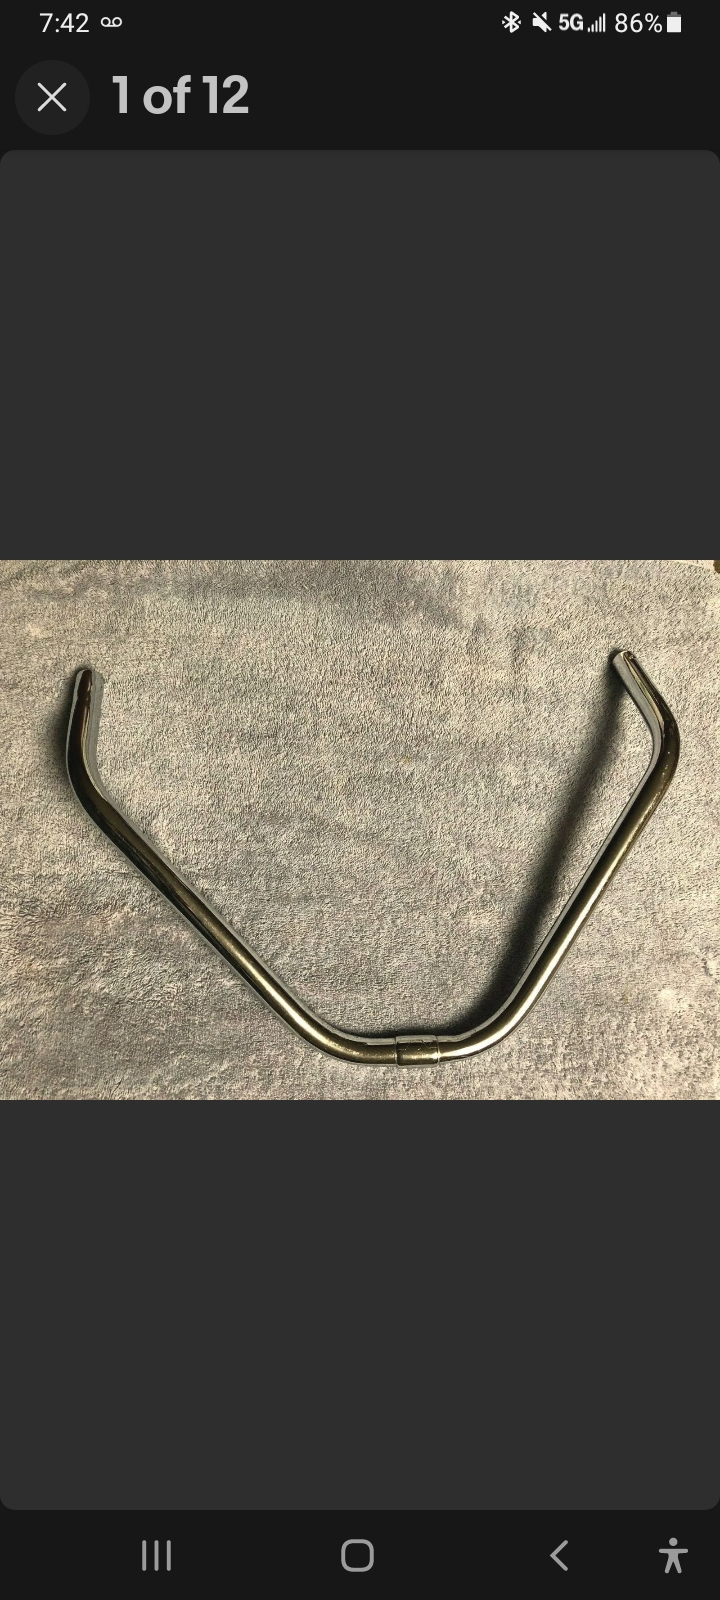
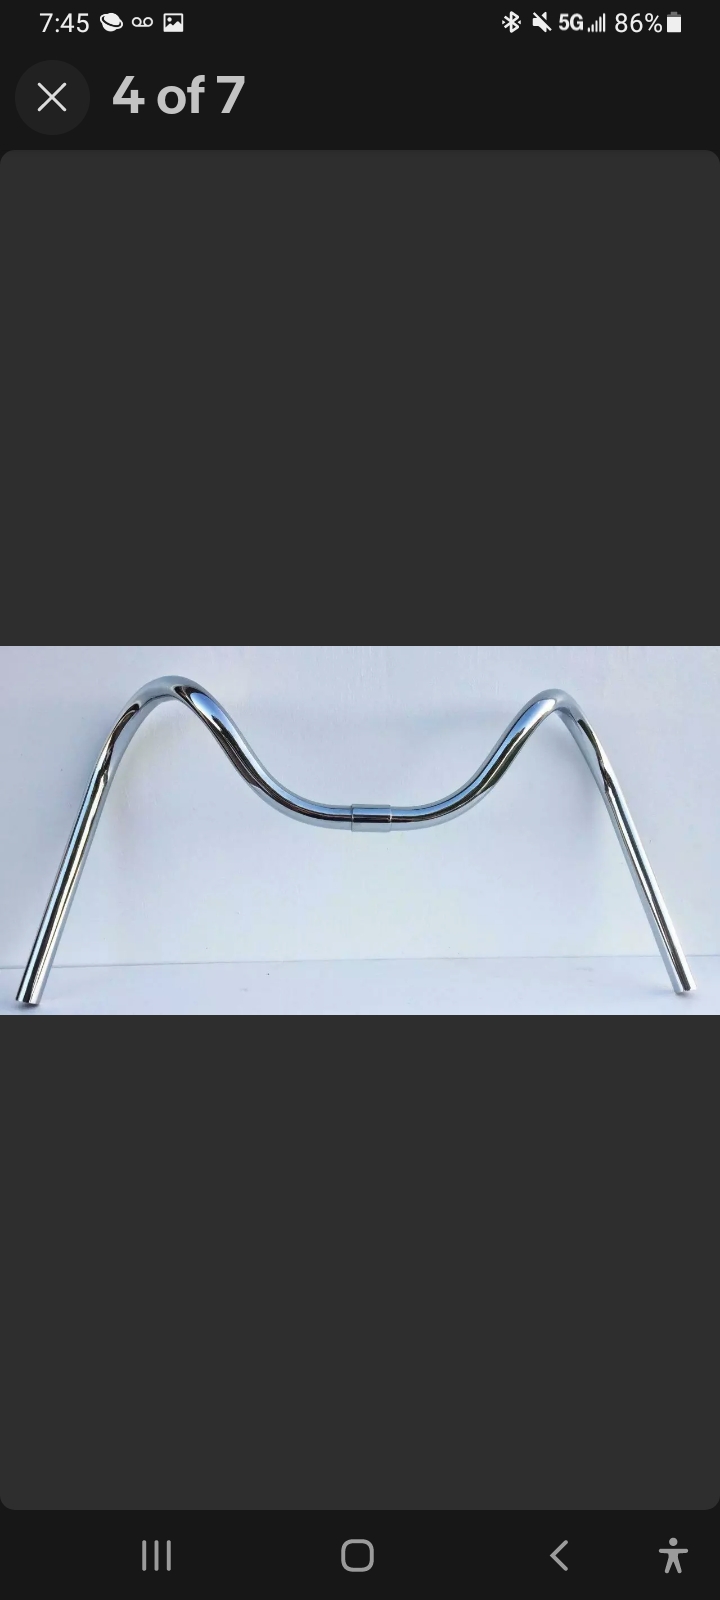
Handlebars will be either Tiller bars or Shelby Airflo bars.
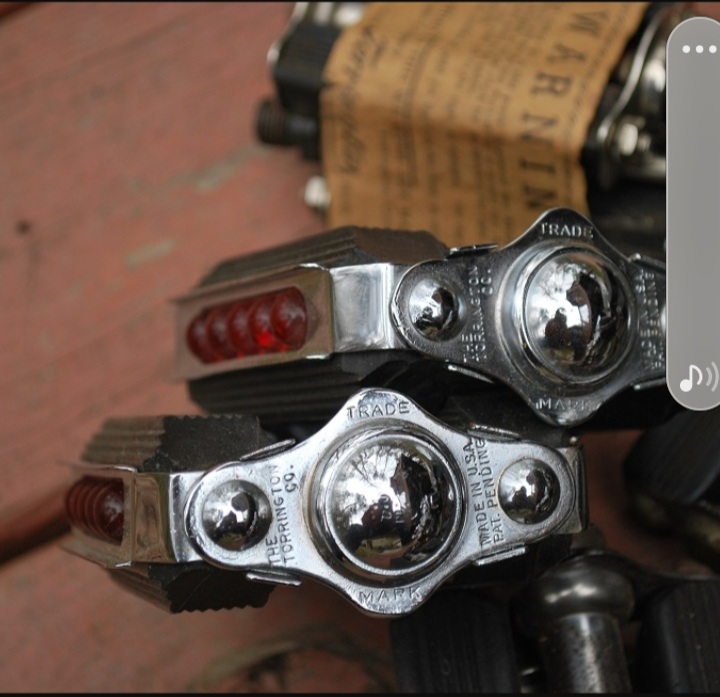
Pedals are to be a combo of Torrington Jeweled reflectors and Sunburst end caps.
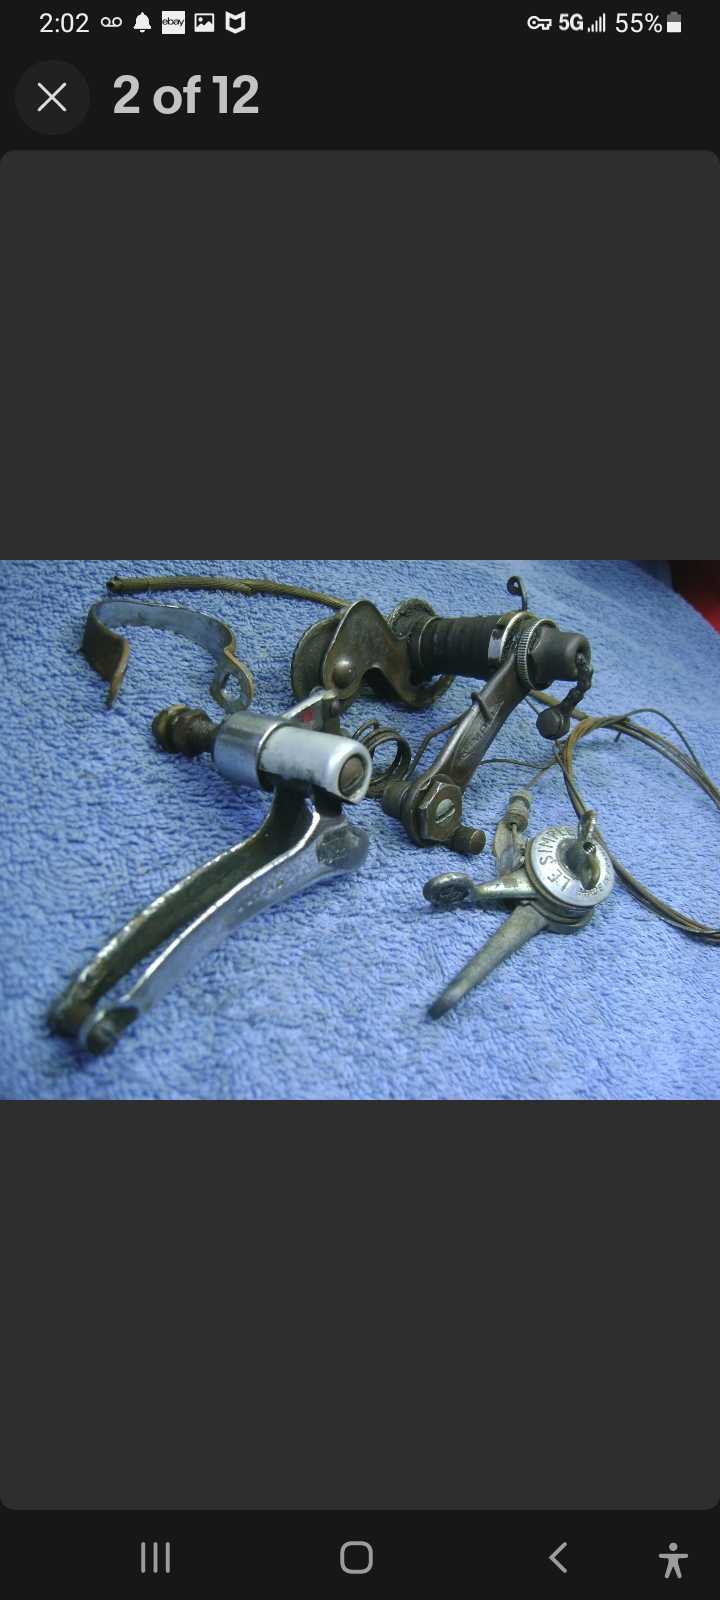
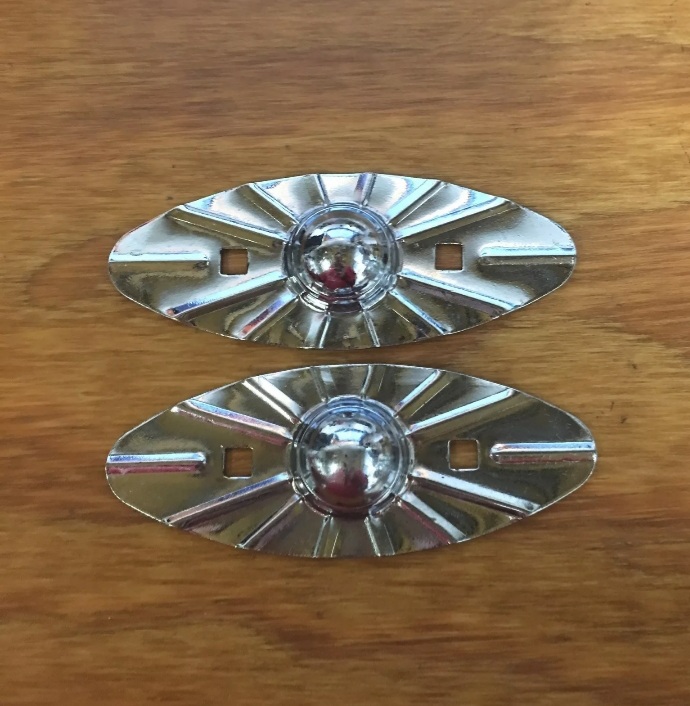
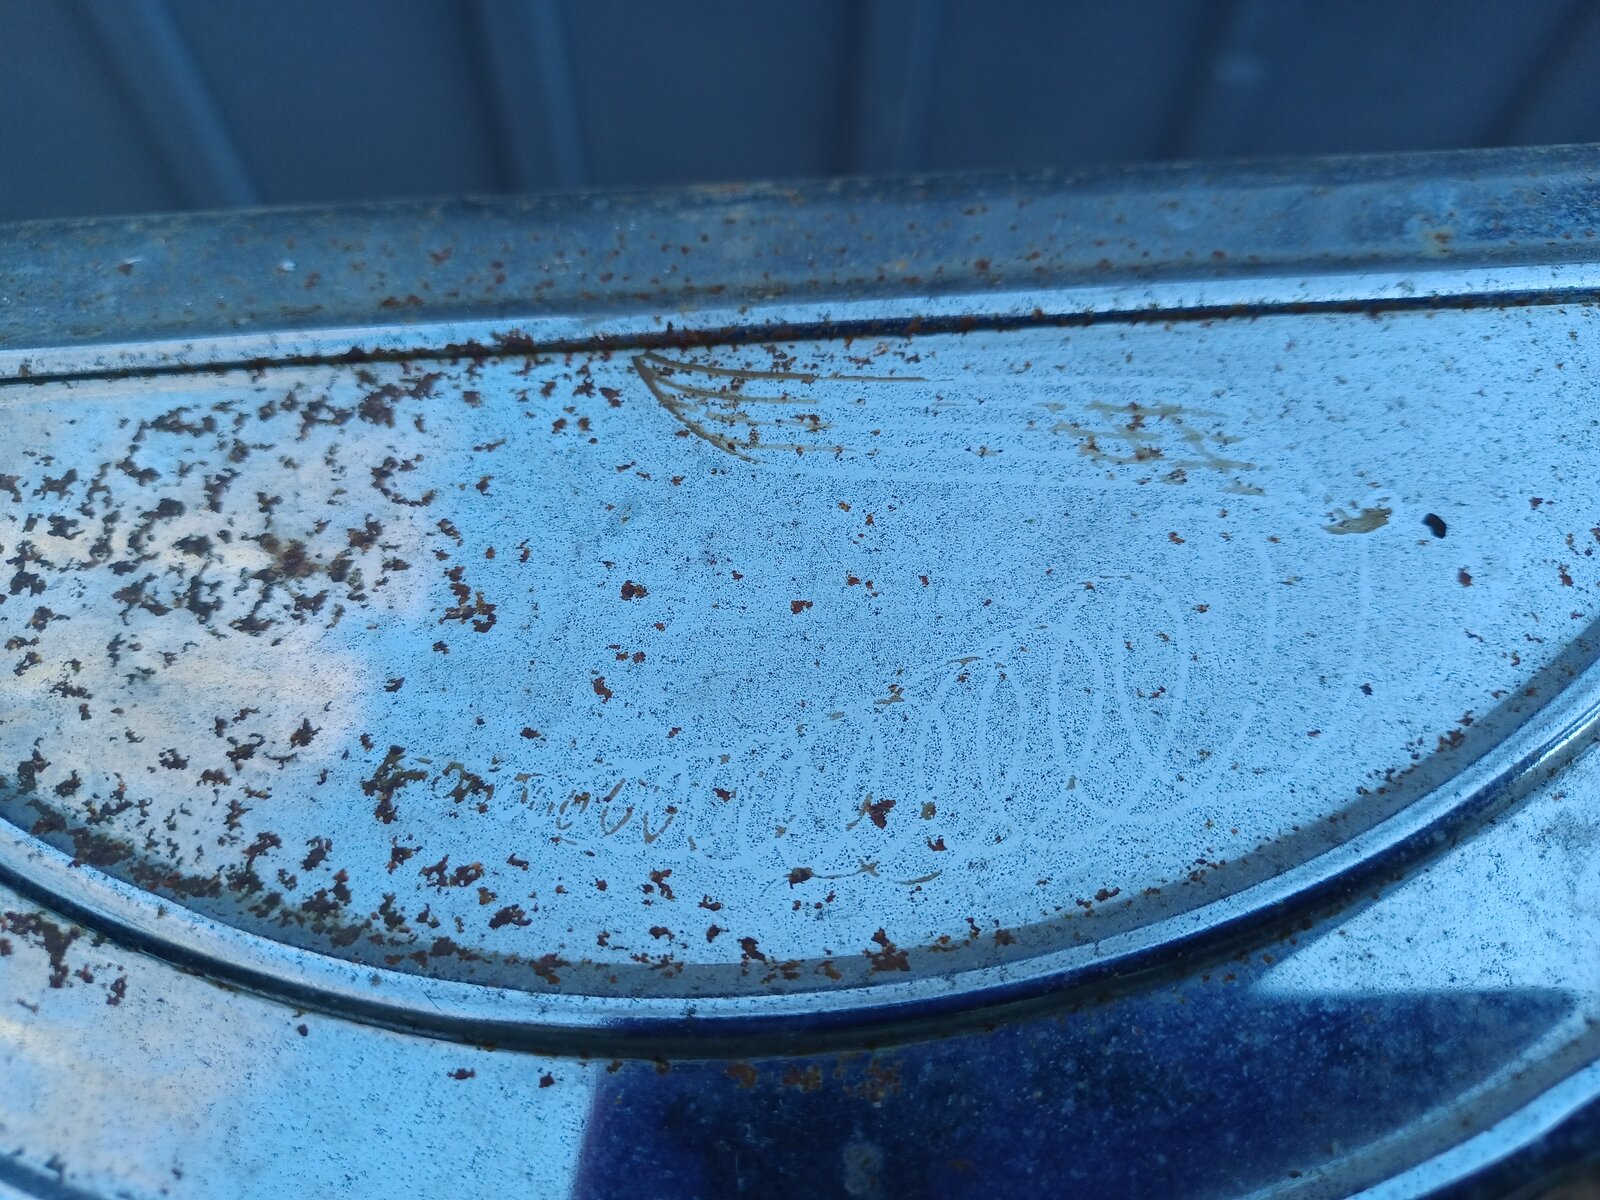
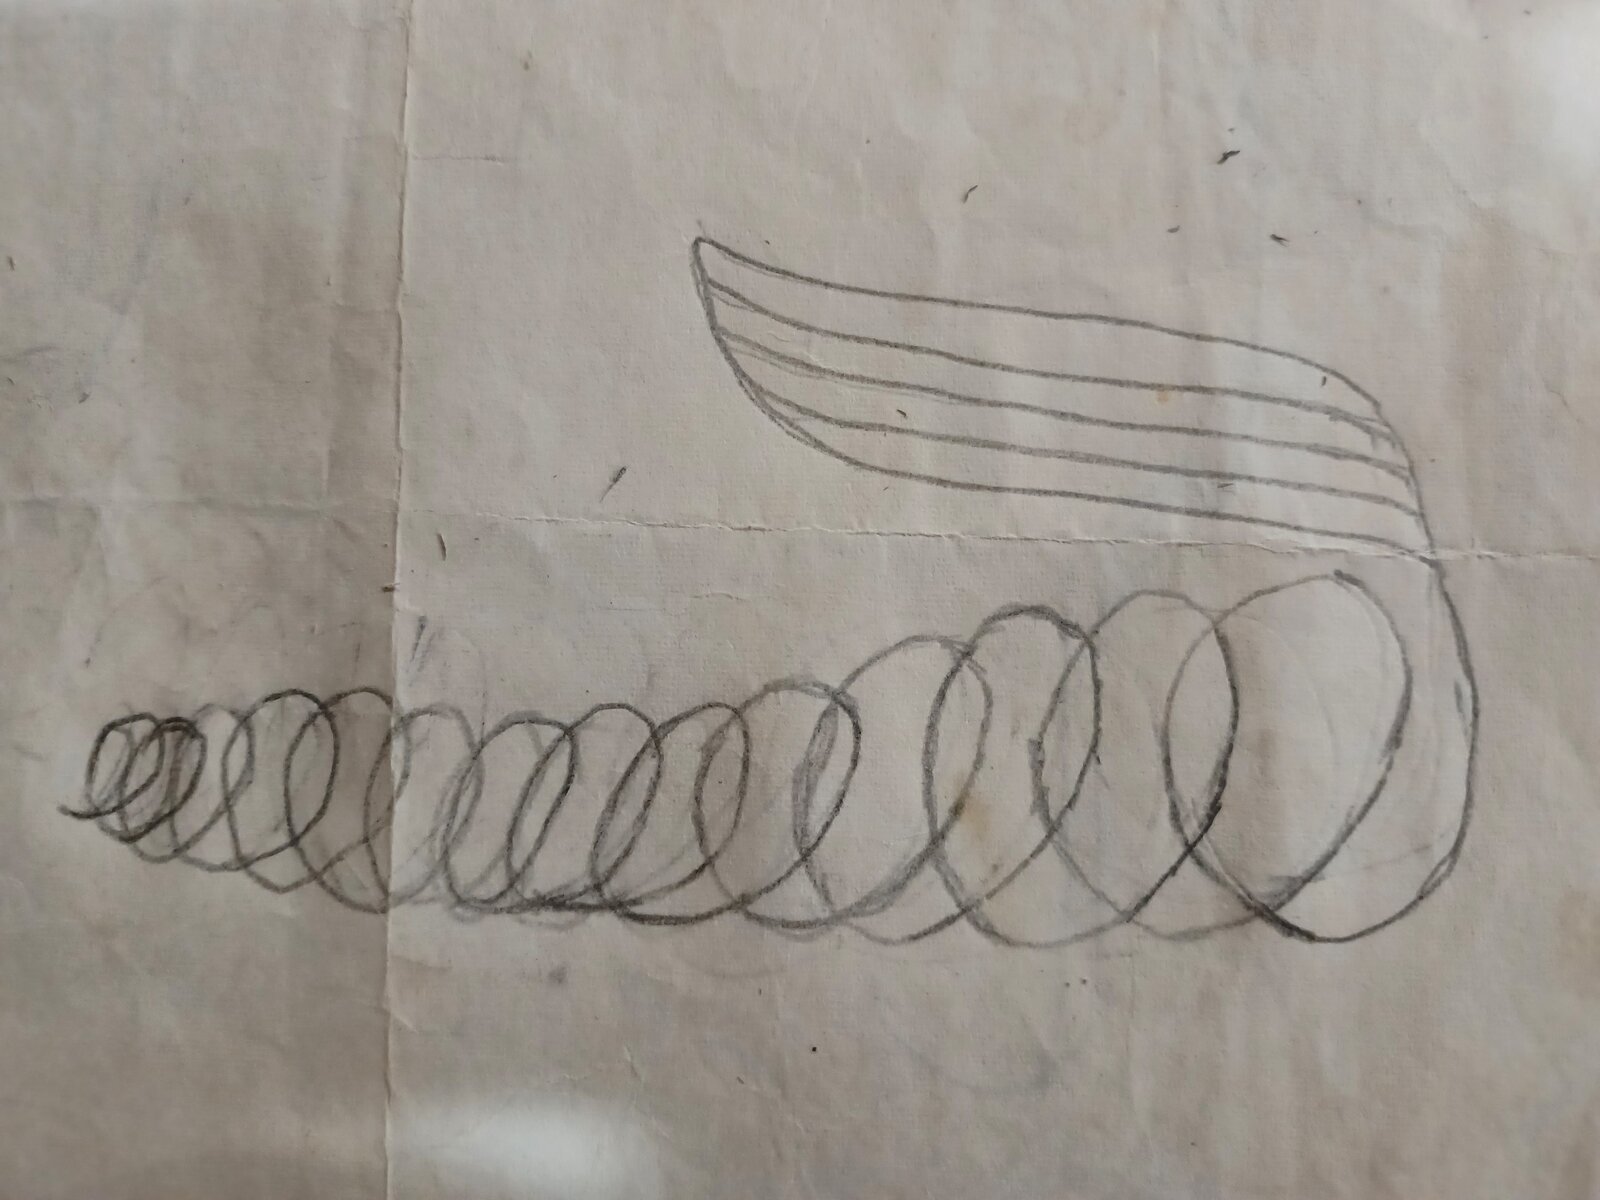
Chainguard will be this 1950s Hercules unit. This one has a screening on it I want to replace once it's cleaned up.

I do have a picture in my mind. Back then, as I know from growing up in the 1960s-1970s kids were big into colors, the brighter the better.
Plasticote Metallic Red is almost an exact match for Flamboyant Red, you have to get right up on the frame within a foot or so before you can see any difference in the metallic content. I didn't want to go that route only because I am a pain in the ass that way. Once I get a picture of something in my mind it is really hard to let go of it, and my picture was original paint. Not enough paint left on that picture.
I also considered House of Kolor Candy Red over their Silver Aluminum base, but that requires breaking out paint guns and I am not quite ready for that much work yet.
Downside is the wait. As the clock ticks and tocks I get closer to the tolling bell and you probably know how us old guys get when we start thinking we hear that bell.
At least I can clean my fork, search more for the logo screened onto my chainguard, buy more parts (YAY) and maybe find a 10' piece of Stainless tube to bend my sissybar from. And there is always the most dangerous project a man can conceive.
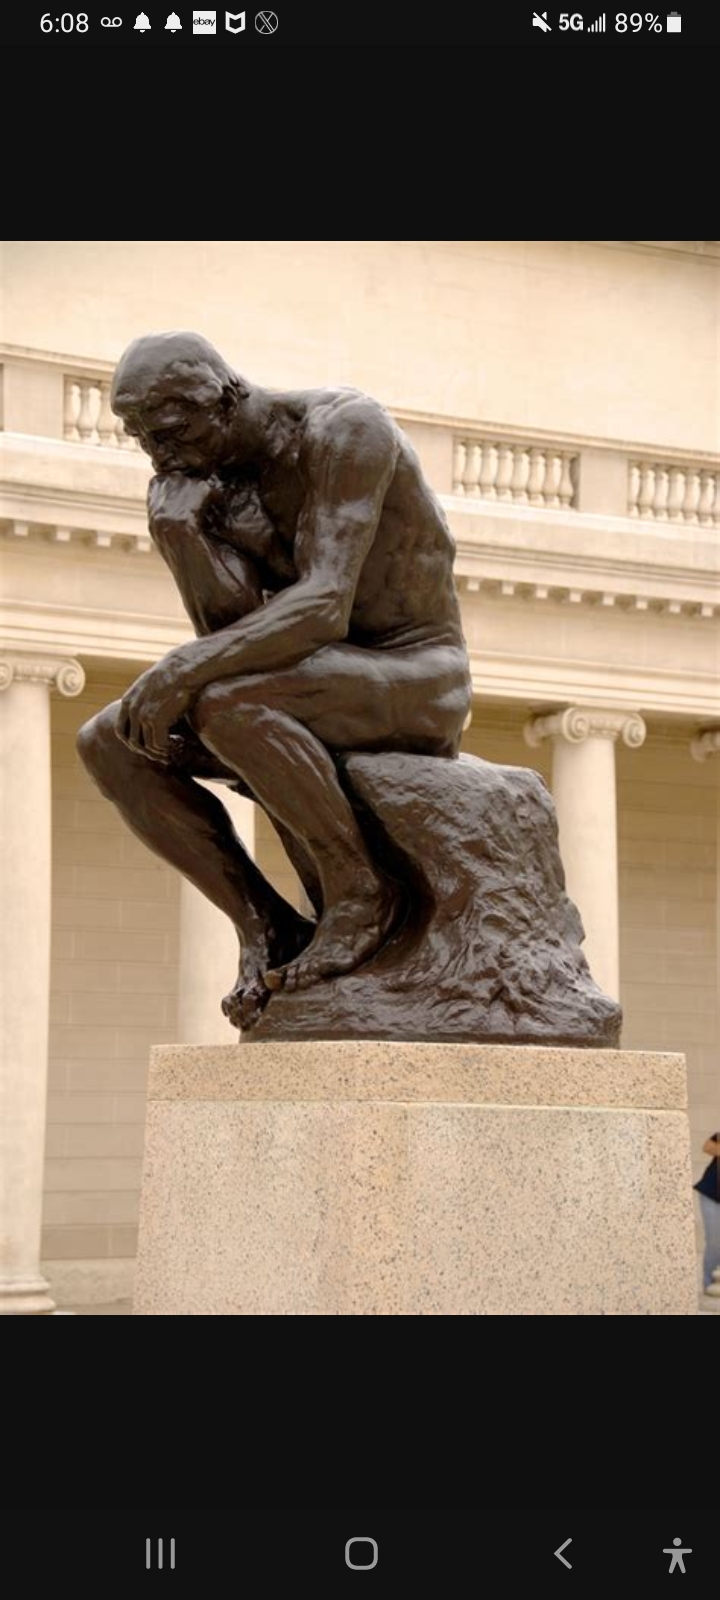
Thinking.
You see what happened to this guy for doing that! The gods turned him to bronze and made him sit in public naked for, well forever.
I have came up with paint I can live with at a price I can live with as well.
4 step process.
I am probably at or around $30 for all the paint.
1). RUSTOLEUM sandable Red oxide primer. It is about as dark as the original Sherwin Williams primer and about $5.00 for an oversize spray can.
2). RUSTOLEUM Silver chrome base coat. It was the brightest silver I found. Almost $6.50/can.
3). Plasti-Coat Metalcast Red. Listed as a cold anodizing color, but when sprayed over silver the effect should be a good enough representation of Flamboyant Red to make me happy. Who knows, I may like it enough to use it on the next project. Not at liberty to divulge that information yet. Cost was about $9.00/can.
4 RUSTOLEUM Clear Coat. Bought a good one hoping that the protection is worth the cost. I had an Apple Krate repaint crumble to dust and I used all Dupli-Color products, except for the Rustoleum Red Oxide Primer. Cost about $6.00/can
Remember this is not a restoration. However, if this color turns out nice enough it is a reasonable alternative to at least one Schwinn color I cannot afford to buy on my budget.
The MetalCast colors are a translucent line of colors, with properties that resemble Kandy Kolors. The line also includes Blue, Yellow and Purple and Green as well as a bright aluminum base and a clear coat. Probably others as well but that's what I have seen for sale personally
The Rustoleum Cobalt Blue Metallic is a beautiful color as well. Not quite Sky Blue, but awesome nonetheless.
Call me crazy, but I am going to replace at least the Schwinn Quality sawtooth decal on the downtime. I will also replace the headbadge with a Red Phantom reproduction unit.
I am using a lot of reproduction parts as long as they are identical or very close to identical to the parts they represent. I am going for an idea here. I am not making a bike to claim as an original 1960s Pig Bike. This one was but the original parts are gone so it will become a representation of what a Dad and Son could've came up with using parts they had or could grab from a pile of bicycles for free or low cost. Also a little chroming because chrome was cheap back then and shops were everywhere. Every morning I wake up and thank the EPA for protecting me from the evils of having excessive chrome on my bikes, motorcycles and cars.
As long as the look is period correct that is all that matters to me. I am also not altering any part that cannot be put back to stock.
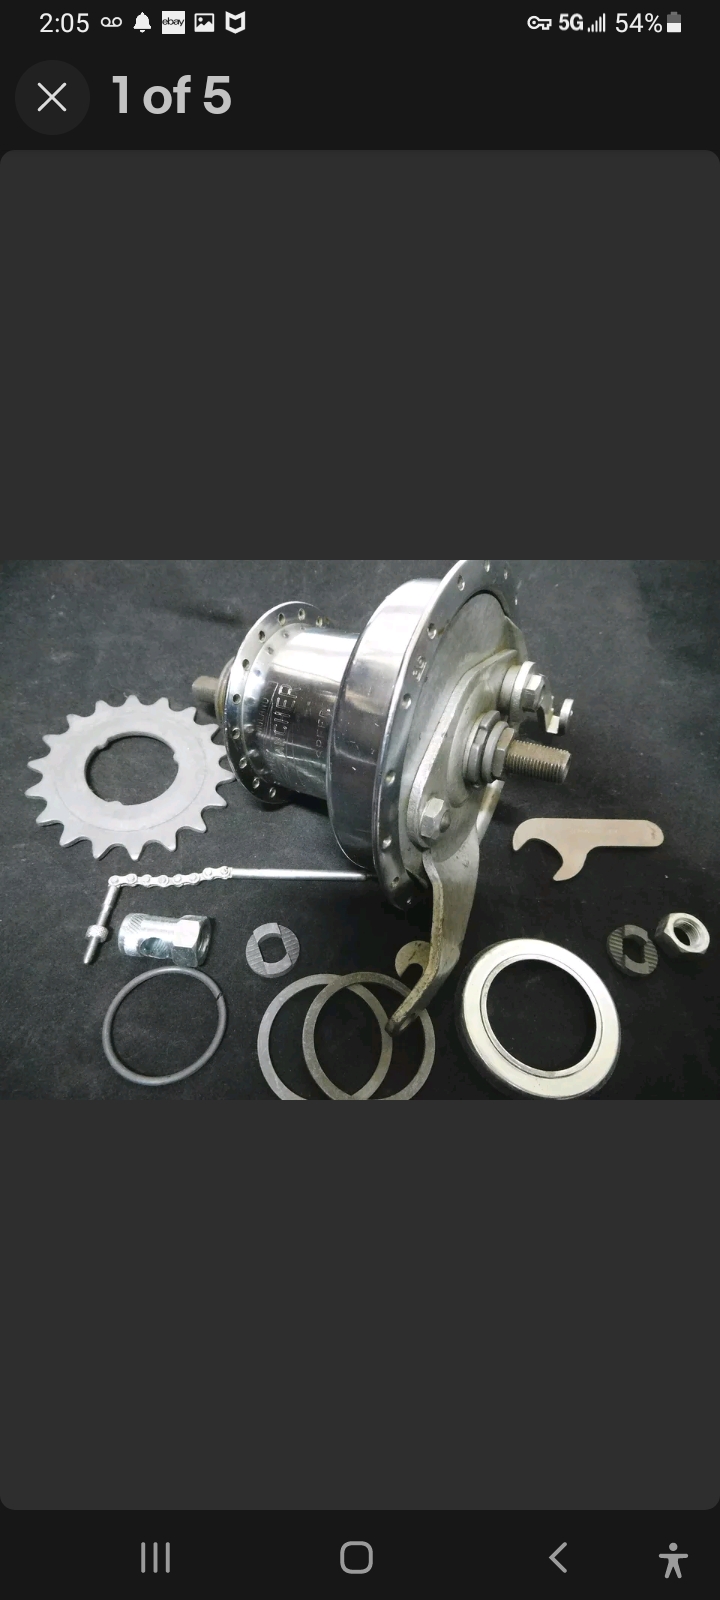
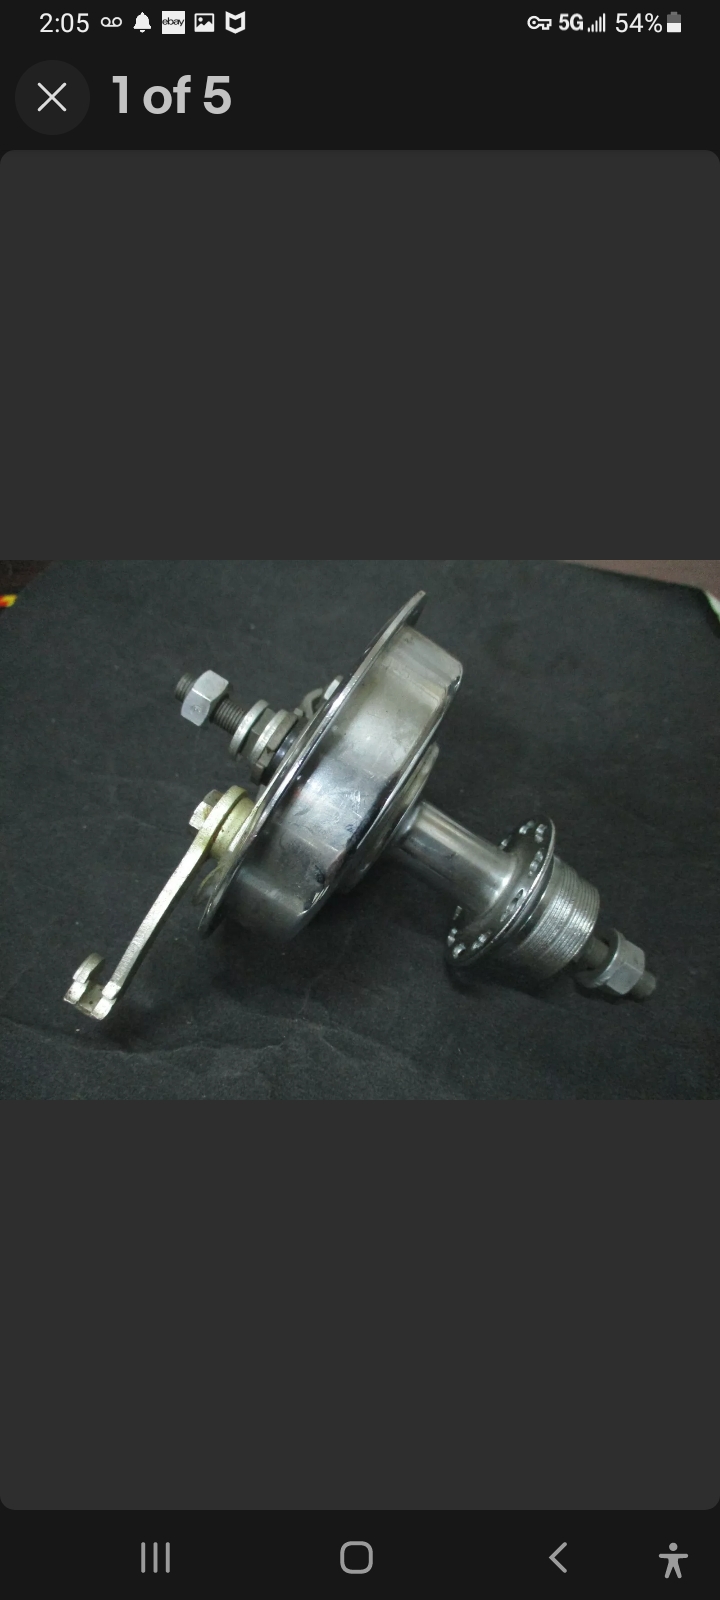
I haven't made much progress, except I did purchase a rear Sturmey Archer 3 speed drum hub for a 36 hole rim from a guy in England.
It needs some cleaning but it should fit right in.
Somewhere here I have a Sturmey Archer 4 speed complete hub, I may swap the assembly into the drum hub, as I have checked and it will fit.
I may buy a 3 speed cluster that was popular in the 1950s when derailleurs only shifted 2 or 3 gears. I can make up a 3x3 or 3x4 axle giving me 9 or 12 speeds without a front derailleur or double sprockets.
I may have a second rear unit and 28 hole front Dynohub. I will know next week. Looking at the set, the rear drum has holes just like a Dynohub. I am about 90% certain the drum hub and Dynohub are the same without the Dyno parts riveted in. I could convert the front Dynohub to a Drum brake hub. I don't need to but I hate using both my spare 36 hole S-2 rims on this bike. We will see.
I found a nice bare 36 hole front drum hub, but I need a 32 or 40 hole I can buy reasonable for the backing plate and axle parts. As you can tell I am still working out the front hub.
I think I may take my frame to a friend with a sandblasting shop unless I can build a hopper booth large enough for a bike frame soon.
When I got it it had chrome S-2 Wheels with tractor grip tires and a red Solo Polo seat. It also had Longhorn bars with Red Schwinn script grips. That was a true Pig Bike from the beginnings of Pig Bikes.
Then I sold it to a friend who wanted it to look more like a Stingray, so he changed the seat and handlebars. We put the chainguard on it from a 1962 Buddy, it had the same frame except for the stamped joints instead of the welded joints.
Somewhere in the shuffle the original bars and seat are lost or I would never have touched it.
Since that is not the case it is going to become something else. It will be a Dad and Son vision of a cool bike that was built from parts they could access at the time and work they could do themselselves. Since it was 1950s-1960s parts chroming was cheap and easily accessible so there was no reason not to go with some parts that may not have been done to that point.
Below is some photos of what the bike was when I started. Progress photos to come.
The seat I purchased for the project. It was actually recovered at home by a Dad that builds some custom bikes with his sons so I felt it was perfect and the price was more than reasonable. Included in the price was a piece of extra vinyl large enough to make a nice sissybar pad. Thanks to Max Golter for this!
The fork for the project came from bobcycles. When I received it all it needed was some paint removed and polished which I will be doing soon. Thanks Bob!
I will either need to rethread and cut the neck or make a shiny chrome spacer for it.
Now some shots of the (almost) bare frame. After receiving these parts I am going to do something I swore I wouldn't do. Repaint.
It just will not look like it all belongs together with how bad the paint looks. I tried polishing but some of the color burned out on the top bar from being outdoors for half its life.
There is a bright side, this frame I'm 1962 came in Flamboyant Red.
Now I need an economical way to paint it. I already have more money in this than my original plan of getting a sprung Solo Polo and a set of handlebars and I am an old disabled guy on a budget.
As you can see in the last photo the only part I could get to shine good enough to pass muster was the bottom of the bottom bracket. Kinda hard to see in riding position.
Wheelsets are to be some version of multi speed with drum brakes front and rear. I plan to modify some type of boat shifter to change gears.
Handlebars will be either Tiller bars or Shelby Airflo bars.
Pedals are to be a combo of Torrington Jeweled reflectors and Sunburst end caps.
Chainguard will be this 1950s Hercules unit. This one has a screening on it I want to replace once it's cleaned up.
I do have a picture in my mind. Back then, as I know from growing up in the 1960s-1970s kids were big into colors, the brighter the better.
Plasticote Metallic Red is almost an exact match for Flamboyant Red, you have to get right up on the frame within a foot or so before you can see any difference in the metallic content. I didn't want to go that route only because I am a pain in the ass that way. Once I get a picture of something in my mind it is really hard to let go of it, and my picture was original paint. Not enough paint left on that picture.
I also considered House of Kolor Candy Red over their Silver Aluminum base, but that requires breaking out paint guns and I am not quite ready for that much work yet.
Downside is the wait. As the clock ticks and tocks I get closer to the tolling bell and you probably know how us old guys get when we start thinking we hear that bell.
At least I can clean my fork, search more for the logo screened onto my chainguard, buy more parts (YAY) and maybe find a 10' piece of Stainless tube to bend my sissybar from. And there is always the most dangerous project a man can conceive.
Thinking.
You see what happened to this guy for doing that! The gods turned him to bronze and made him sit in public naked for, well forever.
I have came up with paint I can live with at a price I can live with as well.
4 step process.
I am probably at or around $30 for all the paint.
1). RUSTOLEUM sandable Red oxide primer. It is about as dark as the original Sherwin Williams primer and about $5.00 for an oversize spray can.
2). RUSTOLEUM Silver chrome base coat. It was the brightest silver I found. Almost $6.50/can.
3). Plasti-Coat Metalcast Red. Listed as a cold anodizing color, but when sprayed over silver the effect should be a good enough representation of Flamboyant Red to make me happy. Who knows, I may like it enough to use it on the next project. Not at liberty to divulge that information yet. Cost was about $9.00/can.
4 RUSTOLEUM Clear Coat. Bought a good one hoping that the protection is worth the cost. I had an Apple Krate repaint crumble to dust and I used all Dupli-Color products, except for the Rustoleum Red Oxide Primer. Cost about $6.00/can
Remember this is not a restoration. However, if this color turns out nice enough it is a reasonable alternative to at least one Schwinn color I cannot afford to buy on my budget.
The MetalCast colors are a translucent line of colors, with properties that resemble Kandy Kolors. The line also includes Blue, Yellow and Purple and Green as well as a bright aluminum base and a clear coat. Probably others as well but that's what I have seen for sale personally
The Rustoleum Cobalt Blue Metallic is a beautiful color as well. Not quite Sky Blue, but awesome nonetheless.
Call me crazy, but I am going to replace at least the Schwinn Quality sawtooth decal on the downtime. I will also replace the headbadge with a Red Phantom reproduction unit.
I am using a lot of reproduction parts as long as they are identical or very close to identical to the parts they represent. I am going for an idea here. I am not making a bike to claim as an original 1960s Pig Bike. This one was but the original parts are gone so it will become a representation of what a Dad and Son could've came up with using parts they had or could grab from a pile of bicycles for free or low cost. Also a little chroming because chrome was cheap back then and shops were everywhere. Every morning I wake up and thank the EPA for protecting me from the evils of having excessive chrome on my bikes, motorcycles and cars.
As long as the look is period correct that is all that matters to me. I am also not altering any part that cannot be put back to stock.
I haven't made much progress, except I did purchase a rear Sturmey Archer 3 speed drum hub for a 36 hole rim from a guy in England.
It needs some cleaning but it should fit right in.
Somewhere here I have a Sturmey Archer 4 speed complete hub, I may swap the assembly into the drum hub, as I have checked and it will fit.
I may buy a 3 speed cluster that was popular in the 1950s when derailleurs only shifted 2 or 3 gears. I can make up a 3x3 or 3x4 axle giving me 9 or 12 speeds without a front derailleur or double sprockets.
I may have a second rear unit and 28 hole front Dynohub. I will know next week. Looking at the set, the rear drum has holes just like a Dynohub. I am about 90% certain the drum hub and Dynohub are the same without the Dyno parts riveted in. I could convert the front Dynohub to a Drum brake hub. I don't need to but I hate using both my spare 36 hole S-2 rims on this bike. We will see.
I found a nice bare 36 hole front drum hub, but I need a 32 or 40 hole I can buy reasonable for the backing plate and axle parts. As you can tell I am still working out the front hub.
I think I may take my frame to a friend with a sandblasting shop unless I can build a hopper booth large enough for a bike frame soon.


