A
Anonymous
Guest
FOR THE LOVE OF MIKE!
You got the wrong length Steer Tube.
(easy mistake)
Ask me how I know
You got the wrong length Steer Tube.
(easy mistake)
Ask me how I know

MagicRat said:FOR THE LOVE OF MIKE!
You got the wrong length Steer Tube.
(easy mistake)
Ask me how I know
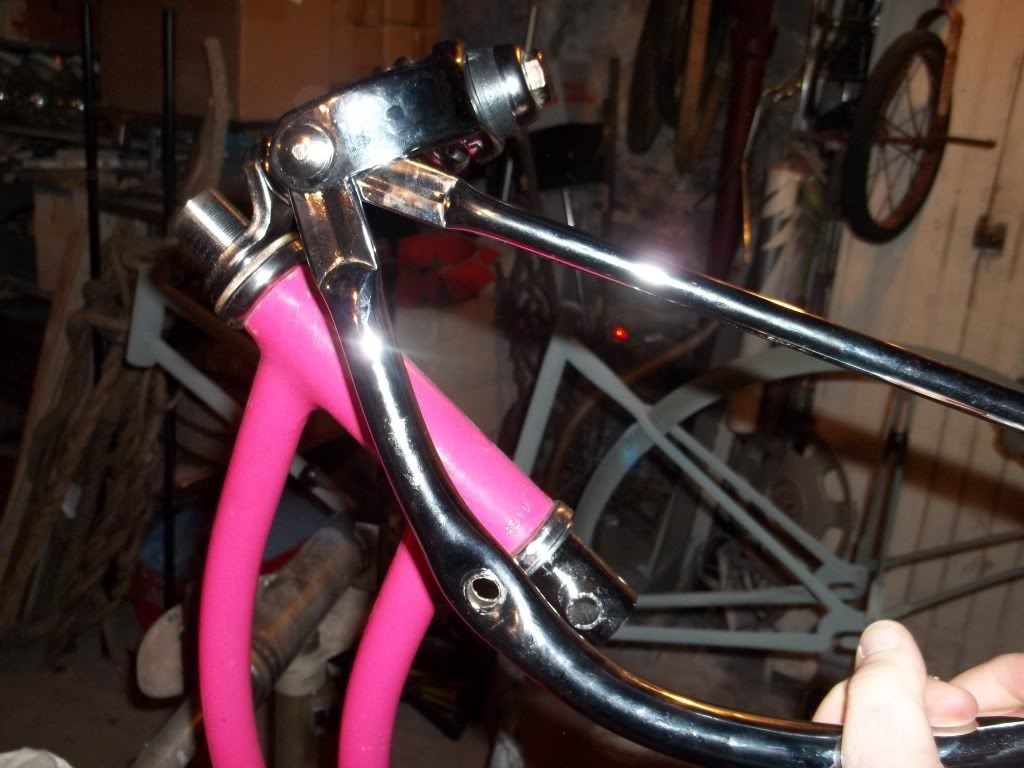
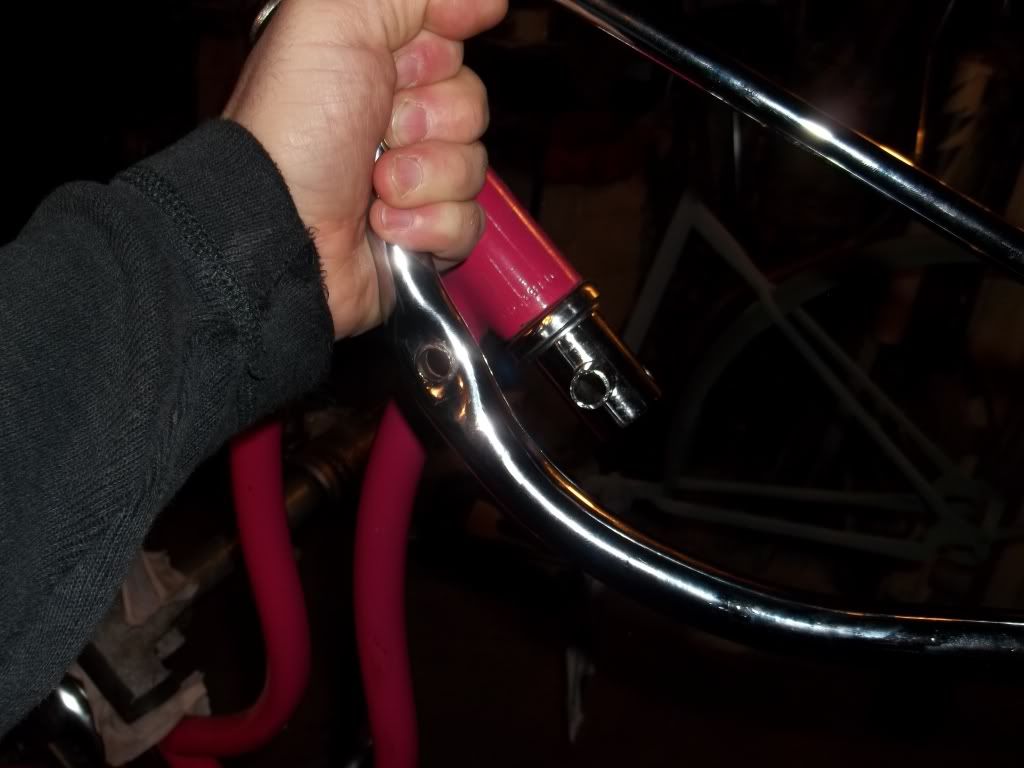
gcrank1 said:Id unbolt the spring up there and put a washer and nut on to compress it to assembled length, and mount up the legs at the bottom. Then you can eyeball the fit to get an idea how you may be able to modify that bracket.
Hi I know I’m a bit late but I have the same problem, do you think a bent 26” fork would work?What do I need to do here?


Do I need different parts? A whole new fork? What?
Distance between top and mid holes on the leg is what matters. If you have already bought the fork you can try to get away with the adapter plates to raise the leg up to the level of the crown.Hi I know I’m a bit late but I have the same problem, do you think a bent 26” fork would work?

Do you know where I could find one of these adapter plates because I already have the 20” forksDistance between top and mid holes on the leg is what matters. If you have already bought the fork you can try to get away with the adapter plates to raise the leg up to the level of the crown.
You'd have to fabricate it. I gave it a quick search, since i am sure i saw the isntruction somewhere here on this forum, but didn't find it. I'd take a closer look and post you a link. I remember someone did it at the build off on the bike that was blueDo you know where I could find one of these adapter plates because I already have the 20” forks
Dang, looks like my project just got way more complex than what I was hoping for hahahaGot it! Check this out:
https://ratrodbikes.com/forum/threads/unfair-lady.109695/page-5

I mocked it all up and actually don’t need 4, I only need extender pieces for the legs, not the support rods as I mounted them outside the crown like the Un-Fairlady post. And yes you’re correct I’m off by about an inch to the crown, over the next week I’ll work out some extenders.

 The cage isn't exactly in line, but it's so close it's hardly noticeable. It looks like it can be adjusted upward where the locknut holds the brace. The rear of the spring cage needs to go up very slightly to have the spring exactly in line. But it's great just like that too.
Enter your email address to join: