3-Star Delusion - finally an actual ride...

Rat Rod Bikes Bicycle Forum

Help Support Rat Rod Bikes Bicycle Forum:

This site may earn a commission from merchant affiliate links, including eBay, Amazon, and others.
Re: 3-Star Delusion - matching the original paint

raggedjim said:
I really like this bike, but I kinda expected it to be green... Just kidding, it looks great.

Rg

Well, if I were painting it (the bike as a whole, I mean), it most likely would be. This seemed like a fairly natural observation to me at first - a lot of my bikes are green, so is my truck (2-tone green w/ green interior), my kayak, my phone, etc. But, I wonder, how would you know that? :shock: :mrgreen: Have I posted that many pictures of green bikes? Because there are bunch that are red, yellow, orange, etc...
 
Re: 3-Star Delusion - matching the original paint

noodlenoggin said:
Really nice looking -- I can't wait to see it assembled.

As for matte clear, you can find it at Wal-Mart. Heck, I grabbed a can by mistake when I was looking for gloss clear.

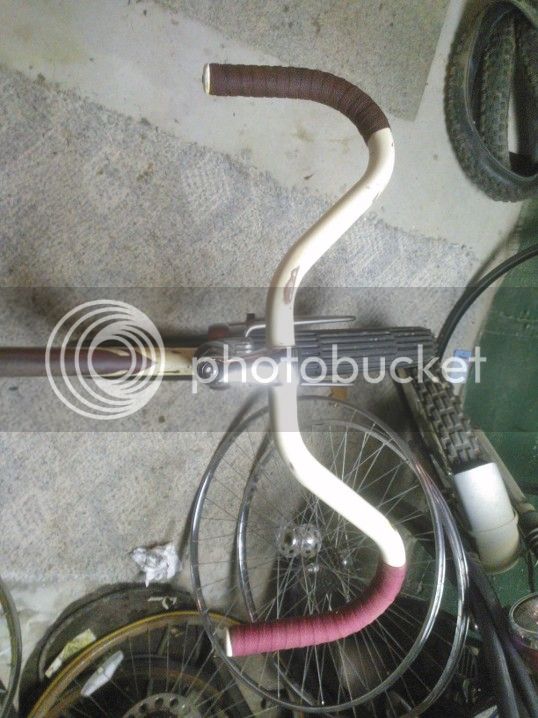
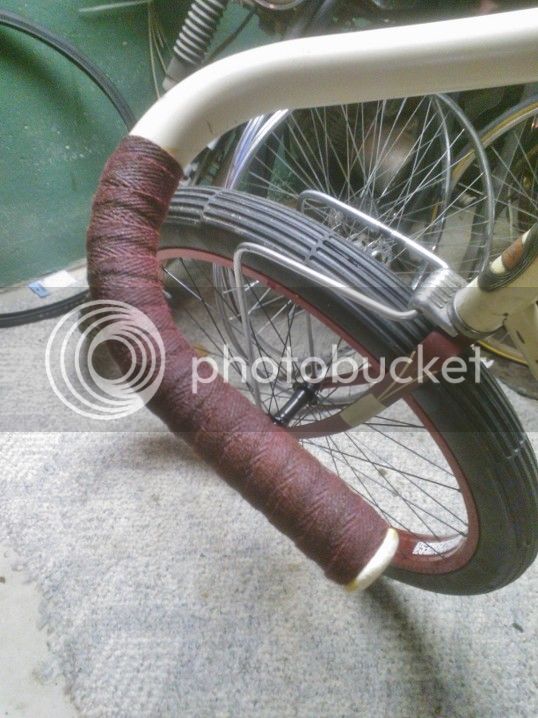
I'll take a look for that at Wallyworld if I can't find it at Home Depot. I did discover that Target does not carry spray paint of any kind, a bit annoying. I should have the bike more or less final assembled this weekend, I think. I've got the 'stache bars painted (ivory) and installed, and wrapped them with burgundy cloth tape. I still have to take pictures of that. The only open issue will be wiring the lights and deciding on a seat...
 
Re: 3-Star Delusion - matching the original paint

expjawa said:
raggedjim said:
I really like this bike, but I kinda expected it to be green... Just kidding, it looks great.

Rg

Well, if I were painting it (the bike as a whole, I mean), it most likely would be. This seemed like a fairly natural observation to me at first - a lot of my bikes are green, so is my truck (2-tone green w/ green interior), my kayak, my phone, etc. But, I wonder, how would you know that? :shock: :mrgreen: Have I posted that many pictures of green bikes? Because there are bunch that are red, yellow, orange, etc...

You know, I really don't know why I said that. It just felt like I needed to, weird...

Anyway, great build, Rg
 
Re: 3-Star Delusion - headlight issues

Ah, well, you aren't wrong at any rate. My road bike (both, actually), my touring bike, my mountain bike, as well as several of my cruisers are all green.

The LED bulbs I ordered from http://www.superbrightLEDs.com showed up today (shipped fast). As I still have the headlight apart from when polished the reflector, I immediately went to try out the bulb. I bought an amber 6V bulb for an 1156 base. I found that the bulb fits the socket fine, but the contacts are different. A modern 1156 grounds on the bulb base and a has a centered point for positive contact. The original vintage Mazda bulb has two contacts and does not ground the base. I'll have modify the contacts in the socket to make it work. It spears that they're replaceable, so I can probably make new ones if need be...
 
Re: 3-Star Delusion - headlight issues

The Renaissance Man said:
Check Radio Shack, they may have what you need.

I'm planning a stop there anyway - I need to find a 4-cell battery holder for my light circuit and an on/off switch. But I am not looking at replacing the socket or anything. I think I can do what I need by rebending the contacts in the socket. The socket itself is a funny multi piece assembly of formed & stamped steel pieces and bakelite parts for insulators. The contact are both bolt (well, screw technically) on. It shouldn't be a big deal.
 
Re: 3-Star Delusion - headlight issues

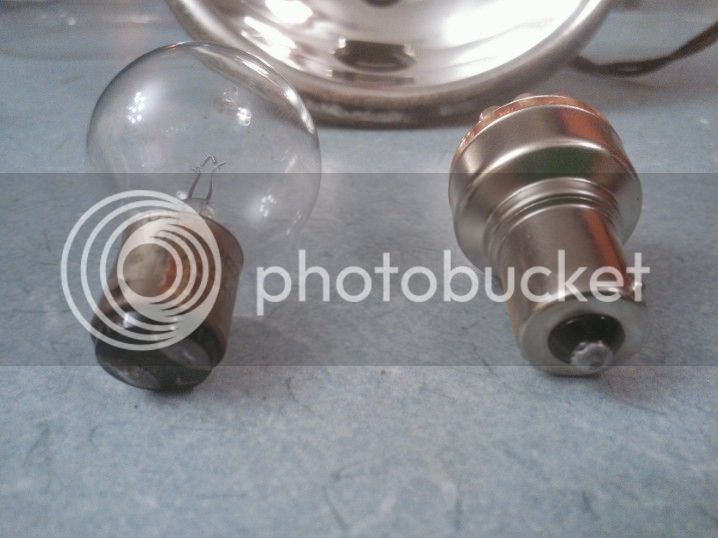
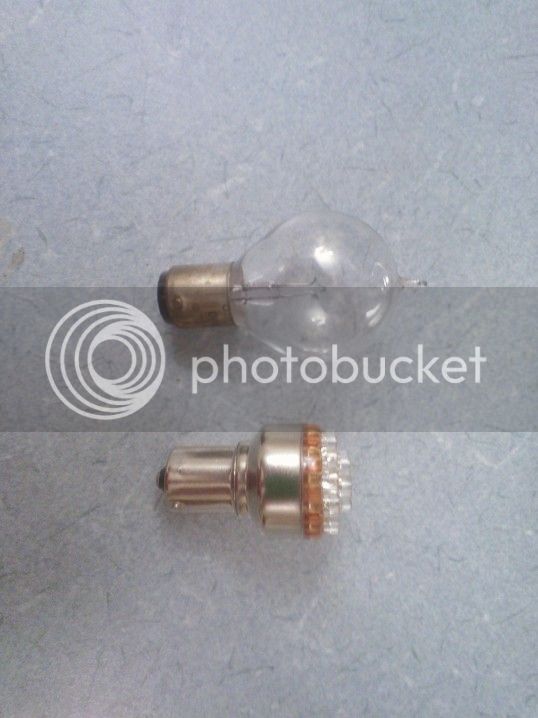
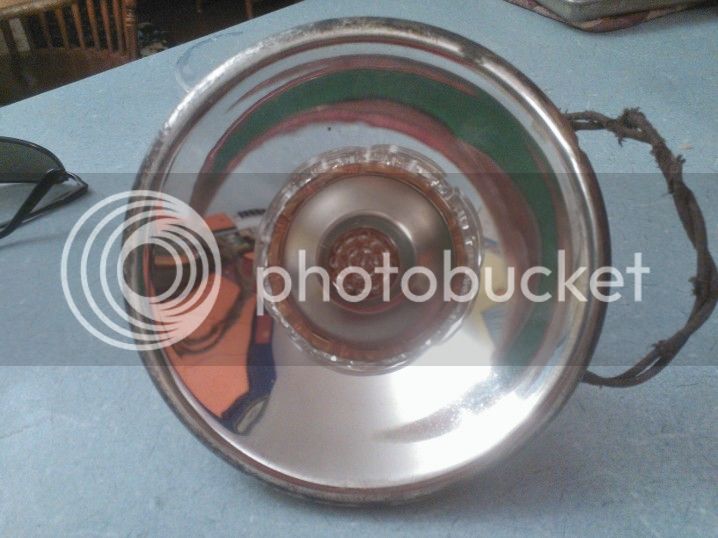
More on the headlight situation. Here are the two bulbs side by side:
WP_001564_zpsd5351685.jpg

On the left, the National Mazda bulb with two contacts, the right is the 1156 LED bulb.
WP_001565_zps5472d974.jpg

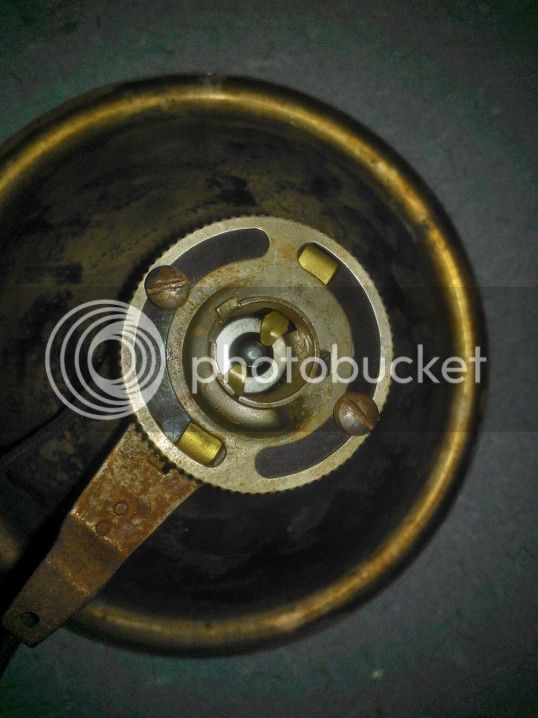
Here's the 1156 bulb in the lamp's socket, you can see the contact issue. You can also sort of see that a little rebending of the tabs should be effective.
WP_001559_zps51316abb.jpg


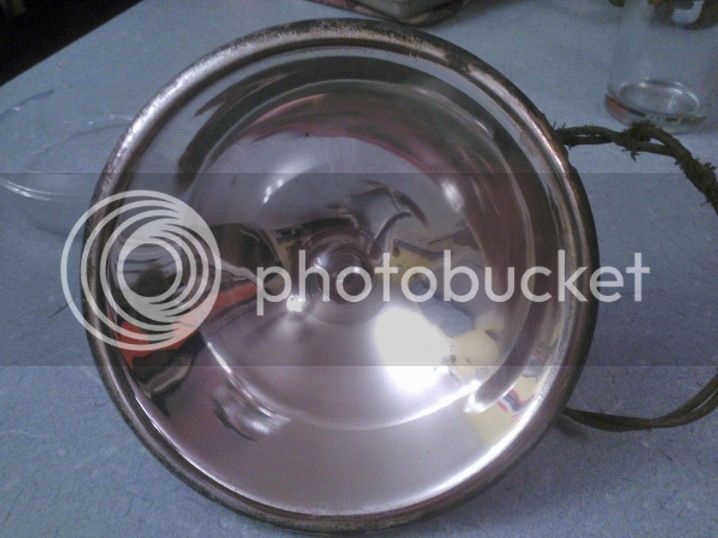
One thing I'll miss is the aesthics of the old bulb. The blown glass globe has real character to it that the LED can't match - the LED clearly looks out of place if you looked closely. It changes how the light looks from the front due to the bulb reflection in the reflector (which, you can see, polished up pretty well).

WP_001566_zpsfa571cc8.jpg

versus
WP_001562_zps2100fb33.jpg
 
Re: 3-Star Delusion - clear coat and other details

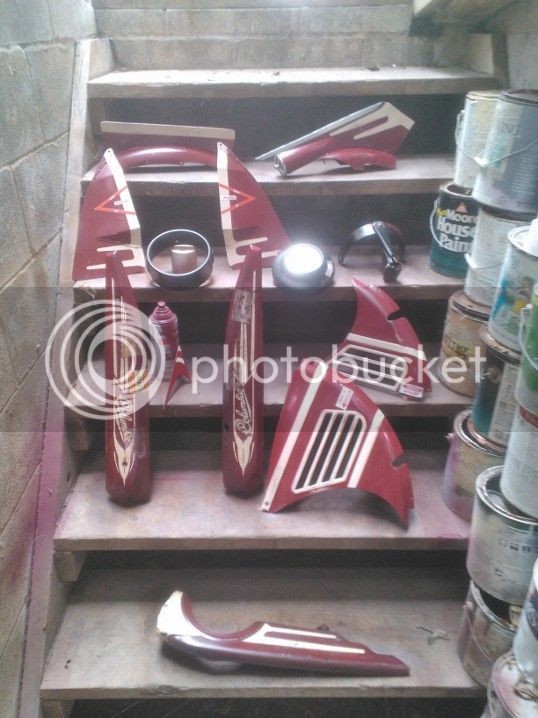
Well, I think I got a fair amount done today. Let's recap - a trip out this morning netted me matte finish clearcoat from Home Depot and a battery holder and switch from Radio Shack. More on that later on. I set up all of the body parts in my basement paint booth...
WP_001571_zps0cfd748f.jpg

...and set about several coats of clear coat. Light at first, avoiding any runs. In between coats, I rewrapped the bars on my road bike (not shown). The matte finish seems to give a faint sheen to the finish - far from glossy, but not dead flat. It actually well matches the sheen level of the paint of the frame, so it all seems to blend together nicely.

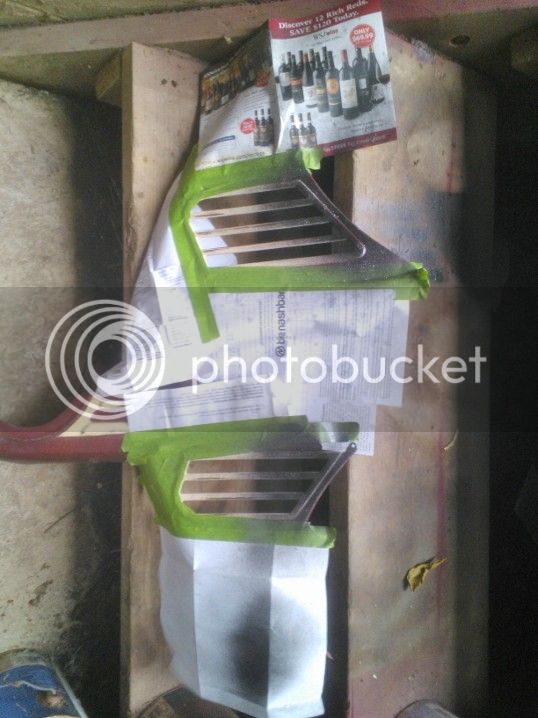
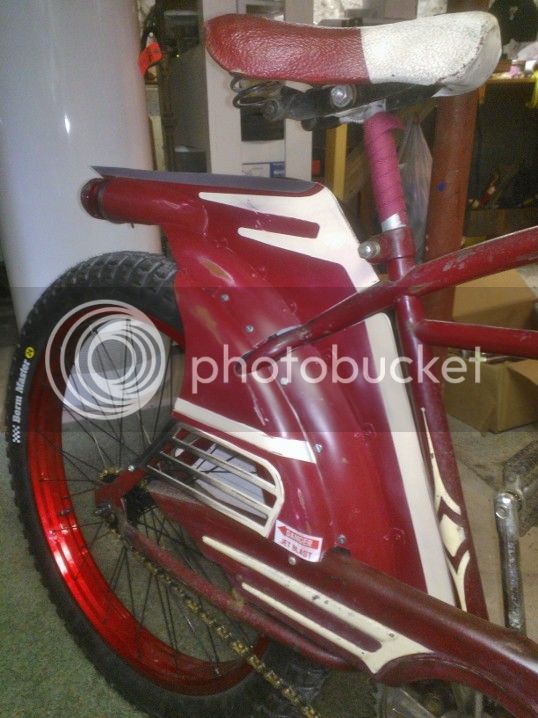
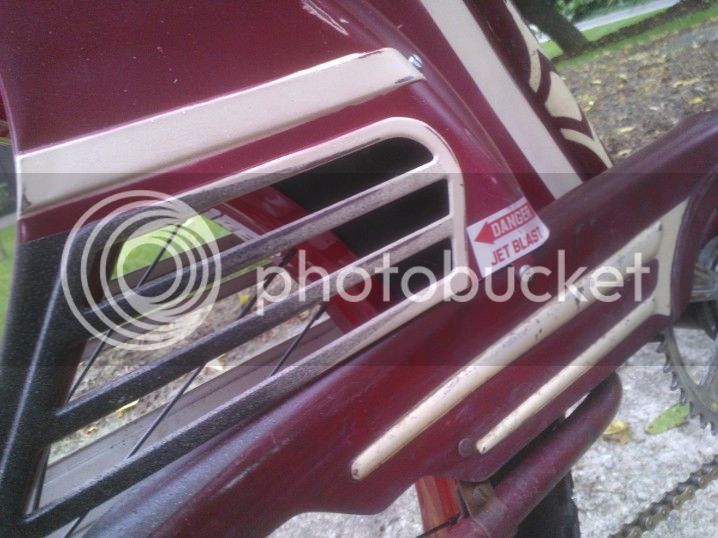
Once the last coat had dried, I masked off the vent areas on the skirt guards. I verified that's its very difficult to feather a spray paint can. I used a textured black Rustoleum to (attempt to) add the appearance of carbon blackening around the "jet exhaust" areas.
WP_001572_zps26c85165.jpg

It came out ok, I think, but I should do something to soften the masking lines. This should still look decent once its all together.

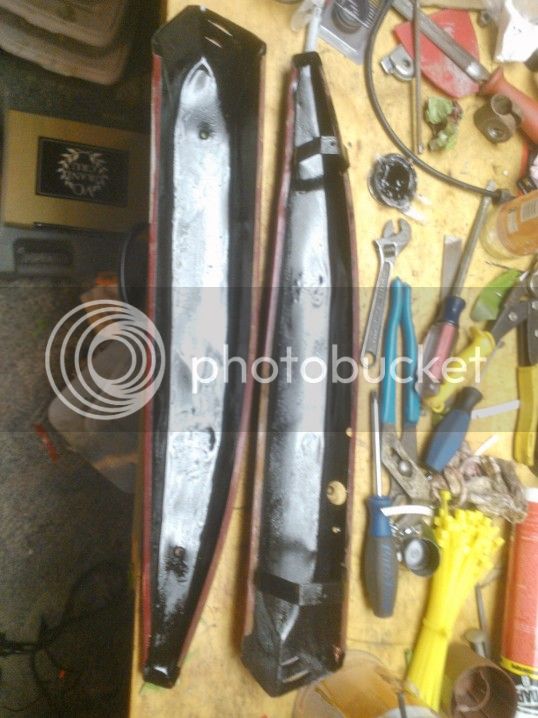
Also, with the clear coat dried, I then painted the inside of the tank halves with POR15 to prevent future corrosion.
WP_001575_zpse63f72e7.jpg

It also should give me a decent surface to stick velcro onto to attach the battery pack for the lights. The next step was to shellac the cotton bar tape. Cloth bar tape isn't color fast without protection, and using an amber tinted shellac, I was able to darken the burgany cloth to more of a dark maroon. Before and after:
WP_001567_zpsa2c39eed.jpg

WP_001568_zpsfda0d743.jpg

The close up shows the color better, though it was still wet at that point.

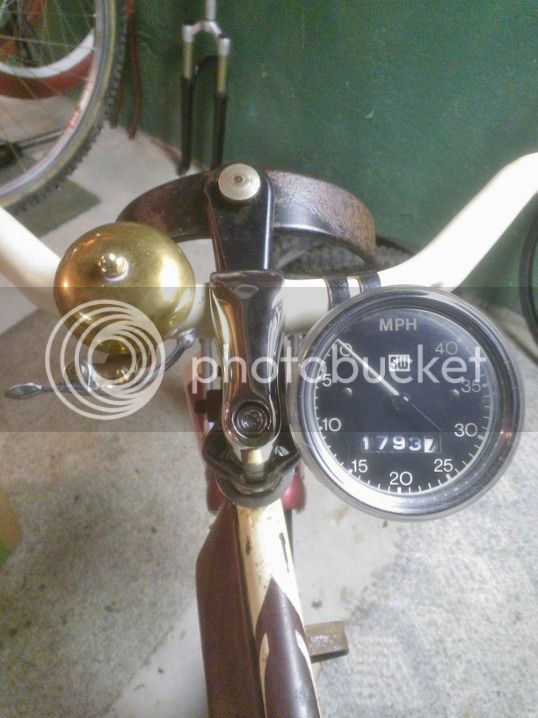
Last item for the moment was installing the light mount bracket, which clamps to the stem, the speedo head and a neat brass bell:
WP_001573_zpsf66090dd.jpg
 
Re: 3-Star Delusion - clear coat and other details

You were busy today. Keep it up!
 
Re: 3-Star Delusion - clear coat and other details

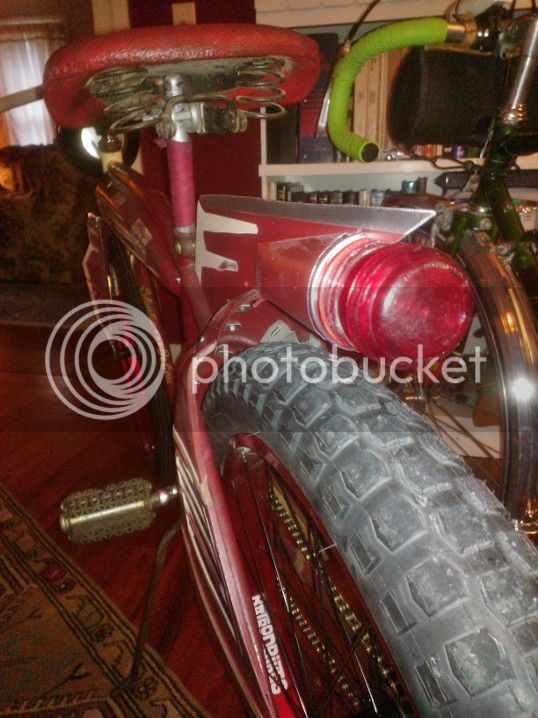
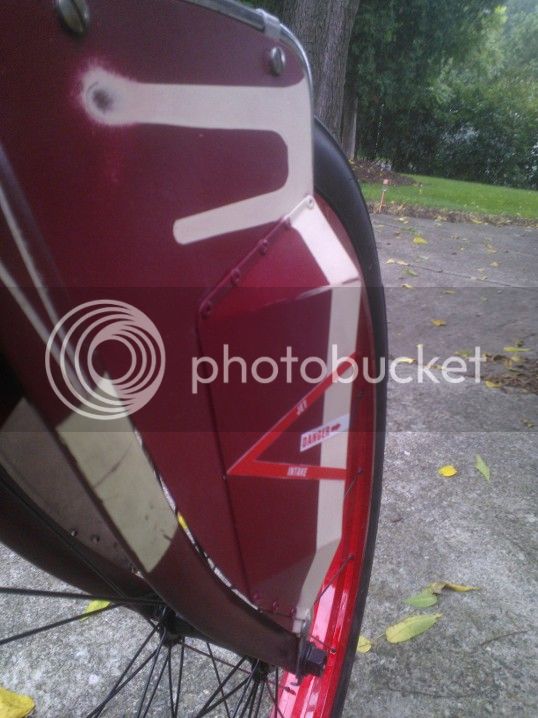
Well, here are a few pictures of how the painted parts came together. Not a complete assembly yet, there are still several small details to be taken care of...
WP_0015831_zps98d06567.jpg

WP_0015761_zps6d928790.jpg

WP_0015811_zps5f97aab5.jpg

WP_0015821_zpsab1019e5.jpg
 
Re: 3-Star Delusion - clear coat and other details

The burn ot black came out nicely.
I like the bare metal top of the fin. It makes it stand out.
 
Re: 3-Star Delusion - clear coat and other details

kingfish254 said:
The burn ot black came out nicely.
I like the bare metal top of the fin. It makes it stand out.

It wasn't too bad. The textured paint didn't flow real well, I'm not sure if the nozzle was the problem or it was actually the paint. It also came out looking somewhat charcoal grey rather than black. I wasn't sure if it would dry blacker or not, so I then sprayed a light coat of matte black over top of it. The nozzle on that can was definitely a problem - it was an old can, and was somewhat plugged I think. So it just sort of spattered the paint out. Ordinarily I'd been upset with that, but this this it was what I wanted it to do...
 
Re: 3-Star Delusion - final assembly

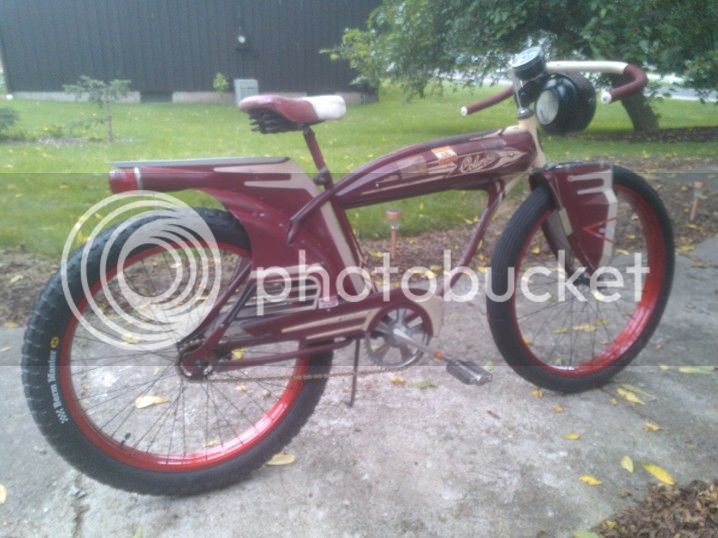
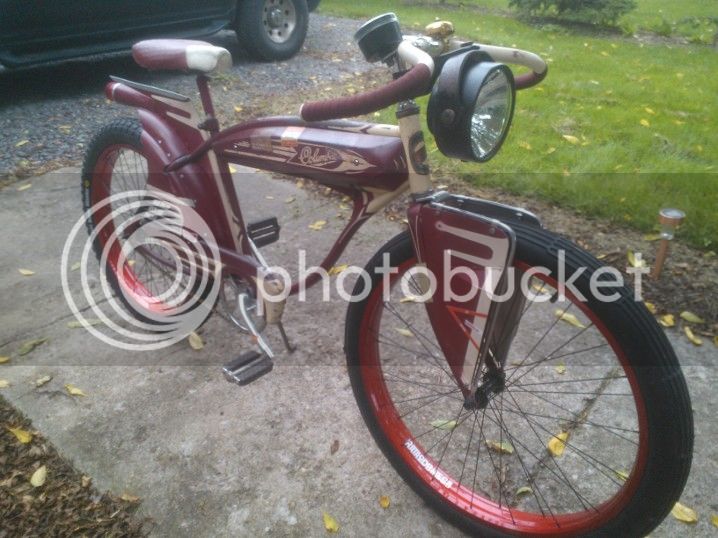
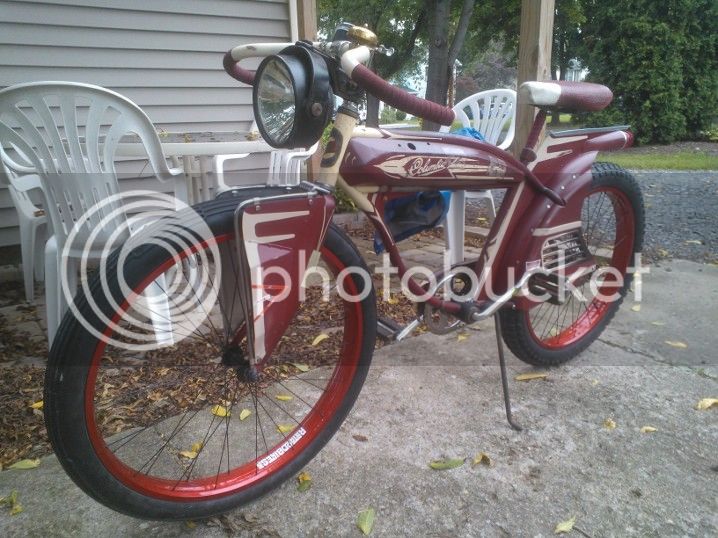
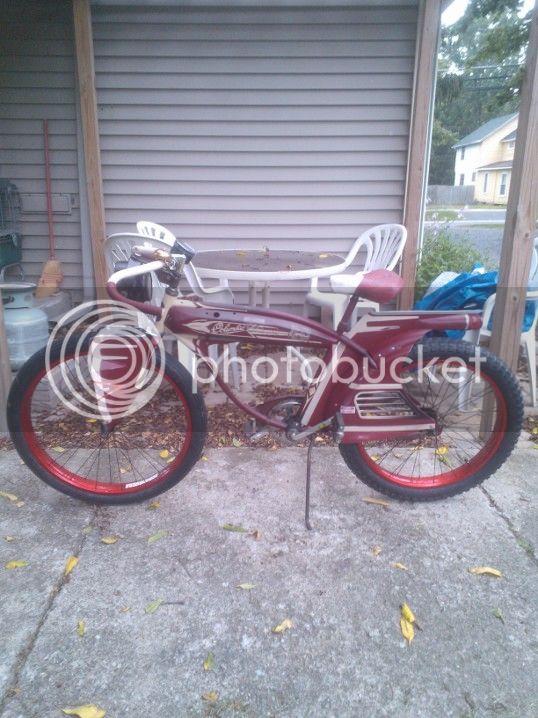
OK, here's what we've been waiting for. I put everything together and took it outside. It isn't finished yet, however, it's 95% there in terms of appearance.

WP_0015801_zps9b9ea25b.jpg


WP_0015791_zpsbf8d1037.jpg


WP_0015781_zps3eb1bbc3.jpg


WP_0015771_zps39d6548f.jpg


So, that's what it looked like as of Saturday evening. More progress was made yesterday, I'll post it later.
 
Back
Top