Re: 3-Star Delusion - clear coat and other details
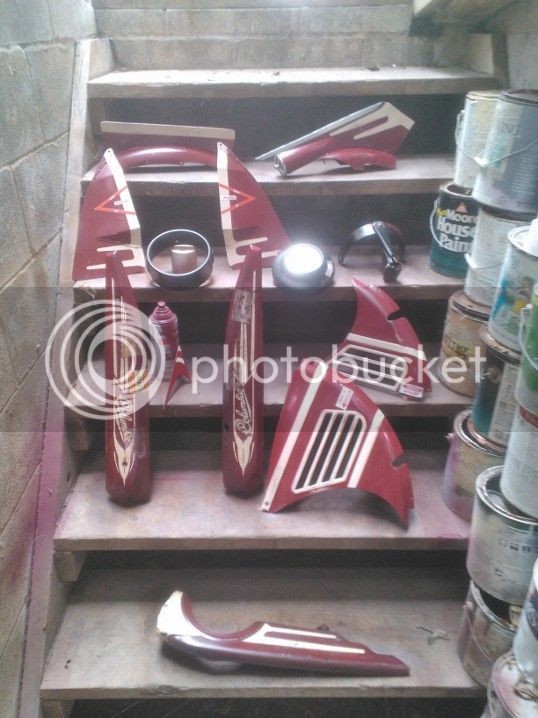
Well, I think I got a fair amount done today. Let's recap - a trip out this morning netted me matte finish clearcoat from Home Depot and a battery holder and switch from Radio Shack. More on that later on. I set up all of the body parts in my basement paint booth...
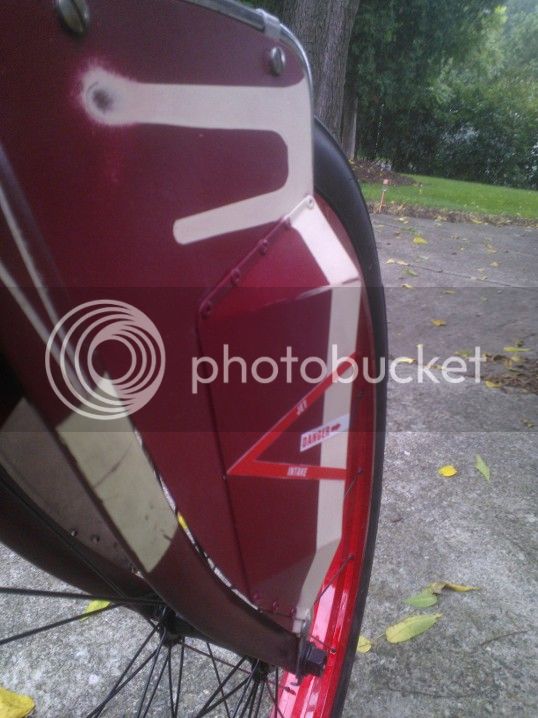
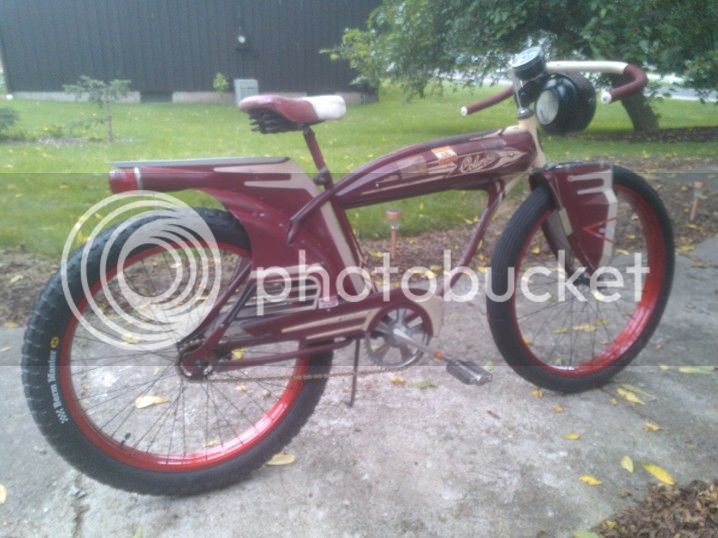
...and set about several coats of clear coat. Light at first, avoiding any runs. In between coats, I rewrapped the bars on my road bike (not shown). The matte finish seems to give a faint sheen to the finish - far from glossy, but not dead flat. It actually well matches the sheen level of the paint of the frame, so it all seems to blend together nicely.
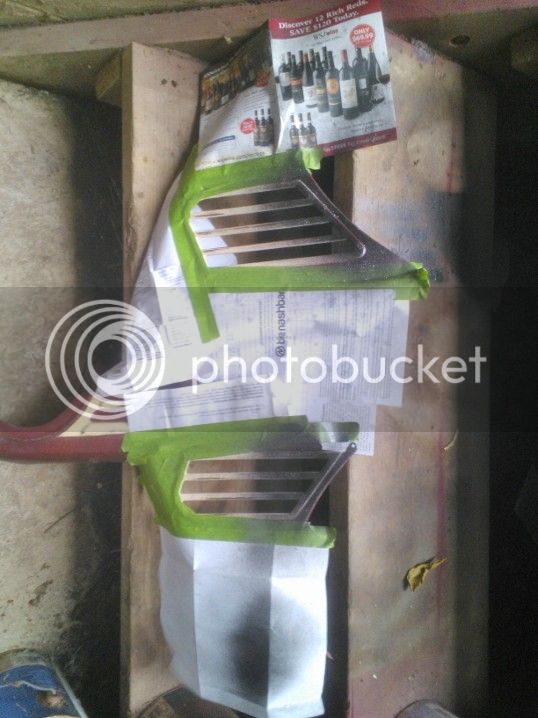
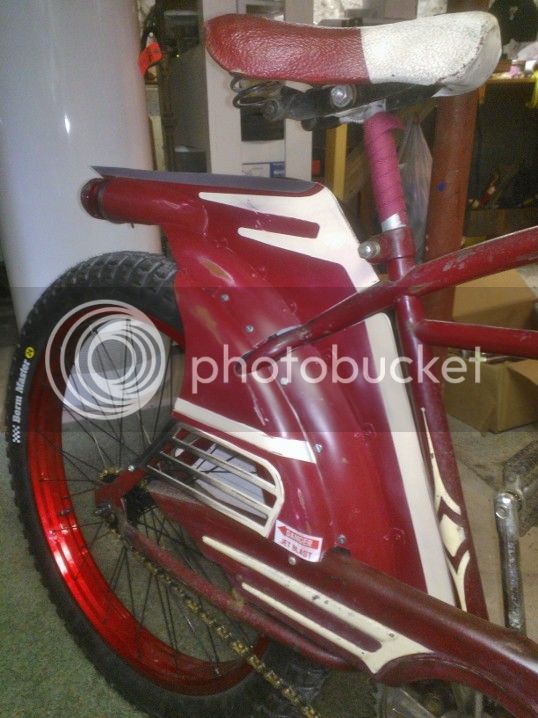
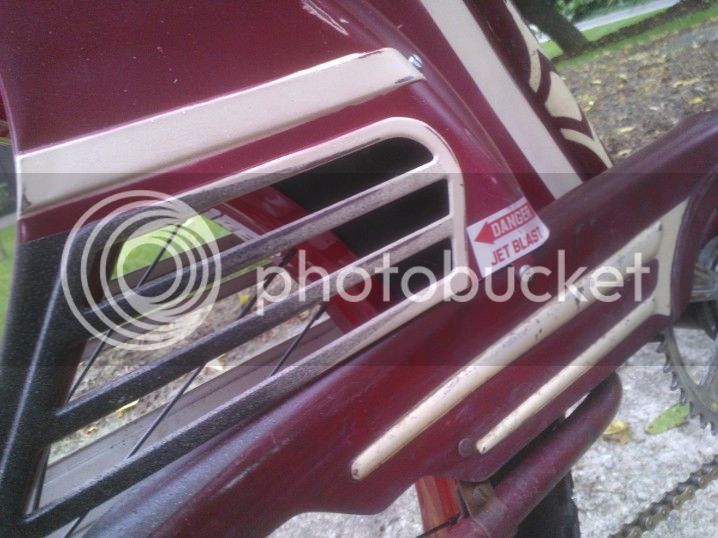
Once the last coat had dried, I masked off the vent areas on the skirt guards. I verified that's its very difficult to feather a spray paint can. I used a textured black Rustoleum to (attempt to) add the appearance of carbon blackening around the "jet exhaust" areas.
It came out ok, I think, but I should do something to soften the masking lines. This should still look decent once its all together.
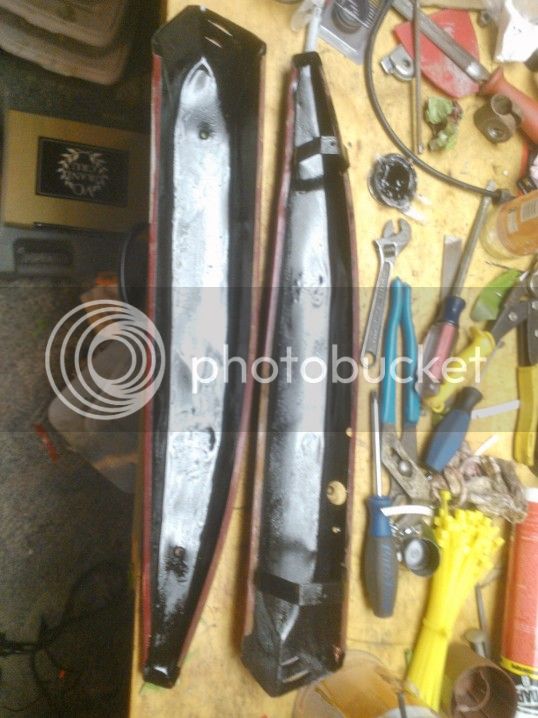
Also, with the clear coat dried, I then painted the inside of the tank halves with POR15 to prevent future corrosion.
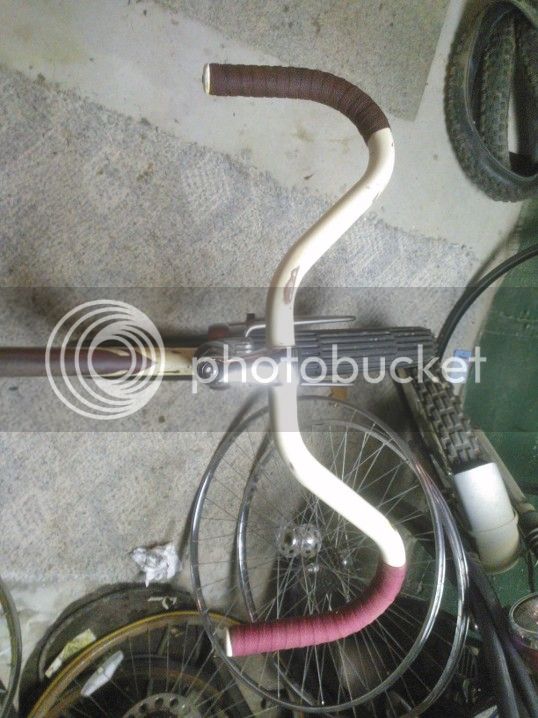
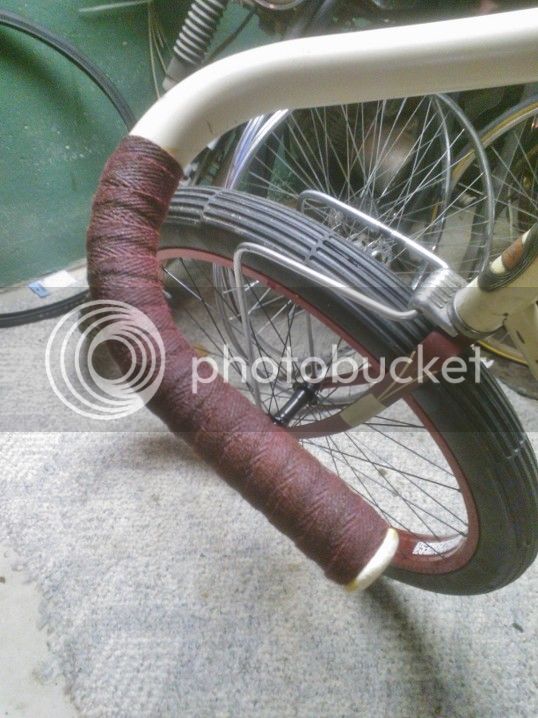
It also should give me a decent surface to stick velcro onto to attach the battery pack for the lights. The next step was to shellac the cotton bar tape. Cloth bar tape isn't color fast without protection, and using an amber tinted shellac, I was able to darken the burgany cloth to more of a dark maroon. Before and after:
The close up shows the color better, though it was still wet at that point.
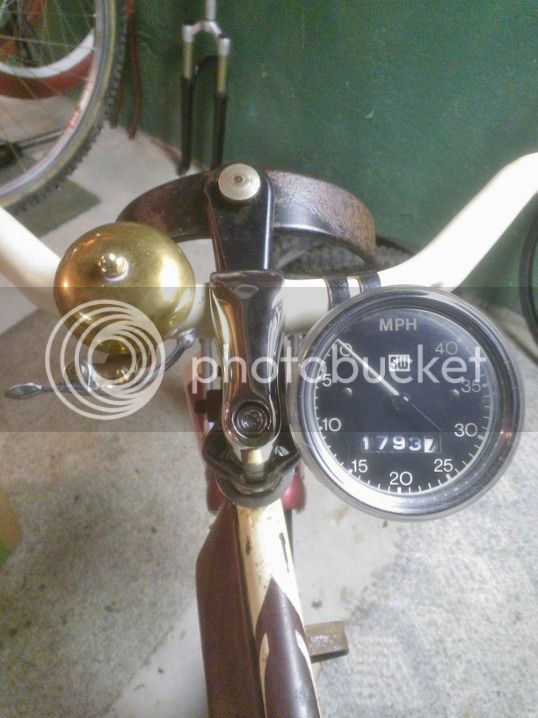
Last item for the moment was installing the light mount bracket, which clamps to the stem, the speedo head and a neat brass bell:


