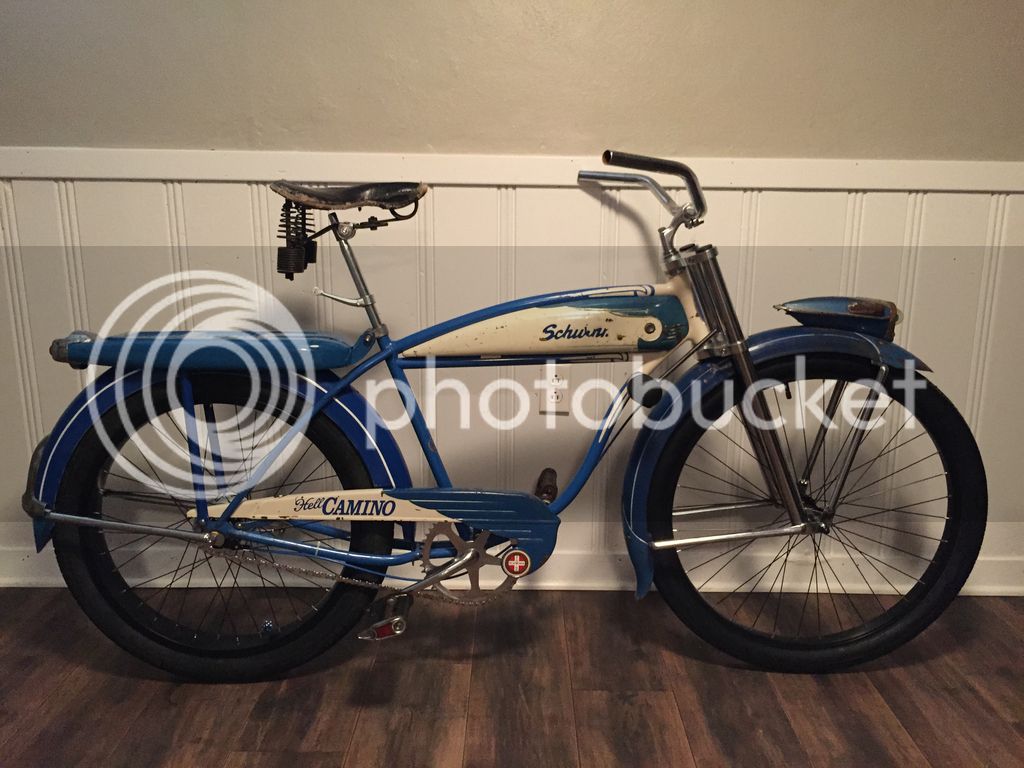
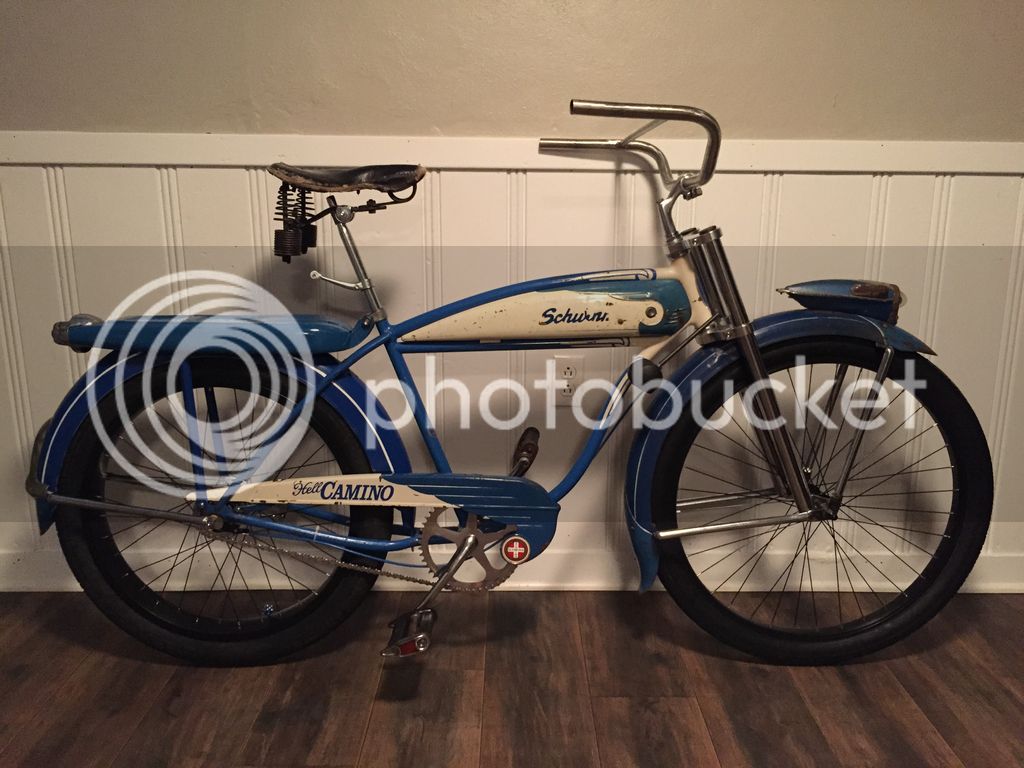
50 Shades of Blue AKA HellCamino

Rat Rod Bikes Bicycle Forum

Help Support Rat Rod Bikes Bicycle Forum:

This site may earn a commission from merchant affiliate links, including eBay, Amazon, and others.
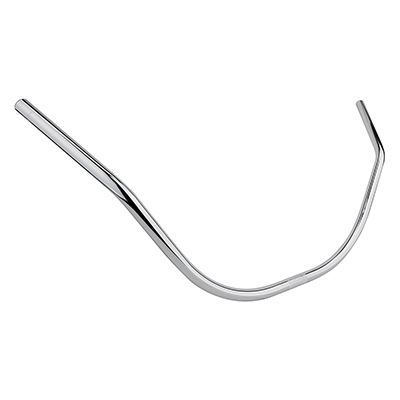
That old pick up is really cool! And the story behind it...Hey, I found these on the jbimporters.com site. It is a wholesale bicycle supply with locations all over the country. They carry a bunch of parts that work with cruisers ,etc. Here is the pic and the link to the product on their website. You can even go to the drop down "state location menu" to find if they are in stock near you. Most towns / cities will have a LBS that buys from J & B.

http://www.jbi.bike/web/checking_product_description.php?part_number=33435
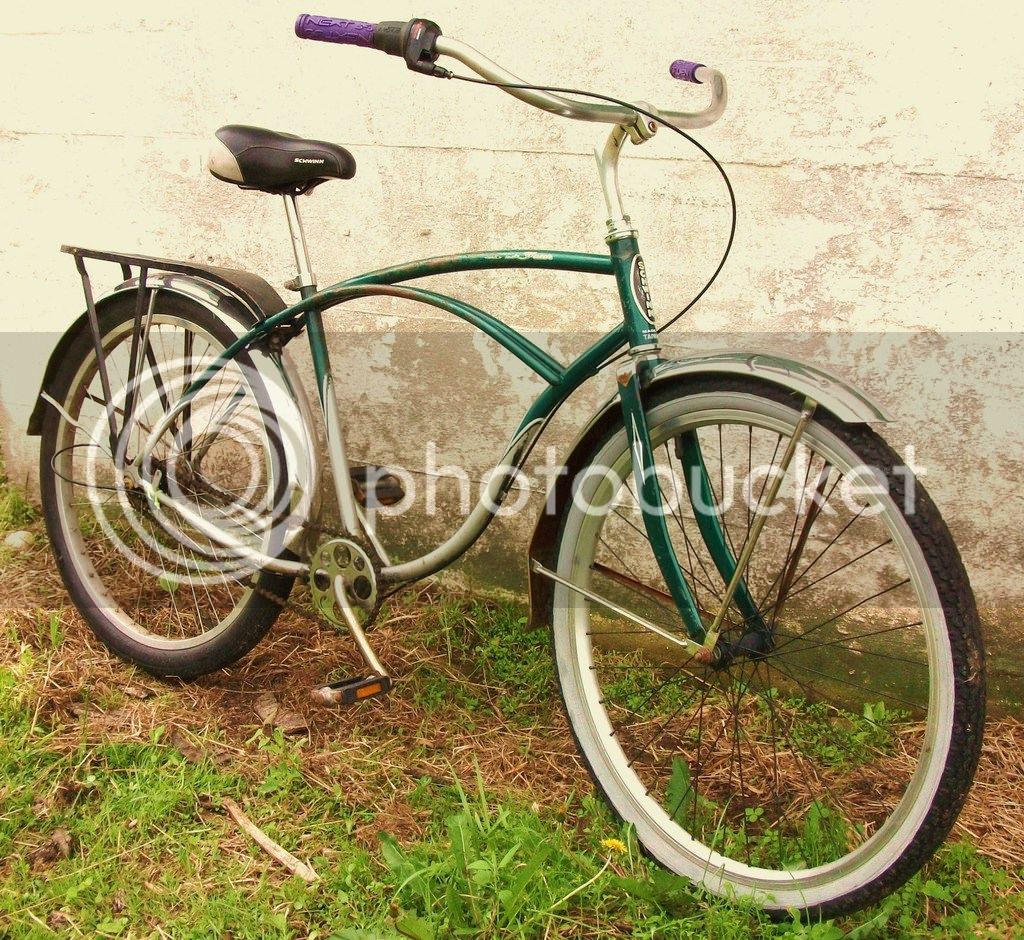
That looks a lot like the bars on my Schwinn Cruiser Four.
Schwinn%20Cruiser%20Four%20002_zpszvgiua8t.jpg

I wasn't sure I'd like em at first, but after a few rides I love em.Sit up nice and straight.:thumbsup:
 
I was thinking the same thing....wouldn't want to see it in my rearview mirror!

Fantastic build....everything about it is spot on and just right.
Great build man. Looks like 5-0 to me also

Sent from my SAMSUNG-SM-N900A using Tapatalk
 
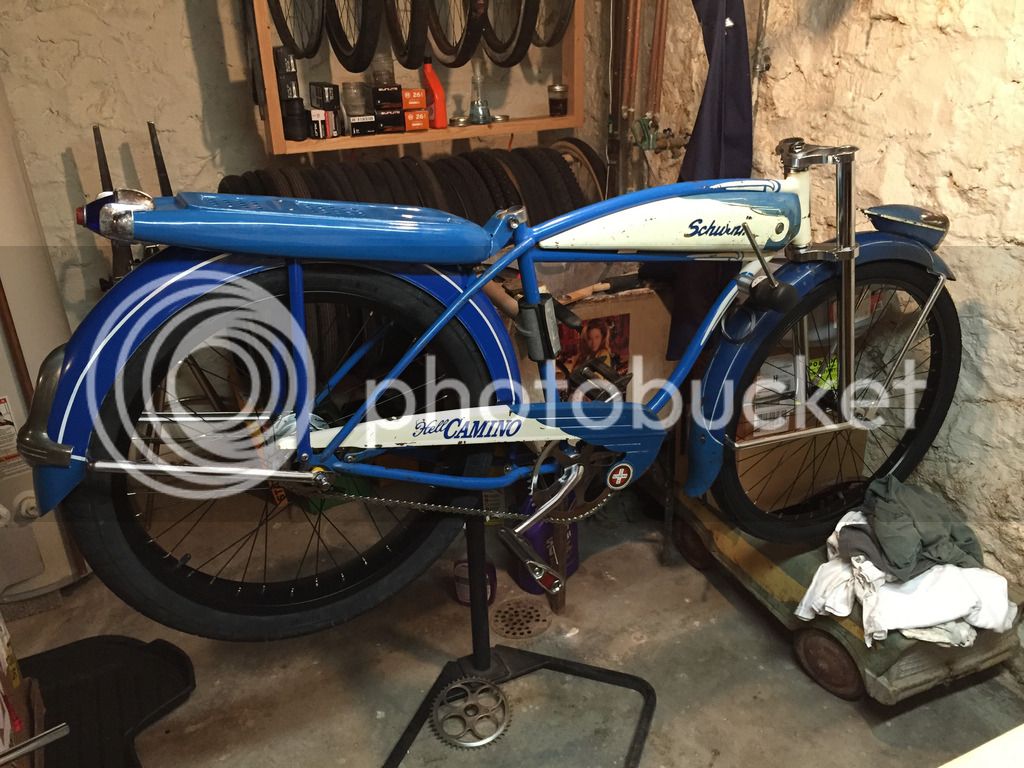
Heading into the home stretch! I've been pretty busy with the bike so here's a few updates. But first a glimpse into my pea-brain: "Under no uncertain circumstances am I going to pinstripe the rear fender. No way. The "tool" I bought for striping was garbage. The chainguard was nearly a disaster. I've spent too much time stripping, painting, sanding and polishing that fender to screw it up with a stupid stripe. Don't care. Not going to happen."
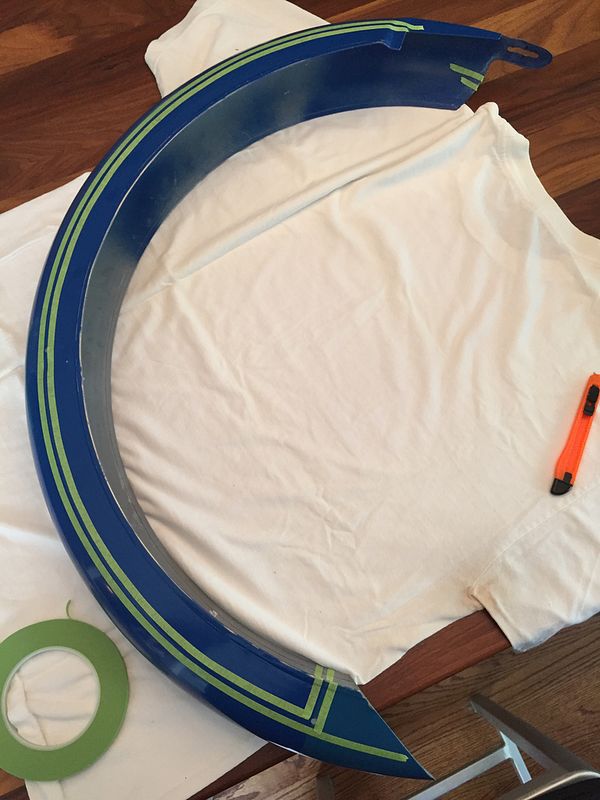
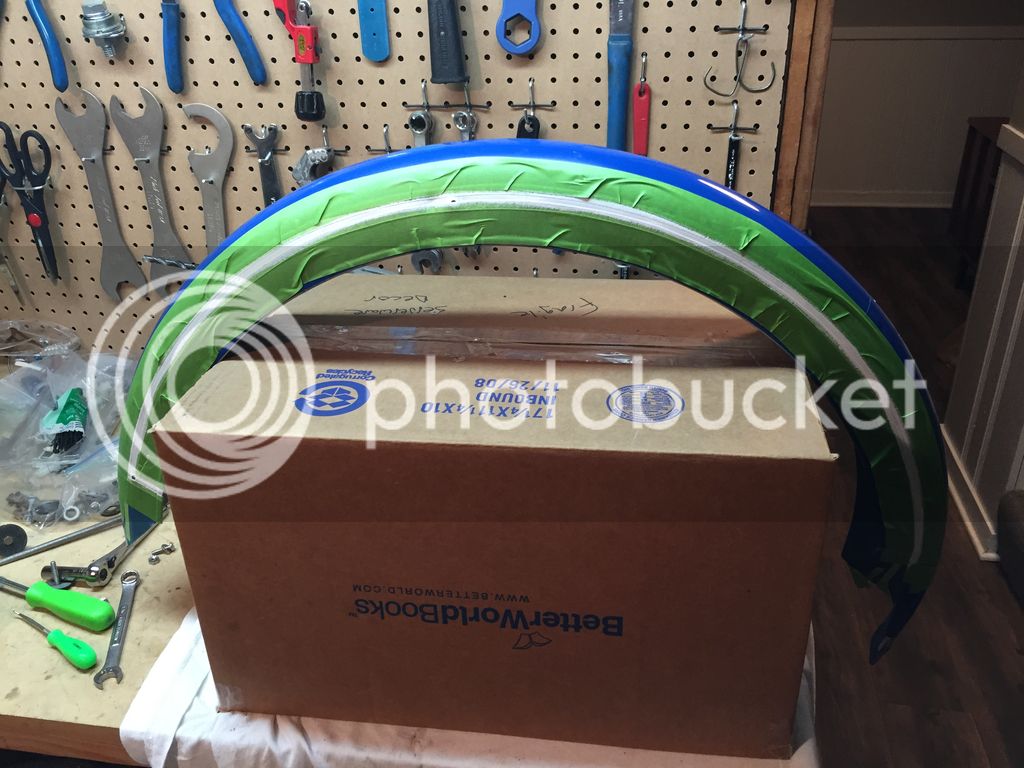
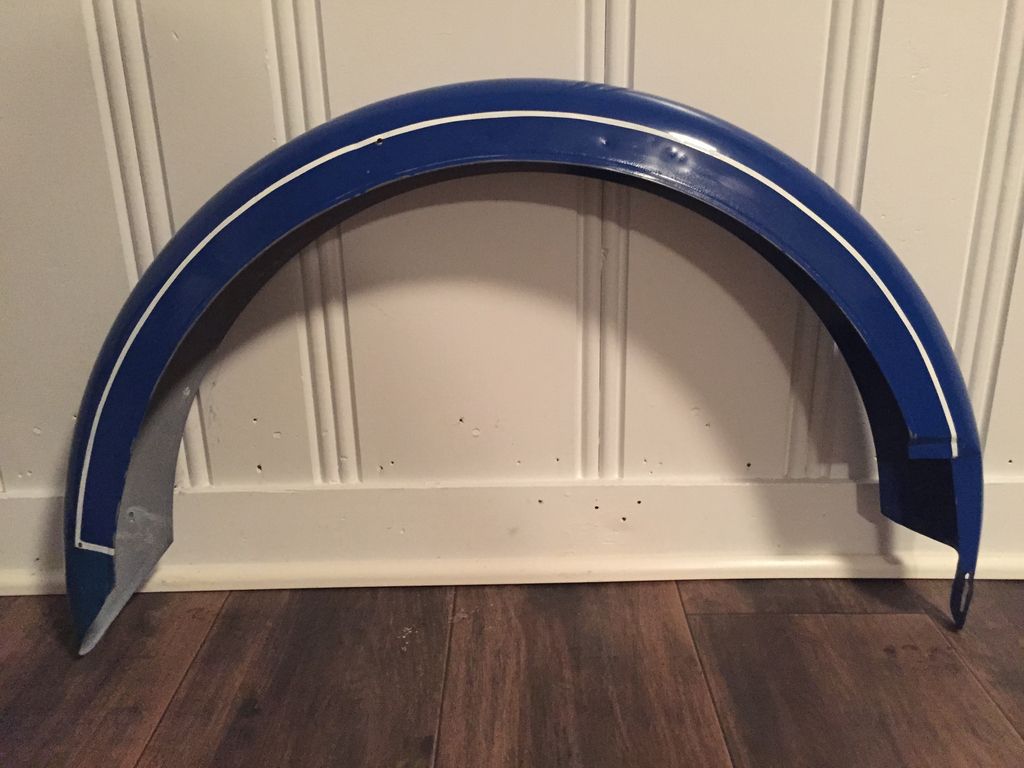


I just couldn't NOT do it. I'm happy with how it turned out–it ties the fender into the front one and the frame without being perfect to either. I was afraid of having the arc be wrong or not sealing the tape well enough, etc, but low and behold I have a stripe. One on each side actually. I also separated the two-tone paint with white mimicking the front fender. Turns out the stripes were nothing compared to the fender brace.

I wanted to use a matching Shelby curb-feeler brace that I had on the front. They are nowhere near the same shape or dimensions of the Monark fender. I ended up cutting the brace down the middle, reshaping the arc of the part that goes under the fender to match the inner diameter (and clear the tire), drilling new holes to match what was already drilled in the fender, and then shortening each brace around 3/4". All the while I have no idea if they wheel is going to be centered in the fender, front to back or side to side, when it was all said and done.
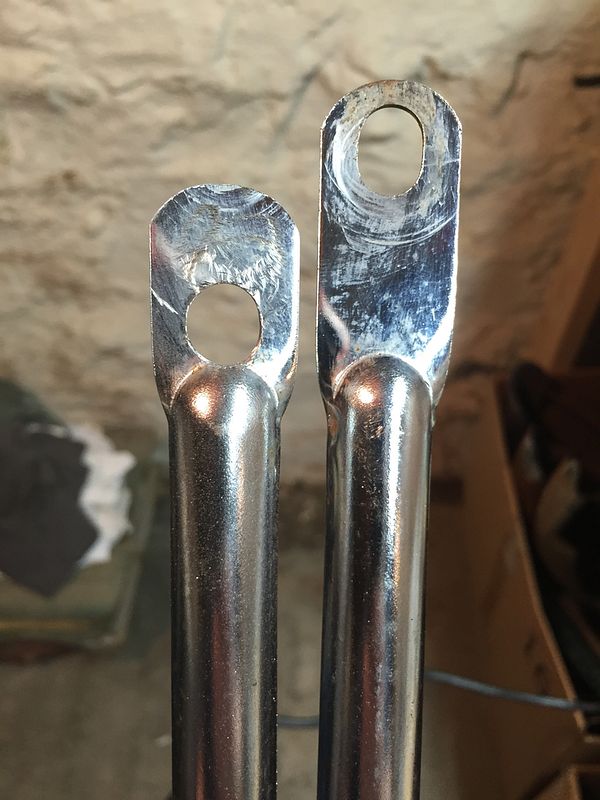


But by some miracle
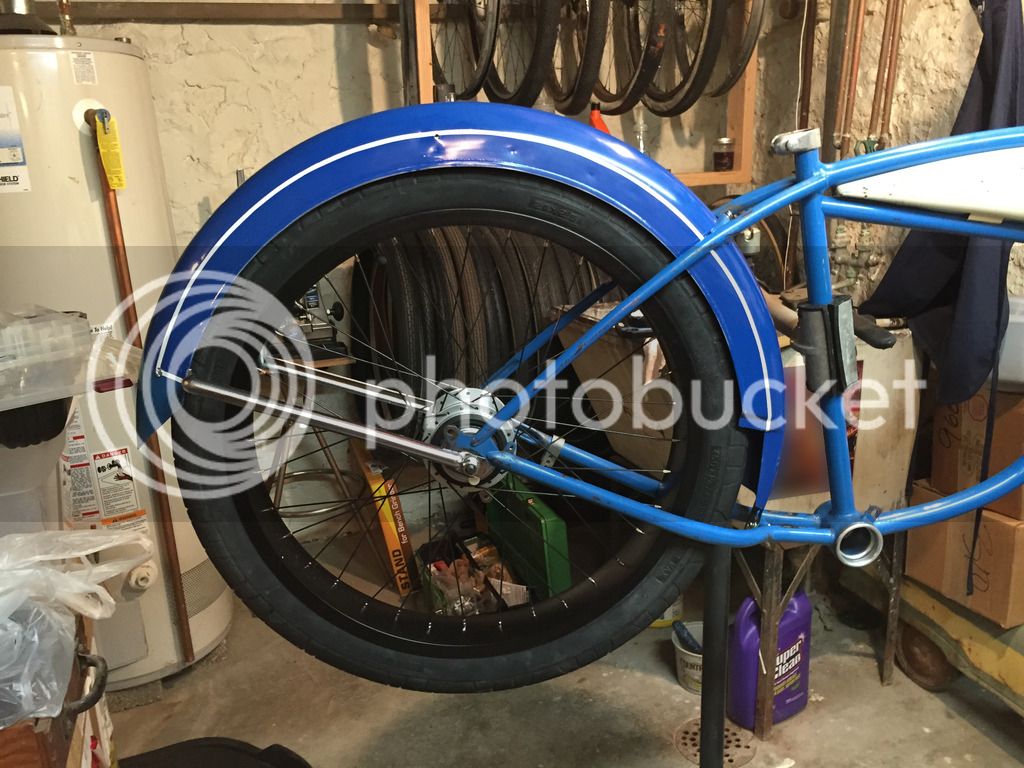

And it doesn't rub. Not too shabby for a guy with a dremel and a cordless drill. :D

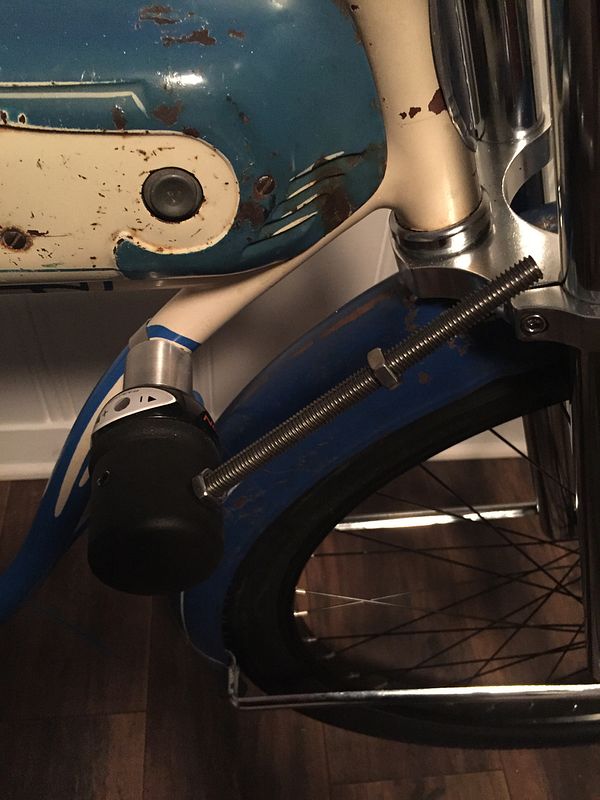
Another piece of the puzzle I've been working on is the shifter. The rear hub is an 8-speed and I have the grip shift that goes with it. I found the tutorial in the "how to" section on making a cover that blends a little better with the rest of the bike. I followed it, with a few tweaks. One of the first things I did was cut down the shifter:
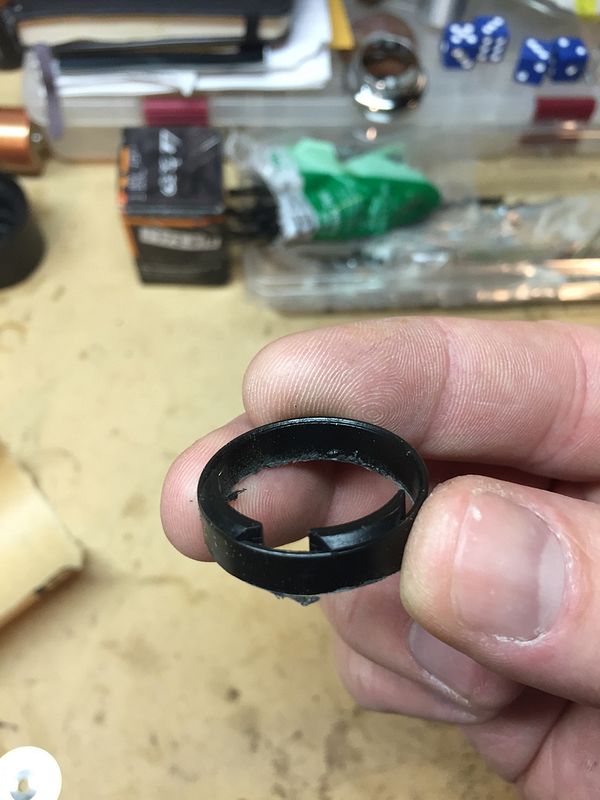

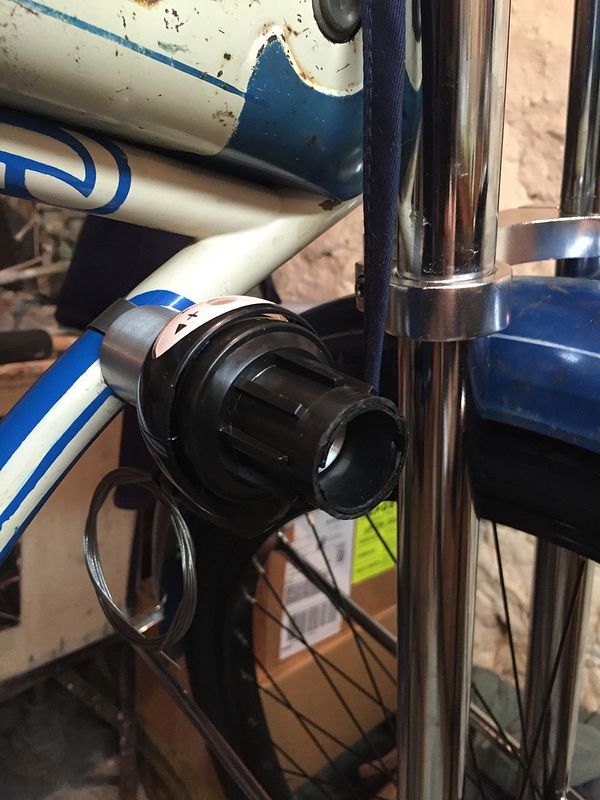
See that little lip on the the end there? Turns out that's what keeps the shifter from exploding when you down shift. It literally pushes itself apart. Now I can't decide if it's more stupid or stubborn, but I was determined to fix this without buying a new shifter. Here's what I came up with:
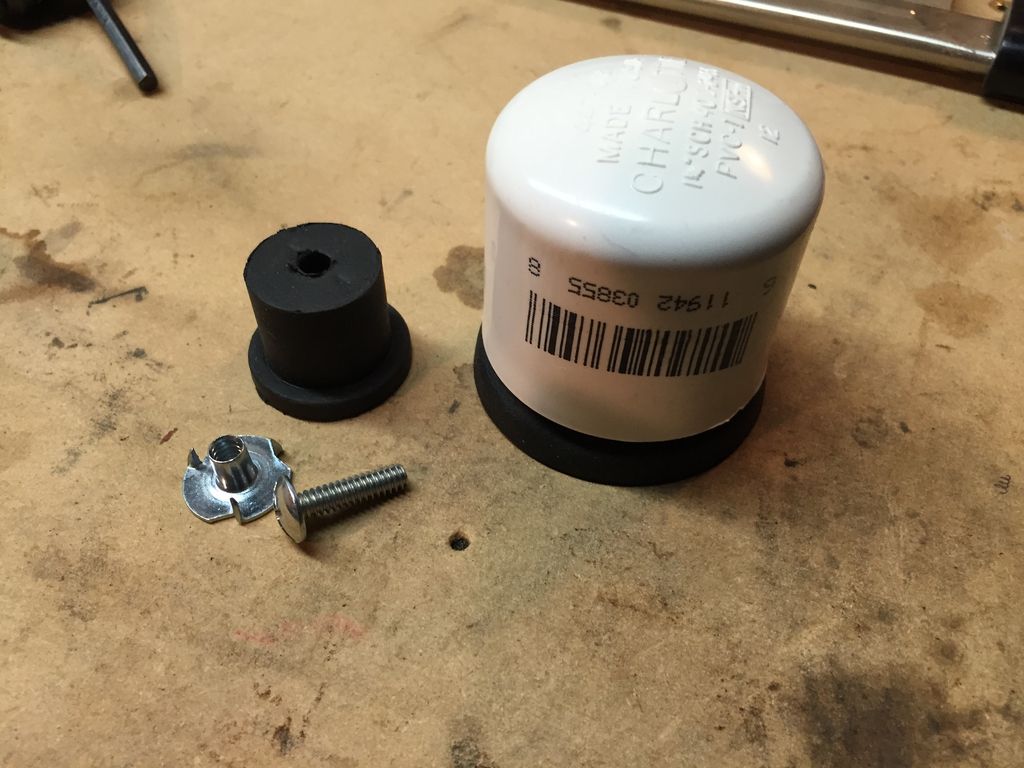

A marine compression plug, a pronged T-nut, and a bolt with a very flat head (after all I wanted this to be narrower overall). Had to cut the plug down (hacksaw):
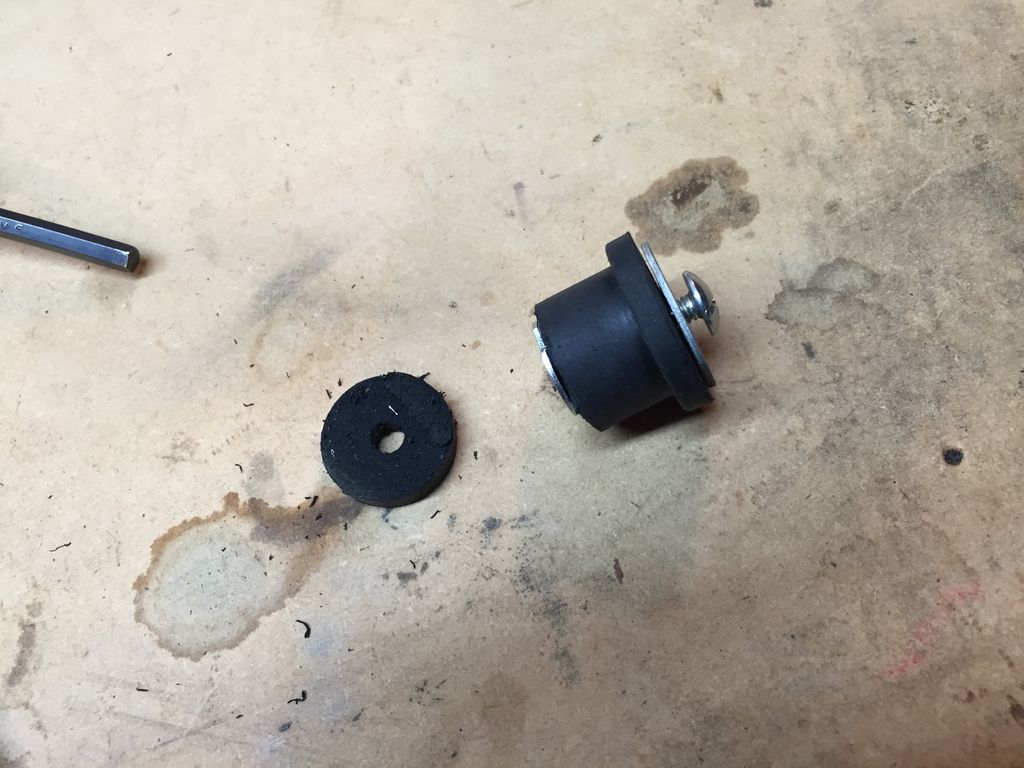

And here is my recreated "lip" holding the gripshift onto the post attached to the frame.
Before:
After:
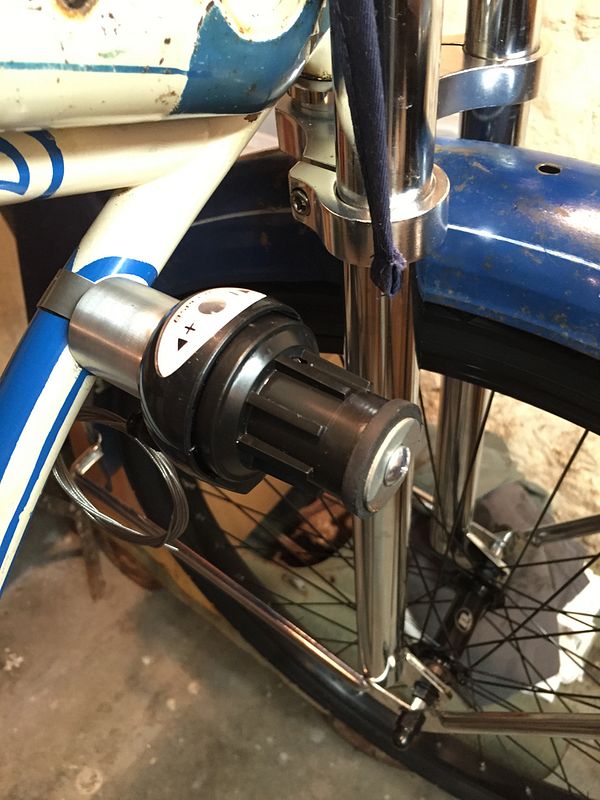

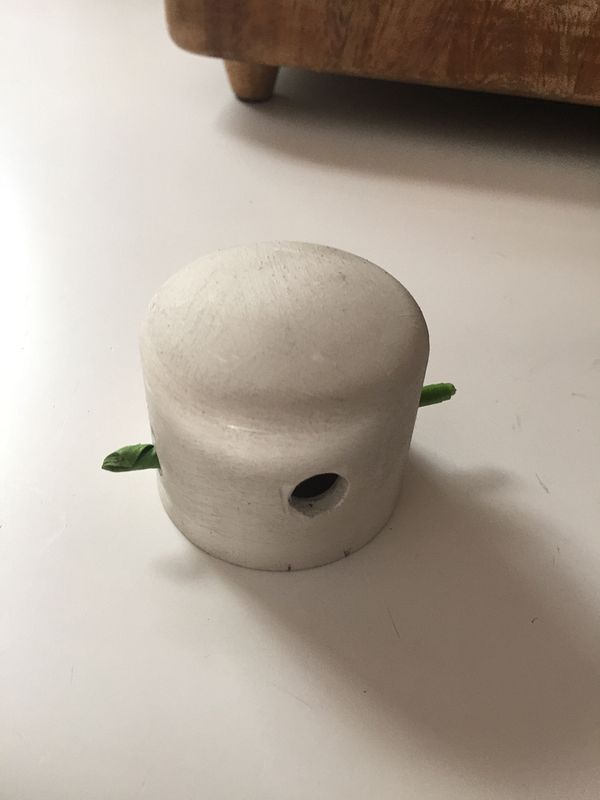
Still kept everything compact enough to use the PVC cap (shown above) for a shifter cover. Here is where I diverged from the original tutorial. The original design is apparently prone to stripping out, so I added two holes for threaded set screws.
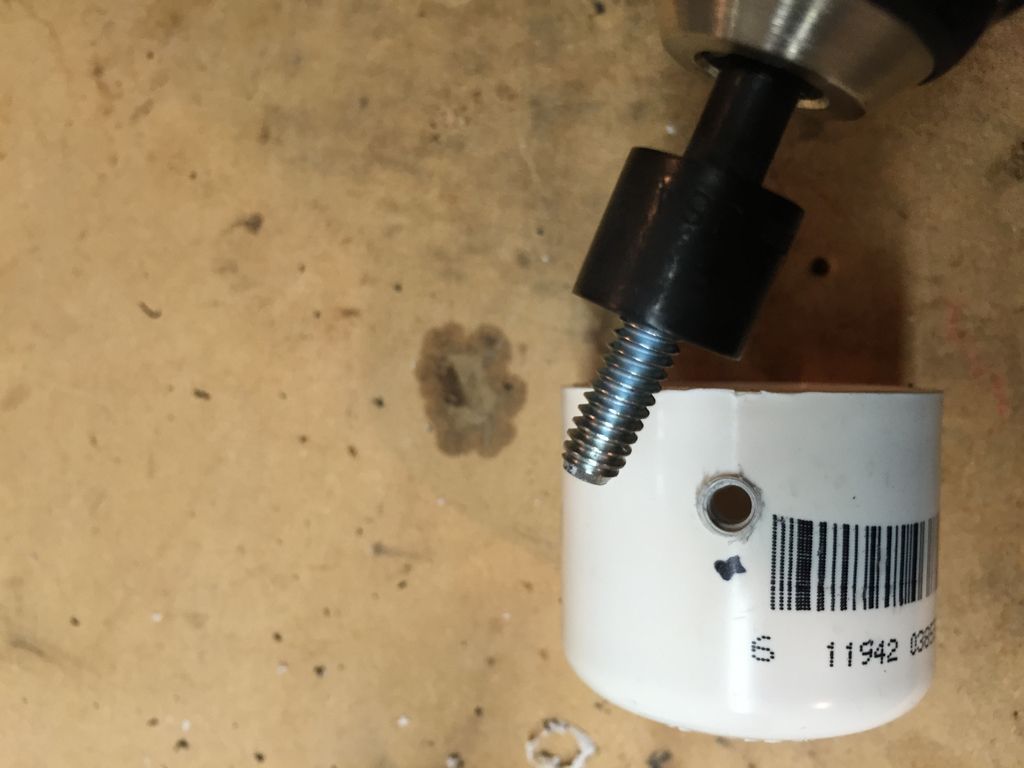

Add in the third hole for my shift lever and hopefully I've got something will last a while. Got it roughed up and ready for some Rustoleum rubber-dip paint.

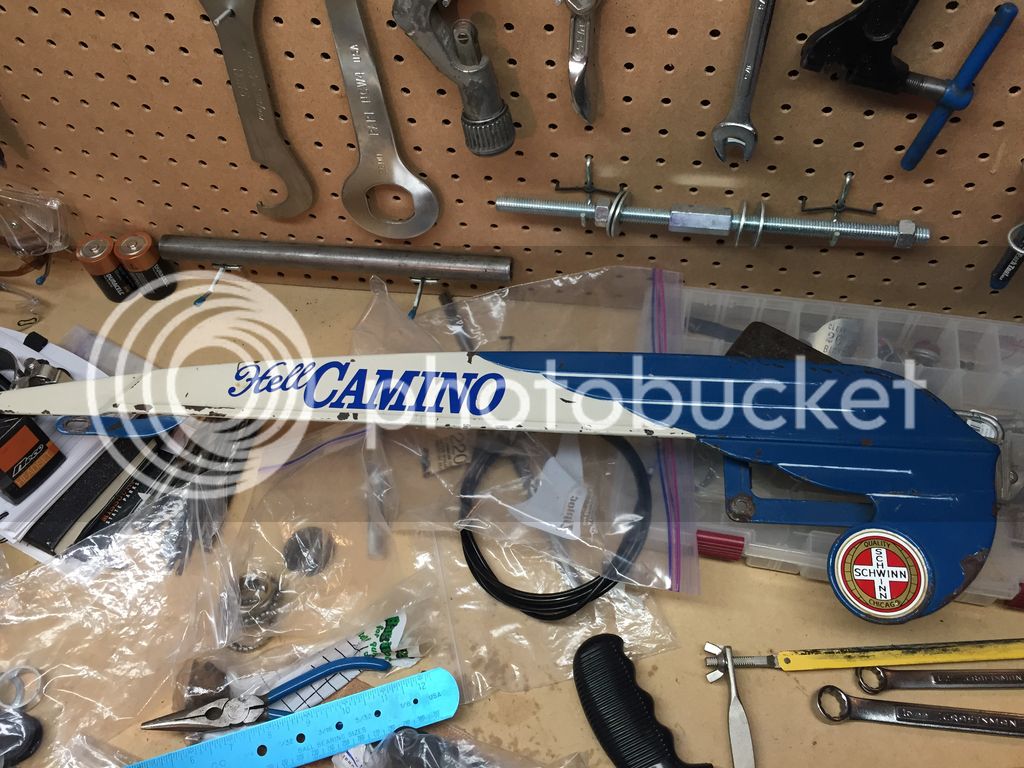
Lastly here's a couple gratuitous chainguard shots. In addition to my vinyl decal, I added the original design Schwinn waterslide decal, and my infamous pinstripes on the feather edging.
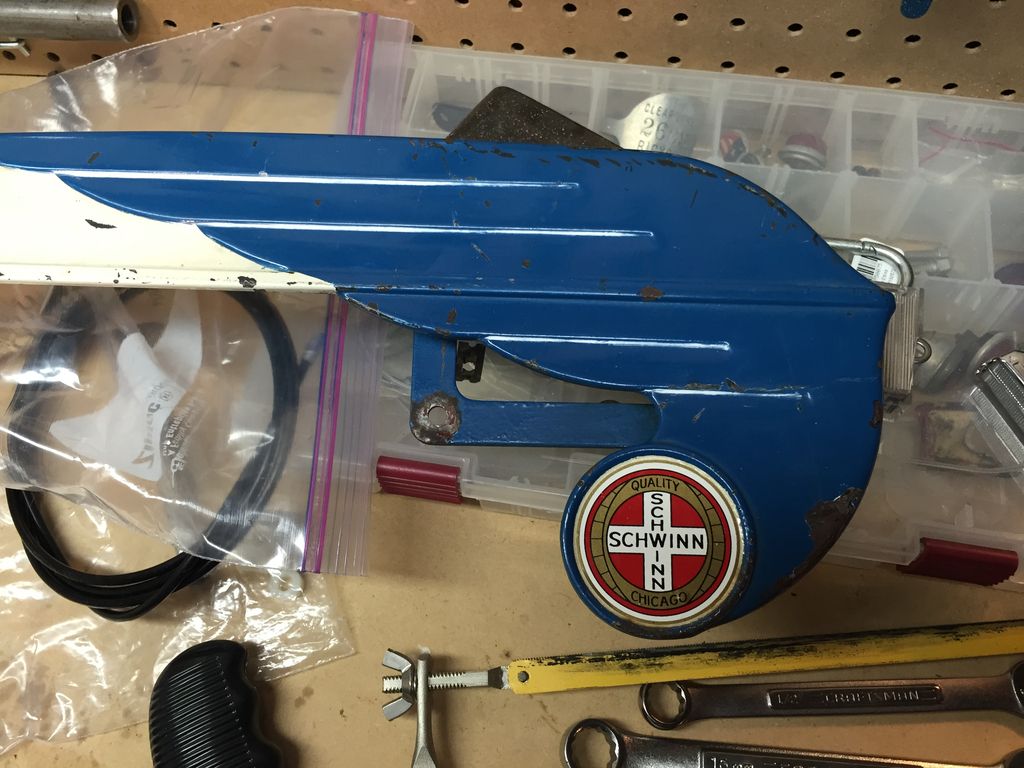

I'm really happy with the transformation from the original "nice, but..." chainguard to one worthy of this build.

Lastly as the 4th of July rolls in I want to extend my gratitude to the servicemen/women on this site, and throughout the world, for your service to this country. Happy Independence Day, all!
 
Love this build!
 
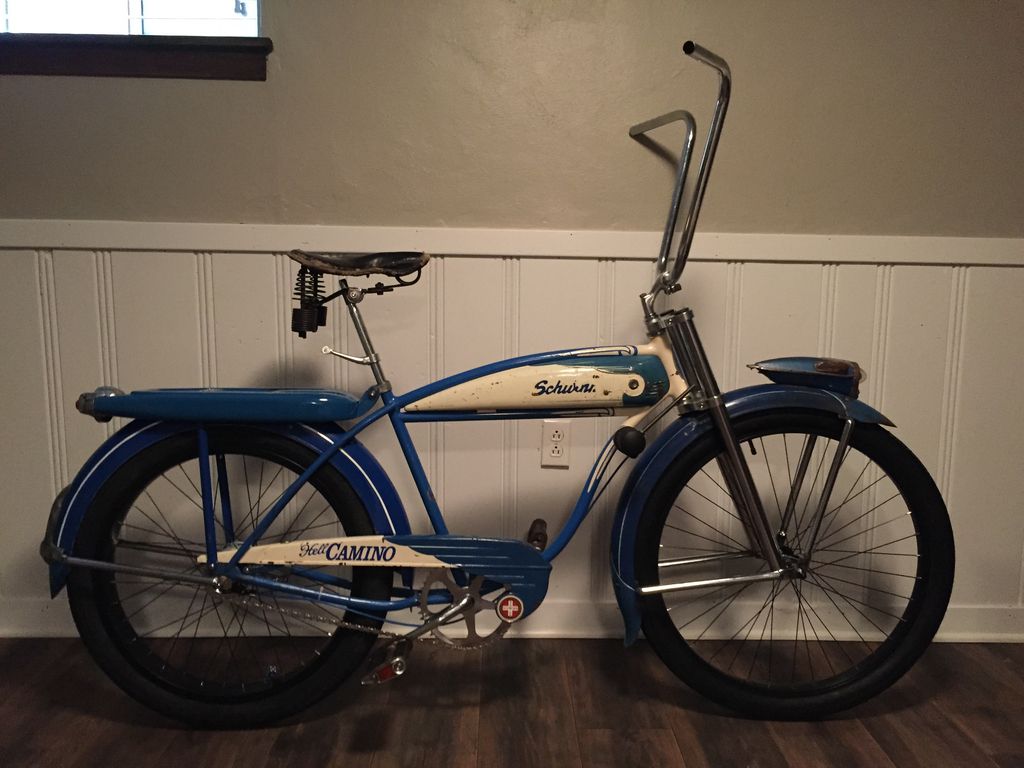
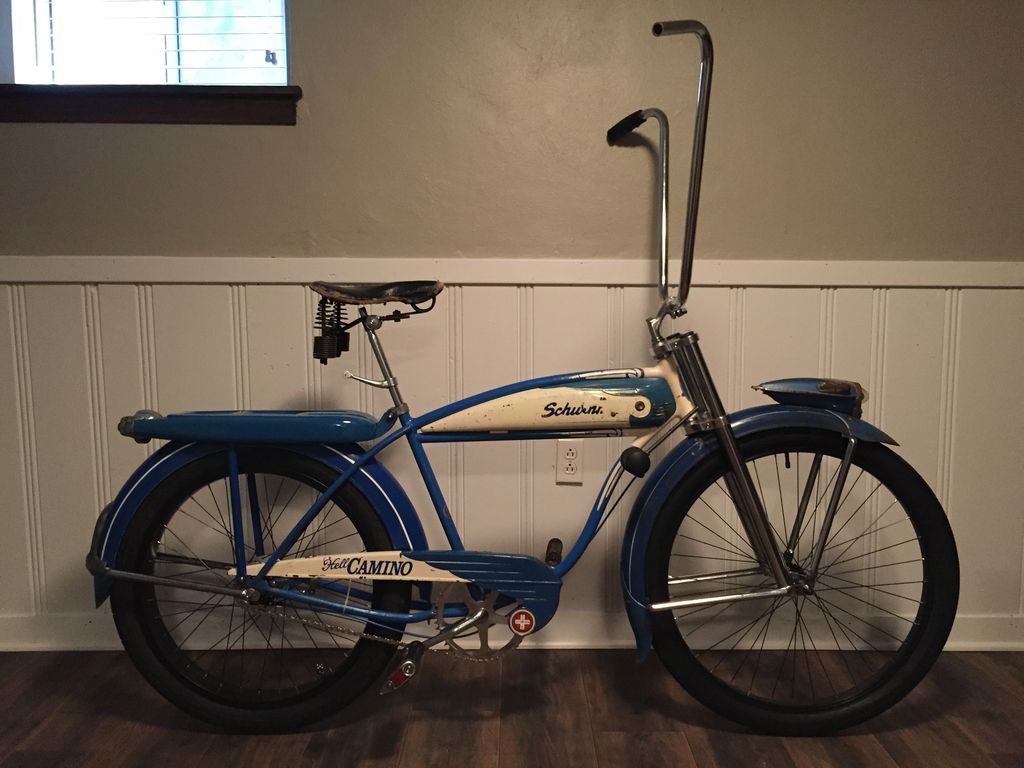
This just gets better and better....bike looks like both a Harley Fat Boy and then also a police motorcycle from the 40's/50's.:rockout:

And your fender brace shortening technique just solved a problem I had earlier today in fitting 50's era ballooner fenders to my Raleigh mountain bike.:113:
 
Drivetrain is now sorted and installed. Ended up using a chainring from a Columbia I had on hand along with the original Schwinn crank. Had to flip the chainring and the sprocket on the rear wheel, and use a 1/8" spacer to get a chainline that clears the tire and fender. It's actually pretty straight too. Had just enough threads on the non-drive side to put the cone and locknut on. I cleaned up the pedals a while back with the sodablaster and straightened the axles as best I could. I found some repop reflectors on the 'Bay and finally popped those in. Also sprayed some white lithium grease in the bearings before reassembling. Slapped those on along with the chainguard and here you have it:


The chainguard required a small spacer to get it lined up with the chainring, but the resulting clearance for the chain and the crank is spot on. You can also see the painted shifter cover mounted as well as the beginnings of my shift lever. I also reinstalled the Monark fender reflector/housing now that the braces are wrapped. Lastly I had to get a different seatpost clamp to finish the Higgins rack installation, but it's all buttoned up. Getting down to the details now!
 
Last edited:
Cant wait to see your build completed. Great job matching the freshly painted fender and rack with the original paint! Where did you find the chopper fork?
 
Coming together nicely! I like the decal addition and your pin striping on the rear fender. And that shifter mod.... 0-o ! I will be anxious to see that in action..:)
 
I freakin' love those big fenders! They fit the look of this bike perfectly. My dad gave me a pair like that years ago and I'm waiting for the perfect built to put them on.
 
This thing is looking incredible, maybe for your final photo shoot you can find a vintage style diner or doughnut shop for background.
 
This bike is such a hot rod!!!!
 
This thing is looking incredible, maybe for your final photo shoot you can find a vintage style diner or doughnut shop for background.
Now I want doughnuts...

Luke.
 
I am so stealing the shifter Idea to finish up one of my builds, very cool!!
 
After some of the earlier discussion I decided to try out some different handlebars. These are the bars I had first decided on:


Then I tired some bigger apes:


Then a regular cruiser bar:


Then a set of crossbrace bars:


None of the alternatives looked bad, but I still think the original bars work the best with the chopper fork. To me the fork felt really out of place with some of the more traditional bars, and the big apes were just, well, too big. I'd still like to open the current bars up a little (broad shoulders), but they'll work for now.

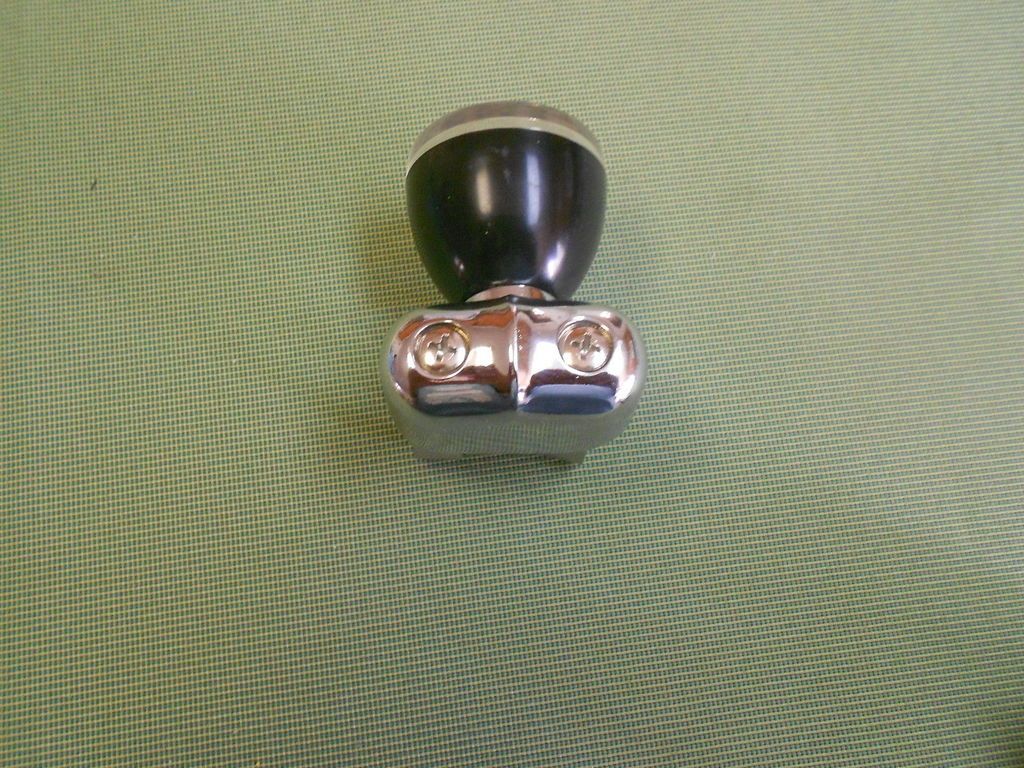
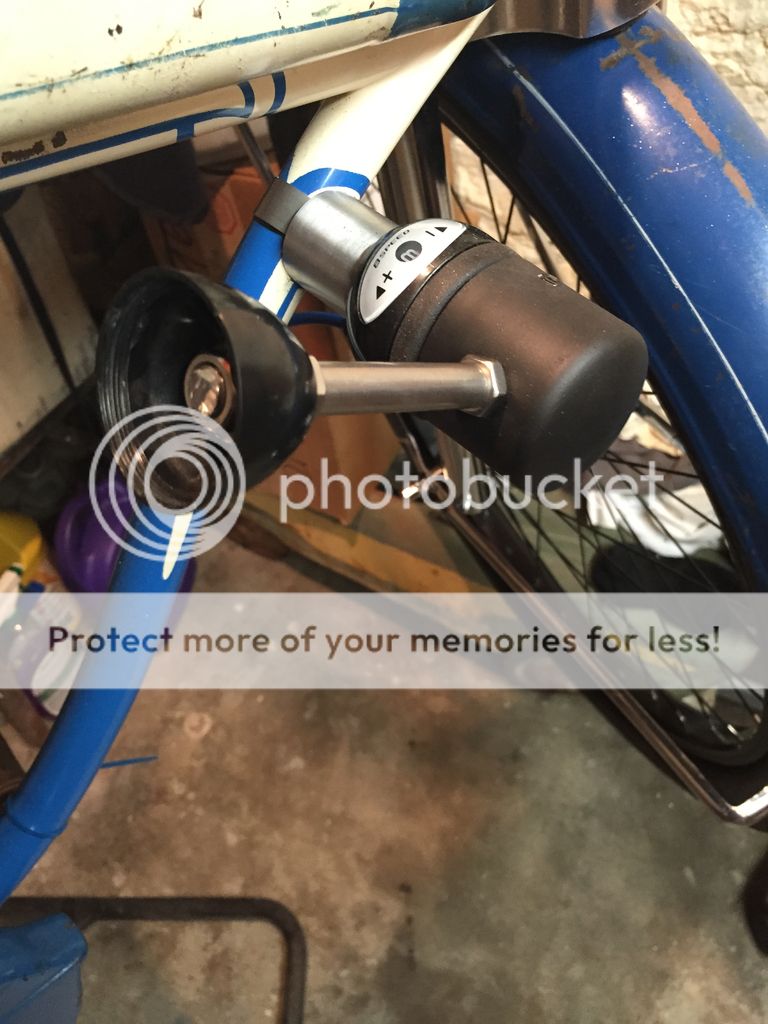
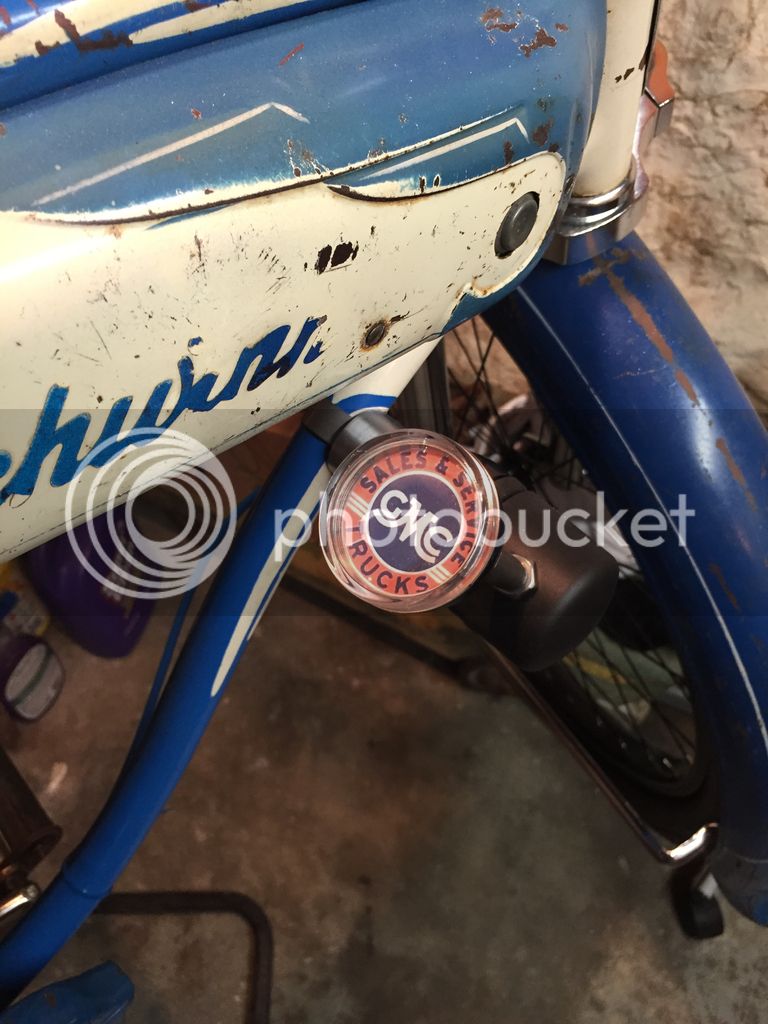
I also finished up my shifter today. I used a HBBC suicide shifter mount to attach my grip shift/pvc cap contraption to the frame. I had a hard time deciding on a knob and I ended up buying a Brodie knob (suicide knob) off eBay and hacked it up.


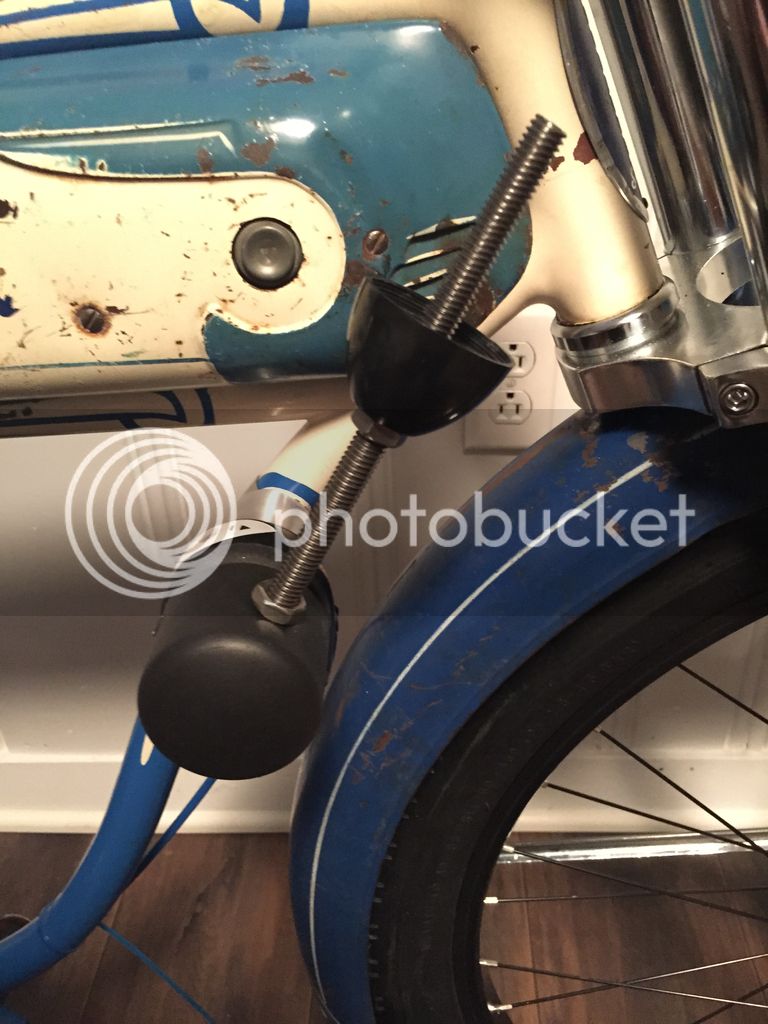
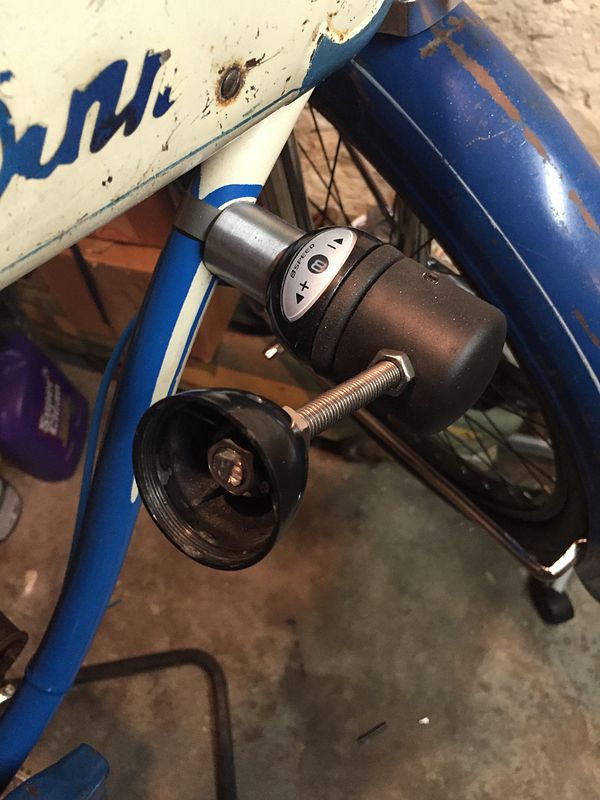
Here's the threaded rod secured to the shift cap with two jam nuts (one inside and one outside) and another jam nut that will be the base of the shifter knob:


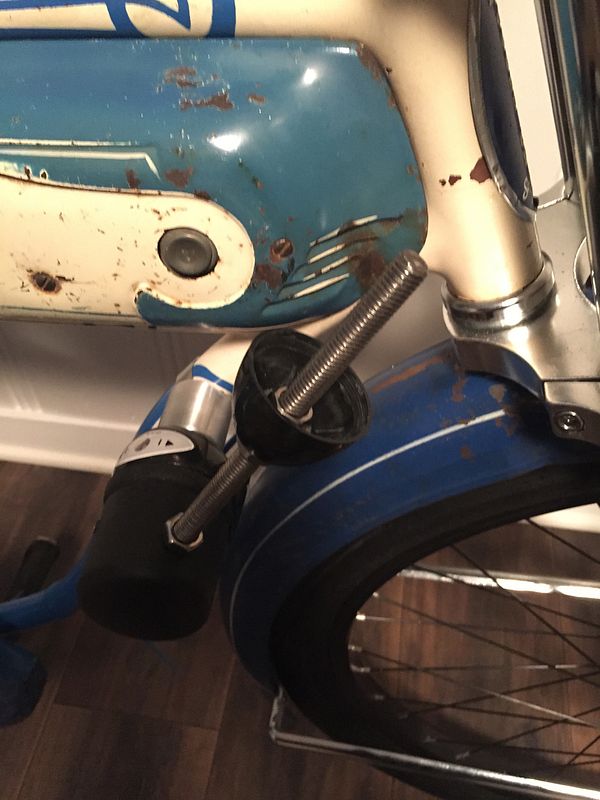
Next I put the bottom part of the Brodie knob on the rod to measure for fork clearance/turning radius:


And then added a jam nut on top of the Brodie knob:


Cut down the threaded rod:


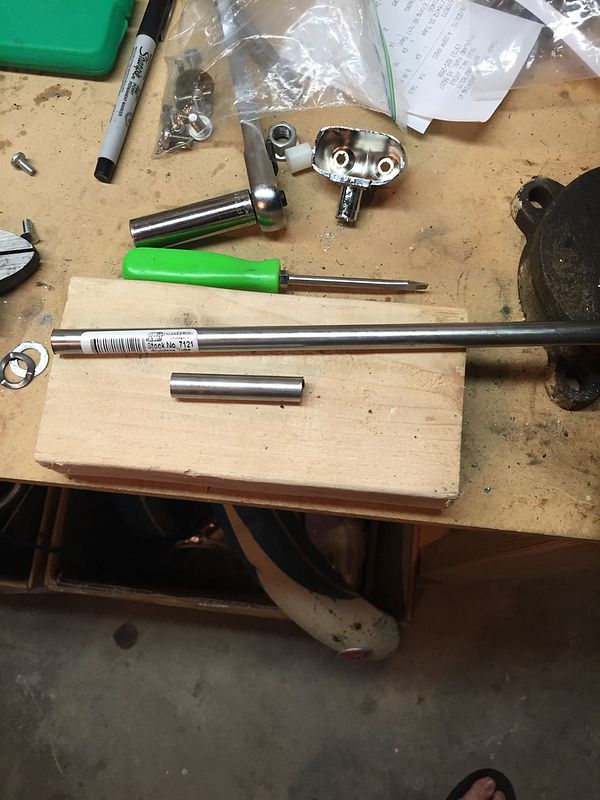
Then cut down a piece of hollow stainless tubing (that fits the 3/8" rod like a glove):


Added it over the threaded rod between the two "outside" jam nuts:


And then added the top back onto the Brodie knob:

As mentioned earlier my ultimate father/son project was my 1951 GMC pickup, hence the choice of Brodie artwork. It's only a paper insert so I can swap it out any time, but for now it feels right. You can see the blue cable housing in the background of the last pic, and even one of the blue zip ties I used to secure it (I know, I know—I have a problem). I took it out for a quick shakedown ride and it shifted like a dream!
 

Latest posts

Back
Top