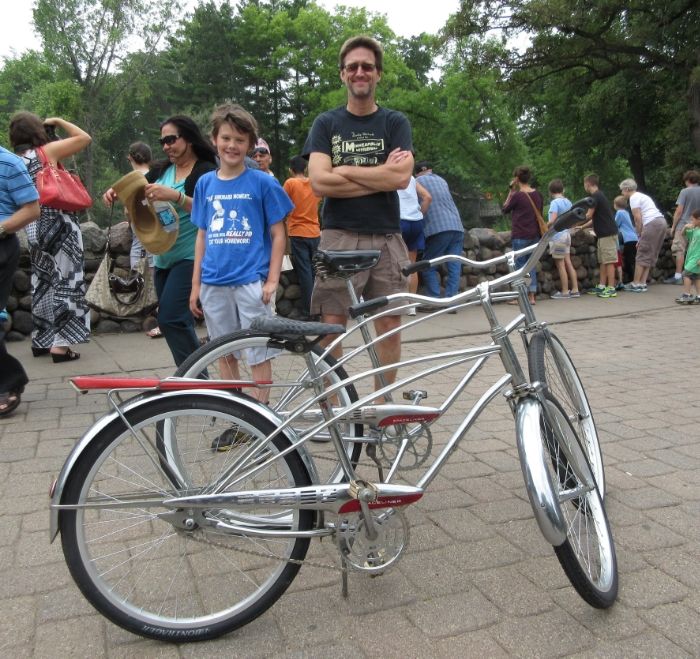
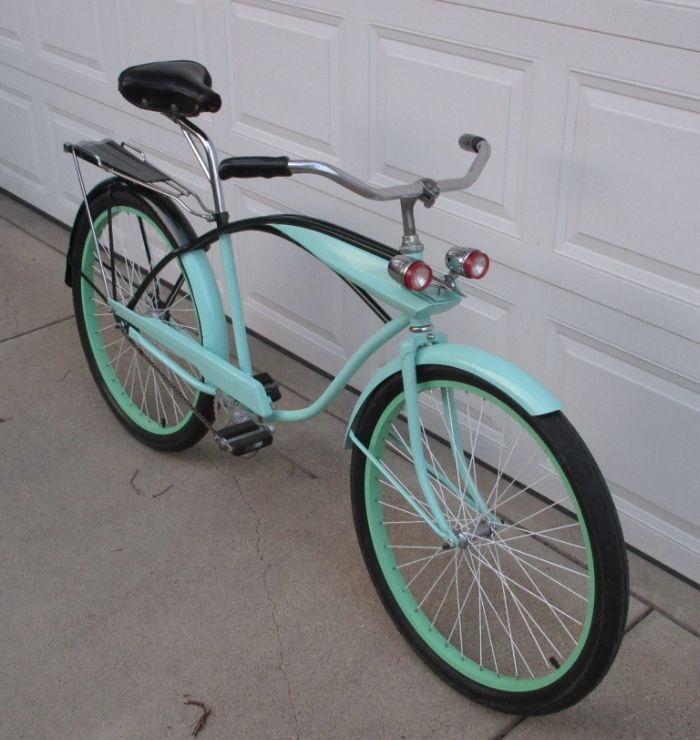
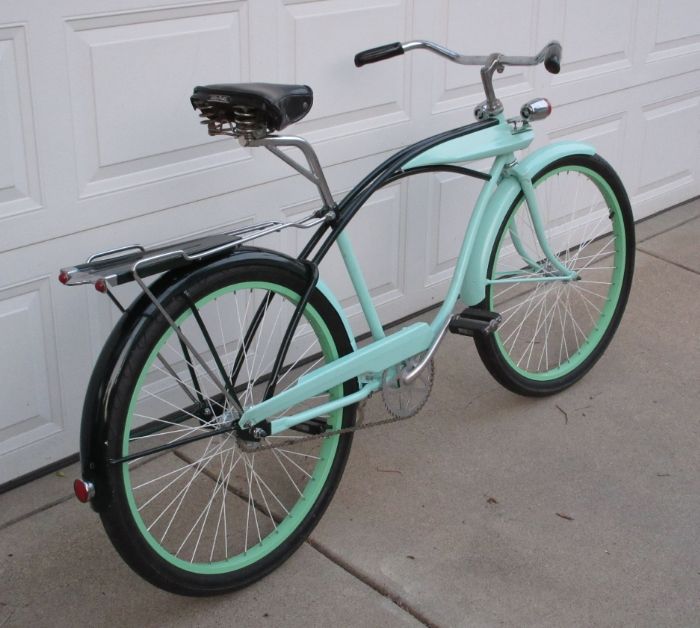
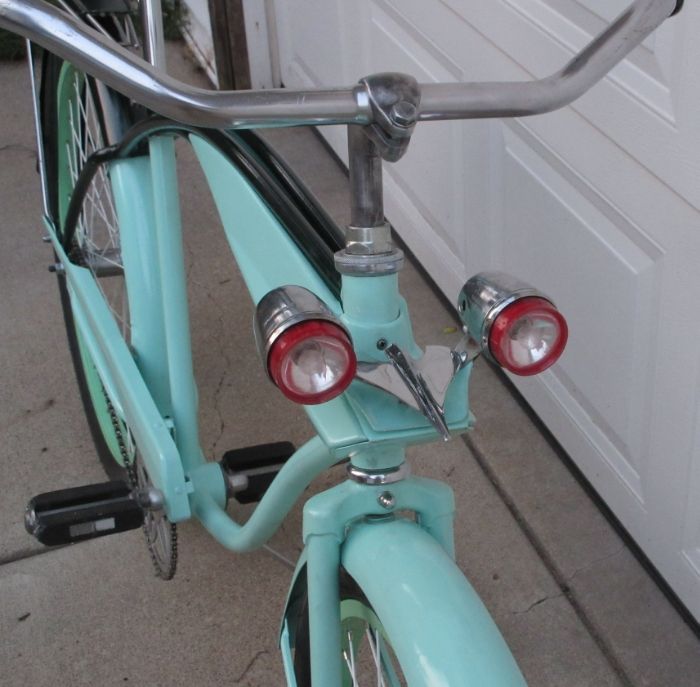
56T: Finished (with new pics)

Rat Rod Bikes Bicycle Forum

Help Support Rat Rod Bikes Bicycle Forum:

This site may earn a commission from merchant affiliate links, including eBay, Amazon, and others.
BUILD ON BUDDY!
10 Days is plenty of time!
 
Rear fender looks like it fits wheel well. Blackwell looks good with green rim.
 
Bondo and Primer Wednesday

Thanks Ren Man, Kingfish, MazdaFlyer, and Luke. I need all the support I can get LOL

Thanks MF, I hope it will look okay with final assembly. Yeah, running out of time and going with the blackwalls

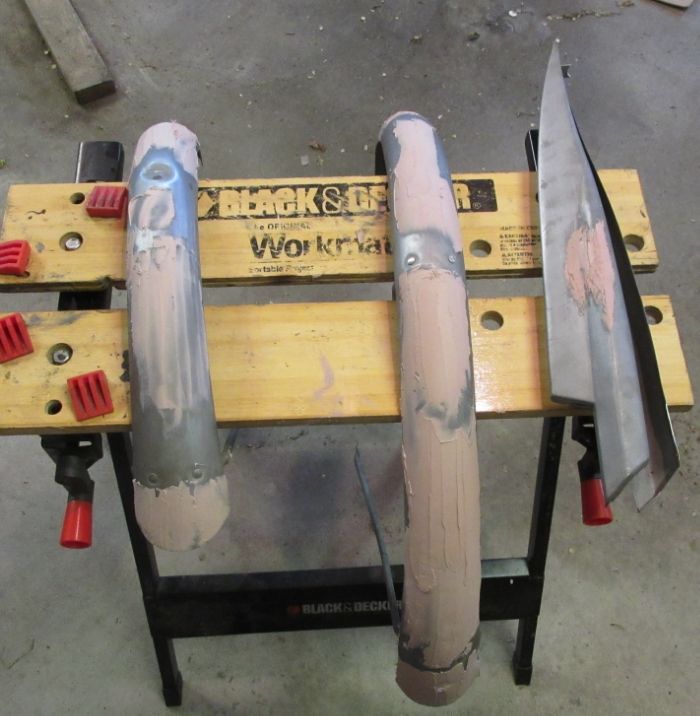
So on Wednesday, I did some Bondo work. Now I'm am no bodyman but I saw TVC15 and others use bondo to make great looking fenders. As I was mixing it up, the smell brought me back to my mechanic days (~20 years ago) when I worked next to a bodyshop. I tried to remember the things the body guys would crab about and actually read the directions :eek:;)

I put it on kinda thick thinking I could sand it off smoother and didn't want a lot on to make it a "bondo buggy":rolleyes:
IMG_0108II.jpg


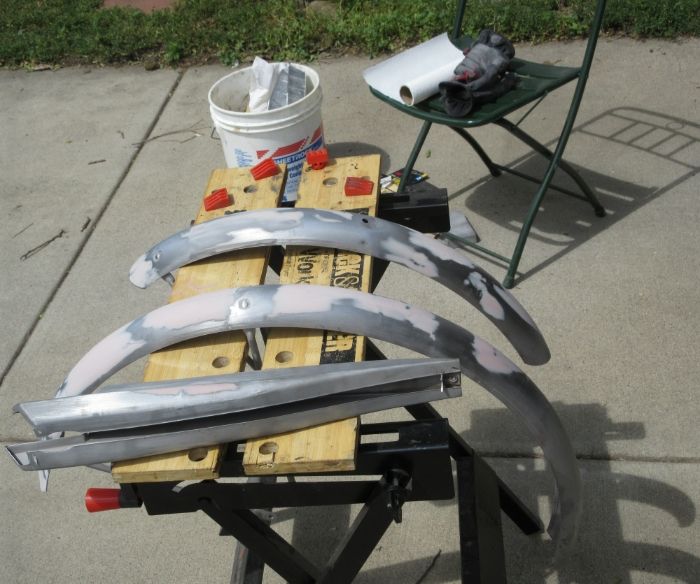
Well, that was stupid! :banghead: I wore my right arm out and had to start doing the rough work left handed so I could rest my right hand/arm to do the finer parts, Oh Man! And I lift weights daily, Sheesh!
IMG_0113II.jpg


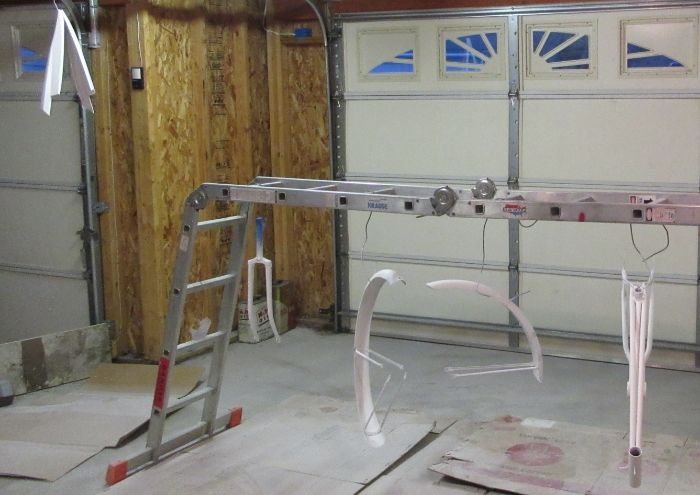
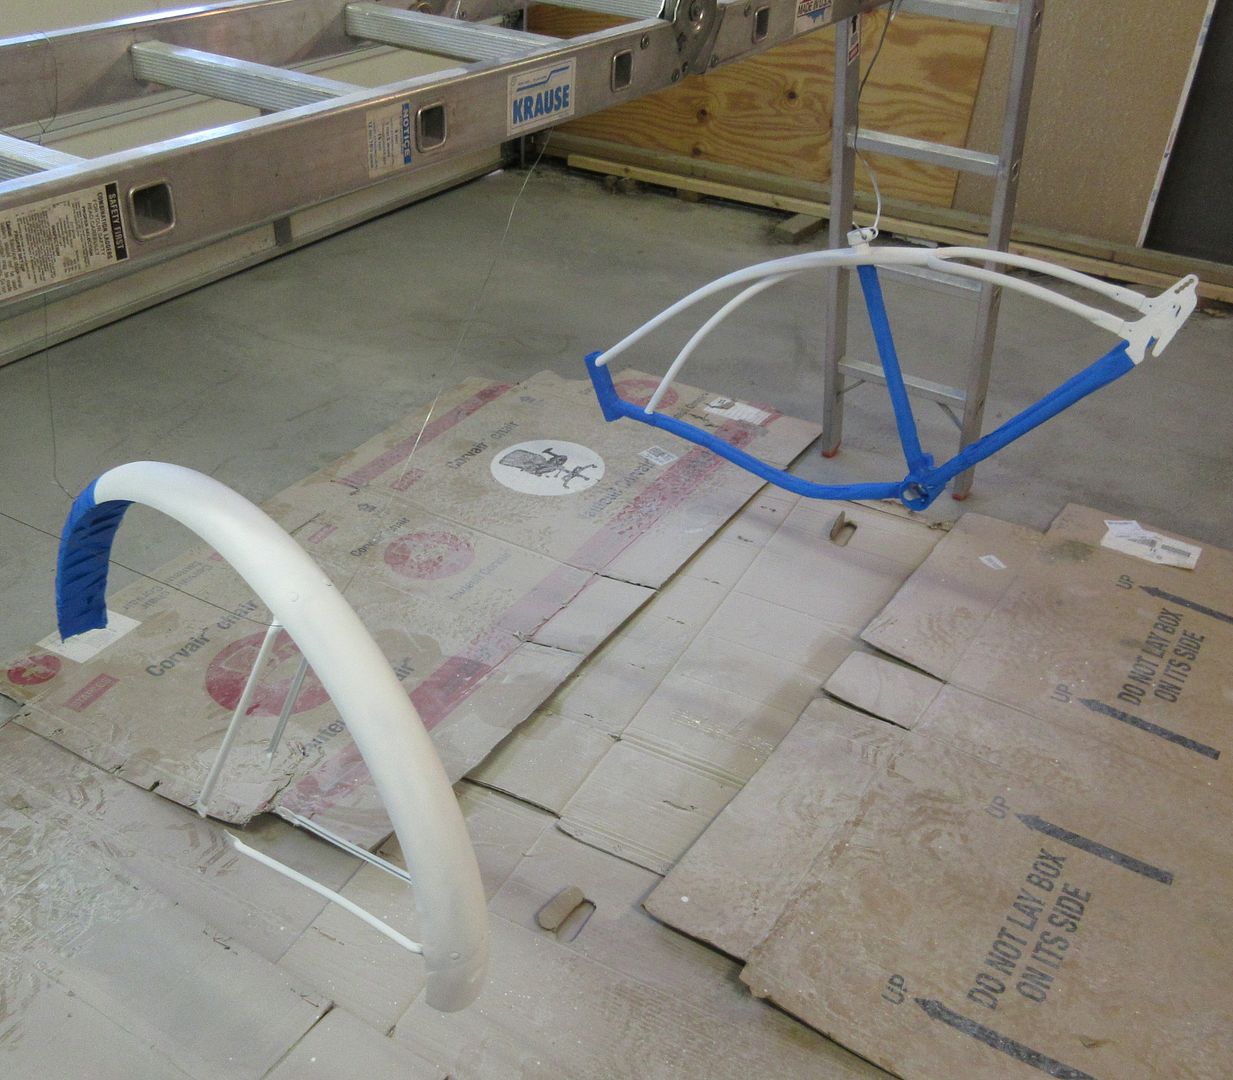
Then on to priming. Went with white primer like I did with Little Guy's Mag Ray. I got about 4 coats on everything (8 pieces) but I ended up making my right index finger not work anymore (?!). After about the 2nd round, I was trying to get the paint to come out and I couldn't figure out why (because I could still hear some inside). I switched hands and it came out just fine. Crazy!!! So again I learned quickly (but crudely) how to spray left handed LOL. I use one of those hand grip exerciser thingies every day at my desk job but I guess it's not enough :rolleyes:.
IMG_0115II.jpg


Anyway, I got it done and am continuing to paint (something for the next installments):)
Can already tell you that even though the "Fifties Aqua" and the rim colors matched on the computer (probably only so many color combos) they are definitely different. Oh well, time to get done and there will be three greens instead of two on the bike now.

Back to the next coat...
Thanks for looking
Steve
 
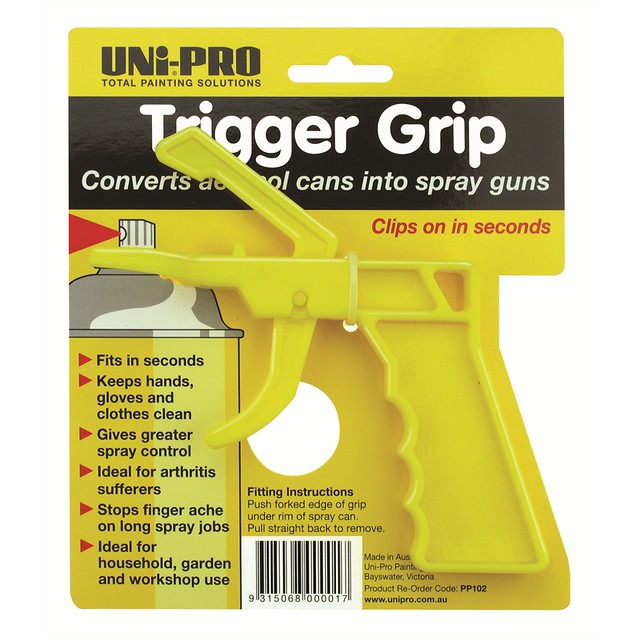
You need one of these Steve:

14569734188_783a648982_z.jpg


$4 at my local hardware store, very good for the bigger jobs you need to do with a spray can. I have the same issue of running out of strength in one finger, the results are better with this than trying to spray awkwardly with your other hand or a thumb...

Luke.
 
I am restoring the fenders on my bike too and totally know what you mean about how much work it is, I think most of my time on my build is going to that aspect of the build too. Good work on your fenders. I am looking forward to seeing your color combo on the bike!
 
Masking and Painting Thurs and Sat

Yeah I looked at those too Luke, but the don't come in the size cans I'm using. Like Little Guy's Mag Ray, I'm using Model Master paint and I really like the way it sprays evenly (unlike my Rustoleum skills). But thanks for looking out for me :)

Thanks White Cross! Hopefully it will all come out in the end (fingers crossed)

Thanks Pick! Yeah it's getting closer and closer...

Thanks TexasBigJohn. That's some high praise coming form someone that can make the awesome bikes you do. :)

Thanks KF!

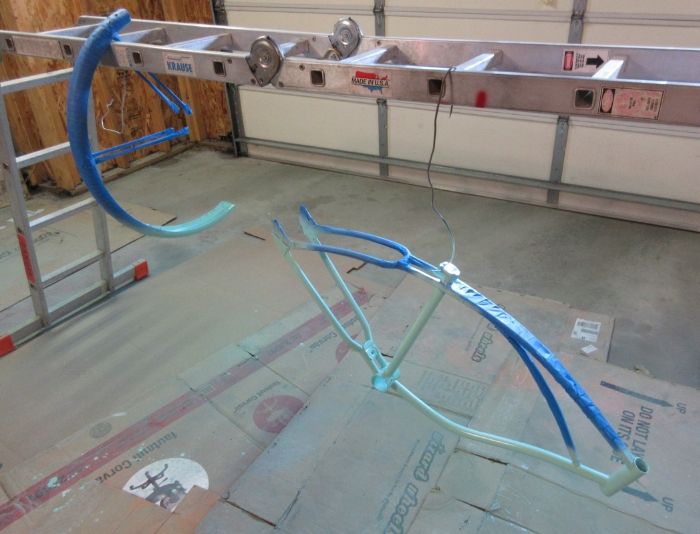
Ok, Thursday, still on vacation and still not rainy-Yeah!! got the masking done on the frame and fender before I even had breakfast (late breakfast LOL).
IMG_0119II.jpg


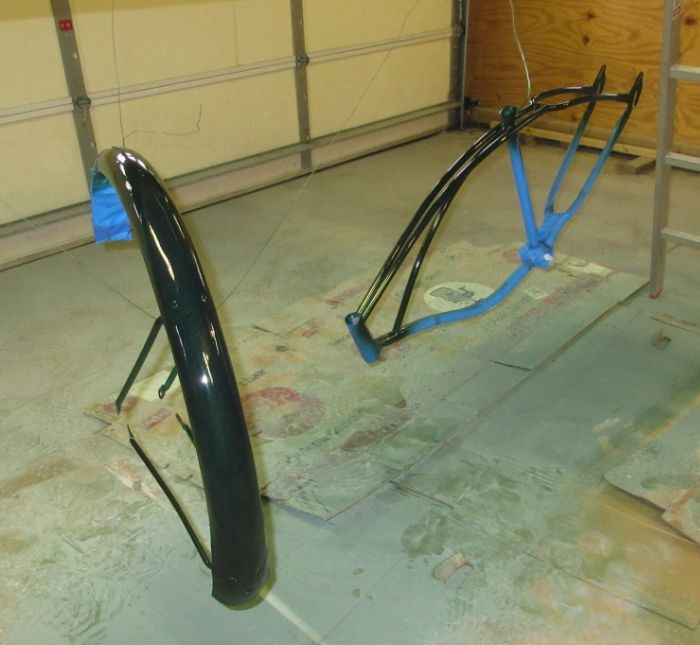
Started laying on the coats of Dark Green Metallic but after 4 coast, it might as well have been black :eek::rolleyes: I only looks green in direct sunlight or flash
IMG_0121II.jpg


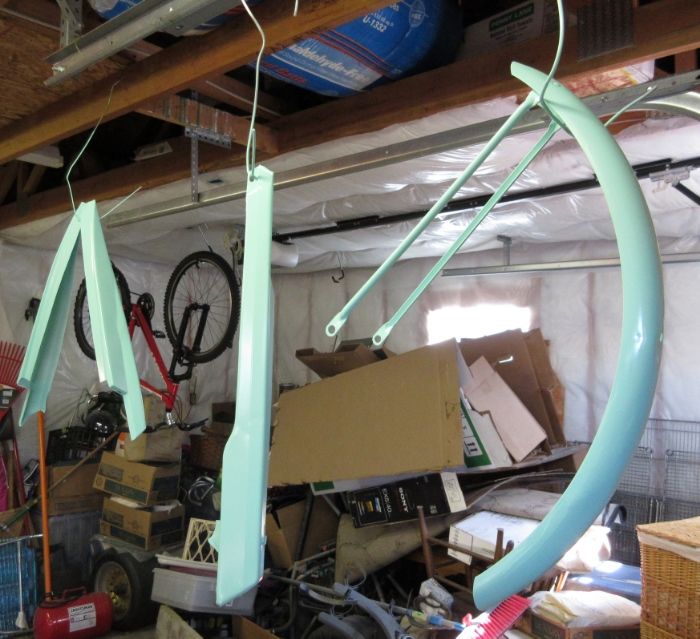
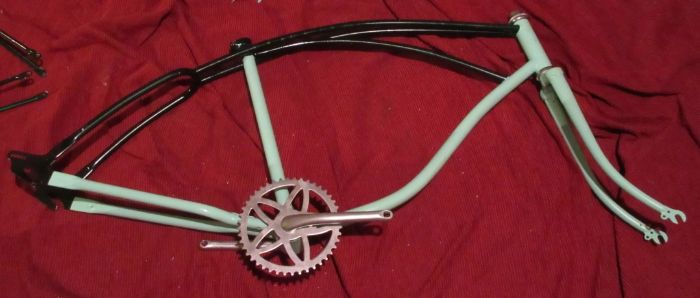
Started spraying the "Fifties Aqua" outside and hanging inside to dry
IMG_0157.jpg


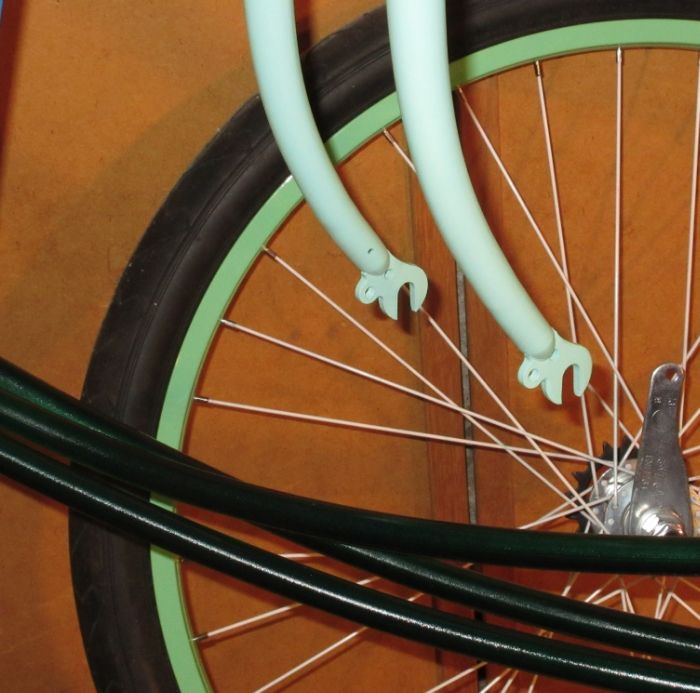
The wheels are darker green than the 50's Aqua but that's how things go
IMG_0128II.jpg


Friday it rained and was muggy so I got some other chores done. Plus I had a great ride with my great Nephew (JerimiahIsRad) who was in town. :):):) I got the 24" Spaceliner refitted a couple of weeks ago (new Al wheels, tires, chain, general greasing) so he would have something to ride. So i raised the seat on my Wife's Spaceliner and we cruised!! More later...
IMG_0141.jpg


Saturday was masking off the dark green and finishing all the aqua and dark green on the rack
IMG_0158.jpg


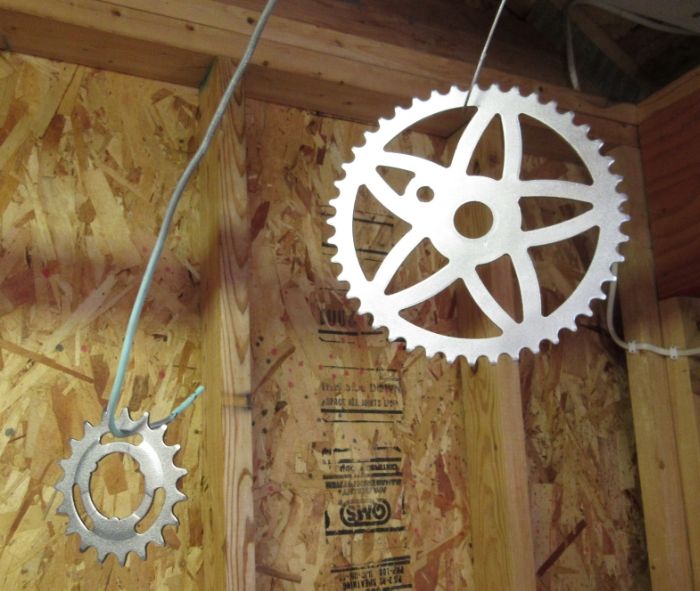
The rear cog was flat black so I painted it metallic silver, then roughed up the chain ring and crank (already a bit rough) and did them too.
IMG_0156.jpg


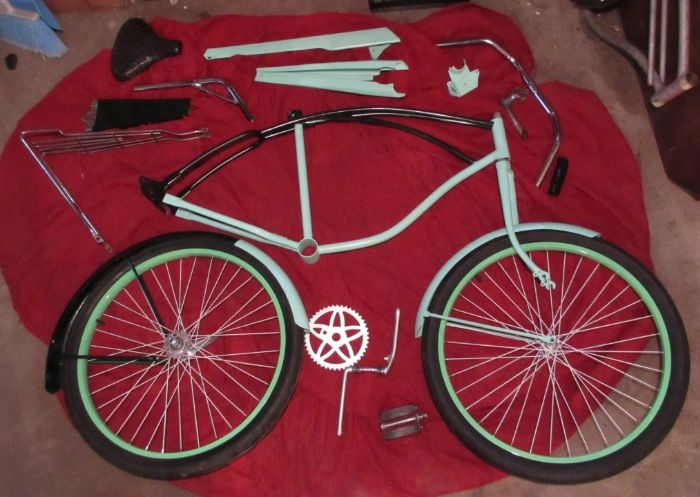
A group photo
IMG_0161.jpg


At least 4 (8 hour) days last week but well worth it :). I got more done tonight but that will be for next time...

Thanks for looking
Steve
 
Greasy Monday

I agree about Bondo RG, but it was kinda necessary this time. Noodle arms-I know that one LOL

I'm getting there Pick...

Got some great advice about my seat post plan (Thanks MP!) and great instructions on how to use a lathe again (been about 2 decades) Thanks CC! Was able to turn down a solid aluminum rod to the inside diameter of the Black Ops seat post (did something similar with my Shelby last year) and JB welded it
IMG_0177.jpg


Got all the greasy bits done last night. Went through both the new hubs too and they seem better. I had to dig and dig to find all the match BB and HeadTube/Fork bearings/cups/nuts.... I should be more organized:rolleyes:. But I got it together and kinda I like the chain ring on this bike now too:)
IMG_0178II.jpg


I found tonight that the seat post doesn't look right the way it is but I can trim it off and still have enough height so I'm not eating my knees (like Jacked Up Pilot LOL)

A preview of Tomorrow's post
It's a rider (and it's smooooth)
IMG_0189II.jpg


Lots of stuff to put on yet and many little hardware parts to buy. Then I can get to the accent painting...

Thanks for looking
Steve
 
Assembly Tuesday

Thanks Pick and Ren Man!:)

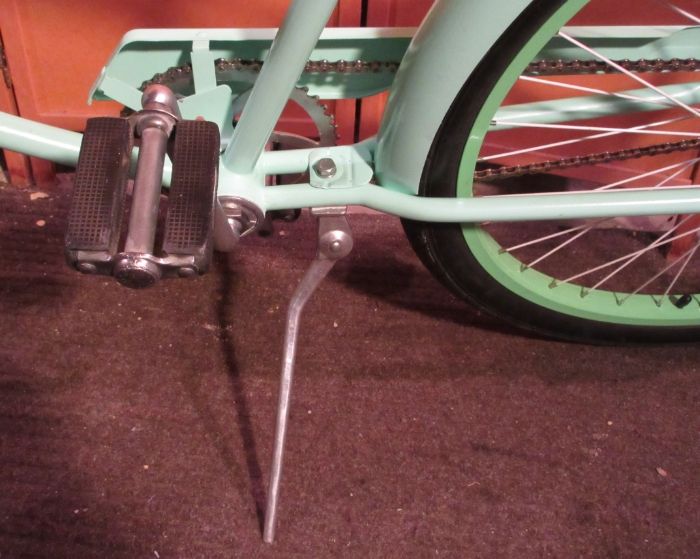
Thanks Rick and the color of the kickstand (yes there is one) is shiny aluminum LOL
IMG_0205.jpg


Didn't take many pics of the assembly. Tried to find hardware that would work (I think this is the worse part :eek::eek:) Some fit and others needed to be replaced again...

I cut out little pieces of handlebar tape to go in between the painted parts so hopefully it won't instantly scratch them and maybe prevent some rattling.

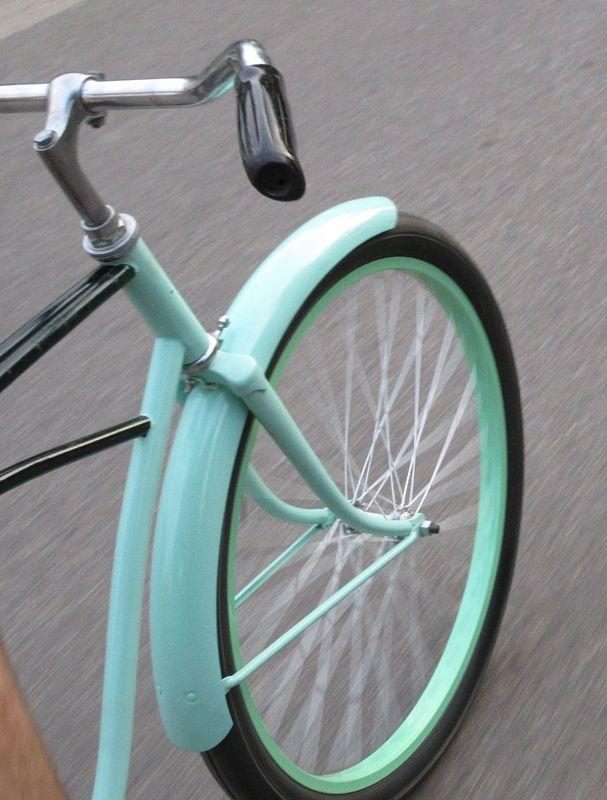
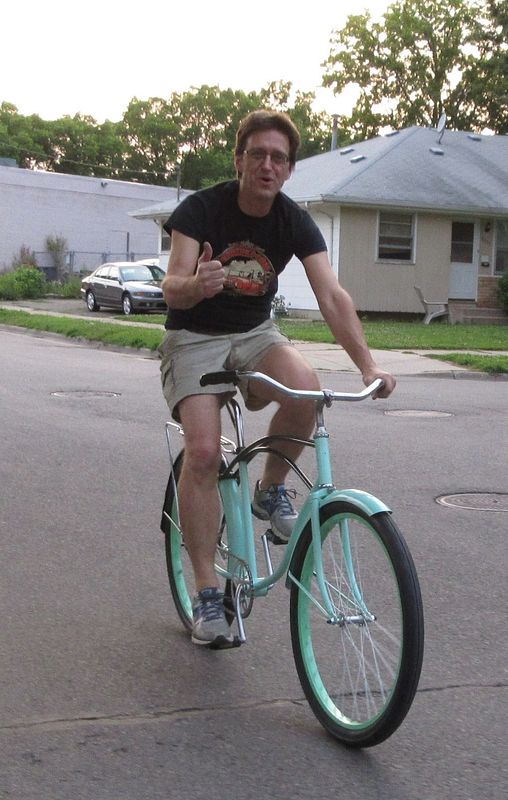
But the most important part was getting to ride it (without the fancy bits) and it rode really nice :) It's geared right and it rode smooth with no rubbing (yet LOL) My wife was patient with me and got a good shot (thanks Honey)
IMG_0183II.jpg


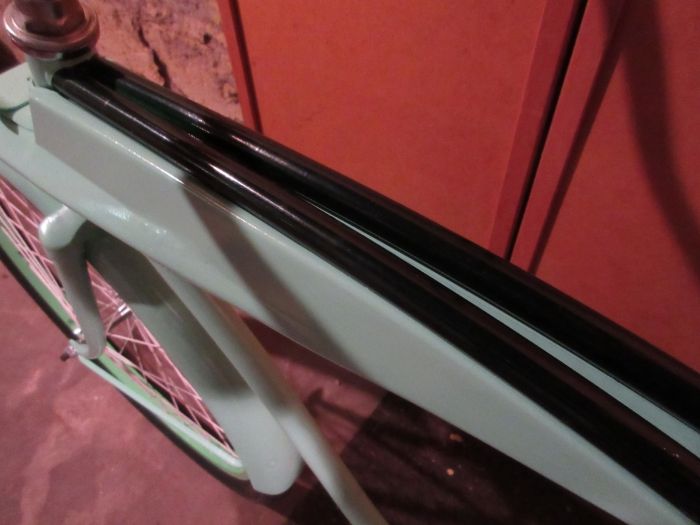
Needed to buy a half link and lots of final hardware with all the fancy bits properly installed, stay tuned... Tomorrow's preview: I'm going look forward to riding and seeing the twin top tubes in dark green and the tank in aqua :):)
IMG_0206.jpg


Thanks for looking
Steve
 
All Together Now!

Thanks KF, WC, and Luke!:)

Yesterday, worked on getting all the old hardware off and measuring so I could get some good stuff.
About and hour and a half at the hardware store today and Ta Da! Always have to buy a few extra in case one rolls away, never to be found again LOL
Hardware.jpg


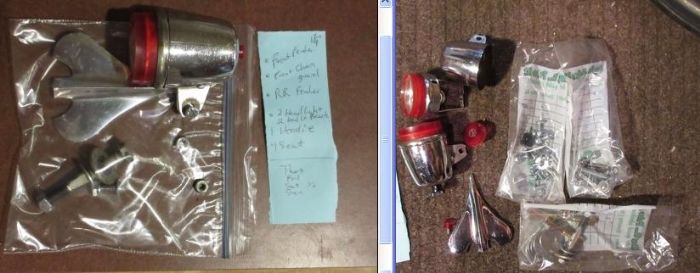
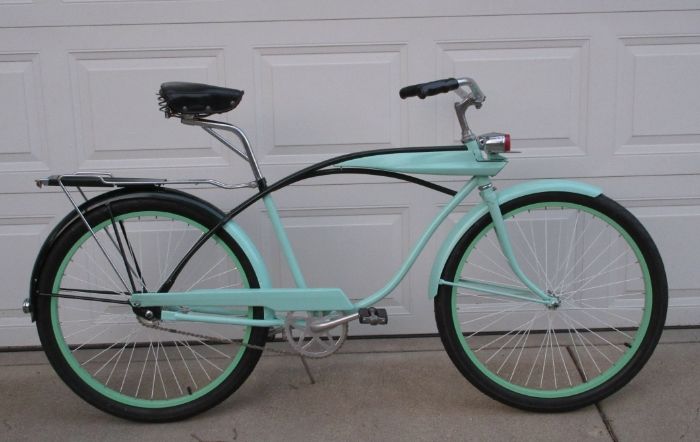
Got all the fancy bits on but still have to paint on the accent stripes. I'm pretty happy with the bug eye headlights and the "hoodie" ( ha ha KF). It weighs about a pound now so had to make sure it was secure.

Think the seat post looks a little weird but it's really comfortable and I can ride it easily. What do you guys think? Can always put a regular on too.

Here are the prerequisite garage door shots LOL. Nicer pics coming after the final paint accents.
IMG_0209II.jpg


IMG_0210II.jpg


IMG_0211II.jpg


I've been trying to think what to do with this tank for ~ three years. So glad it's finally done :)
IMG_0212II.jpg


Paint tomorrow and then riding (a different bike) along while my Wife runs Minnesota Half Marathon on Saturday but then I can ride around and get some good pics Saturday evening and Sunday. Down to the wire...

Thanks for looking
Steve
 

Latest posts

Back
Top