BonniRocket - Pretty much done at this point

Rat Rod Bikes Bicycle Forum

Help Support Rat Rod Bikes Bicycle Forum:

This site may earn a commission from merchant affiliate links, including eBay, Amazon, and others.
Re: BonniRocket

Well, I just came back from the louver guy's place. No good there, the tank isn't big enough to fit the tooling into. Disappointing, but in a sense simpler. One less thing to wait for. So, I'll start about masking this off too, and perhaps I can paint everything tomorrow night. It looks like we're going to see thunderstorms roll through here before too long, so I won't try it today.

Oh, I found the spokes that I need for the front wheel at a bike shop closer to where I work today. Now I'm just waiting on the spoke nipples that I had to order. The Deep-V rim needs 16mm long ones, instead of the usual 12. But i expect that this one will go together faster than the first one...
 
Re: BonniRocket

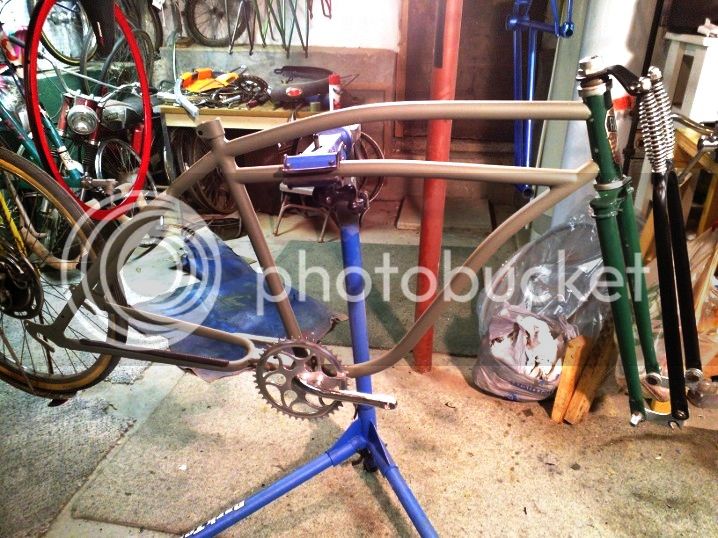
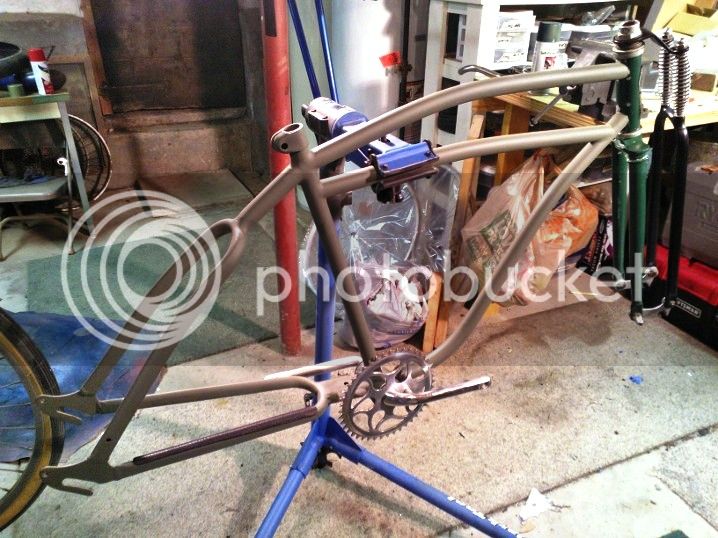
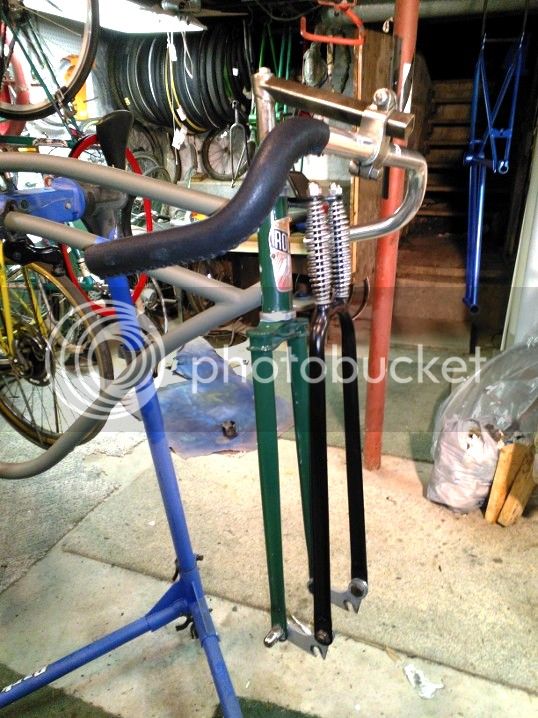
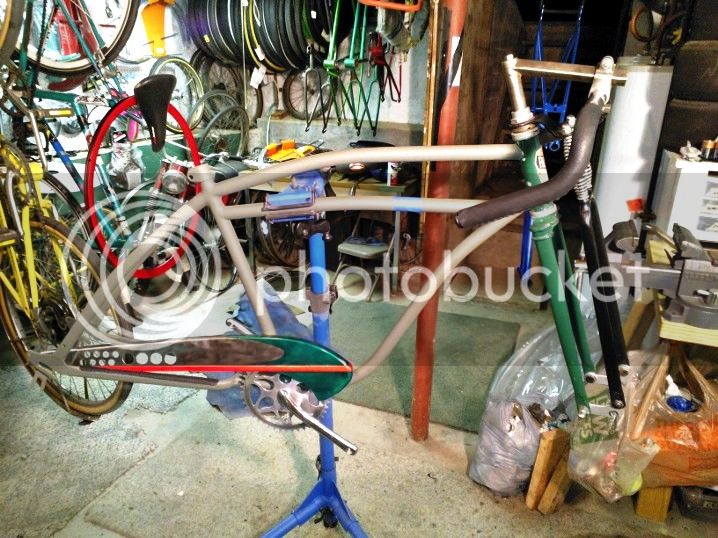
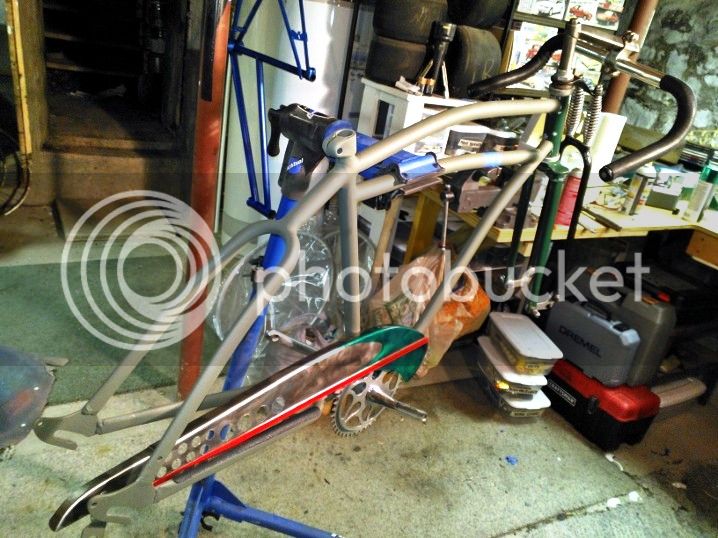
OK, I've got the fork put together and installed.
WP_000114.jpg

I don't think this fork is original, the steer tube is too long for the head tube by a little bit. I stacked some washers under the top nut, although I may go back later and actually shorten it some. But I don't really want to take the time now.
WP_000115.jpg


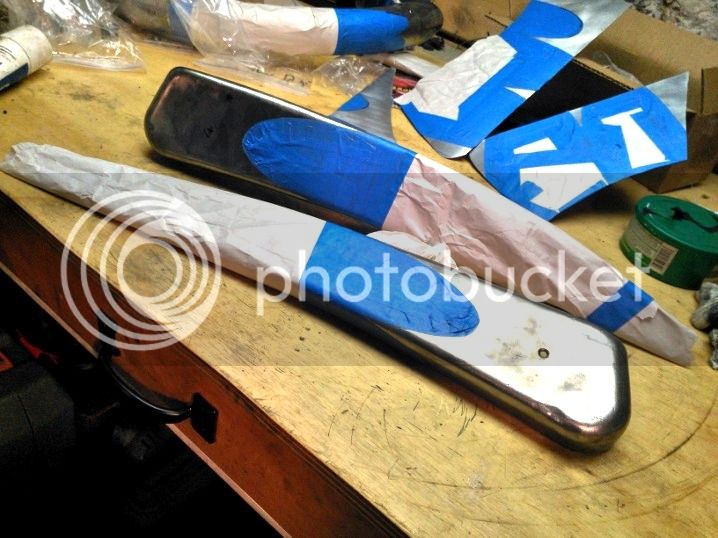
I've rebrushed the tank halves and masked them off.
WP_000112.jpg

They remind me of market-fresh fish in that picture. I want to pop in the holes for the shifter mount before I paint them, so I'll hold off on that. In the mean time, I'll have to borrow a couple of the radio chassis punches from my father again. I still expect to have everything painted by the weekend, so that I'll have adequate time for the paint to cure before clearcoating.

Speaking of paint, the metallic silver paint on the wheel covers came out awful. I've had much better luck with this paint in the past, but here it looks dull grey rather than silver, and there's very little metallic at the surface. I think I'm just going to sand them a bit and spray them black. At the end of the day, there's no realistic way that I'd be able to make painted plastic covers look like spun aluminum anyway.

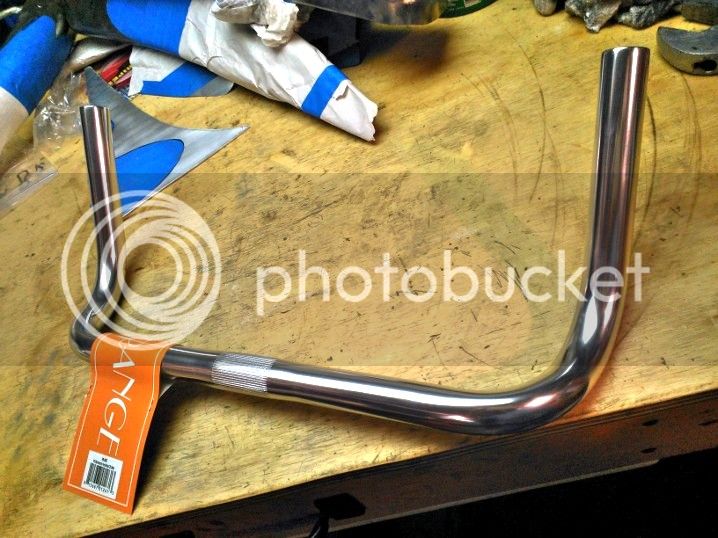
Some other bits showed up today, including the handlebars.
WP_000113.jpg

I could've used any of the old bars I have laying around (I was toying with using drop bars from an old Varsity), but I really liked the look of these. They fit what I'm after far better than anything I had.

So, that's it till tomorrow. The parts for the shifter that I ordered from McMaster Carr should be here and I can start fabricating it...
 
Re: BonniRocket

Are you gonna have the bras drop or rise?

Looking good!
 
Re: BonniRocket

Great work axe, but I tell you, that new flashing signature is more annoying than bunnies!!!
Just saying!!

EDIT: Whoa! Thanks dude! Much better!!!!
 
Re: BonniRocket

Bunnys are annoying? I guess I never gave it any consideration...

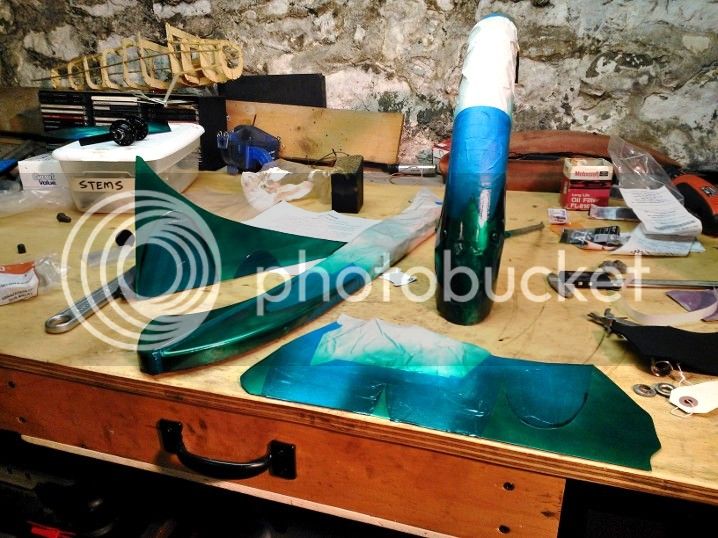
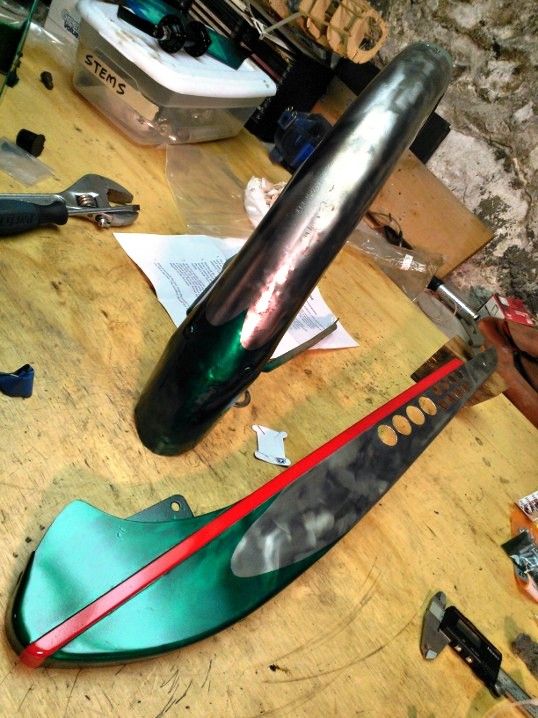
Update 7/25: I painted the fairing panels, fender & chain guard last night. I haven't done the tank yet, as I want to punch the holes for the shifter mount first. But here are other bits:
WP_000121.jpg

WP_000122.jpg

If the color looks a little uneven, that's the graining on the surface of the part showing through, which was exactly what I was going for. I had to put two more coats on the aluminum parts compared to the steel, as the base metal is lighter and it took more paint to even it up with the color on the steel. But, if the wheel cover paint went wrong, these went quite right. I still have to apply the trim striping yet.

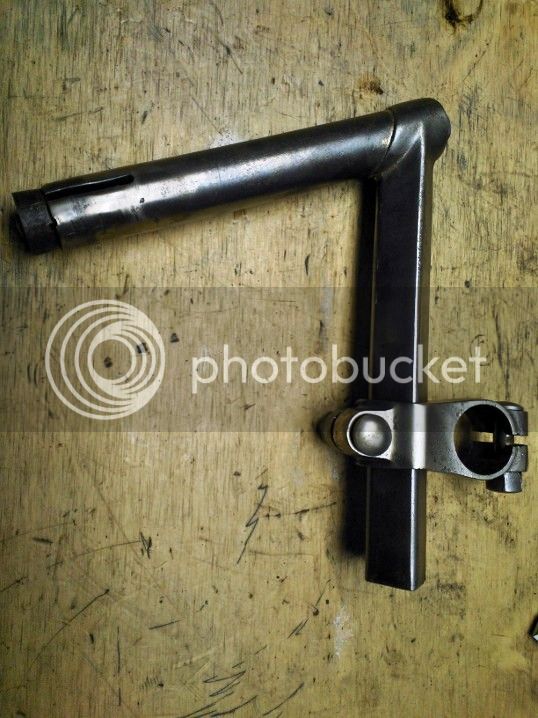
While I was doing that (between coats of paint), I found I had this cool old adjustable lugged racing stem that came in a box of parts with my old tandem. Post wire brushing:
WP_000118.jpg

While different from what I originally planned, it's exactly what I'm looking for here. So, I installed that and the handlebars. That, in turn, allowed my wrap the bars as well, since there are no cables that will be routed to them, thus no levers or shifters to install on them.

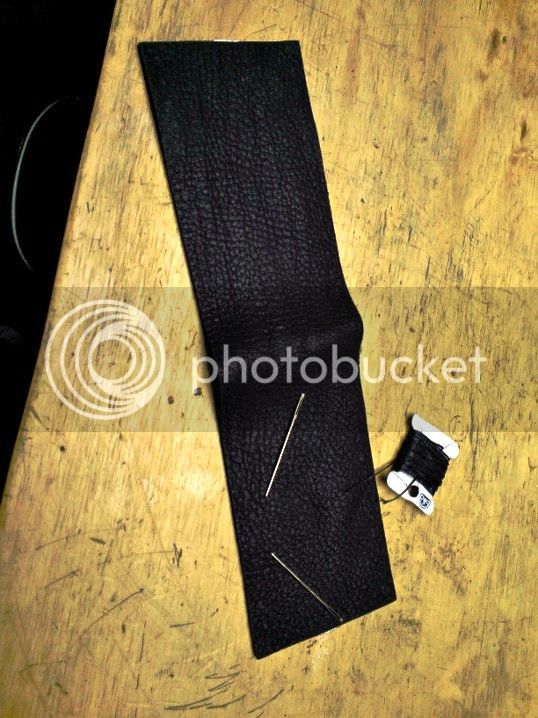
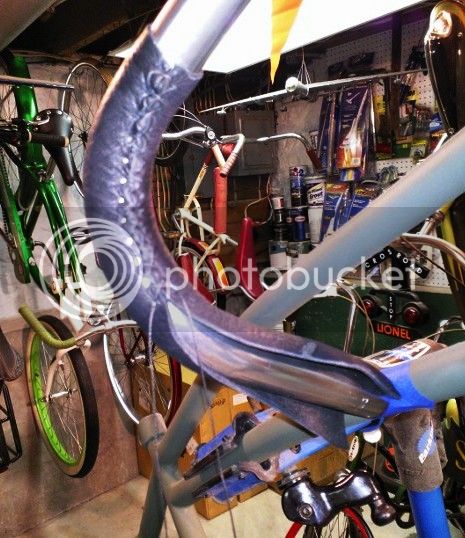
Instead of torpedo or coke bottle or glittery grips, or even cotton bar wrap tape (like I've used elsewhere), I went with Velo Orange's elk hide bar wrap, in black. Instead of wrapping the bar around and around like wrap tapes, this lays over the top and you sew it on. It's easier than it sounds. The directions were actually helpful and the kit was complete:
WP_000120.jpg

Two lengths of hide (with adhesive backing to keep in place while sewing), two bits of waxed thread, and three needles. The process uses two needles - one on each end of the thread, but again, it isn't that complicated. The leather itself was already prepunched with the thread holes, so all that was needed was to thread through them.
WP_000119.jpg

If the first side took me close to an hour, I did the second in just over 20 minutes. Not bad, really. The end result looks and feels fantastic, IMHO.
WP_000124.jpg


A couple of shots with both sides finished, and the chain guard set in place for effect:
WP_000126.jpg

WP_000127.jpg

You might also notice the matching chain stay protector, also black elk hide. All things considered, the stuff from Velo Orange is pretty top notch, even it isn't generally applicable to cruiser or rat rod bikes...
 
Re: BonniRocket

Sweet work on teh Metalcast/XMetals paint.
Love the leatherwork too!!!!
Looking sharp!!!
 
Re: BonniRocket

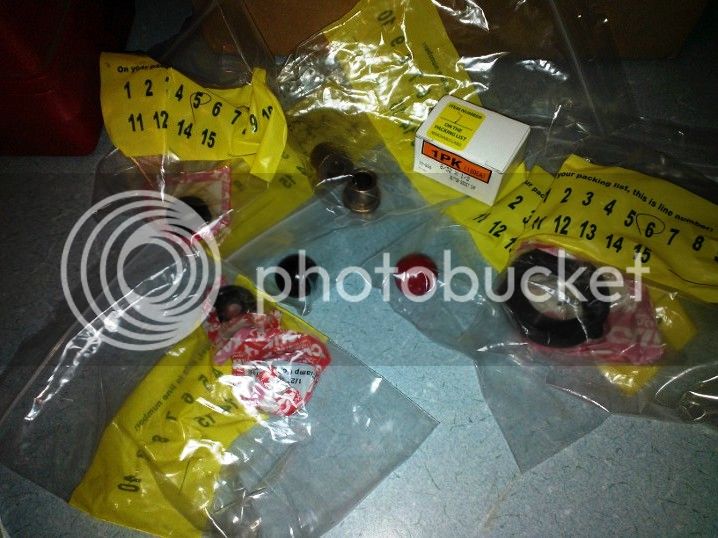
Minor update, since I got home last night too late to do much. Box of bits from McMaster Carr that contains much of what is needed for the shifter assembly:
WP_000129.jpg


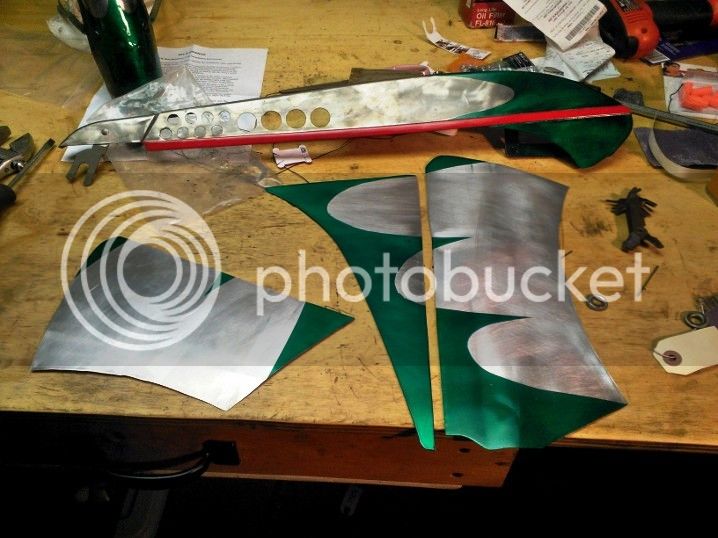
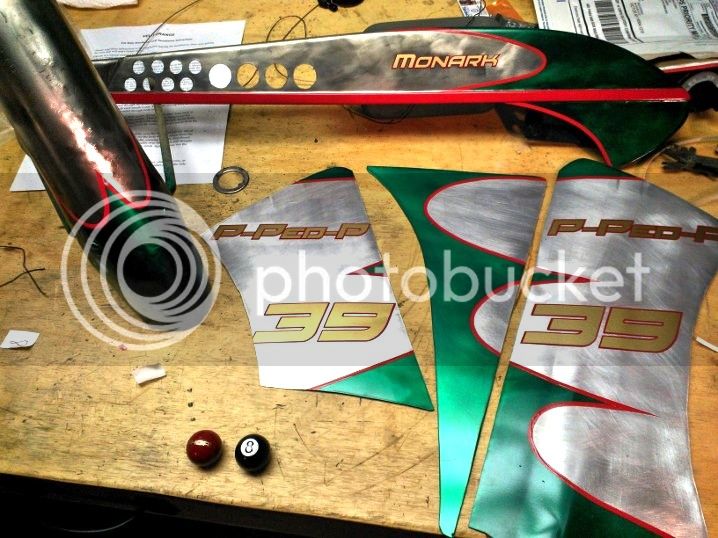
And the fairing panels with the paint masks removed:
WP_000130.jpg

I didn't show those yesterday because at the time I took the previous photo, the paint on the aluminum panels was still too soft. The steel panels had about 3 fewer coats of paint on them, so they were dry sooner.

Anyway, I should get a bit more done tonight, I hope...
 
Re: BonniRocket

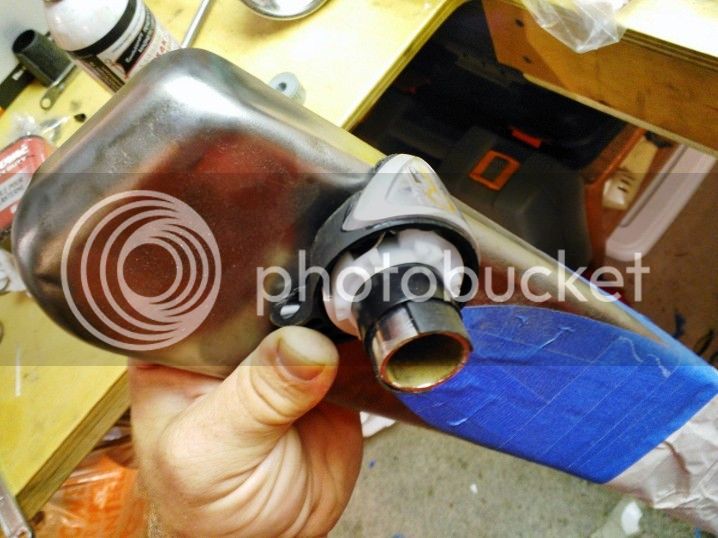
I punched the holes in the tank for mounting the shifter last night. That allowed me to spend a bit more time getting it to fit up closer. The S-A shifter mounted on a chunk of handlebar:
WP_000133.jpg

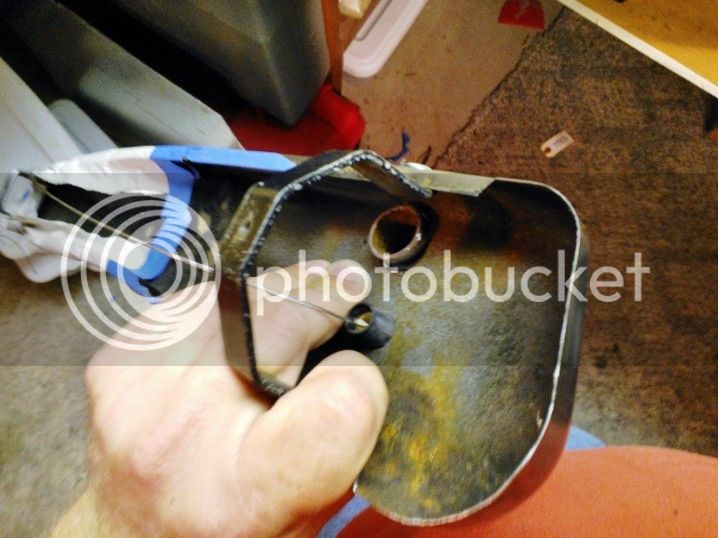
From the backside:
WP_000134.jpg

At this point, I've had to extensively modify the original shifter, mostly filing the plastic base to make it fit flush against the side of the tank. I'll continue to develop the mount for it over the weekend. I painted the tank last night also, but for whatever reason, the paint on one side clouded up. I'll have to see if it'll polish or wetsand out. If not, I'll have to strip & repaint it.

I did the pin striping on the fender, chain guard and fairing panels. Also, the decals that axsepul made up for me showed up yesterday, so I was able to start putting them on.
WP_000136.jpg

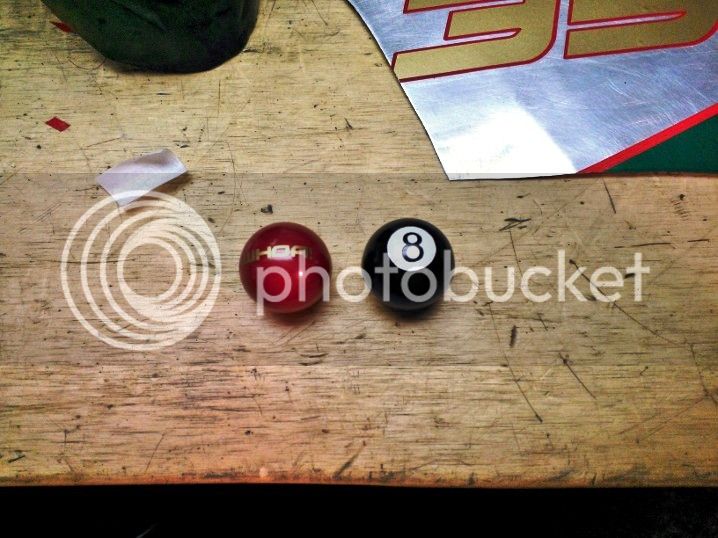
I used 1/8" wide vinyl striping tape (as opposed to hand painting it, since I haven't developed that skill). Getting the tape to bend around tight radii like that smoothly was tough, but I think it came out OK. Also note the decals applied to the knobs for the brake and 8-speed shift levers:
WP_000137.jpg

I think I'll put a coat of urethane on them to seal the decals in. Putting them on spherical surface was tough.

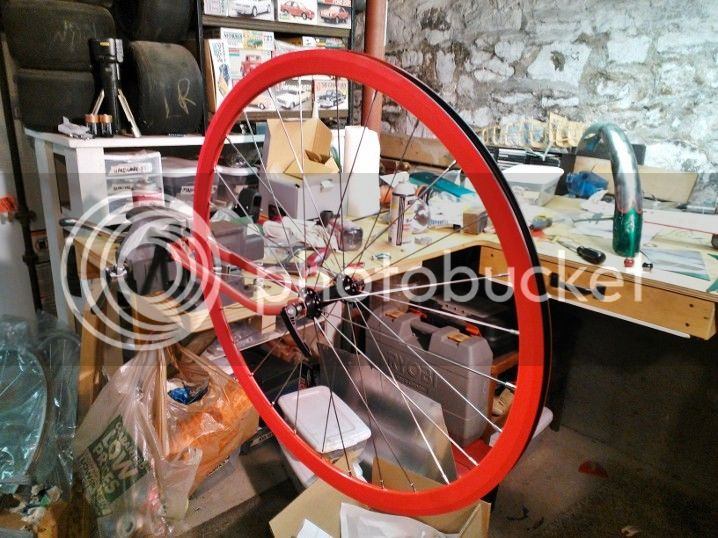
Lastly (for today), I built up the front wheel:
WP_000139.jpg

Deep-V rim, 28 spokes. I'm still working on truing it up and tensioning the spokes. At 9:30 last night, I had just gotten the slop out of them and was exhausted. So, more on that later...
 
Re: BonniRocket

Sweet work!
There is some video or how to somewhere on getting decals/stickers/contact paper onto non flat surfaces. I think the biggest help is using a blow dryer to heat up the sticker to make it more pliable.
Keep it up!!!
 
Re: BonniRocket

Thanks.

I thought that heat would probably help, but I was able to slit and fold the decal some. They're only an inch in diameter, so the small size compounded the issue. I think it's probably fine as it is though. The other reason that I wanted to put urethane on the knobs is that they have a kind of dull finish. I want them to be glossy, like pool balls.

Well, if I can finish out the tank halves tonight, I can fab up the parts for the shifter over the weekend, as well as the windscreen. After that, I think it's all assembly and running cables, etc. Surely but slowly...
 
Re: BonniRocket

Nice work on the stickers. The best way to install on curved areas like that is using your saliva and heat.

1. Apply saliva to the sticky side
2. Apply sticker where desire
3. Use a hair dryer with constant movement (do not leave the hair dryer applying direct constant heat to the vinyl or it will get damage it)
4. At the same time you are applying heat use one of you finger wet with saliva to lightly accommodate the sticker and stretch it to contour to the surface (using a dry finger will also damage the sticker and using water instead of saliva does not work) some people use soapy water but for small stuff like that there is nothing like saliva. There is an internet site that does sell a product that have the consistency as saliva and its also called saliva I think but its to expensive!
 
Re: BonniRocket

axsepul said:
. There is an internet site that does sell a product that have the consistency as saliva and its also called saliva I think but its to expensive!

Wait a minute!!!!
People sell fake saliva????
Why would anyone buy that? Every human on earth has easy access to there own private supply.
I have heard of people swapping spit, but never buying it!! :lol:
 
Re: BonniRocket

They sell it because if you are doing something that is for example 4 feet by 4 feet you won't have enough saliva. In that case I use soapy water!!
 
Re: BonniRocket

axsepul said:
They sell it because if you are doing something that is for example 4 feet by 4 feet you won't have enough saliva. In that case I use soapy water!!

Just get your buddies to come over and spit. :p
 

Latest posts

Back
Top