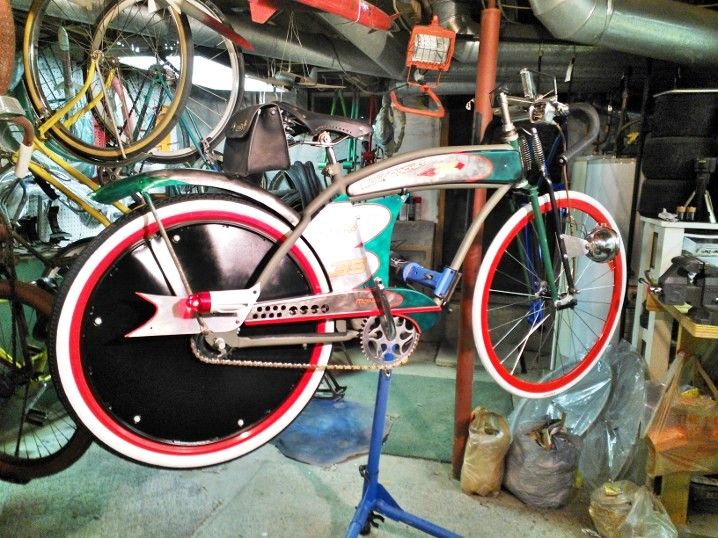
BonniRocket - Pretty much done at this point

Rat Rod Bikes Bicycle Forum

Help Support Rat Rod Bikes Bicycle Forum:

This site may earn a commission from merchant affiliate links, including eBay, Amazon, and others.
Re: BonniRocket

Minor update for now. I'd planned to go on a 28 mile club ride this evening. As the group rolled out of the parking area and onto the road, the rear tire on my road bike blew. With a hole through the carcass of my tire, I told the guys to go on, I was walking back to my truck and going home. So, that left my evening free to work on this bike, although I'll have to put new tires on my Raleigh at some point this weekend.

First things first, as I told Kingfish, I learned that the hazing of the Metalcast paint can be fixed. I first noticed yesterday that a fresh coat might make it translucent again, but couldn't reproduce the effect on demand. But it occurred to me that it might be a surface finish issue, not in the paint layer itself. It's a bit like wet sanding to prep for a clearcoat - the tint coat turns cloudy as a result of the sanding, but the clear coat fills in the surface grooves from the sandpaper and smooths everything out, restoring the depth & color. So, I sanded the paint with 600 grit, then with 1500 grit. Then I polished it out with compound, and viola, the transparent finish came back. Much of that was moot after the 600 grit, since I'll resand it with that eventually to actually apply a clear coat. But anyway, before that happens, I needed to apply the tank decals and pinstriping. After mucking about with a few configurations, I settled on this:
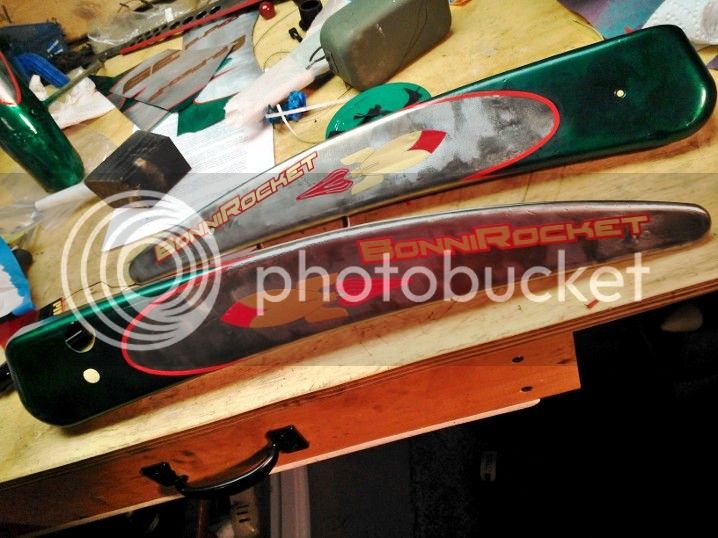
WP_000145.jpg


I was then inspired to attempt the same "save" on my wheel covers, which were painted with the Metalcast Groundcoat, and also came out poorly. It did bring back enough of the finish that I elected to try spraying with the Metalcast Smoke color, but it came out a dull dark gray. I'll look it over in the morning and may just elect to go a satin black route here.

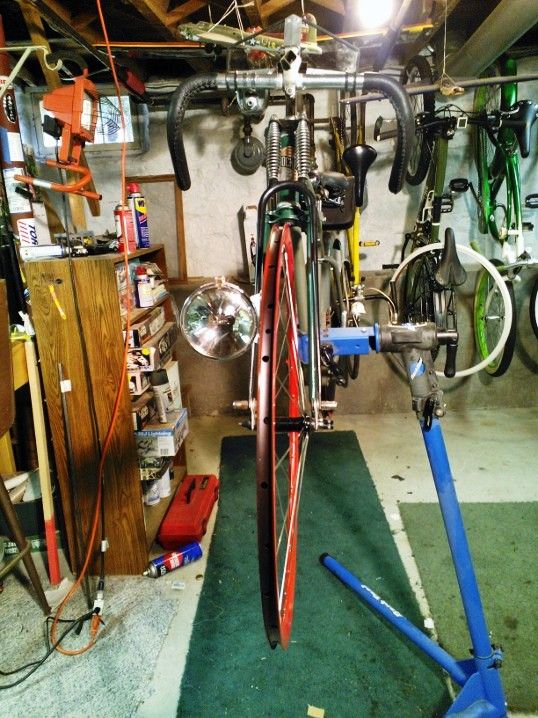
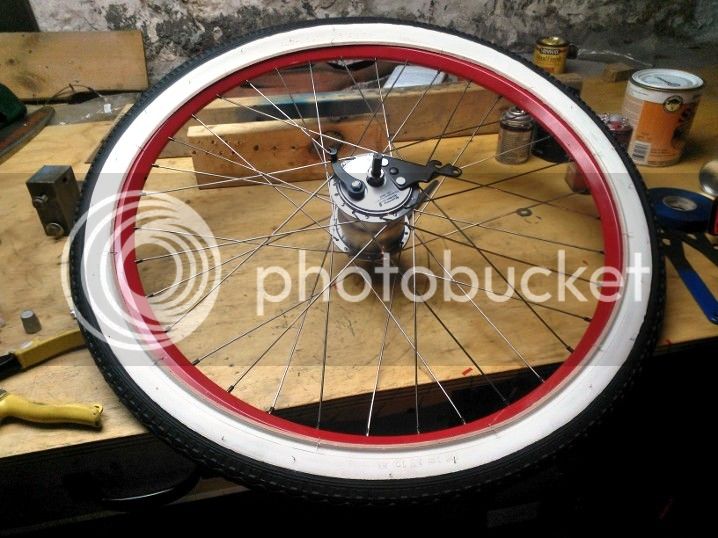
While I was in between paint coats, I finished truing up my front wheel. I've got pretty good side to side, but there's still a little bobble up and down. I'm not entirely sure how to get rid of it correctly, but it's minor enough that I'm going to leave it for now. Since my tires came yesterday, I can mount them up just as soon as I swing by the bike shop and pick up some tubes with Presta valves.

Speaking of parts coming in, my saddle also showed up. I bought a Gyes leather saddle.
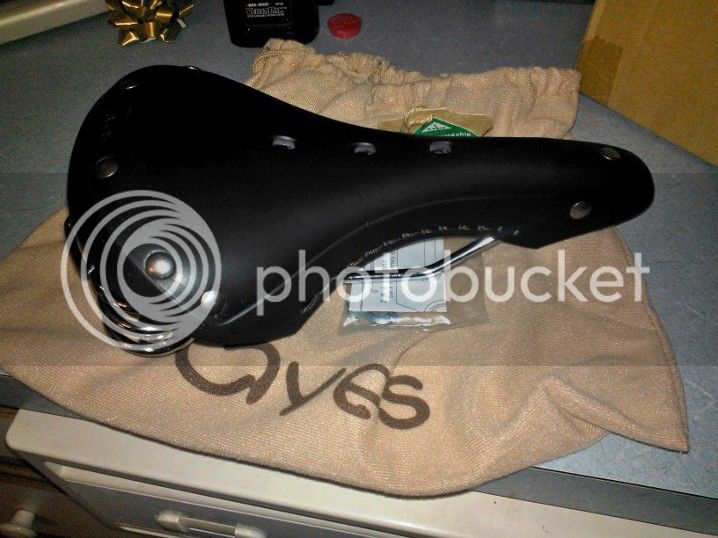
WP_000140.jpg

I wanted a saddle that was cut like a racing saddle, but I also wanted it be sprung to compliment the vintage aesthetic I'm going for here. And I wanted it to be black to match the elk hide grips. The leather Gyes was the only one I found anywhere that met those criteria.

Anyway, more to come tomorrow...
 
Re: BonniRocket

That really came out well!!!! Thanks for the tip, I will be trying it tomorrow on my pointy doodads.

That seat looks sweet too!!!!
 
Re: BonniRocket

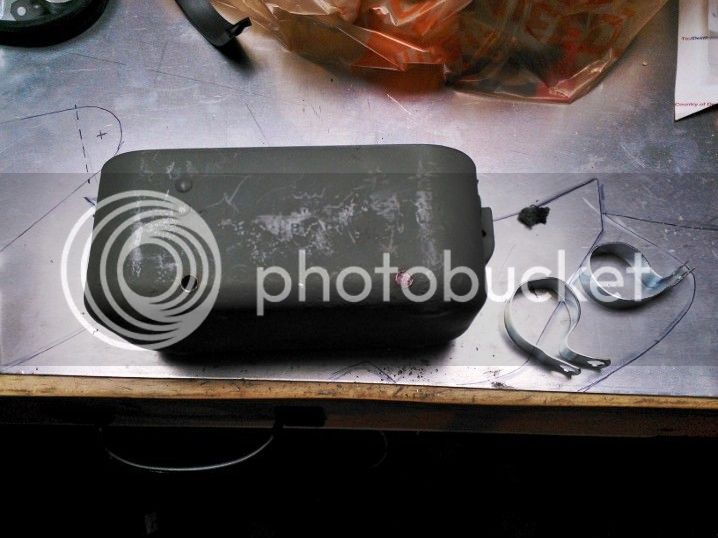
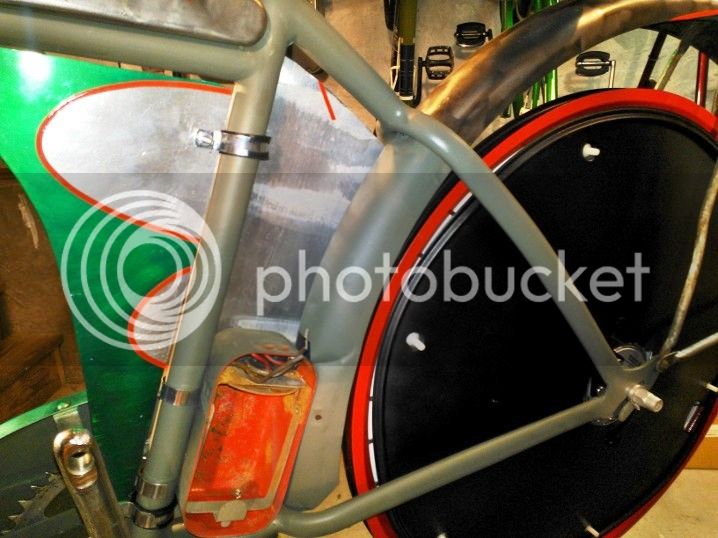
I spent most of today mucking about test fitting parts together. I finally installed the battery box using P-clamps. This was actually kinda tricky because there isn't much room around the battery for a nut or the head of a bolt to fit inside the box. Also, I had to keep clear of the battery retainer strap, which pivots up to allow the battery to be installed. So I wound up putting button-head screws through the bottom edge of the box, where there's just enough room for the heads.
WP_000147.jpg

The box on the frame:
WP_000155.jpg

While bending and adjusting the parts to fit together, I pushed too hard on the fender lip, and it buckled through where I'd cut the clearance hole (near the top corner of the box). Fortunately, it'll be hidden by the fairing panel.

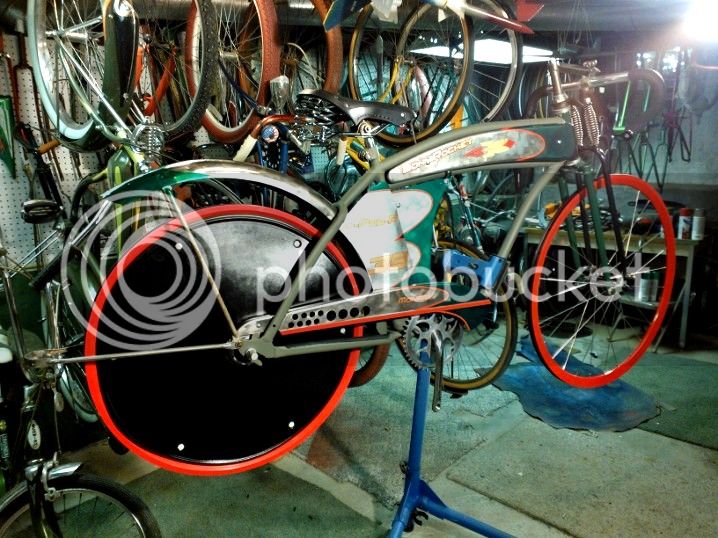
I then test fitted up the remaining bodywork to see how it will come together:
WP_000151.jpg

WP_000152.jpg

Not bad, considering that I aligned the scallops from panel to panel by eye and by guessing when I masked and painted the parts.

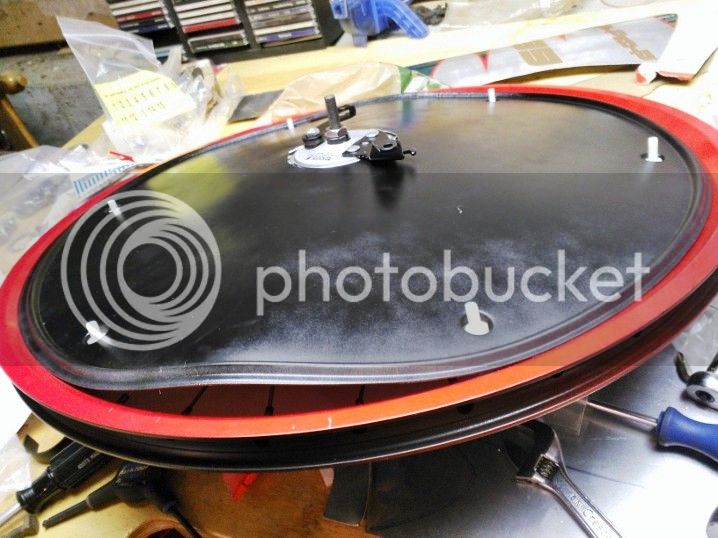
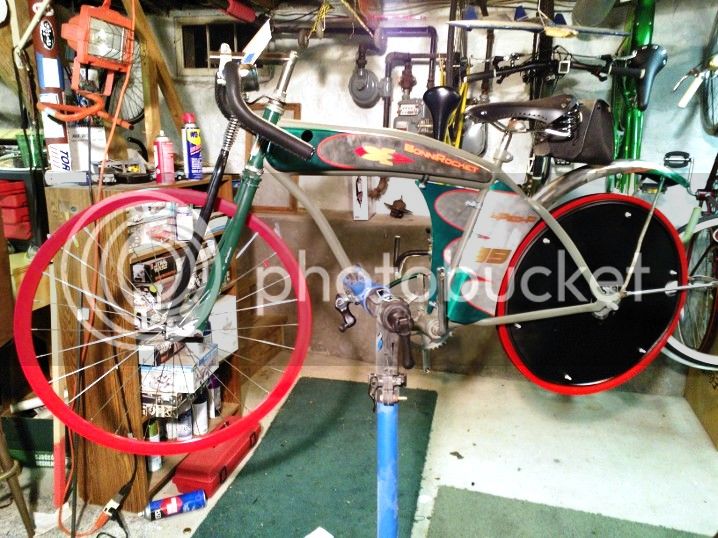
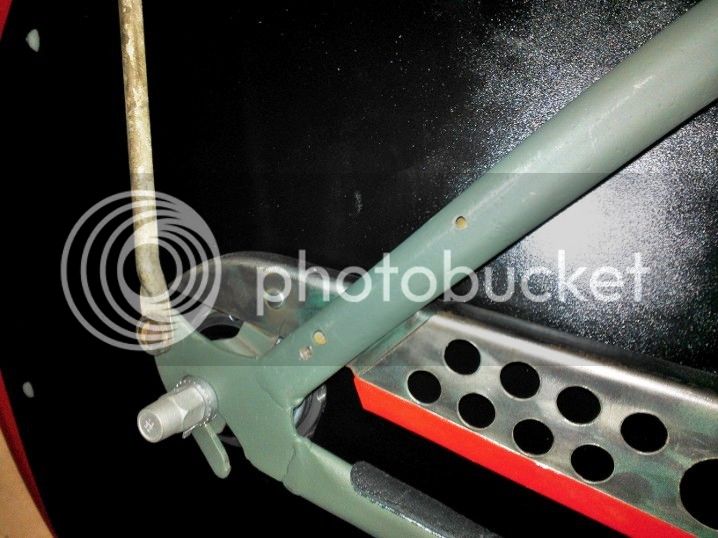
As you can see, I painted the wheel covers black afterall. The trouble I'm having with them now is that they don't fit flush against the rim or the spokes. Actually, they contact the inner lip of the rim all the way around. I don't know if they're designed for typical steel rims or what, but they buckle up between the bolts when I fasten them down. The buckling is pretty significant:
WP_000148.jpg

I'm not sure what to do about it at the moment. I'd prefer not to delete them from the build. I think that if I draw together the buckled up areas with another set of bolts spaced in between the existing ones, it might pull it together. Or, I could poke through with small holes and use small black zip ties as required to pull it together. I'm not sure if that'd be less obvious or not.

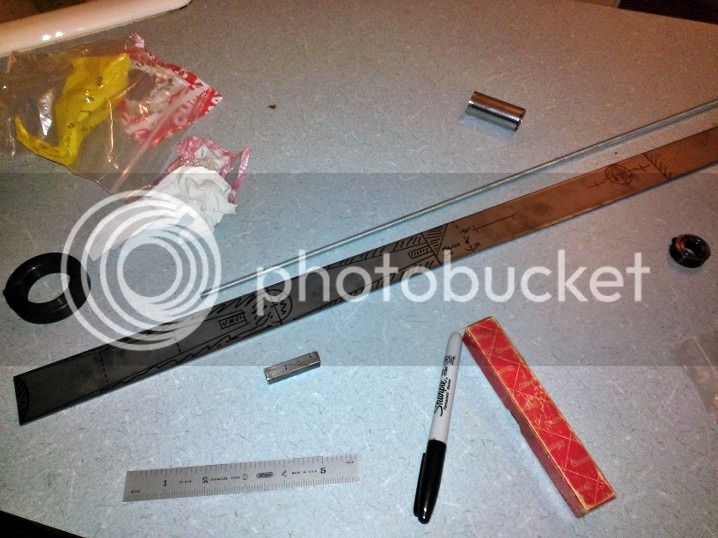
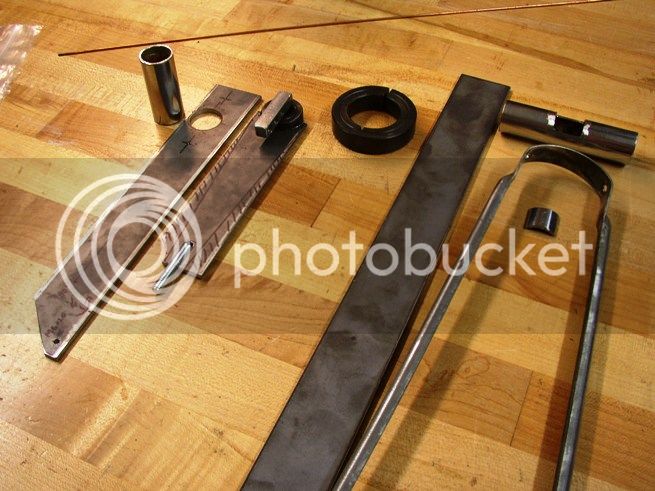
Lastly, I trip to the orange box yielded the rest of the material and hardware necessary to build up my lever quadrant. I've laid out the pieces I need to make:
WP_000153.jpg

Tomorrow, I'll cut them out on my dad's band saw and them bring everything over to my buddy Jason to be welded up. He told me he was looking for some sort of project, so I'm happy to oblige!

Anyway, back to it...
 
Re: BonniRocket

axsepul said:
Looking sweet. Try some heat with a hair dryer to fix that.

Thanks. I may try that, but I'll still have to draw it together somehow. Oh well, a problem for another day.

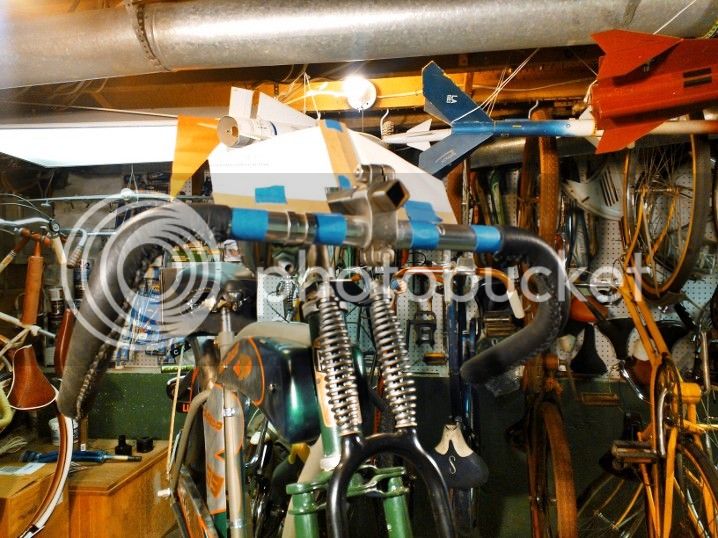
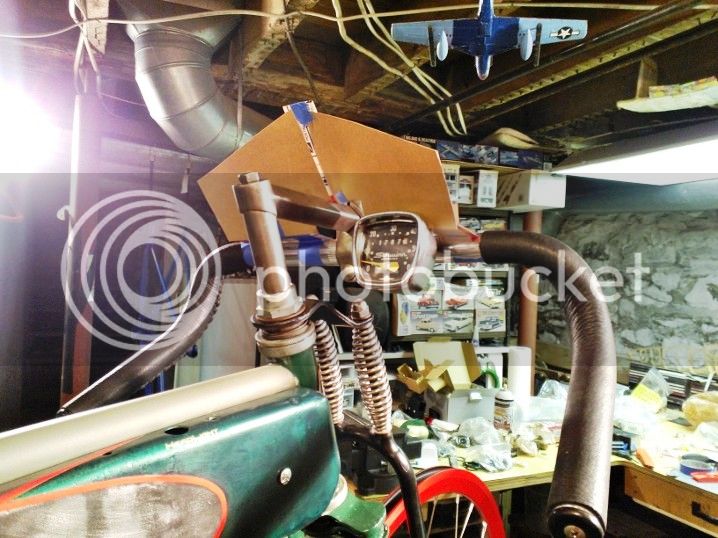
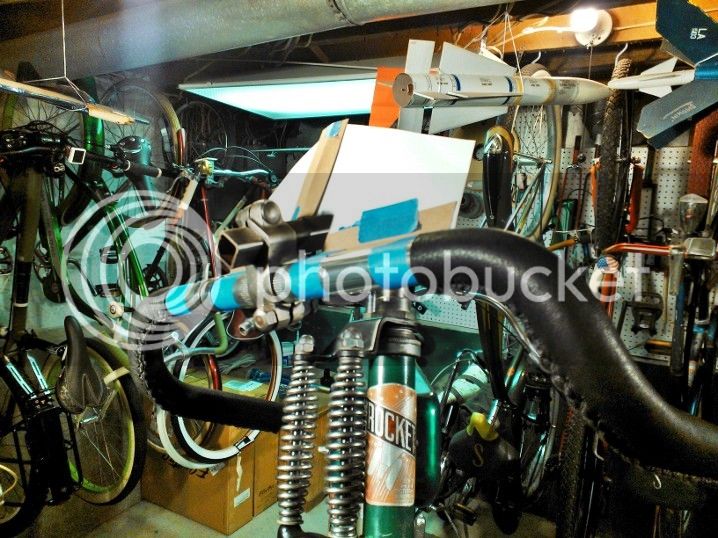
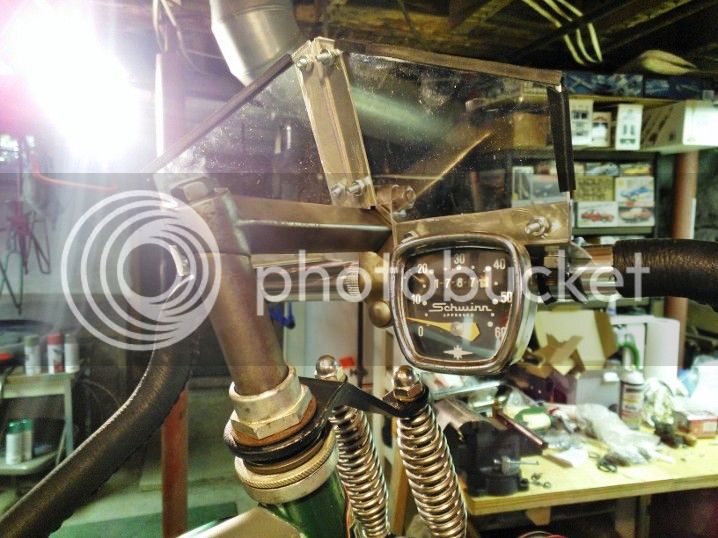
Anyway, in the past couple of hours, I mocked up the windscreen using the templates I made for it's aluminum mount. That let me make templates for the screen itself.
WP_000158.jpg

WP_000157.jpg

WP_000160.jpg

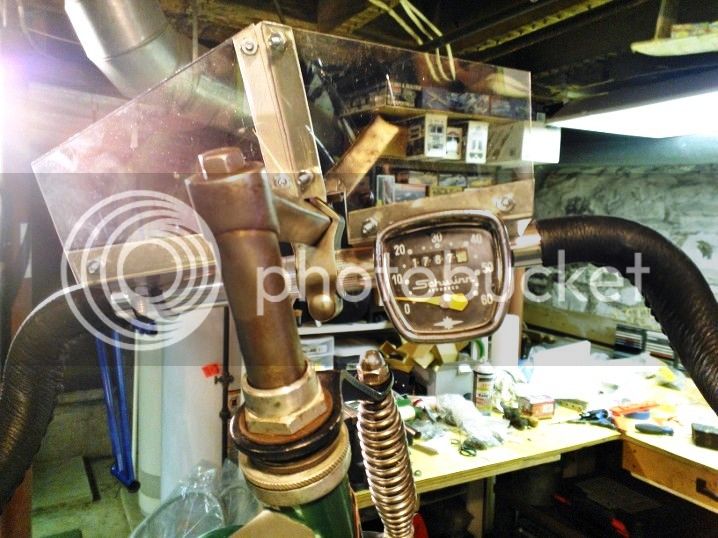
Note that I've now added the Schwinn/Huret speedometer that I found earlier, although the drive and cable install will come later.

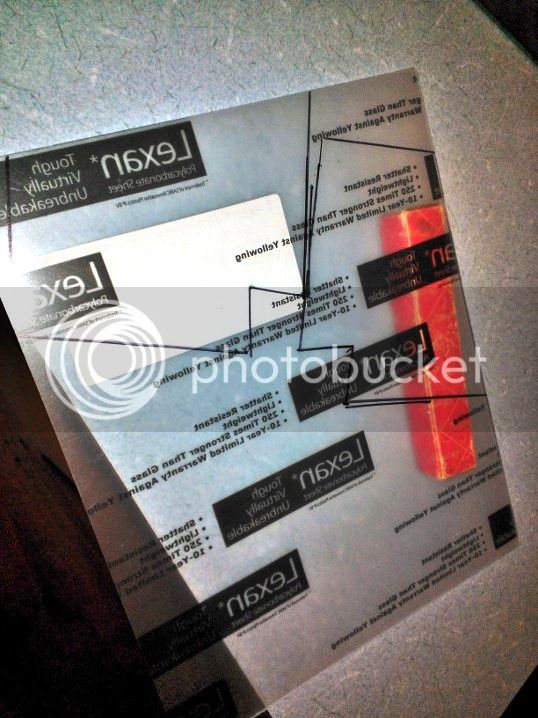
Bit of Lexan marked for cutting out:
WP_000162.jpg


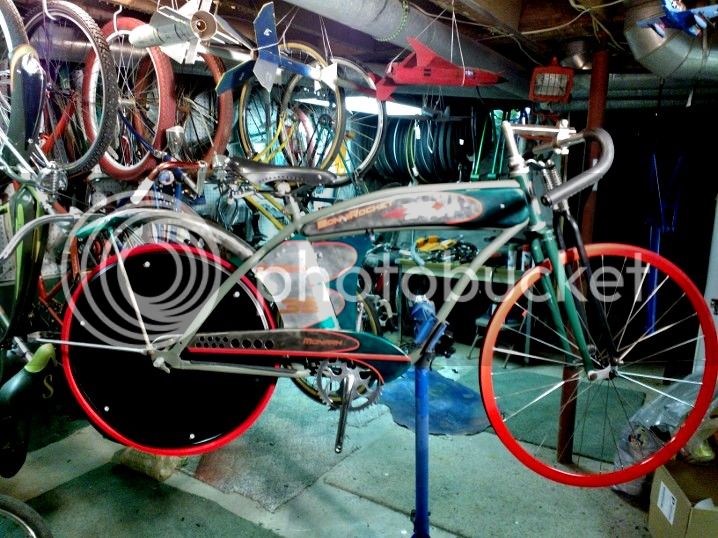
Last bit for tonight - a shot of the non-drive side of the bike, with the fairings in place since i didn't have one earlier.
WP_000161.jpg

I also dug out a Schwinn accessory saddle/tool bag that I stuck on it. It beats buying the barrel bag that I originally planned, or pirating the one from my road bike. So, even though the bike is a Monark, it'll still wind up with enough Schwinn logos to confuse people...
 
Re: BonniRocket

So cool to see the big picture again!!!!
Great bike!
I guess you might have to use some washers and threaded rod to get those covers to work. That kinda sux. Are those the USCycle one? I have a set that I bought but haven't used.
I got my eye on this one.
Good luck!!!
 
Re: BonniRocket

Thanks. Yes, these are the plastic covers from US Choppers. I'll figure something out - I have two more pairs of them for another bike yet. I think the issue is that I'm forcing them over a wheel with a 135mm OLD hub. I'd be willing to bet that they were molded for something more traditional, like 120 or maybe 125mm. As a result, I'm trying to pull them over a greater taper shape then they're shaped for. They did seem to fit the old Monark wheels fine, although I never bolted them down on those.
 
Re: BonniRocket

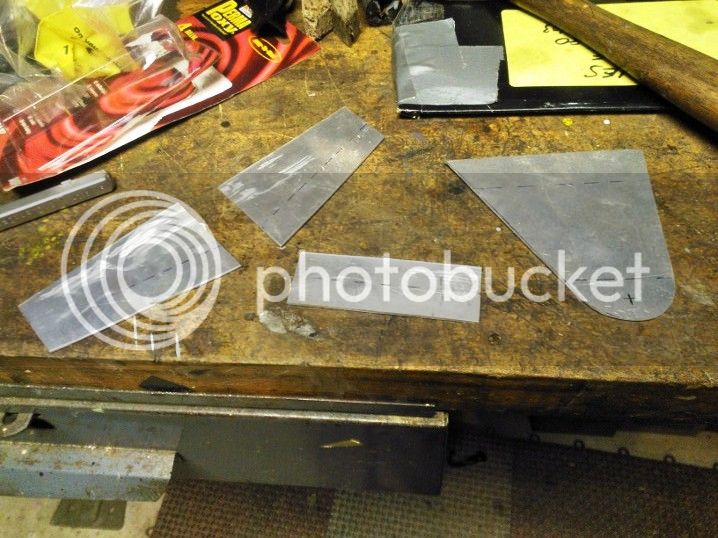
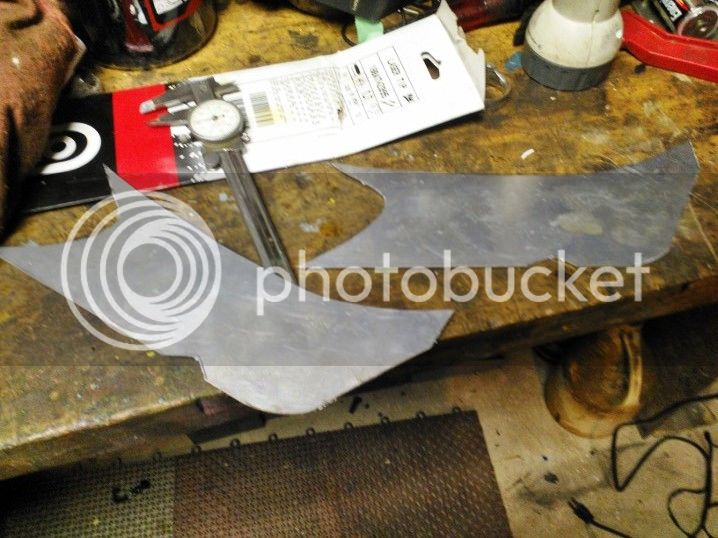
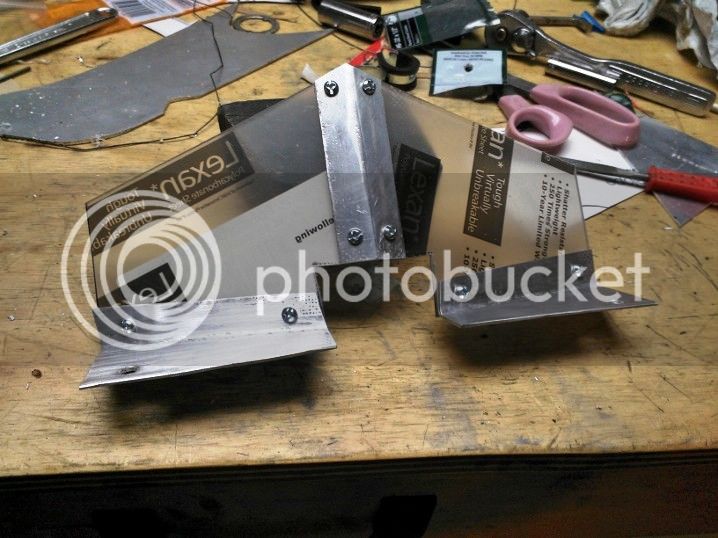
OK, progress, but not as much as hoped. On Sunday, I cut out all of the aluminum bits and the Lexan that I'd previously marked out. The large tab is to be the headlight mount, the other 3 pieces are for the windscreen.
WP_000169.jpg

Also, I'd been thinking that I would need a support or gusset for the push bumper, as mounting it on the end holes alone is likely to let it droop over bumps. That would likely be compounded if there are two lights with a D-cell battery in them mounted to it. So, I laid out a pair of gussets that attach to the bottom of the seat stays and will brace the bumper. Partly based on an idea I already had and partly inspired by Kingfish's doodads, I made these:
WP_000170.jpg

They look funny now, but in context, I think they'll make more sense. But, to be brief, I was trying incorporate the scallop shape from the paintwork into their form. And I cut out the lexan panels for the windscreen:
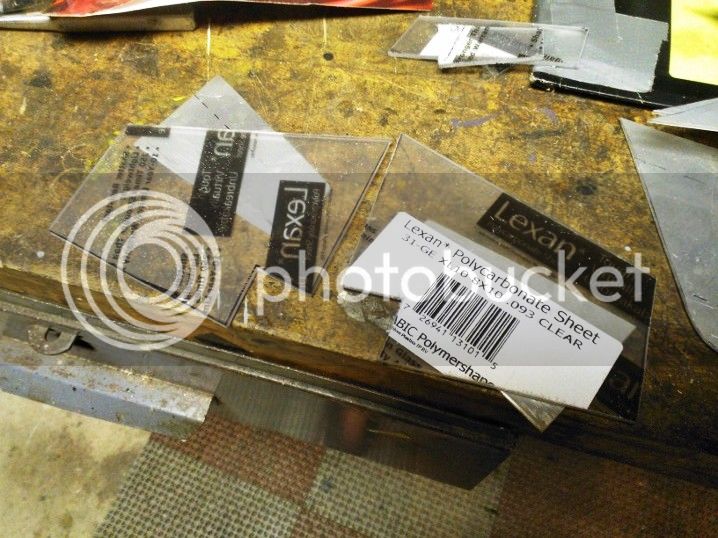
WP_000171.jpg


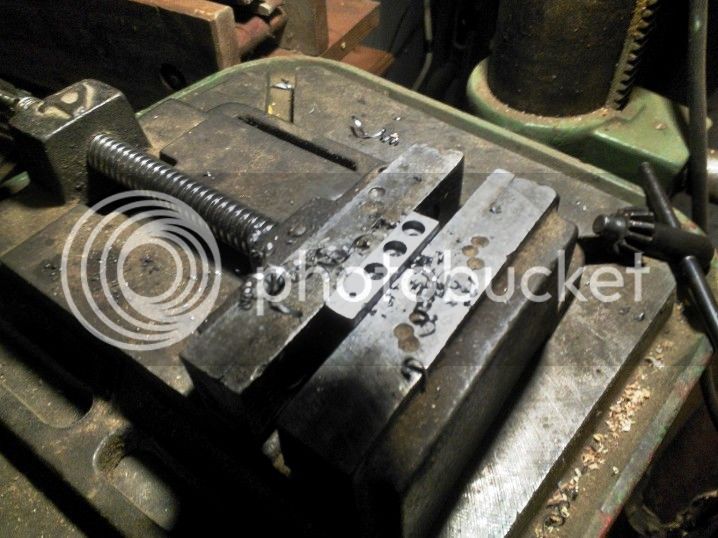
One thing I was not able to cut out was the 1/8" steel bar that I'd marked out my shift levers on. My father doesn't have a fine tooth blade for his band saw to allow the cutting of the steel. So, I'll have to see Jason can mill the parts out as well as weld them up. I'm going to go see him today, as he was out of town yesterday. I was, however, able to machine the clevis end (for lack of better term) for the brake cable. This is to be welded to the pivot shaft of the brake lever, which the brake cable will actually be threaded through. On the drill press:
WP_000164.jpg

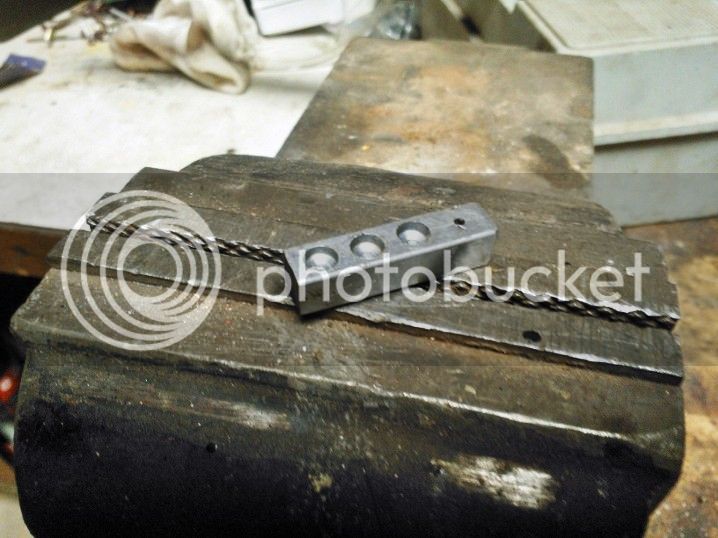
And the finished part:
WP_000167.jpg

I used three cable holes to give some adjustment to the brake response. I tried to logic through the needed pull radius based on scaling the lever arm and motion ratios compared to a hand brake lever, only to decide that there were several different ways that I could argue it, and all made some sense. Ultimately, I decided it didn't really matter, since I wasn't going to be limited to the same lever travel range as the normal brake lever is, and I could make it however I wanted. But I gave myself a way to adjust it to make sure I liked the result.

OK, so back over to my shop, I formed the aluminum bits for the screen and assembled it up:
WP_000172.jpg

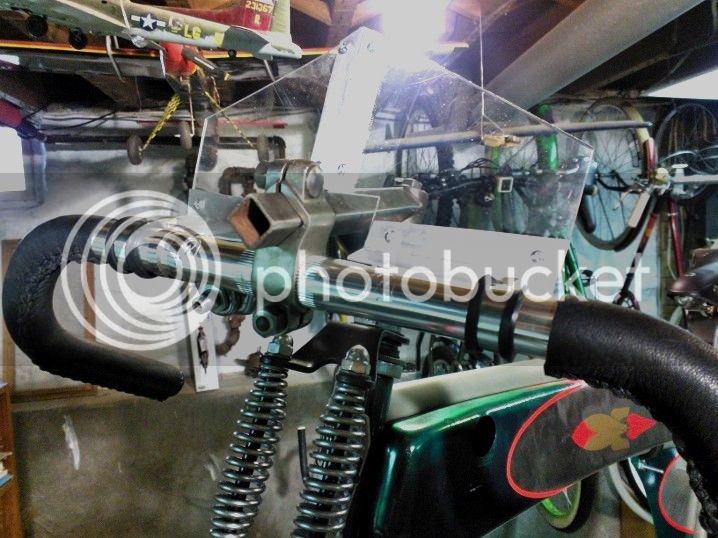
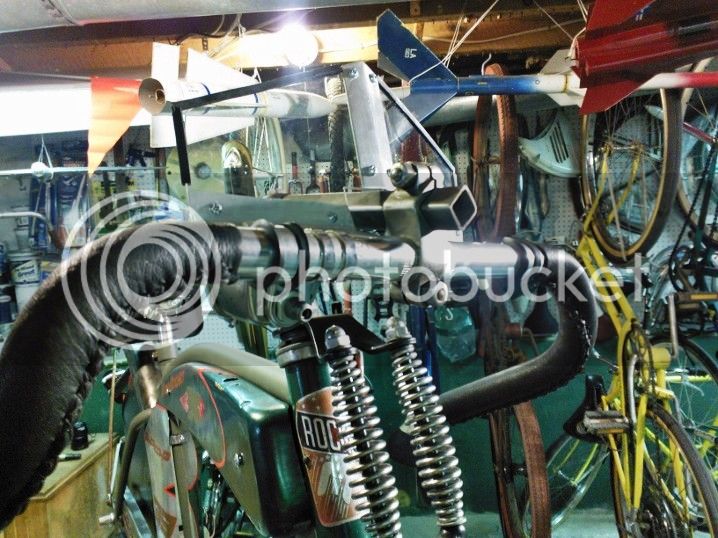
Then, taking it apart and sanding out the tool marks on the aluminum, and giving it a brushed grain (and peeling off the plastic protector flim), I reassembled and installed it:
WP_000173.jpg

WP_000174.jpg

Then I added some edging, made from slicing up the rubber liner on a P-clamp:
WP_000177.jpg

WP_000178.jpg

Not sure if I'll keep that on though.

Anyway, I have to get to a meeting, so I'll post the rest of this later.
 
Re: BonniRocket

Very cool!
That stem looks like a funky gun barrel through the windscreen.
 
Re: BonniRocket

kingfish254 said:
Very cool!
That stem looks like a funky gun barrel through the windscreen.
Yeah, that occurred to me. Or, if not that, a gunsight like might've been seen on a '30s era fighter plane. Anyway, here's the rest.

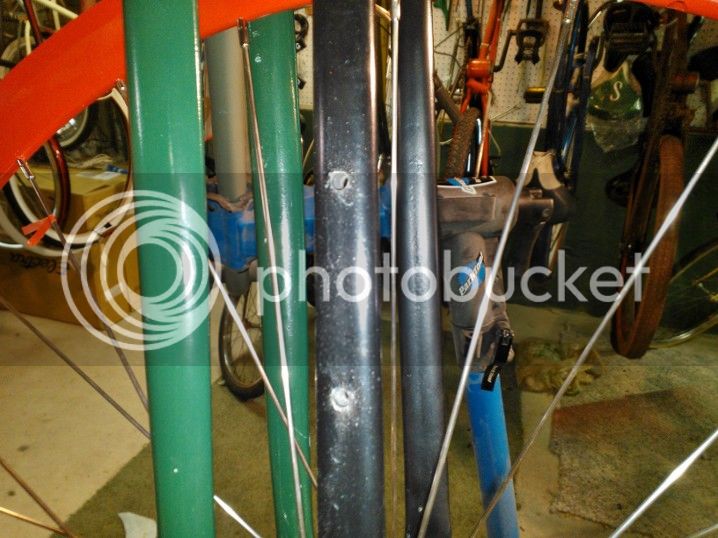
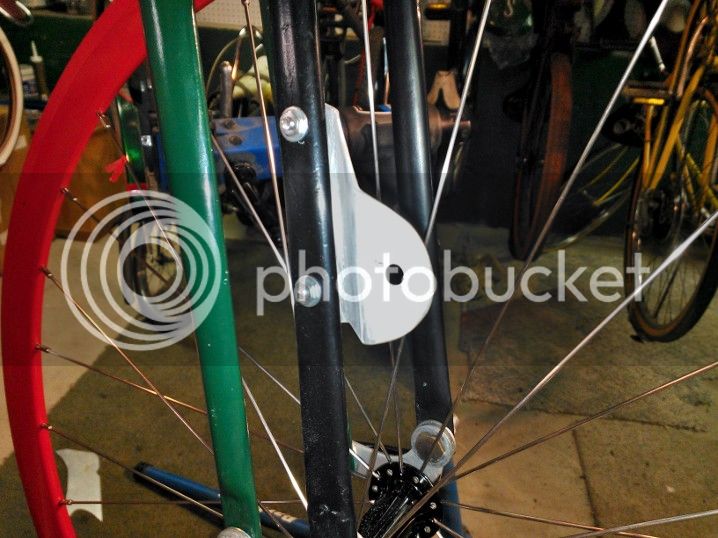
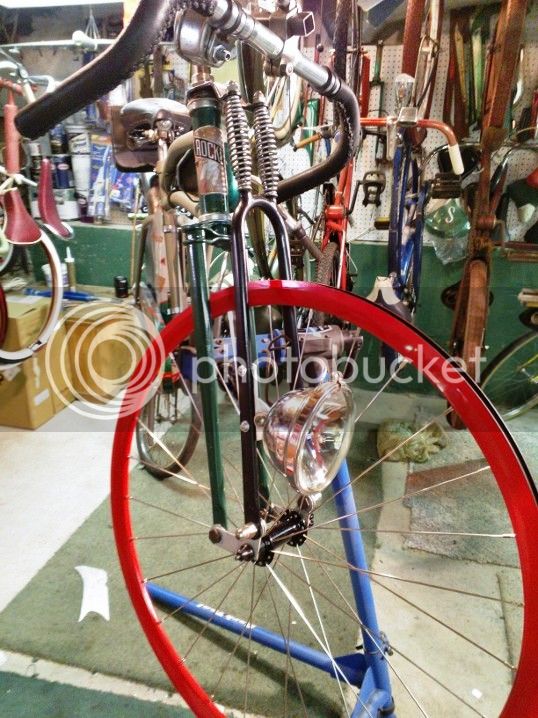
I'm attaching the headlight mount to the fork. I thought about using P-clamps for that too, but the lamp is fairly heavy, and while p-clamps can be used for a lot of things, they don't always clamp up well enough IMHO, especially around odd shapes. The cross section of the lower fork ends flattens out a bit, its only round at the top. So, I decided that the best solution was to drill through and bolt it on. Purists might balk at drilling holes in an original Monark springer. I'm not one of them, obviously. And they could filled in with weld later.
WP_000179.jpg

The placement of the holes shouldn't impact the structure of the fork, given the way it's loaded. But I kept the holes small anyway, just big enough to clear 8-32 screws. I used low-head ones that pass from the inside to the outside to minimize any clearance issues.
WP_000181.jpg

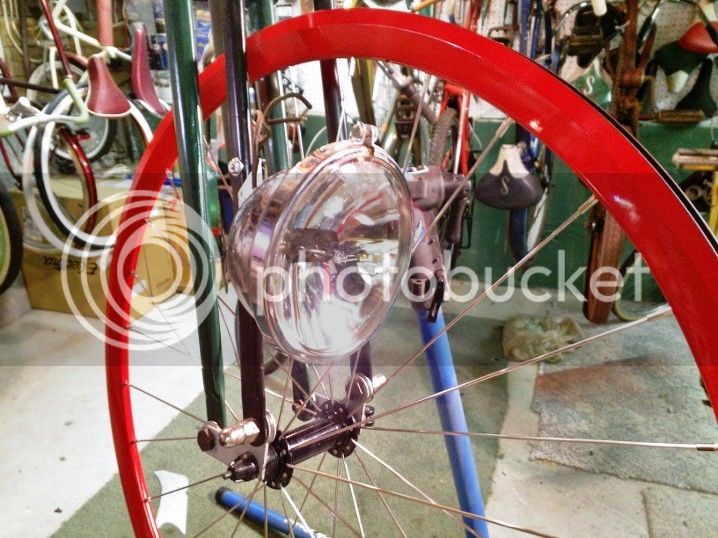
That provides a sturdy enough mount. And with the light attached:
WP_000182.jpg

WP_000183.jpg

It does flex a little more than I'd like from side to side, but I don't really see it being a problem. If it flexes too much, it could hit the spokes, but at least the wheel will be rolling in the direction to push the light out again... If it is a problem, I'll add a stiffener gusset or strap to it.

Speaking of gussets, I'll get back to my - to borrow Kingfish's term - doodads for bracing the bumper. Well, I was faced with the same situation regarding attaching them to the rear frame as with the headlight bracket. So, the same solution applied. This time, I didn't drill all the way through the tube, just into the outer wall.
WP_000185.jpg

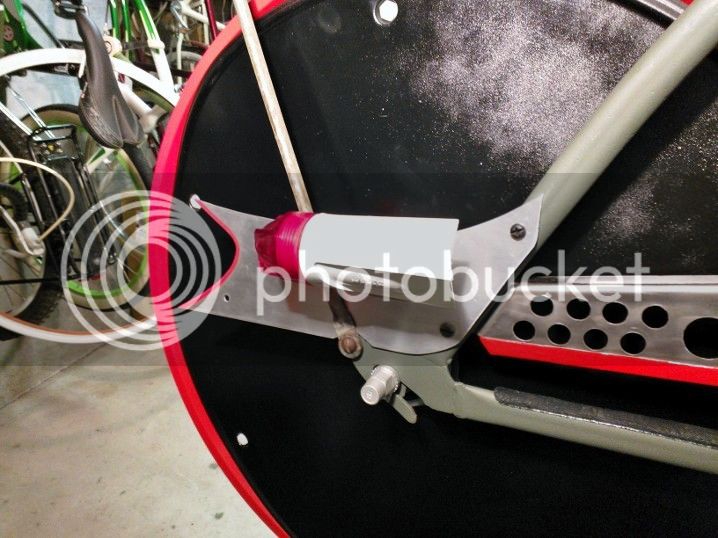
The braces are attached with self-tapping screws. They should work OK if I don't take them out and back in a bunch of times. I also decided that it would look better (and be easier to mount) if I attach the tail lights to the braces rather than to the bumper itself. So here they are installed:
WP_000186.jpg

Obviously, the bumper itself isn't attached here. That's out for welding. I added some red striping tape along the edge to visually tie it back to the paint work. I thought about painting the scallops on these (and the headlight bracket), but just don't have the time at this point. The other side:
WP_000188.jpg


At this point, all that's left is to clearcoat the raw bits and to assemble the shifter/brake unit. Well, that and run the cabling, etc. Hopefully that'll all come together this week so that I can use the weekend to take photos. That's all for now...
 
Re: BonniRocket

Thanks. I'm holding my breath over whether or not all of the cool bits gel into something continuous. I just handed over the shifter parts to my friend for welding. I told him my timetable, hopefully he can work to that. He's closing on a new house at the end of the week, so he's got a lot going too...
 
Re: BonniRocket

expjawa said:
kingfish254 said:
Very cool!
That stem looks like a funky gun barrel through the windscreen.
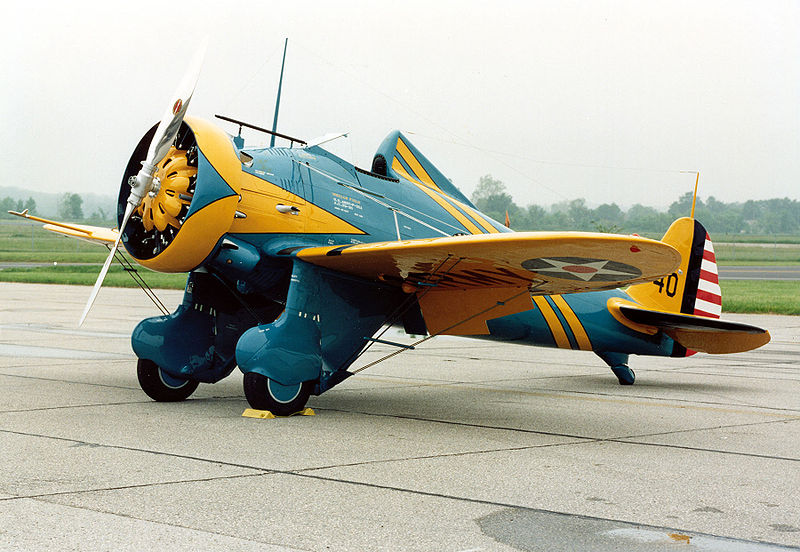
Yeah, that occurred to me. Or, if not that, a gunsight like might've been seen on a '30s era fighter plane.

This is specifically what I was thinking about:
800px-Boeing_P-26A_USAF.jpg
 
Re: BonniRocket

Monday evening progress:
OK, well the first thing that had be done was to step back and do some significant cleaning in the shop and on the work bench. There just isn't enough space to handle clutter and mess well. None of that is photo-grade, but that's where I started. Also, an apology is probably in order regarding the photos in general. I know that the stuff in the background makes it hard to decipher what's what. I'll try to minimize that, but unfortunately, that will continue until I get this thing outside.

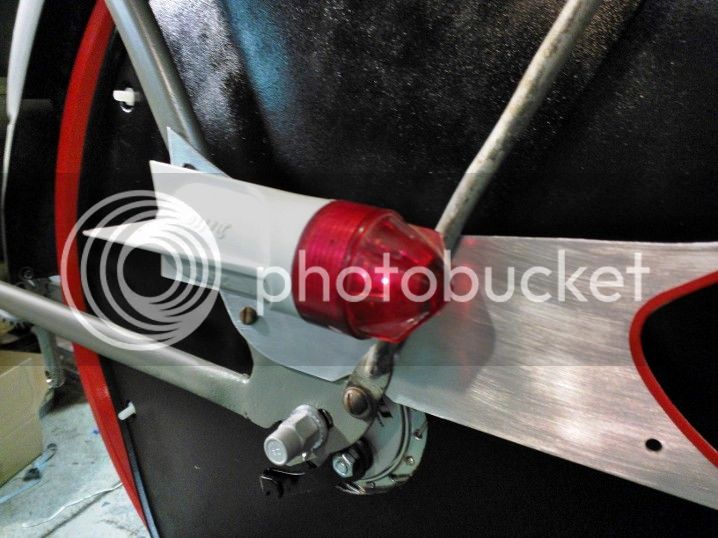
I decided that the Delta rocket tail lights are neat, but too dim to be practical.
WP_000190.jpg

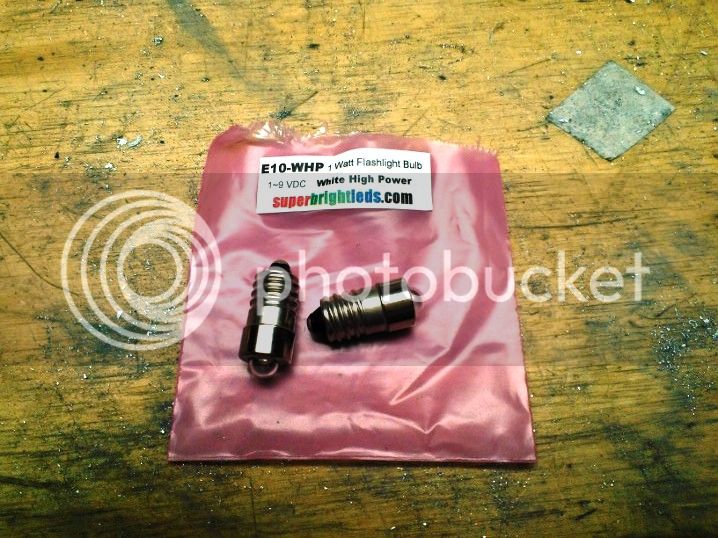
Does that mean I'm doing away with the rockets? Not a chance, the BonniRocket needs rocket-shaped tail lights. I purchased some 1-watt LED bulbs with the 10mm Edison screw base.
WP_000193.jpg

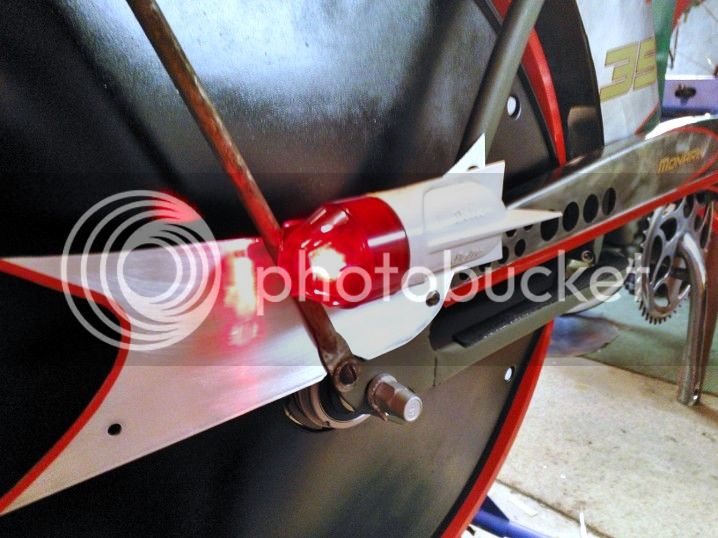
These LEDs can be used in a range from 1 to 9V, so they can be used in a variety of applications. That includes these lamps that use a single D-cell, but also for head lamps that run off of 6V generator. Anyway, they make a big difference:
WP_000192.jpg

From the rear:
WP_000195.jpg

Lights out:
WP_000206.jpg


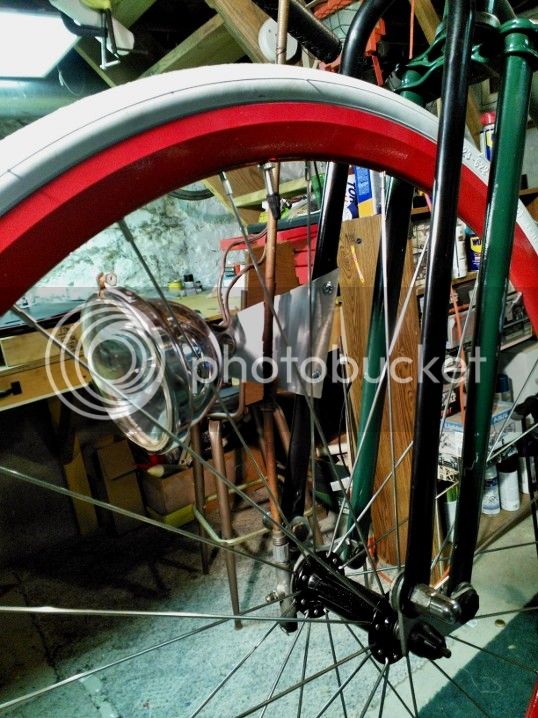
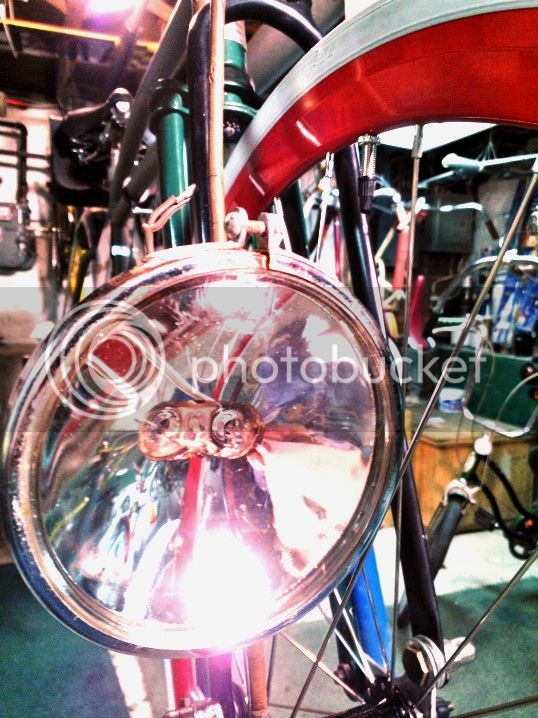
I realized that I didn't post a photo of the headlight end-on from the front:
WP_000196.jpg


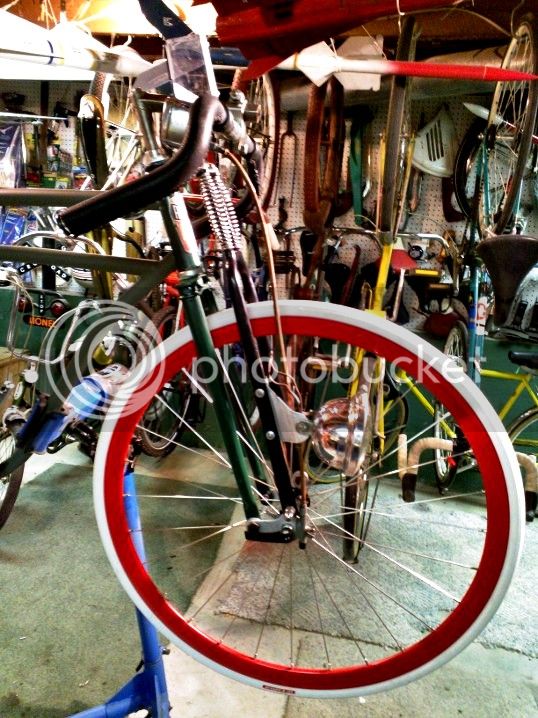
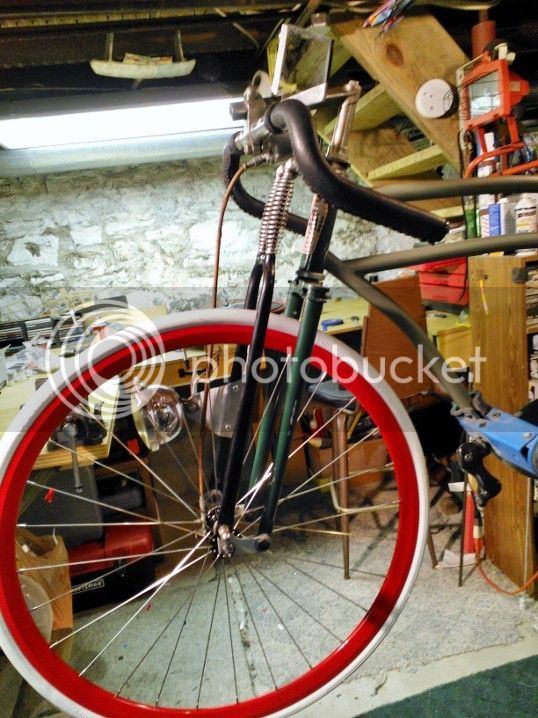
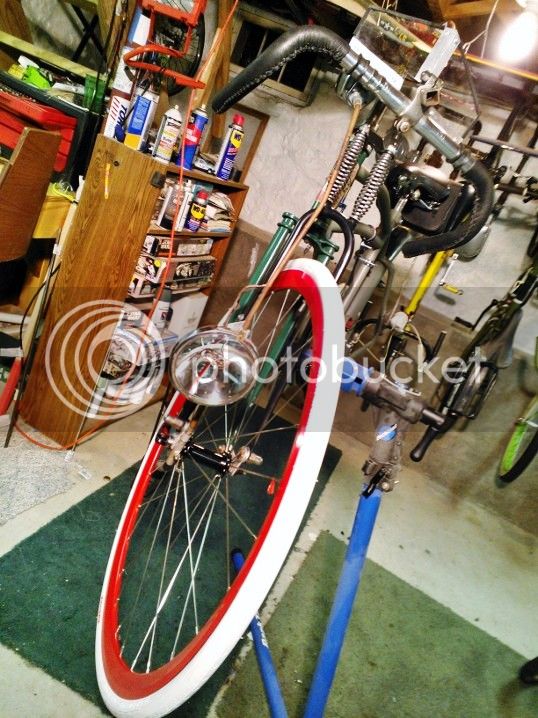
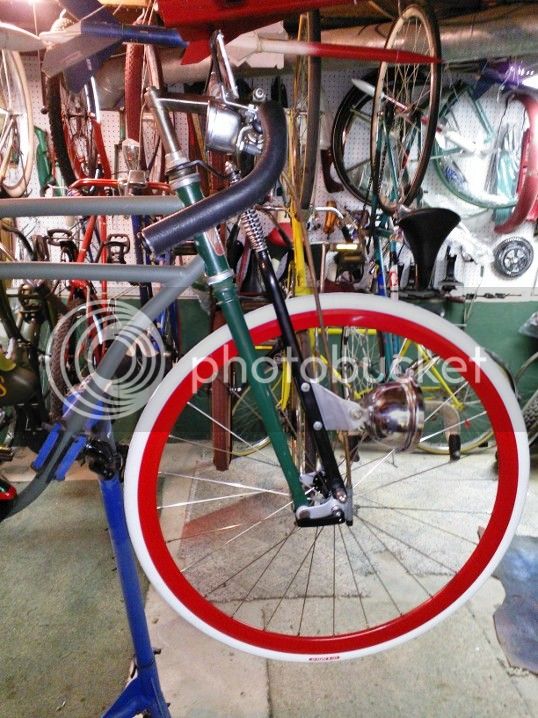
Then I mounted up the front tire and installed the speedo drive and cable.
WP_000198.jpg

It took a little mucking about to get the Huret drive to work with a quick-release front axle. There wasn't a lot of axle lenth to play with. Ultimately, I had to remove the washers between the lock nuts (not really needed anyway) and offset the axle to one side slightly. That gave just enough room install the drive gear and still seat the axle in the fork drop outs. More photos:
WP_000200.jpg

WP_000201.jpg

WP_000202.jpg

WP_000203.jpg

WP_000199.jpg

WP_000204.jpg


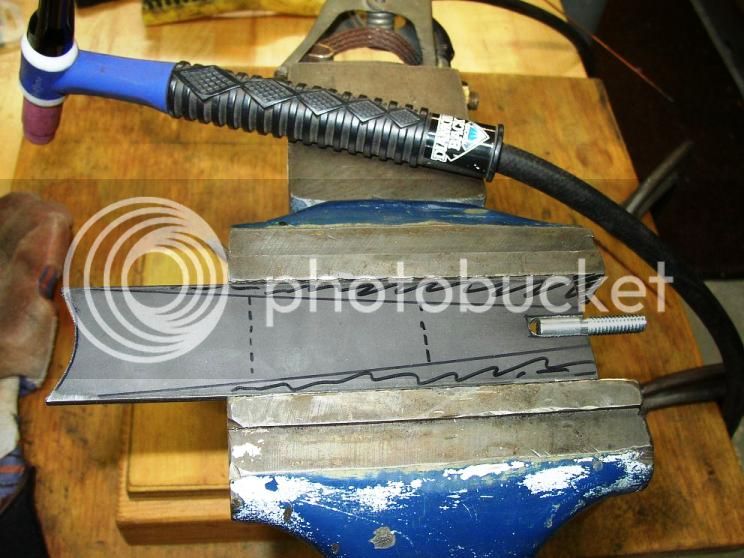
And on another front, the machining and welding of the shifter quadrant components and rear bumper is under way.
Picture1.jpg

Welding the knob studs onto the levers:
Picture2.jpg

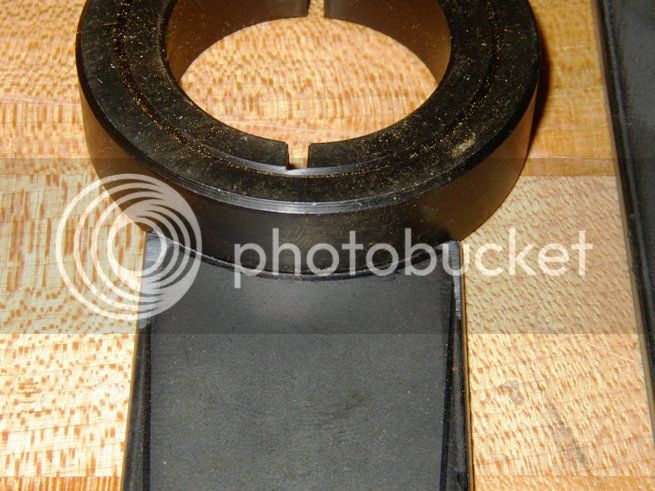
Test fitting the shift lever to the collar clamp:
Picture3.jpg
 
Re: BonniRocket

Man, you are getting a lot pulled together on this one.
Can't wait to see it finished!!!
 
Re: BonniRocket

kingfish254 said:
Man, you are getting a lot pulled together on this one.
Well, I guess you know all about that! It would've been better if I'd not short changed myself 6 weeks at the beginning, but I would've likely waited till the last minute anyway. The aspects that I'm not adding to it are features that either turned out to be nonfeasible or something I decided that I didn't really care for afterall. So, it's otherwise still coming together without the original vision being shortchanged or corner cut. Frankly, I'm still surprised at myself that any of it is getting done at all... :mrgreen:

kingfish254 said:
Can't wait to see it finished!!!
Me too! Just a couple more days, one way or another...
 
Re: BonniRocket

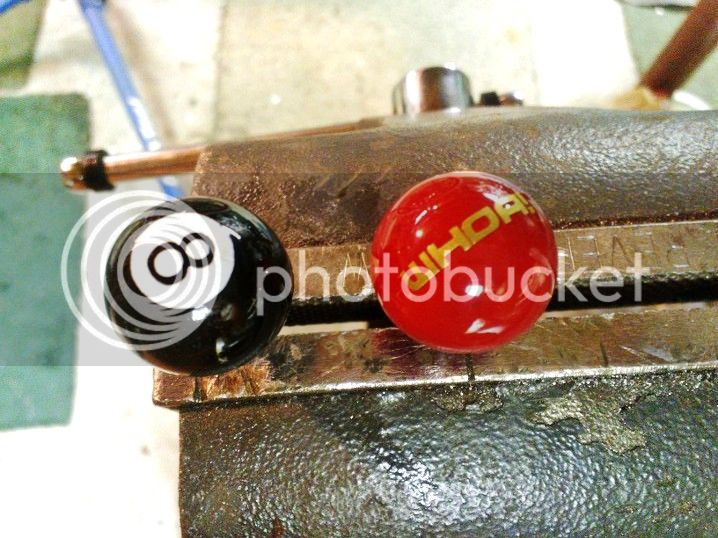
I put a coat of clear lacquer on the shift and brake knobs to give them a glossier finish. It'll also seal the decals in, keep them from getting rubbed off with use.
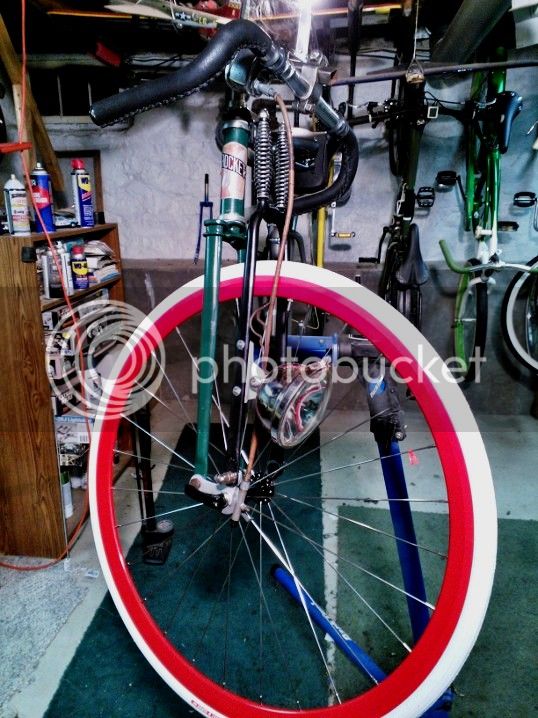
WP_000209.jpg


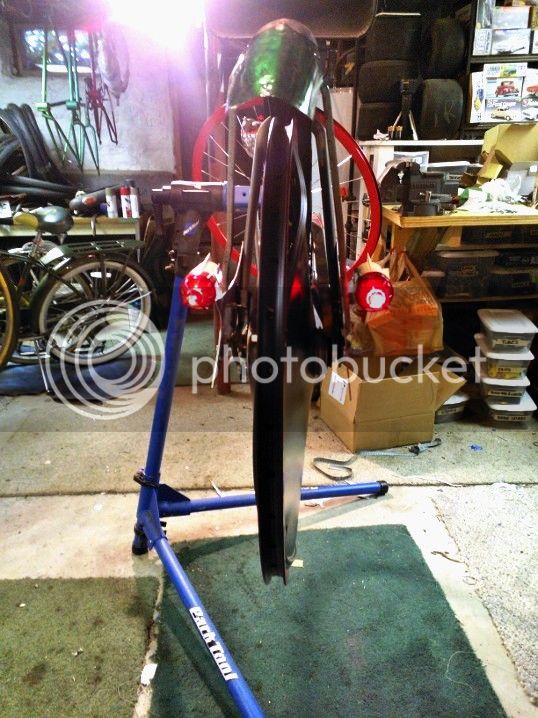
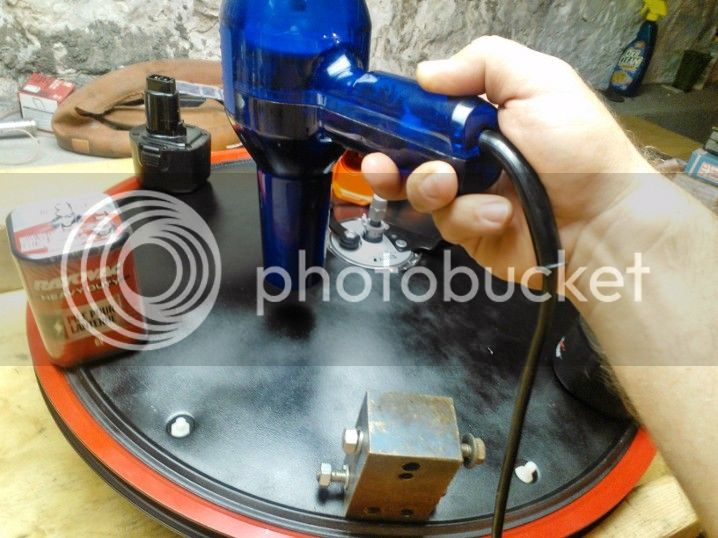
I went to set up the rear hub (tonight was the first time I actually read the installation instructions for the 8-speed). I realized that as large as the 25T rear sprocket is, I'll have to put the wheel covers on first. So, I had to solve the warpage issue. I spent a bit of time mucking about trying to heat them up to reshape them, as axsepul had suggested.
WP_000207.jpg

The result was minimal, but maybe I just don't have anything that gets hot enough (short of the oven). Still, it was enough that the allow rim was hot to the touch at times, so I would think that the plastic would start to deform plasticly, but it wasn't really the case. So, that was an hour or so lost in the attempt. I then mounted up the tire (because I needed to put the covers aside for the moment), and then came back to it later.
WP_000213.jpg

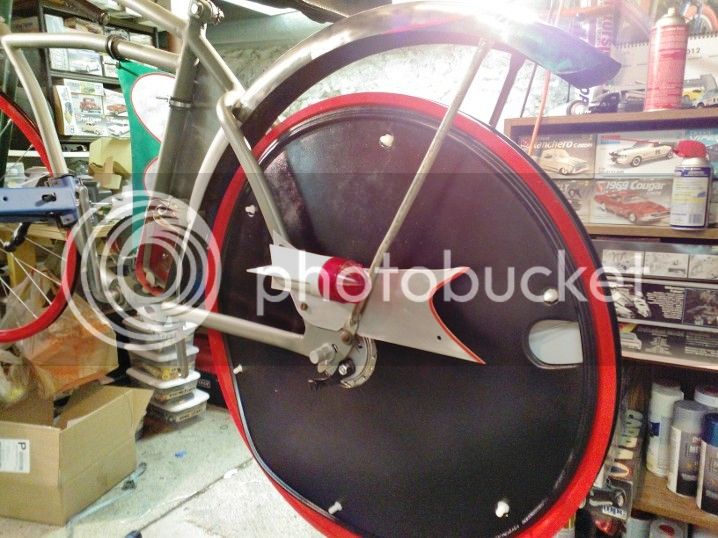
I wound up drilling holes just under the lip and drawing the sides together with small black zip ties. It worked, but isn't real pretty. Fortunatly, the ties aren't real visable, however, the covers themselves never truly drew up flat (or conical, as it were). But it'll have to do. I expect that they won't stay on the bike much after the contest photos are taken.

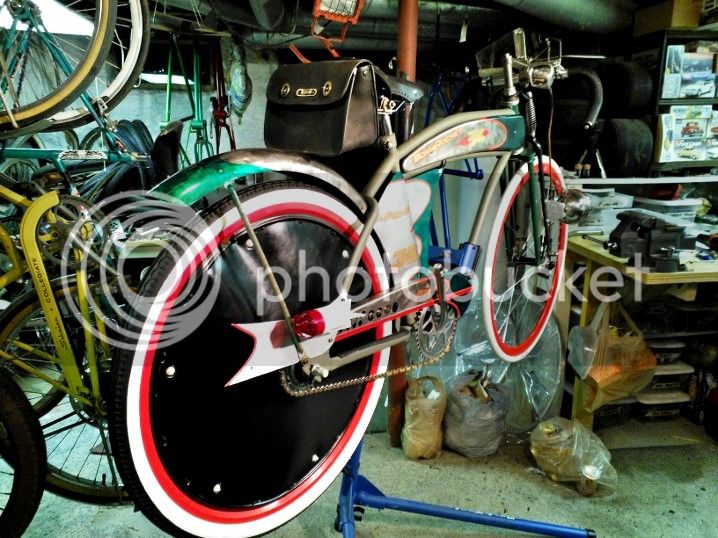
With the covers on, I mounted the wheel on the bike and started to get that set up. I made up a chain for it too.
WP_000215.jpg

WP_000216.jpg

WP_000217.jpg


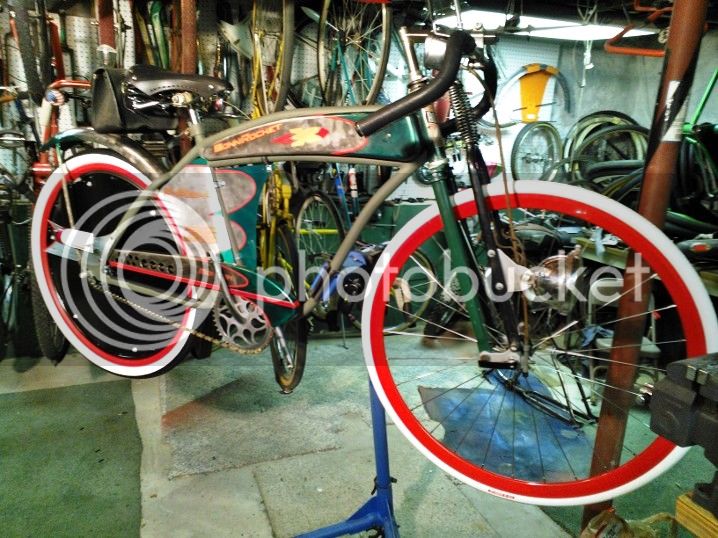
At this point, I just have to assemble and install the shifter/brake unit and run the cables and the wiring for the headlight. Jason has the welding pretty much done, so I get to that tomorrow maybe. I do think I should do something about the fender line - I don't like the way it sticks up so high at the rear. Even with the stays unbolted, it sits like that, so I'll have to try to coax it down closer to the tire a bit. Other than that, everything has pretty much come together the way I want it so far. I particularly like how the wider rear white wall tire plays against the skinny white front tire. The black tread on the rear almost disappears, as the white wall itself is about the height of the entire front tire. I used a ribbed-tread 26x1.75 on the rear, so its narrower than the typical balloon for reduced rolling resistance, but wide enough for some traction. The tread pattern is as close as I could come up with to being reminicant of a salt flat tire.
 
Re: BonniRocket

Lookin' sharp my friend!!!!
 
Re: BonniRocket

ruddigger said:
You're right. It took me a few glances to realize that was a whitewall on the back. Really nice the way that worked out.

Yeah, that was sort of the plan, although it worked out better then I would've guessed. I originally intended to use a Jerald sulky slick on the rear, but their shipping price was too much, made the tire cost a lot more than I was willing to spend on it. This fits what I'm doing better anyway, I think.
 

Latest posts

Back
Top